
How To Upgrade Ubuntu MATE to version 24.04
In this section I will demonstrate how to upgrade Ubuntu MATE 22.04 LTS to 24.04 LTS. I highly recommend that you backup your important files and folders before you start the upgrade process. These steps are very similar to upgrading Ubuntu MATE 20.04 LTS to 22.04 LTS.
Before you start the upgrade process, I recommend that you backup your repositories. You can do this easily by using Y PPA Manager. Open Y PPA Manager and click on the Advanced button.
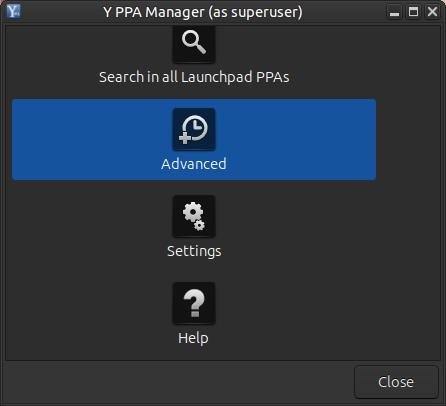
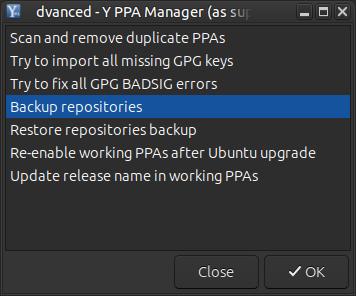
Click on Backup repositories and click OK.
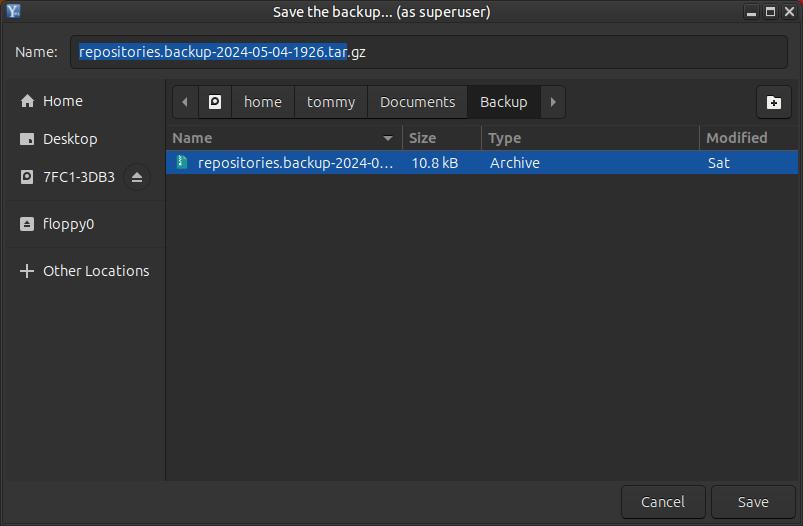
Select a folder to save your backed-up repositories and give the compressed file a name. Click the Save button to save them to the selected folder. You can now close Y PPA Manager.
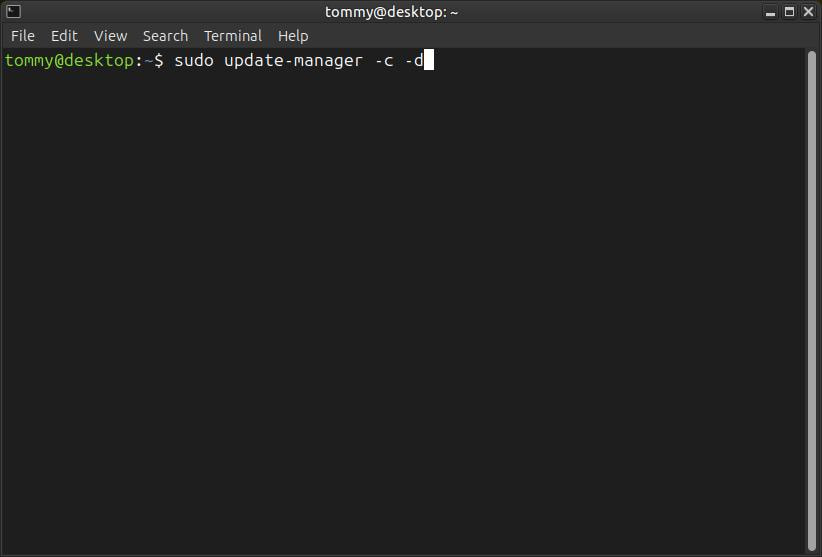
Open your Terminal and enter the following: sudo update-manager -c -d
Press Enter or Return and enter your password to continue.
Press Enter or Return and enter your password to continue.
The upgrade tool should now launch.
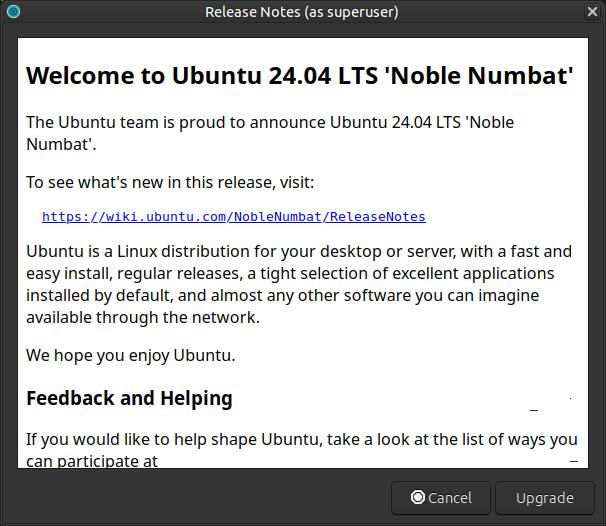
Click the Upgrade button to start the upgrade process.
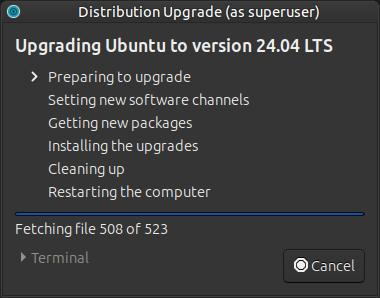
The upgrade process will go through six steps. The first step is Preparing to upgrade. This may take a while.

It will then move to the next step of Setting new software channels.
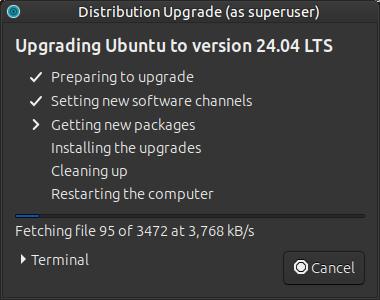
Next, it will move to the next step Getting new packages.
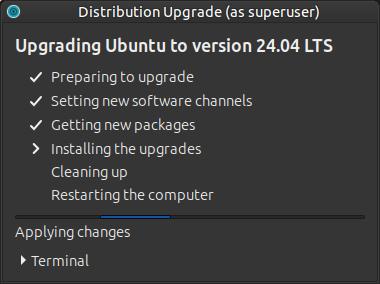
Then it will start the next step of Installing the upgrades. This will take some time to complete. When it finishes the upgrade process, it will run the Cleaning up step to remove all of the upgrade files that are no longer needed. The final step is Restarting the computer. You may notice it may take a bit longer to reboot than it normally does because it will still be configuring your newly upgraded machine.
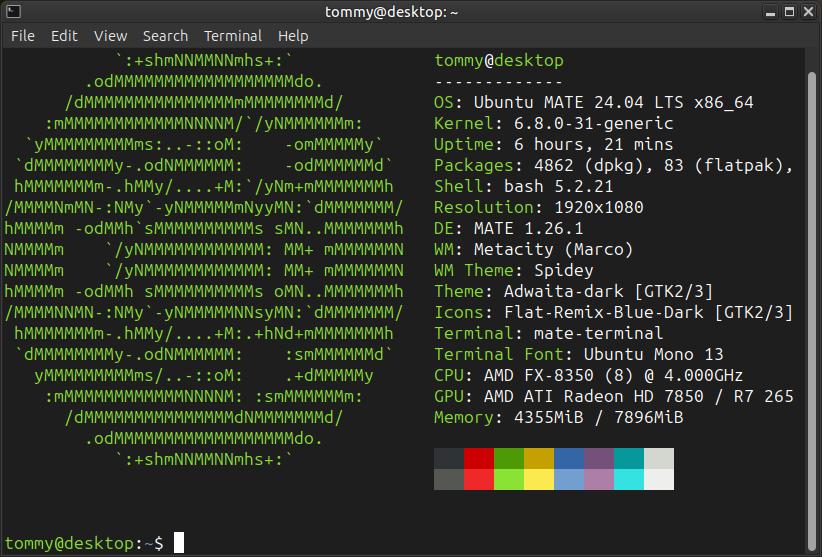
Open your Terminal and enter the following: lsb_release -a
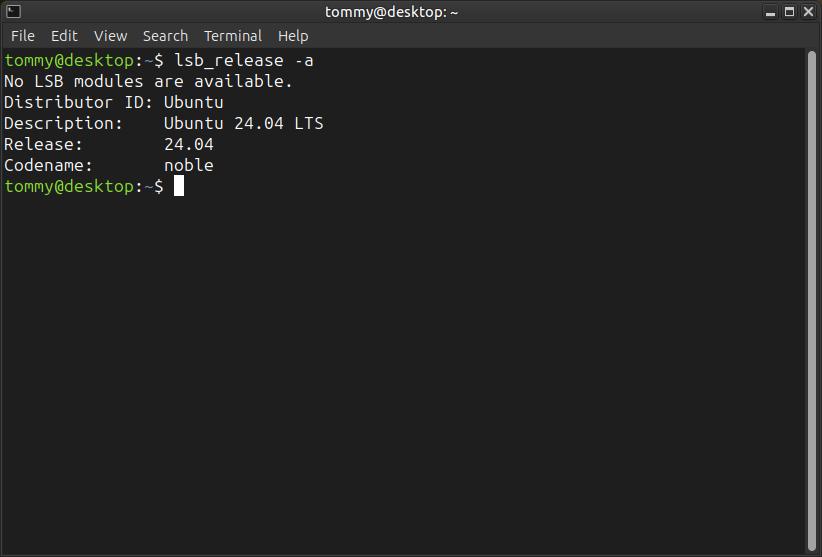
This command allows you to check the current version of Ubuntu MATE via the Terminal.
Open Y PPA Manager and click on the Advanced button. Then click on Re-enable working PPAs after Ubuntu upgrade and click on OK.
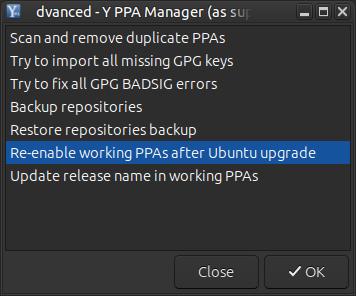
This will scan all the PPAs that were disabled during the upgrade and it will re-enable the PPAs that works with the newly upgraded version.

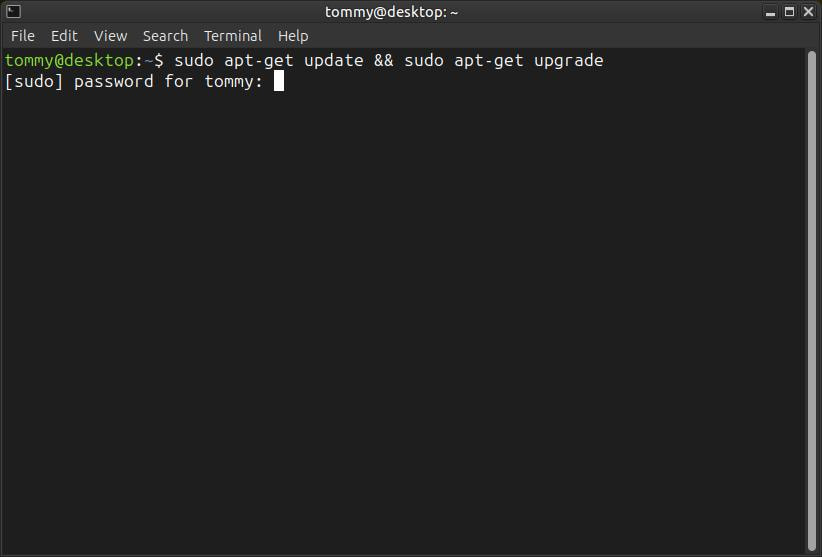
Next, open your Terminal and enter the following commands:
sudo apt-get update && sudo apt-get upgrade
sudo apt-get update && sudo apt-get upgrade
This will make sure that your system is updated to the most current updates and upgrades since the upgrade was released. It will also display any third party repository problems. If you notice that you had some files held back then open your Terminal and enter the following command:
sudo aptitude safe-upgrade
sudo aptitude safe-upgrade

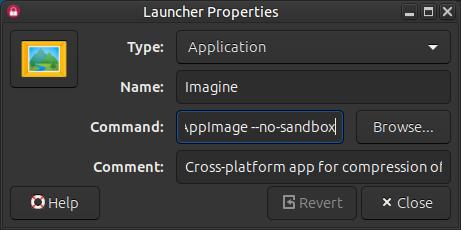
After I upgraded I noticed some of my AppImages wouldn't start because libfuse2 got an upgrade to libfuse2t64. The Imagine AppImage is an example of one that wouldn't start. I just needed to add --no-sandbox to the end of the file to get it to start.
/home/tommy/AppImages/./Imagine-0.7.5.AppImage --no-sandbox
I added the --no-sandbox to the end of the path in the Command line in my Main Menu editor.
/home/tommy/AppImages/./Imagine-0.7.5.AppImage --no-sandbox
I added the --no-sandbox to the end of the path in the Command line in my Main Menu editor.
I also got a few errors that said the Signature Key Uses Weak Algorithm. I fixed this error by opening my Terminal and entering: sudo nano /etc/apt/apt.conf.d/99weakkey-warning

Then enter the following: APT::Key::Assert-Pubkey-Algo "";
After editing, press Ctrl+S to save file, and Ctrl+X to exit. And, run sudo apt update command to verify the change.
You can always restore your original settings by entering the following in the Terminal:
sudo rm /etc/apt/apt.conf.d/99weakkey-warning
After editing, press Ctrl+S to save file, and Ctrl+X to exit. And, run sudo apt update command to verify the change.
You can always restore your original settings by entering the following in the Terminal:
sudo rm /etc/apt/apt.conf.d/99weakkey-warning
You should now be able to enjoy your newly upgraded Ubuntu MATE 24.04 LTS system.
May 8, 2024
