
Geeqie
Geeqie is a lightweight image viewer that is simple and fast and it can be used to manage large collections of images.
"Geeqie is a browser for graphics files offering single click viewing of your graphics files. It includes thumbnail view, zoom, filtering features and external editor support."
How to Install Geeqie:
1. Open the Terminal (Shortcut: Ctrl + Alt + T)
2. Type the following command: sudo add-apt-repository ppa:anton+/photo-video-apps
3. Press Enter or Return and type in your password
4. Type the following command: sudo apt-get update
5. Type the following command: sudo apt-get install geeqie
6. Type Y and press Enter or Return
You can also install it via the installation file from pkgs.org or under the Downloading and Installation section of the creator's website.
How to Uninstall Geeqie:
1. Open the Terminal (Shortcut: Ctrl + Alt + T)
2. Type the following command: sudo add-apt-repository --remove ppa:anton+/photo-video-apps
2. Type the following command: sudo apt-get remove geeqie
1. Open the Terminal (Shortcut: Ctrl + Alt + T)
2. Type the following command: sudo add-apt-repository ppa:anton+/photo-video-apps
3. Press Enter or Return and type in your password
4. Type the following command: sudo apt-get update
5. Type the following command: sudo apt-get install geeqie
6. Type Y and press Enter or Return
You can also install it via the installation file from pkgs.org or under the Downloading and Installation section of the creator's website.
How to Uninstall Geeqie:
1. Open the Terminal (Shortcut: Ctrl + Alt + T)
2. Type the following command: sudo add-apt-repository --remove ppa:anton+/photo-video-apps
2. Type the following command: sudo apt-get remove geeqie
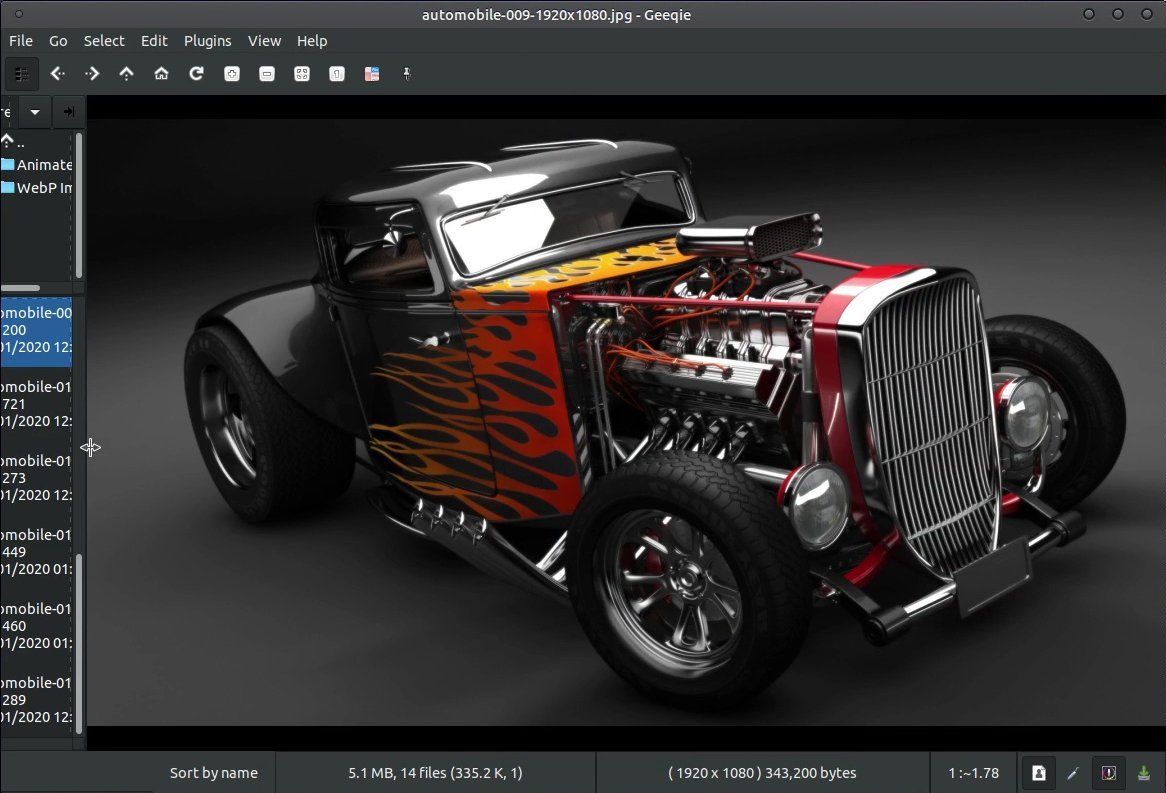
When you first load an image in Geeqie, you'll notice the path to your image, a list of folders or directories, a list of subfolders or subdirectories within your current folder, and a list of image names on the left side. You will also see a title bar, menu bar, toolbar at the top and a status bar at the bottom. You'll also see the selected image.
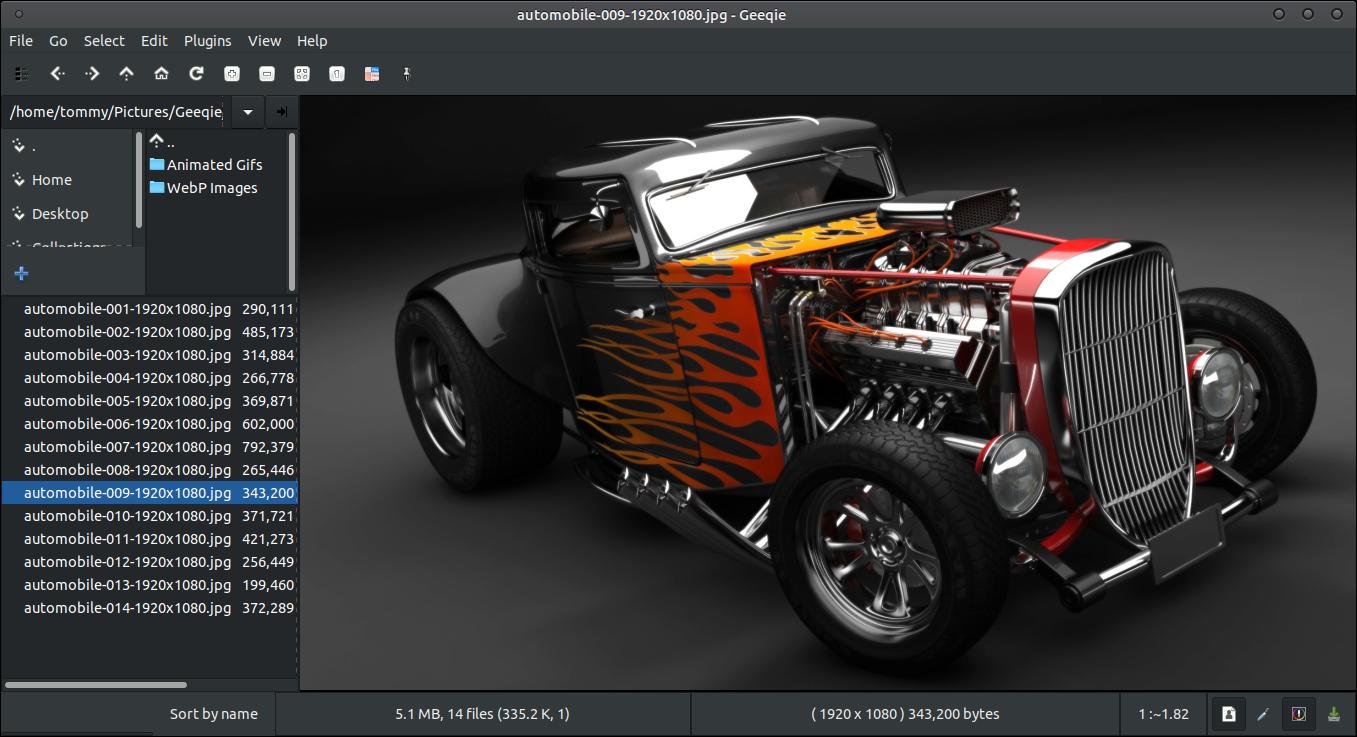
You can change your list of image names on the left to display icons above the image names. To do this click on the View menu, highlight Files and Folders, and select Icons.
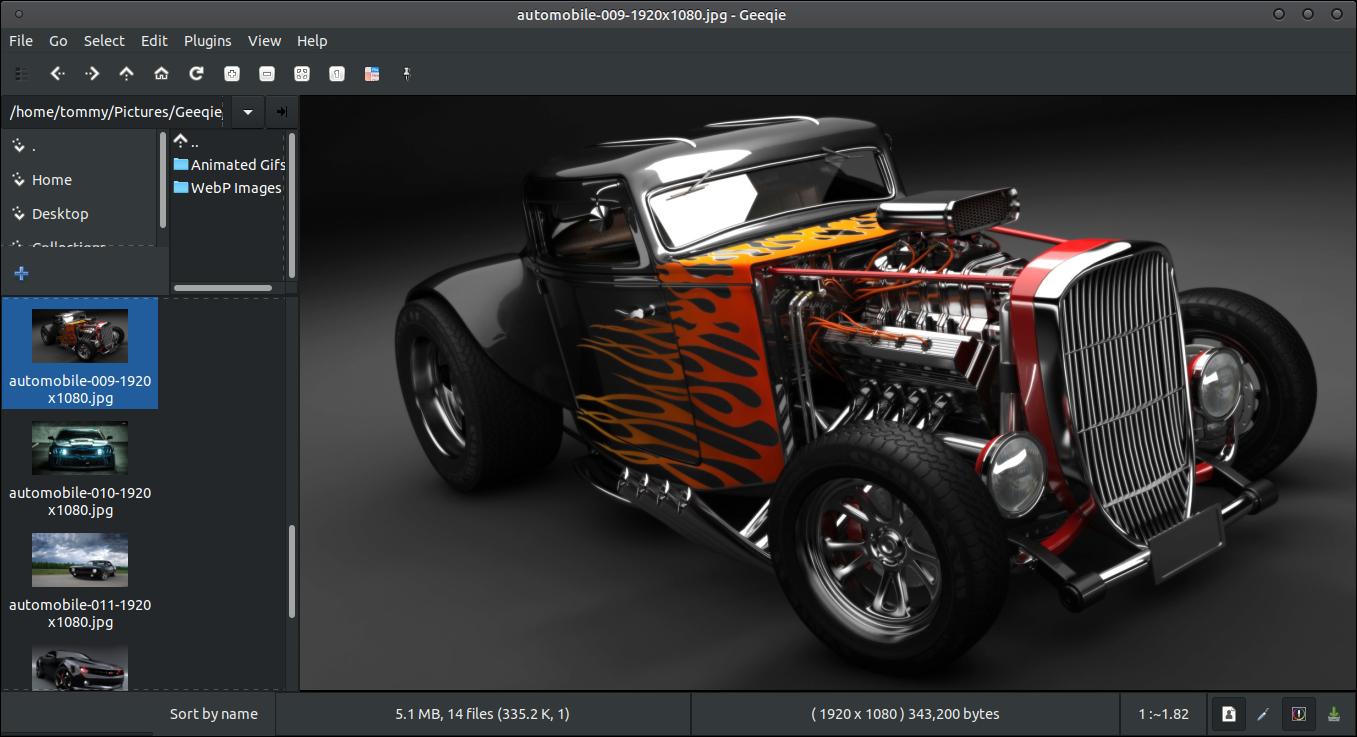
You can keep the Image List option checked and also check the Show Thumbnails option to display a thumbnail and image name and date.
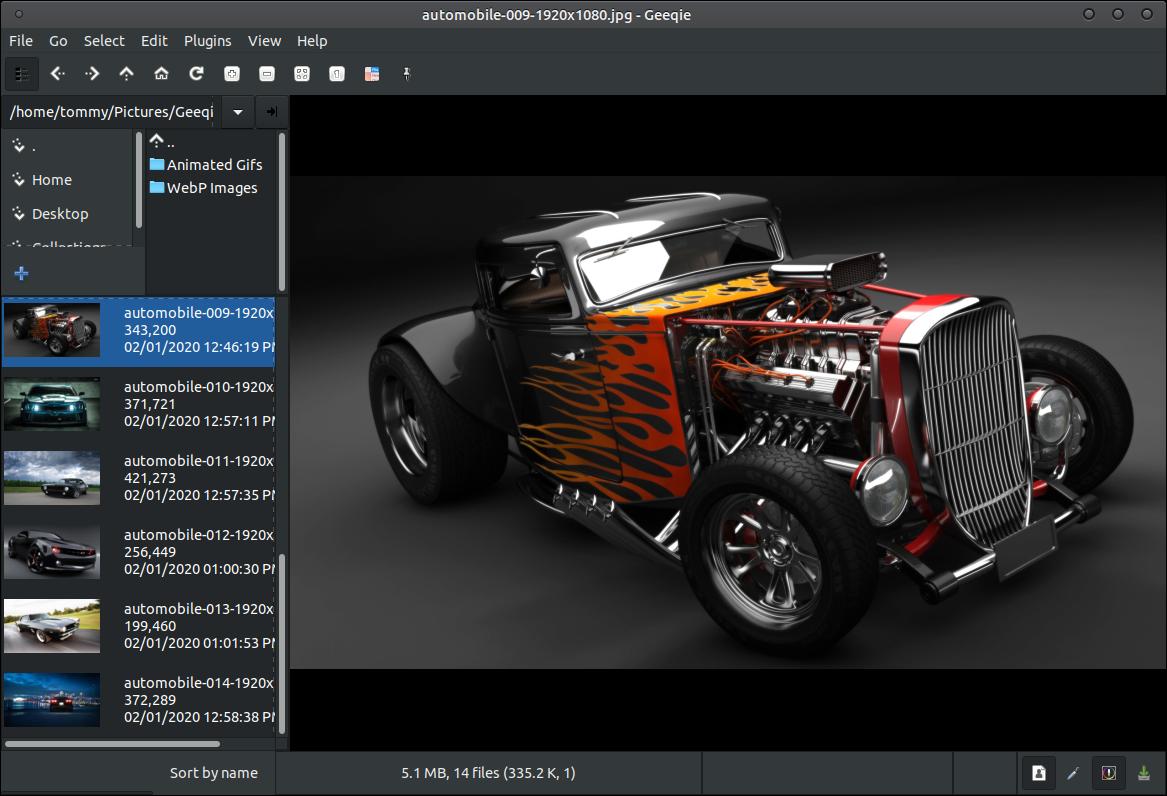
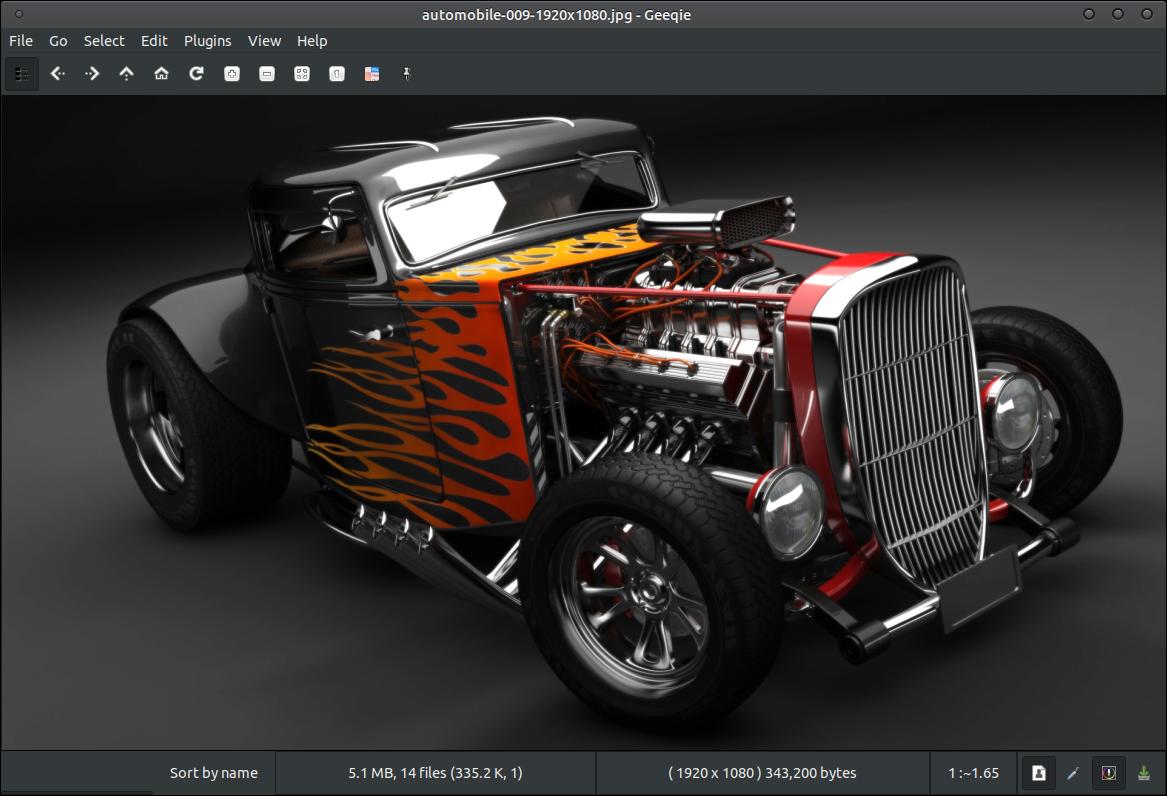
You can drag the sections on the left side out of the way. Click on the edge and drag it to the side.
Your image will now be the main focal point.
You can advance through the images in your folder by rolling your center mouse button in the downward direction or move back by rolling the center mouse button upward. You can use your keyboard to advance to the next image by pressing the Page Down button and move back an image by pressing the Page Up button. You can also use the Space Bar to advance to the next image.
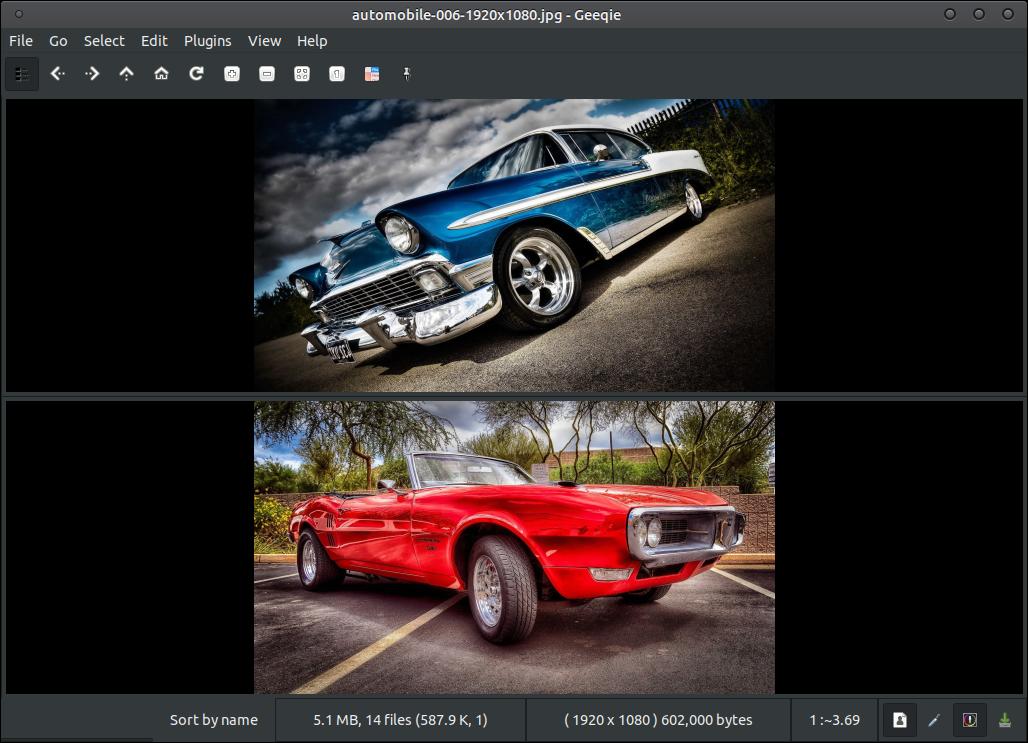
You can view two images, one on top of the other, by clicking the View menu, highlight Split, and click on Horizontal.
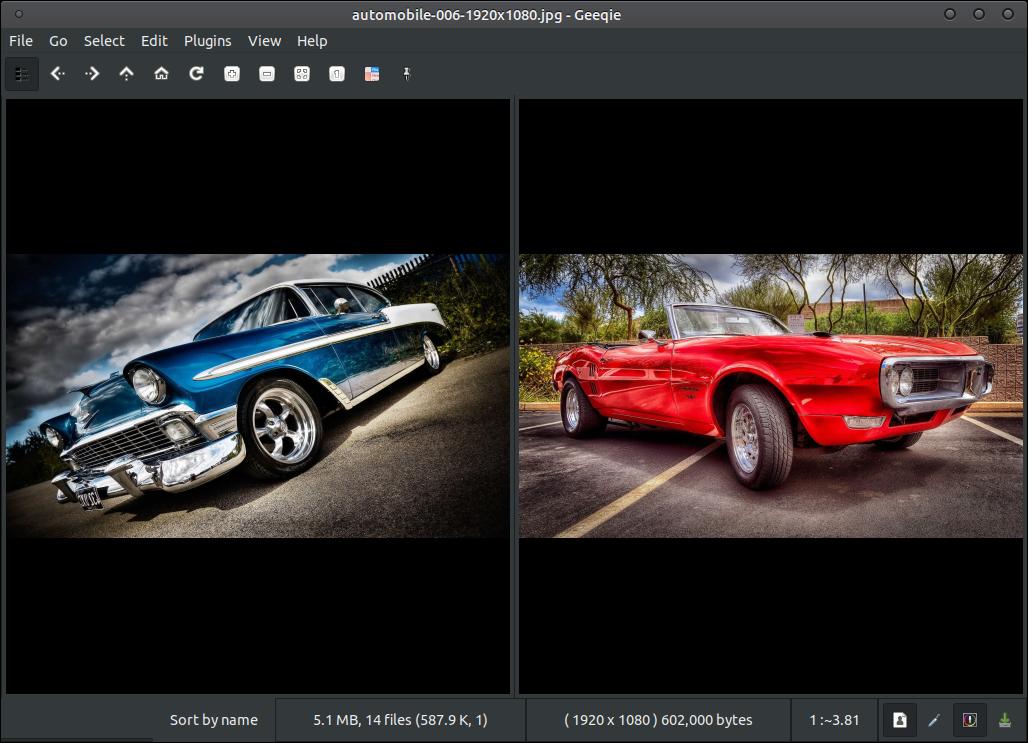
You can view two images side-by-side by clicking the View menu, highlight Split, and click on Vertical.
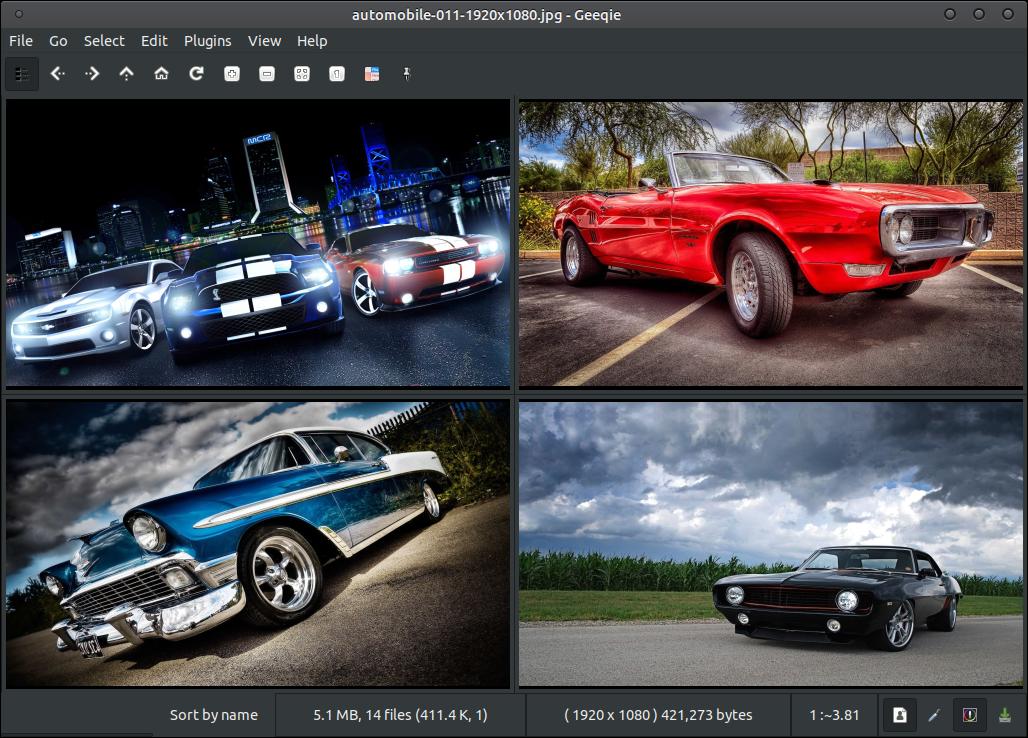
You can view four images at once by clicking the View menu, highlight Split, and click on Quad.
You can take a look through each menu in the slideshow below.
As you can see throughtout the Preferences dialog box below, Geeqie has a lot of different settings and features. This allows you to customize the program to meet your needs.
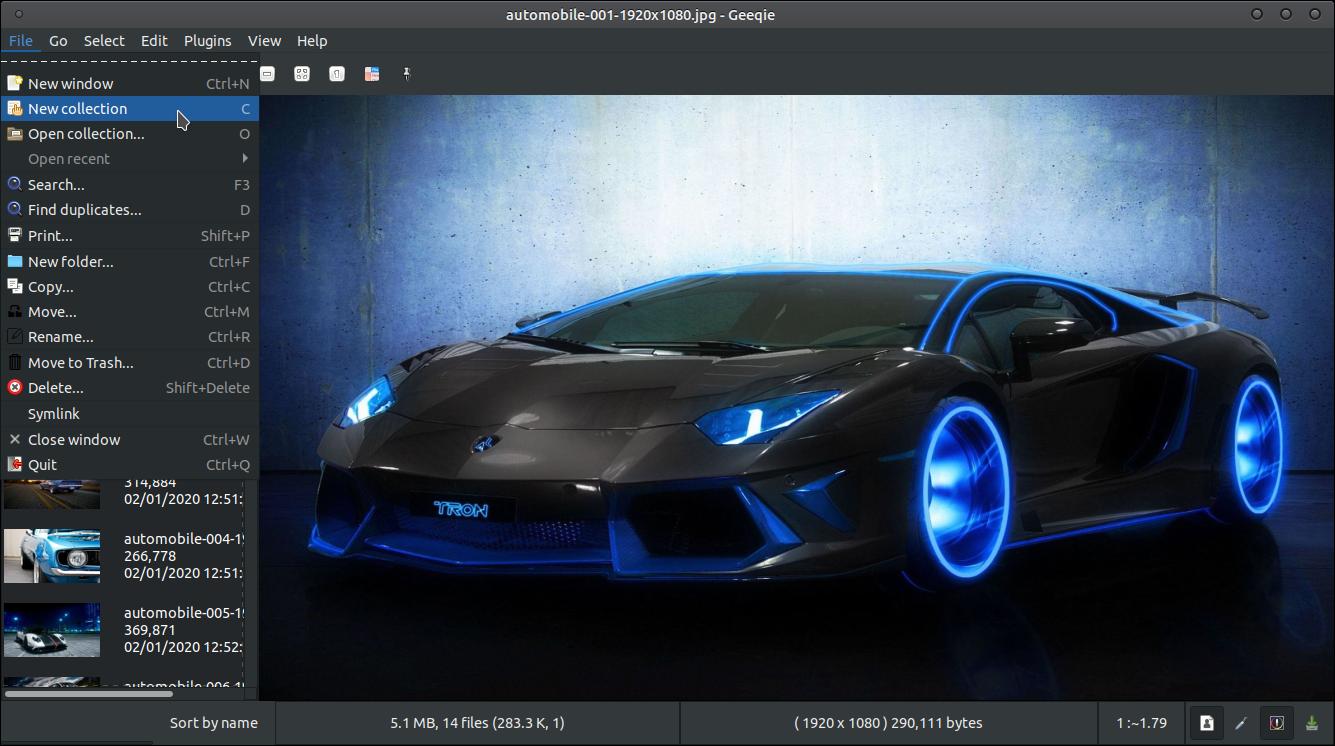
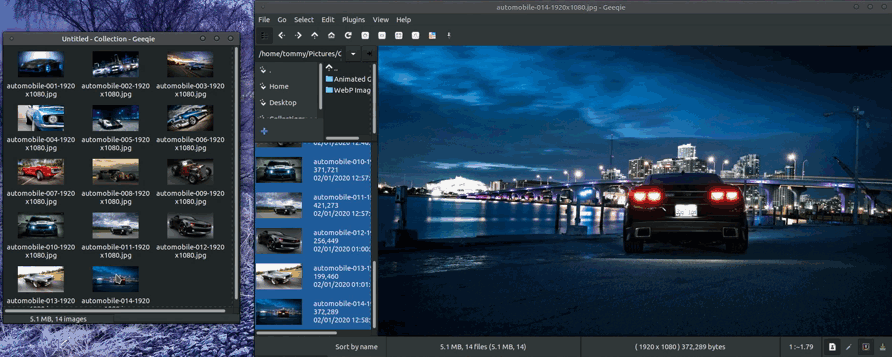
Geeqie allows you to build a collection of images. When you create a new collection a new collection window will appear and the images within the window can be modified. To open an empty collection or start creating a new collection click on the File menu and then click on New collection.
An Untitled - Collection dialog box will appear allowing you to create your new collection.
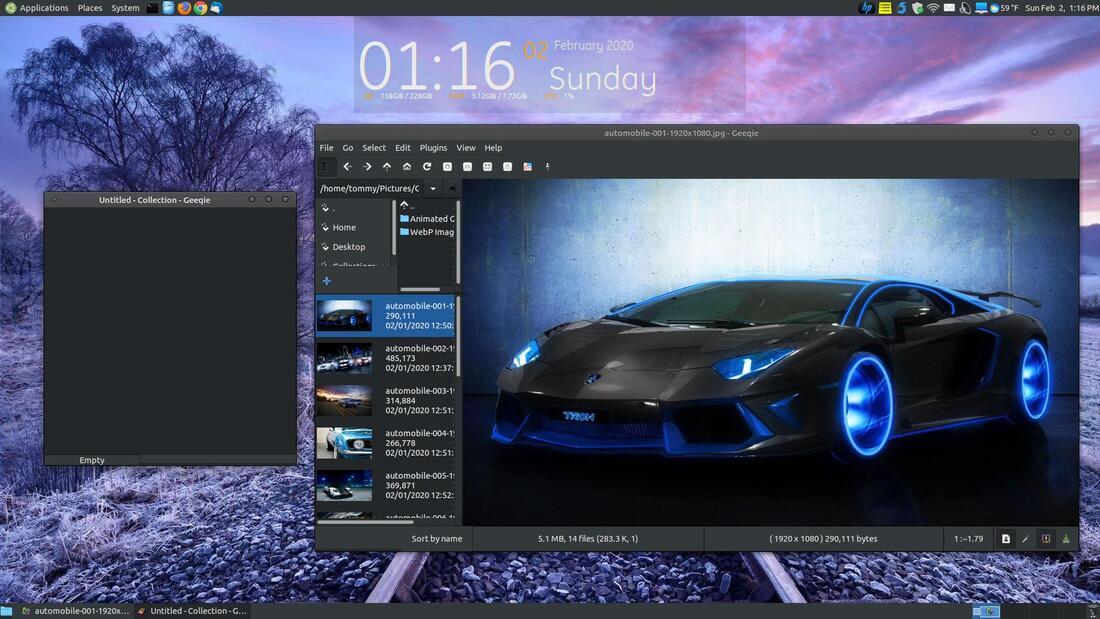
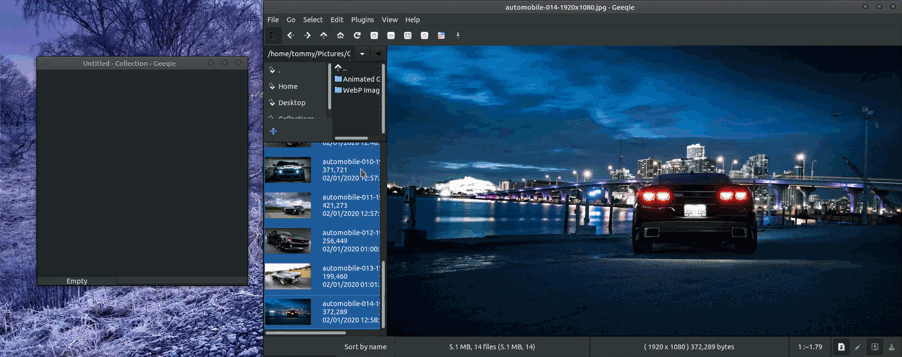
Select the images you want to add to your new collection. I clicked on the first image in my list and held down the Shift key while pressing the down arrow until I had every image selected.
The I drug the selected images into the new Untitled - Collection dialog box.
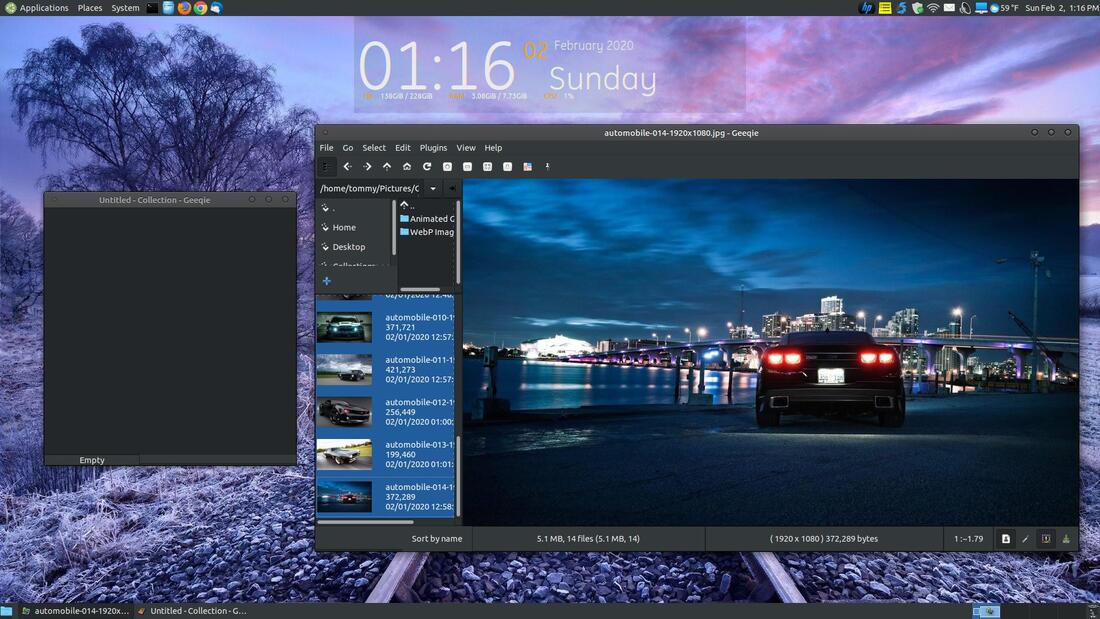
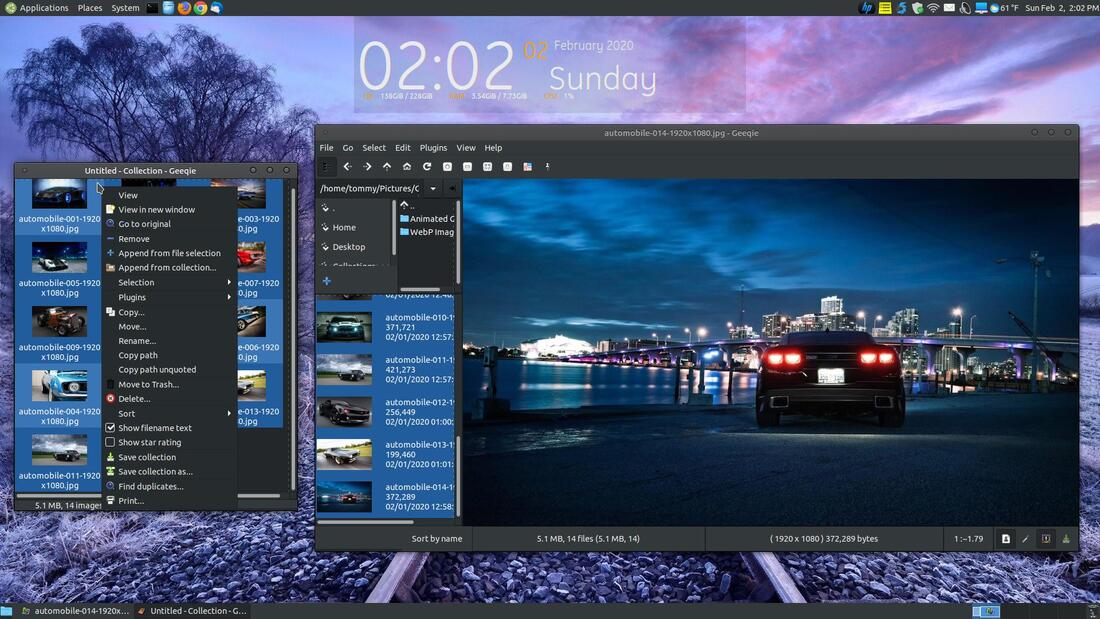
You can then rearrange your images in the order you want. Just click on an image and drag it to a new location.
Once you get your images arranged in the order that you want, you will then be ready to give your new collection a name. Select the images and then right-click and select the option Save collection as...
A Save collection dialog box will appear allowing you to select a path to place the name of your new collection. When you have selected your path and created a name click the Save button.
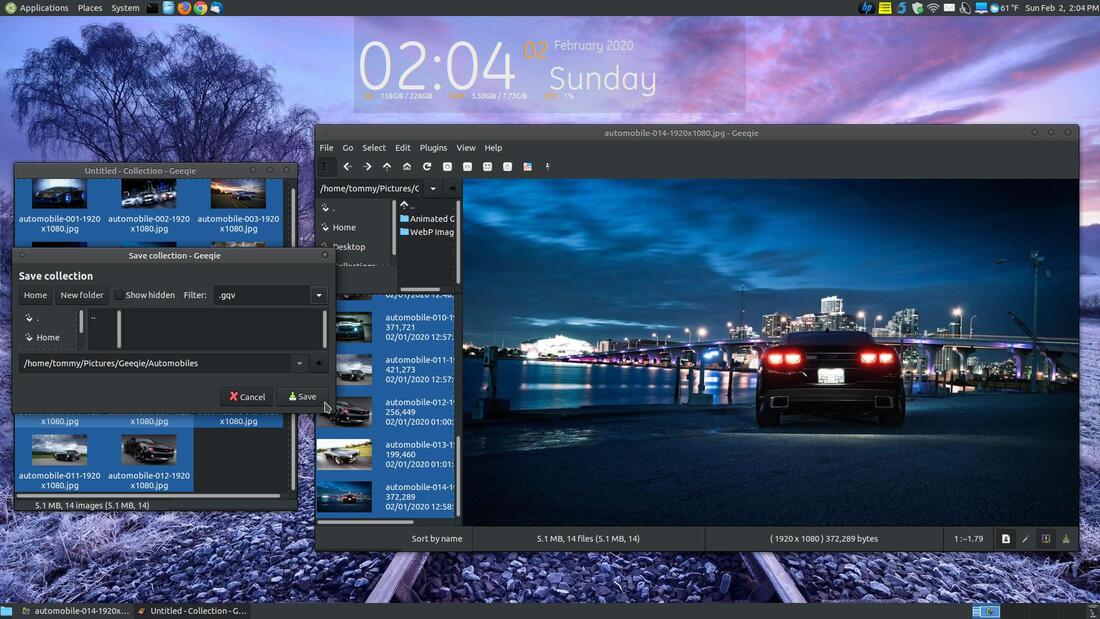
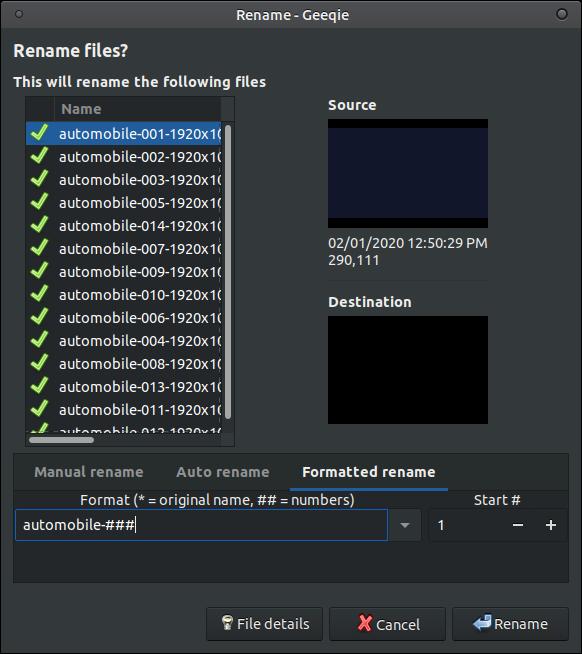
Untitled in the title bar will be replaced by the new name you gave your collection. I named my collection Automobiles. You can also rename all the images in your collection. Right-click and select the Rename... option.

A Rename dialog box will appear that will allow you to Manual rename your images, Auto rename your images, or Formatted rename your images. In my example I chose the Formatted rename option. I typed automobile-### in the empty space. Every image will contain the name automobile-. The ### are wild card characters that will be replace by a series of numbers. You can select the number you want to start with. When you are ready, click the Rename button.
You will now notice the images in your list are in a different order and they have a new name.

Batch renaming can save you a lot of time if you have a lot of images.
Geeqie supports .gif files and animated .gif files, but it does not support the .webp file format.

Feb 8, 2020
