
How-To Install or Upgrade R

|
R is a free software environment for statistical computing and graphics that is supported by the R Project for Statistical Computing. With just the basic or standard R installation, you can do a lot of data manipulation, visualization, and statistical analysis. You can install thousands of additional packages from CRAN and other repositories to increase its power even more. Basically, you can customize it to meet your needs.
|
The purpose of this webpage is to help you install or upgrade R on your Linux or Ubuntu machine. If you have previously installed R by using your distribution's repositories, you probably have an older version of R. At the time of creating this webpage (January 23, 2019) the version in the repositories is 3.4.4. I will illustrate how you can upgrade it to the newest version of 3.6.0-2.
On this webpage, I will be illustrating most of the information that Sébastien Rochette has on his website. I had to make a few changes and I felt it was necessary to create an illustrated step-by-step guide to help those that recently switched from another operating system to Linux. Let's get started.
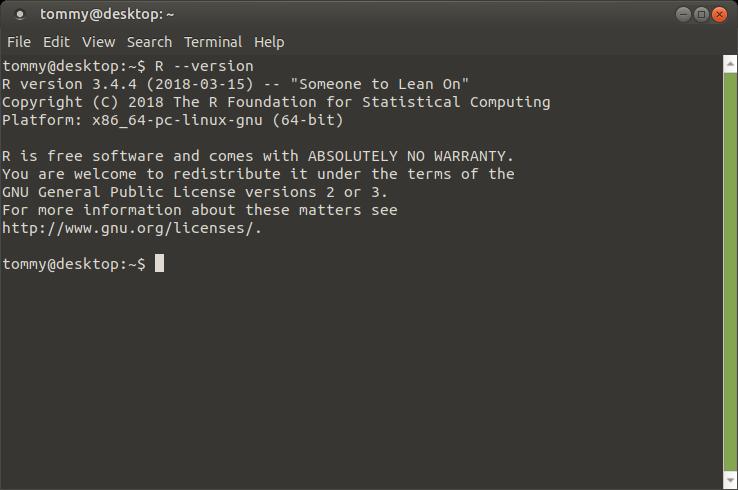
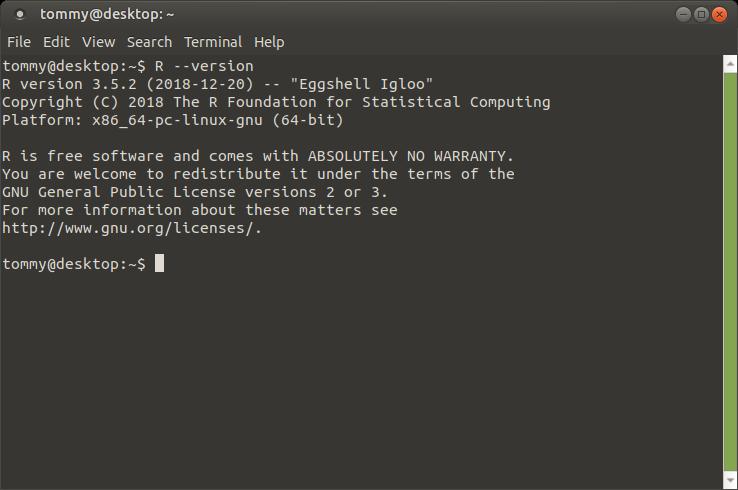
To start with, if you already have R installed, you need to check to see what version you are running. You can open the Terminal and type R --version (please remember that commands in the Terminal are case sensitive) and press the Enter or Return key. On my computer, I had version 3.4.4 installed.
To start with, if you already have R installed, you need to check to see what version you are running. You can open the Terminal and type R --version (please remember that commands in the Terminal are case sensitive) and press the Enter or Return key. On my computer, I had version 3.4.4 installed.
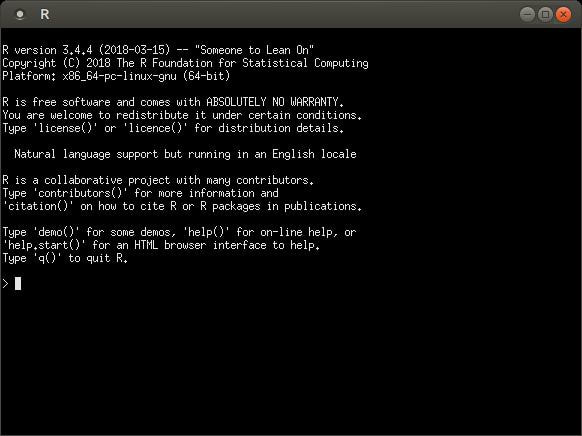
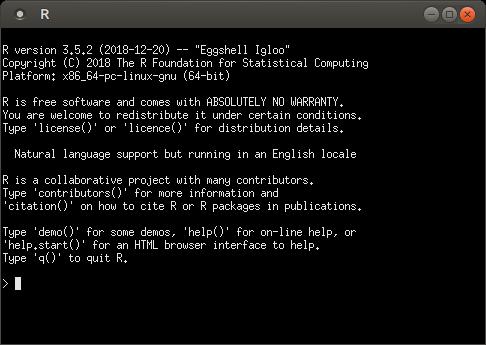
You can also run the application and it will display which version you are using.
At the time of me creating this webpage, version 3.5.2 was the newest version and on my computer I had version 3.4.4 installed. If you have an older version of R installed, I highly recommend that you uninstall it and install the newest version. You need to remove all the older Ubuntu packages for R and install the newest version.
How to Uninstall R:
1. Open the Terminal (Shortcut: Ctrl + Alt + T)
2. Type the following command: sudo apt purge r-base r-recommended r-cran-*
3. Press Enter or Return and type in your password
4. Type Y and press Enter or Return (When asked, "Do you want to continue? [Y/n"] )
5. Type the following command: sudo apt autoremove
6. Press Enter or Return
7. Type Y and press Enter or Return (When asked, "Do you want to continue? [Y/n"] )
8. Type the following command: sudo apt update
9. Press Enter or Return
When you complete these steps, the older version of R should be removed from your computer.
Illustrated Instructions
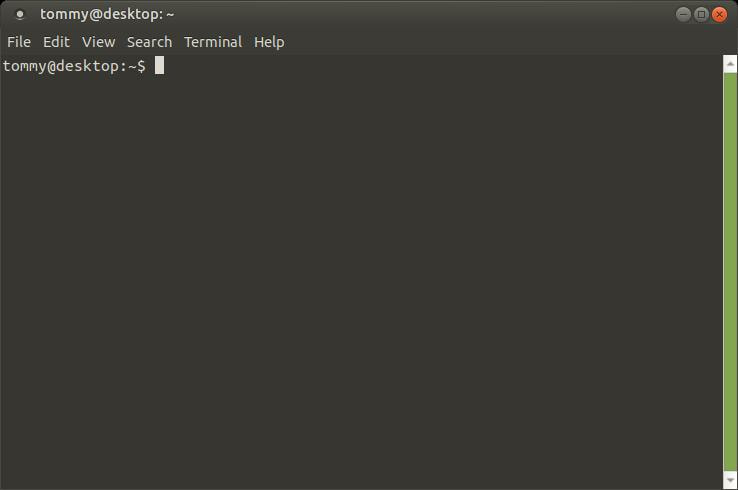
1. Open the Terminal (Shortcut: Ctrl + Alt + T)
How to Uninstall R:
1. Open the Terminal (Shortcut: Ctrl + Alt + T)
2. Type the following command: sudo apt purge r-base r-recommended r-cran-*
3. Press Enter or Return and type in your password
4. Type Y and press Enter or Return (When asked, "Do you want to continue? [Y/n"] )
5. Type the following command: sudo apt autoremove
6. Press Enter or Return
7. Type Y and press Enter or Return (When asked, "Do you want to continue? [Y/n"] )
8. Type the following command: sudo apt update
9. Press Enter or Return
When you complete these steps, the older version of R should be removed from your computer.
Illustrated Instructions
1. Open the Terminal (Shortcut: Ctrl + Alt + T)
2. Type the following command: sudo apt purge r-base r-recommended r-cran-*
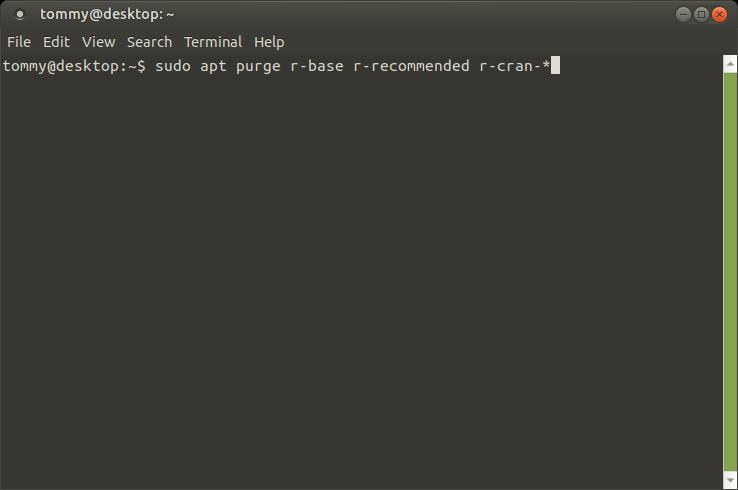
3. Press Enter or Return and type in your password
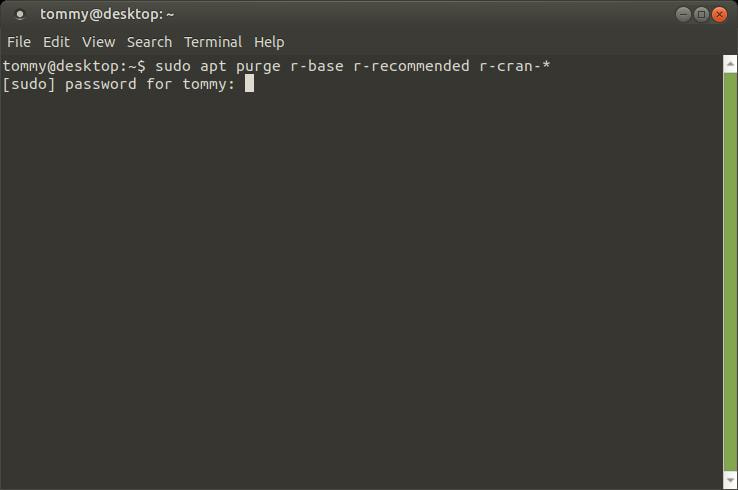
4. Type Y and press Enter or Return (When asked, "Do you want to continue? [Y/n"] )
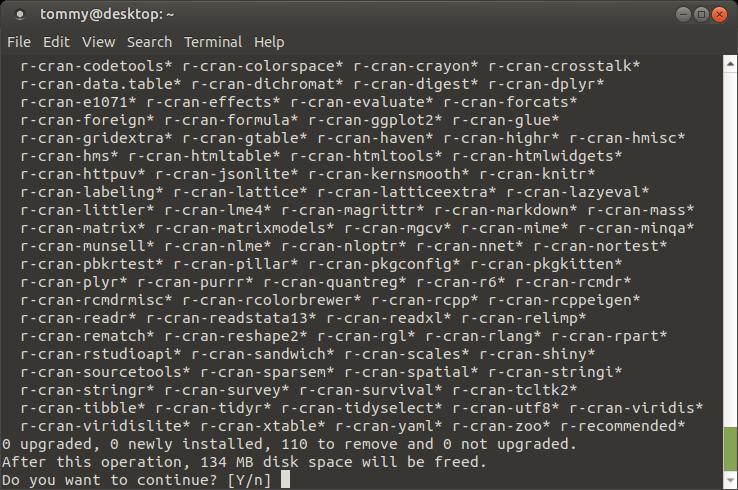
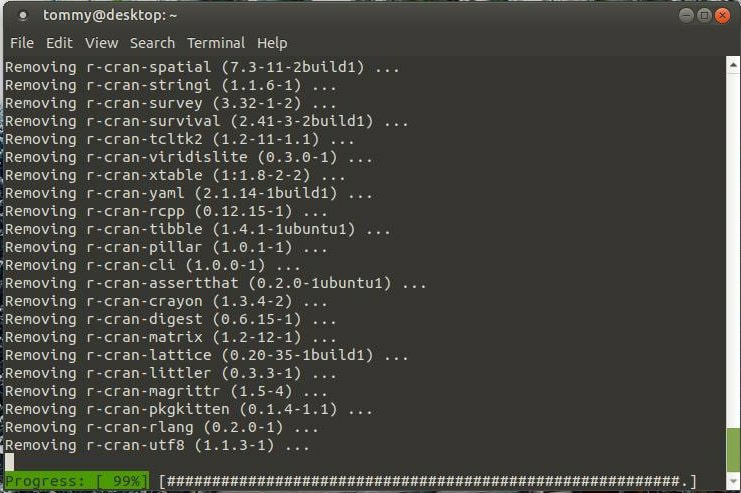
It will take a while to uninstall your older version of R.
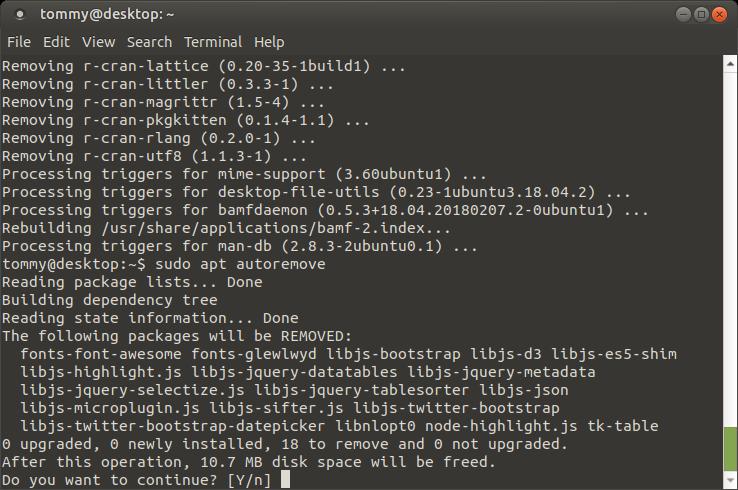
5. Type the following command: sudo apt autoremove
6. Press Enter or Return
6. Press Enter or Return

7. Type Y and press Enter or Return (When asked, "Do you want to continue? [Y/n"] )
8. Type the following command: sudo apt update
9. Press Enter or Return
9. Press Enter or Return

Your older version of R should be removed from your system. You are almost ready to install the newest version of R, but before we do, we need to find out what version of Ubuntu or Ubuntu MATE (or another flavor of Ubuntu) you are running on your computer.
How to Show the Version of Ubuntu:
1. Open the Terminal (Shortcut: Ctrl + Alt + T)
2. Type the following command: lsb_release -a
How to Show the Version of Ubuntu:
1. Open the Terminal (Shortcut: Ctrl + Alt + T)
2. Type the following command: lsb_release -a
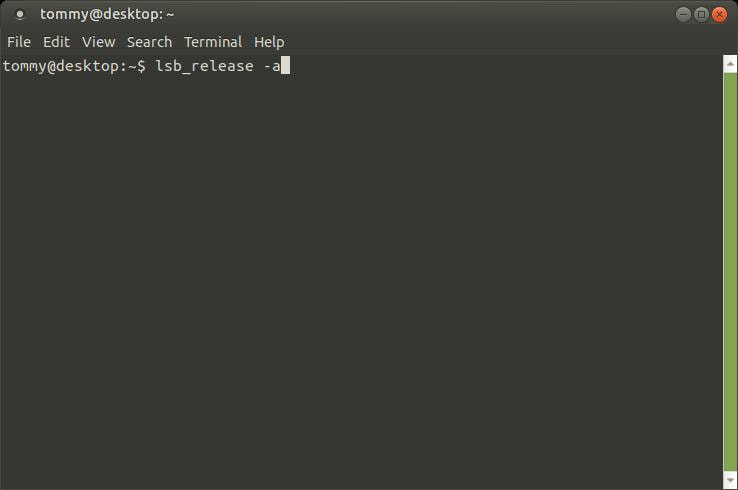
3. Press Enter or Return
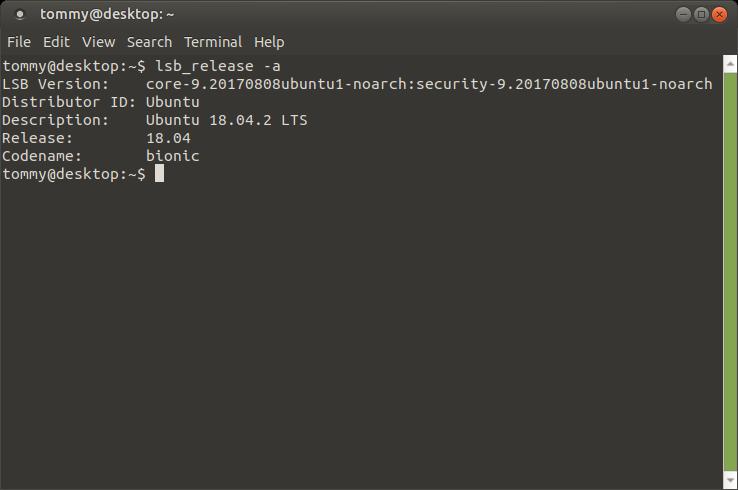
As you can see in my Terminal screen, I am running the most current LTS (Long Term Support) of Ubuntu. I have 18.04.2 LTS, codename: bionic installed. Knowing what version is on your computer is very important. This helps you install the repositories that matches your version.
Below is a list of repository information that you have to look through and match the correct repository to the version on your computer. Since I am running version 18.04.2 LTS (Bionic), I will need to only install the respository information from that list.
Ubuntu 18.10 (Cosmic)
sudo add-apt-repository 'deb https://cloud.r-project.org/bin/linux/ubuntu/cosmic-cran35/'
sudo apt-key adv --keyserver keyserver.ubuntu.com --recv-keys E298A3A825C0D65DFD57CBB651716619E084DAB9
sudo apt update
Ubuntu 18.04.2 LTS (Bionic)
sudo add-apt-repository 'deb https://cloud.r-project.org/bin/linux/ubuntu bionic-cran35/'
sudo apt-key adv --keyserver keyserver.ubuntu.com --recv-keys E298A3A825C0D65DFD57CBB651716619E084DAB9
sudo apt update
Ubuntu 16.04.5 LTS (Xenial)
sudo add-apt-repository 'deb https://cloud.r-project.org/bin/linux/ubuntu/xenial-cran35/'
sudo apt-key adv --keyserver keyserver.ubuntu.com --recv-keys E084DAB9
sudo apt update
Ubuntu 14.04.5 LTS (Trusty)
sudo add-apt-repository 'deb https://cloud.r-project.org/bin/linux/ubuntu/trusty-cran35/'
sudo apt-key adv --keyserver keyserver.ubuntu.com --recv-keys E084DAB9
sudo apt update
How to Install the Repository Information
1. Open the Terminal (Shortcut: Ctrl + Alt + T)
2. Look through the different versions of Ubuntu (above) and find the version that matches your system. Then copy and paste the first two
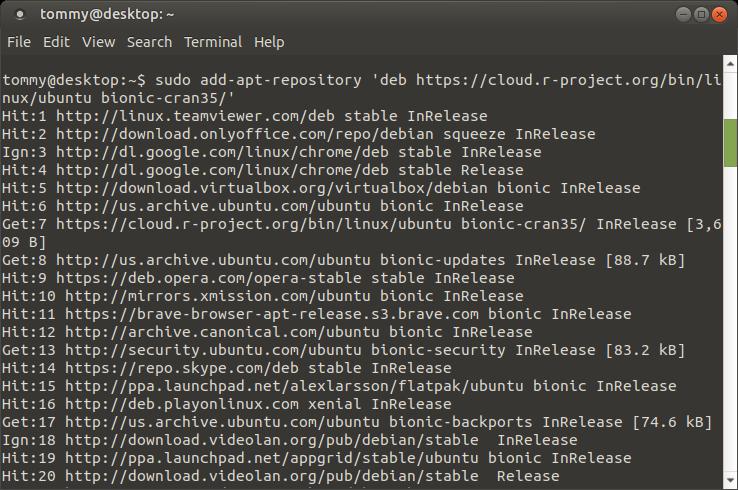
lines and paste it into your Terminal. I had to enter the following two lines since I'm using Bionic:
sudo add-apt-repository 'deb https://cloud.r-project.org/bin/linux/ubuntu bionic-cran35/'
sudo apt-key adv --keyserver keyserver.ubuntu.com --recv-keys E298A3A825C0D65DFD57CBB651716619E084DAB9
1. Open the Terminal (Shortcut: Ctrl + Alt + T)
2. Look through the different versions of Ubuntu (above) and find the version that matches your system. Then copy and paste the first two
lines and paste it into your Terminal. I had to enter the following two lines since I'm using Bionic:
sudo add-apt-repository 'deb https://cloud.r-project.org/bin/linux/ubuntu bionic-cran35/'
sudo apt-key adv --keyserver keyserver.ubuntu.com --recv-keys E298A3A825C0D65DFD57CBB651716619E084DAB9
3. Type the following command: sudo apt update
4. Press Enter or Return
4. Press Enter or Return
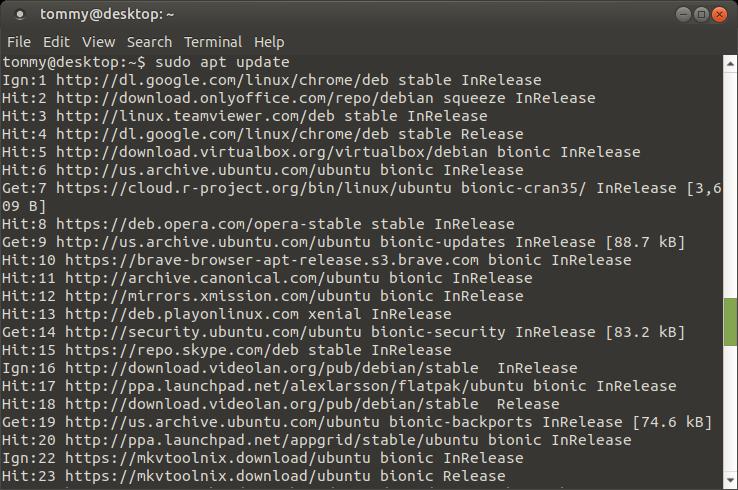
The correct PPA information should now be on your system. You are now ready to start installing R on your computer.
How to Install R (3.6.2):
1. Open the Terminal (Shortcut: Ctrl + Alt + T)
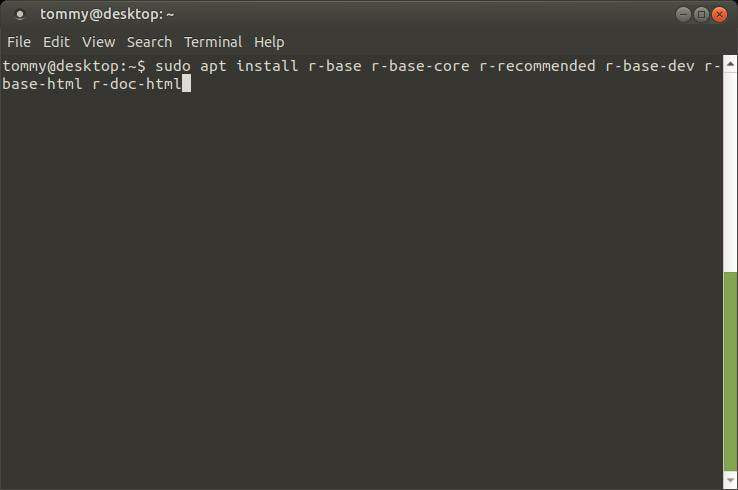
2. Type the following commands: sudo apt install r-base r-base-core r-recommended r-base-dev r-base-html r-doc-html
1. Open the Terminal (Shortcut: Ctrl + Alt + T)
2. Type the following commands: sudo apt install r-base r-base-core r-recommended r-base-dev r-base-html r-doc-html
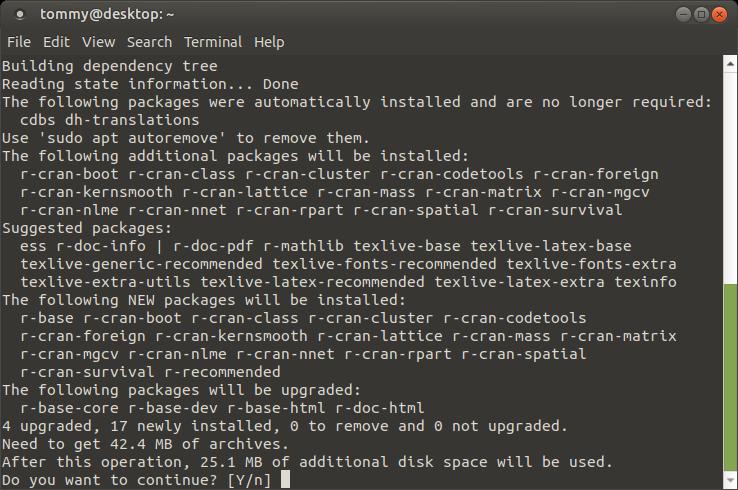
3. Press Enter or Return and type in your password (if asked)
4. Type Y and press Enter or Return (When asked, "Do you want to continue? [Y/n"]
4. Type Y and press Enter or Return (When asked, "Do you want to continue? [Y/n"]
When the installation completes, you can run the following commands below to upgrade to R ver. 3.6:
sudo apt-get upgrade
You should now have the newest version of R on your system.
sudo apt-get upgrade
You should now have the newest version of R on your system.
How to Install Additional Packages or Binaries
You'll have to add an additional PPA (Personal Package Archives) to install additional up-to-date packages.
1. Open the Terminal (Shortcut: Ctrl + Alt + T)
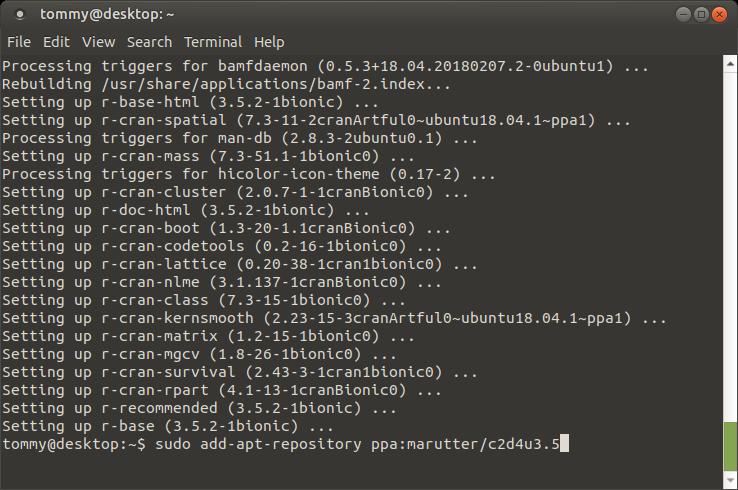
2. Type the following command: sudo add-apt-repository ppa:marutter/c2d4u3.5
You'll have to add an additional PPA (Personal Package Archives) to install additional up-to-date packages.
1. Open the Terminal (Shortcut: Ctrl + Alt + T)
2. Type the following command: sudo add-apt-repository ppa:marutter/c2d4u3.5
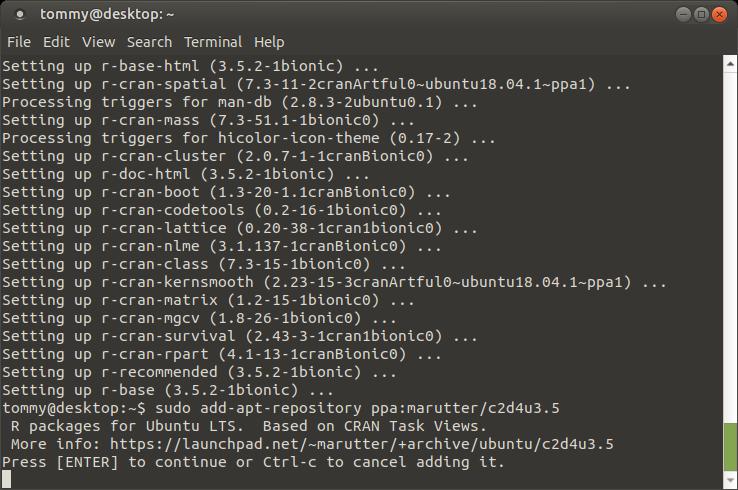
3. Press the Enter or Return button.
4. Then Press Enter when prompted.
4. Then Press Enter when prompted.
5. Type the following: sudo apt-get update
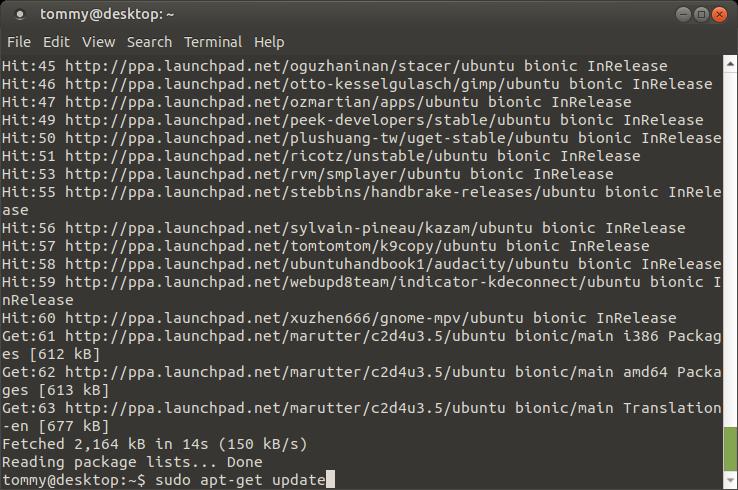
6. Press the Enter or Return key.
7. Type the following commands: sudo apt install r-cran-rgl r-cran-rjags r-cran-snow r-cran-ggplot2 r-cran-igraph r-cran-lme4 r-cran-rjava r-cran-devtools r-cran-roxygen2 r-cran-rjava r-cran-xlsx
7. Type the following commands: sudo apt install r-cran-rgl r-cran-rjags r-cran-snow r-cran-ggplot2 r-cran-igraph r-cran-lme4 r-cran-rjava r-cran-devtools r-cran-roxygen2 r-cran-rjava r-cran-xlsx
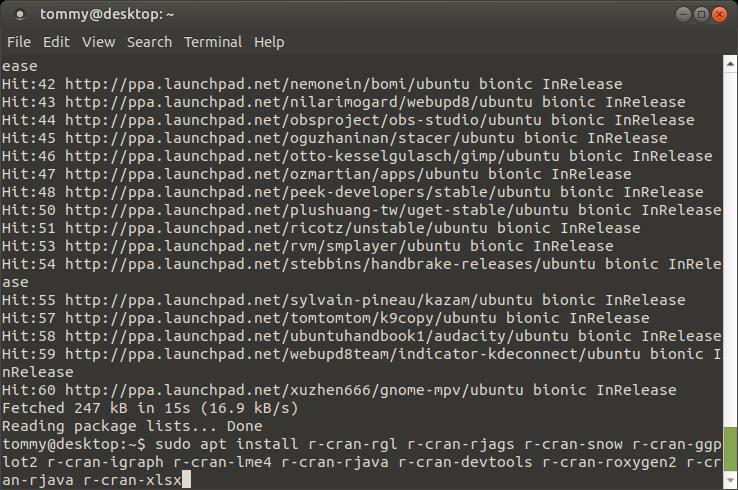
8. Press the Enter or Return key.
9. Press Y when prompted.
9. Press Y when prompted.
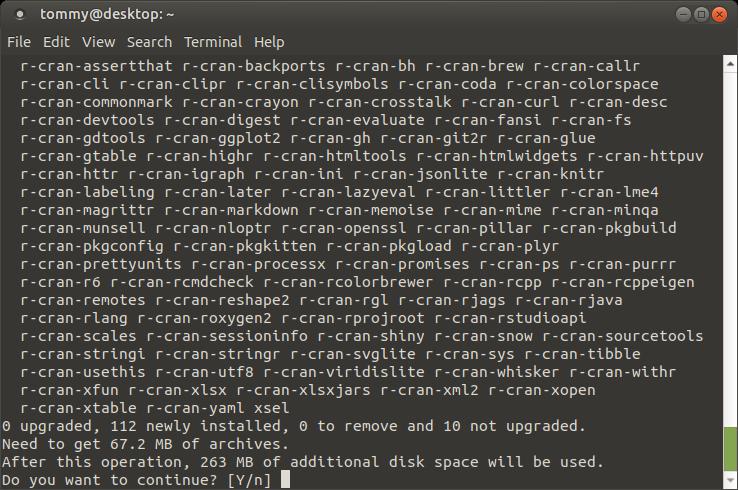
It will take a while to download and install the packages.
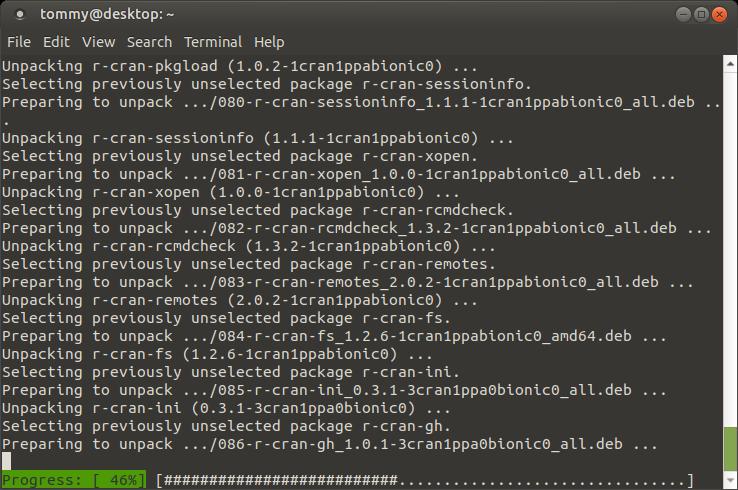
When this completes you'll be ready to download and install packages for spatial data analyses.
How to Install Packages for Spatial Data Analyses
1. Open the Terminal (Shortcut: Ctrl + Alt + T)
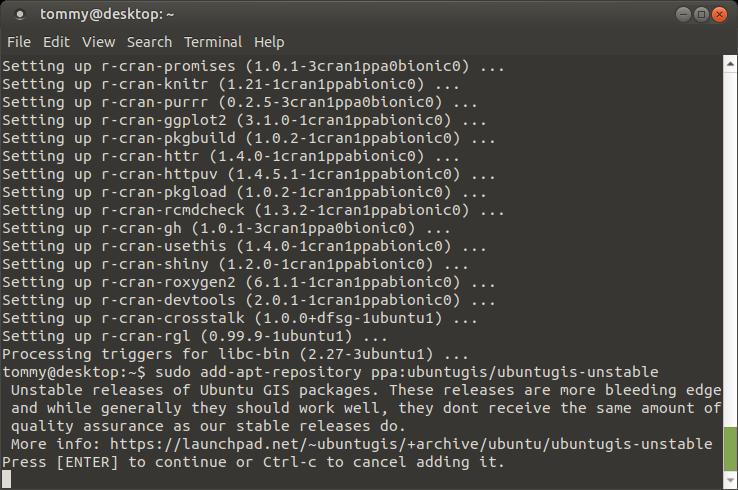
2. Type the following command: sudo add-apt-repository ppa:ubuntugis/ubuntugis-unstable
3. Press Enter or Return key.
4. Press the Enter key when prompted.
1. Open the Terminal (Shortcut: Ctrl + Alt + T)
2. Type the following command: sudo add-apt-repository ppa:ubuntugis/ubuntugis-unstable
3. Press Enter or Return key.
4. Press the Enter key when prompted.
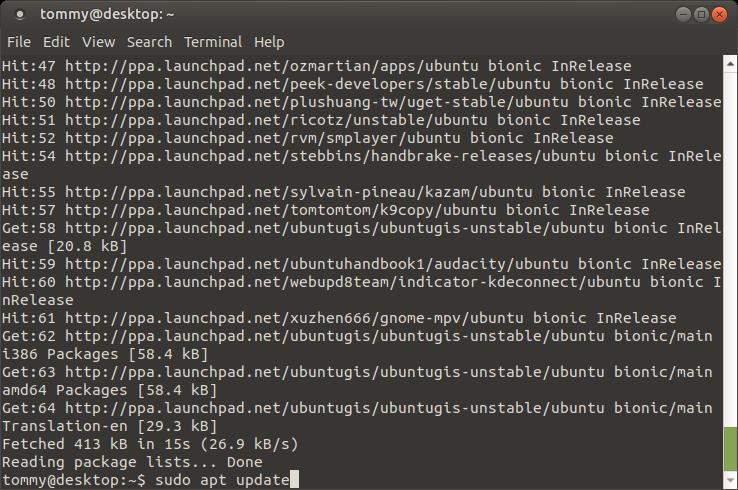
5. Type the following: sudo apt update
6. Type the following commands: sudo apt install libproj-dev libgeos-dev libudunits2-dev libv8-dev libcairo2-dev libnetcdf-dev
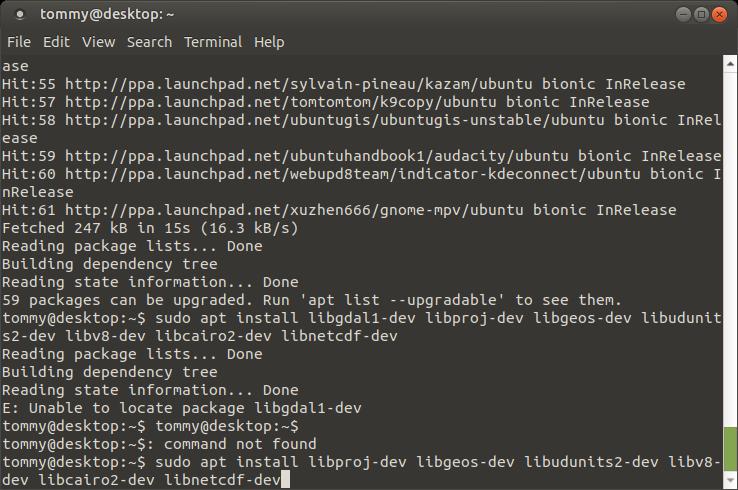
7. Press the Enter or Return key.
8. Press Y when prompted.
8. Press Y when prompted.
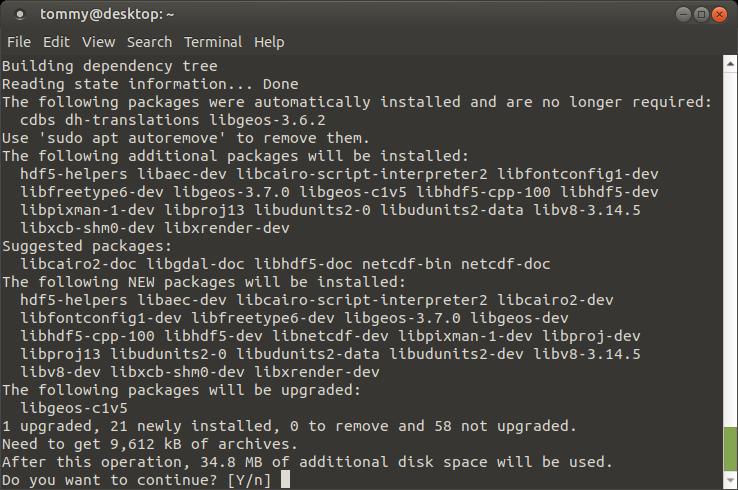
It will take a few minutes to download and install all those packages.
Next, download the following file: libgdal1-dev_1.11.3+dfsg-3build2_all.deb
If you click on filename above, it should download to your computer. If it doesn't, then you can download the file libgdal1-dev from https://packages.ubuntu.com/xenial/all/libgdal1-dev/download. You will be downloading a file with a .deb extension. This is similar to .exe extensions in Microsft Windows. You should be able to double-click the .deb file and bring up the Package Installer dialog box. If the dialog box doesn't pop-up in a few seconds, then you'll need to install gdebi on your system. Open your Terminal and type the following command to install gdebi: sudo apt install gdebi-core
Now go to the location that you downloaded the file.
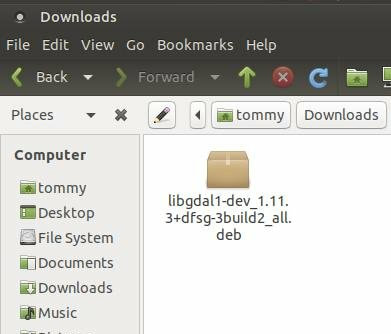
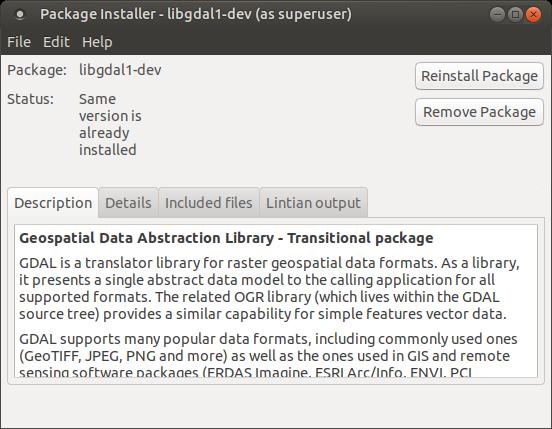
Double-click the libgdal1-dev file. In a few seconds you should see the Package Installer.
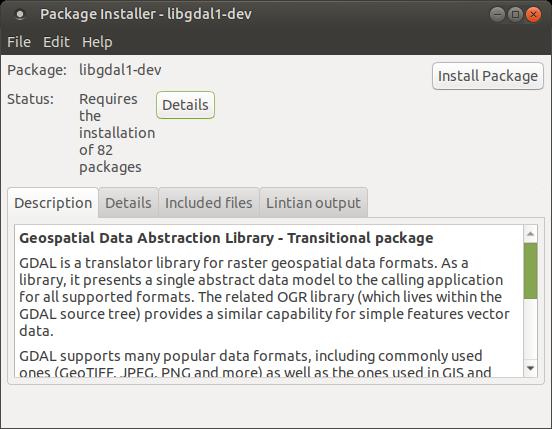
The Status may inform you that you have several packages or dependencies that must be installed before it can install libgdal1-dev. The great thing about the Package Installer, when you click the Install Package button, it will search online and download all of the packages it needs and install them and then it will install the libgdal1-dev file.
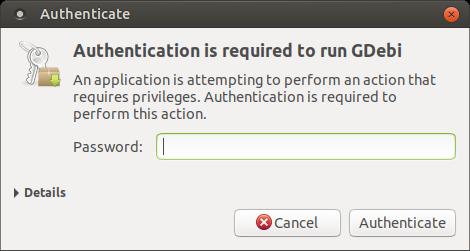
When you click the Install Package button it will prompt you for your password.
When you click the Install Package button it will prompt you for your password.
You will notice a smaller dialog box pop-up that will showing the files you need are downloading. This will take a while.
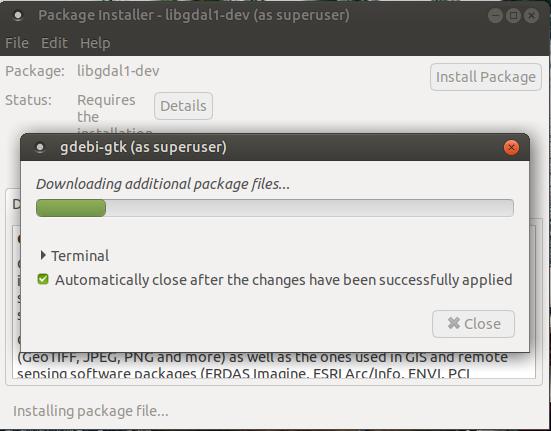
After all those files are downloaded, they will be installed on your computer, so please don't shut-down the Package Installer dialog box until everything finishes. When you se the Status: Same version is already installed and the two buttons Reinstall Package and Remove Package, that's when you know everything is completed. You can then close the Package Installer dialog box.
R version 3.5.2 should now be installed on your computer and ready to use. Open your Terminal and type R --version and press the Enter or Return key. It should display your new version.
You can also run R and it will display the version on your system.
Ubuntu MATE 18.04.1 LTS places the icon for R in the Graphics menu.
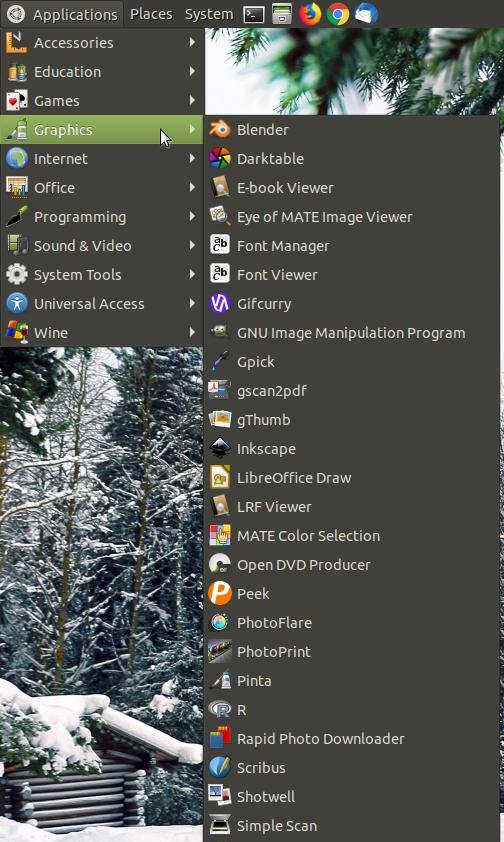
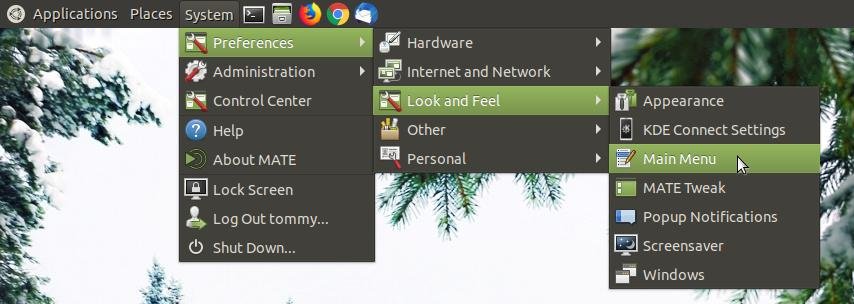
Since R is a programming language, I prefer to place the R icon in the Programming menu. To do this, you will need to edit your menu. Click on the System menu, highlight Look and Feel, and then click on Main Menu.
When the Main Menu dialog box appears, click on Graphics on the left and then locate R.
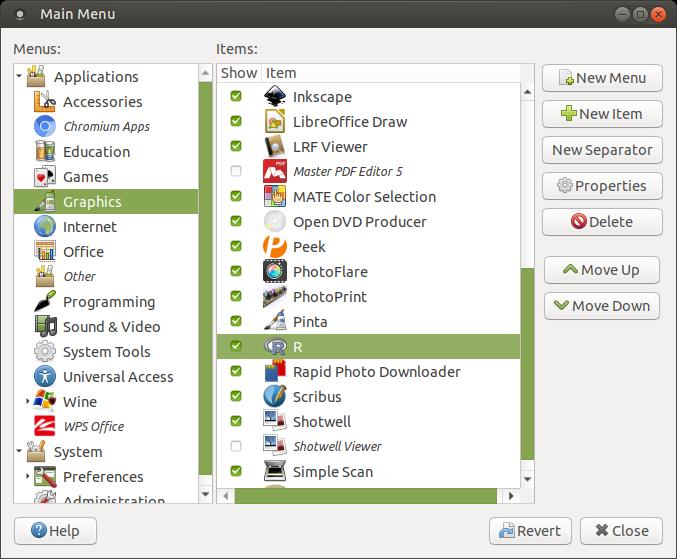
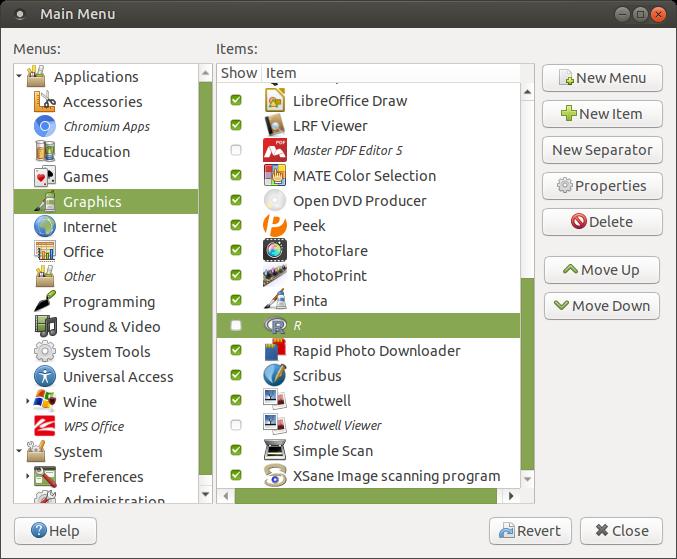
Untick or uncheck the box to the left of R so that it won't appear in the Graphics menu anymore. This hides the icon and prevents it from showing up in the menu.
Now click on Programming on the left. We will create an icon for R and place it in this folder to keep things nicely organized in your menu.
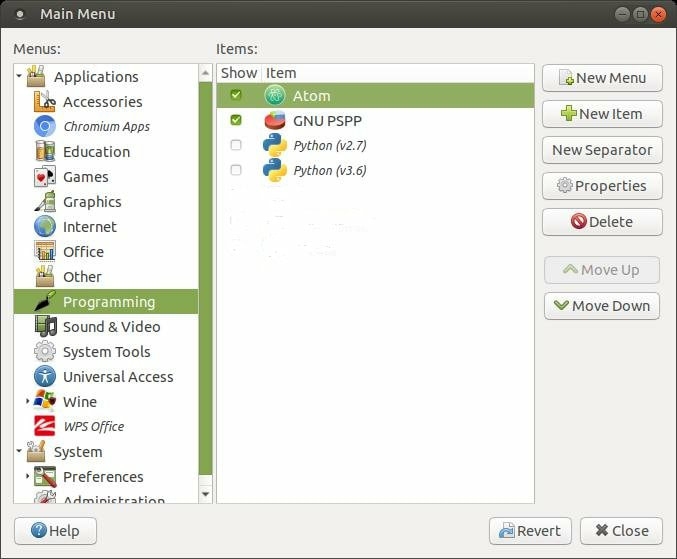
Click on the New Item button on the right. The Create Launcher dialog box will appear to allow you to add a new item to that folder in the menu.
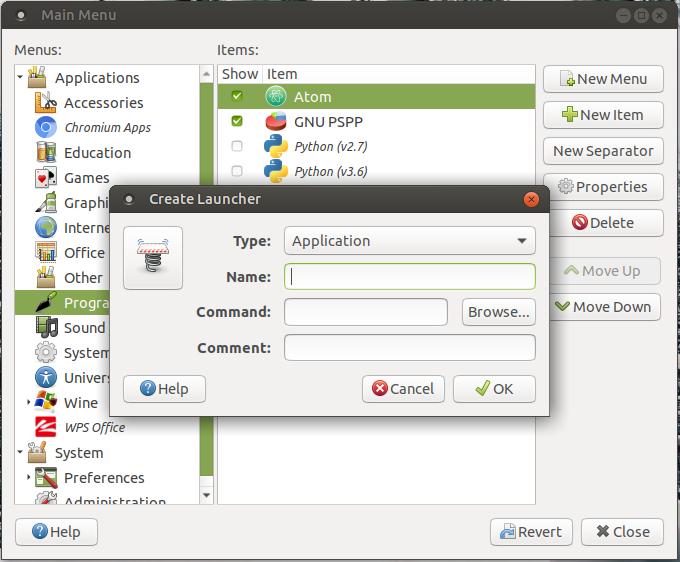
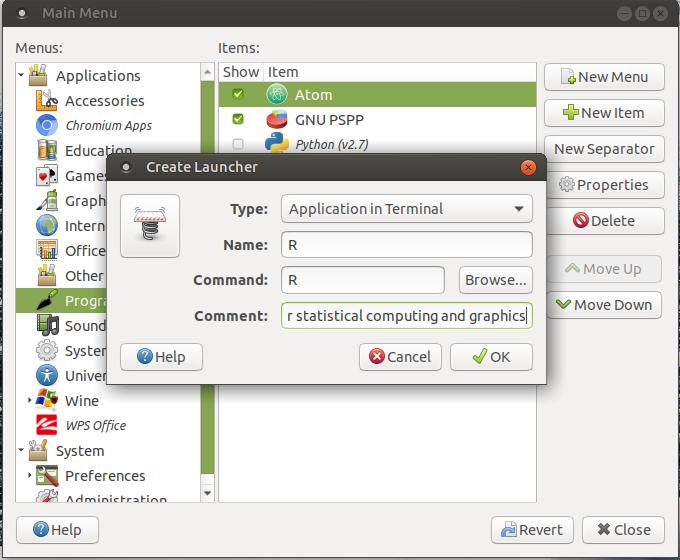
Click the drop-down arrow in the Type section and select Application in Terminal. Then enter the following information:
Name: R
Command: R
Comment: R software environment for statistical computing and graphics
Then click the icon on the left to select an icon for your R application.
Name: R
Command: R
Comment: R software environment for statistical computing and graphics
Then click the icon on the left to select an icon for your R application.
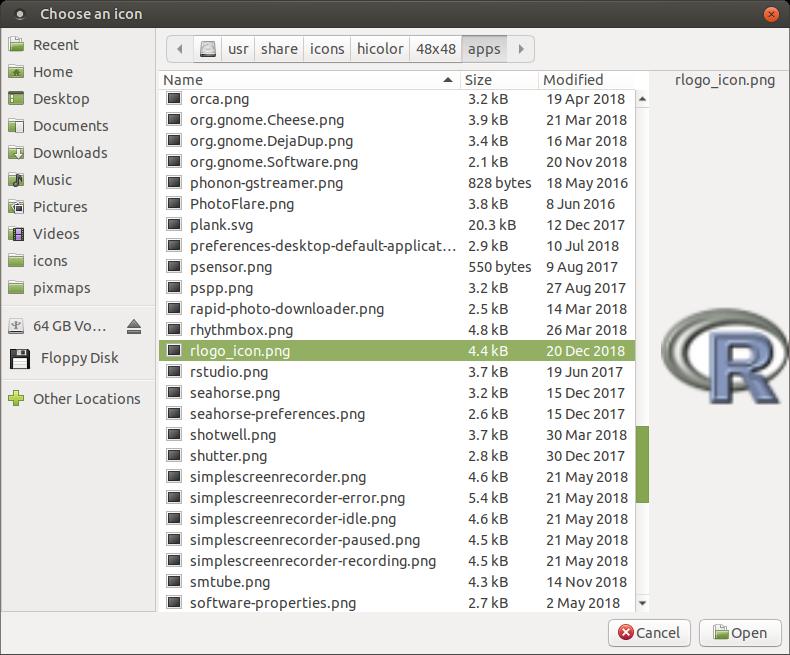
A Choose an icon dialog box will appear. Your icon location: usr/share/icons/hicolor/48x48/apps then click on the rlogo_icon.png file to select it and then click the Open button.
Your Create Launcher dialog box should look like the image below. If it does, click the Close button.
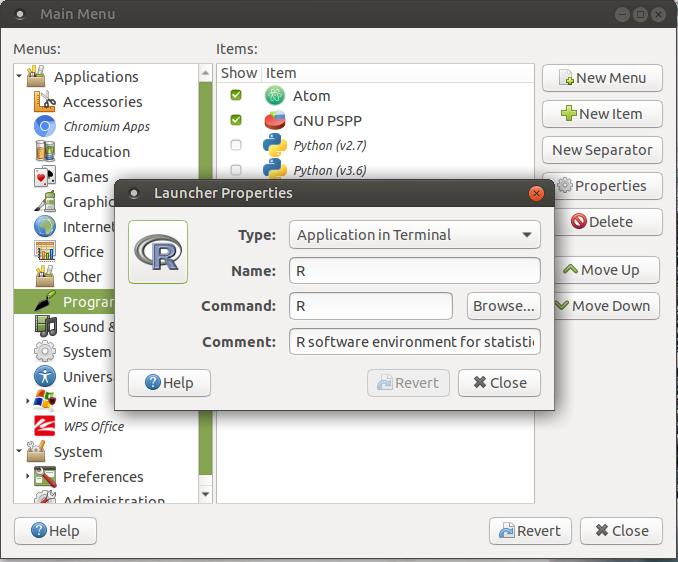
Make sure that your new icon is checked and click the Close button to add it to your Programming menu.
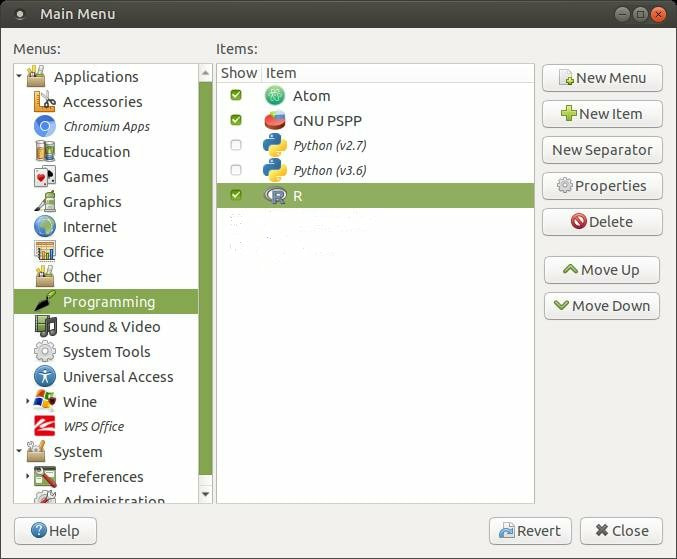
You should now see R in your Programming menu.
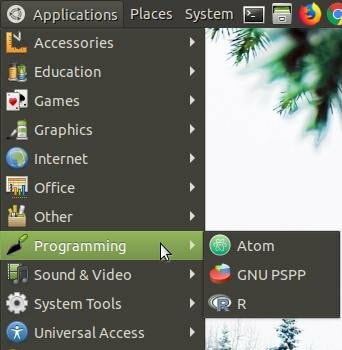
Click on the R icon to see if it works. It should instantly load.

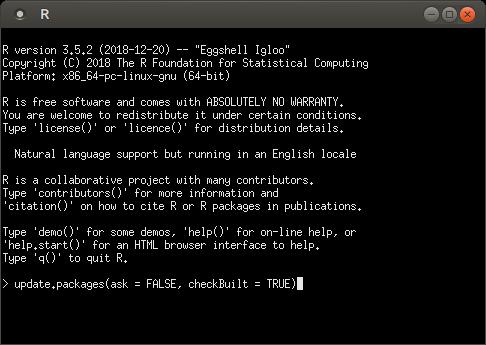
Now would be a good time to update your R packages.
Enter the following in the R console:
update.packages(ask = FALSE, checkBuilt = TRUE)
Enter the following in the R console:
update.packages(ask = FALSE, checkBuilt = TRUE)
Press the y key and press the Enter or Return key to update your personal library.
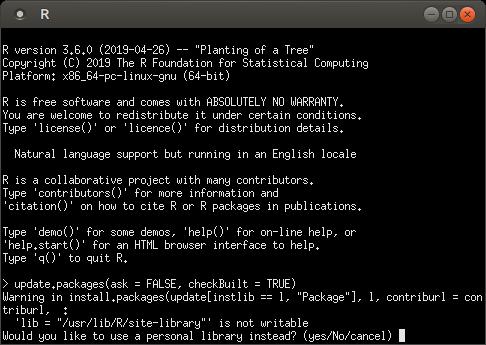
It will immediately start updating your personal library.
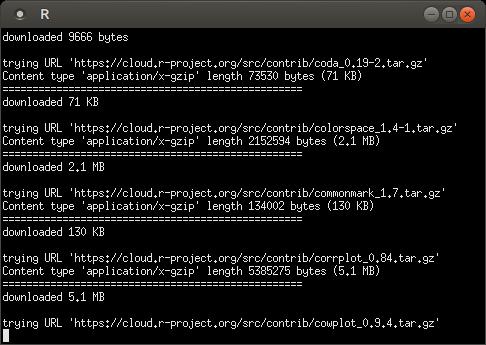
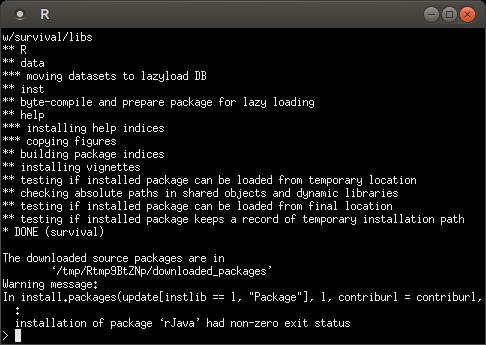
When the updating process finishes, it will display the location of your source packages.
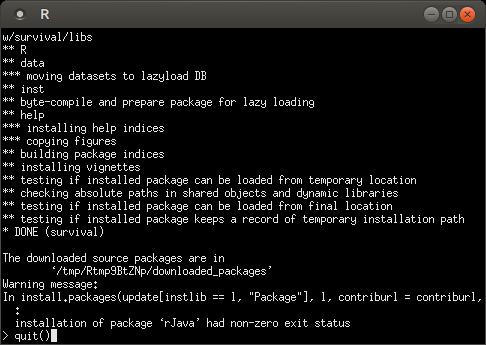
You are now ready to use your new or updated R. You can exit R by typing quit() in the R console.
On Linux, a somewhat recent version of 'libgit2' is required; below is a PPA for older Ubuntu LTS versions.
sudo add-apt-repository ppa:cran/libgit2
sudo apt-get update
sudo apt-get install libgit2-dev
sudo add-apt-repository ppa:cran/libgit2
sudo apt-get update
sudo apt-get install libgit2-dev
I hope this has helped you install or upgrade R on your computer.
Take care!
Take care!
Jan 26, 2019
