
SeaMonkey
SeaMonkey is a free an open-source Internet suite that is made up of a web browser, email & news client program, and an IRC chat client. It is based on the source code of Netscape Communicator, so it is a descendant of the Netscape and Mozilla families. SeaMonkey is considered an all-in-one application suite. You can find more about the entire Internet suite on the SeaMonkey Project webpage. I will focus on the SeaMonkey web browser on this webpage. The SeaMonkey browser uses the Gecko browser engine developed by Mozilla.
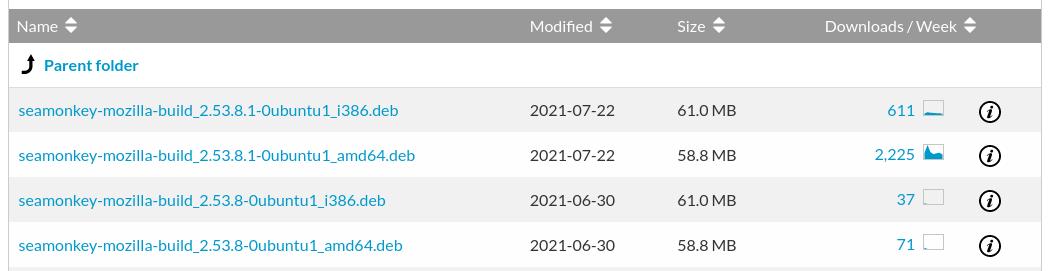
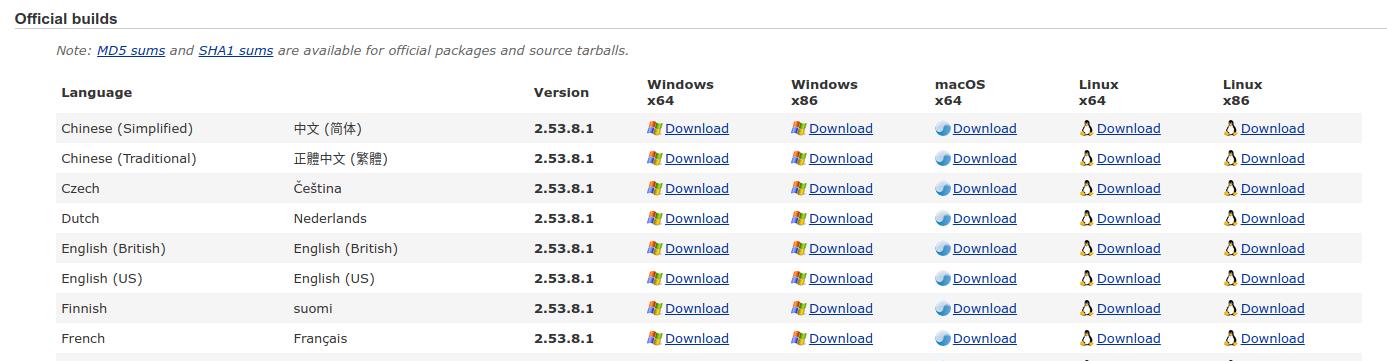
On July 22, 2021 SeaMonkey 2.53.8.1 was released. This new version fixed several bugs and provided some additional security fixes. It is available in 23 languages and can be installed on Windows, macOS x64, and Linux.
According to the project's website, automatic upgrades from 2.53.x are enabled, but they still recommend that you backup your profile before upgrading.
According to the project's website, automatic upgrades from 2.53.x are enabled, but they still recommend that you backup your profile before upgrading.
How To Install SeaMonkey
I will be demonstrating installing on an Ubuntu/Debian based systems.
Method 1:
Open your Terminal and enter the following: (Copy everything in 1. to add it to your sources.list in one step)
1. echo -e "\ndeb http://downloads.sourceforge.net/project/ubuntuzilla/mozilla/apt all main" | sudo tee -a /etc/apt/sources.list > /dev/null
2. sudo apt-key adv --recv-keys --keyserver keyserver.ubuntu.com 2667CA5C
3. sudo apt-get update
4. sudo apt-get install seamonkey-mozilla-build
5. Press Enter and enter your password
Method 2:
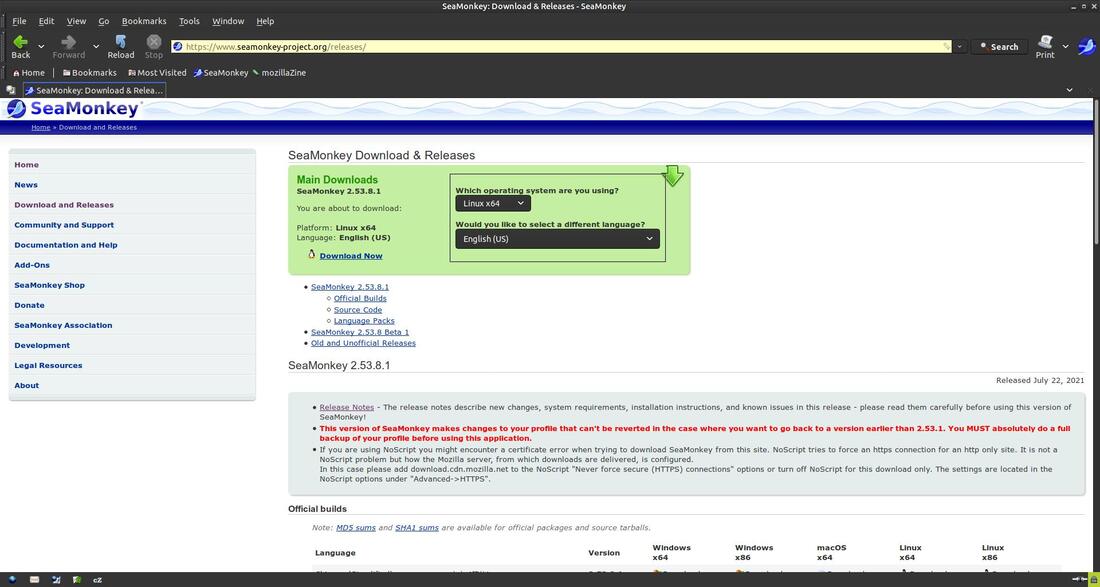
If you are downloading and installing SeaMonkey for the first time, then go to SourceForge and download the most current installation for your system.
Method 1:
Open your Terminal and enter the following: (Copy everything in 1. to add it to your sources.list in one step)
1. echo -e "\ndeb http://downloads.sourceforge.net/project/ubuntuzilla/mozilla/apt all main" | sudo tee -a /etc/apt/sources.list > /dev/null
2. sudo apt-key adv --recv-keys --keyserver keyserver.ubuntu.com 2667CA5C
3. sudo apt-get update
4. sudo apt-get install seamonkey-mozilla-build
5. Press Enter and enter your password
Method 2:
If you are downloading and installing SeaMonkey for the first time, then go to SourceForge and download the most current installation for your system.
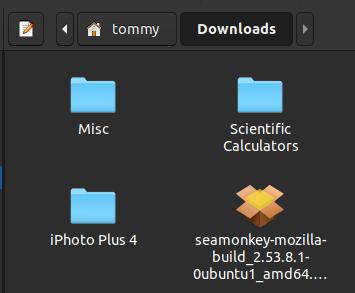
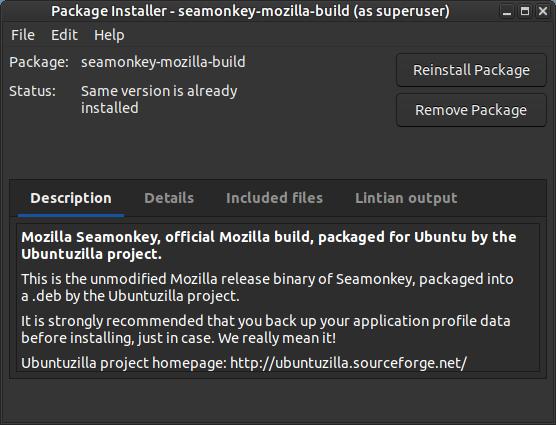
Then locate the file that you downloaded to your system. Then double-click the file to open your Package Installer. I use GDebi as my default Package Installer (To install GDebi open your Terminal and enter: sudo apt-get install gdebi)
Click the Install Package button when the Package Installer loads.
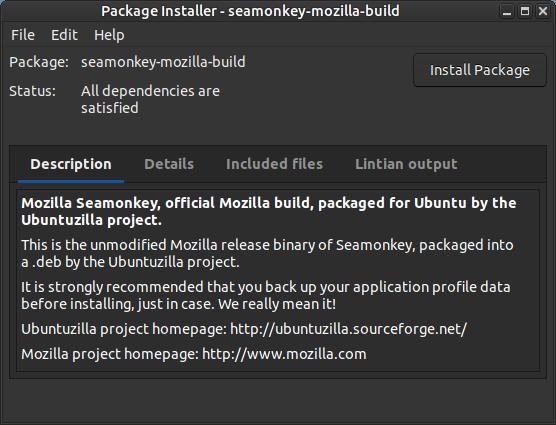
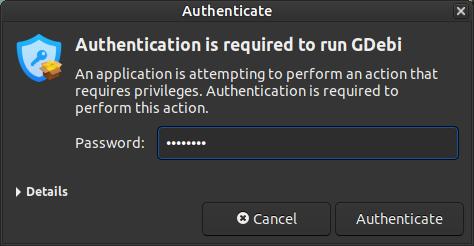
Enter your Password and click the Authenticate button.
Wait until you see, "Status: Same version is already installed" before you close the Package Installer.
You should then notice a new icon in your menu items. By default, it will be called Mozilla Build of Seamonkey and I used the Main Menu or mozo command (the MATE menu editing tool) to chenge the name to Seamonkey.
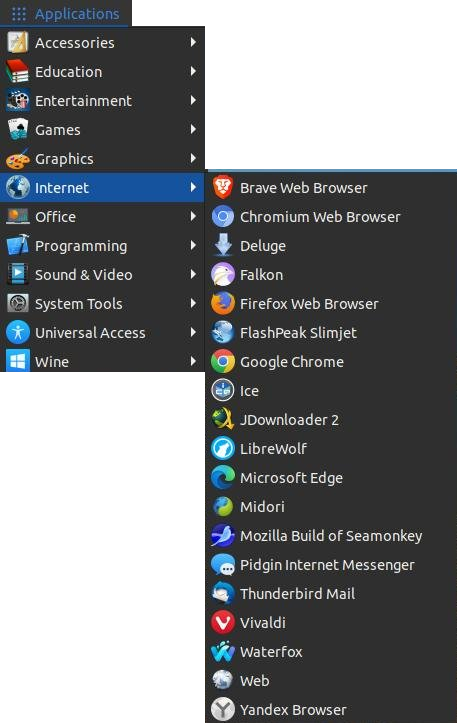
Before Name Change
|
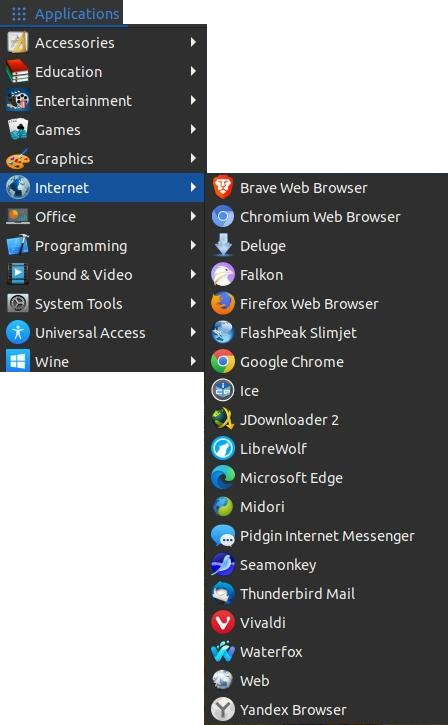
After Name Change
|
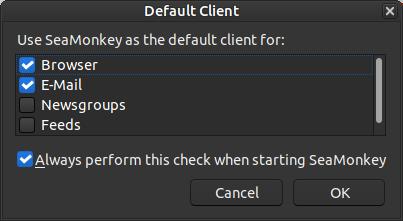
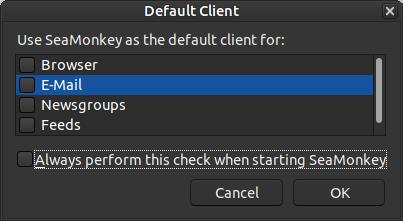
The first time SeaMonkey loads, a Default Client dialog box will appear to allow you to make SeaMonkey your default client for your Browser and E-Mail client.
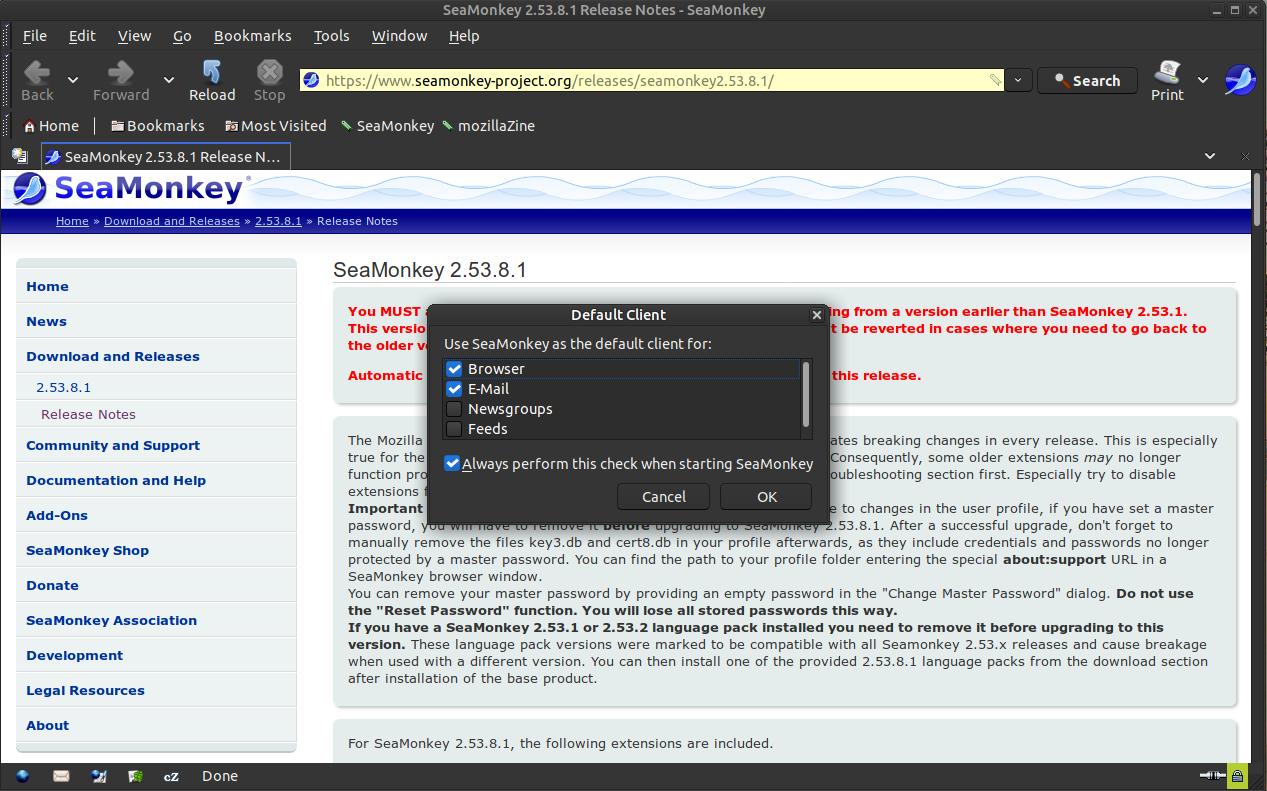
I unchecked every box, including the box next to "Always perform this check when starting SeaMonkey." You can always go into the preferences and make it your default client.
Before
|
After
|
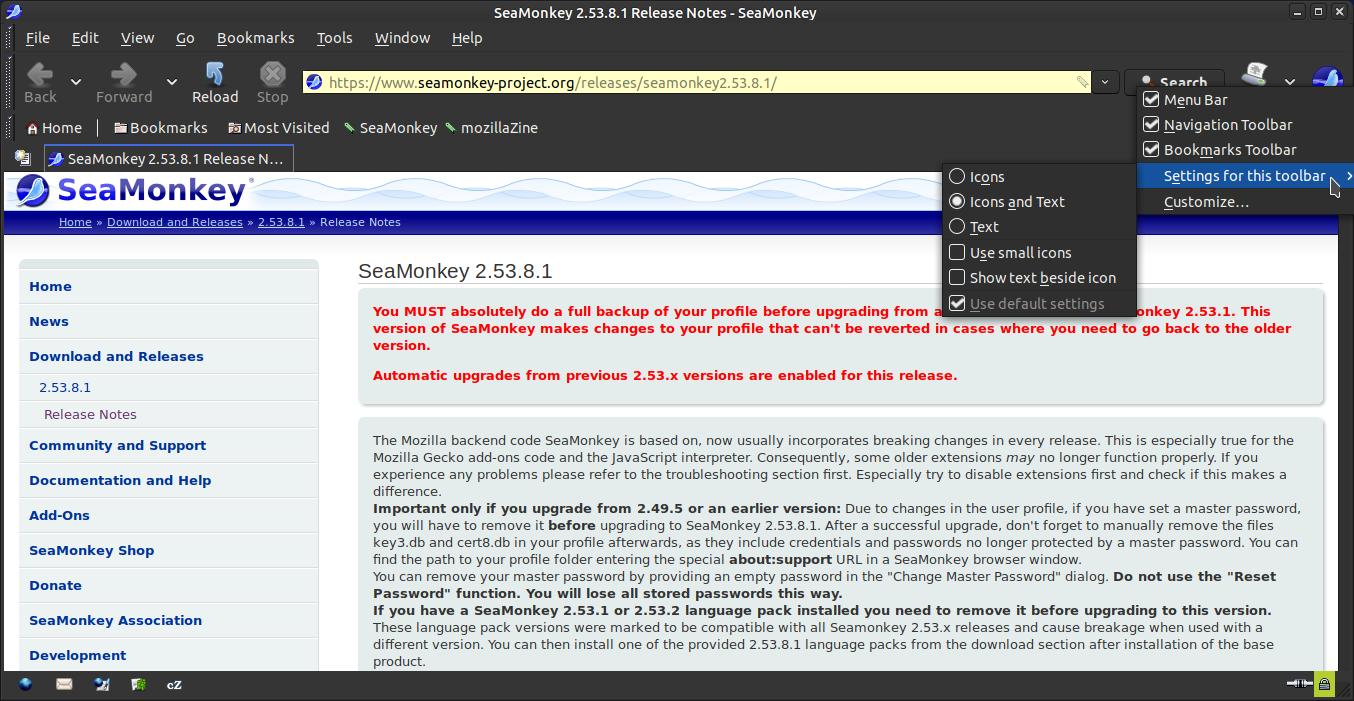
By default, it will load using large icons with text, a bookmarks bar, a toolbar, and links will be highlighted yellow in the URL bar. It will also have a small status bar across the bottom. All of these things can be changed to customize the look of browser.
You can right-click an icon on the URL bar to change the appearance of the icons. You can select Use small icons if you prefer smaller icons in your browser.
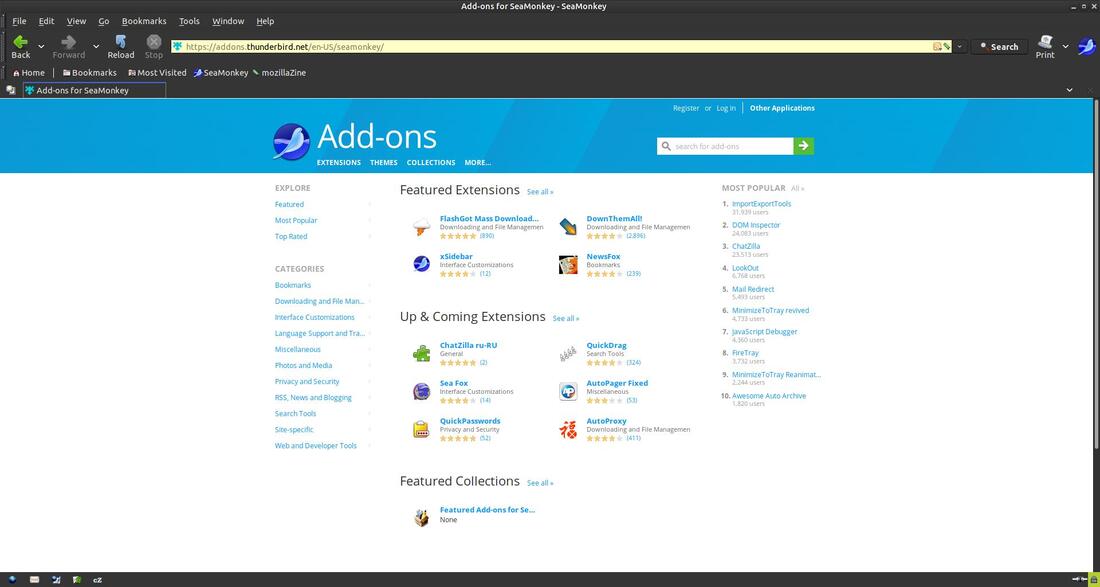
Since SeaMonkey is a third-party browser compatible with Firefox, it uses the legacy extensions or add-ons.
SeaMonkey Add-ons URL: https://addons.thunderbird.net/en-US/seamonkey/
SeaMonkey Add-ons URL: https://addons.thunderbird.net/en-US/seamonkey/
You can also download and install legacy extensions from https://justoff.github.io/.
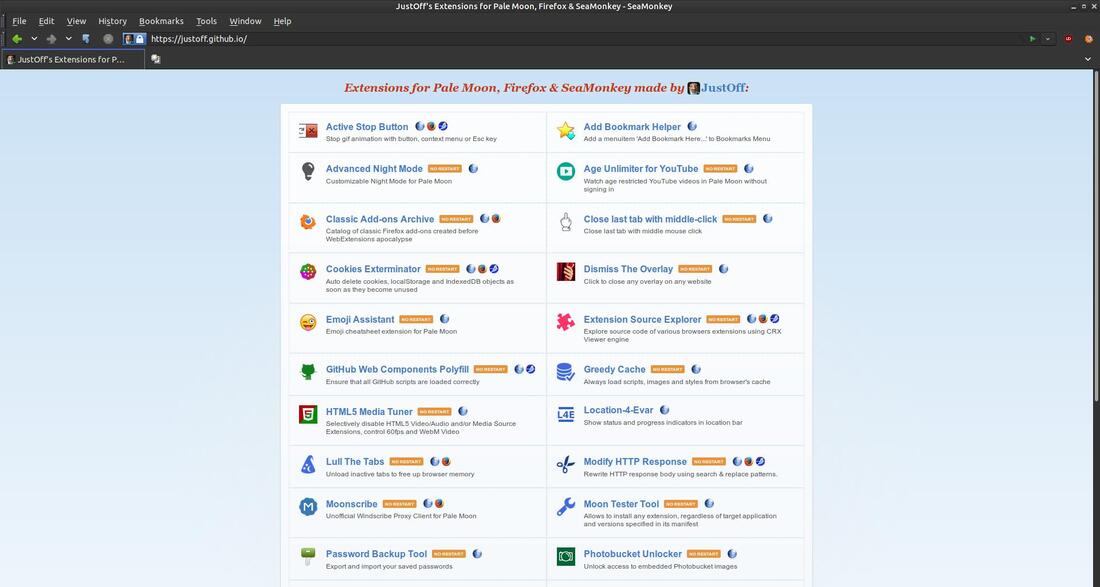
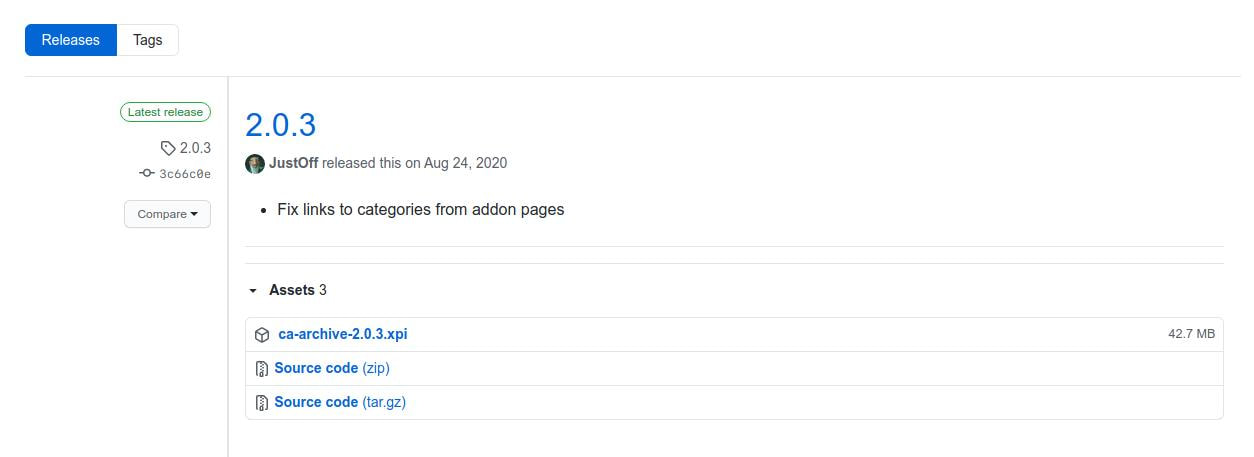
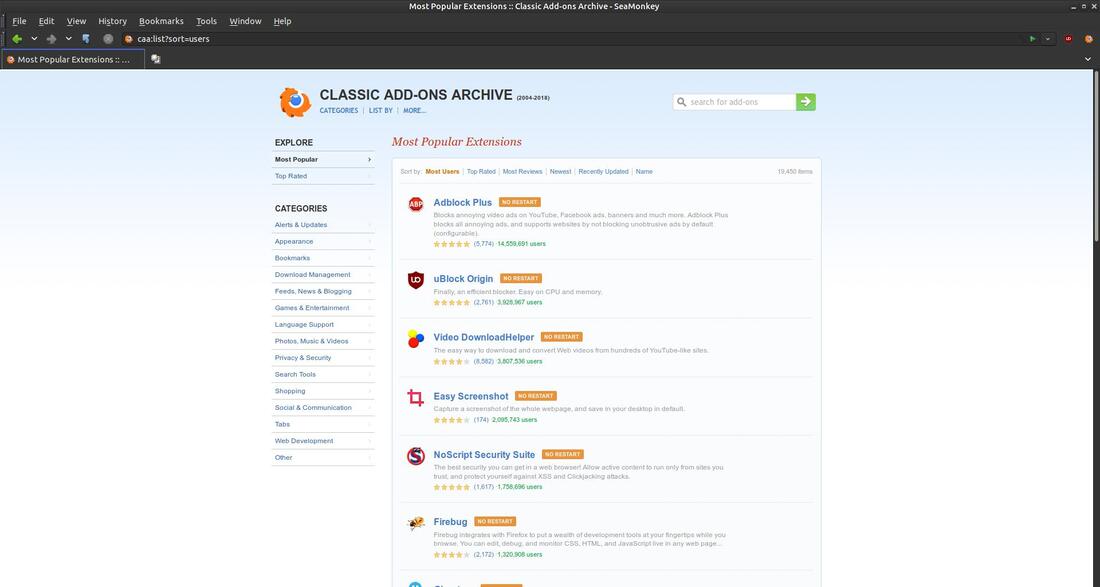
You can even download and install Classic Add-ons Archive extension that has 19,450 Firefox add-ons created by 14,274 developers over the past 15 years. You can download and install ca-archive ver. 2.0.3 from JustOff's GitHub website. Click on the ca-archive-2.0.3.xpi file to download it to your computer.
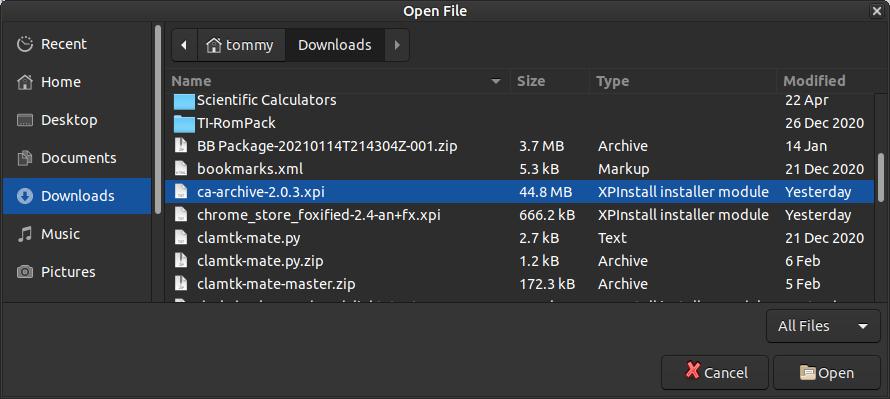
Open the SeaMonkey web browser and click on File and then the Open File... command in the menu.
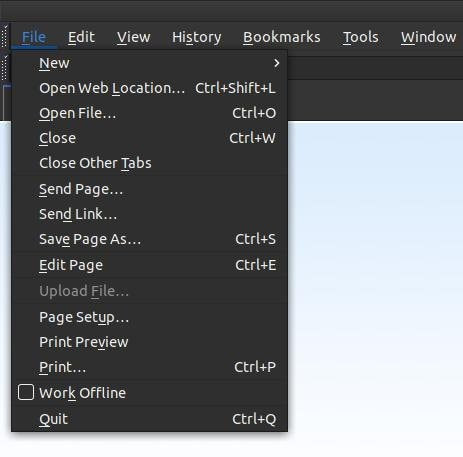
When the Open File dialog box opens, locate the file you downloaded, ca-archive-2.0.3.xpi, click on it to select it and then click the Open button. Let the extension install in the browser and then close the browser and reopen it.
You should then see a Classic Add-ons Archive icon added to your browser. Clicking on the icon will take you to the Classic Add-ons Archive.

You can then navigate using the links on the left.
You can install add-ons by clicking on the Download button. When the Opening dialog box appears, you can chose to Open with and click on the drop-down arrow and locate SeaMonkey or you can select Save File and click the OK button. If you saved the file to your computer then click the File menu in SeaMonkey and then Open File... command and locate and select the file to install it.
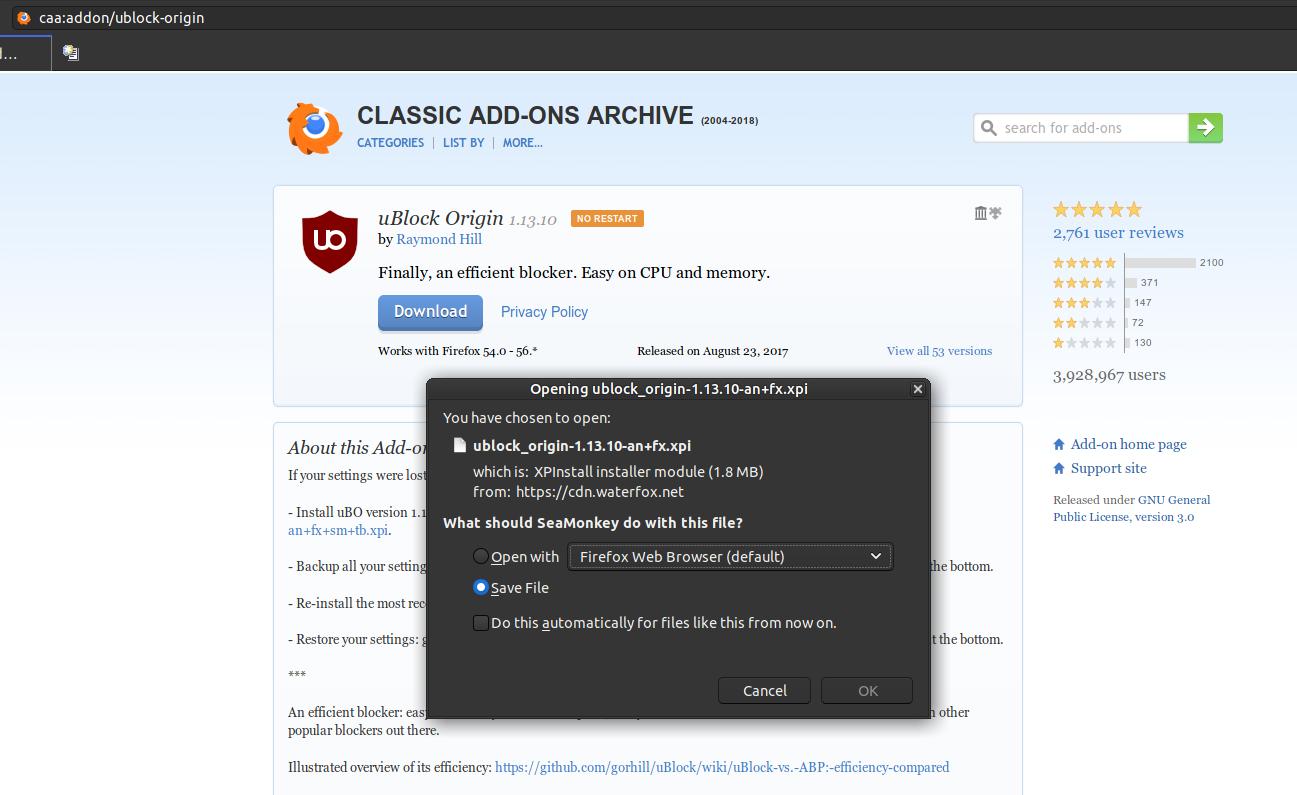
You can also download and install uBlock from gorhill's GitHub website.

I also recommend that you install Sea Fox within SeaMonkey to remove the yellow highlight in the URL bar. Since SeaMonkey is newer than what was previously linked on the Add-ons page, it will display the message, "This add-on is not compatible with your version of SeaMonkey." Click the blue Download Anyway link and download the extension to your computer and manually install it via the Open File... command in the File menu.

Click the Download Anyway link
|
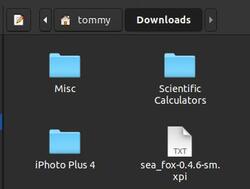
Select the sea_fox file
|
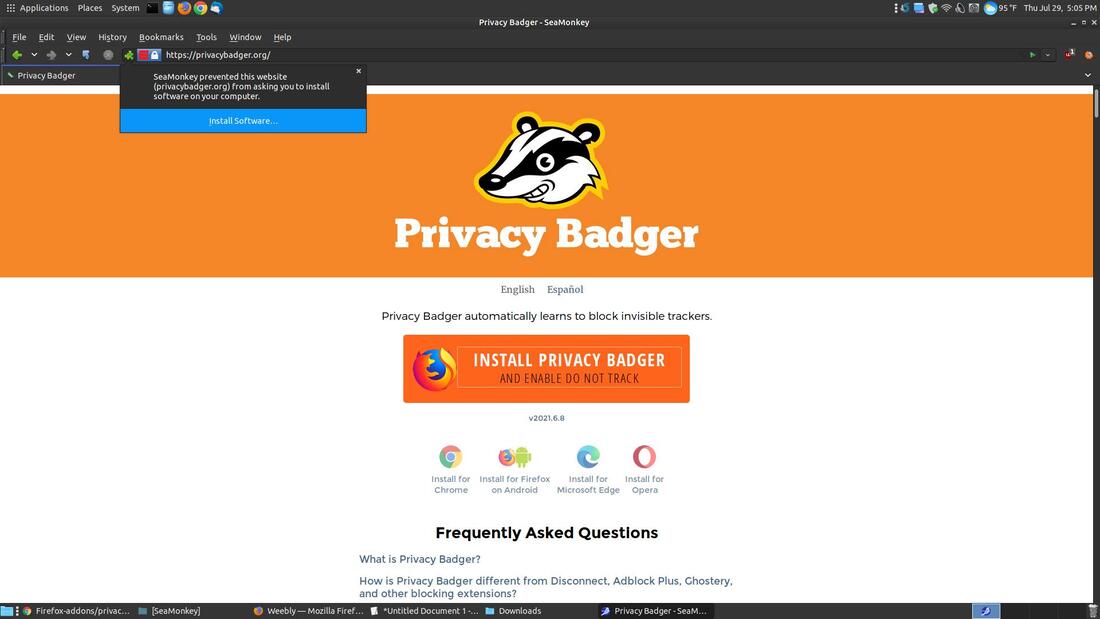
Privacy Badger is another great add-on to install. It helps protect your privacy by blocking spying ads and invisible trackers. I recommend that you install it from https://privacybadger.org/. Click the big orange Install Privacy Badger button to start the download process. When it finishes downloading click the blue Install Software... button. You won't see it on the URL bar unless you customize it to be displayed on the bar. You can click the Tools menu and then click on Add-ons Manager to display all the add-ons installed.
You can customize SeaMonkey to look nice and modern looking. I like removing the yellow highlight from the URL bar, I like using the small icons without text, and I like not displaying the status bar at the bottom.
Once uBlock updates its filter list, it removes the ads from YouTube.

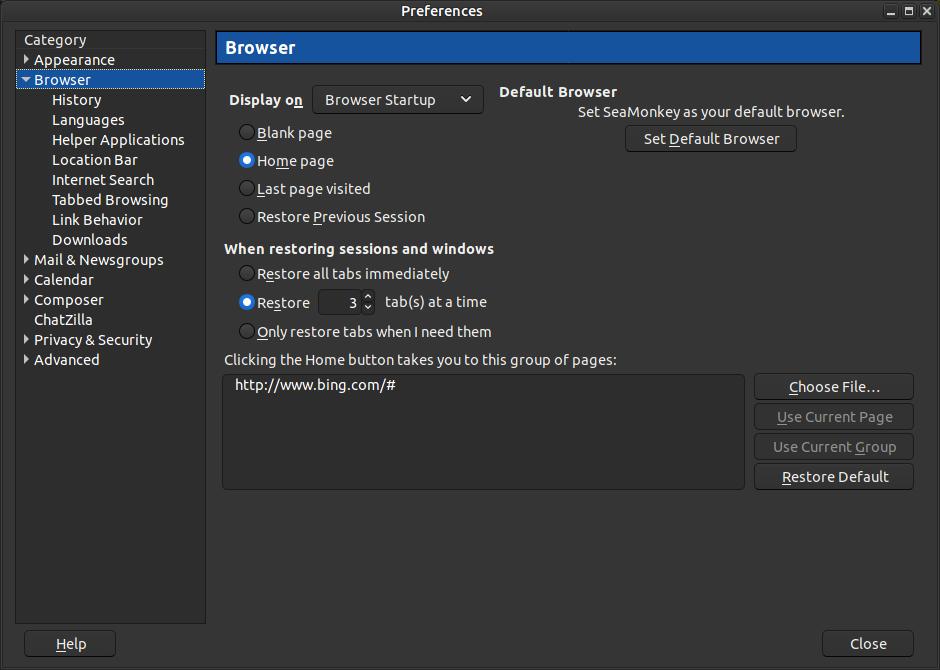
You can customize or make changes via the Preferences dialog box. Click on the Edit menu and then on Preferences... to bring up the Preferences dialog box. The Browser section will open by default on the left side of the dialog box since you are accessing it via the browser.
Method 3:
If you already have SeaMonkey installed then go to the project's webpage and click the Download Now link to download the most current compressed version of the program. You then need to uncompress the .tar.bz2 file into your original SeaMonkey folder. Let the new files overwrite your older files or older version.
If you already have SeaMonkey installed then go to the project's webpage and click the Download Now link to download the most current compressed version of the program. You then need to uncompress the .tar.bz2 file into your original SeaMonkey folder. Let the new files overwrite your older files or older version.

Click the Other Systems & Languages link to install for a different language and/or platform.
How To Remove SeaMonkey
Open your Terminal and enter the following:
1. sudo apt-get remove seamonkey-mozilla-build
2. Press Enter and enter your password
1. sudo apt-get remove seamonkey-mozilla-build
2. Press Enter and enter your password
Below is Ubuntuzilla: Mozilla Software Installer Read Me file.
| ubuntuzilla_read_me.pdf |
If you are looking to get away from using Chrome and Chromium based browsers, then I highly recommend that you give SeaMonkey a try.
July 30, 2021
