
Asunder
|
Asunder is graphical application that allows you to rip or copy songs from an Audio CD to your computer's hard drive. It can also encode your music files to multiple formats, such as WAV, MP3, OGG, FLAC, Opus, Musepack, WavPack, Monkey's Audio, and AAC files.
Features
Asunder can be installed via the Software Boutique. You can find it in the Sound & Video section. |
How to Install Asunder:
1. Open the Terminal (Shortcut: Ctrl + Alt + T)
2. Type the following command: sudo apt-get update
4. Press Enter or Return and type in your password
5. Type the following command: sudo apt-get install asunder
6. Type Y and press Enter or Return
How to Uninstall EasyTag:
1. Open the Terminal (Shortcut: Ctrl + Alt + T)
2. Type the following command: sudo apt-get remove asunder
To start Asunder, click on th Applications menu, then highlight Sound & Video, then click on Asunder CD Ripper.
1. Open the Terminal (Shortcut: Ctrl + Alt + T)
2. Type the following command: sudo apt-get update
4. Press Enter or Return and type in your password
5. Type the following command: sudo apt-get install asunder
6. Type Y and press Enter or Return
How to Uninstall EasyTag:
1. Open the Terminal (Shortcut: Ctrl + Alt + T)
2. Type the following command: sudo apt-get remove asunder
To start Asunder, click on th Applications menu, then highlight Sound & Video, then click on Asunder CD Ripper.
How-To Rip a Music CD:
Place the music or audio CD into CD/DVD drive and wait for Audio Disc dialog box to appear. At that point you can select Open Asunder CD Ripper option.
Place the music or audio CD into CD/DVD drive and wait for Audio Disc dialog box to appear. At that point you can select Open Asunder CD Ripper option.
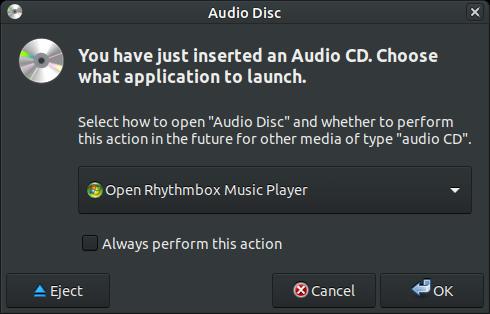
Click the dropdown arrow to show the available options you have to open your audio files.

Click on Open Asunder CD Ripper to select it.
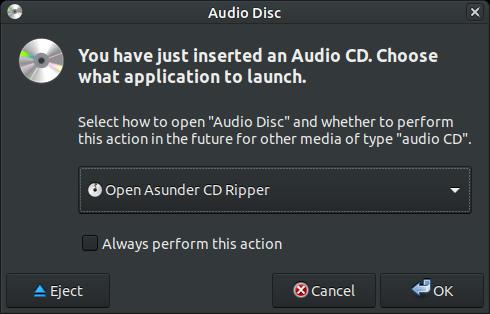
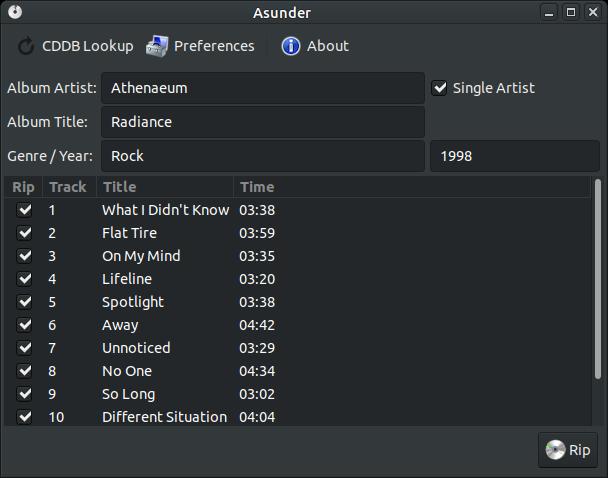
Click the OK button to open Open Asunder CD Ripper. If Audio Disc dialog box doesn't appear then access Asunder CD Ripper via the menu by clicking on th Applications menu, highlight Sound & Video, then click on Asunder CD Ripper. When the program loads it will automatically look online for Album Artist, Album Title, Genre/Year, and song Titles. Uncheck Single Artist if your music CD has multiple artists. After a few seconds it should find and fill in everything for you.

Click the Preferences icon at the top to open the Preferences dialog box.
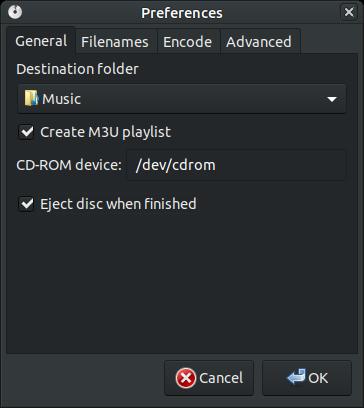
The General tab is the defaut tab that opens when you open the Preferences dialog box. In this section you can choose to Create M3U playlist, to Eject disc when finished, and select the Destination folder for your music or audio files. If the Music folder or the folder you would like to place your audio files in is not showing up then click the dropdown arrow and select the folder of your choice.
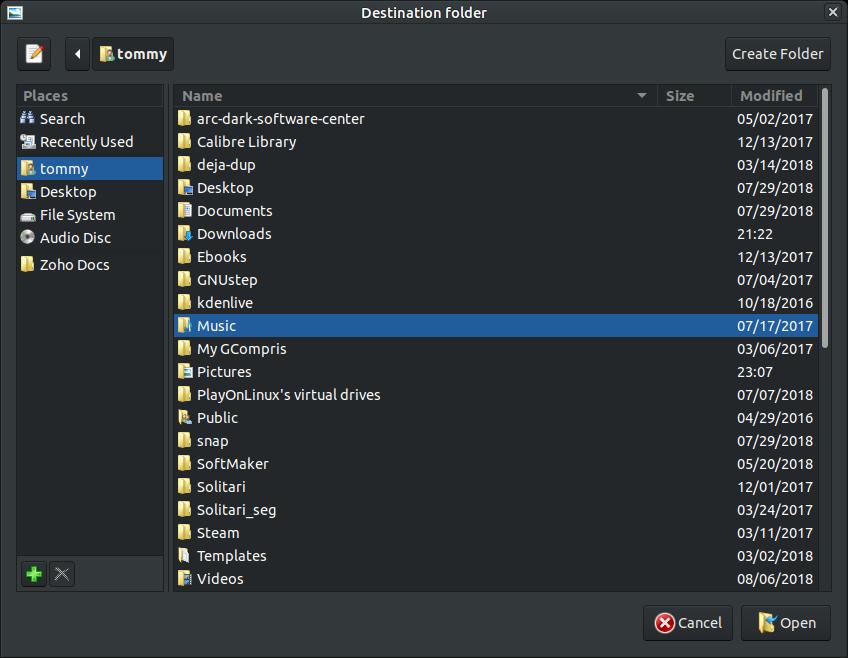
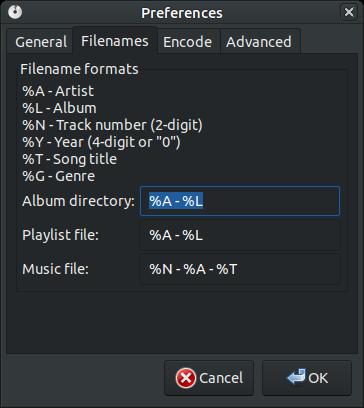
Click the Open button after you select your folder. Then click on the Filenames tab. I like the default settings in this section, but you can change the Filename formats for the Album directory, Playlist file, and Music file to meet you personal preferences. Use the legend at the top to choose what you want to be displayed in the sections below. For example, each music file with the default setting will have a track number (because or the %N) dash (-) artist name (because of the %A) dash (-) song title (because of the %T).
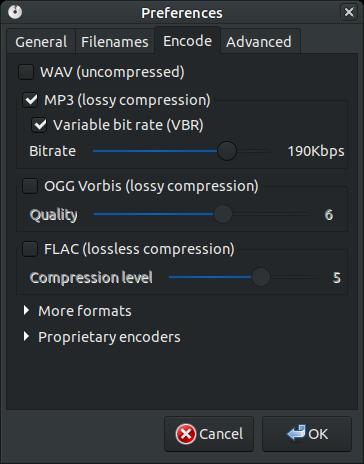
Next, click on the Encode tab so that you can select the format of your audio files. Since I have a small hard drive in my laptop, I selected the MP3 file format. Both MP3 and OGG are compressed digital audio format files. Both formats are widely used; however, MP3 is more popular and more commonly used. OGG will usually have a smaller compressed file size compared to MP3. OGG is like the open source equivalent of MP3. If you want a great sound quality and you have plenty of storage space, then choose FLAC (lossless compression). FLAC is the most popular lossless format, making it a great choice if you want to store your music at the quality as the source. WAV (uncompressed) formats are exact copies of the origional source. This format takes up a lot of your hard drive space.
Click on Advanced tab and make sure that you have checked Get disc info from the Internet automatically. This will help you save a lot of time renaming and tagging your music files. If Asunder is unable to properly rename and tag your files, then use EasyTag or similar program. That way you'll be working smarter and not harder, as the old saying goes. You can select, Faster ripping (no error correction) to speed up the time it takes to rip your audio files to your computer, but it won't catch if there's an audio file that may contain a glitch. Click the OK button when you finish setting up your Preferences.

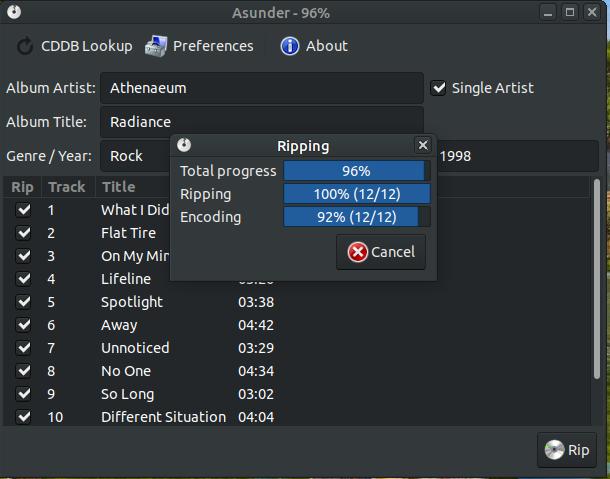
Click the Rip button when you are ready to start the ripping process.
You will notice three progress bars grow as your audio files are being ripped from the CD. It rips the files while it also encodes them to the file format you selected. It gives you a Total progress bar at the top of the Ripping dialog box. I recommend that you don't use your computer while ripping so that it completes the task sooner and reduces the chance of corrupt audio files.
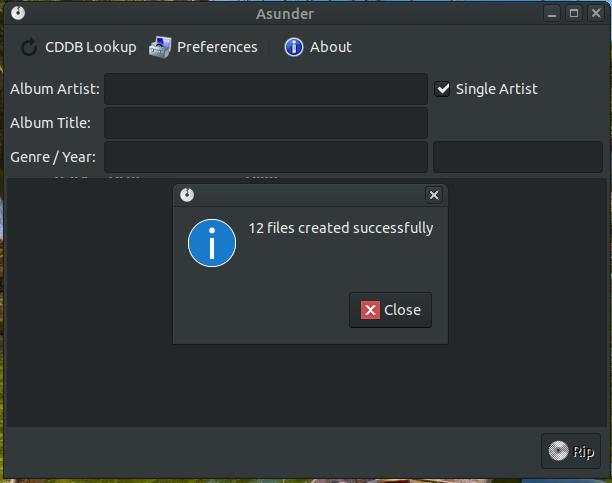
A message will appear when the process is completed.
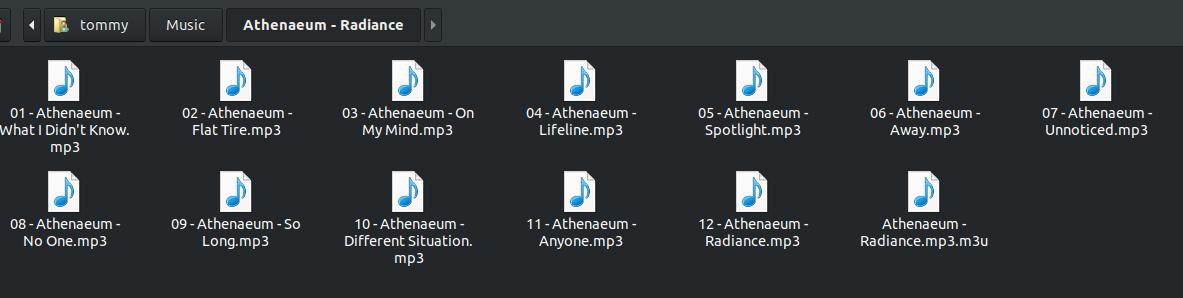
The image below shows all of the music files with properly labeled music file names.
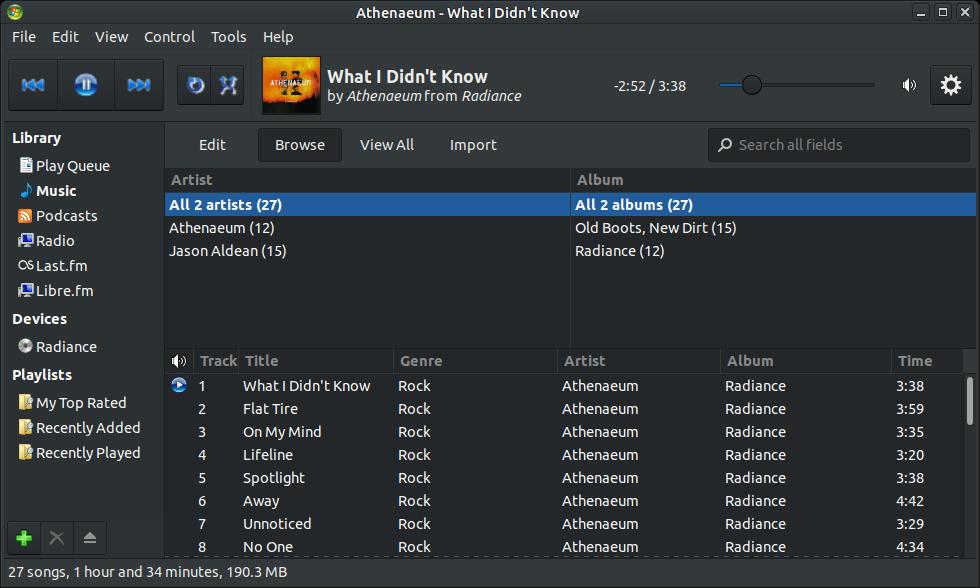
When I played my music with Rhythmbox, you can see that every song was labeled perfectly and they even contain the correct artwork thumbnail.
If you have a lot of old music CDs that's been setting around and hardly ever played, you can now put them on your computer or portable music player and listen to them more often.
Please do not share the music you purchased.
Enjoy your music!!!
Please do not share the music you purchased.
Enjoy your music!!!
Aug 20, 2018
