
4K Slideshow Maker
4K Slideshow Maker allows you to create amazing looking slideshows. You don't have to be an expert to create a professional quality slideshow. Just add your photos, music (optional), and then apply your slideshow effects and transitions. It's that simple.
4k Slideshow Maker is a cross-platform program; therefore, you can install it on Linux, macOS, and MS Windows. Click the link to go to the 4K Slideshow Maker website to download the program to match your operating system. Since I am using Ubuntu MATE 18.04.3 LTS, I will be demonstrating using the Linux or Ubuntu 64-bit installation.
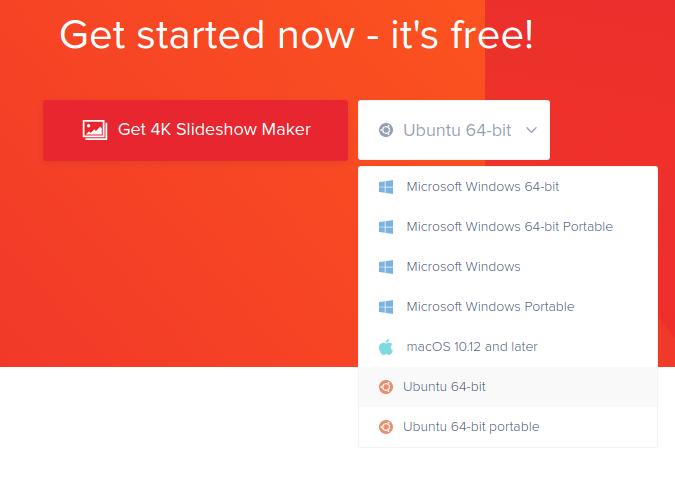
On the 4K Slideshow Maker website, locate the Get 4K Slideshow Maker icon and then click on the drop-down arrow and select the platform for your system. You can select an installation file or a portable file for your computer. I selected the Ubuntu 64-bit file.
On the 4K Slideshow Maker website, locate the Get 4K Slideshow Maker icon and then click on the drop-down arrow and select the platform for your system. You can select an installation file or a portable file for your computer. I selected the Ubuntu 64-bit file.
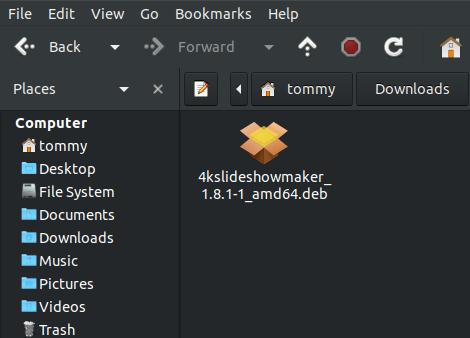
Once the file has completed downloading, go into the location and double-click the file to start your Package Installer. (If you do not have GDebi Package Installer installed then open your Terminal and enter: sudo apt install gdebi)
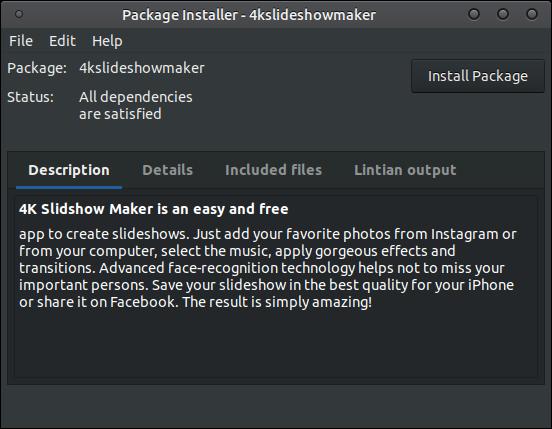
Click the Install Package button to start the installation process.
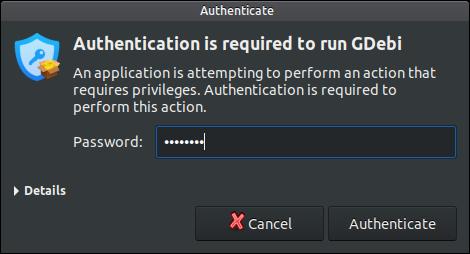
Enter your password when prompted and click the Authenticate button.
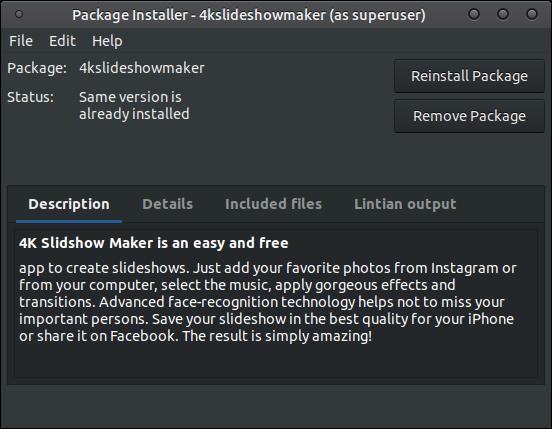
Do not close the Package Installer until you see the "Status: Same version is already installed" and the Reinstall Package and Remove Package buttons.
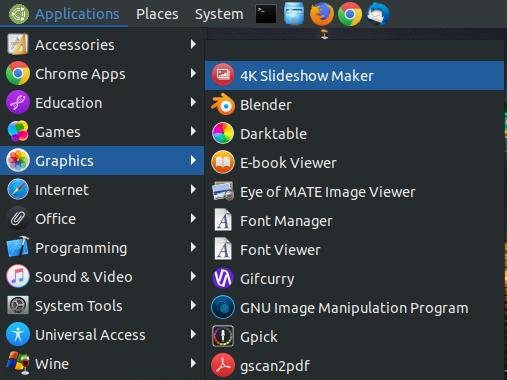
Once you close the Package Installer you are ready to open the program. I was able to access the program by clicking on the Applications menu, highlight Graphics, and then click on 4K Slideshow Maker.
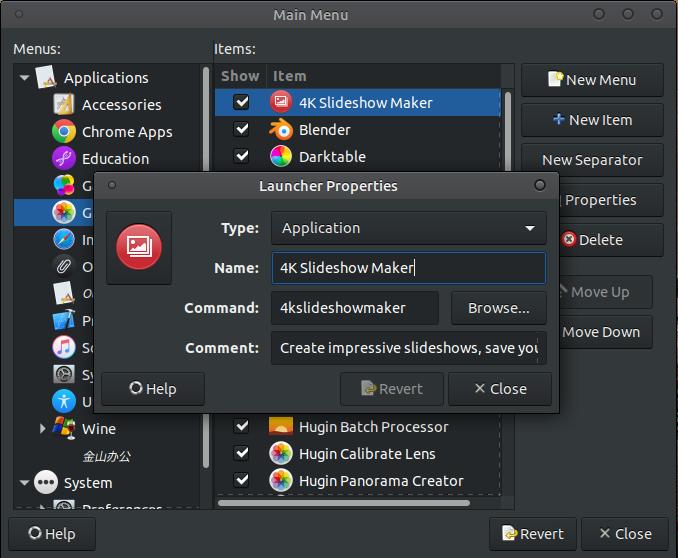
You can use your Main Menu feature to change the location of your icon. Just select the menu you want the icon in on the left and then click the New Menu and when the Launch Properties dialog box appears enter the following:
Type: Application
Name: 4K Slideshow Maker
Command: 4kslideshowmaker
Comment: Create impressive slideshows, save your memories
Icon location: usr/share/icons/4kslideshowmaker.png
Type: Application
Name: 4K Slideshow Maker
Command: 4kslideshowmaker
Comment: Create impressive slideshows, save your memories
Icon location: usr/share/icons/4kslideshowmaker.png
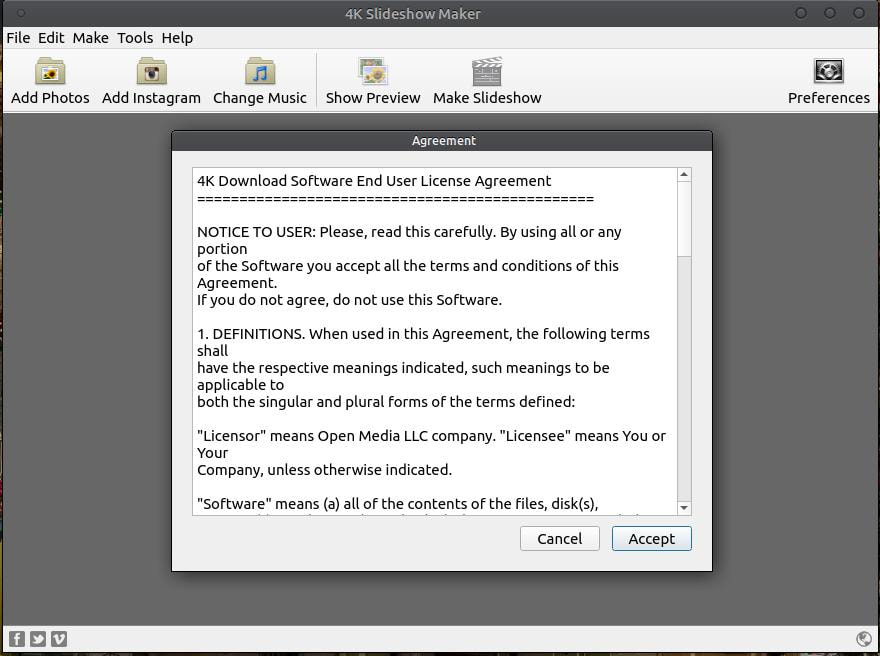
When you run 4K Slideshow Maker for the first time, you'll be greated with a End User License Agreement (EULA). You'll need to click on the Accept to continue using the software. The program will then open up your default browser and take you to the company's website. You can close the website before it completely loads.
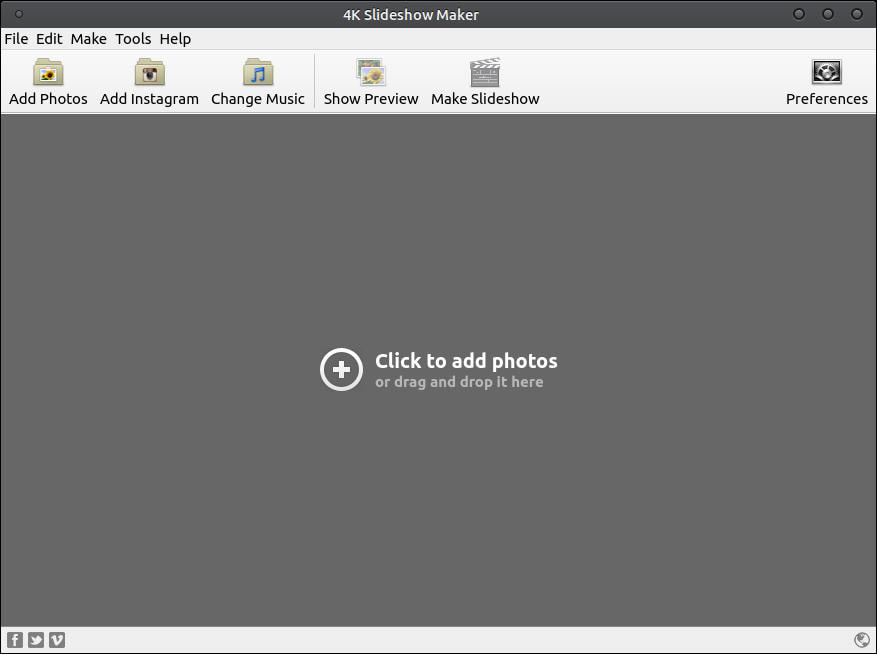
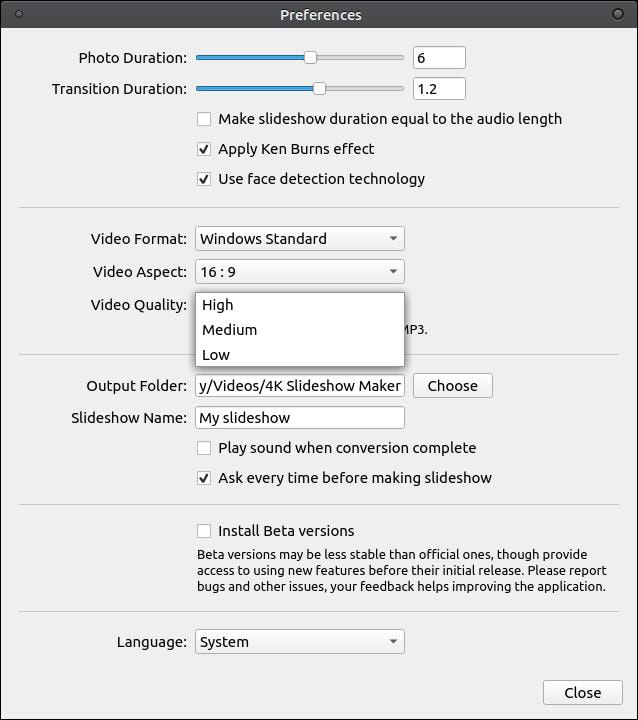
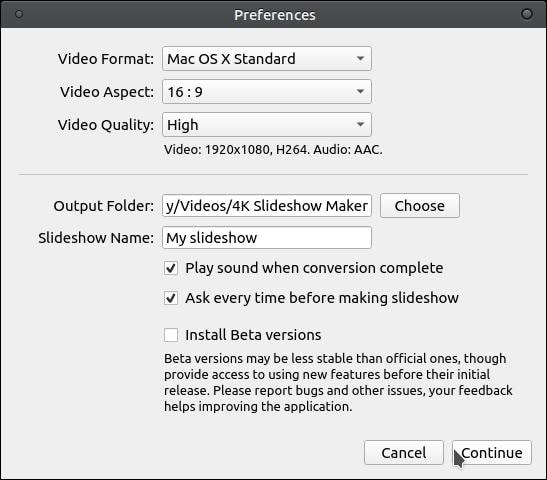
You will then be ready to use the program. However, I recommend that you click on the Preferences button and make changes to the default settings to match your slideshow needs.
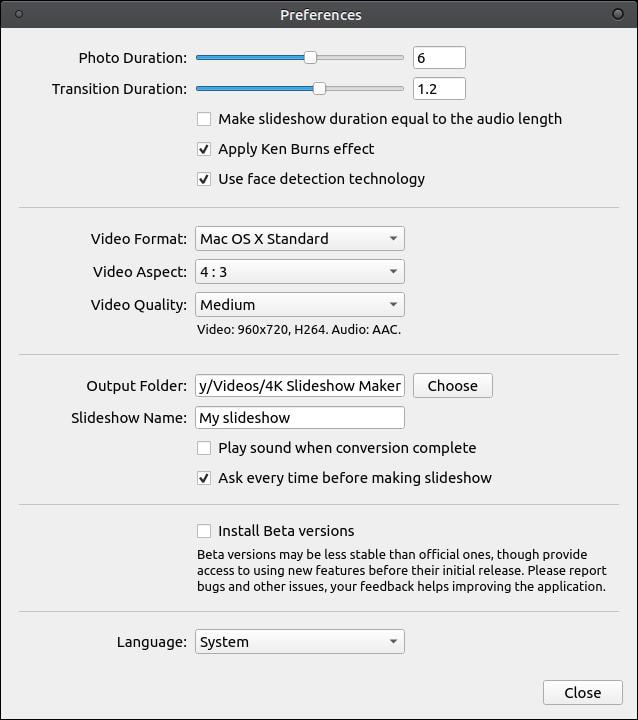
You can make a variety of changes in the Preferences dialog box. At the top, you can change the duration or the amount of time your image displays on the screen and how long it takes to complete a transition from one image to another. The default setting displays the photo for 6 seconds and takes 1.2 seconds to transition from one photo to another. You can increase or decrease these time settings. Below the duration section is the format, aspect, and quality section. The default settings for these are Video Format: Mac OS X Standard, Video Aspect: 4:3, and Video Quality: Medium. Next you have the location of the output or slideshow and the name. You can select to play a sound when the program completes the slideshow and to ask where to place the slideshow and slideshow name each time you create a slideshow. Next, is an area that allows you to check if you want to install Beta versions on your system. These may be a bit buggy since they are not the final release. Last, you can change the language of the program.
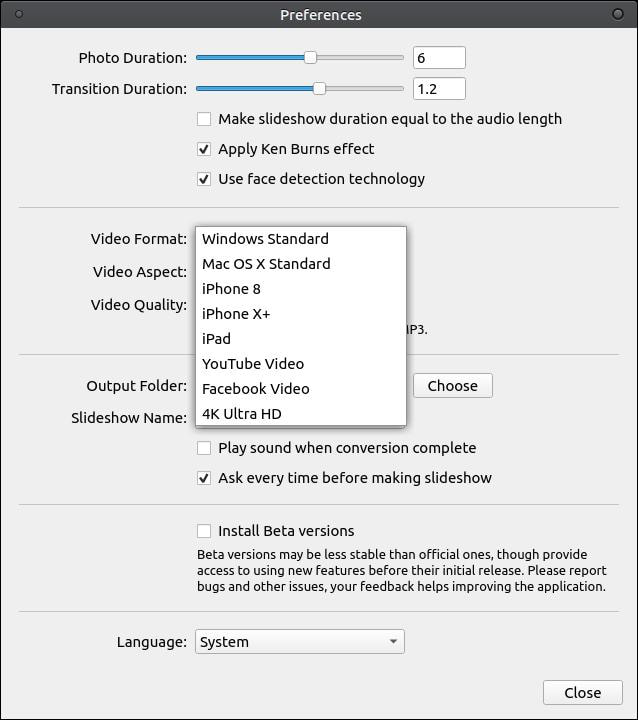
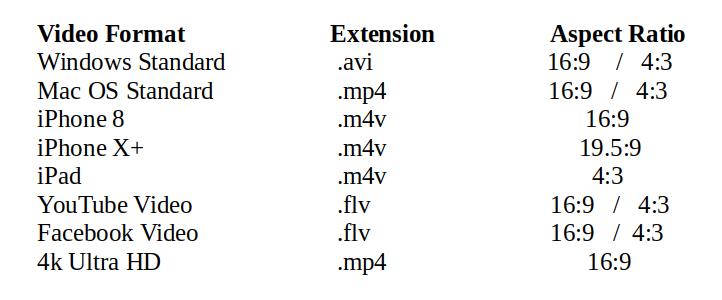
You have a total of 8 Video Format options: Windows Standard, Mac OS X Standard, iPhone 8, iPhone X+, iPad, YouTube Video, Facebook Video, and 4K Ultra HD.
Below is a simple table to illustrate the extension created for each video format and the aspect ratio. The aspect ratio that has 16:9 / 4:3 can support 16:9 or 4:3 aspect ratios. You have an option to select between the two aspect ratios options.
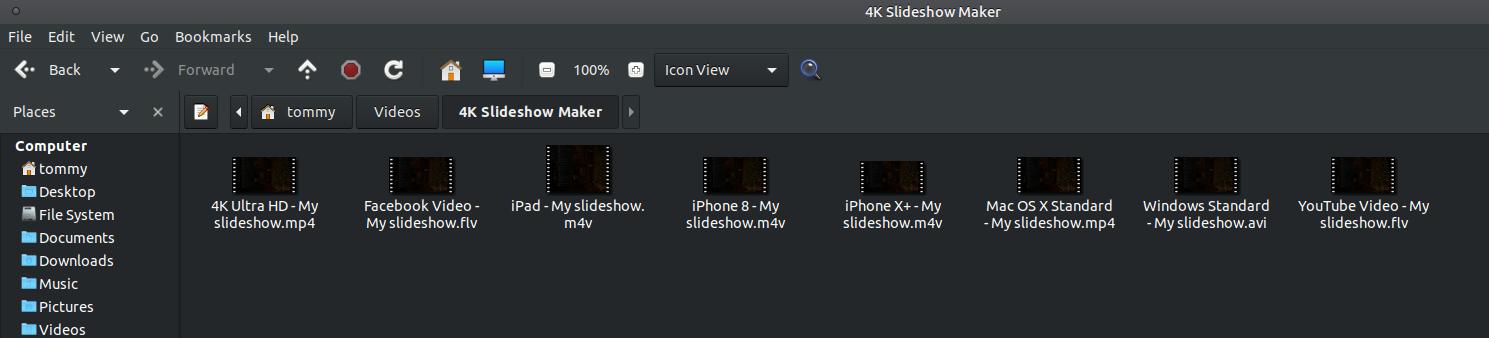
Below are sample files created for each Video Format to illustrate the file extension that will be created.
Aspect Ratio is defined as the ratio of width to height of an image.
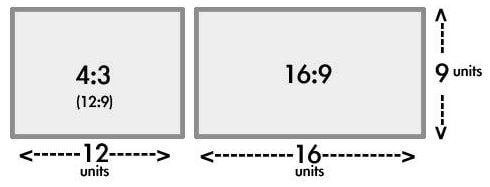
Below you can see that Windows Standard allows you to choose between 16:9 or 4:3 aspect ratio.

Below is an example to illustrate the three Video Qualities: High, Medium, and Low. High quality will create the best picture quality but will also increase the size of the slideshow. Low quality will produce a slideshow with a small file size and an okay picture quality.
Click the Close button when you finish making changes in your Preferences dialog box.
Creating a Slideshow
Click the Add Photos button if you want to make a slideshow using images from your computer or click the Add Instagram button if you want to use images from your Instagram account. You may also use a combination of the two.
Click the Add Photos button if you want to make a slideshow using images from your computer or click the Add Instagram button if you want to use images from your Instagram account. You may also use a combination of the two.

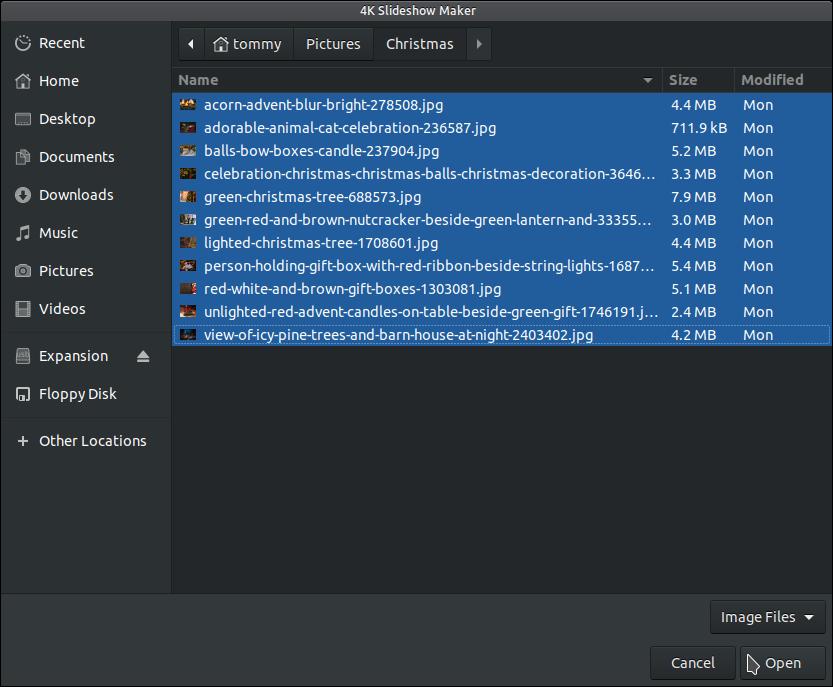
Go to the location of your images and select them. I clicked on the first images and then I held down the Shift key while pressing the down arrow button until I selected all my images. Then I clicked the Open button.
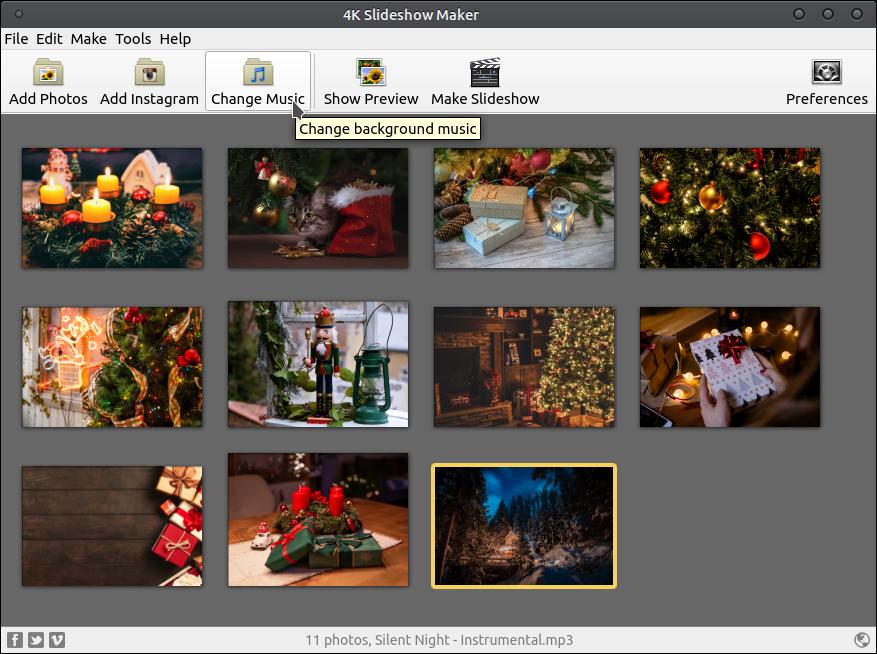
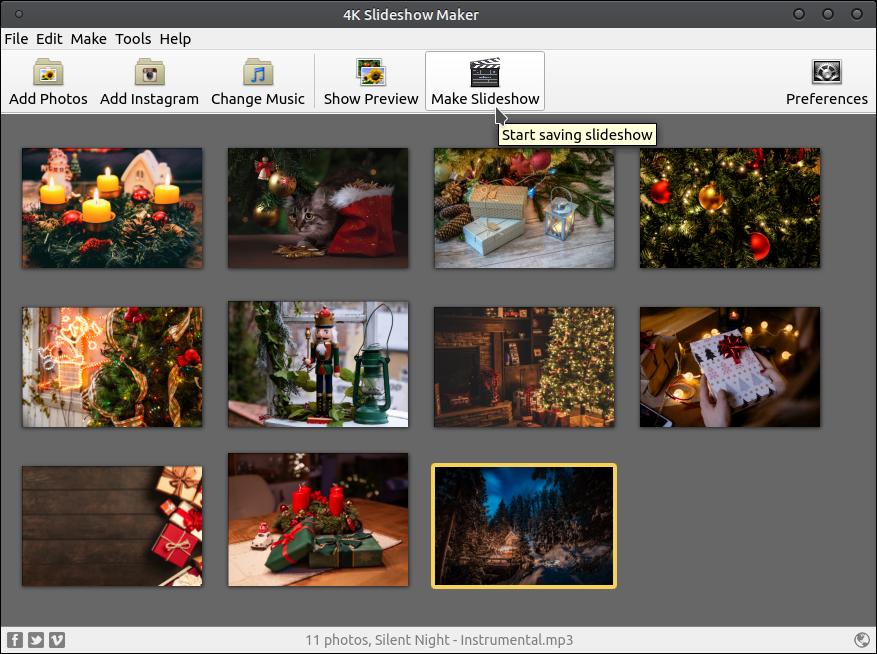
You will then see thumbnail images of the photos that will be included in your slideshow.

You can add or change the background music by clicking on the Change Music icon.
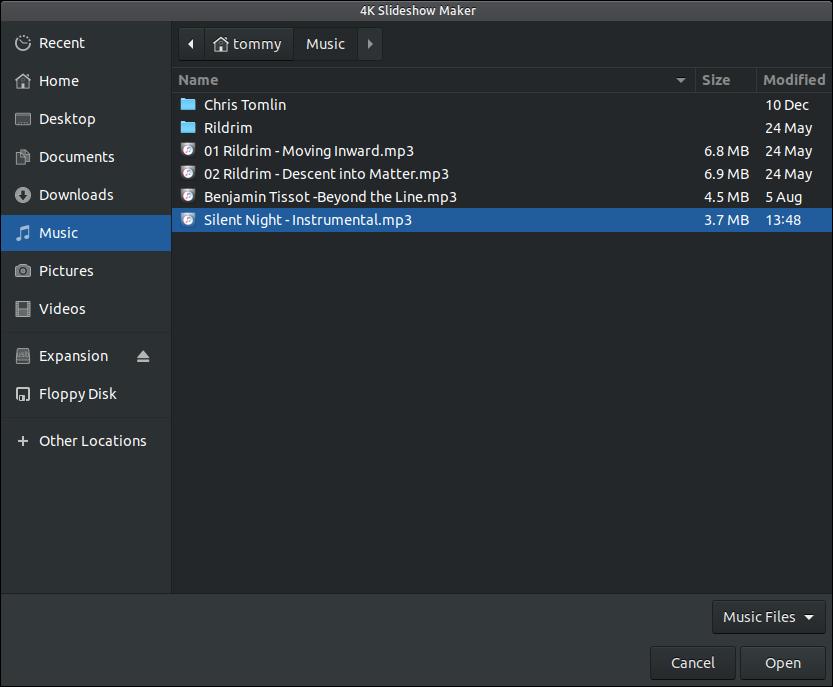
A dialog box will appear allowing you to select a song to be placed in the background. Select a song and click the Open button.
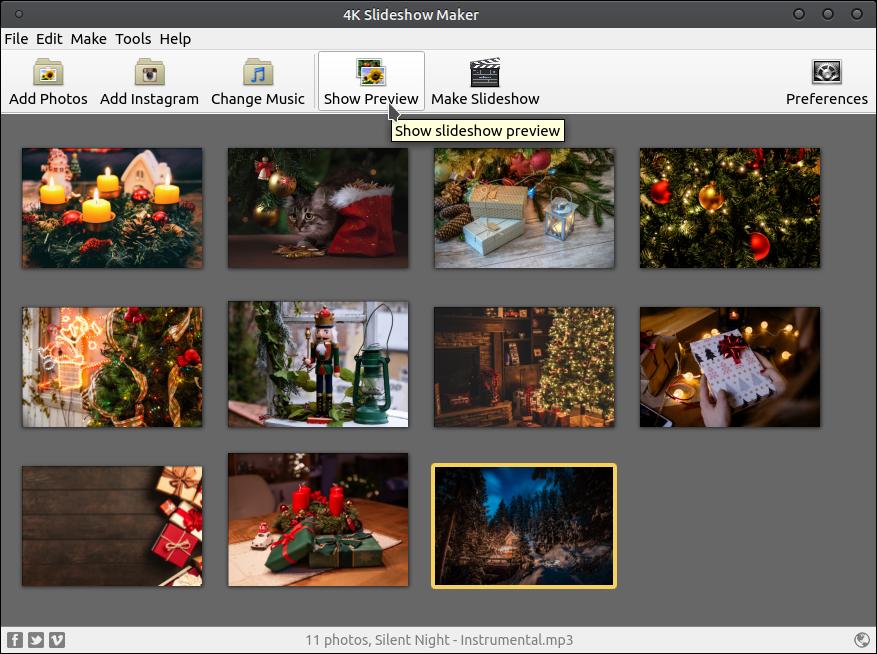
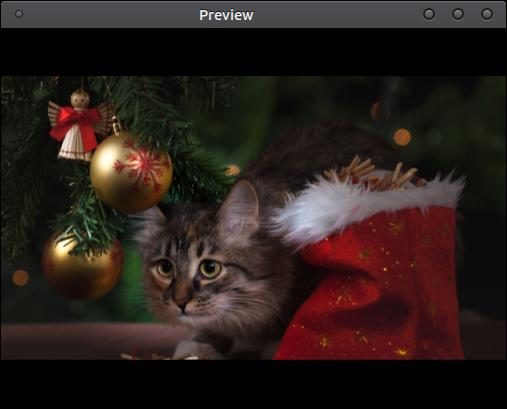
You can preview your slideshow before you create it to see what it will look like.
Below is a small preview of the slideshow. Remember, your preview quality will be a lower quality than your finished results.
Click the Make Slideshow button to start the creation process of your slideshow.
I wanted to create a slideshow with a .mp4 extension, so I selected the Mac OS X Standard with an aspect ratio of 16:9 and a High video quality.
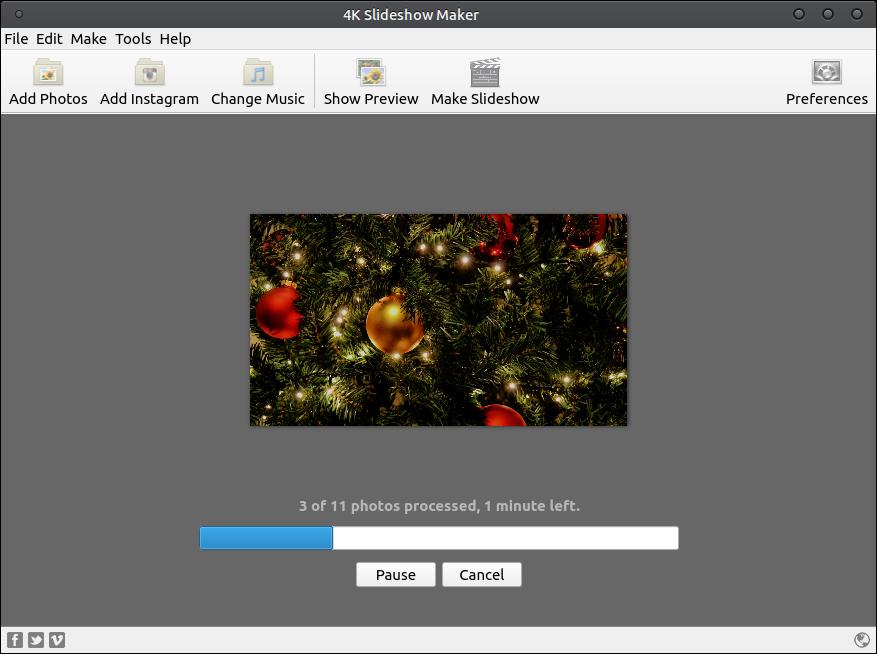
You will notice a progress bar as the slideshow is being created. The amount of time it takes to complete the process will depend on a variety of factors: how many pictures used in the slideshow, how powerful your computer is, and the quality or preferences settings you selected.
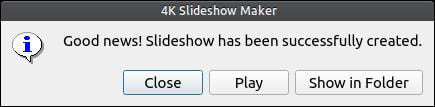
You will see a small dialog box when the process is completed. You can Close the dialog box, Play the slideshow, or Show in folder.
Here's a sample taken from the slideshow that I created for this example.
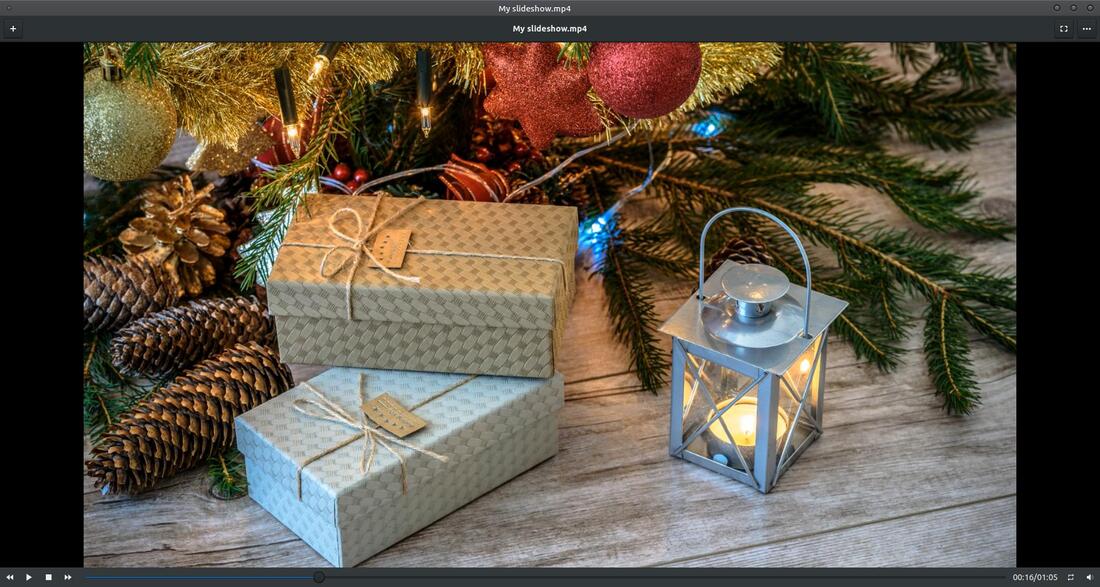
Below is a small sample of a slideshow created by 4K Slideshow Maker. Click the play button to start the slideshow.
This is a very easy program to use. The only drawback that I noticed was the inability to add more than one song to your slideshow. However, you can combine or join songs together to create one .mp3 file out of multiple files or songs. You can then use Audio Joiner (a website dedicated to merging audio files online) to merge your songs together.
Below you will see the options throughout the menus.
Below you will see the options throughout the menus.
I hope this has helped you understand how to use 4K Slideshow Maker.

Dec 18, 2019
