
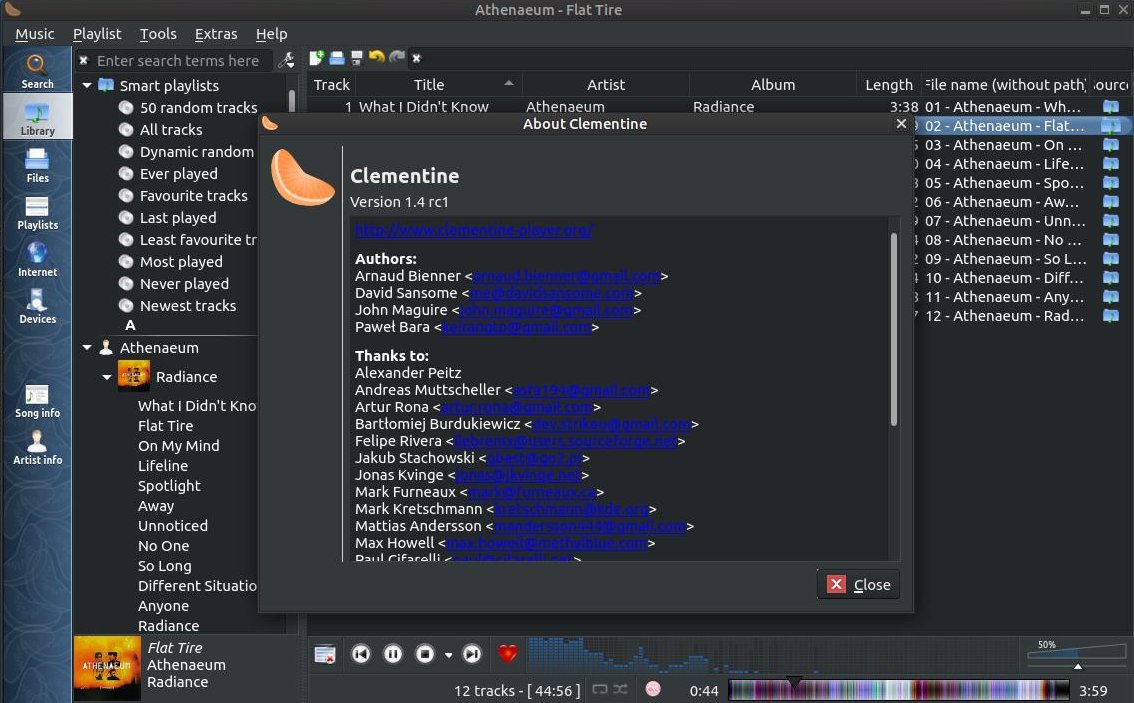
Clementine
Clementine is a free and open-source cross-platform music player inspired by Amarok 1.4.
Since Clementine works on multiple platforms, it will give you some consistency listening to your music on Linux, Windows, and Mac.
Features of Clementine
- Search and play your local music library
- Listen to internet radio from Spotify, Grooveshark, SomaFM, Magnatune, Jamendo, SKY.fm, Digitally Imported, JAZZRADIO.com, Soundcloud, Icecast and Subsonic servers
- Search and play songs you've uploaded to Box, Dropbox, Google Drive, and OneDrive
- Create smart playlists and dynamic playlists
- Tabbed playlists, import and export M3U, XSPF, PLS and ASX
- CUE sheet support
- Play audio CDs
- Visualisations from projectM
- Lyrics and artist biographies and photos
- Transcode music into MP3, Ogg Vorbis, Ogg Speex, FLAC or AAC
- Edit tags on MP3 and OGG files, organize your music
- Fetch missing tags from MusicBrainz
- Discover and download Podcasts
- Download missing album cover art from Last.fm and Amazon
- Cross-platform - works on Windows, Mac OS X and Linux.\
- Native desktop notifications on Linux (libnotify) and Mac OS X (Growl)
- Remote control using an Android device, a Wii Remote, MPRIS or the command-line
- Copy music to your iPod, iPhone, MTP or mass-storage USB player
- Queue manager
How To Install Clementine
Open your Terminal and enter the following:
sudo apt-get update
sudo apt-get install clementine
You can also download the install file from pkgs.org, snapcraft, flatpak, Clementine Downloads, and filehorse (for Windows).
The stable release of Clementine is version 1.3.1; however, there is a version 1.4 rc1 that fixes a lot of issues within 1.3.1. For example, a lot of Ubuntu MATE users claim that version 1.3.1 places a huge icon in the panel, but version 1.4 rc1 does not. (RC1 stands for Release Candidate 1 which means that it is not 'officially' released as a final release. Software usually goes through several stages before a final realease is presented to the public. The stages of software development usually follow the following steps: 1. Pre-alpha (development releases or nightly builds), 2. Alpha, 3. Beta, 4. Release Candidate, 5. RTM (Release to Manufactoring), 6. GA (General Availabilty), and 7. Production or Live Release. Clementine ver. 1.4 rc1 is at stage 4 just before releasing the software to manufactor, so it's pretty stable and reliable.
To remove the program enter the following:
sudo apt-get remove clementine
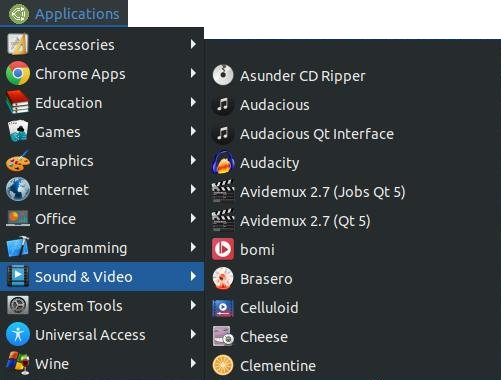
You can access the program in your menu after you get the program installed. I am using Ubuntu MATE 18.04 LTS with the traditional menu, so I access it by clicking on the Applications menu, highlight Sound & Video, and then click on Clementine.
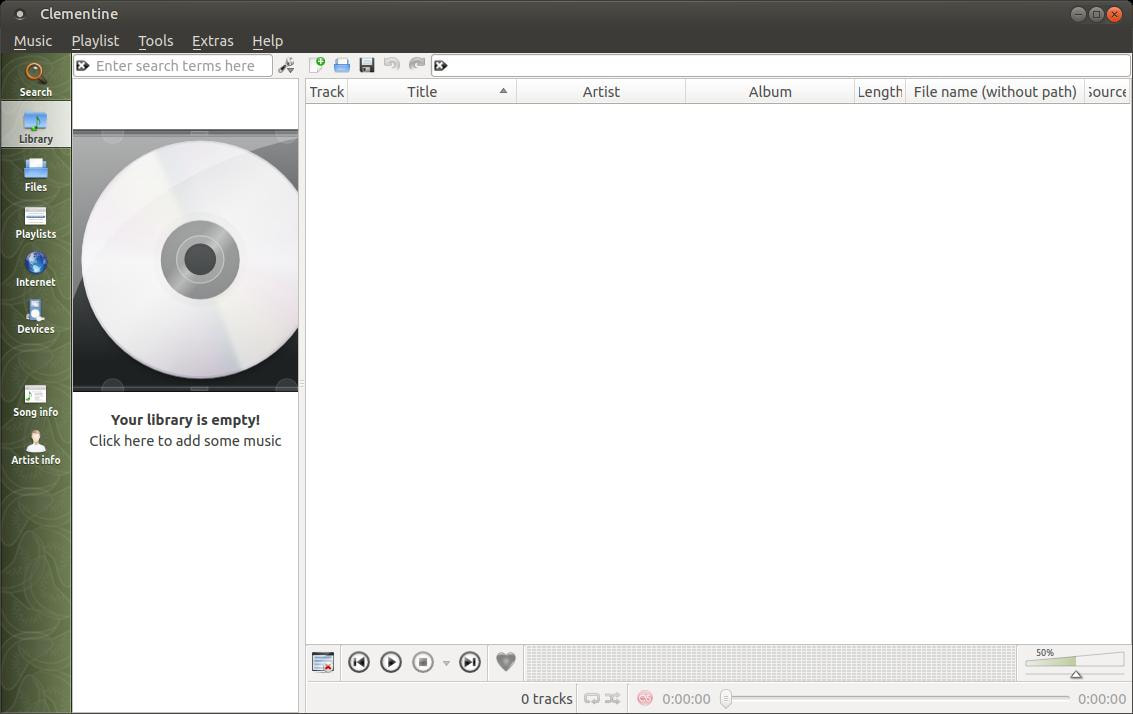
When you first open Clementine you'll see a simple looking interface.
Add/Remove Playlist...
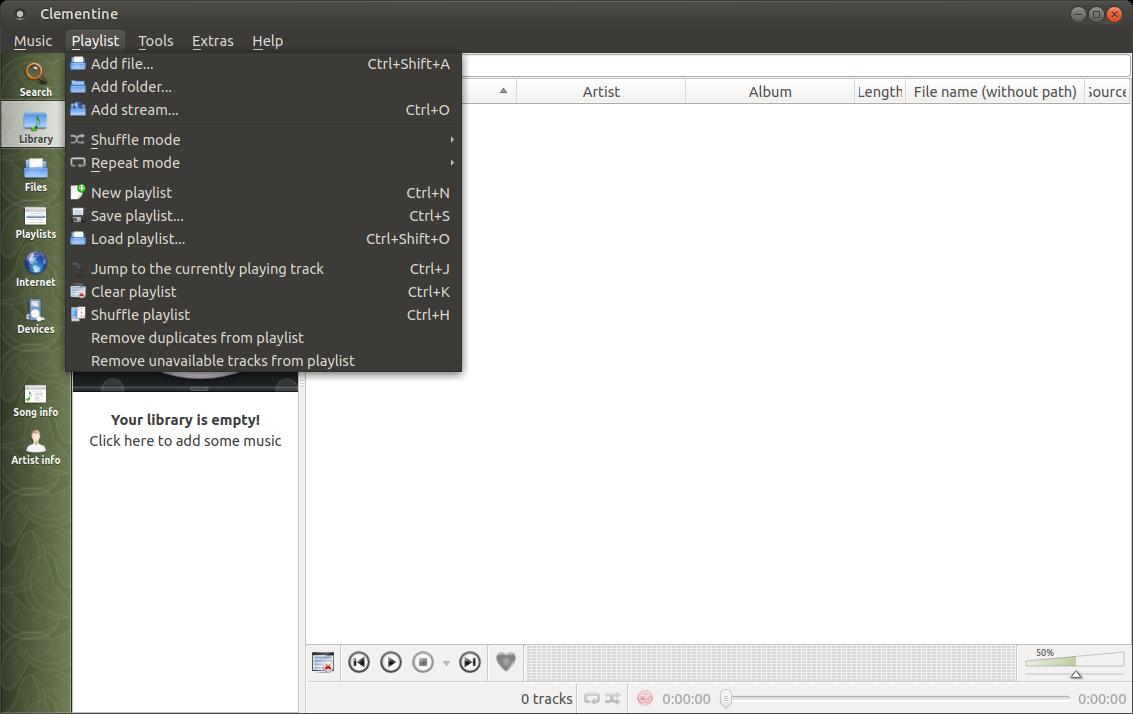
You can click in the area under the large CD Jewel Case on the left where it says, "Click here to add some music" or you can click on the Playlist menu and click on Add folder...
You can click in the area under the large CD Jewel Case on the left where it says, "Click here to add some music" or you can click on the Playlist menu and click on Add folder...
An Add Folder dialog box will appear to allow you to select a folder where your albums are located. Select your folder and click Open.
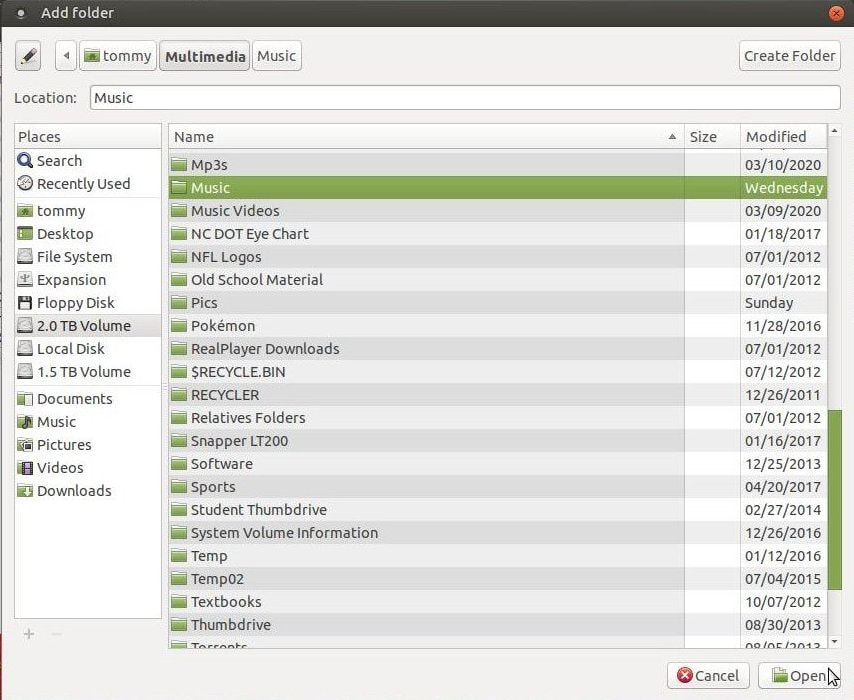
The path to your music will be displayed under Music Library. You can click the Add new folder... button to add more folder that contains music albums. You can also select a folder path and click on the Remove folder button to remove all the albums in that folder from your playlist.

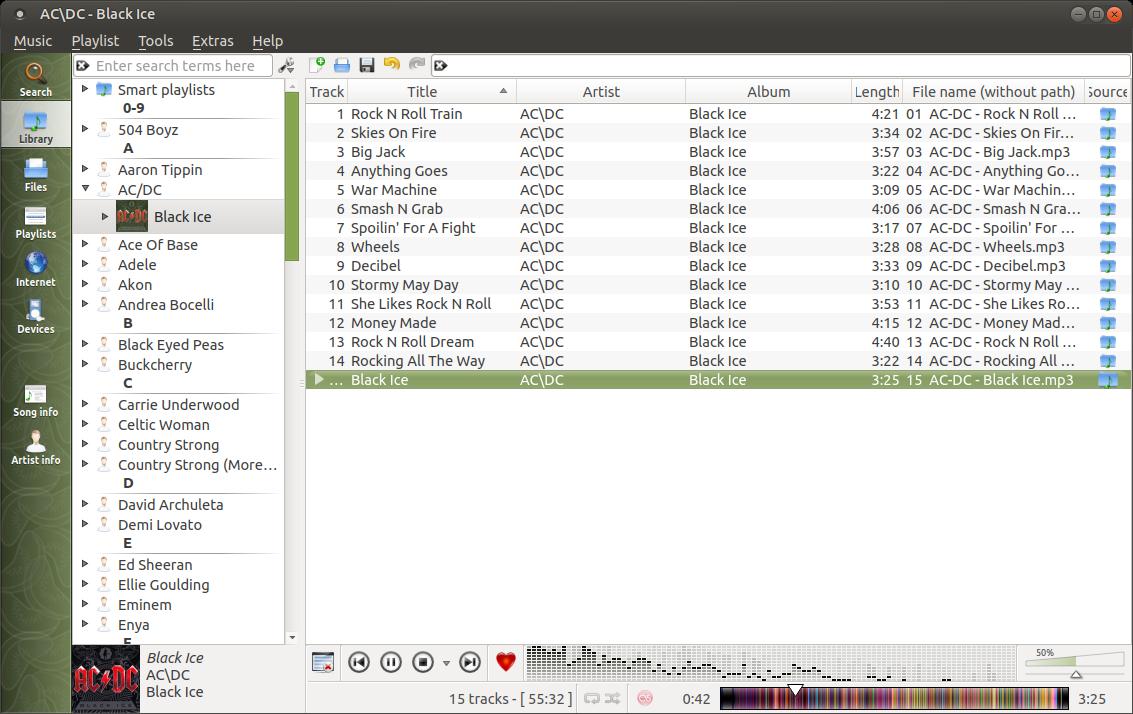
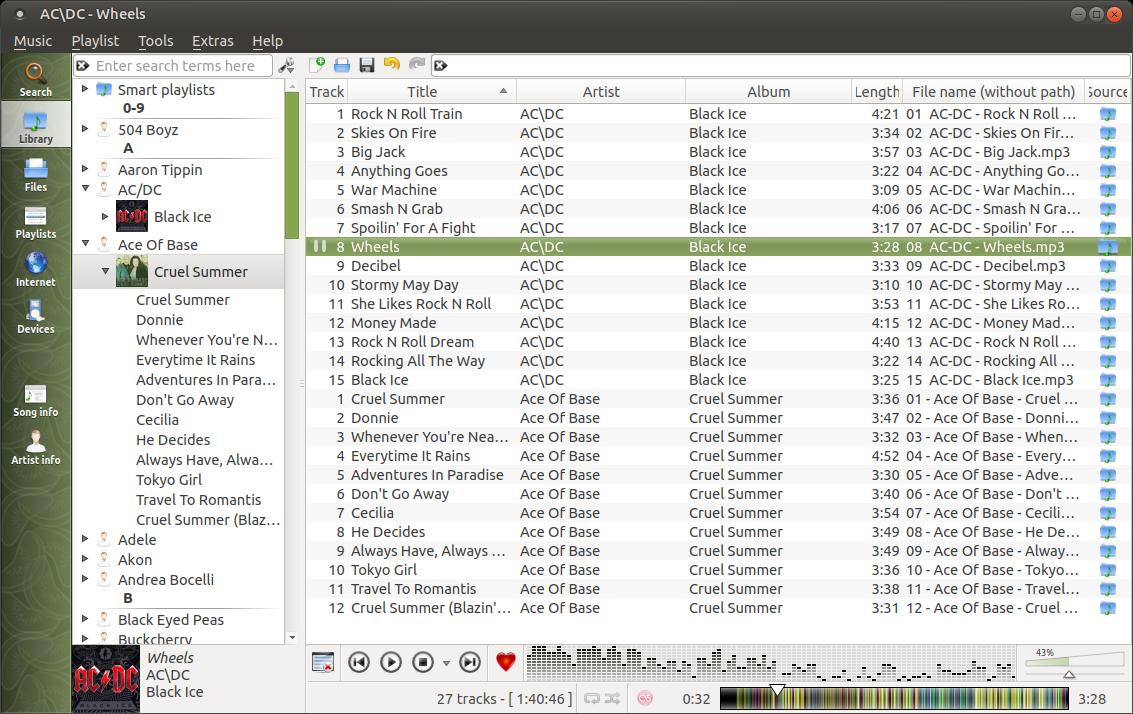
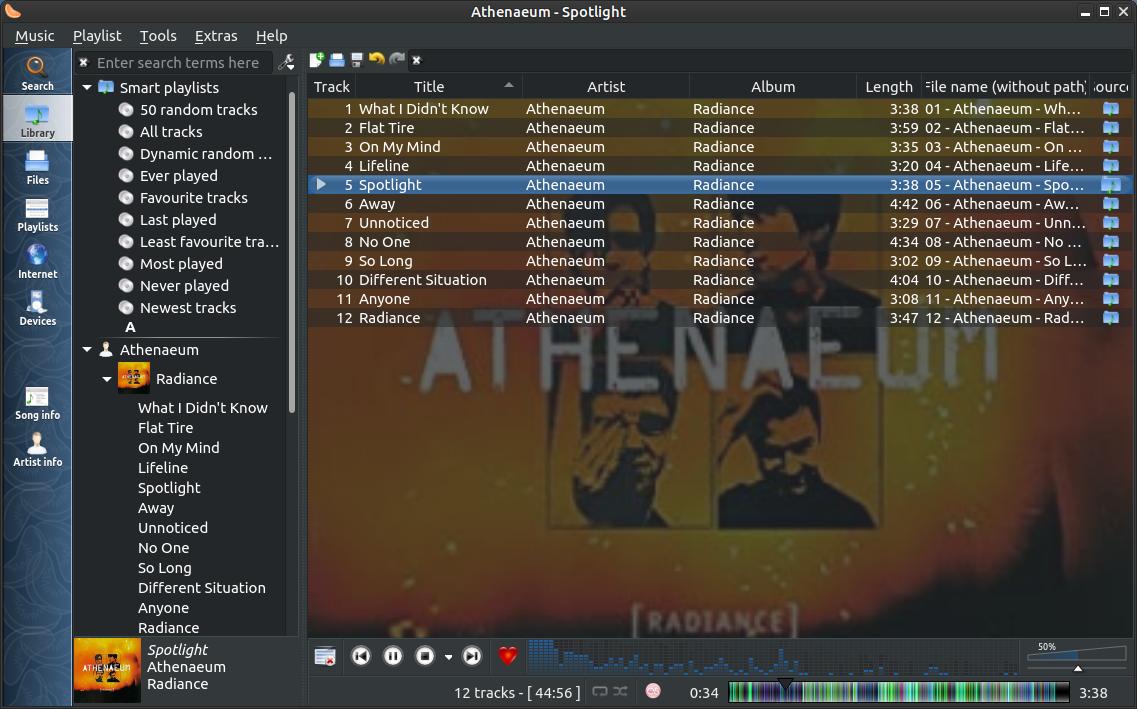
Your albums will be listed in the left. You can drag an album to the area on the right in your Playlist area.
You can drag additional albums into your Playlist area.
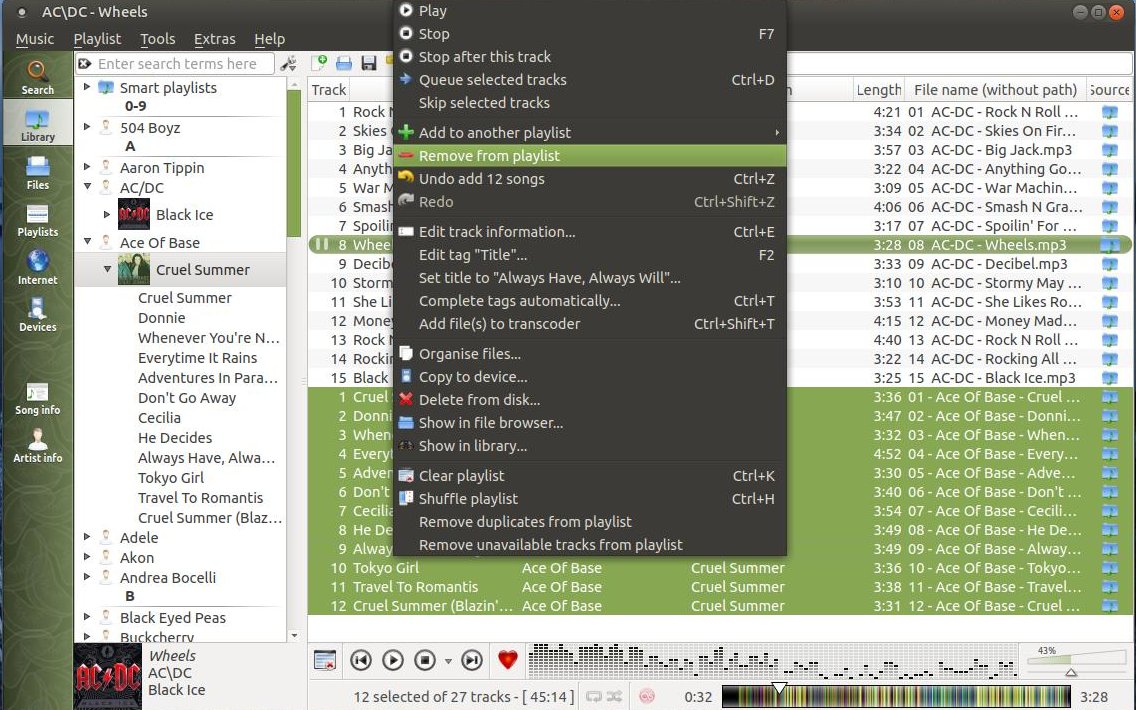
If you decide to remove an album from your Playlist, select the songs from the album you want to remove and then right-click and select Remove from playlist.
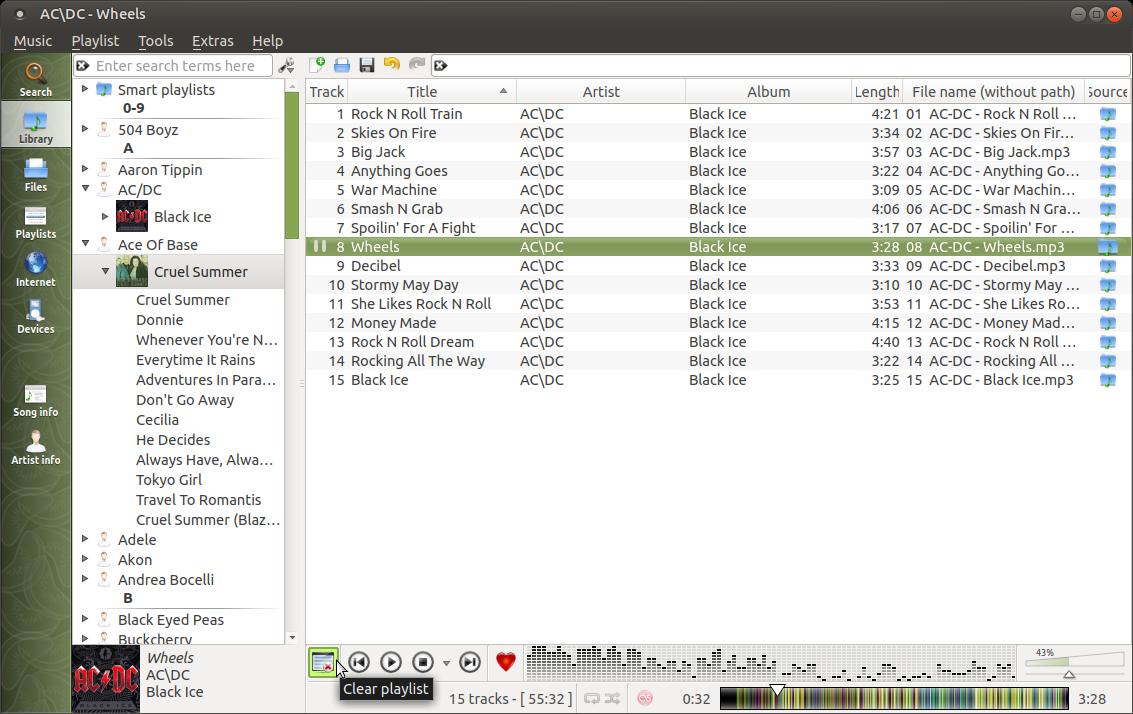
When Clementine loads it will place an orange icon in the panel. The orange Clementine icon in the notification area will change its appearance in the panel as your song plays. It will start turning gray to represent part of the song that is already played.
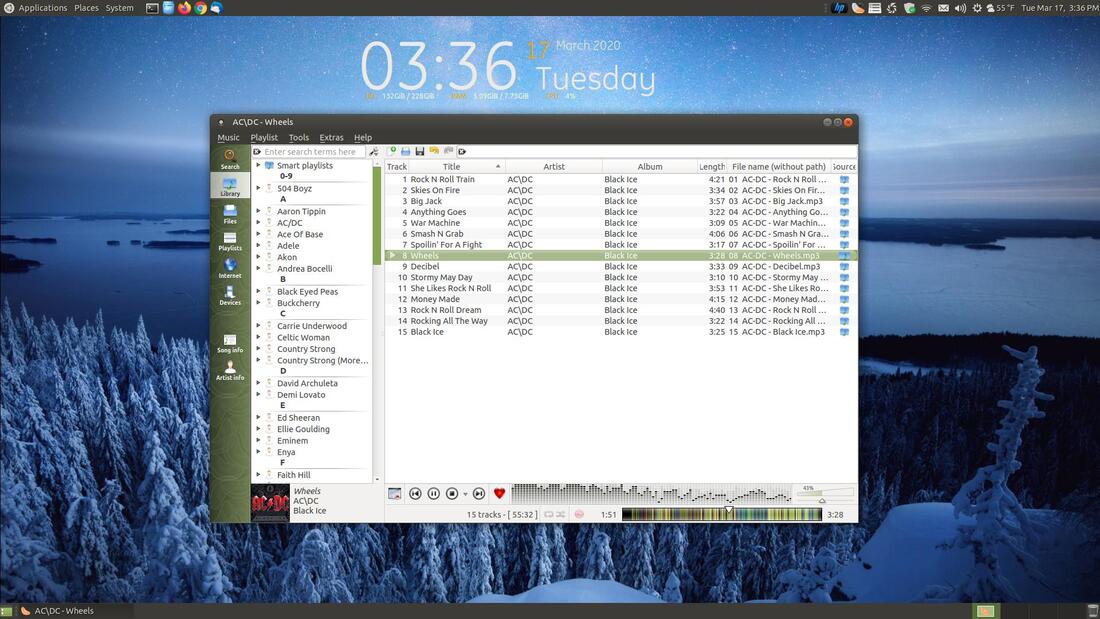
My Deskop Computer
Notice the orange icon in the panel as I drag the slider back and forth within the player.
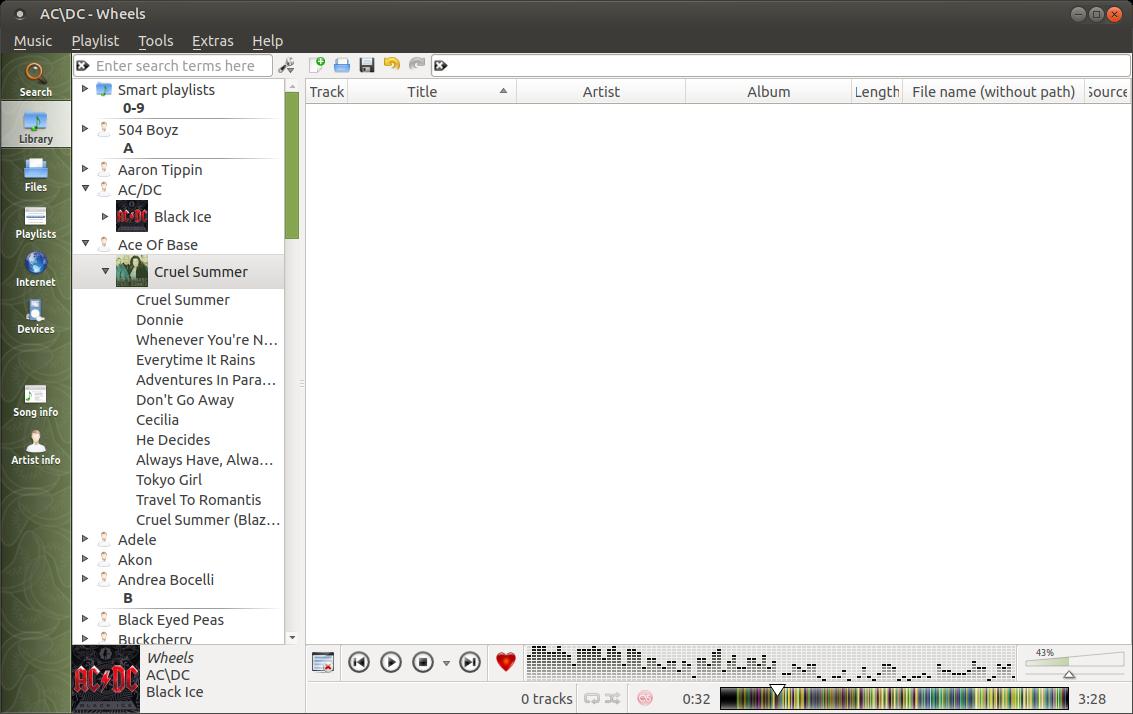
You can quickly remove all the songs from your Playlist by clicking the Clear playlist in the lower left corner of your Playlist area.
Now you're ready to load you a new Playlist.
It looks great with a system dark theme.
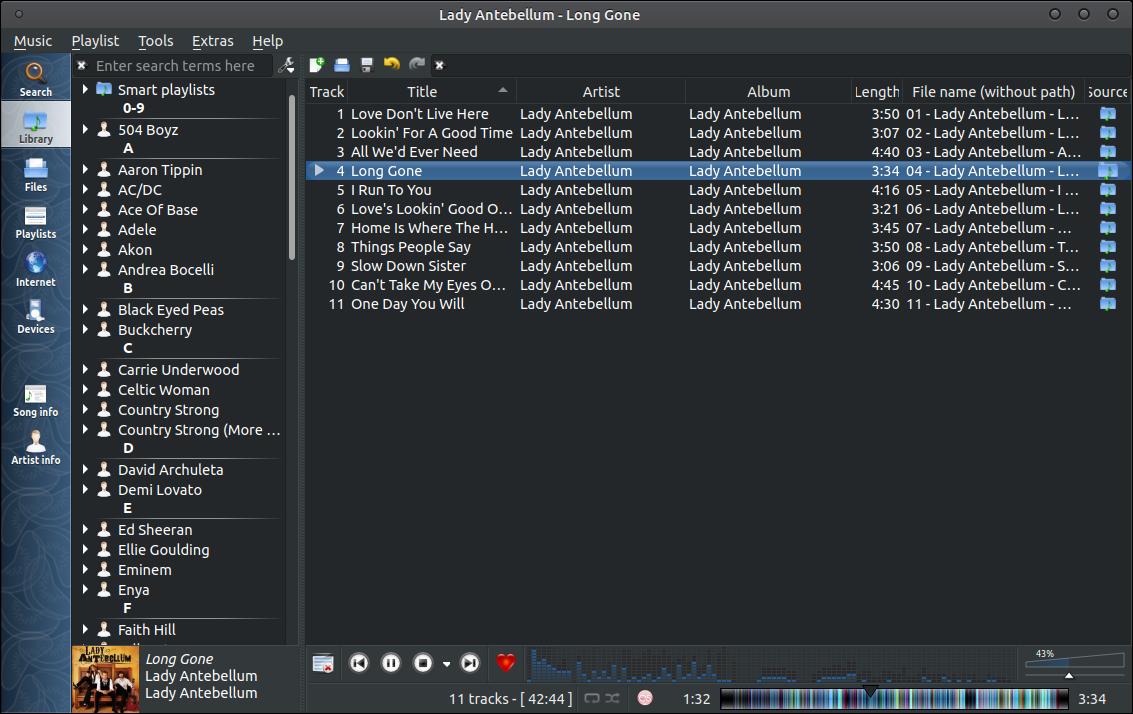
You can customize your theme by changing your Window Border to give the program a different look.
If you're looking for a music player that works well with different themes, then you might want to give Clementine at try.
Preferences
Below is a look through the sections or tabs under the General section within the Preferences dialog box. You can change the way Clementine behaves on your system. You can select if you want to Always show the main window or Always hide the main window under When Clementine starts within the Behavior tab.
Below is a look through the sections or tabs under the General section within the Preferences dialog box. You can change the way Clementine behaves on your system. You can select if you want to Always show the main window or Always hide the main window under When Clementine starts within the Behavior tab.
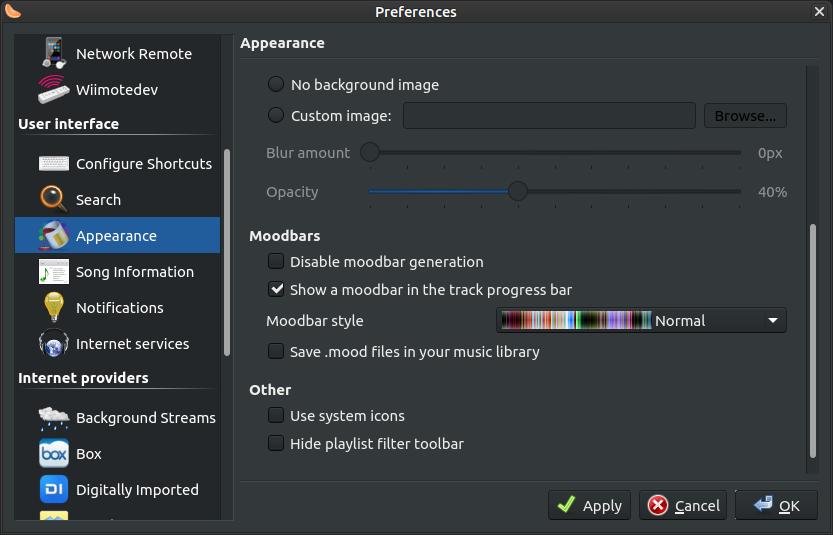
If you do not want Clementine to use your system theme or colors then click on the Tools menu and then Preferences... When the Preferences dialog box appears click on Appearance under User Interface on the left. You can change the program's Colors and add a Background image. You can add a Blur or change the Opacity of the program.

Clicking Album cover under Background image and changing the Opacity to 28% will make Clementine look like the image below.
If you scroll down, you can change Moobar style and colors. You can even customize the icons the program uses.
Manage Cover Art
Clementine allows you to manage your cover art for the albums in your collection. Just click on the Tools menu and then click on Cover Manager. You'll eventually see a Cover Manager dialog box that will allow you to View your covers, Fetch Missing Covers, and Export Covers.
Clementine allows you to manage your cover art for the albums in your collection. Just click on the Tools menu and then click on Cover Manager. You'll eventually see a Cover Manager dialog box that will allow you to View your covers, Fetch Missing Covers, and Export Covers.
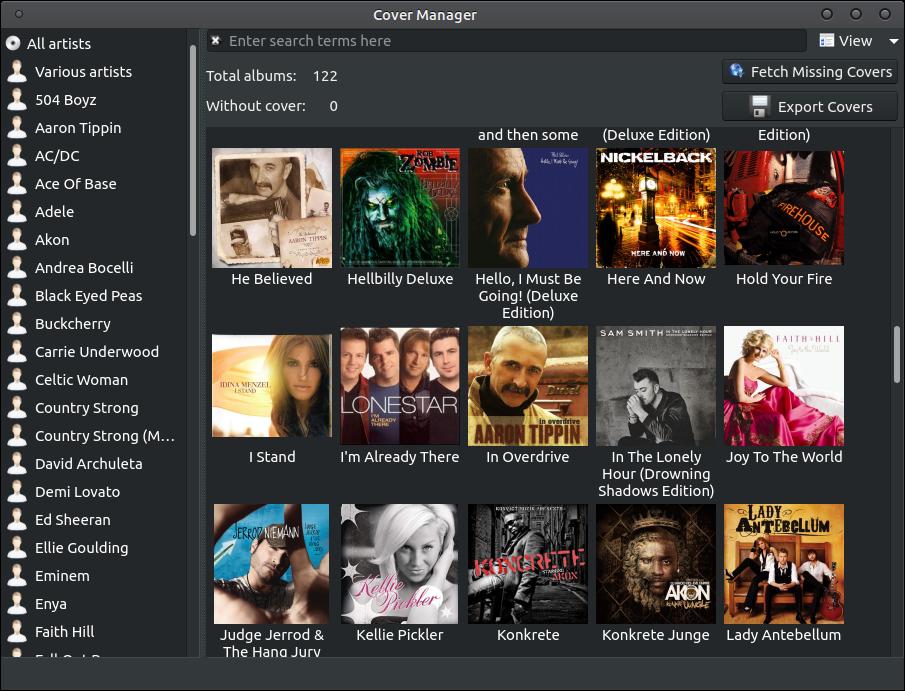
The View mode allows you to view All albums, Albums with covers, or Albums without covers. If you have some albums that do not have any cover art then click the Fetch Missing Covers button. It will use the metadata for those albums with missing cover art and look across the Internet to find cover art for those albums. However, if you have missing metadata or incorrect metadata then it probably won't find cover art for those albums. You need to view those albums metadata a fix them.

Edit Tags or Metadata
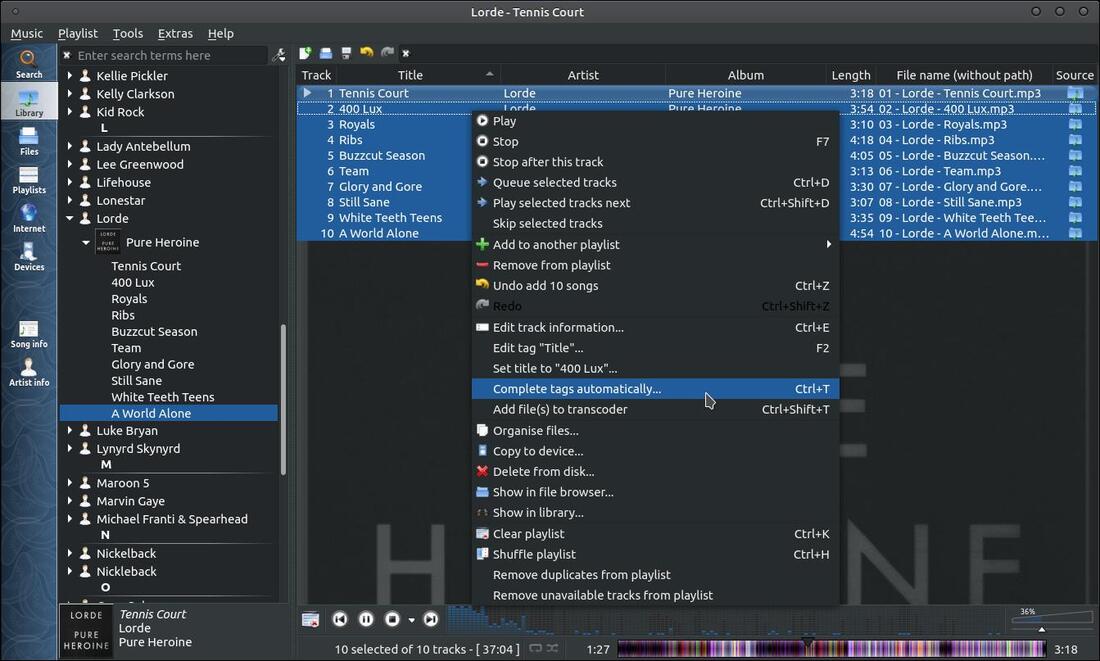
Clementine has an automatic tagger for songs within albums. Load your songs and select them and then right-click them and select Complete tags automatically... or you can tag them manually by clicking on Edit track information...
Clementine has an automatic tagger for songs within albums. Load your songs and select them and then right-click them and select Complete tags automatically... or you can tag them manually by clicking on Edit track information...
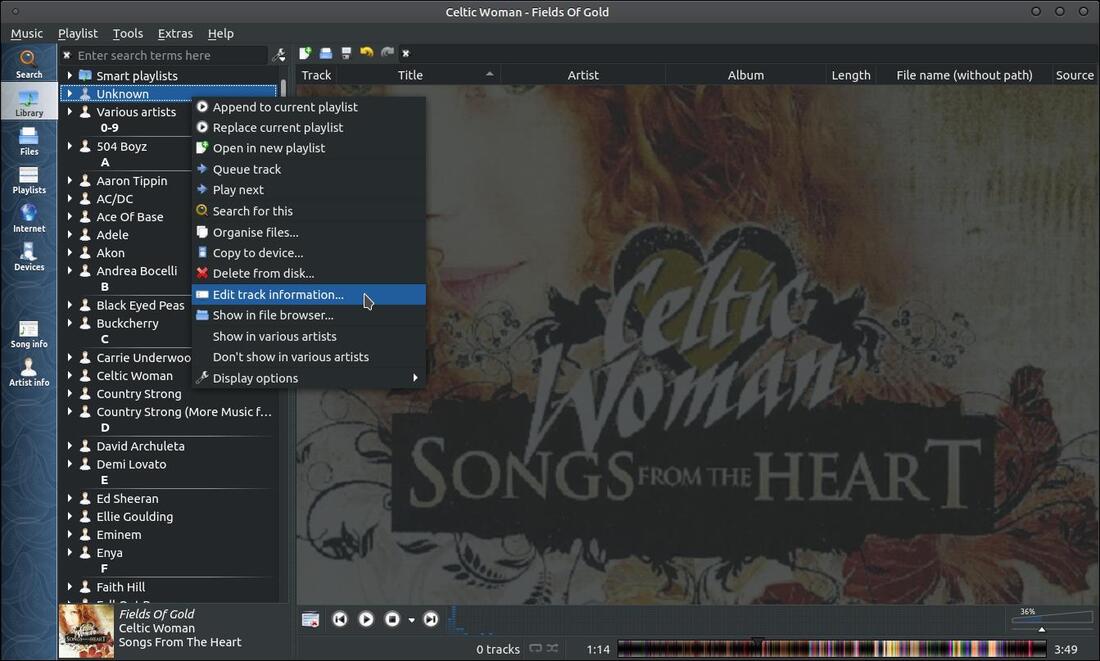
Don't panick if you have any songs listed in the Unknown section on the left. You can fix this by right-clicking on Unknown and select Edit track information...
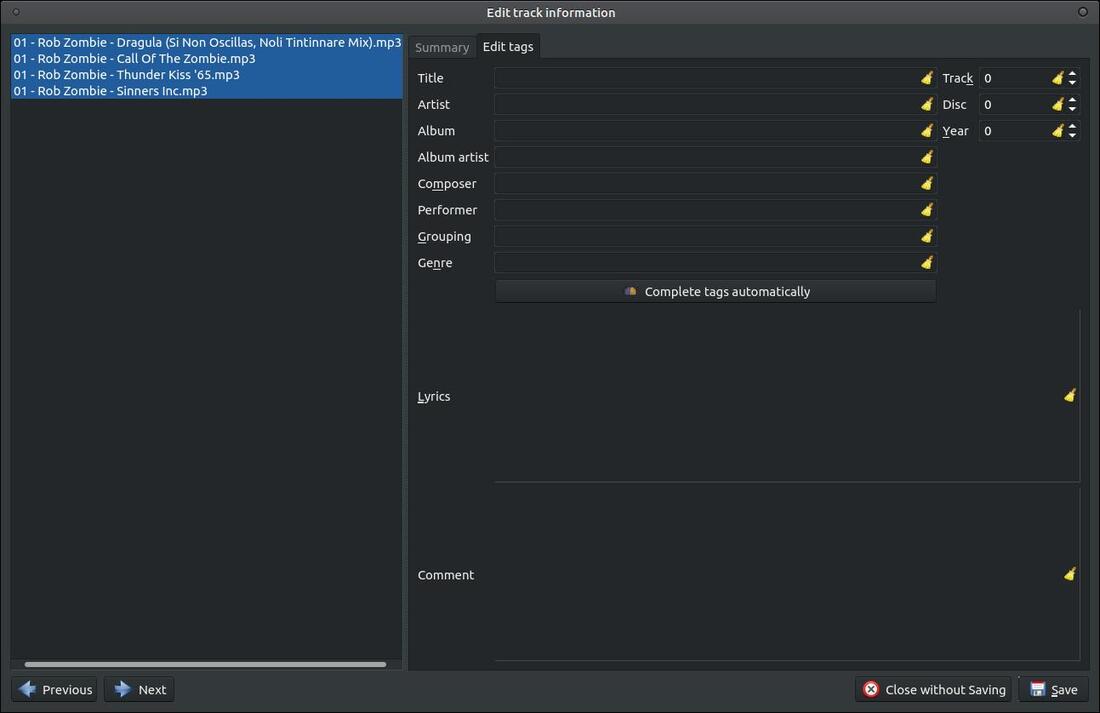
An Edit track information dialog box will appear with the list of songs on the left. You can then click the Complete tags automatically and Clementine will look across the Internet for the correct metadata.
Then click on each individual song on the left and select the correct tag for your song in the Suggested tags list and click the OK button.
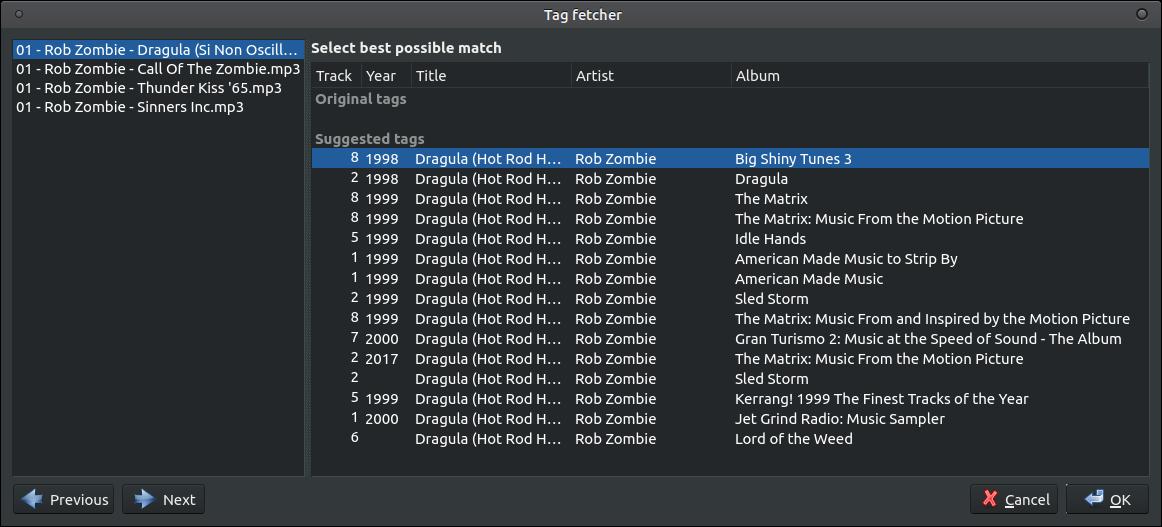
The Unknown section should disappear when you finish matching the correct metadata to the song that has the wrong data or missing data.
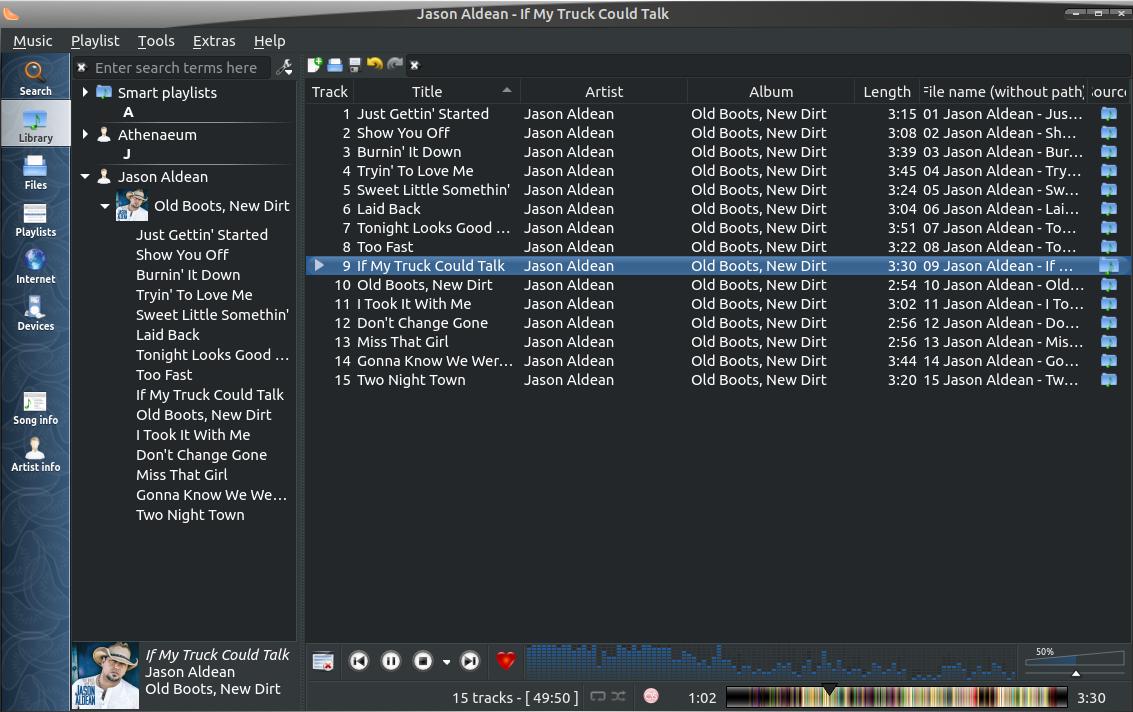
Changing Columns
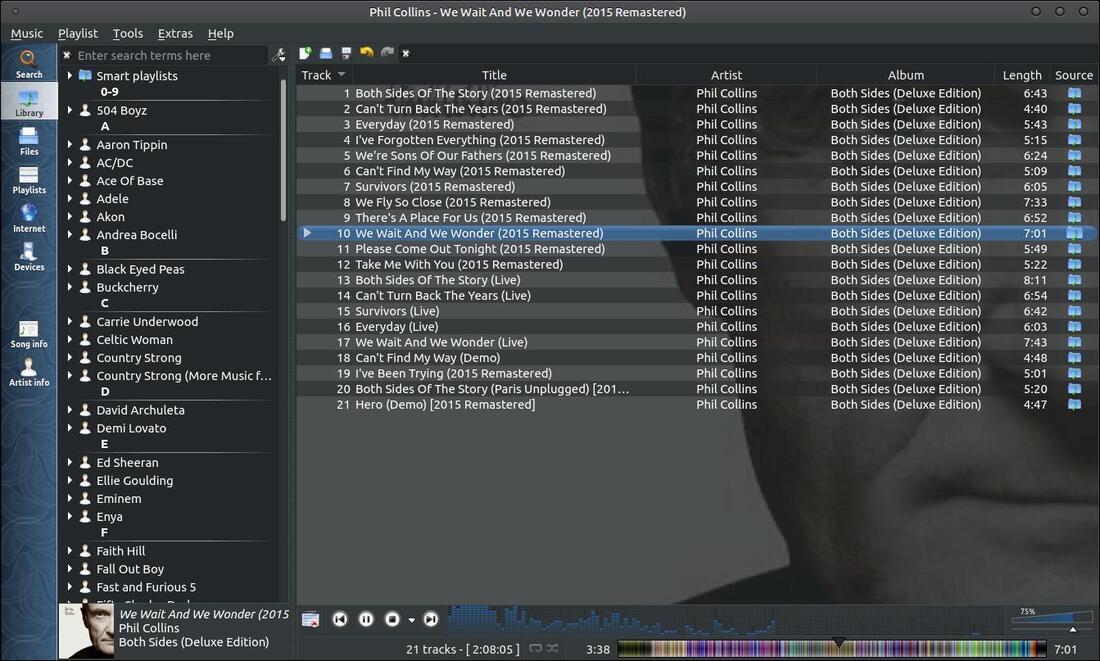
You can change the columns within the playlist area by right-clicking any coulmn topic and check or uncheck a topic. The checked topics will be the ones displayed.
You can change the columns within the playlist area by right-clicking any coulmn topic and check or uncheck a topic. The checked topics will be the ones displayed.
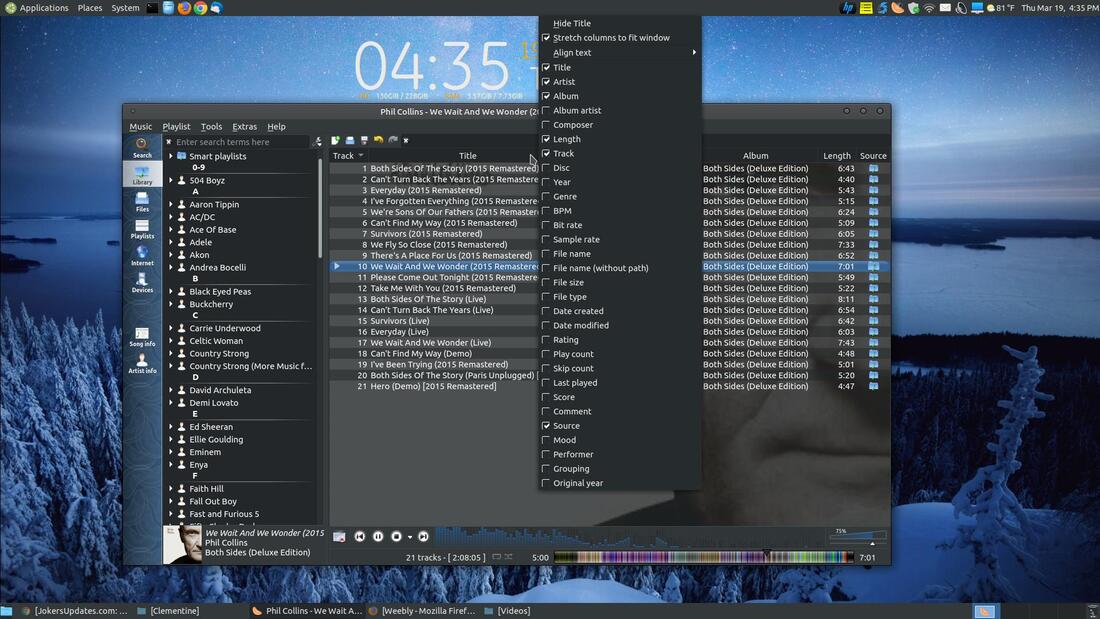
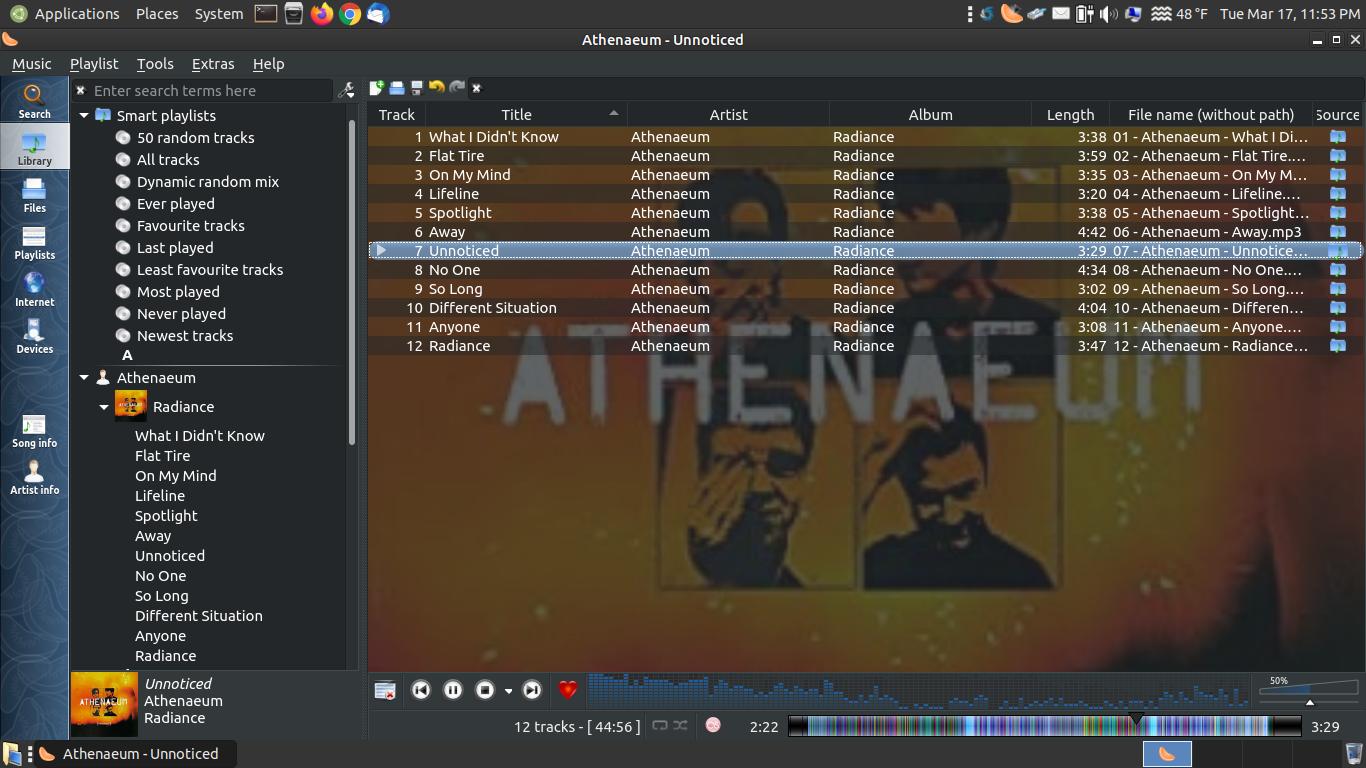
I unchecked File name (without path) and it made the playlist look nicer or less crowded.
Clementine Ver. 1.4 rc1
If you want the newest version of Clementine for Ubuntu 18.04, Ubuntu 19.04, Ubuntu 19.10, Windows, and more then click on Clementine Releases link or Builds link and then select the correct package for your system. I recommend that you uninstall or remove Version 1.3.1 before you install Version 1.4 rc1.
If you want the newest version of Clementine for Ubuntu 18.04, Ubuntu 19.04, Ubuntu 19.10, Windows, and more then click on Clementine Releases link or Builds link and then select the correct package for your system. I recommend that you uninstall or remove Version 1.3.1 before you install Version 1.4 rc1.
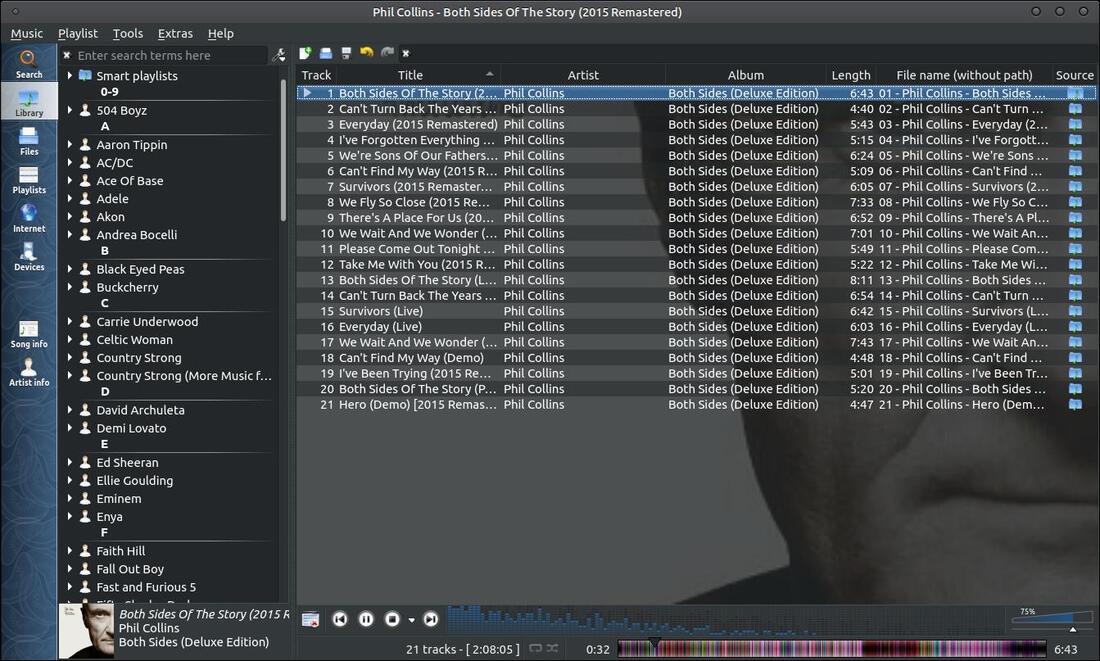
Here's what it looks like Maximized on my laptop.
Song Info/ Song Lyrics
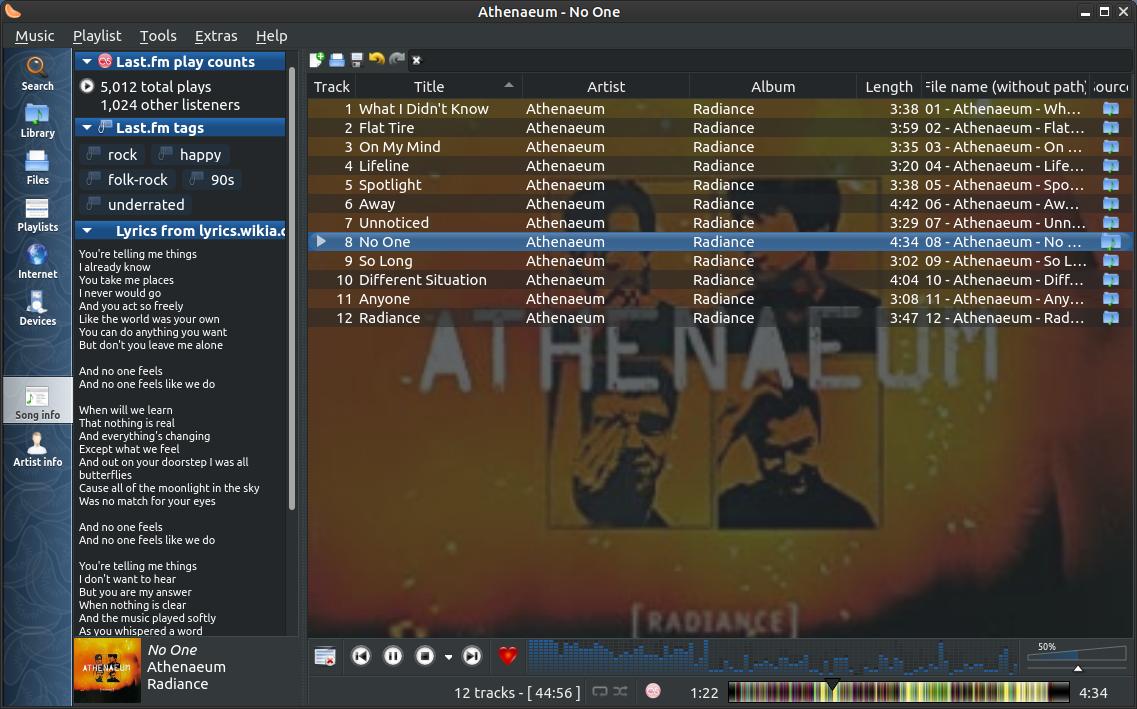
You ca look up the lyrics for a selected song by click on Song info on the left and you can read about the artist for the selected song by clicking on Artist info on the left.
You ca look up the lyrics for a selected song by click on Song info on the left and you can read about the artist for the selected song by clicking on Artist info on the left.
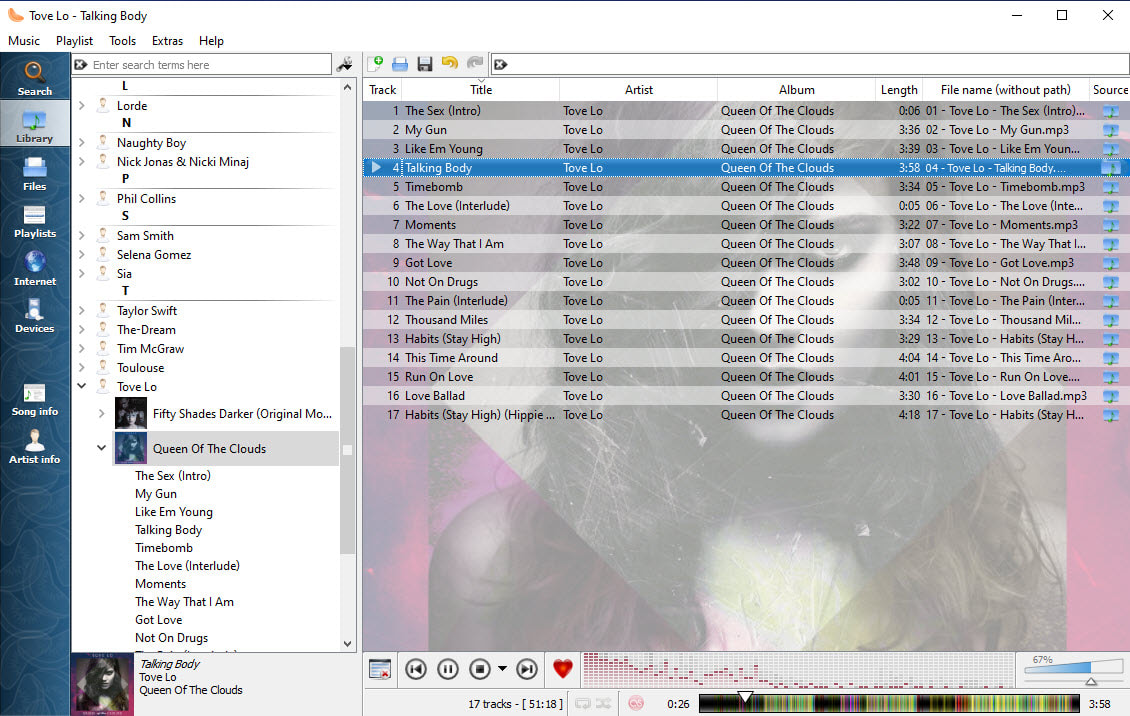
As you can see, Clementine is highly customizable on any platform. The next several images will be taken from a Windows machine. I rarely illustrate software on this site using Windows; however, I want to show Windows users that Clementine works the same on a Windows machine as it does on a Linux system. This makes switching from Windows to Linux much easier when you are familiar with the software.
Tools Menu
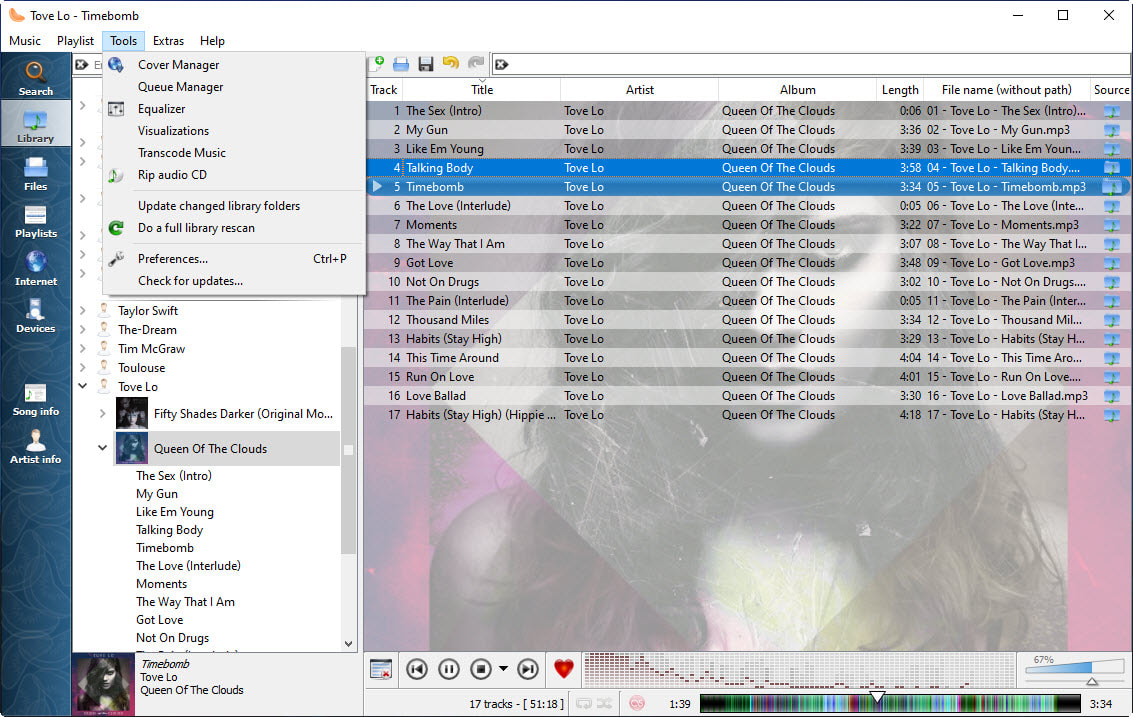
Clementine contains a lot of nice tools. Click on the Tools menu and you can see a variety of neat tools. You can adjust the treble and bass using the built-in Equalizer. You can display some neat Visualizations on your screen that will change with the beat of your music. You can convert from one music format such as .ogg file format to an .mp3 format by using Transcode Music tool. You can back-up music from your music CD by using the Rip audio CD tool. You can also check for Clementine updates via the Check for updates... command.
Clementine contains a lot of nice tools. Click on the Tools menu and you can see a variety of neat tools. You can adjust the treble and bass using the built-in Equalizer. You can display some neat Visualizations on your screen that will change with the beat of your music. You can convert from one music format such as .ogg file format to an .mp3 format by using Transcode Music tool. You can back-up music from your music CD by using the Rip audio CD tool. You can also check for Clementine updates via the Check for updates... command.
Equalizer & Pre-amp
You can turn on an Equalizer and Pre-amp through the Tools menu. Click on the Tools menu and then on Equalizer.
You can turn on an Equalizer and Pre-amp through the Tools menu. Click on the Tools menu and then on Equalizer.
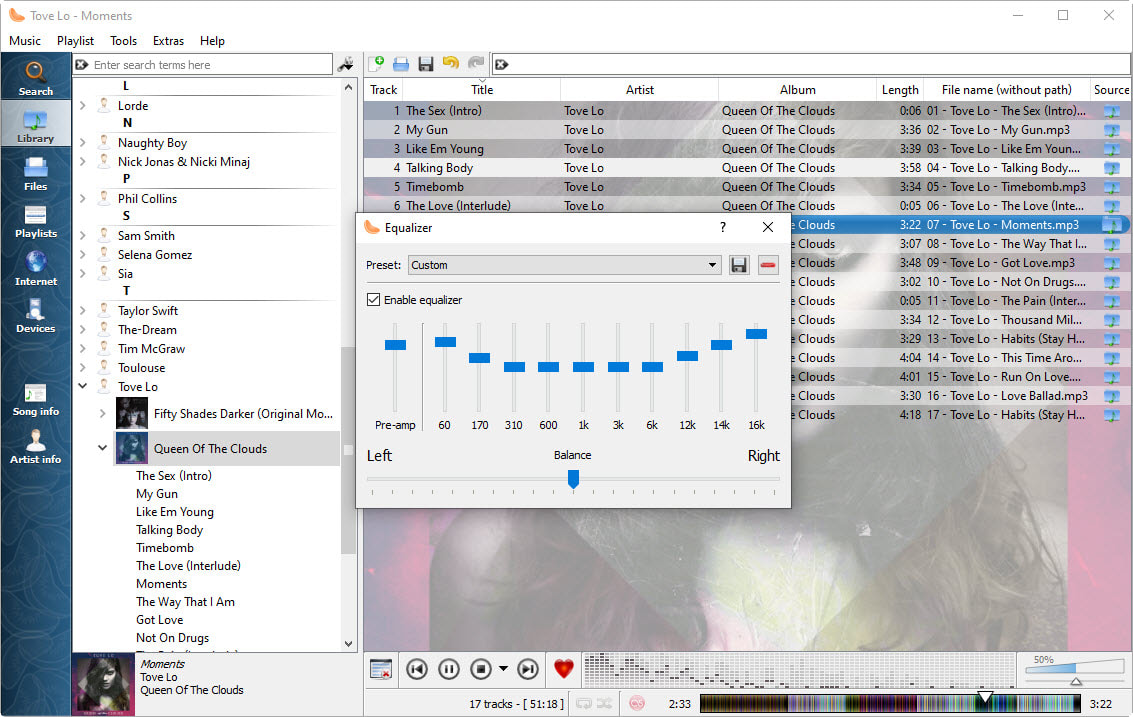
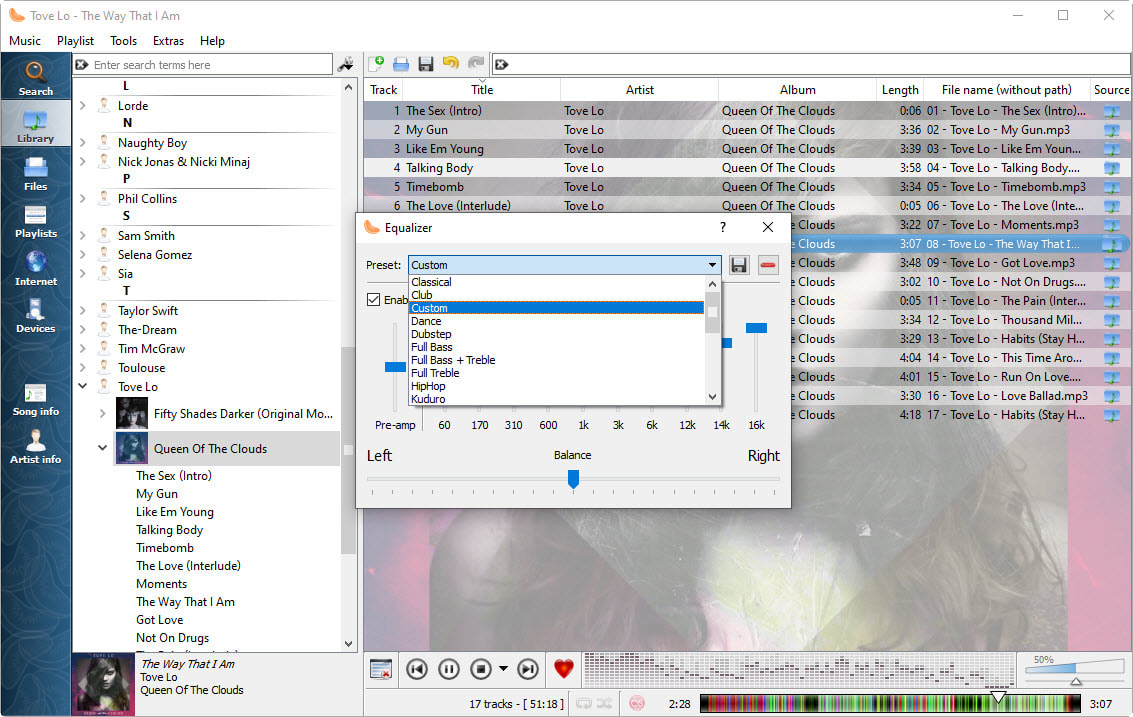
The Equalizer has ten Preset settings to help you get the most of your music. You can select the Custom setting and then make the adjustment and save it as a new preset setting.
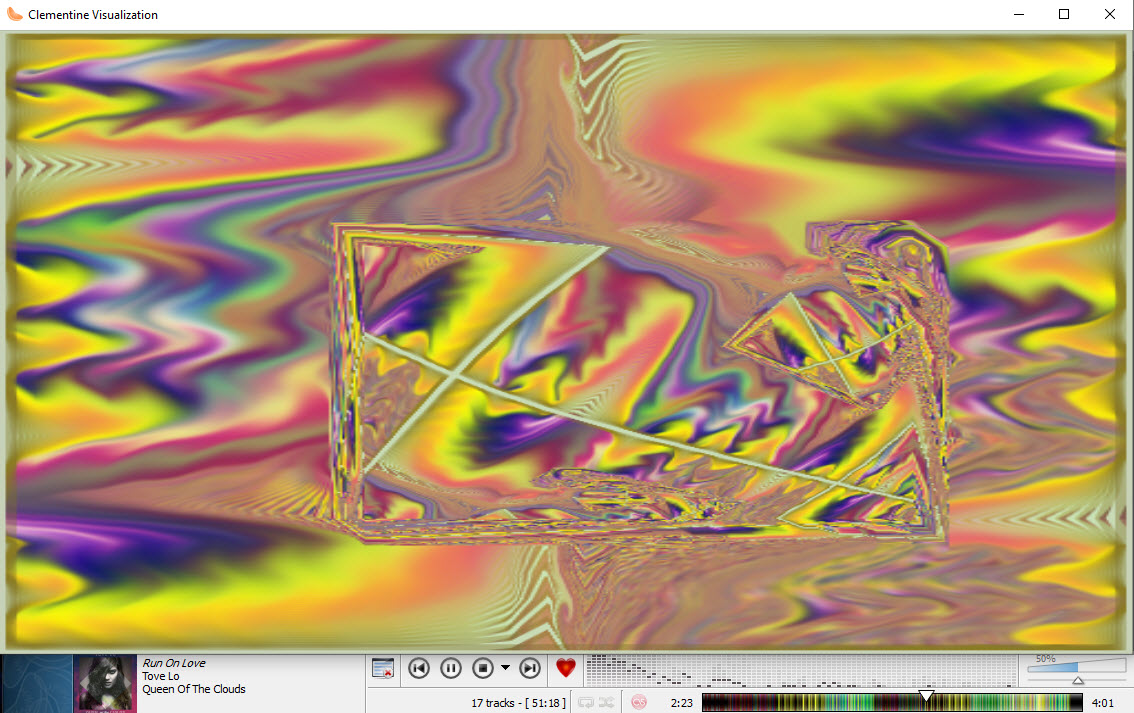
Visualizations
Here's a screenshot of the Visualizations that can be accessed through the Tools menu. The images will change as your music plays. The window can be increased or decreased or maximized full screen.
Here's a screenshot of the Visualizations that can be accessed through the Tools menu. The images will change as your music plays. The window can be increased or decreased or maximized full screen.
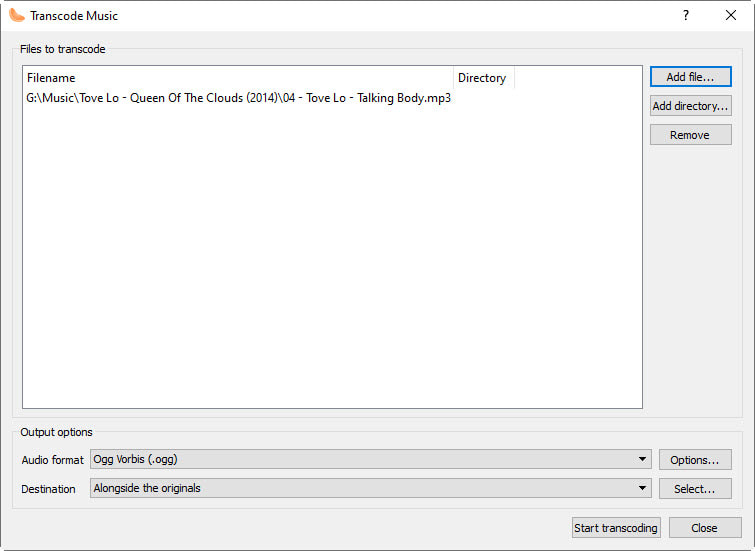
How to Convert Audio Files
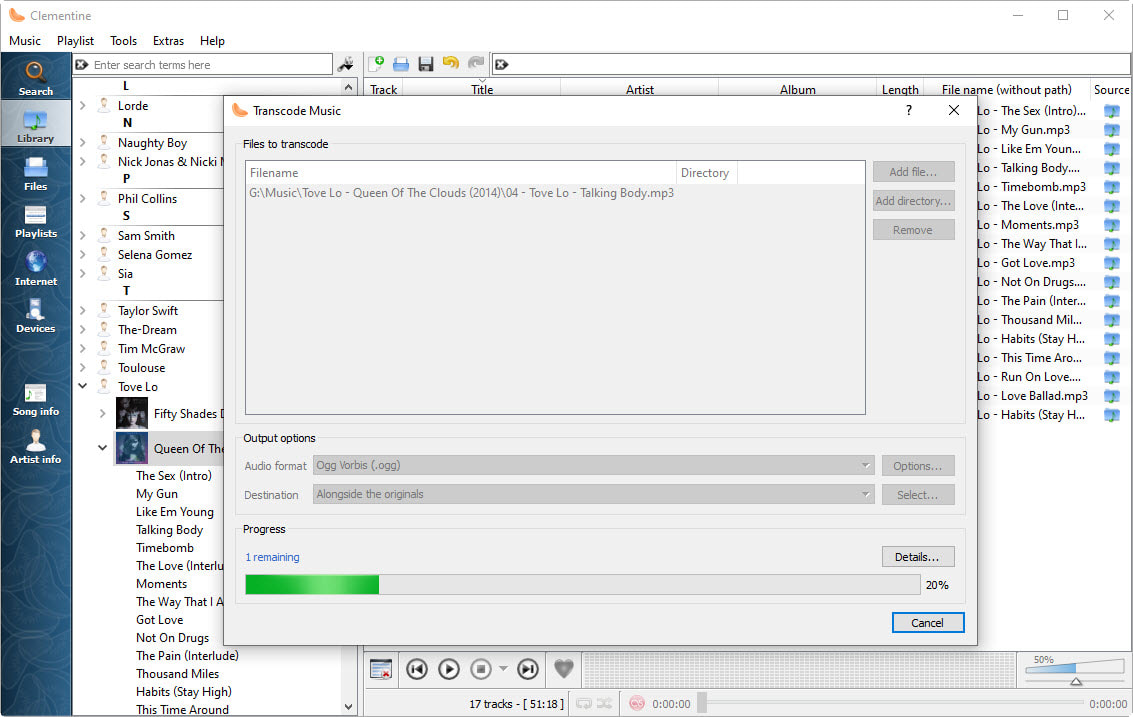
You can convert one song or a whole album by clicking on the Tools menu and then click on the Transcode Music command. It will bring up a Transcode Music dialog box allowing you to select a single song by using the Add file... button or you can select an entire album by using the Add directory... button. In my example below, I selected only one song to convert from an .mp3 file to an .ogg audio format. After you made all your selections, click on the Start transcoding button.
You can convert one song or a whole album by clicking on the Tools menu and then click on the Transcode Music command. It will bring up a Transcode Music dialog box allowing you to select a single song by using the Add file... button or you can select an entire album by using the Add directory... button. In my example below, I selected only one song to convert from an .mp3 file to an .ogg audio format. After you made all your selections, click on the Start transcoding button.
You will notice a progress bar grow as it converts your music.
It is completed when the bar reaches 100%. You can now select your song or songs and click the Remove button to remove the song(s) from the Transcode Music list. Then click the Close button.
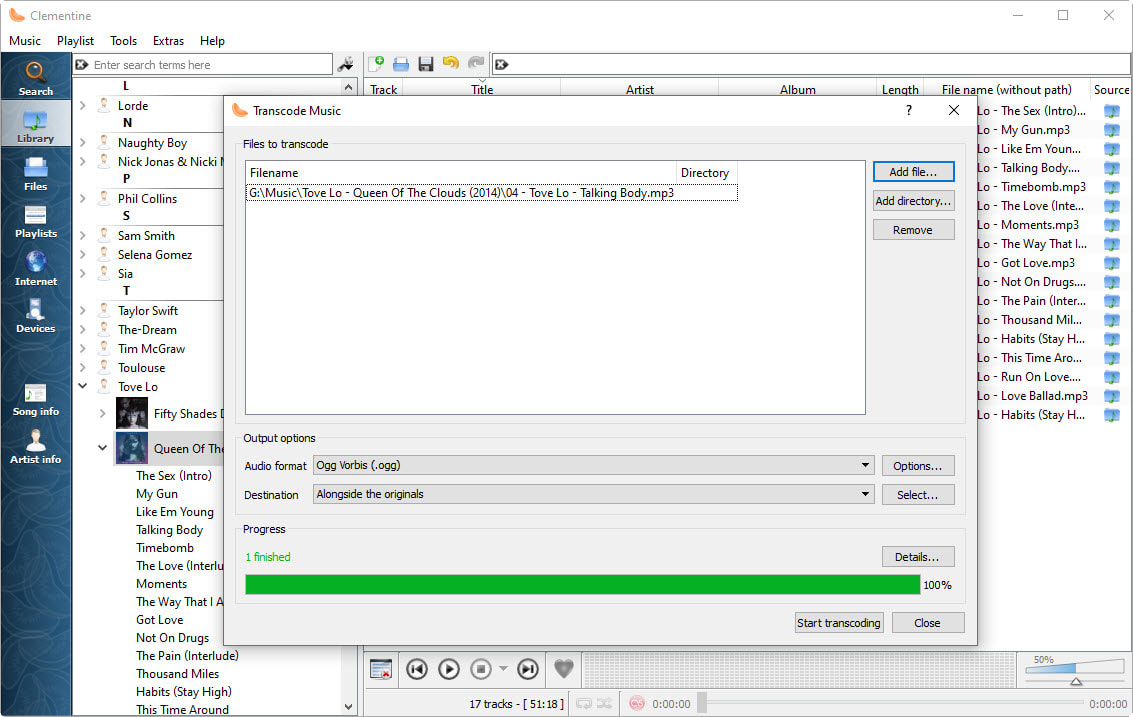
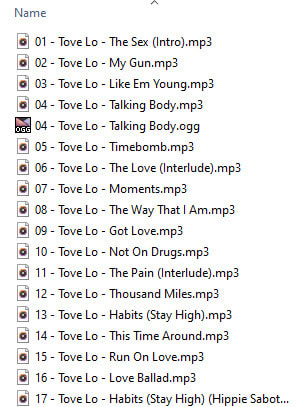
You will now see that song number 4 has an .mp3 file and an .ogg file. The transoder tool within Clementine works great and it's fast at converting.
How to Rip a CD
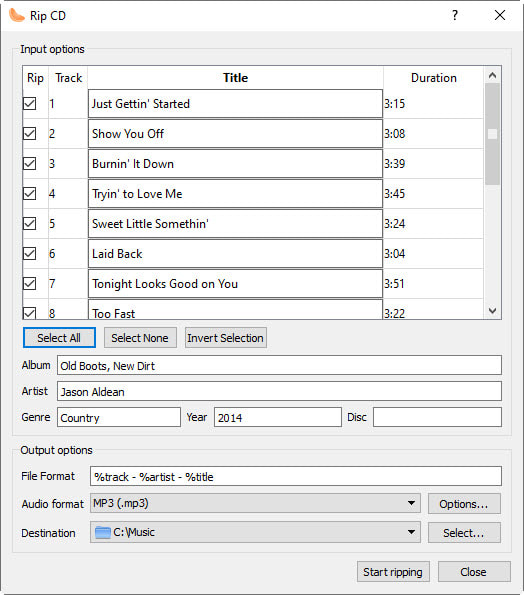
You can rip or copy the music from your music CD to your hard drive by using the Rip CD command within the Tools menu. Insert a music CD into your CD-ROM Drive and wait for it to spin down. Click on the Tools menu and then click on the Rip CD feature. It will scan your music CD and then bring up a Rip CD dialog box. If you're lucky it will already have your metadata filled in and if it doesn't then you can enter the information in manually. When you are ready click the Start ripping button.
You can rip or copy the music from your music CD to your hard drive by using the Rip CD command within the Tools menu. Insert a music CD into your CD-ROM Drive and wait for it to spin down. Click on the Tools menu and then click on the Rip CD feature. It will scan your music CD and then bring up a Rip CD dialog box. If you're lucky it will already have your metadata filled in and if it doesn't then you can enter the information in manually. When you are ready click the Start ripping button.
You can click the Close button when the music has completed the ripping process.
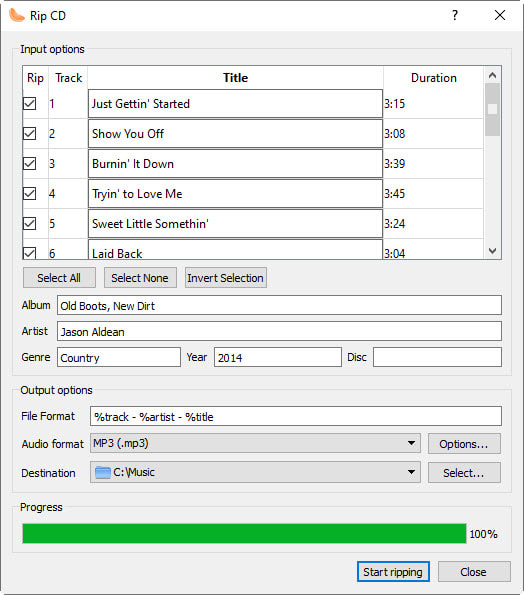
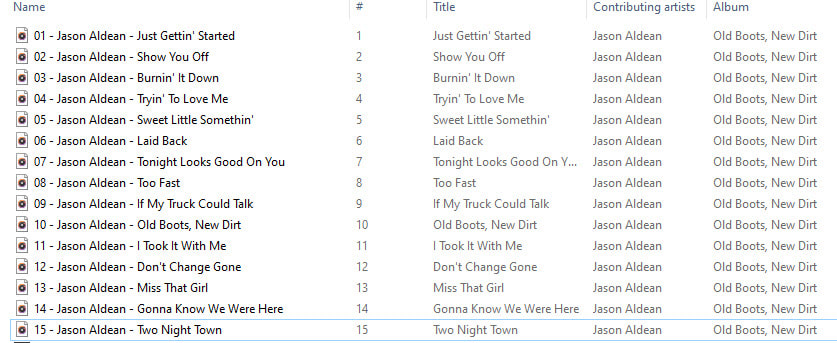
You should find your songs in your Destination folder.
Clementine is packed full of features. It may take a while to learn to use all the tools built into this program. You may not use all the features, but it's nice to know that you have access to them in case you need them.
Mar 25, 2020
