
Pinta: Add-ins Menu
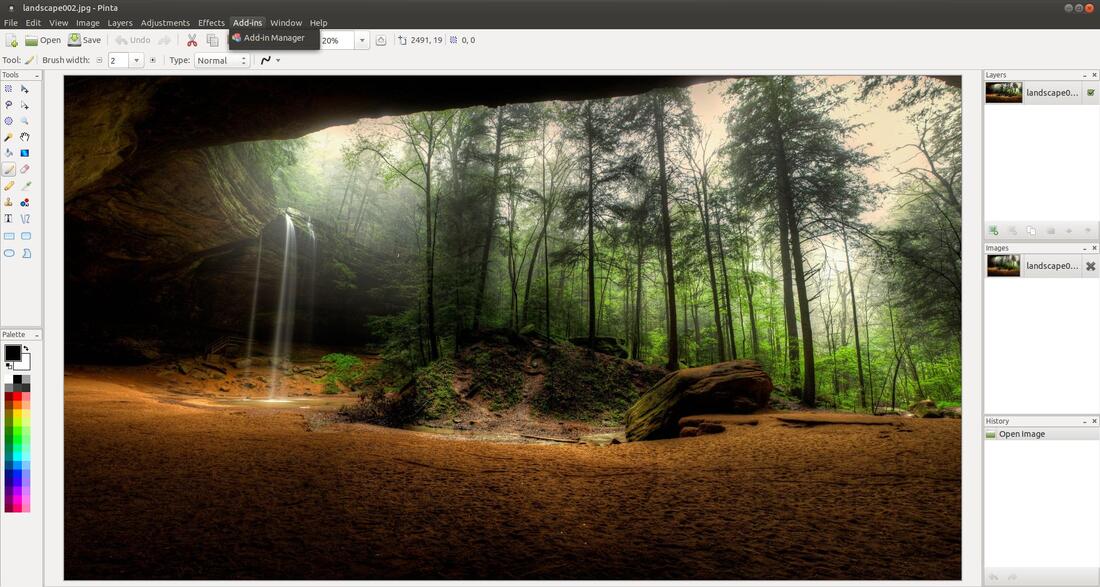
The Add-ins menu will allow you to install more effects, adjustments, and tools via the Add-in Manager. The Add-In Manager provides an easy way to manage any plugins or extensions you might have installed.
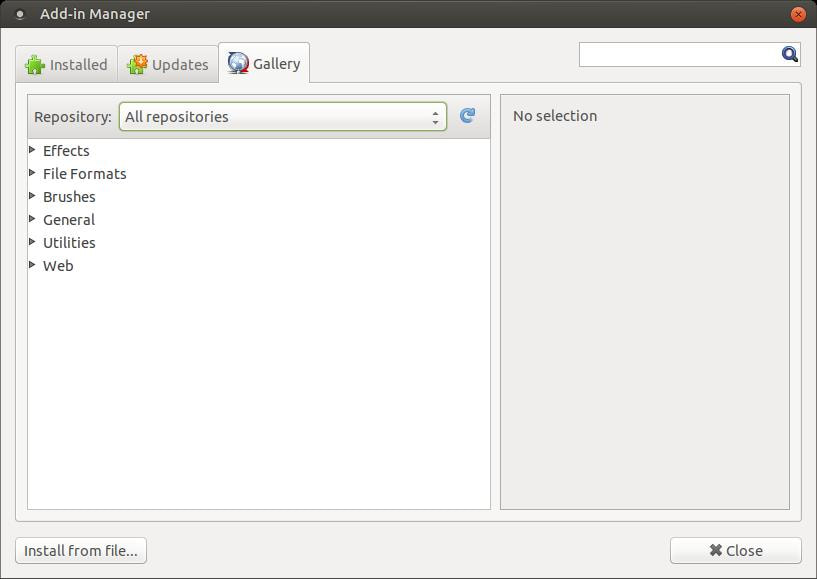
The Add-In Manager lists all of the Pinta extensions you have installed. When you first access the Add-in Manager you will see three tabs across the top. The first tab called "Installed" will display all of the effects, adjustments, and tools that you have installed. By default you should see Default Effects and Default Tools.

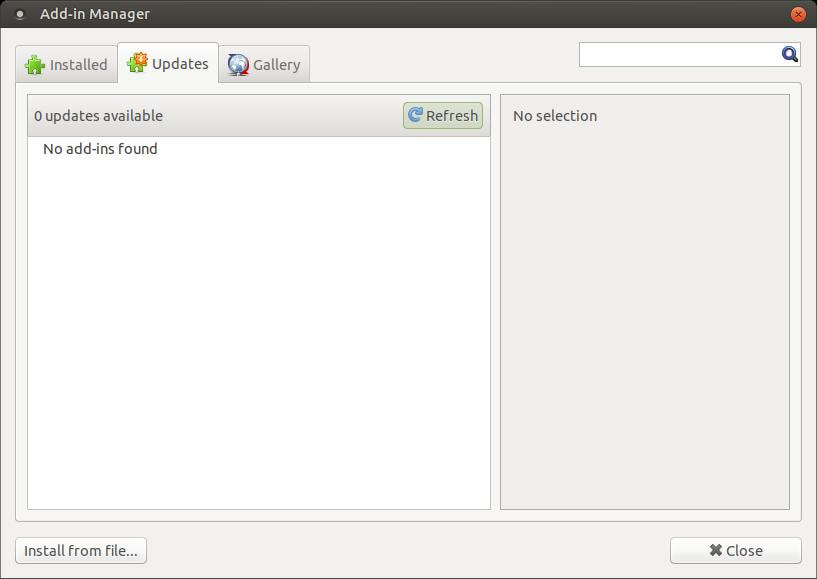
The second tab called "Updates" will allow you to look for Add-in updates. You can manaully check for updates by clicking the Refresh button. If you find an update for an Add-in online, you can download it and then click on the Install from file... button. (Only install from trusted sources.)
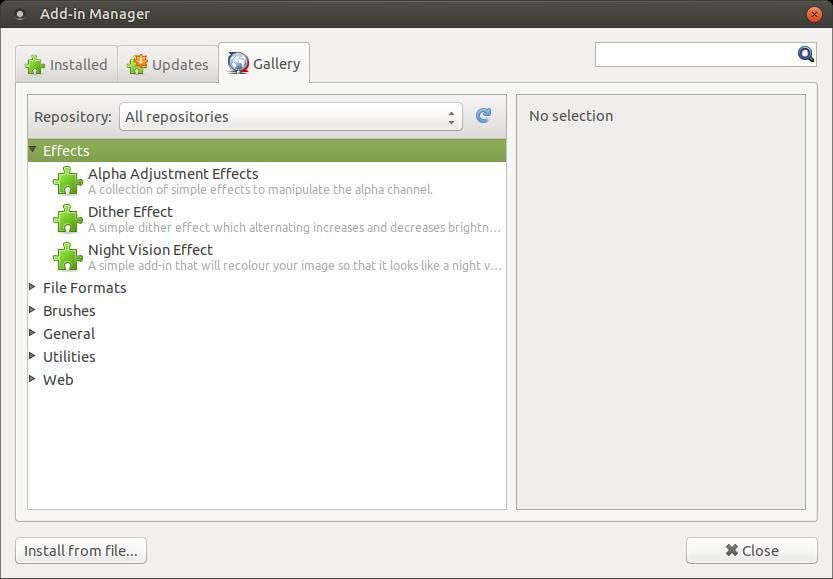
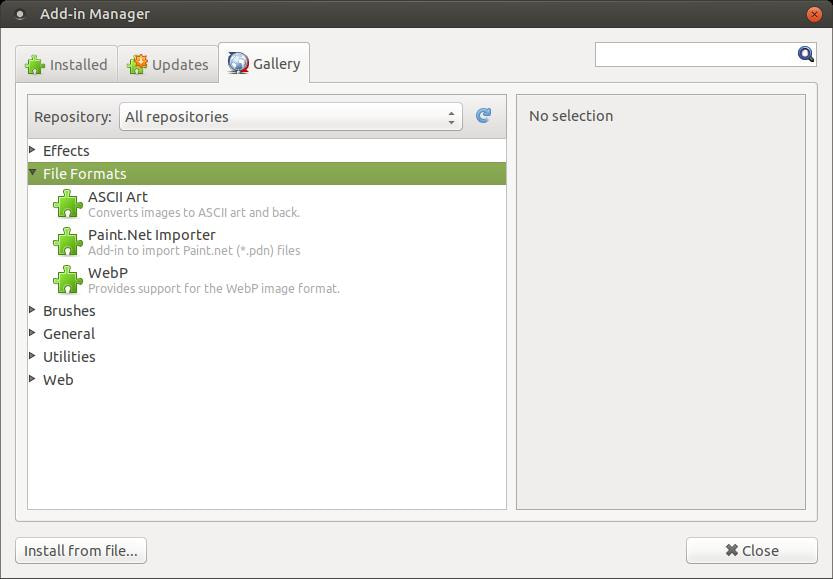
The third tab called "Gallery" will allow you to browse through Effects, File Formats, Brushes, General, Utilities, and Web categories.

Under the Effects category, you have the options of Alpha Adjustments Effects, Dither Effect, and Night Vision Effect.
- Alpha Adjustments Effects - A collection of simple effects to manipulate the alpha channel. (Requires Pinta 1.7)
- Dither Effect - A simple dither effect which alternating increases and decreases brightness of each pixel. (Requires Pinta 1.7)
- Night Vision Effect - A simple effect that will recolor an image to look like it was taken with a night vision camera.
Under the File Formats category, you have the options of ASCII Art, Paint.Net Importer, and WebP.
- ASCII Art - Converts images to ASCII art and back.
- Paint.Net Importer - Add-in to import Paint.Net (*.pdn) files.
- WebP - Provides support for the WebP image format.
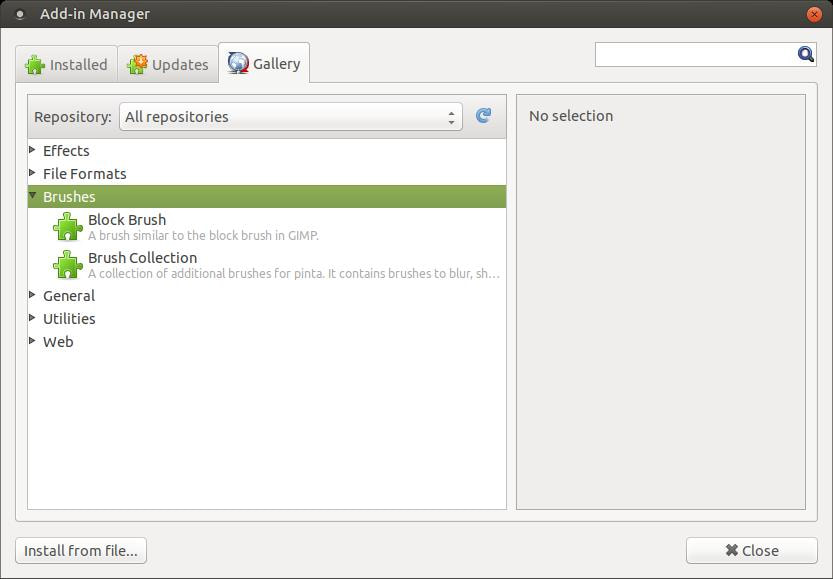
Under the Brushes category, you have the options of Block Brush and Brush Collection.
- Block Brush - A brush similar to the block brush in GIMP.
- Brush Collection - A collection of additional brushes for Pinta. It contains brushes to blur, sharpen, inteligently erase and tone the image.
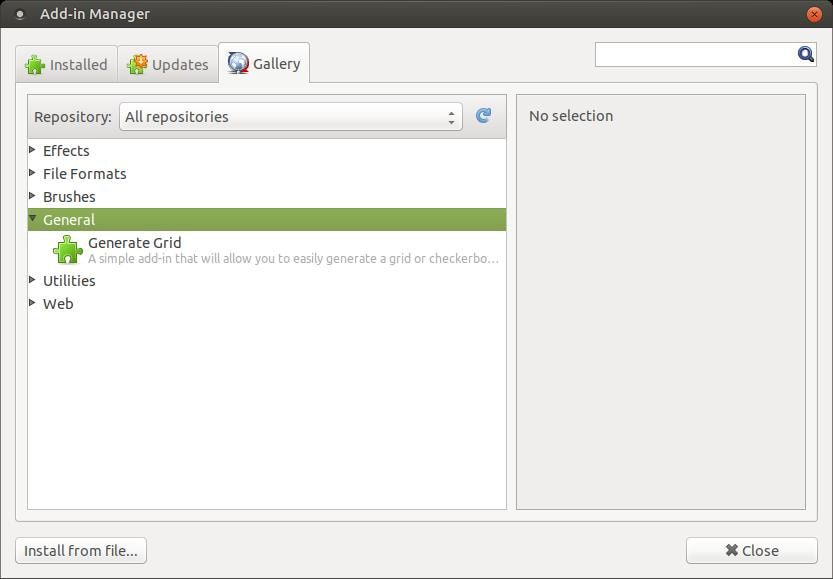
Under the General category, you have the option of Generate Grid.
- Generate Grid - A simple Add-in that will allow you to easily generate a grid or checkerboard pattern.
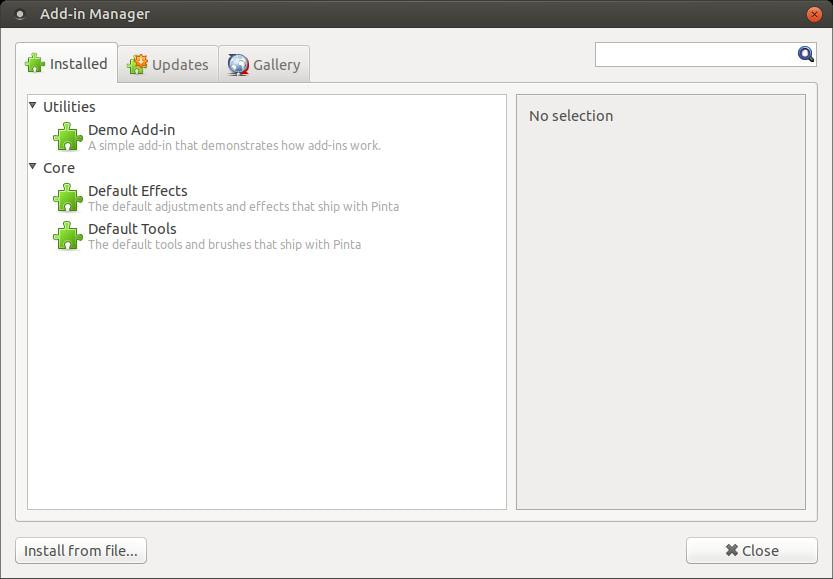
Under the Utilities category, you have the option of Demo Add-in.
- Demo Add-in - A simple Add-in that demonstrates how Add-ins work.

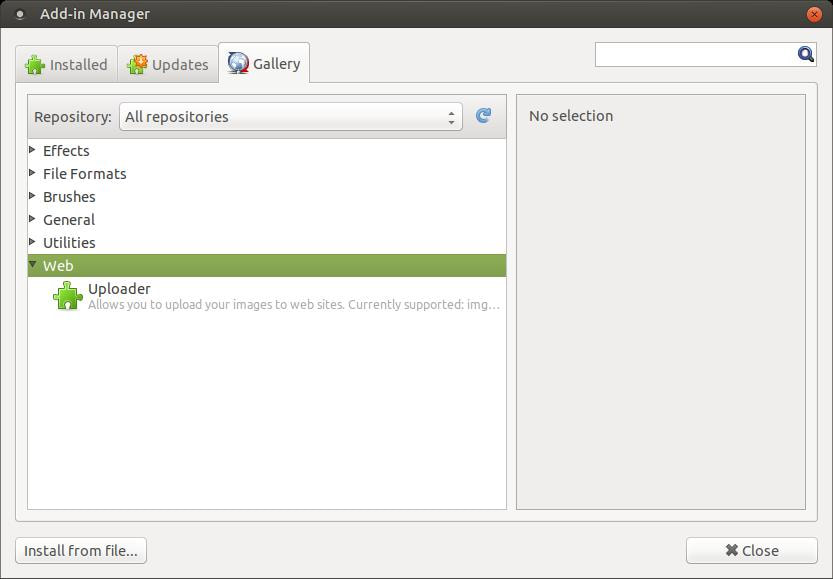
Under the Web category, you have the option of Uploader.
- Uploader - Allows you to upload your images to web sites.
How to Install an Add-In:
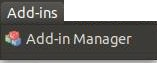
1. Click on the Add-ins menu and then click on the Add-in Manager option.
1. Click on the Add-ins menu and then click on the Add-in Manager option.

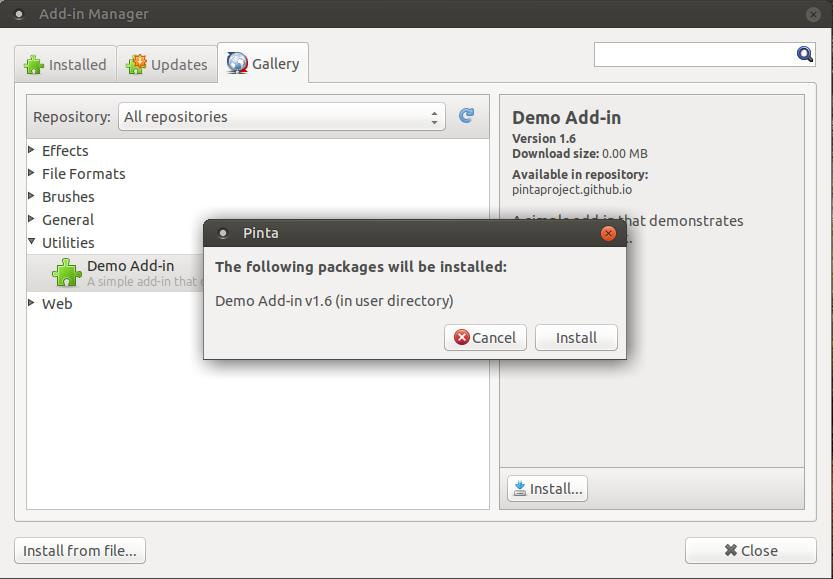
2. Click on the Gallery tab.
3. Select a category from the list and then click on the arrow to the left of it to create a drop-down list. Click on an Add-in from the list to select
it and then click the Install button on the bottom right side.
it and then click the Install button on the bottom right side.

4. A small dialog box will appear to verify that you want to install the selected Add-in. Click the Install button to start the installation process.
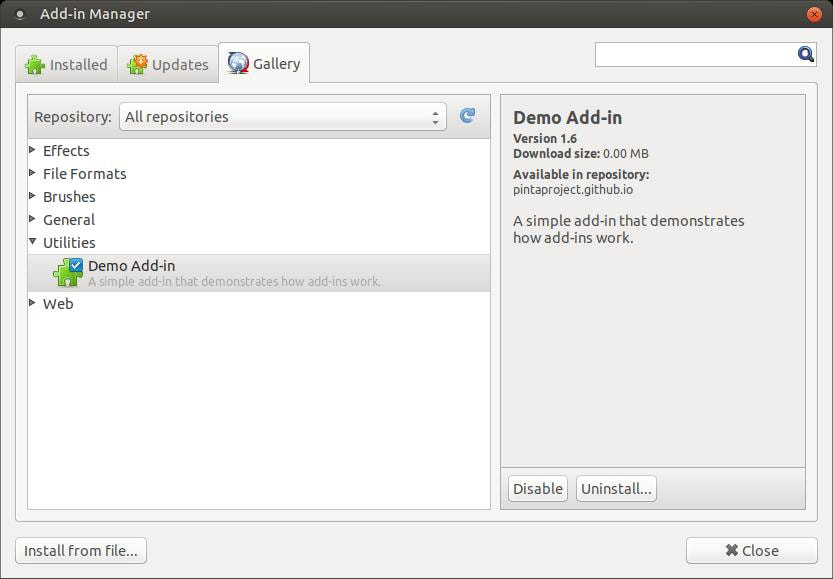
5. You will see a check next to the Add-in once it installs. On the right you will be able to Disable the Add-in if you think it conflicts with
another Add-in or something installed on your system. The Disable button will change to an Enable button once it is pressed. If you
determine the Add-in conflicts with something on your system or if you just want to remove the Add-in then click the Uninstall... button.
another Add-in or something installed on your system. The Disable button will change to an Enable button once it is pressed. If you
determine the Add-in conflicts with something on your system or if you just want to remove the Add-in then click the Uninstall... button.
You will notice the new Add-in you installed is now added to the Installed list.
If you click on the new Add-in in the Installed list, you will see a description on the right along with the Disable and Uninstall... buttons.
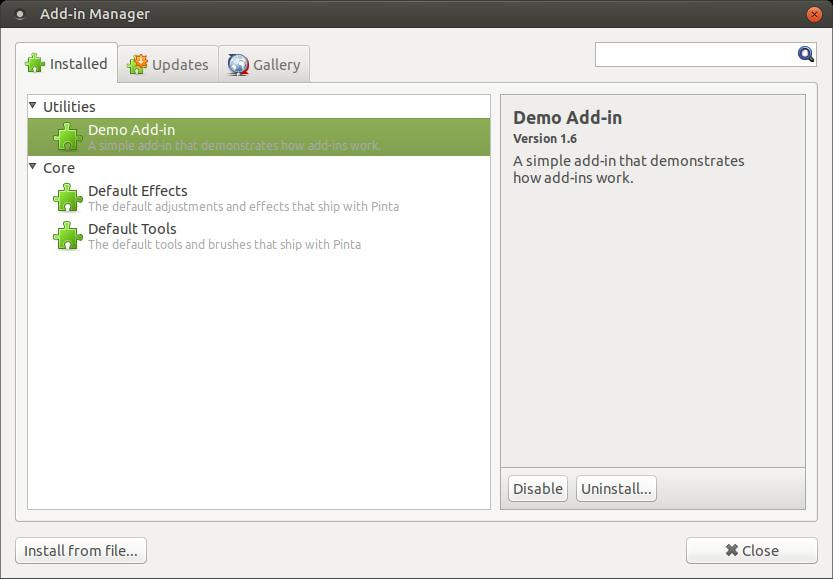
The Pinta Demo Extension is a simple demo project, to be used in the future for a tutorial on making Pinta extensions. Currently being used as a test case for developing the Pinta extension infrastructure.
Effects
Night Vision Effect - A simple effect that will recolor an image to look like it was taken with a night vision camera.
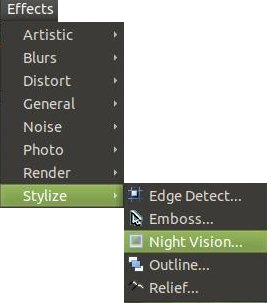
This new effect can be accessed by clicking on the Effects menu, highlight Stylize, and click on Night Vision...
Night Vision Effect - A simple effect that will recolor an image to look like it was taken with a night vision camera.
This new effect can be accessed by clicking on the Effects menu, highlight Stylize, and click on Night Vision...
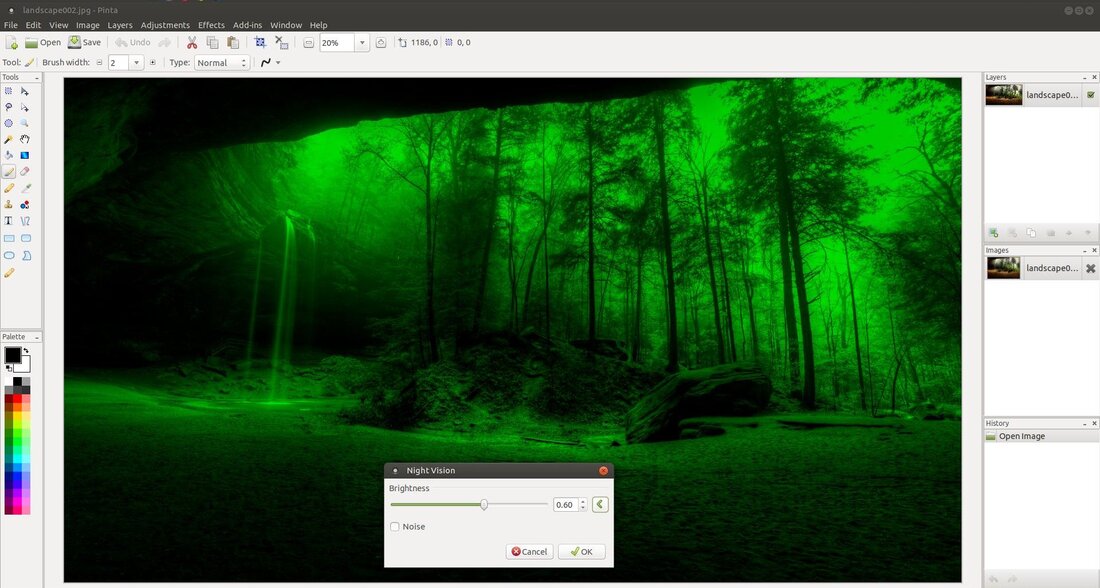
It will make your image look like you're looking at it through night vision goggles or night vision binoculars. After you click on the command, a small Night Vision dialog box will appear to allow you to increase or decrease the Brightness of your image.
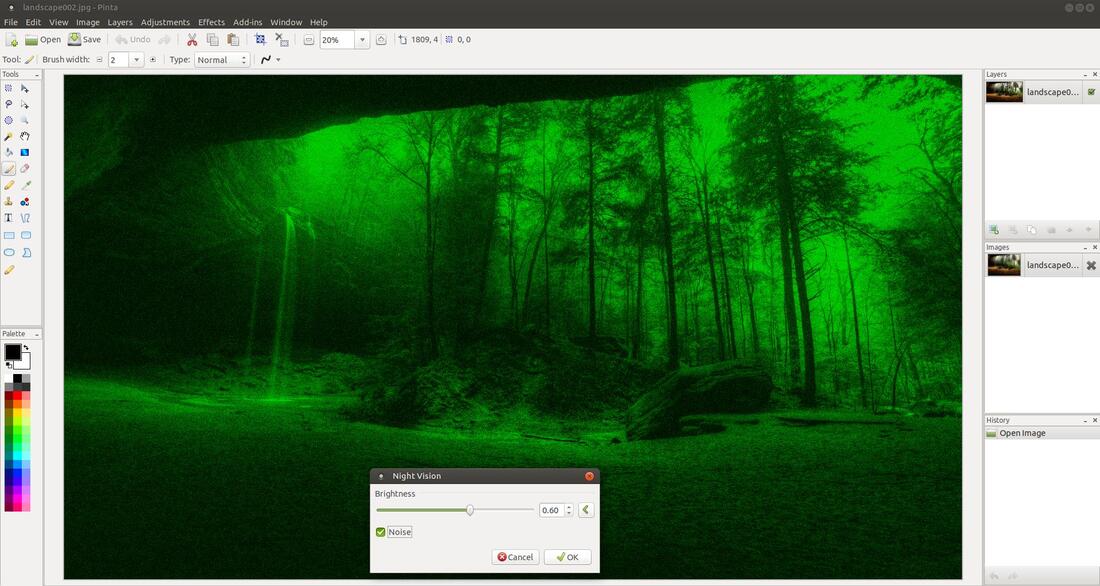
You can also add Noise to your image. Adding Noise to the image. Image Noise is adding graininess random speckles to your image so the image doesn't appear as crisp and clear.
File Formats
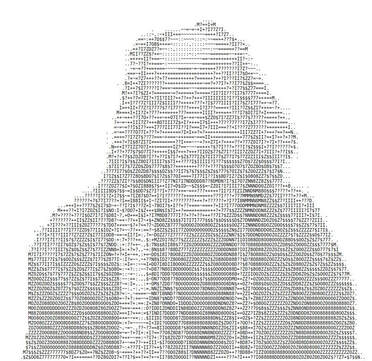
ASCII Art - Converts images to ASCII art and back.
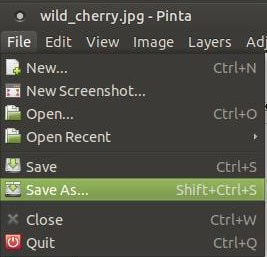
Locate an image that you want to convert to ASCII Art and open it in Pinta. The click on the File menu and Save As... command.
ASCII Art - Converts images to ASCII art and back.
Locate an image that you want to convert to ASCII Art and open it in Pinta. The click on the File menu and Save As... command.
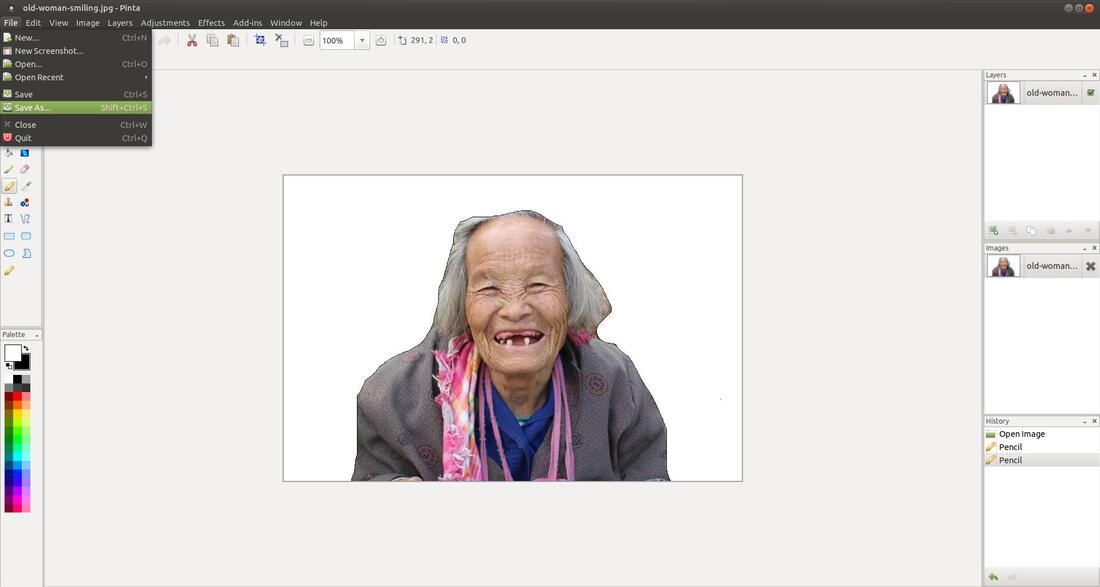
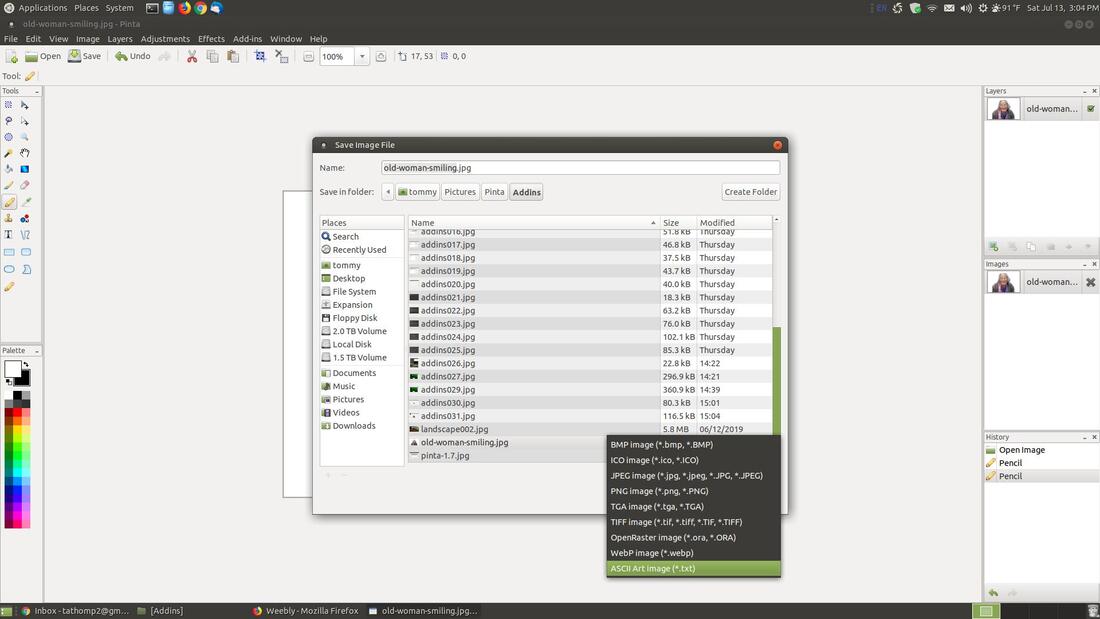
When the Save Image File dialog box appears, click the arrows next to the image format type to diplay the different types of formats. Then click on ASCII Art Image (*.txt).
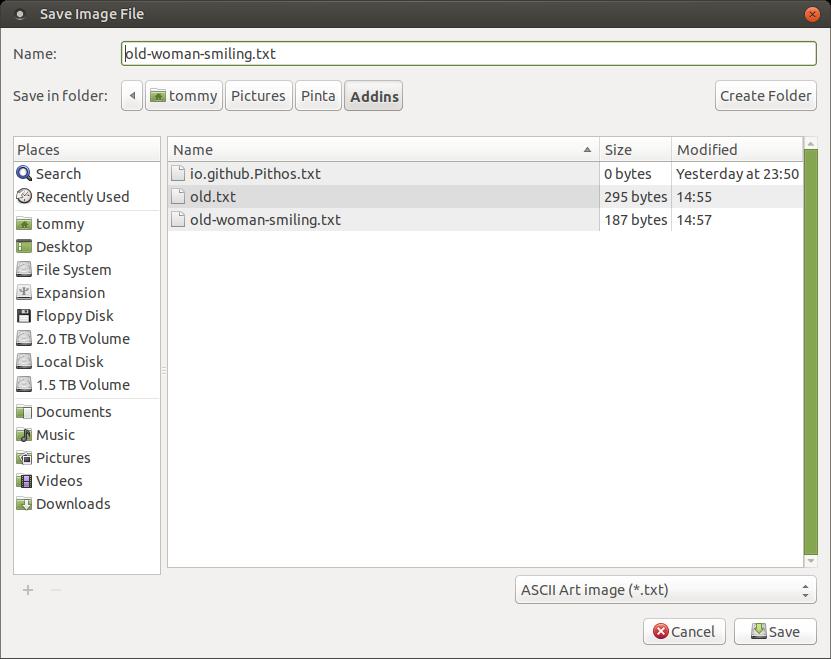
Give your image a name at the top of the dialog box. Notice the file extension is a .txt file instead of a jpg, gif, or png. Your image will now be created with ASCII characters instead of pixels in an image. Finally, click the Save button to save your new ASCII Art image.
You can now close Pinta and locate the new file that you just created. Right-click the new file and select Pinta as the program to open it with. After it opens, you may have to use zoom in feature.
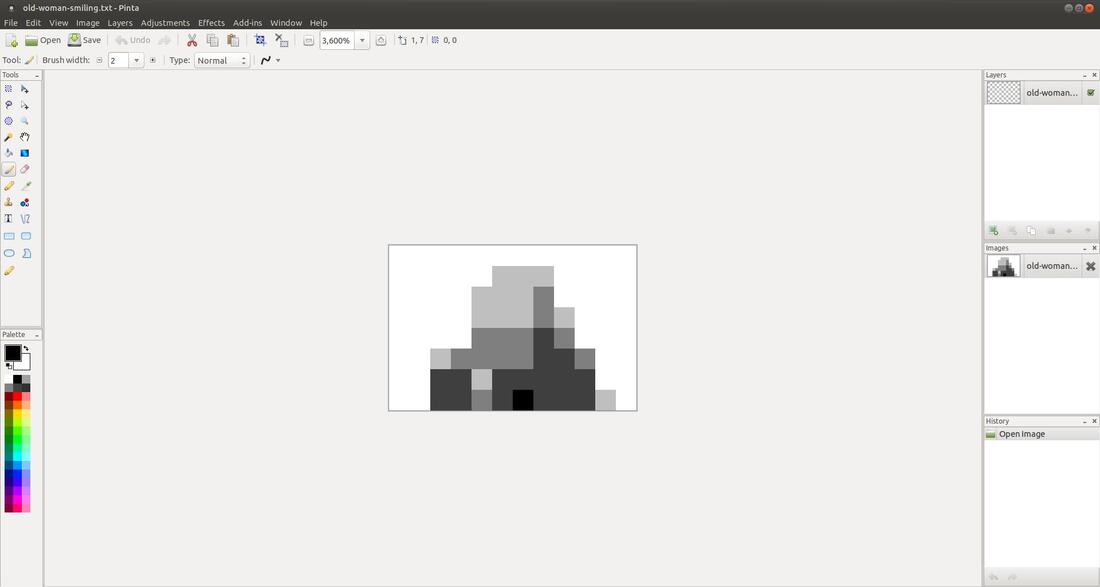
In my opinion the ASCII Art feature of Pinta is not that great. There's a lot of online ASCII Art generators that do a much better job. Here is a short list:
Glassgiant: ASCII Art
Paint.Net Importer - Add-in to import Paint.Net (*.pdn) files.
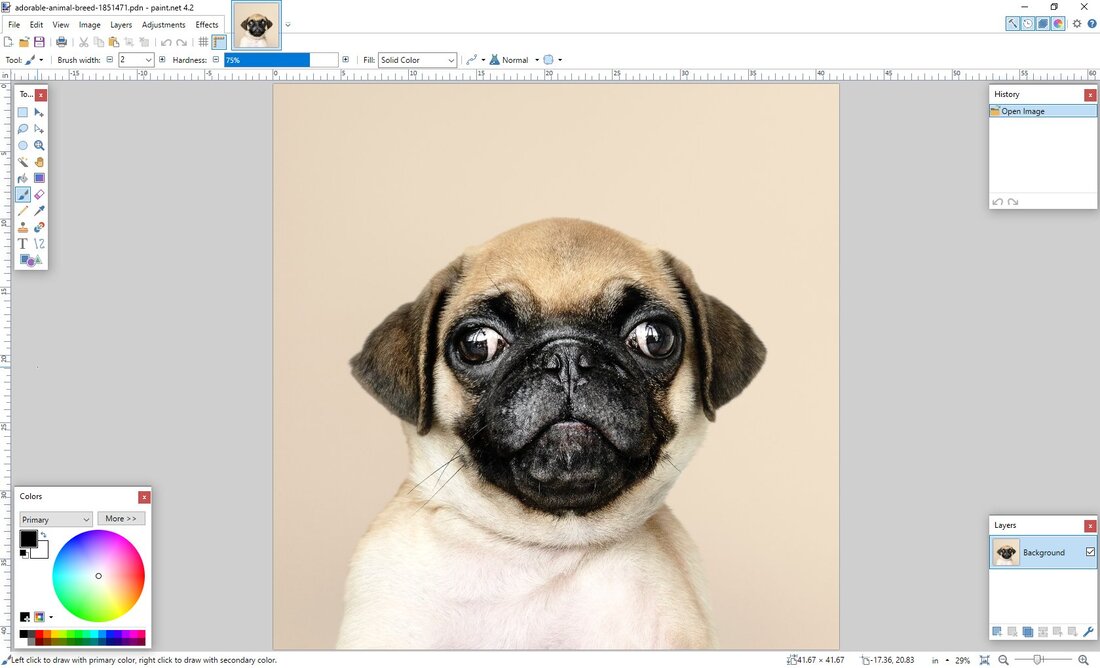
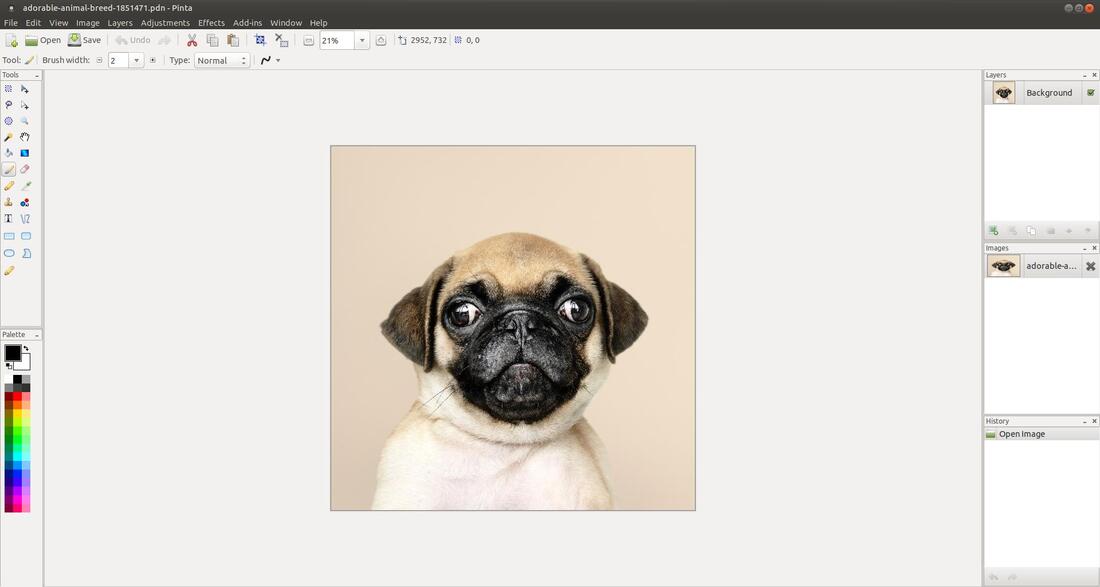
Pinta will allow you to open Paint.Net's proprietary file format using the .pdn extension. Below is a screenshot of an image in Paint.Net. As you can see in the Title bar it has the name if adorable-animal-breed-1851471.pdn.
Pinta will allow you to open Paint.Net's proprietary file format using the .pdn extension. Below is a screenshot of an image in Paint.Net. As you can see in the Title bar it has the name if adorable-animal-breed-1851471.pdn.
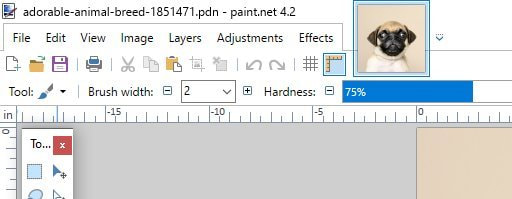
A zoomed in view of the name and new extension in the Title bar of Paint.Net.
To open the .pdn file in Pinta, click on the File menu and click on the Open... command.
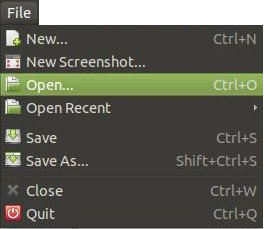
When the Open Image File dialog box opens, change the type to display All files and then locate the .pdn file on your system. Click the Open button when the name of the .pdn file is displayed in the Location section.
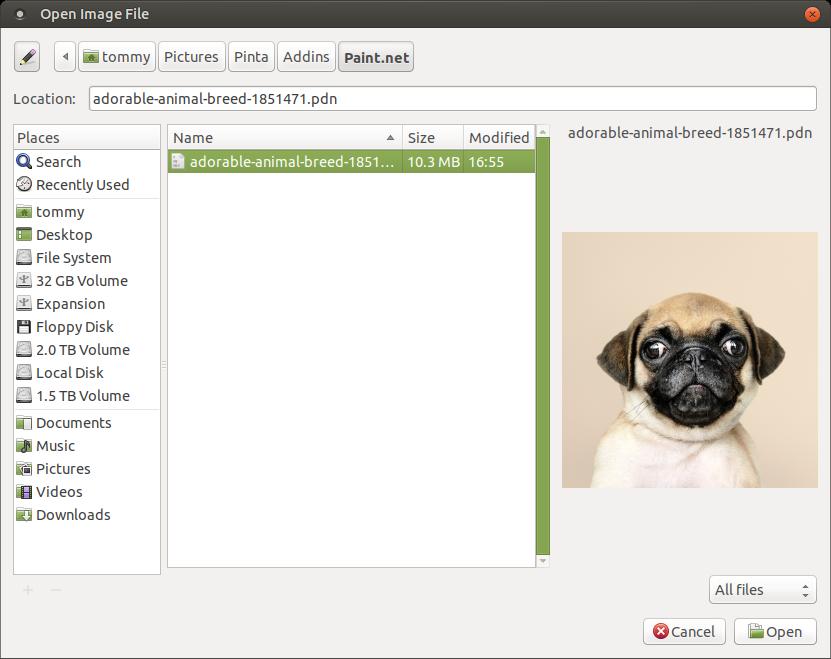
You should see the image within the .pdn file in Pinta. You can now use the Save As... feature in the File menu to convert to a different file extension or file type.
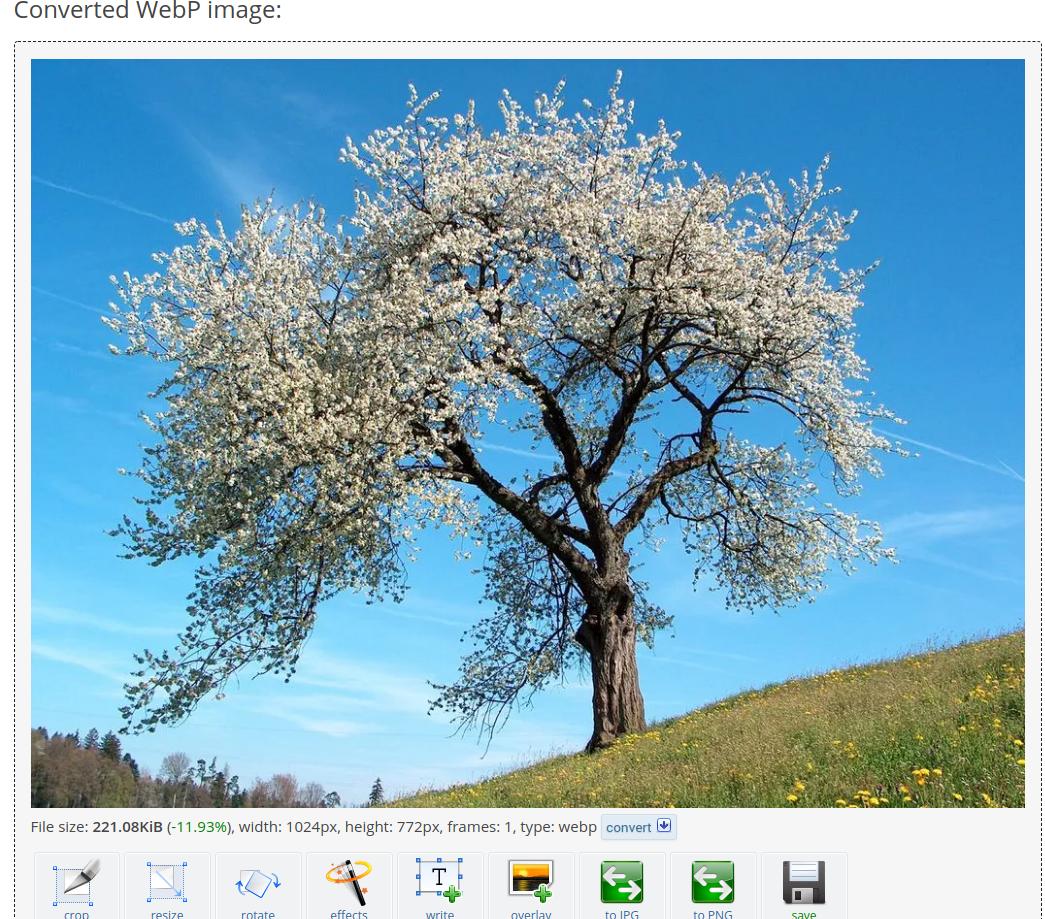
WebP - Provides support for the WebP image format.
Open an image with a .jpg, .jpeg, .gif, .png, or any other file extension that Pinta supports. You can convert the image to have the .webp file extension.
Open an image with a .jpg, .jpeg, .gif, .png, or any other file extension that Pinta supports. You can convert the image to have the .webp file extension.

Click on the File menu and then on the Save As... command.
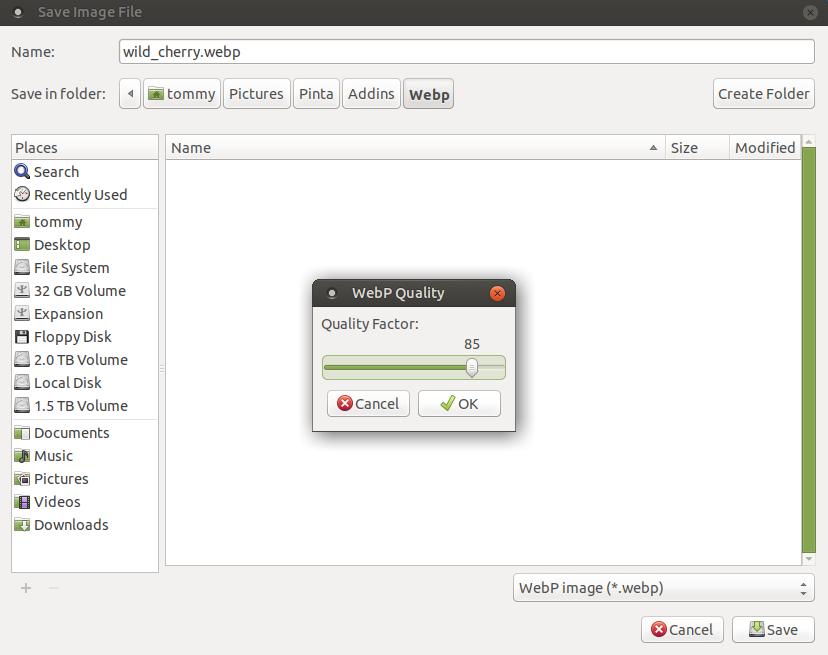
When the Save Image File dialog box appears, change the file type in the lower right to WebP image (*.webp). Then give the image a name and click the Save button.
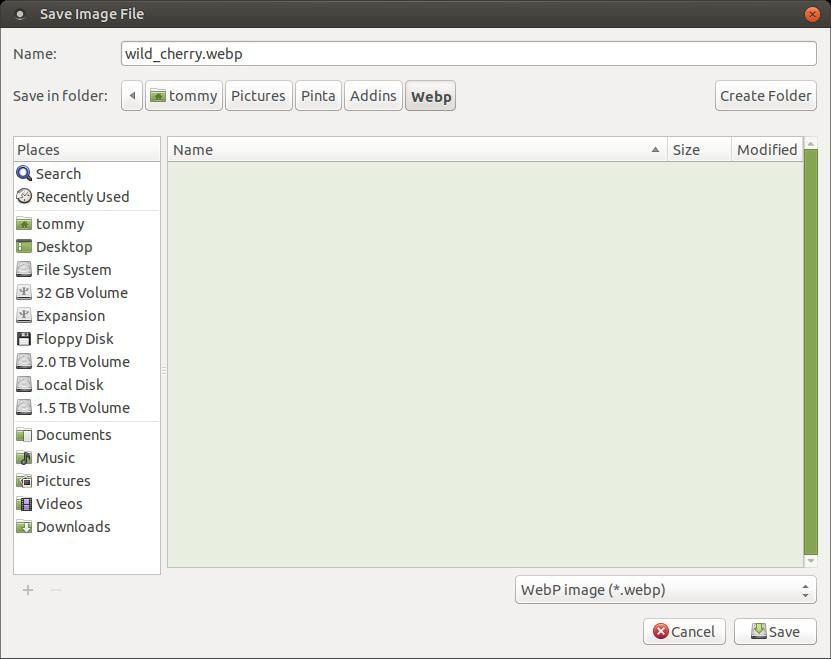
Click the OK button when the WebP Quality dialog box appears.
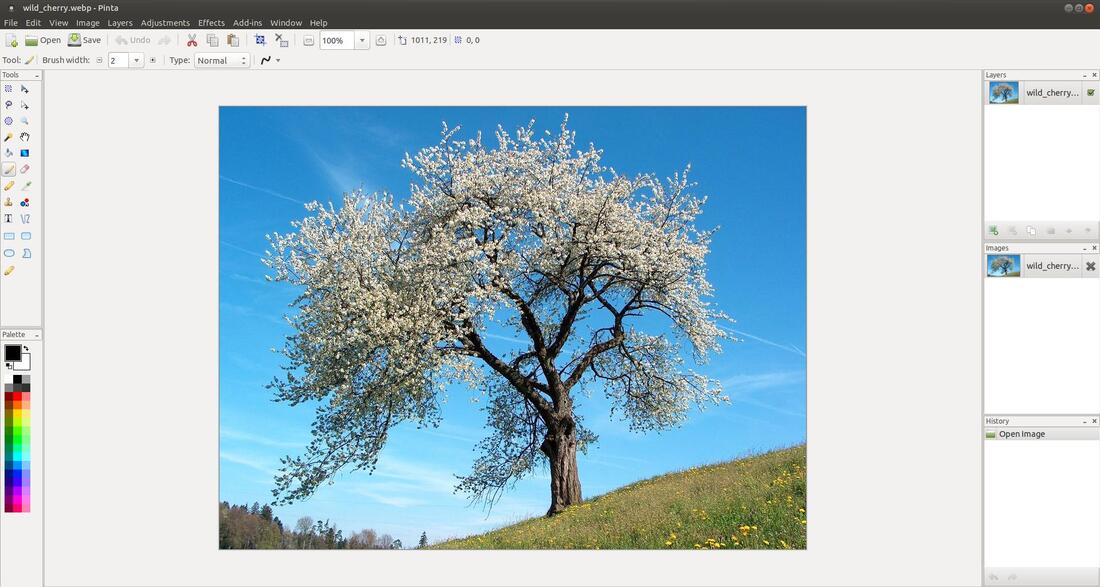
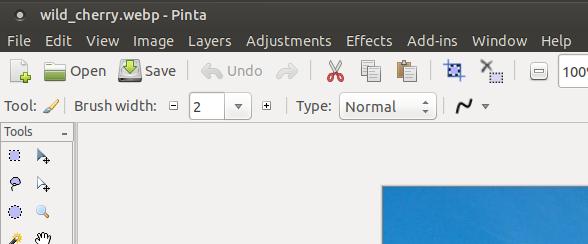
You will notice the new file extension within the name on the Title bar in the upper left corner of your screen.
A zoomed in view of the name and new extension in the Title bar of Pinta.
The ability of Pinta converting a .jpg, .jpeg, .gif, or .png image to a WebP is hit and miss. It is not always reliable converting an image to the .wepb format. I highly recommend the online converter EZGIF.COM to convert your images to WebP. Below is the tree image having a .jpg extension.
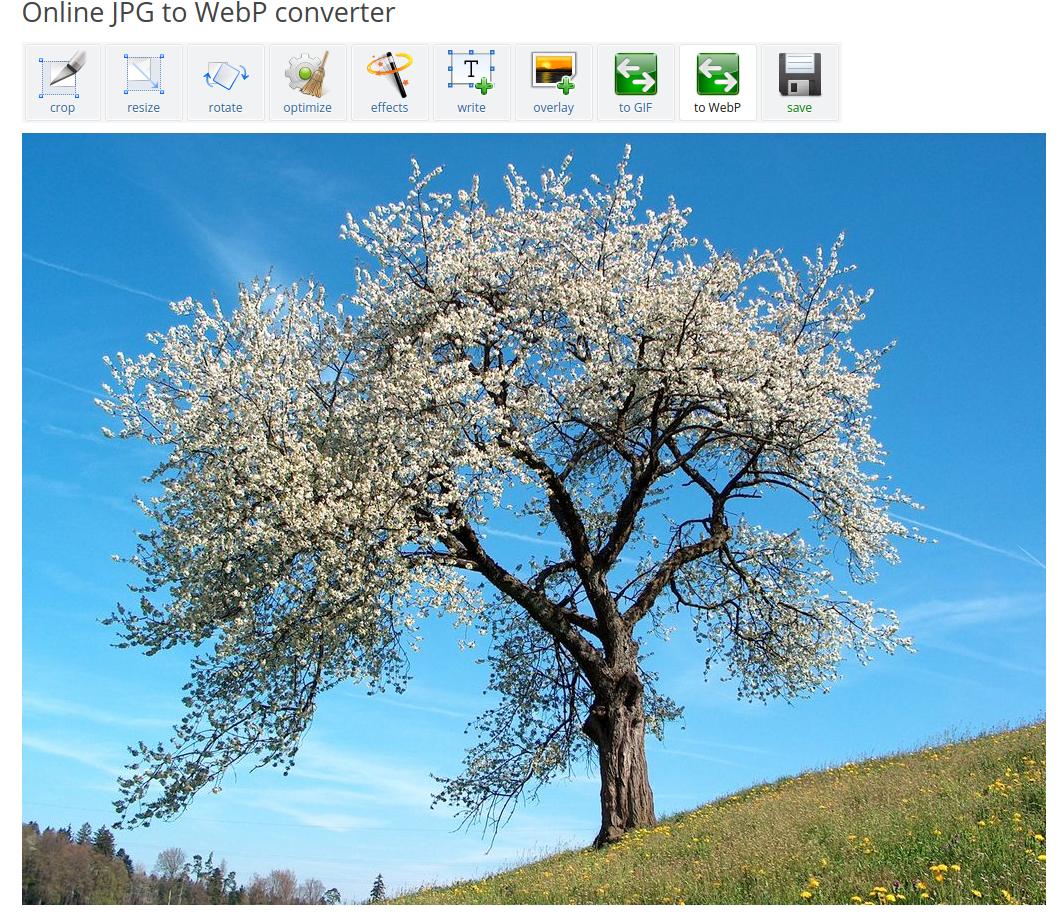
Below is the tree image converted to have the .webp file extension. It was fast and easy.
Brushes
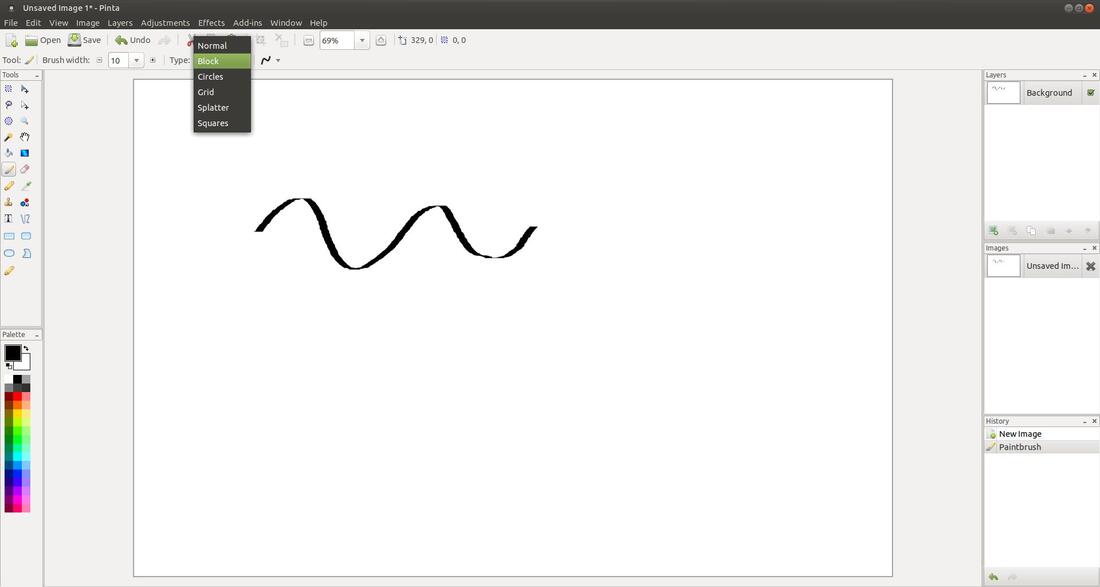
Block Brush - A brush similar to the block brush in GIMP.
If you click on the Paintbrush tool on the Tool Palette you'll notice a brush Type on the Toolbar. Block is a new brush added to the list. Below is an example of the Block Brush.
Block Brush - A brush similar to the block brush in GIMP.
If you click on the Paintbrush tool on the Tool Palette you'll notice a brush Type on the Toolbar. Block is a new brush added to the list. Below is an example of the Block Brush.
General
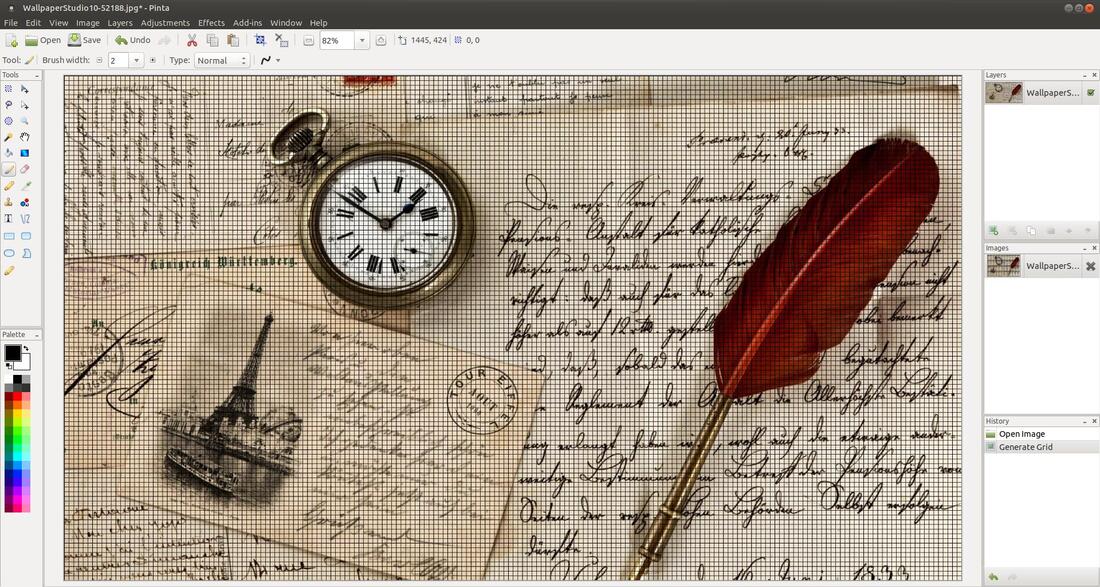
Generate Grid - A simple Add-in that will allow you to easily generate a grid or checkerboard pattern.
Generate Grid - A simple Add-in that will allow you to easily generate a grid or checkerboard pattern.
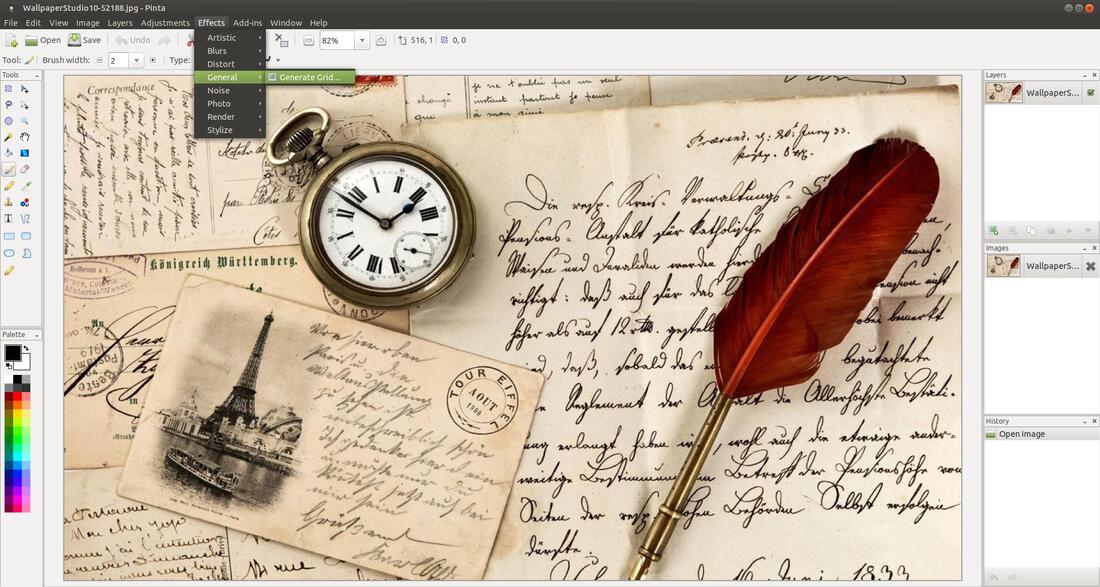
To create a grid over an image or blank document, click on the Effects menu, highlight General, and click on Generate Grid...

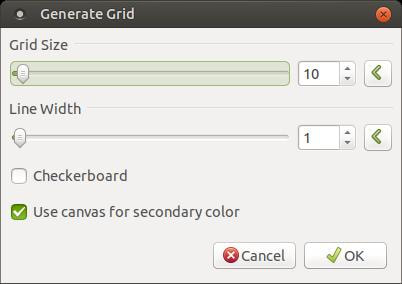
A Generate Grid dialog box will appear.

Below is a zoomed in view of the Generate Grid dialog box. At the top of the dialog box, you can adjust the Grid Size. Moving the slider to the right increase the size of the grid or makes larger squares and moving the slider to the left decreases the size of the grid. You can also increase the thickness of the lines by moving the slider to the right under the Line Width section and moving to the left will make the lines thinner. A line width of 0 or zero will display no lines. You can create a checkerboard pattern over your image by checking the Checkerboard option. If you want your image to be behind the grid then make sure you have Use canvas for seconday color option checked. If you uncheck this option your seconday color will be displayed instead of your image.
Here's the results from the settings in the above dialog box.
This is a great tool if you are trying to learn how to draw. Using a grid over an image helps a new artist get the proportions and perspective right. This extension can also make it appear as if you're looking through a screen door or window. There are many uses for this feature.
Web
Uploader - Allows you to upload your images to web sites.
Uploader - Allows you to upload your images to web sites.
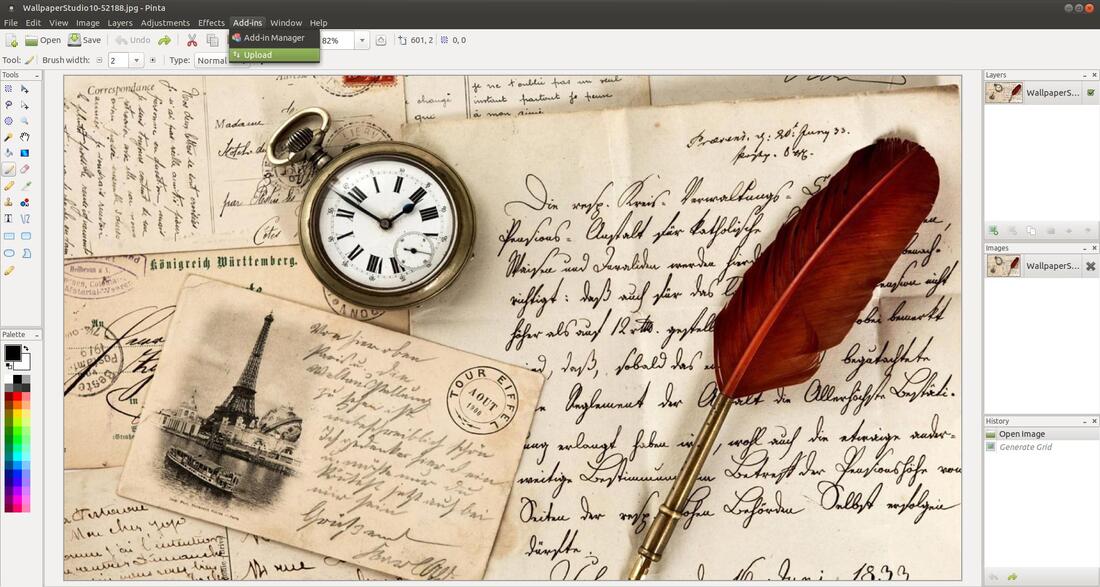
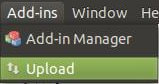
To upload an image using Pinta's upload feature, click on the Add-ins menu and click on Upload.
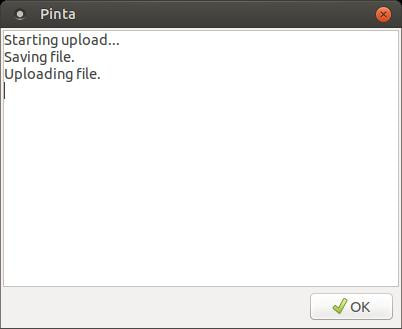
A Pinta dialog box will appear to allow you to save your image to Imgur.
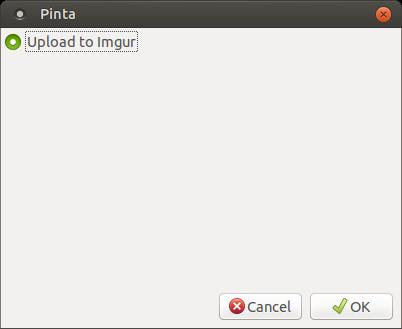
Your image will start uploading to Imgur website. This feature is also hit and miss. It doesn't always work.
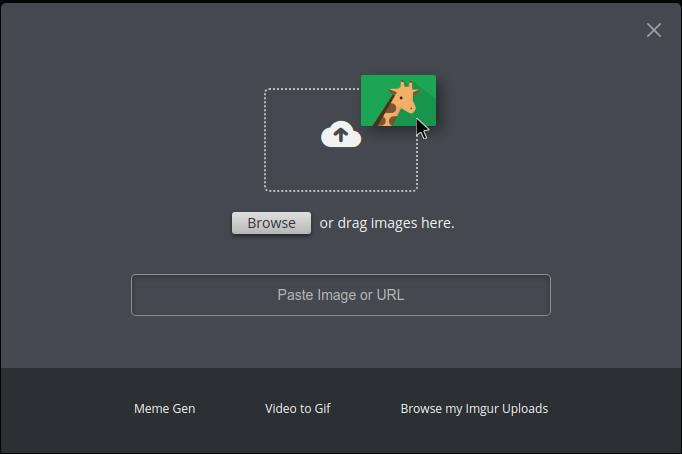
I highly recommend that you use Imgur's online image uploader instead Pinta's image uploader.
I think Pinta is a great program. The add-ins or extensions may not be the best, but a lot of them were created by third party individuals. They probably worked great for older versions of Pinta and some are for Pinta 1.7.
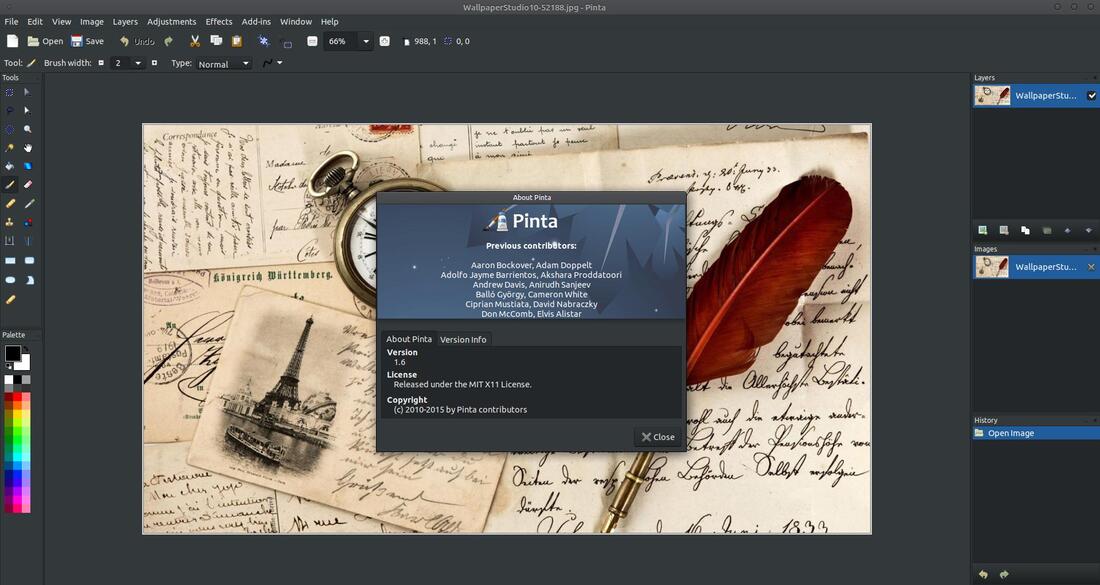
Pinta ver. 1.6 looks great with a dark theme. It makes it look more modern.
I hope this page helped you have a better understanding of the features of the Add-ins menu. I hope that you can use the add-ins that work great in Pinta and for the add-ins that doesn't work that good, I hope you can use the suggested sites that I've included.
Take it easy.
Jul 16, 2019
