
Spice-Up
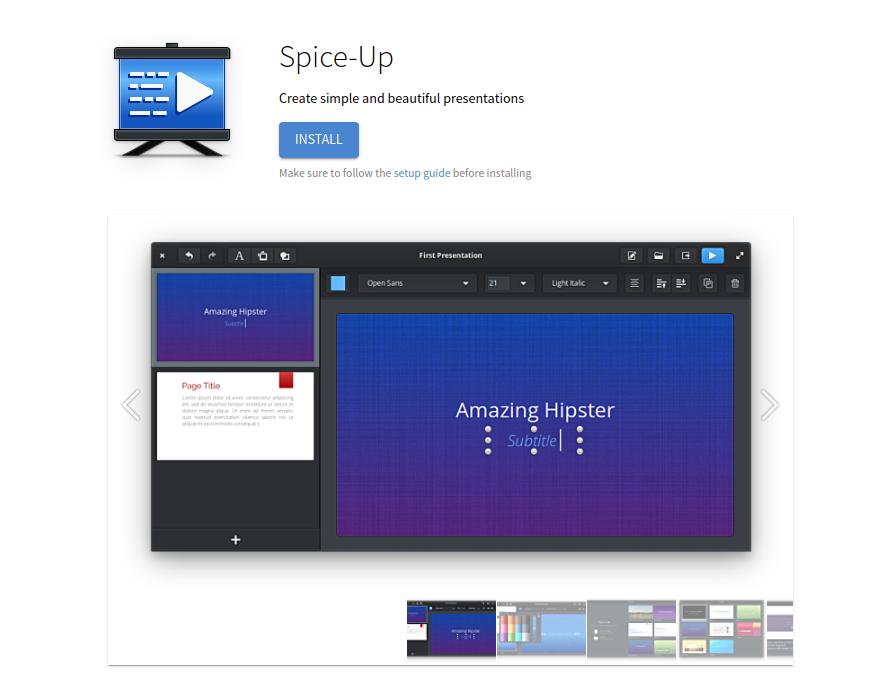
Spice-Up allows Linux users to create simple and beautiful presentations.
Easy-to-design slides and powerful features:
- Exporting to PDF: Share your presentation with anyone, no matter the platform they use.
- Presentation Browser: Scroll though the presentations you have made and jump right into them with one click!
- Controller Support: If you have a USB or Bluetooth controller, plug it in and control your slides.
- Web Viewer: Presentations can now be viewed from a web browser if Spice-Up is not installed, even if you're not using Linux. No extra software needed!
- Edit images in your favorite editor; it will automatically update when saved.
- Templates: a touch of creativity is all you need to make presentations in a blink of an eye.
- Presenter Notes: Present like a pro with slide-by-slide notes only viewable by you.
- And much more!
(Source: https://github.com/Philip-Scott/Spice-up)
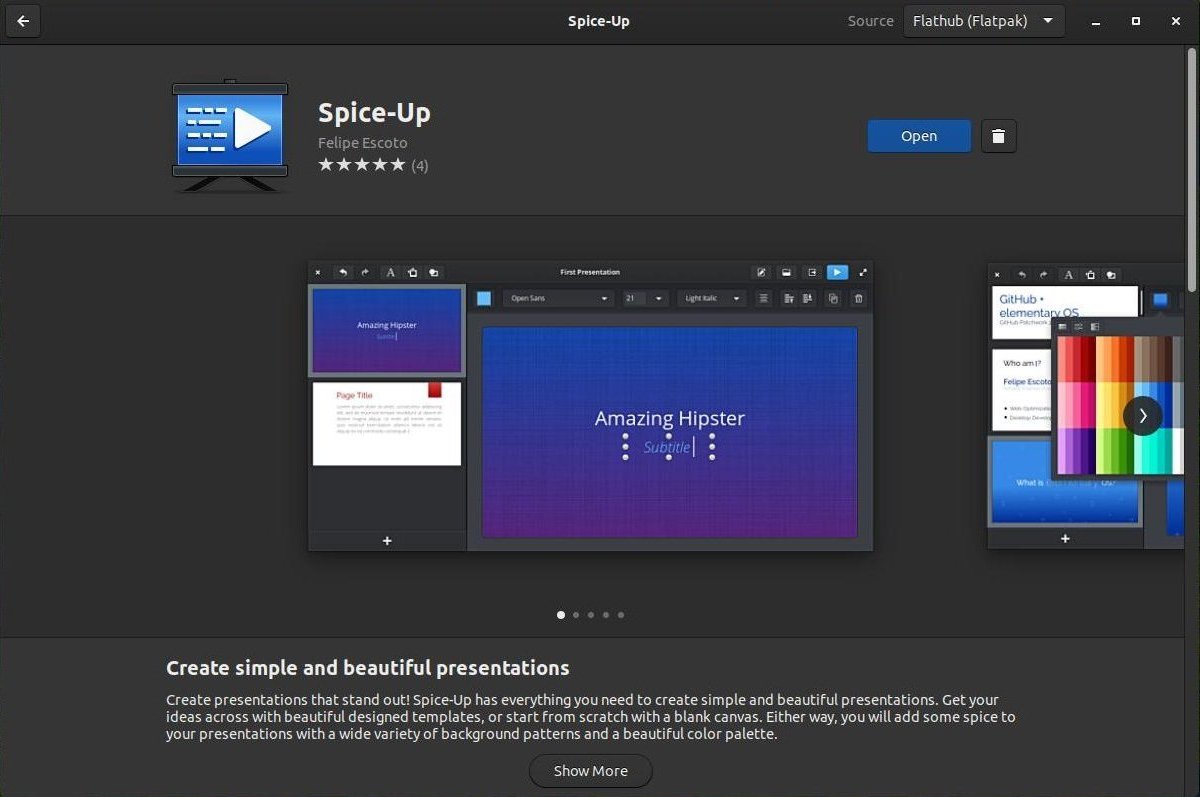
Method 2: You can install it via the Software Center (A.K.A Ubuntu Software Center or Gnome Software Center).

Once installed, you can Open the program or Delete the program within the Software Center.
Method 3: You can install it via the elementaryOS AppCenter.
sudo add-apt-repository ppa:elementary-os/stable
sudo apt update
sudo apt install appcenter
sudo add-apt-repository ppa:elementary-os/stable
sudo apt update
sudo apt install appcenter

Method 4: You can build it from their Source Code from the GitHub website.
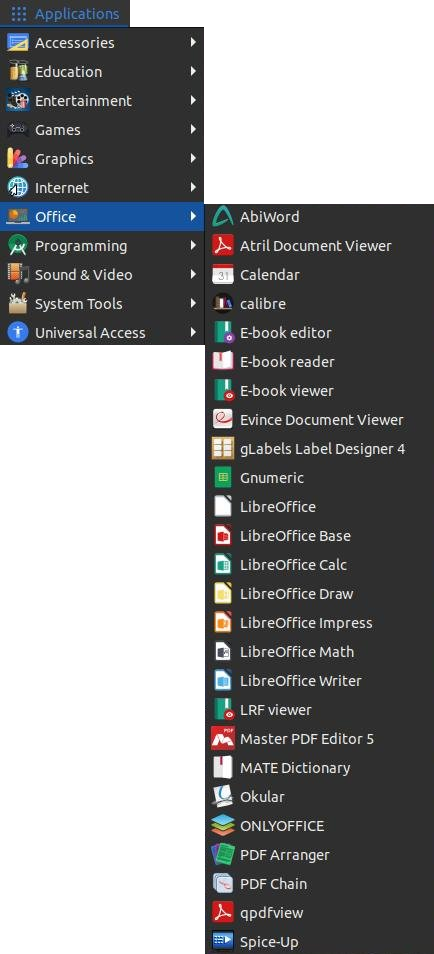
Once installed, you should be able to find Spice-Up in your menu. If not, restart your system and look again.
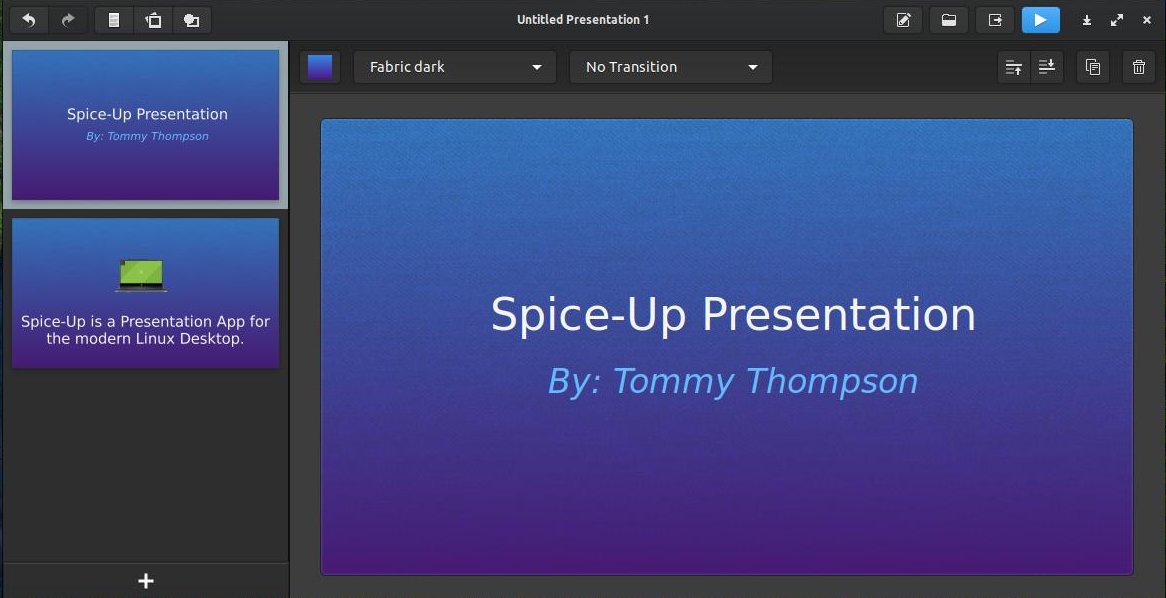
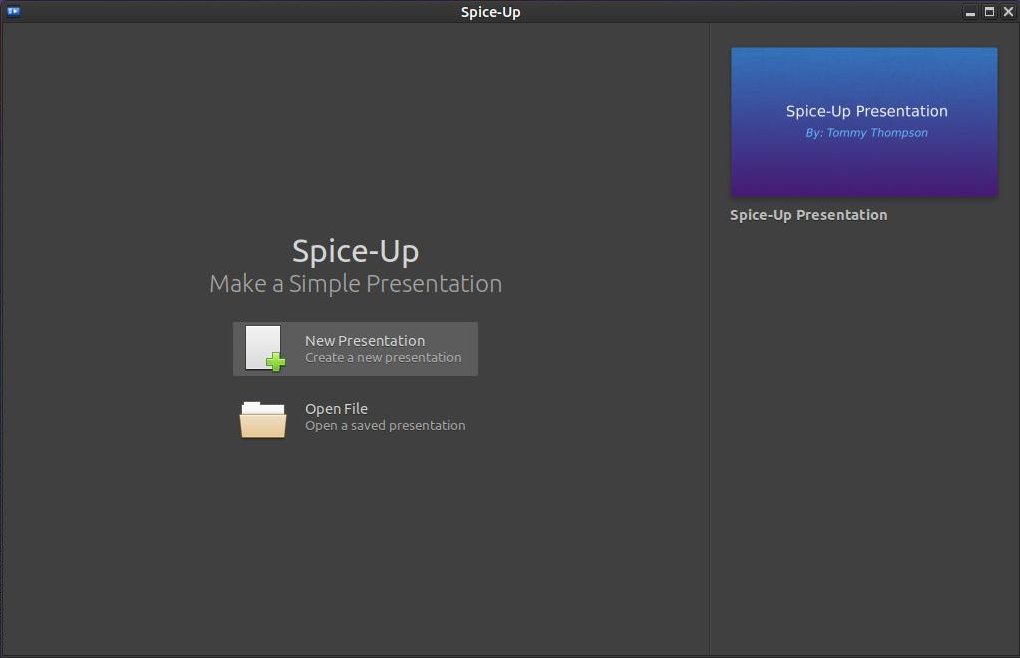
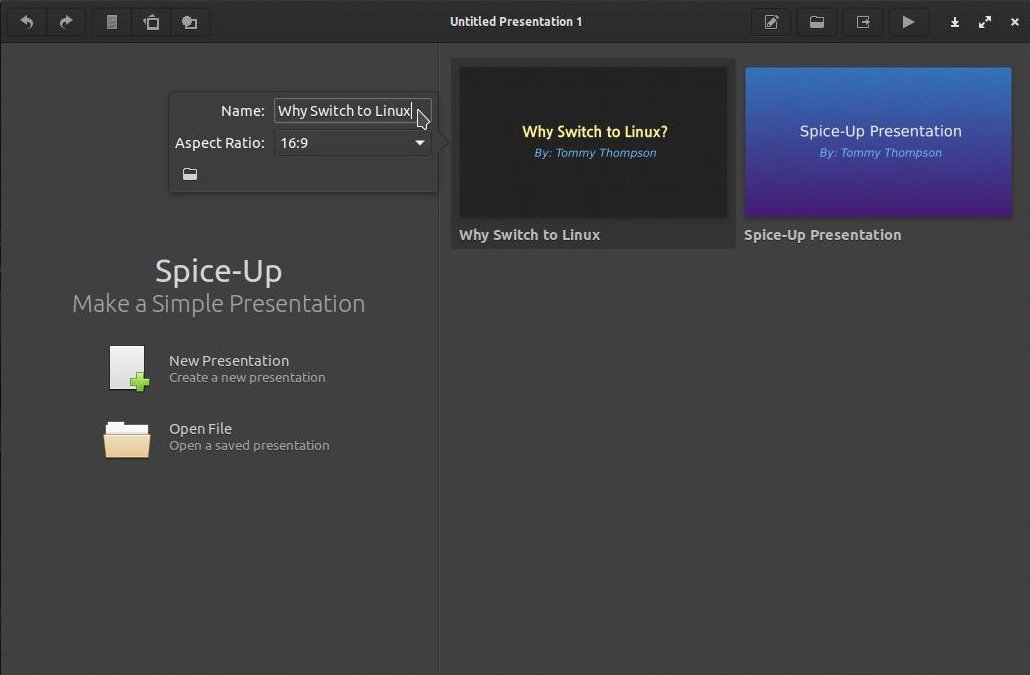
When you open Spice-Up, you'll be greeted with a Welcome Screen. You can chose to create a New Presentation or Open File arleady created. You also have the choice to click on an already created prestation on the right to edit it or modify it.
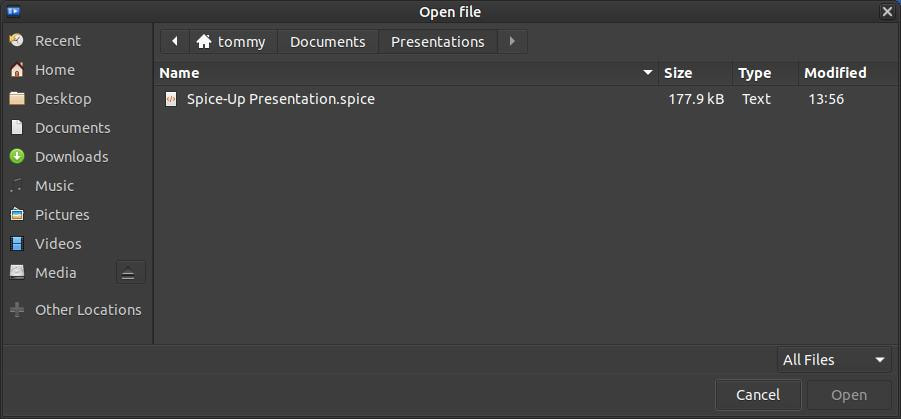
Clicking the Open File button will allow you to select a saved presentation to open.
Clicking the New Presentation button will allow you to select a template to help you get started with your new presentation.
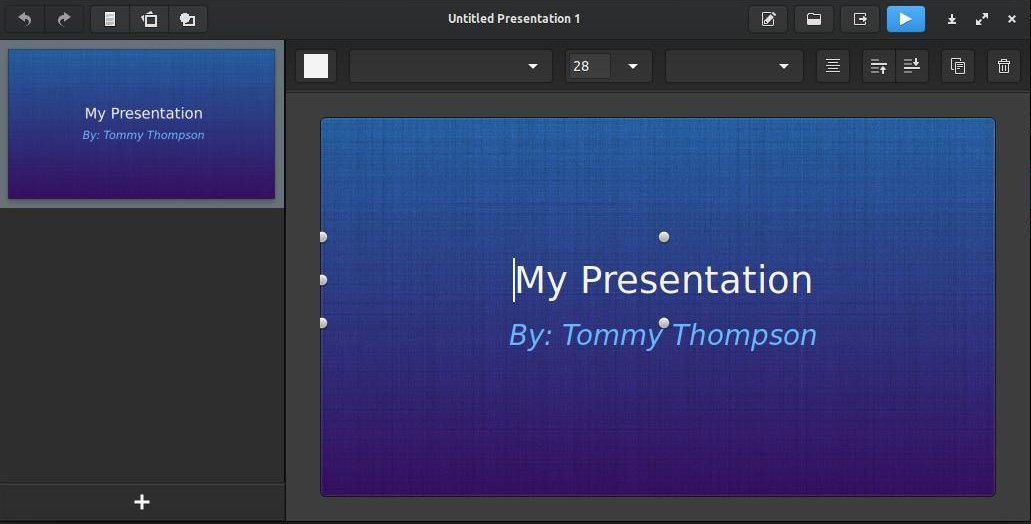
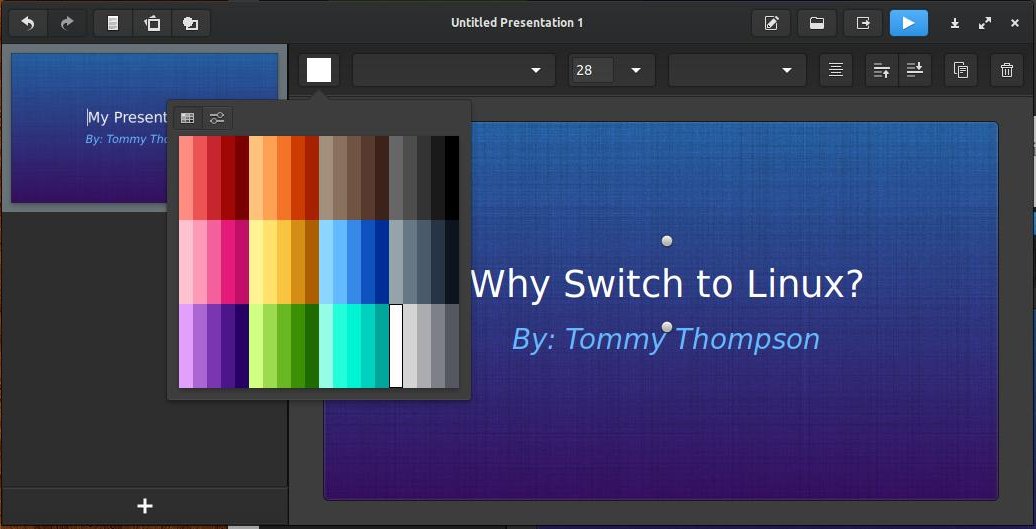
In this example, I will select the blue Spice-Up template from the list. You can edit a line by clicking on it. I clicked at the beginning of My Presentation to place the insertion point.
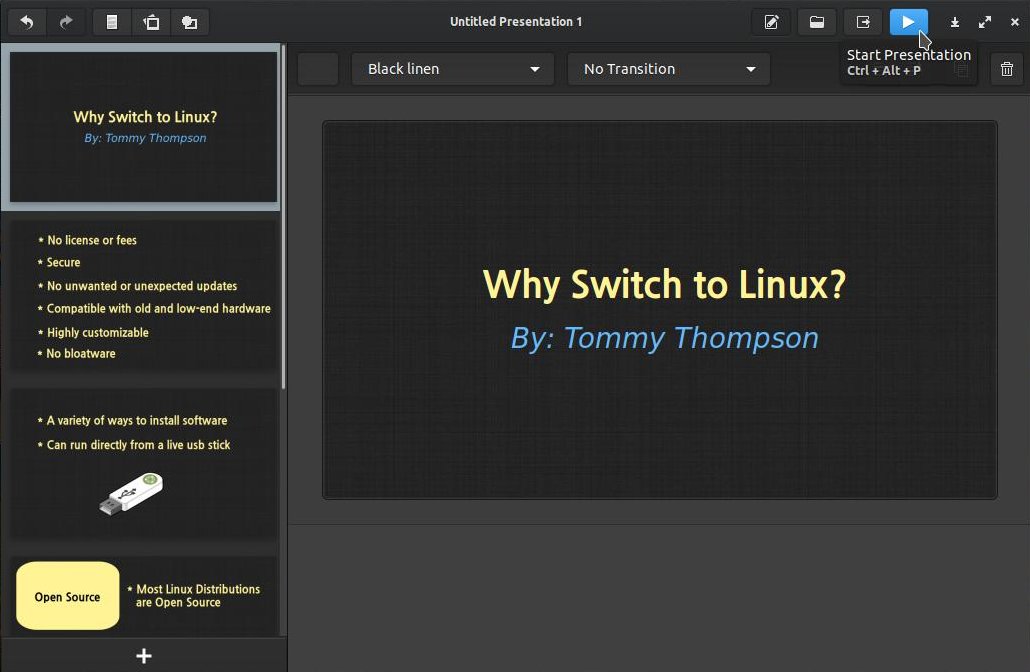
I changed the line to say, Why Switch to Linux? If you want to change the color of the text then click the Font Color button and select a new color.
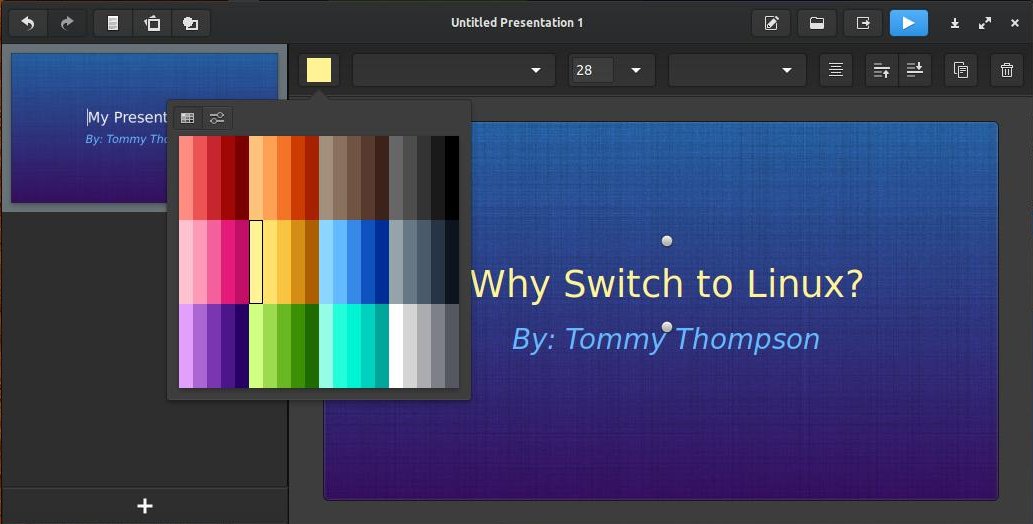
I changed the text color to light yellow. Click the Font Color button again to close it.
When working with text, the second toolbar becomes a text toolbar. A text toolbar is a set of buttons and menus that is grouped horizontally. These controls primarily allow text editing functionality. Formatting actions and style changes can be applied to the editable text within the text area below the text toolbar.

- 1. Font Color
- 2. Font
- 3. Font Size
- 4. Font Style
- 5. Align
- 6. Bring Forward
- 7. Send Backward
- 8. Clone
- 9. Delete
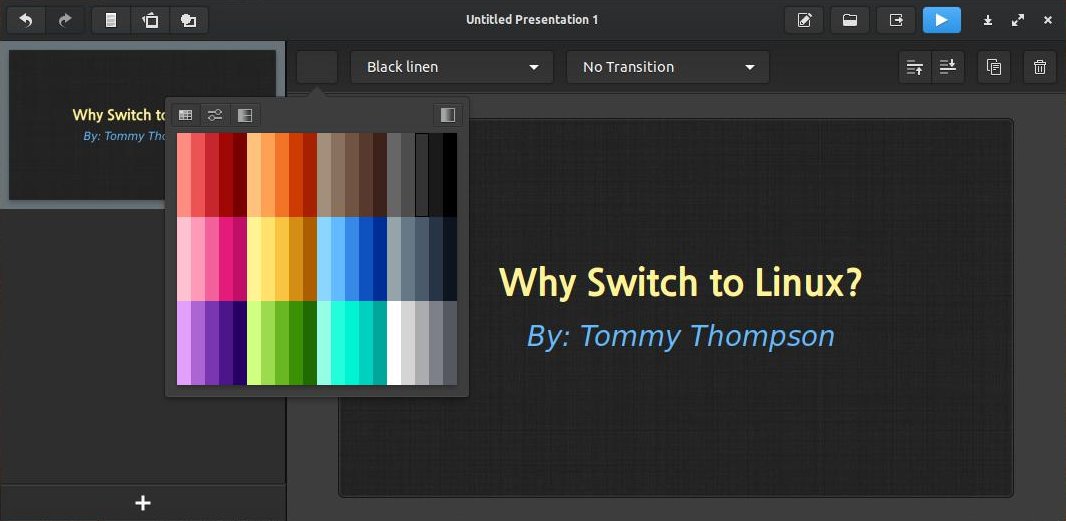
When clicking anywhere on the background of the active slide the second toolbar changes to a background toolbar.

- 1. Background Color
- 2. Background Pattern
- 3. Transition
- 4. Bring Forward
- 5. Send Backward
- 6. Clone
- 7. Delete
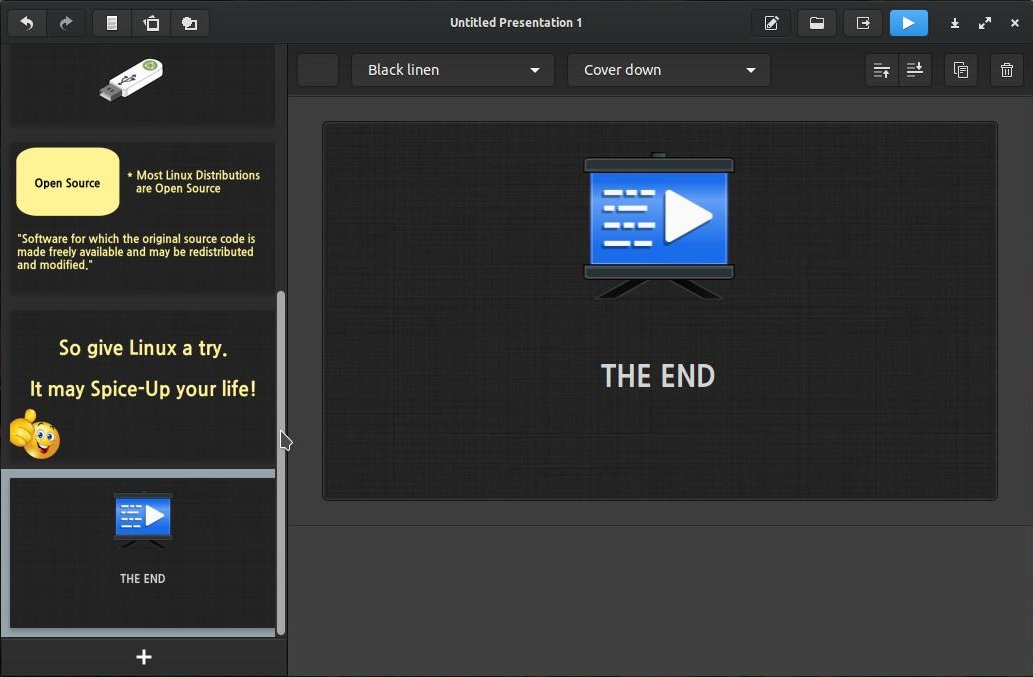
I changed the background color to Black linen and kept the No Transition to the first slide.
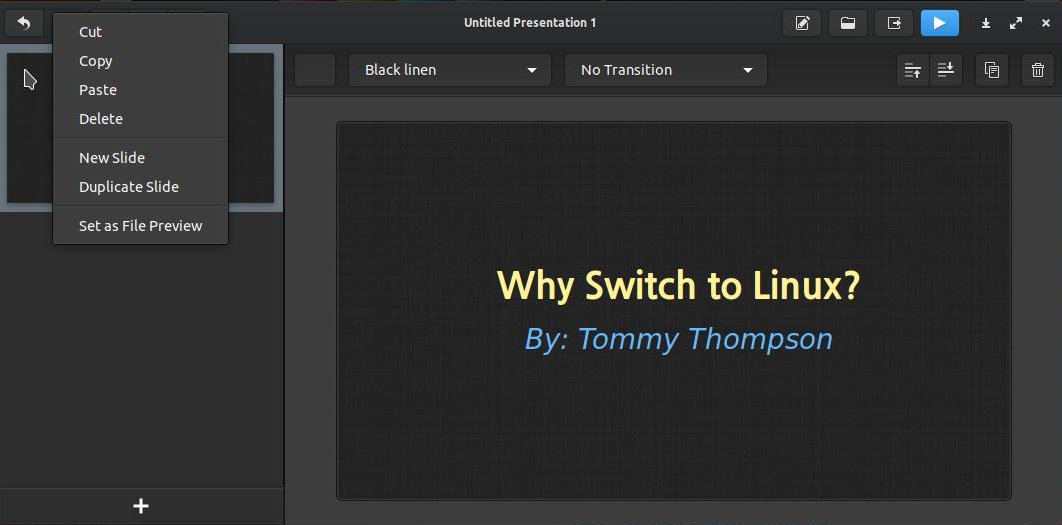
If you hover your mouse-pointer over the thumbnail image of a slide, it will create a gear icon.
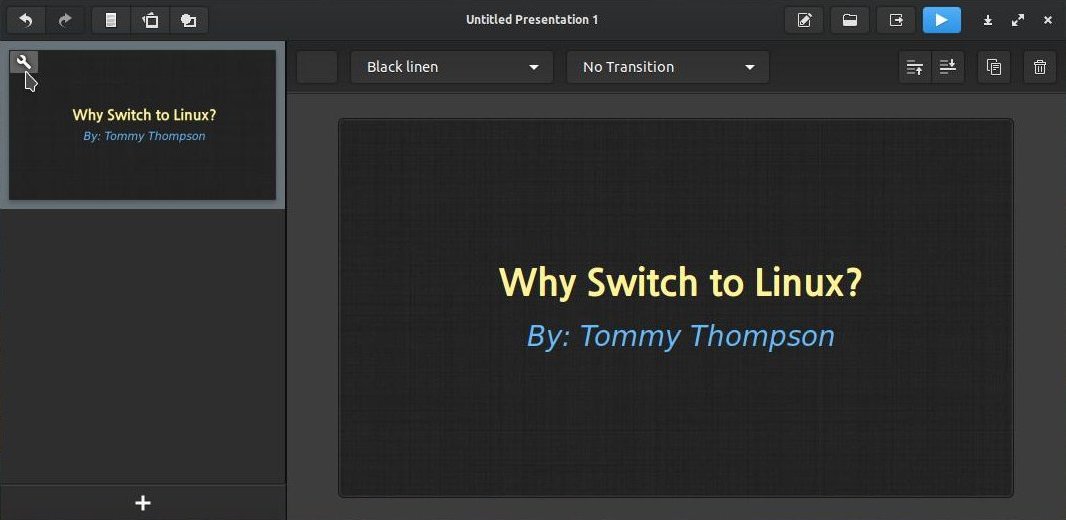
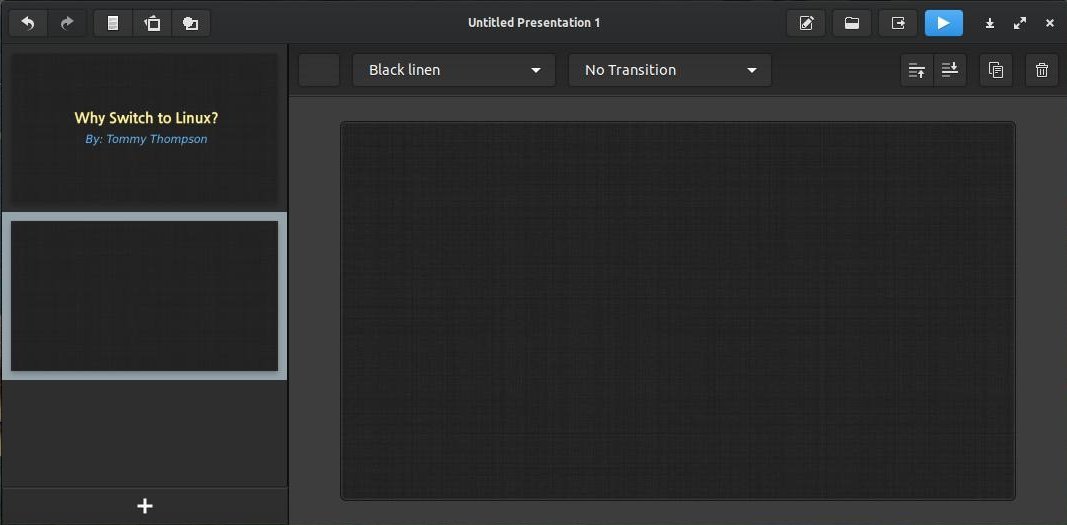
Click on the gear icon to create a pop-up menu. Click the New Slide command to add a new slide.
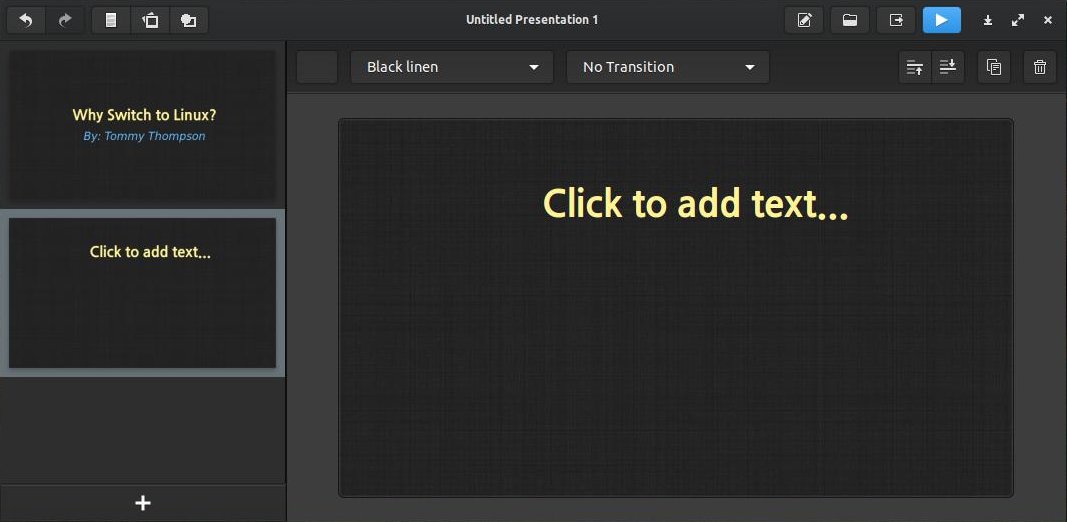
You can click on the third icon on the top toolbar to Insert Text Box in the new slide.
You then edit the text in your new slide.
The top toolbar can be used to help you create a new slideshow.

- 1 = Undo
- 2 = Redo
- 3 = Insert Text Box
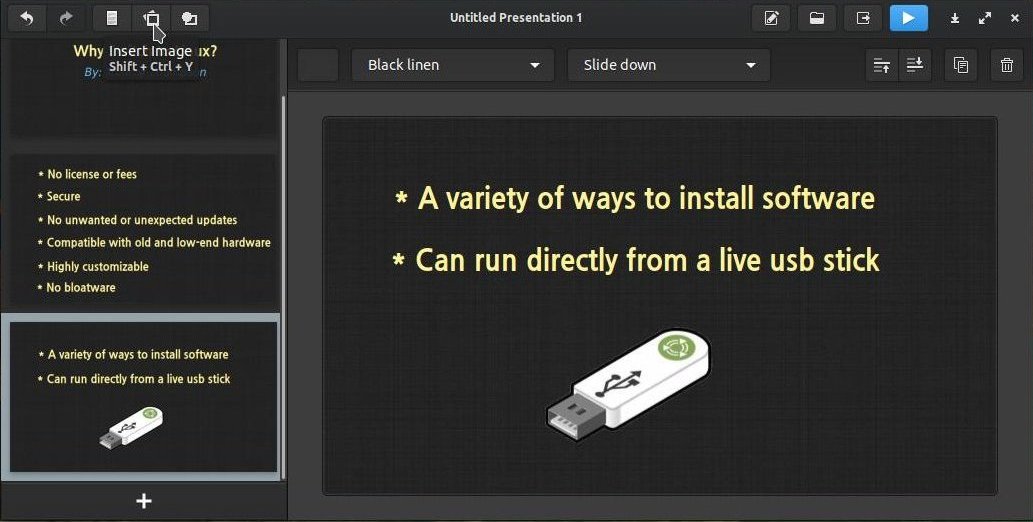
- 4 = Insert Image
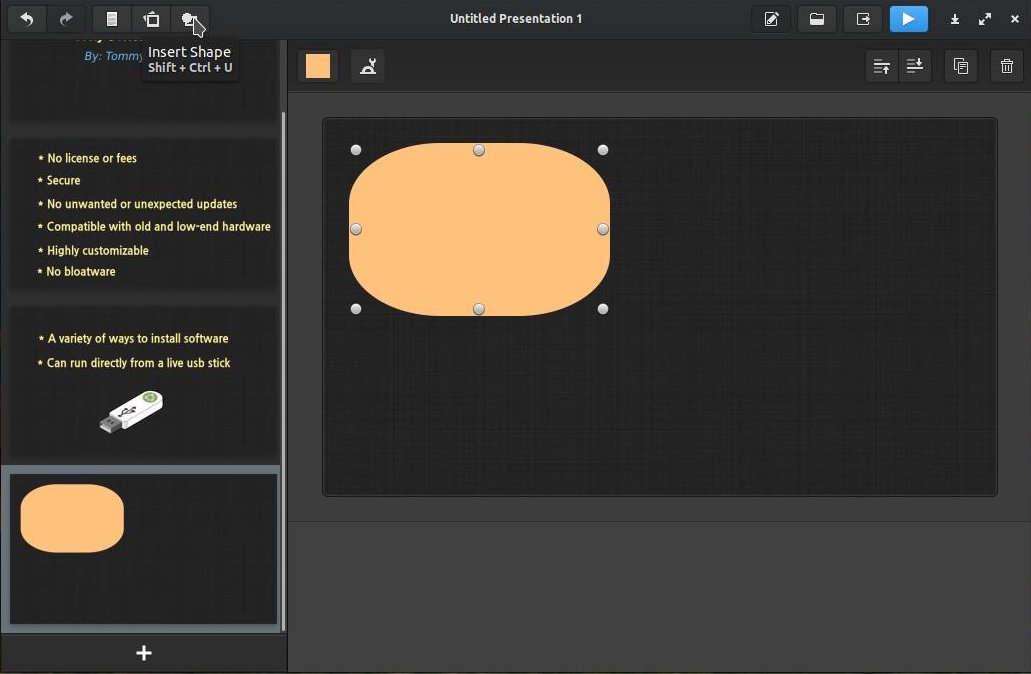
- 5 = Insert Shape
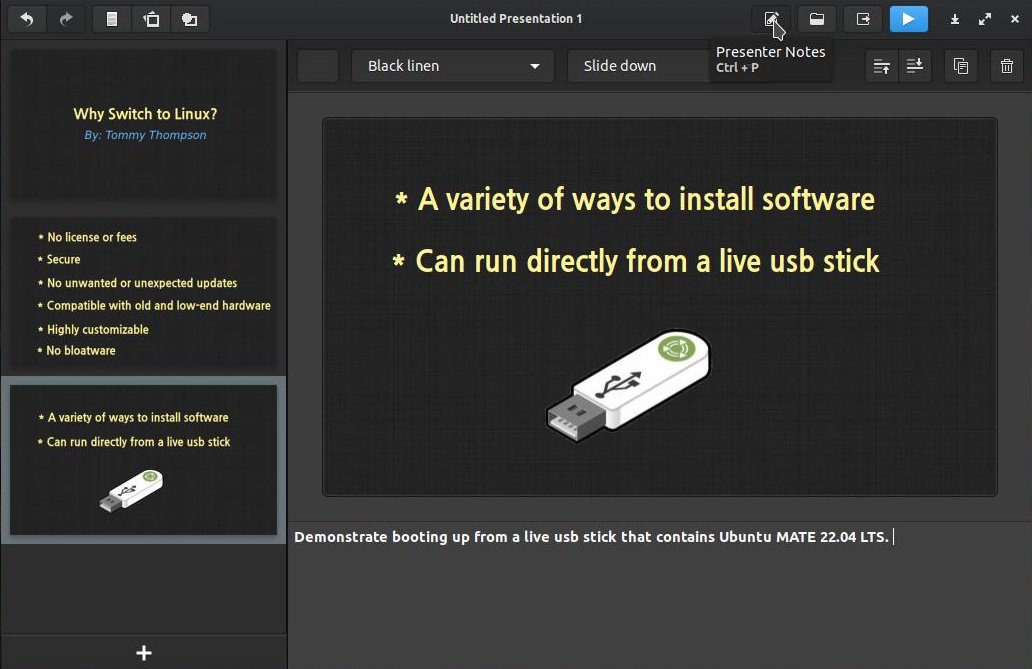
- 6 = Presenter Notes
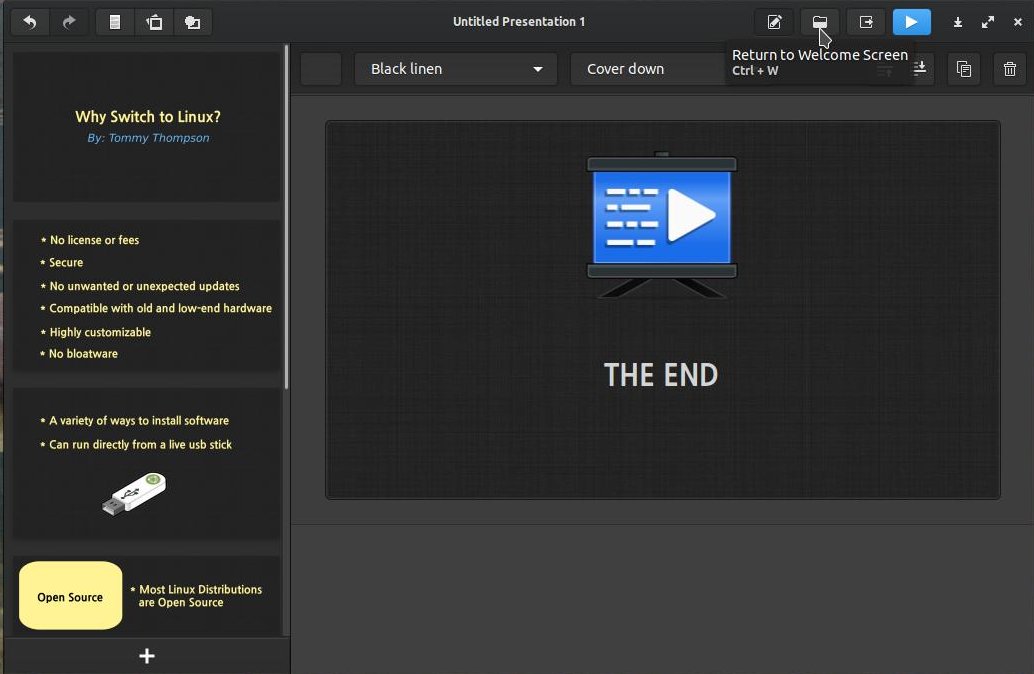
- 7 = Return to Welcome Screen
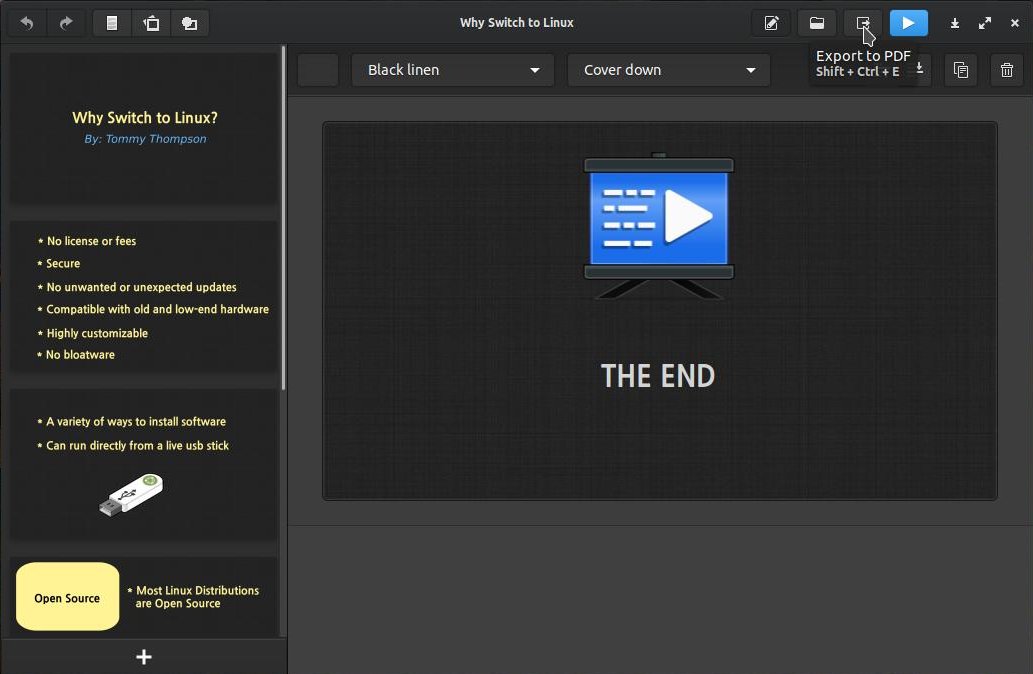
- 8 = Export to PDF
- 9 = Start Presentation
- 10 = Minimize to Panel
- 11 = Maximize/Restore
- 12 = Close
Click the Plus icon (+) in the lower left corner to Add a Slide.
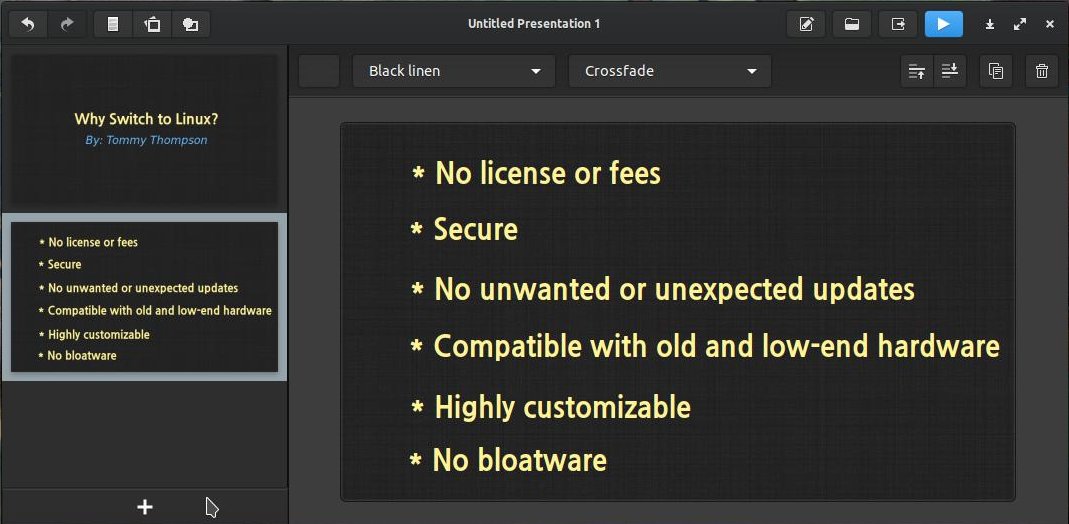
Select a new Transition for your new slide.

Click the fourth button or Insert Image button on the top toolbar to add an image from your computer to your presentation.
Click the sixth button or Presenter Notes button on the top toolbar to add notes to your slide(s).
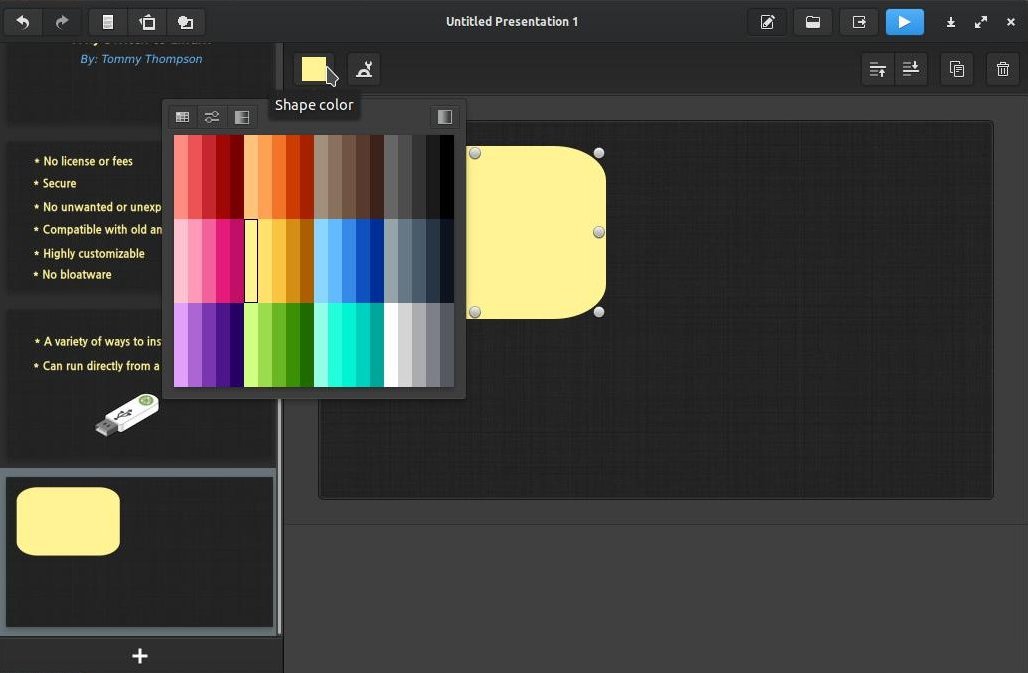
Click the fifth button or Insert Shape button on the top toolbar to add a shape or shapes to your slide(s).
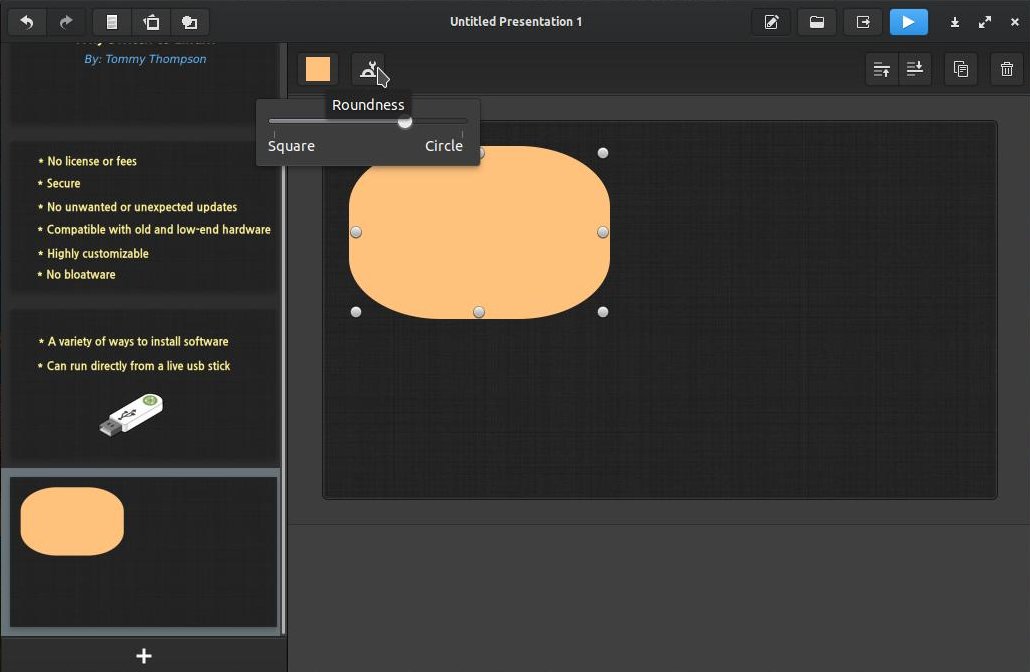
Click the second button or Roundness button on the second toolbar to change the look of your shape.
Click the first button or Shape color button on the second toolbar to change the color of your shape.
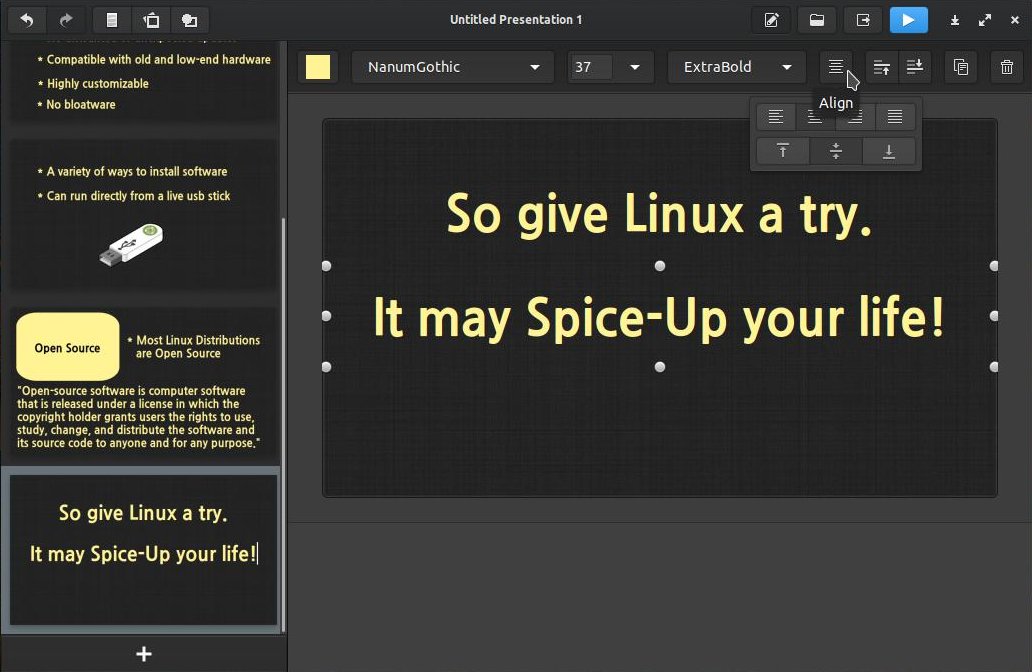
Click the Align button on the second toolbar to change the alignment of your text.
When you finish creating your presentation use the scrollbar on the left to move to the first slide.
Click the first slide in your list and then click the Start Presentation button on the top toolbar to view your presentation.
If your presentation looked the way you wanted it to, then click the Return to Welcome Screen to allow you to give the presentation a name.
Right-click your presentation and give it a name and then left-click the presentation.
Click the Export to PDF to allow you to save the presentation as a PDF file.
Give your presentation a name and don't forget to include the .pdf file extension. Select a location and then click the Save button.
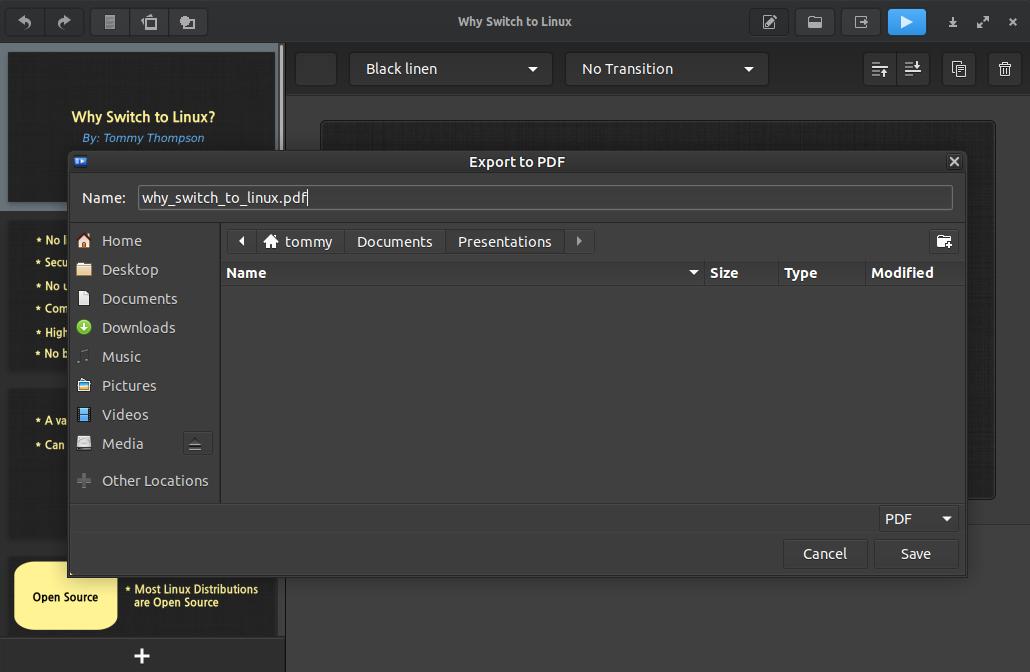
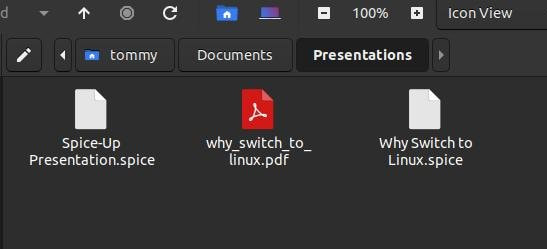
You should now see the PDF file in the folder you selected. You can now share this file with any operating system or post it online for others to see.
If you are looking to create a presentation and you need a simple program, then I highly recommend that you give Spice-Up a try.
July 15, 2022
