
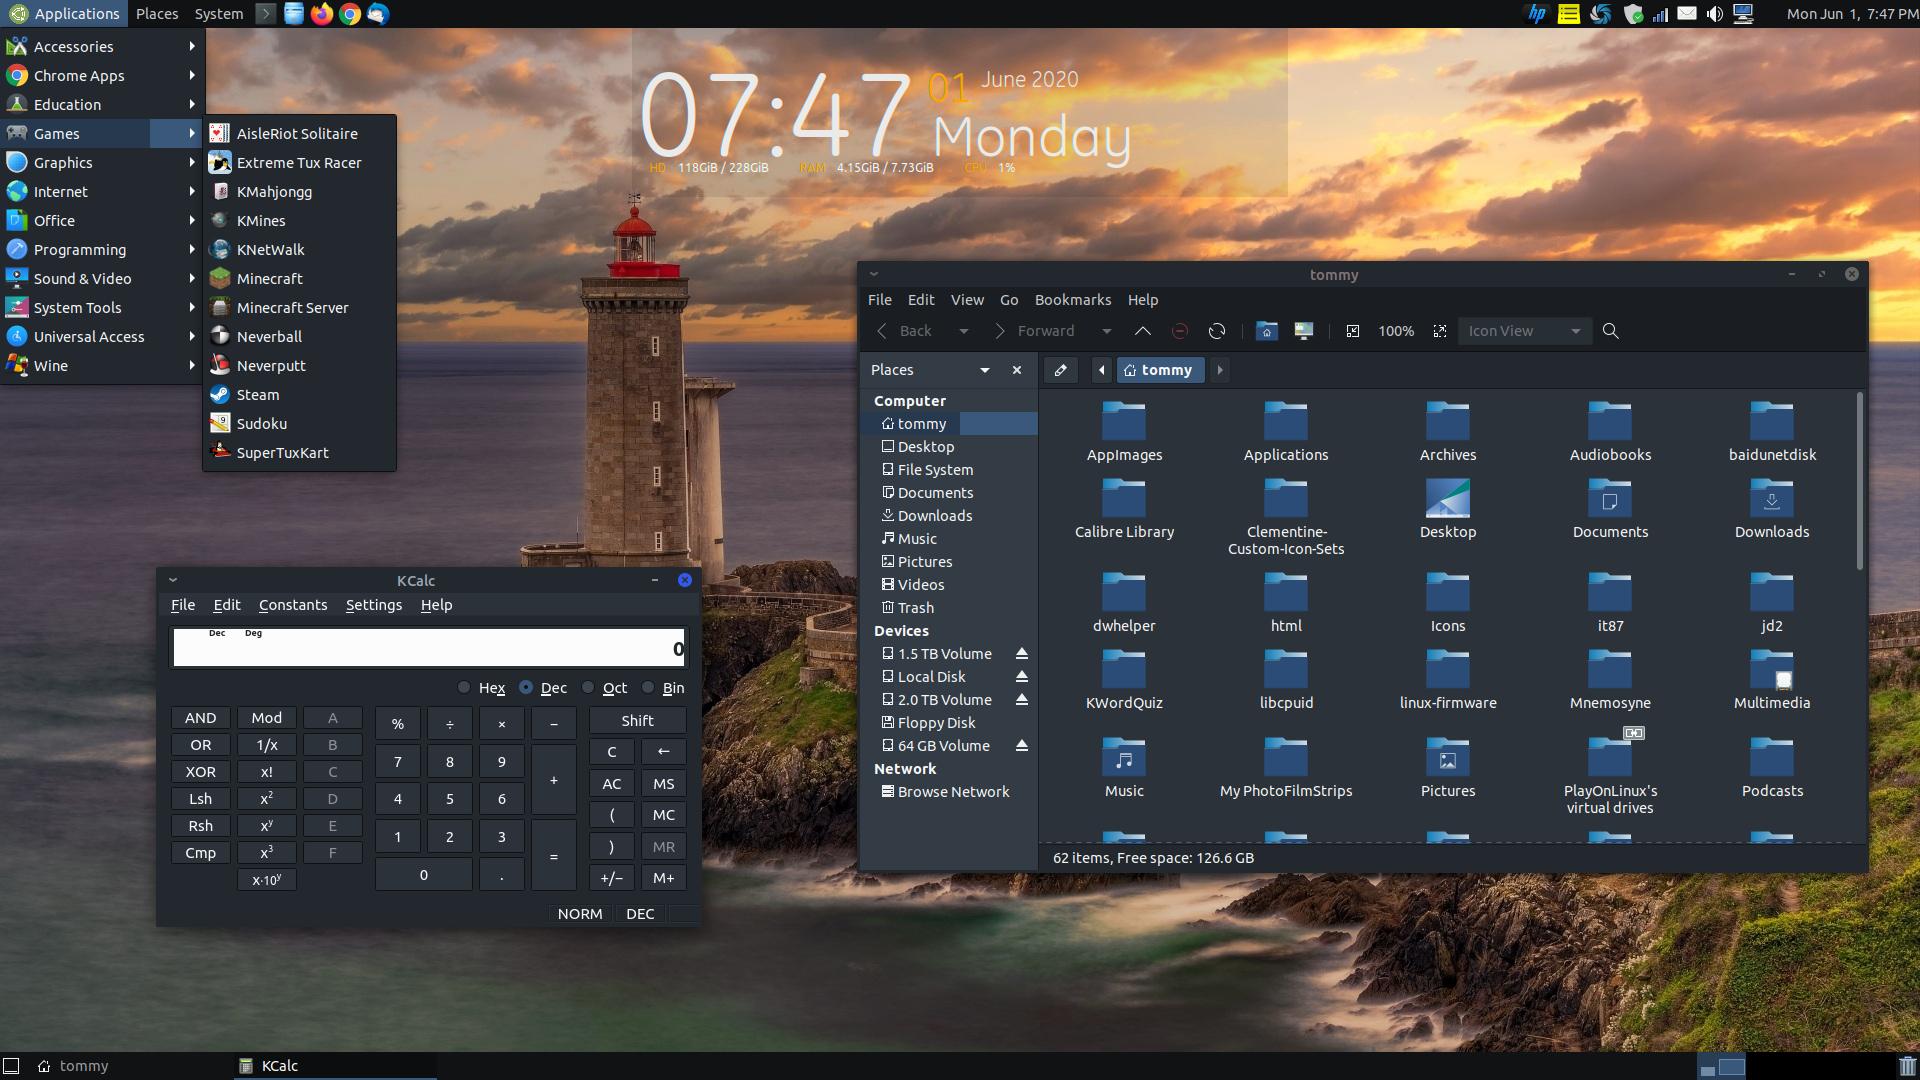
Installing New Themes
Linux users have the ability to change the look of their operating system by changing the theme of the system. Ubuntu MATE comes with a variety of themes, but you can also download and install additionl themes to change the look of your system. You can allow certain websites to automatically install a new theme on your system or you can download and install the new theme manually. In this section I will demonstrate how to automatically install a new theme on your system.
If you are using Ubuntu MATE then you can install themes from GTK 2.x themes or GTK 3.x themes. You will need to install osc-url or the Pling Store installer if you plan to allow these wbsites to install your theme for you.
If you click on a theme from Mate-Look.org you will notice a Download button and Install button in the upper right corner.
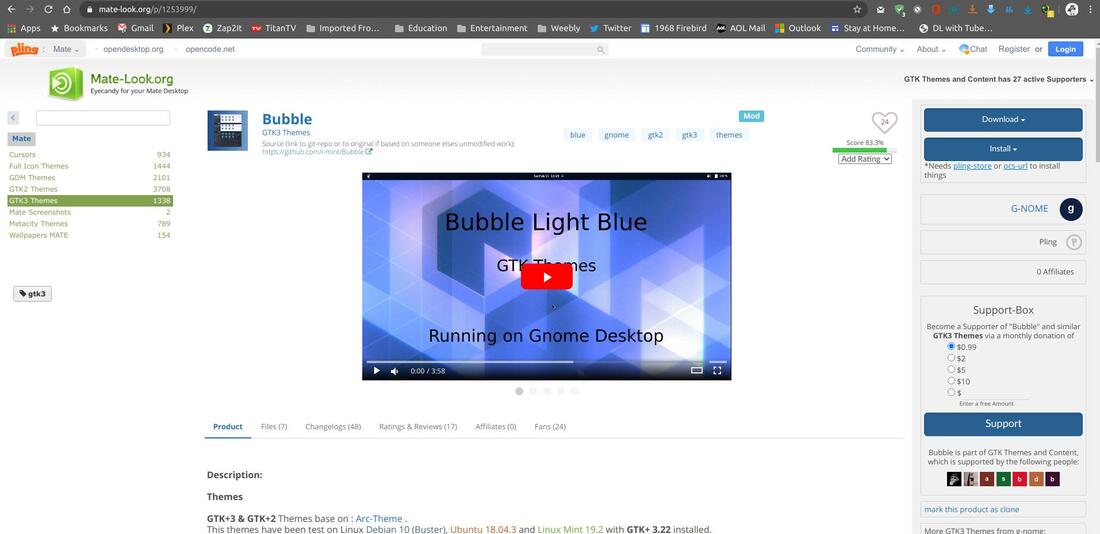
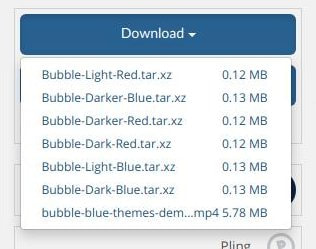
Clicking the Download button usually creates a drop-down list with a variety of themes that you can download and manually install on your system. Clicking the Install button usually creates a drop-down list with a variety of themes you can download and automactically install on your system. However, you must have osc-url or the Pling Store installer to allow the website to install the selected theme on your system.
|

|
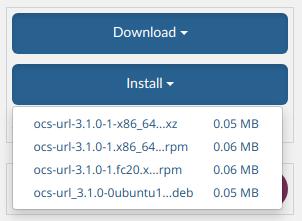
I will demonstrate how to install the ocs-url (OpenCollaborationServices) installer. Go to https://www.pling.com/p/1136805/ and click on the Files tab to see the list of installer files. The first file in the list is for Arch users, the second file is for OpenSUSE users, the third file is for Fedora users, and the fourth file is for Ubuntu users.
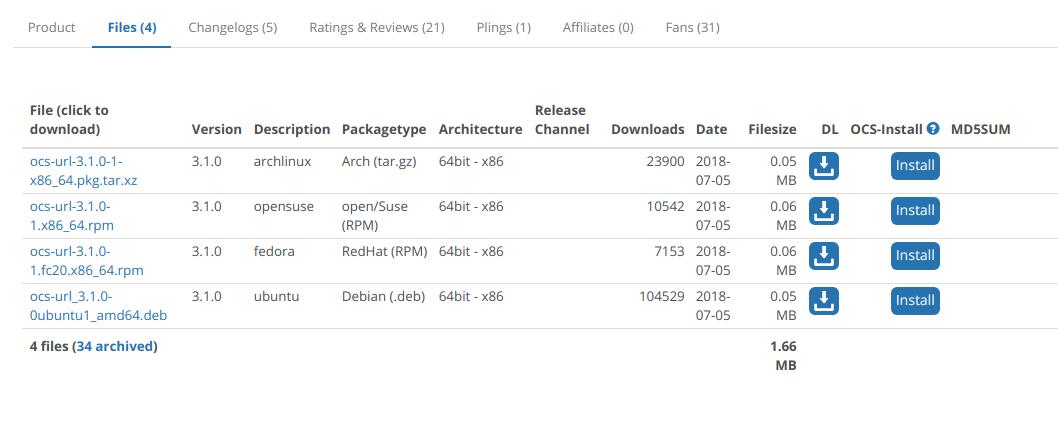
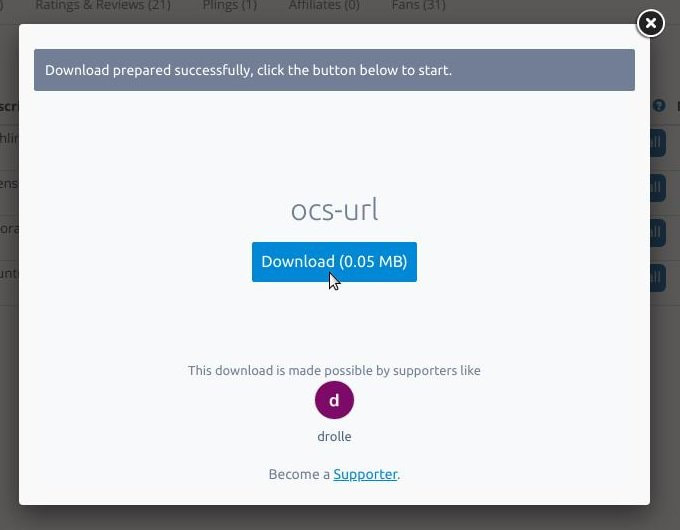
Since I am using Ubuntu MATE, I will click the download (DL) button for the ocs-url_3.1.0-0ubuntu1_amd64.deb file. You will then see a pop-up screen that requires you to click another Download button to start the downloading process.
Go into your Downloads folder or location where you downloaded the file and double-click it to start the installation process. (You must have gdebi by entering sudo apt install gdebi in your Terminal.)

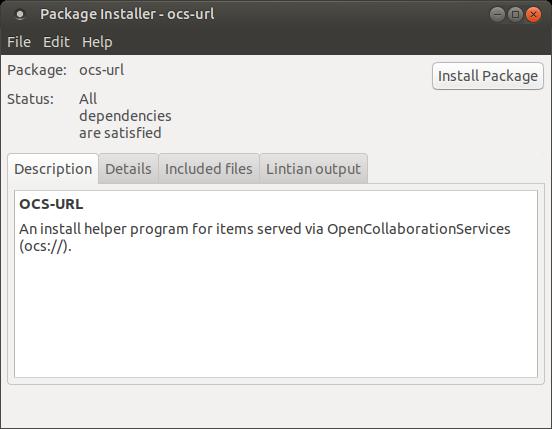
When the the ocs-url Package Installer appears, click the Install Package button.
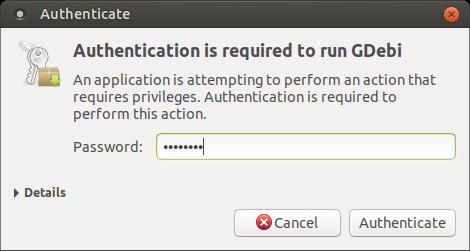
You will be prompted to enter your password.
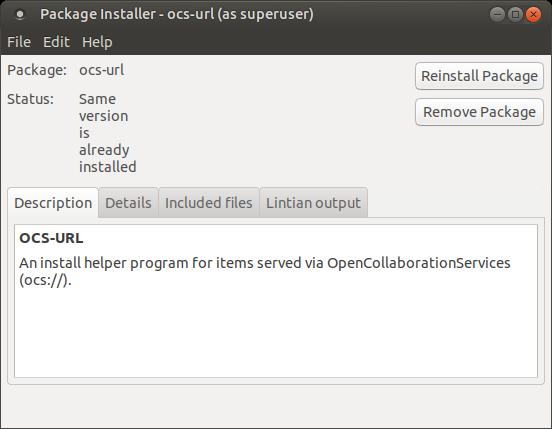
Wait untill you see the Status: Same version is already installed before you close the Package Installer dialog box.
Now you are ready to allow Mate-Look.org and a variety of other websites to automatically install new themes on your system.
I will demonstrate how to automatically install a new theme by installing the Bubble Dark Blue theme (Controls) from www.mate-look.org/p/1253999/. Once you find a theme you want to install, click the Files tab to allow you to see all the theme options. I am going to install the Bubble Dark Blue theme so I will click the Install button for the Bubble-Dark-Blue.tar.xz file.
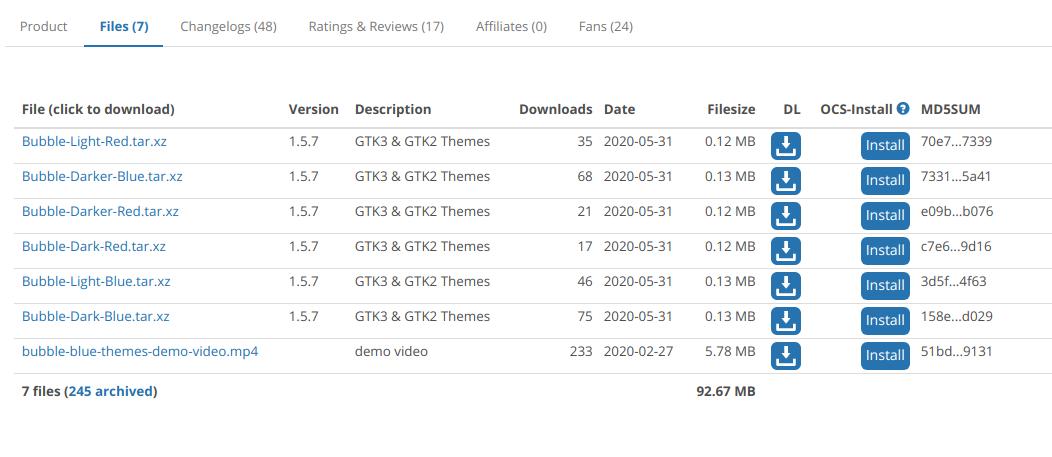
You can also click on the Install button in the upper right corner and select the file you want to install. However, long file names are usually truncated or cut off on the end and that can make it difficult to know which file you are planning to install.
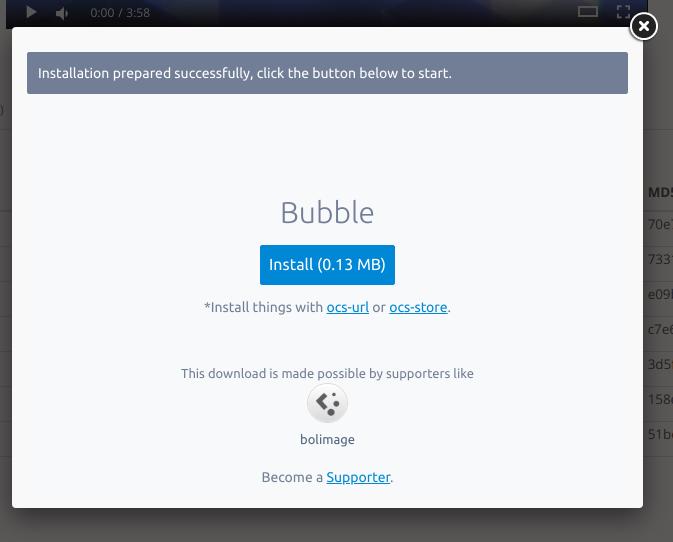
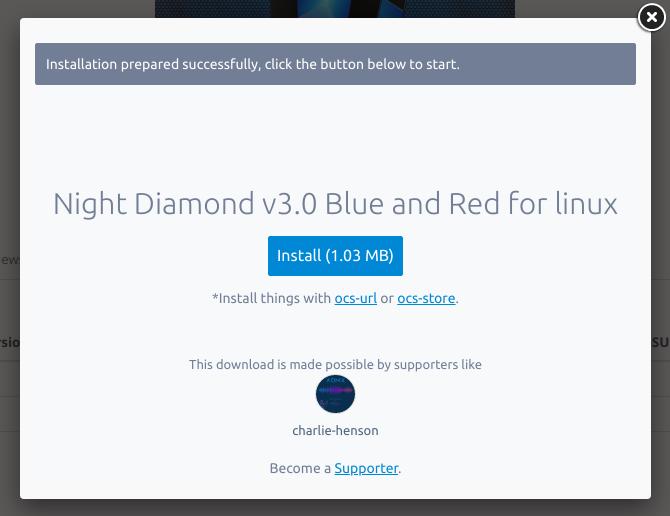
You will see a pop-up box prompting you to click another Install button to stall your new theme.
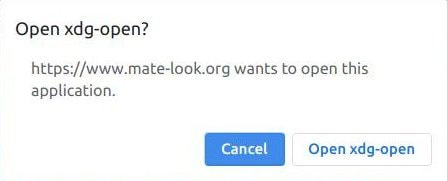
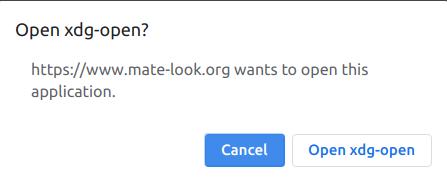
You will then see another pop-up asking if you want to open the file. Click the Open xdg=open button to start the ocs-url installer.
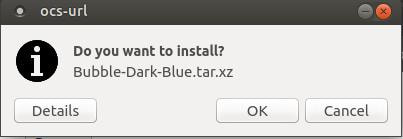
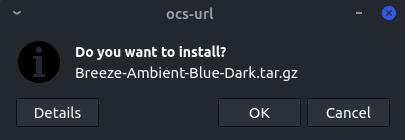
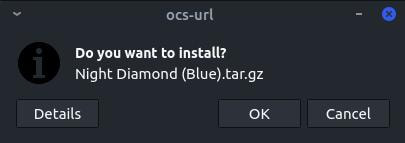
When the ocs-url dialog box appears, click the OK to install the new theme.
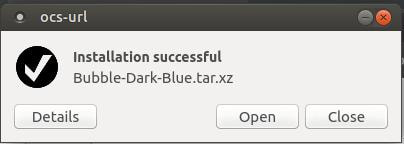
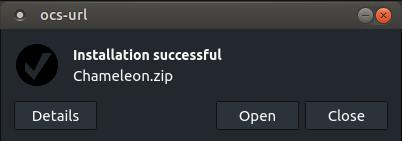
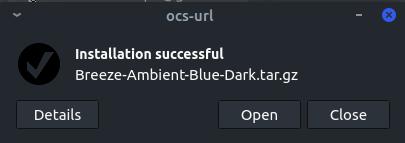
You will then see the files download and install on your system and when it completes the process you will see an Installation successful dialog box. Click the Close button to get rid of the dialog box.
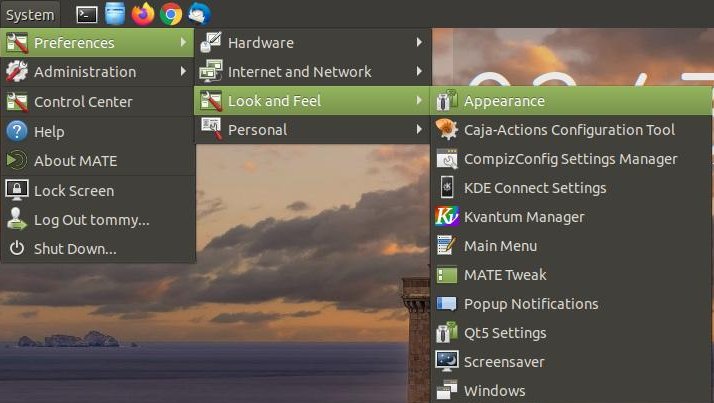
You are now ready to use your new theme. I am using Ubuntu MATE 18.04.4 LTS with the Traditional menu so I click on the System menu, highlight Preferences, and then highlight Look and Feel, and then click on Appearance.
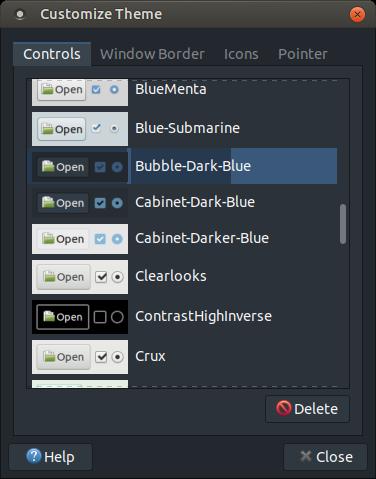
Normally a new theme will appear in the Theme tab of the Appearance Preferences dialog box, but not every time. In my example I installed a theme that changed the Controls, so it will appear when you click the Customize... button. If you do not see a theme within yor install it then click the Customize... button and look for it throughout the different tabs or sections.

When the Customize Theme dialog box appears, locate and click-on the Bubble-Dark-Blue within the Controls tab section. This will change your system colors and controls.
The Bubble Dark Blue theme that I installed only contained information to change your system colors and controls. It didn't contain additional window borders, icons, or mouse pointers. You can find and install them seperately from www.mate-look.org/ and select one of the categories on the left: Cursors, Full Icon Themes, Cursors, Metacity Themes, Wallpapers MATE, and more.
Install Window Border
I will install a Window Border theme called Chameleon found in the Metacity Themes section of the Mate-Look.org.
I clicked the Files tab to see the name of the theme and then I clicked the Install button.
I will install a Window Border theme called Chameleon found in the Metacity Themes section of the Mate-Look.org.
I clicked the Files tab to see the name of the theme and then I clicked the Install button.
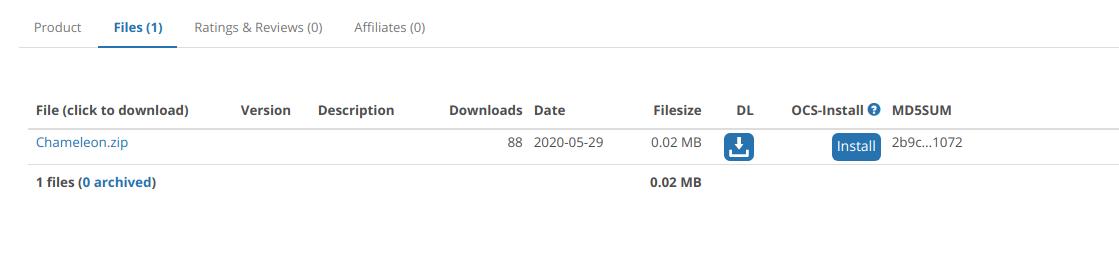
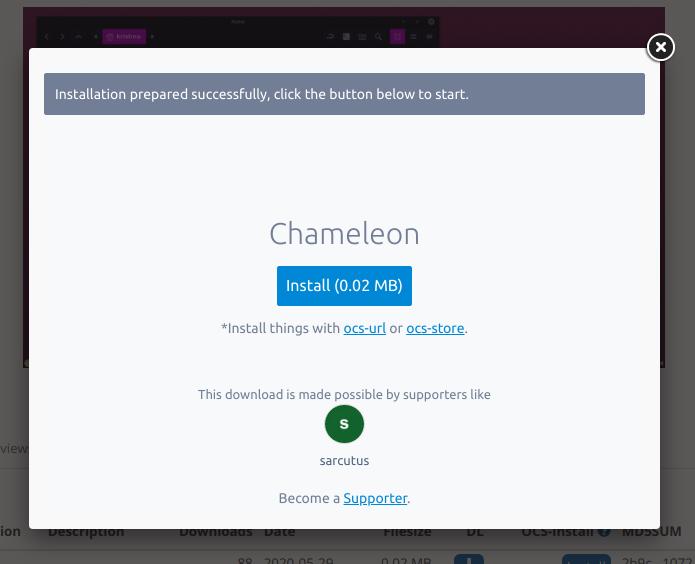
When a pop-up box appears, click the Install button to start the ocs-url program.
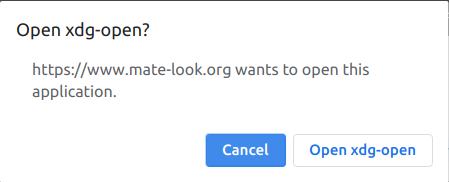
Next, click the Open xdg-open button.
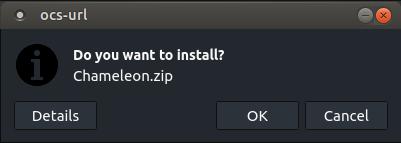
Then click the OK button.
Then click the Close button.
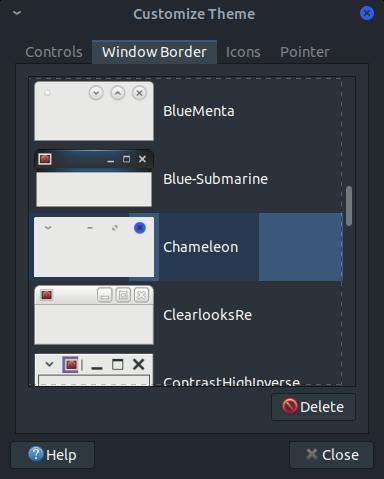
Then go back into the Customize Theme dialog box and select the Window Border tab. Scroll down until you see the Chameleon border theme and click on it to select it. Your border should immediately change.
Install Icon Theme
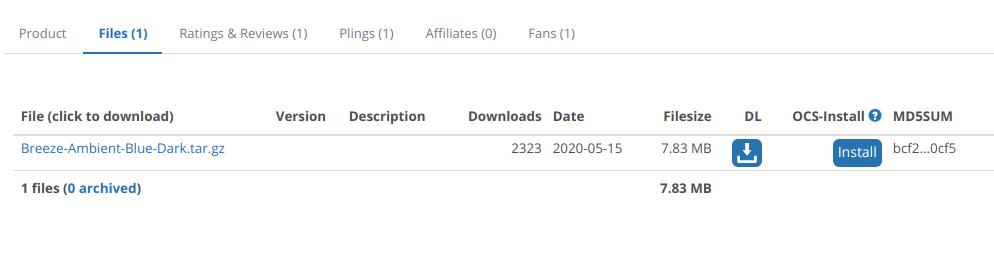
I will install the Breeze-Ambient-Blue-Dark icon theme for my example. You can find it in the Full Icon Themes section of the Mate-Look.org.
I clicked the Files tab to see the name of the theme and then I clicked the Install button.
I will install the Breeze-Ambient-Blue-Dark icon theme for my example. You can find it in the Full Icon Themes section of the Mate-Look.org.
I clicked the Files tab to see the name of the theme and then I clicked the Install button.
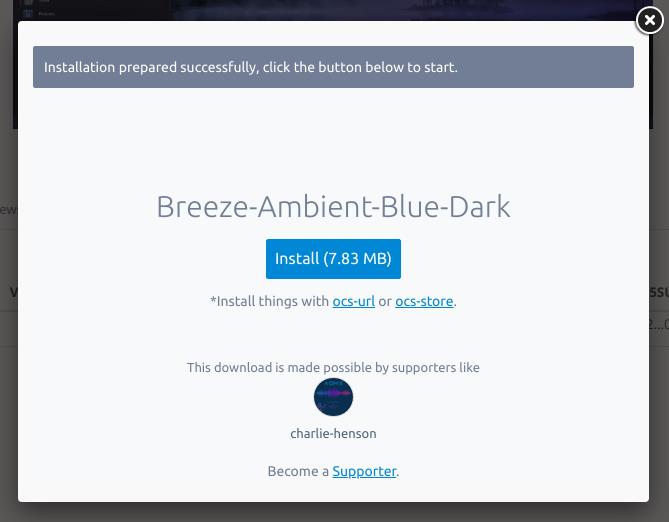
When a pop-up box appears, click the Install button to start the ocs-url program.
Next, click the Open xdg-open button.
Then click the OK button.
Then click the Close button.
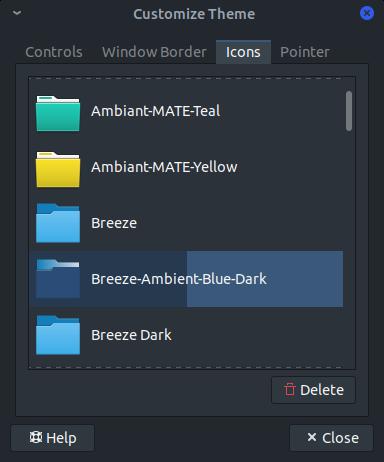
Then go back into the Customize Theme dialog box and select the Icons tab. Scroll down until you see the Breeze-Ambient-Blue-Dark icon theme and click on it to select it. Your icons should immediately change.
Install Mouse Pointer
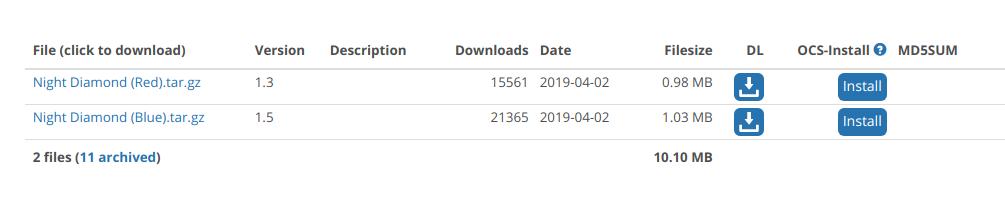
I will install the Night Diamond (Blue) mouse pointer or cursor for this example.
I clicked the Files tab to see the name of the theme and then I clicked the Install button.
I will install the Night Diamond (Blue) mouse pointer or cursor for this example.
I clicked the Files tab to see the name of the theme and then I clicked the Install button.
When a pop-up box appears, click the Install button to start the ocs-url program.
Next, click the Open xdg-open button.
Then click the OK button.
Then click the Close button.

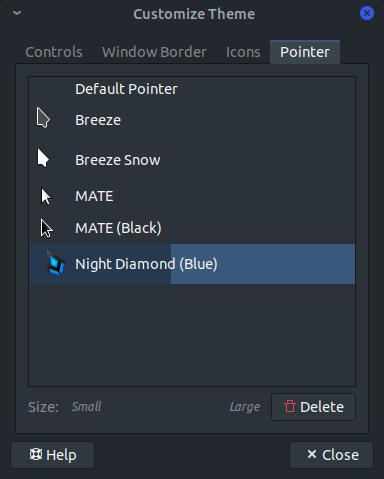
Now go back into the Customize Theme dialog box and select the Pointer tab. Locate and click on on Night Diamond (Blue) to select it. Your mouse pointer should immediately change.
This combination of theming items produced a very nice looking theme.
Removing the Theme
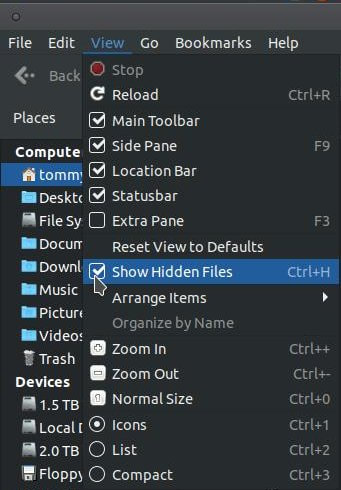
If you decide you no longer want these items on your system then you can go to the following locations and delete each folder that you installed. Remember, folders and files that begin with a dot or period is a hidden file. You can view hidden files by clicking on the View menu and then on Show Hidden Files option in your Caja file manager.
If you decide you no longer want these items on your system then you can go to the following locations and delete each folder that you installed. Remember, folders and files that begin with a dot or period is a hidden file. You can view hidden files by clicking on the View menu and then on Show Hidden Files option in your Caja file manager.
Bubble-Dark-Blue - Controls & Chameleon - Window Border
.themes
.themes

Bubble-Dark-Blue & Chameleon
Breeze-Ambient-Blue-Dark - Icons
.local/share/icons
.local/share/icons
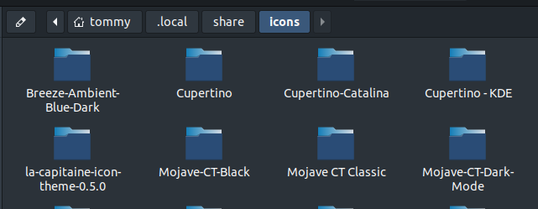
Breeze-Ambient-Blue-Dark
Night Diamond (Blue) - Pointer
.icons
.icons
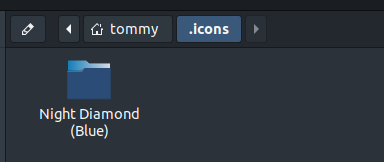
Night Diamond (Blue)
I hope this helps someone that is looking to change the appearance of their Linux system.

Jun 3, 2020
