
Create Address Labels
gLabels is a powerful program that allows you to print mailing labels. For example, if you are a teacher and want to mail each of your students parents and/or guardians, then gLabels is the perfect program for you. The main office gives each teacher a copy of parental contact information in case of an emergency. This data can be put into a spreadsheet and saved as a CSV (.csv) file and merged into gLabels. It's also a great way to create your address labels for mailing out your Christmas cards each year.
In the steps below I will use Avery 5162 Address Labels template to match the name tags from Amazon (Avery Address Labels with Sure Feed for Laser Printers, 1-1/3" x 4", 1,400 Labels, Permanent Adhesive (5162)).
Create Mailing Address Labels
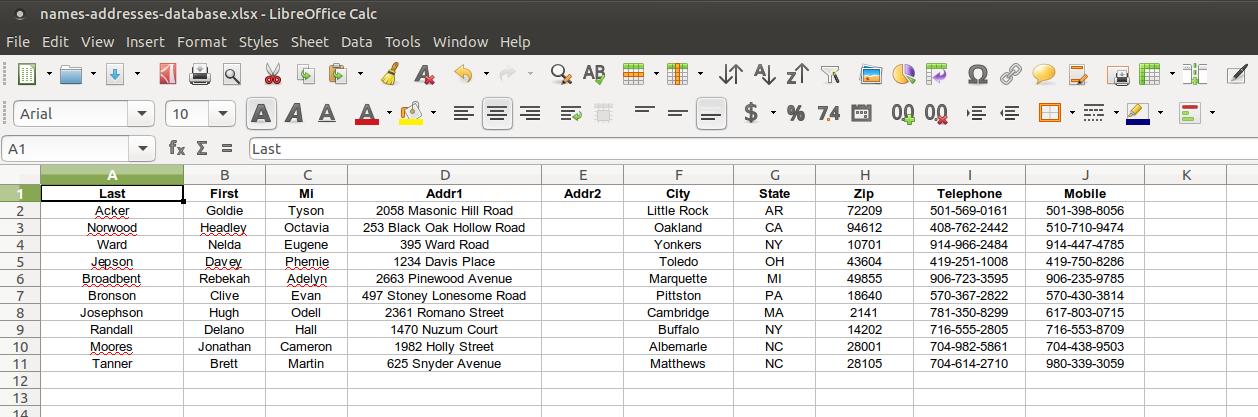
Before you can print address labels with multiple names and addresses you must first prepare a source document that contains your merge data. I will use LibreOffice Calc spreadsheet program to create my list of names and addresses. (All of the names and addresses in the list below are fake. I created these names and addresses to use as examples to illustrate how to print address labels using multiple names and addresses.) If you use MS Excel at school or work, you can create a list in that program too. I created a title on top of my list. This title will become my placeholder or field name that you will see on the address label until you print the address labels, print to file, or use print preview on your address label list. You can create many titles like mailing address, state, zip code, telephone number, and etc. I created a list using more titles than I will use in my examples below. This will iluustrate that you can pull only the data you need out of a file that you plan to merge into your address label.
In the steps below I will use Avery 5162 Address Labels template to match the name tags from Amazon (Avery Address Labels with Sure Feed for Laser Printers, 1-1/3" x 4", 1,400 Labels, Permanent Adhesive (5162)).
Create Mailing Address Labels
Before you can print address labels with multiple names and addresses you must first prepare a source document that contains your merge data. I will use LibreOffice Calc spreadsheet program to create my list of names and addresses. (All of the names and addresses in the list below are fake. I created these names and addresses to use as examples to illustrate how to print address labels using multiple names and addresses.) If you use MS Excel at school or work, you can create a list in that program too. I created a title on top of my list. This title will become my placeholder or field name that you will see on the address label until you print the address labels, print to file, or use print preview on your address label list. You can create many titles like mailing address, state, zip code, telephone number, and etc. I created a list using more titles than I will use in my examples below. This will iluustrate that you can pull only the data you need out of a file that you plan to merge into your address label.
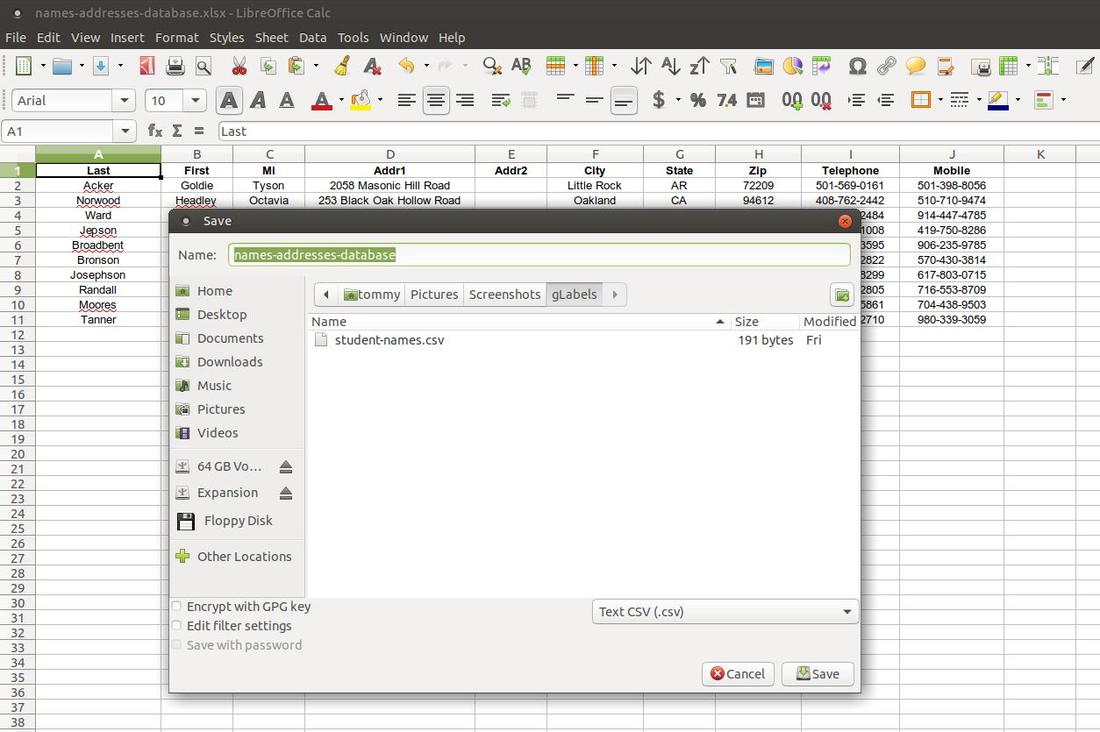
After you create your list and save it as a spreadsheet file, click on the File menu and then click on Save As... When the Save dialog box appears, give the file a name and change the format to Text CSV (.csv), select a loction and then click the Save button.
When the Confirm File Format dialog box appears, click on the Use Text CSV Format button.

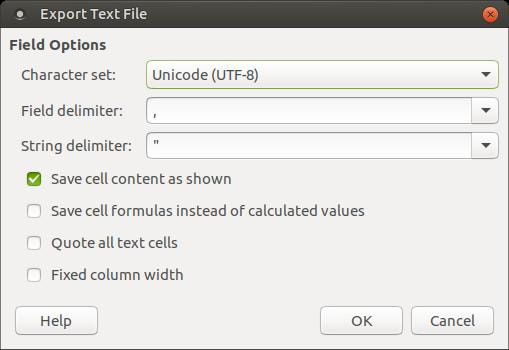
An Export Text File dialog box will appear. Make sure the Character set is set to Unicode (UTF-8), the Field delimiter set to a common (,), and String delimiter set to ". Then click the OK button.
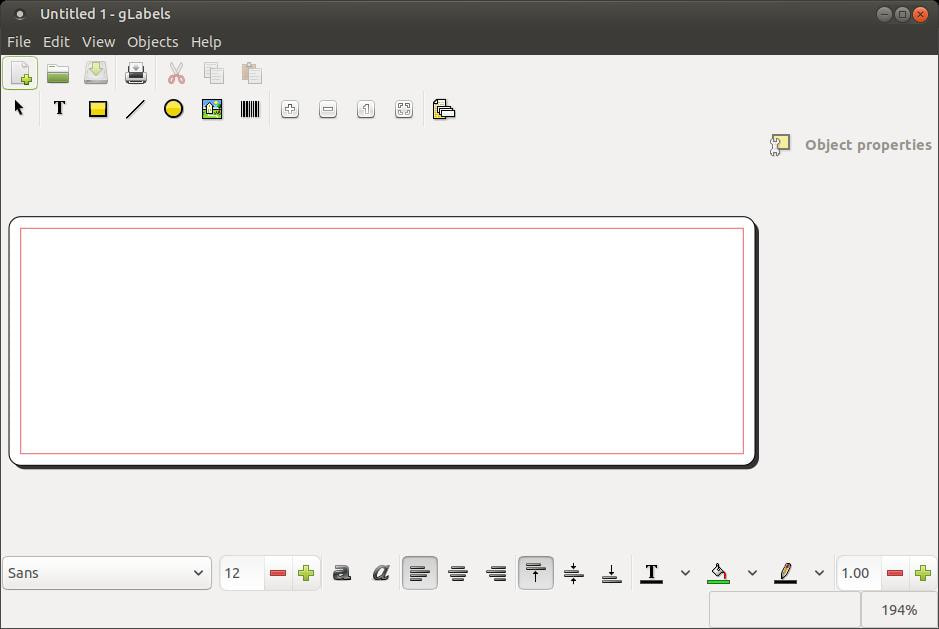
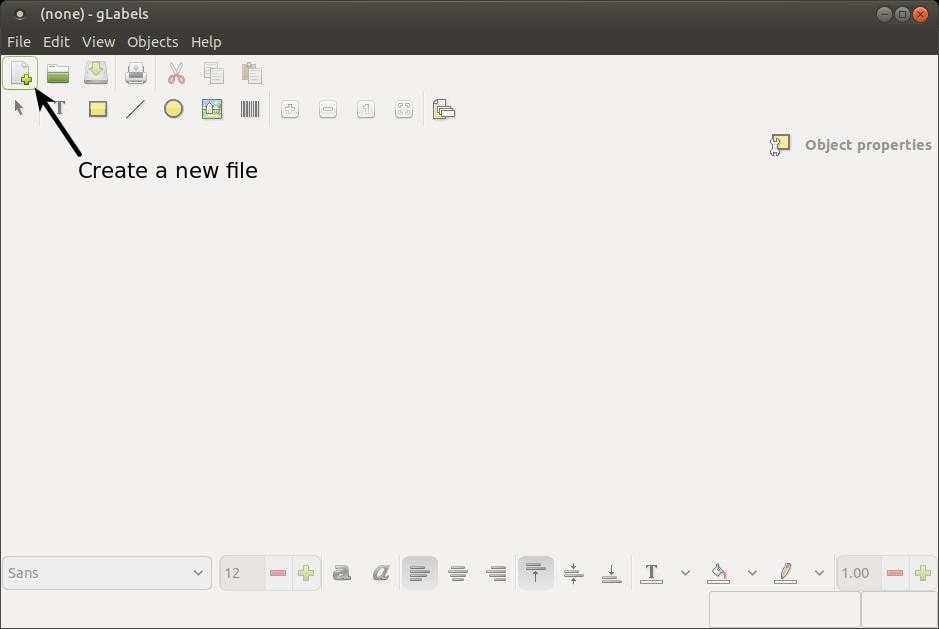
Open the gLabels application and then click on the Create a new file button on the toolbar or click the File menu and click the New option.
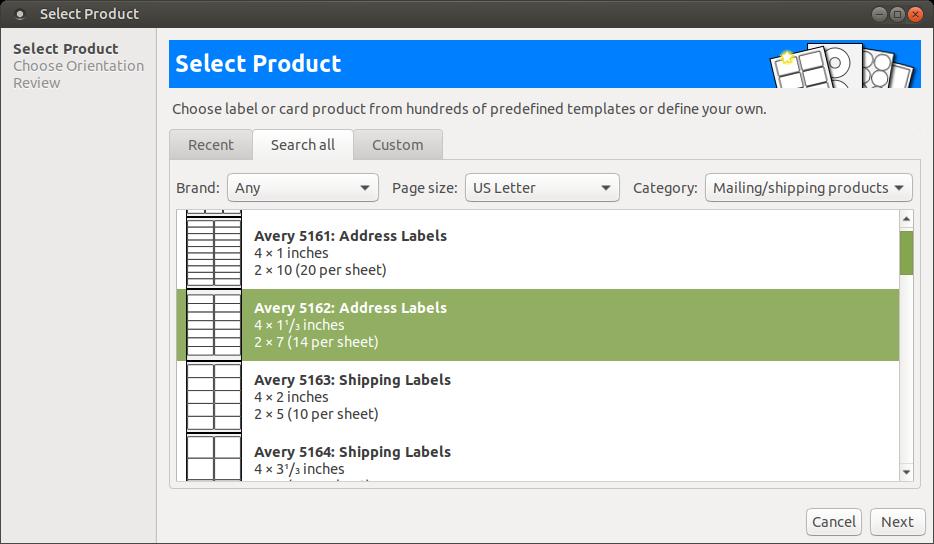
When the Select Product dialog box appears, change the Category to Mailing/shipping products to shorten the list of label options and then scroll down and find Avery 5162: Address Labels and click it to select it.
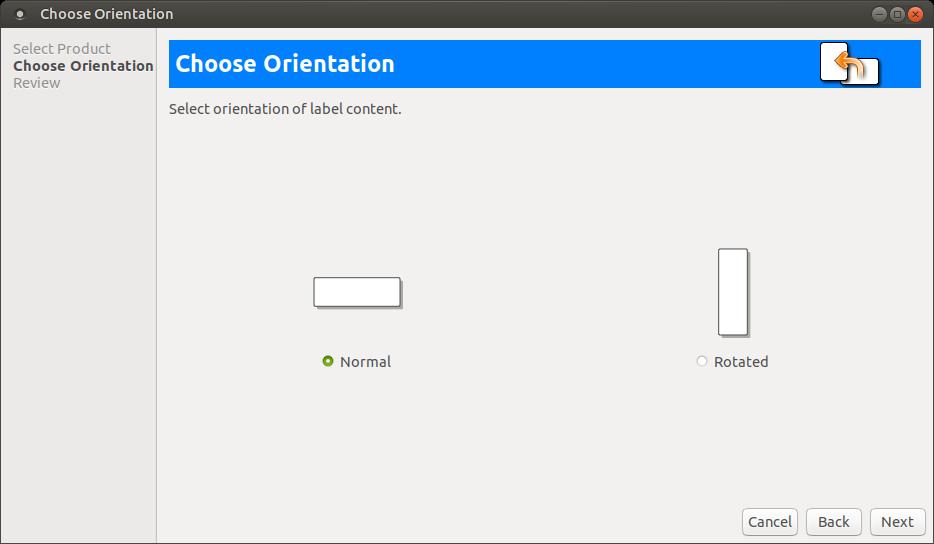
Then click the Next button. A Choose Orientation dialog box will appear to allow you to select the orientation or position of your address labels. Select Normal for horizontal positioned name tag.
Then click the Next button. You have a chance to look over your choices you have made up to this point in the Review Selection dialog box. You can use the Back button if you noticed that you've made a mistake.
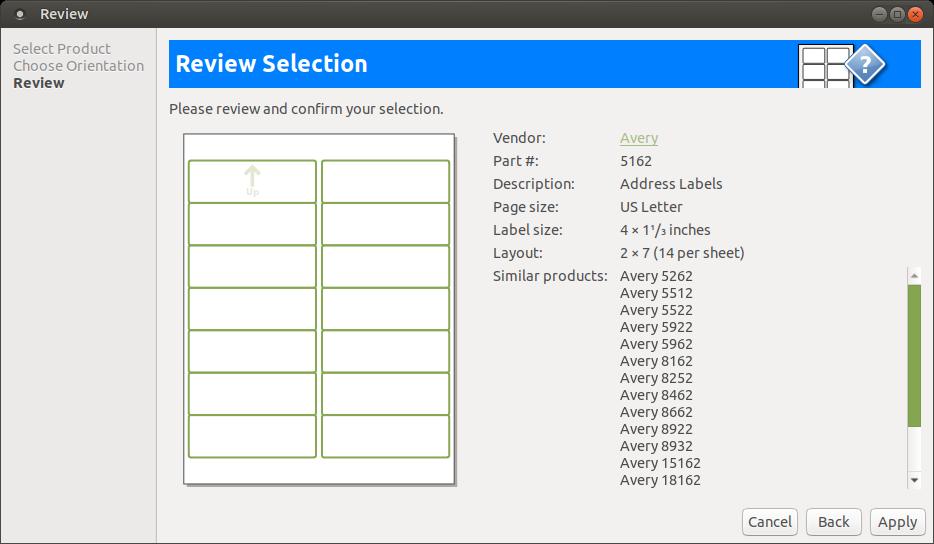
Click the Apply button to start creating your address labels.

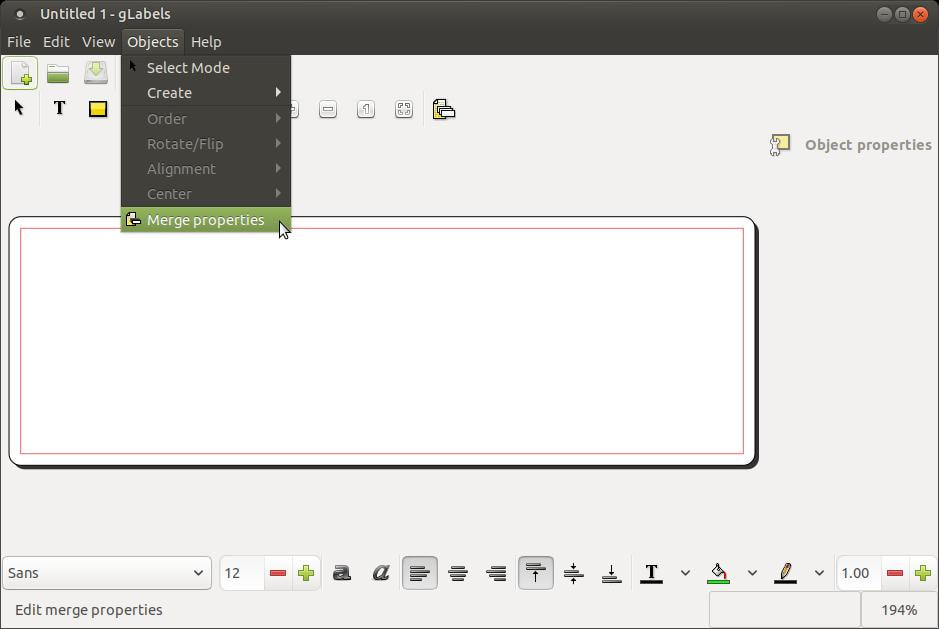
You are now ready to merge the .csv file that contains all the names and addresses. To start this process, click on the Objects menu and then on Merge properties option.
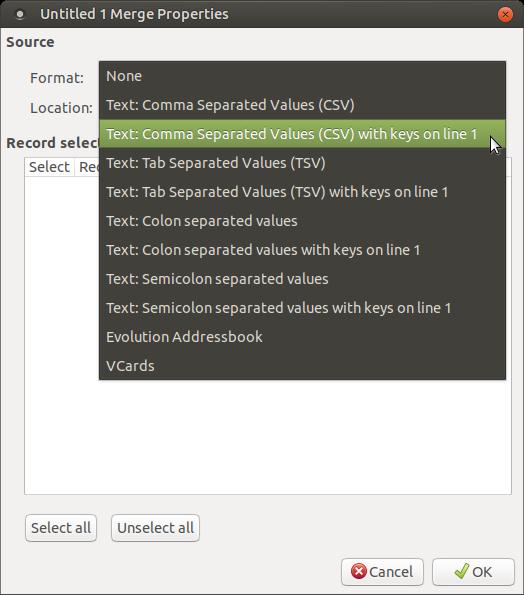
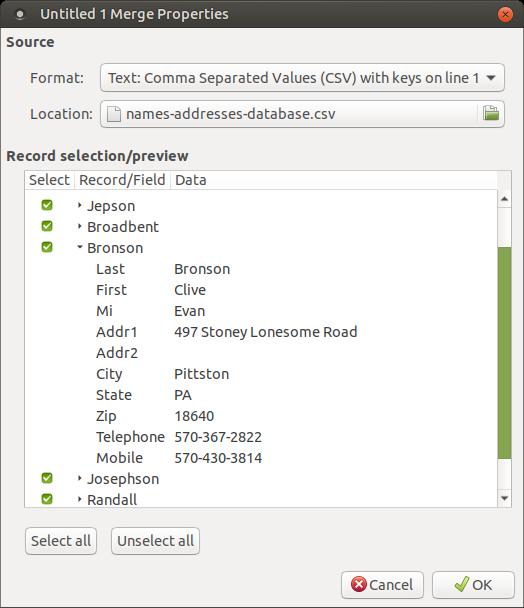
When the Merge Properties dialog box appears, click the down arrow to the right of the Format option. Then select Text: Comma Seperated Values (CSV) with keys on line 1.
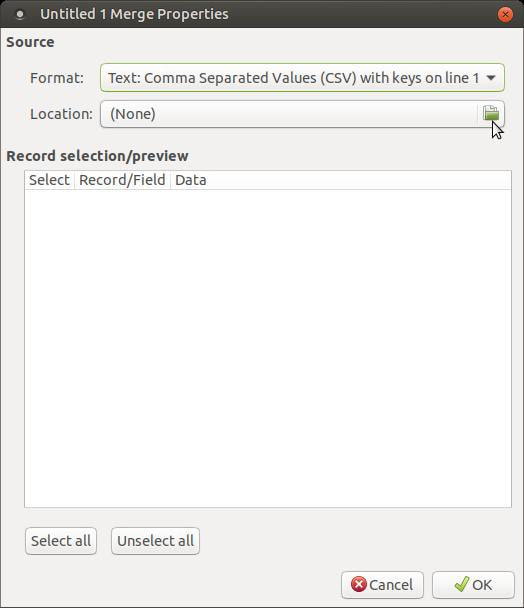
Then click on the folder icon to the right of Location option.
Locate the file that contains the names and addresses. It will have a file extension of .csv. Then click the Open button. You will see a preview of the list of names in the Record/Field section.
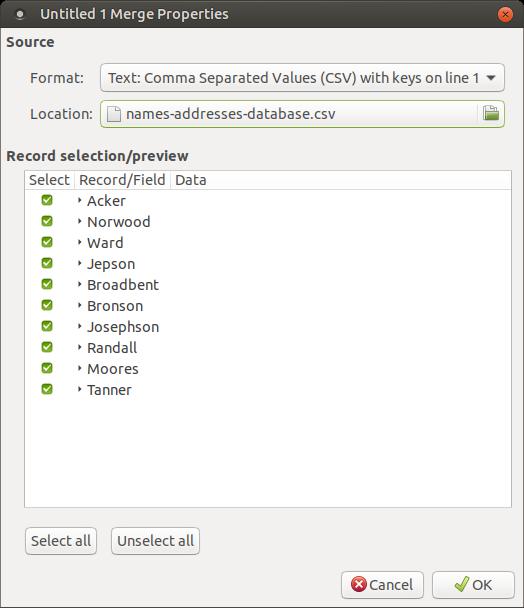
You can click on an arrow to the left of any of the names to see the titles and content of each title. You can unselect any names that you do not won't to print a label for. Click the OK button when you are ready.
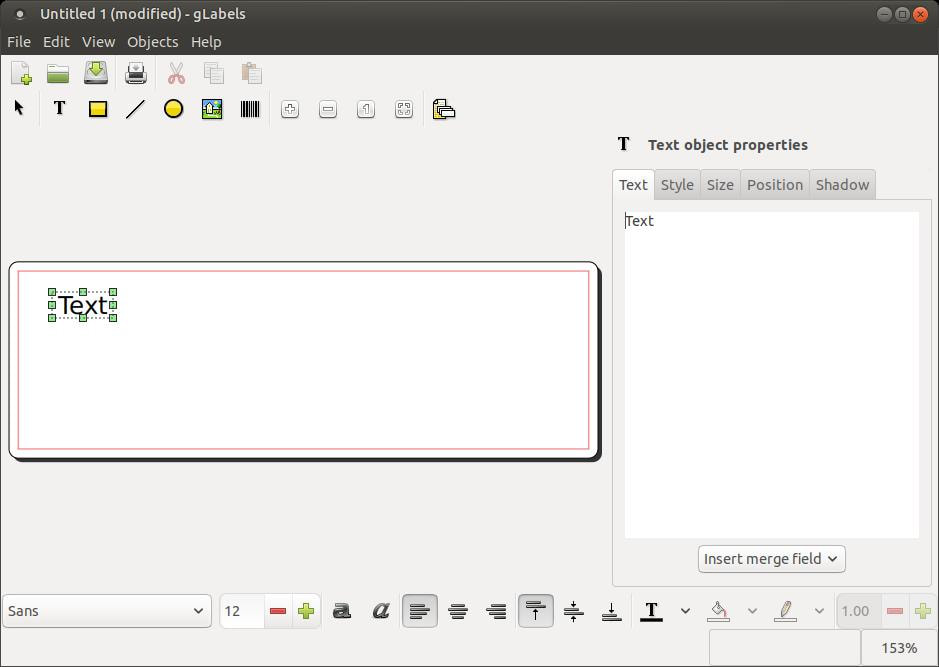
You won't notice anything just yet; however, you will when you add new text to the label. Click the Create text object (T) button on the toolbar and then click the location you want your student name. Delete the word Text under the Text tab. Then click the drop down arrow next to Insert Merge Field.
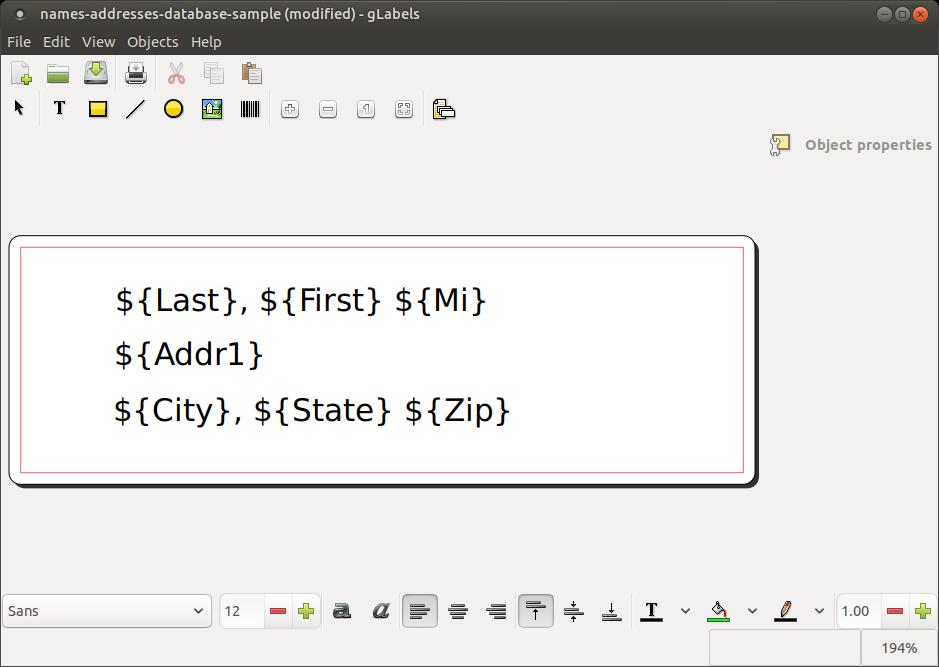
Select a field name that you want to start with on your mailing address label. You can start with first or last name. In my example below, I will start with the last name field name or placeholder.

I continue to add the field names in the locations that I would normally add a name and address on a typical mailing address label. I click the Create text object (T) button on the toolbar each time I wanted to start adding a new line.
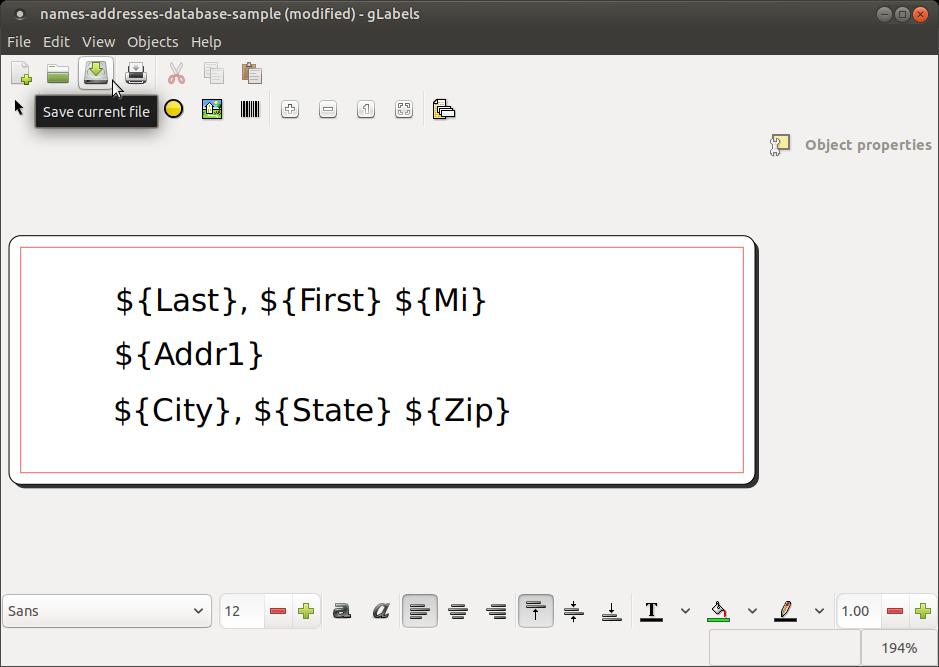
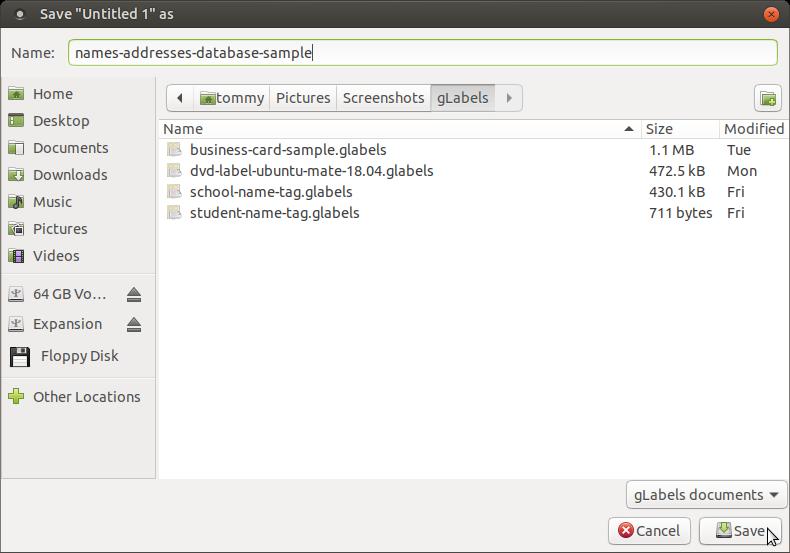
I recommend that you save your mailing address labels after you complete the placement of all the field names or placeholders. Click the Save current file button to save you file.
Give the file a name that you will recognize in the future and select a location for the file. Then click the Save button.
You can preview the address labels before you print them. To preview the address labels, click the File menu, then click on the Print... option.

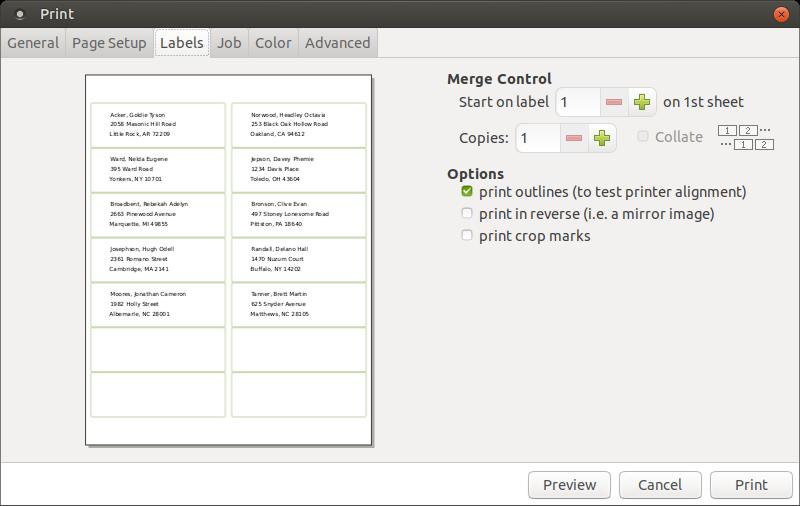
When the Print dialog box appears, click on the Labels tab at the top. Click on the print outlines (to test printer alignment) under Options to see what your address labels will look like. Then click the Preview button at the bottom to give you a closer look at your address labels.
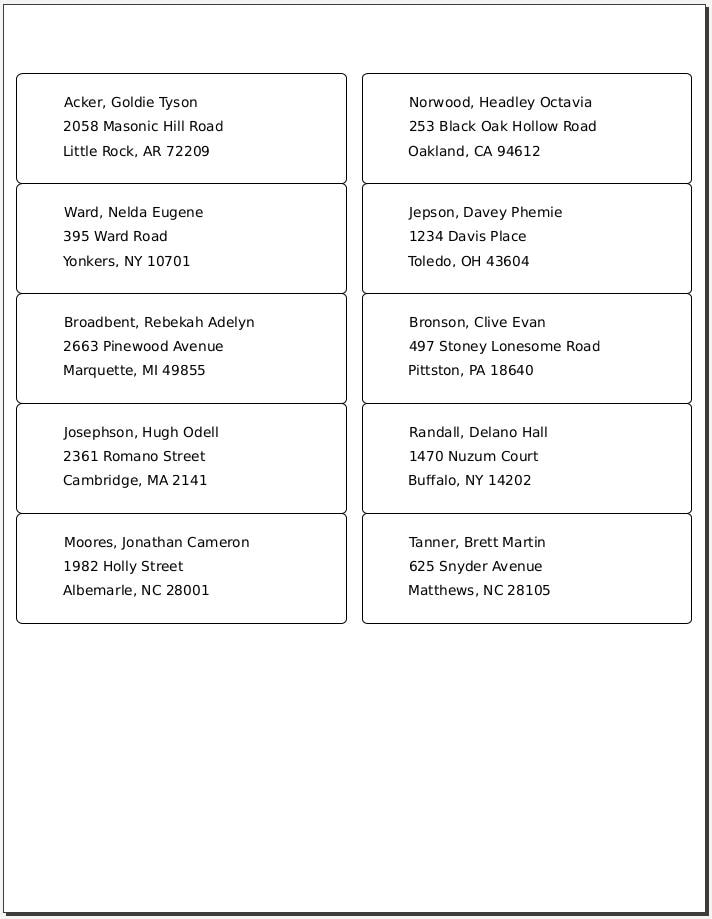
Look over your address labels and make any necessary changes before you save and print your file.
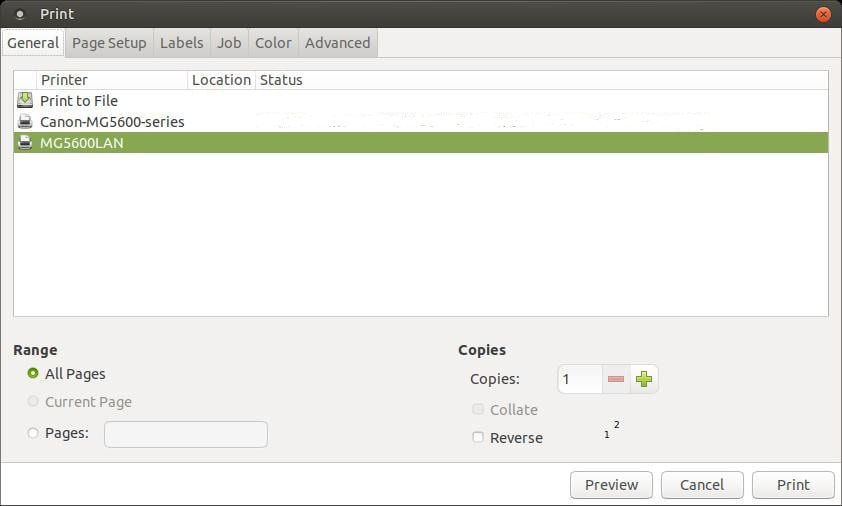
When you are finally satisfied with the look of your address labels, you are ready to print them. Insert the Avery 5162 Address Labels stickers in your printer and then click the File menu in gLabels, then click the Print... option, and when the Print dialog box appears, click the Print button.
Sep 28, 2018
