
Brightness Controller
Brightness Controller is a GUI (Graphical User Interface) application that allows you to control the brightness on your screen in Ubuntu and the Ubuntu derivatives.
How to Install Brightness Controller:
Brightness Controller Simple was written in Python2, which has been deprecated and is no longer available in recent versions of Ubuntu. It is only available for Ubuntu 20.04 and previous versions.
1. Open the Terminal (Shortcut: Ctrl + Alt + T)
2. Type the following command: sudo add-apt-repository ppa:apandada1/brightness-controller
3. Press Enter or Return and type in your password
4. Type the following command: sudo apt-get update
5. Type the following command: sudo apt-get install brightness-controller-simple (For Ubuntu 20.04 LTS and older)
6. Type Y and press Enter or Return
7. Type the following command: sudo apt-get install brightness-controller
8. Type Y and press Enter or Return
How to Remove Brightness Controller:
1. Open the Terminal (Shortcut: Ctrl + Alt + T)
2. Type the following command: sudo apt-get remove brightness-controller brightness-controller-simple && sudo apt-get autoremove
1. Open the Terminal (Shortcut: Ctrl + Alt + T)
2. Type the following command: sudo apt-get remove brightness-controller brightness-controller-simple && sudo apt-get autoremove
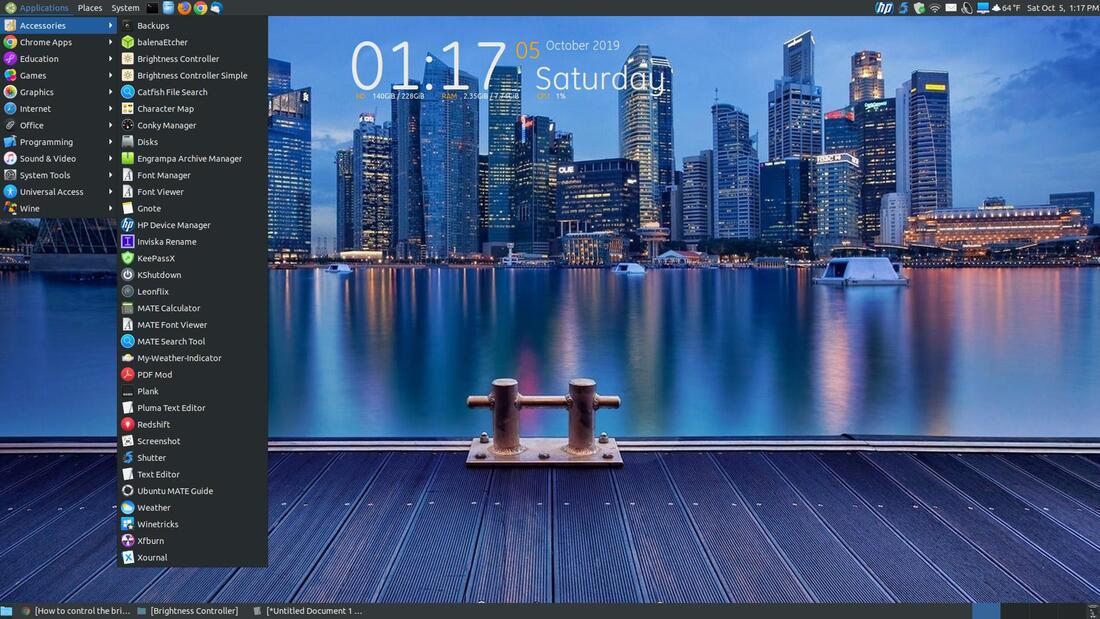
After the program installs, it will place a couple of icons in your menu. I am using Ubuntu MATE 18.04.3 LTS and the icons were placed in my Accessories menu.
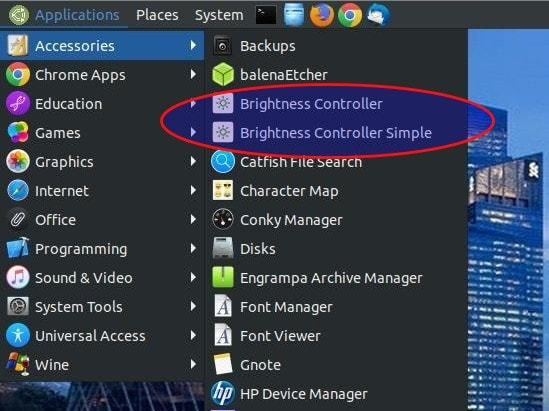
Here's a closer view.
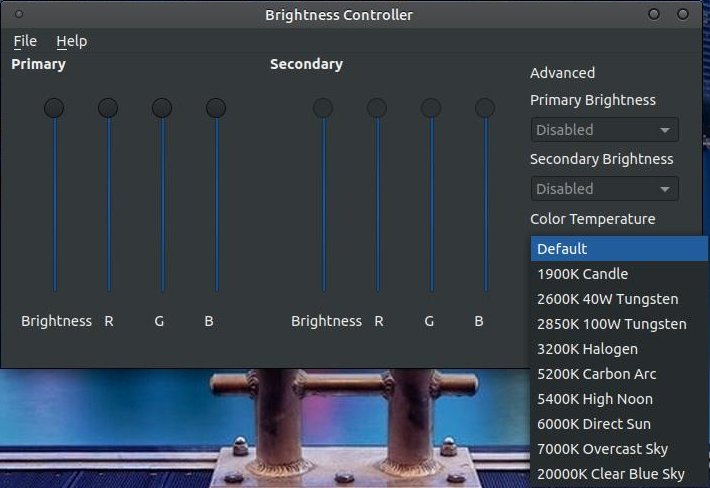
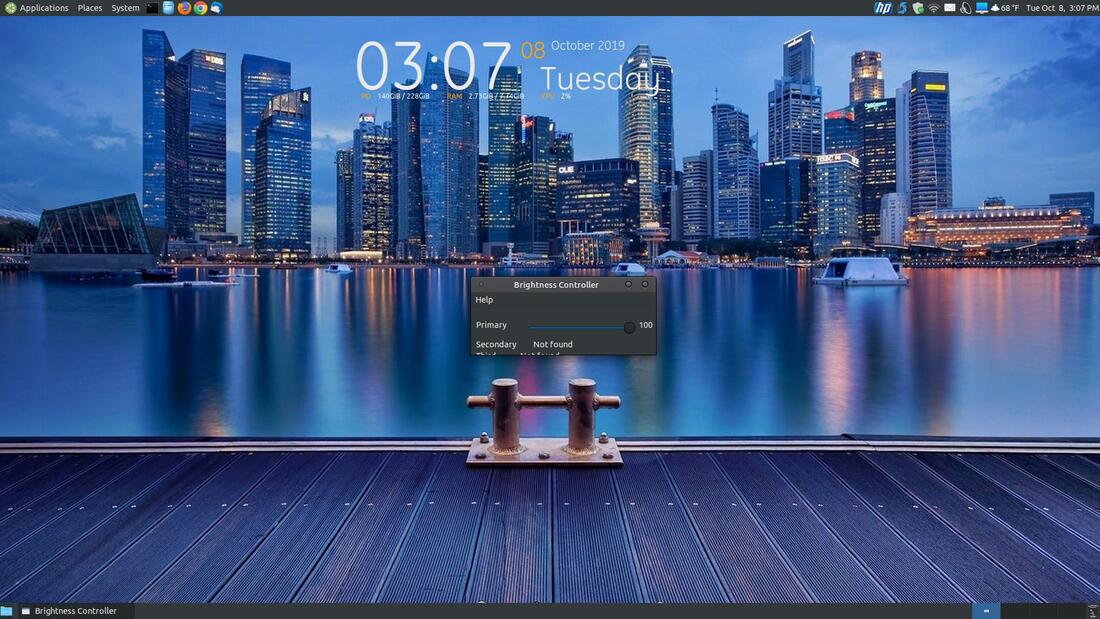
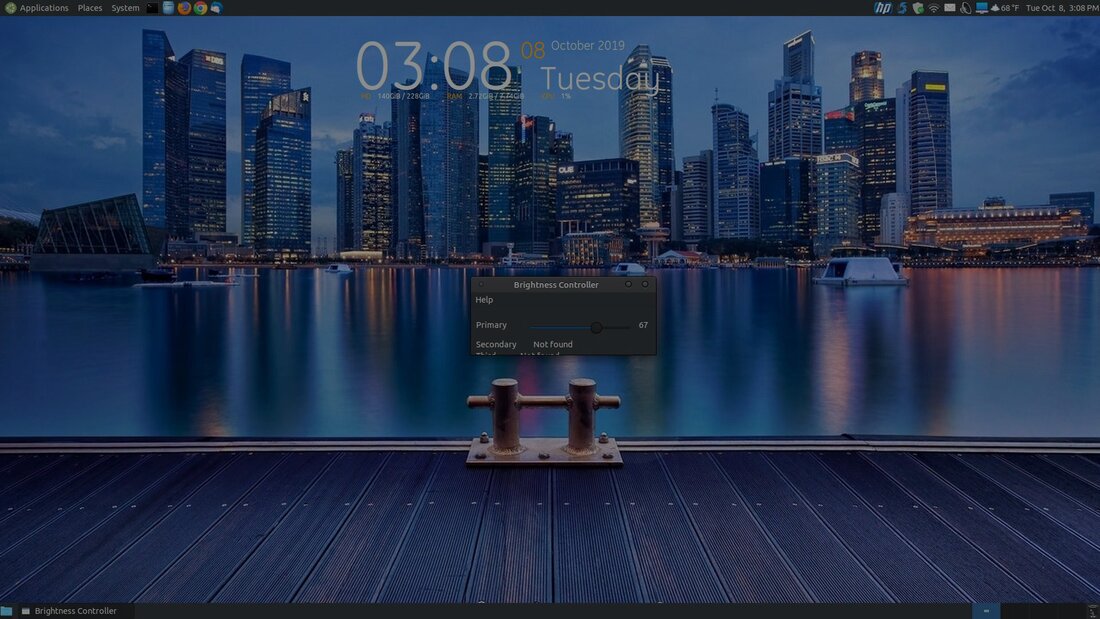
If you click on Brightness Controller it will bring up a Brigtness Controller dialog box that will control the brightness of a Primary monitor and/or Secondary monitor. This program will allow you to adjust your brightness to any level between 1% and 100%. You can also change the color temperature by changing the RGB values.
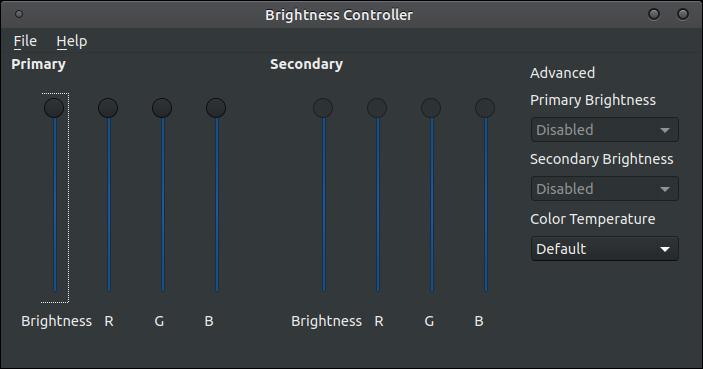
For advanced users, it has Primary Brightness, Secondary Brightness, and Color Temperature options. You will find a variety of preset settings under the Color Temperature drop-down menu.
The Brightness Controller will place a large icon in your system tray when it's active.
You can see the icon between my HP Device Manager icon and my Shutter screenshot icon.

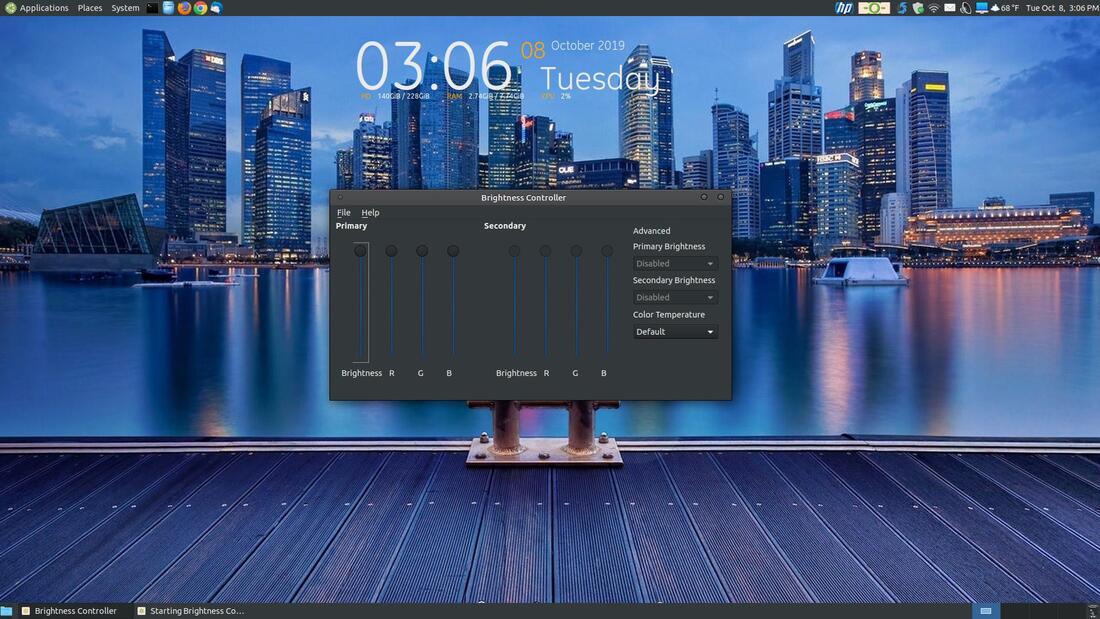
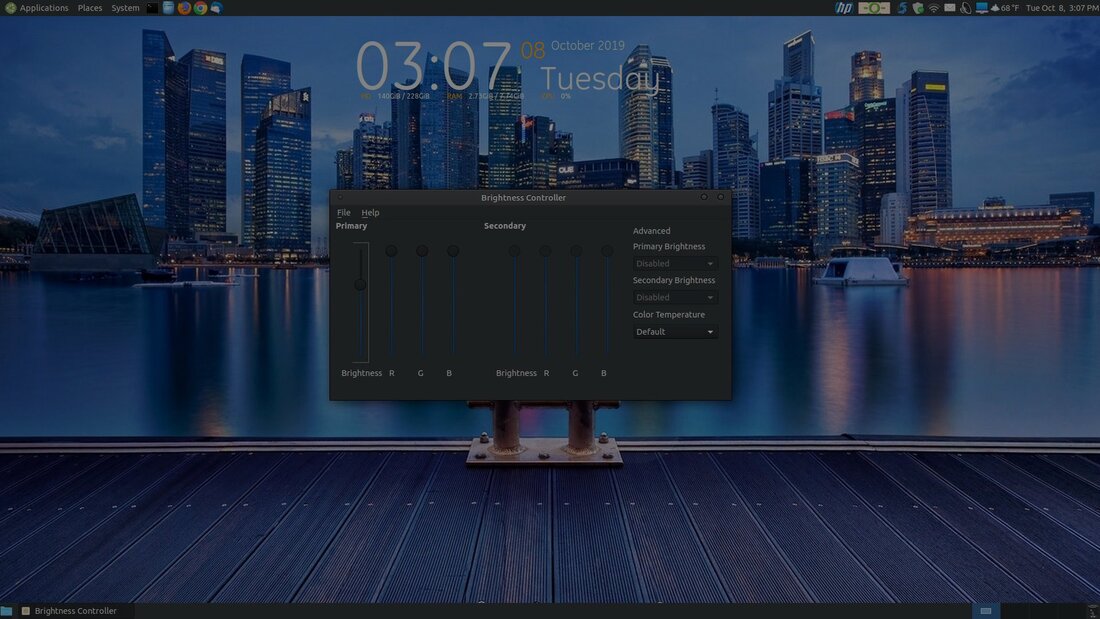
You can control the brightness on your main screen by adjusting the brightness level or slider under Primary.
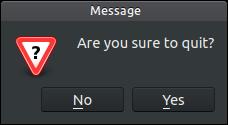
To exit Brightness Controller click on the program's icon in the system tray and click on Quit...

A Message dialog box will appear asking, "Are you sure to quit?" Click the Yes button if you do want to quit the program.
You can use the Brightness Controller Simple to the brightness of four different monitors. It doesn't have the Color Temperature (RGB) options and the huge icon in the system tray, but it's still an effective way of controlling the brightness of your screens.
You have a slider for each monitor connected to your system. I only have one monitor connected, so I have only on active slider.
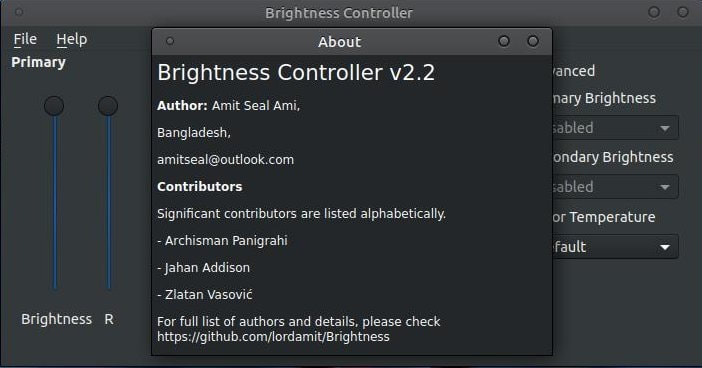
For questions and bugs with software in this PPA please contact Archisman Panigrahi.
Oct 9, 2019
