
gLabels
gLabels is a small application for creating labels, business cards, and media covers using a laser or ink-jet printer. It works with a variety of laser and/or ink-jet peel-off label and business card sheets found in most office supply stores.
"gLabels can be used to design address labels, name tags, price tags, cd/dvd labels, or just about anything else that is organized in a regular pattern on a sheet of paper. Labels (or cards) can contain text, images, lines, shapes, and barcodes. gLabels also includes a document-merge feature which lets you print a unique label for each record from an external data source, such as a CSV file or an Evolution address book." -- Quote from the User Manual.
"gLabels can be used to design address labels, name tags, price tags, cd/dvd labels, or just about anything else that is organized in a regular pattern on a sheet of paper. Labels (or cards) can contain text, images, lines, shapes, and barcodes. gLabels also includes a document-merge feature which lets you print a unique label for each record from an external data source, such as a CSV file or an Evolution address book." -- Quote from the User Manual.
How to Install gLabels:
Download gLabels 4.0 by clicking on the following link:
glabels-qt_4.0.0-0~202102071618~rev488~pkg4~ubuntu21.04.1_amd64.deb
Go to the location of the downloaded file and double-click it to open the package installer.
How to Uninstall gLabels:
1. Open the Terminal (Shortcut: Ctrl + Alt + T)
2. Type the following command: sudo apt-get remove glabels-qt
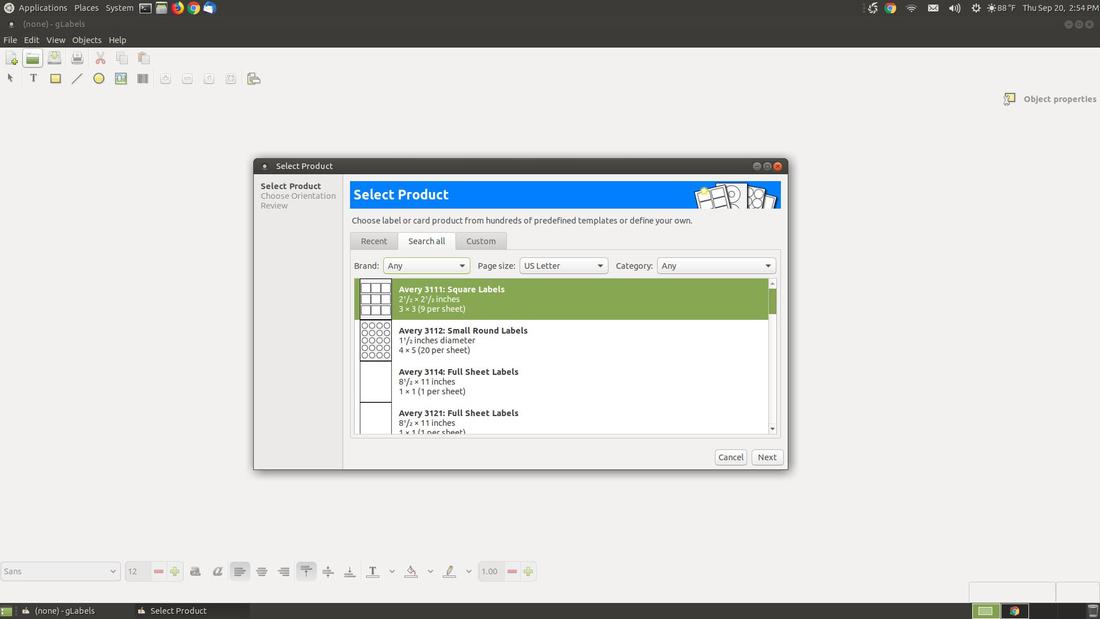
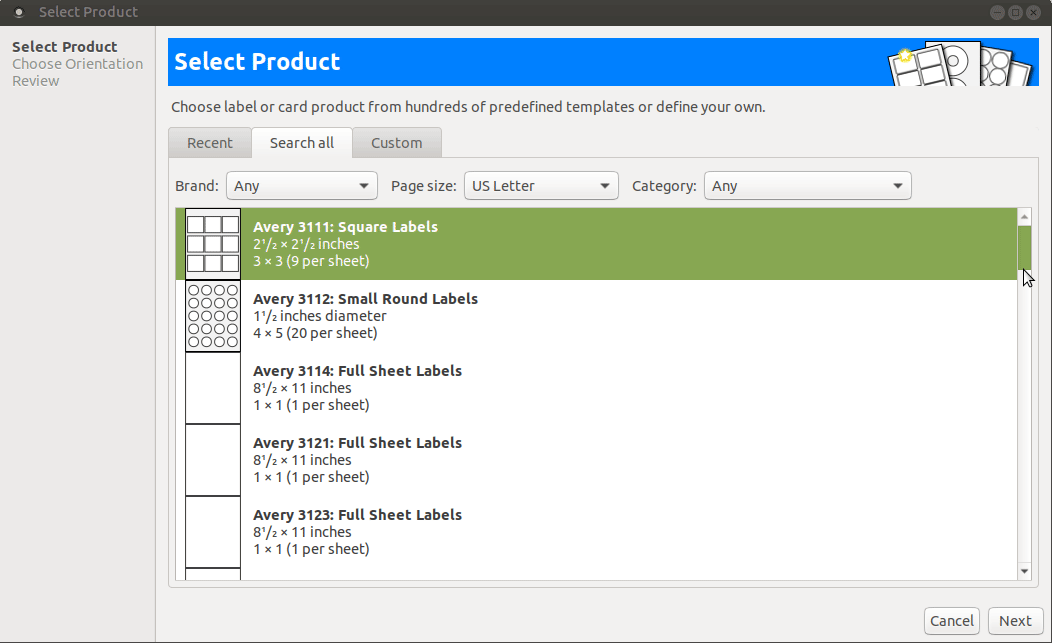
gLabels comes with hundreds of preinstalled predefined templates to make your task much easier. You can also define or create your own template for those special occasions.
To start gLabels, click on the Applications menu, highlight Office, and then select gLabels.
Create a Name Badge
Teachers usually create a name badge when they meet new students and parents on open house night at the beginning of the school year. If they were to create their name tag using gLabels, they would be able to print it again at the beginning of each school year without having to create a new one from scratch. They also have the option to edit the name tag each year to give each tag a new look.
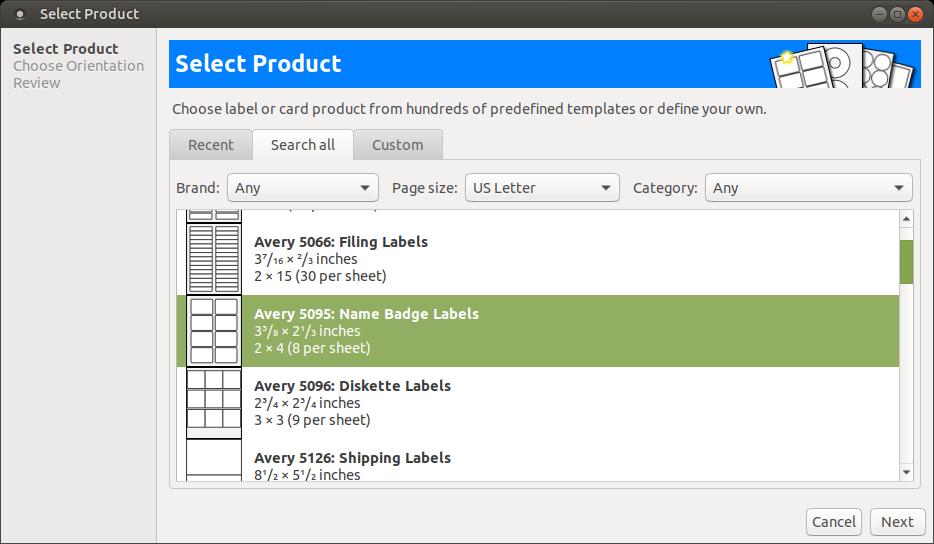
I usually use the Avery 5095: Name Badge Labels that contain 8 name tags per sheet to create name name tags. You can find them at stores that sell office sipplies or school supplies or you can buy them online at Amazon. (Avery White Adhesive Name Badges with Red Border, 2-1/3" x 3-3/8", Box of 400 (5095)) This will be the type of name tag I will be using in my examples below.
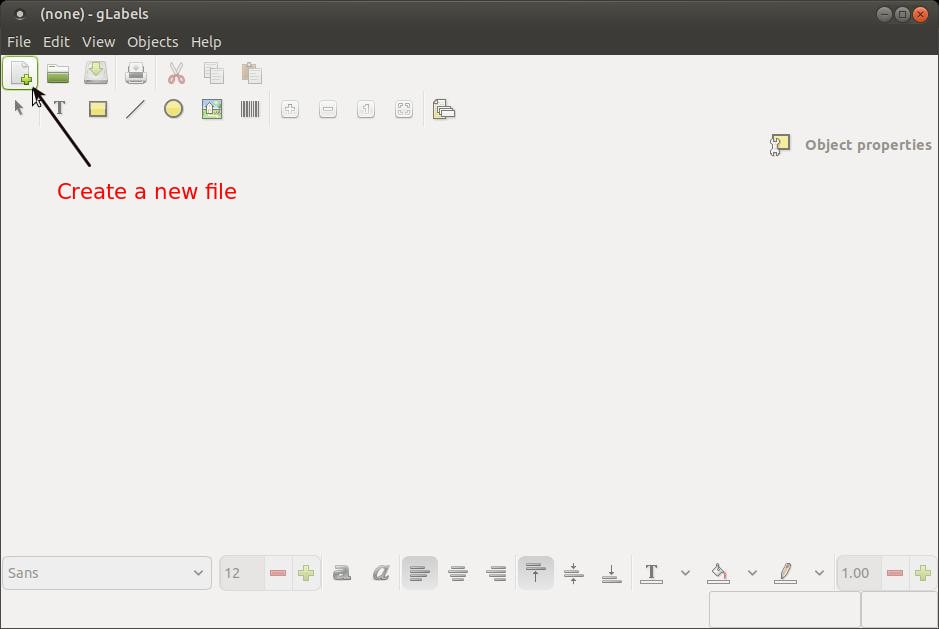
Lets create a very simple name tag. Click on the Create a new file button on the toolbar or click the File menu and click the New option.
Teachers usually create a name badge when they meet new students and parents on open house night at the beginning of the school year. If they were to create their name tag using gLabels, they would be able to print it again at the beginning of each school year without having to create a new one from scratch. They also have the option to edit the name tag each year to give each tag a new look.
I usually use the Avery 5095: Name Badge Labels that contain 8 name tags per sheet to create name name tags. You can find them at stores that sell office sipplies or school supplies or you can buy them online at Amazon. (Avery White Adhesive Name Badges with Red Border, 2-1/3" x 3-3/8", Box of 400 (5095)) This will be the type of name tag I will be using in my examples below.
Lets create a very simple name tag. Click on the Create a new file button on the toolbar or click the File menu and click the New option.
When the Select Product dialog box appears, scroll down and find Avery 5095: Name Badge Labels and click it to select it.
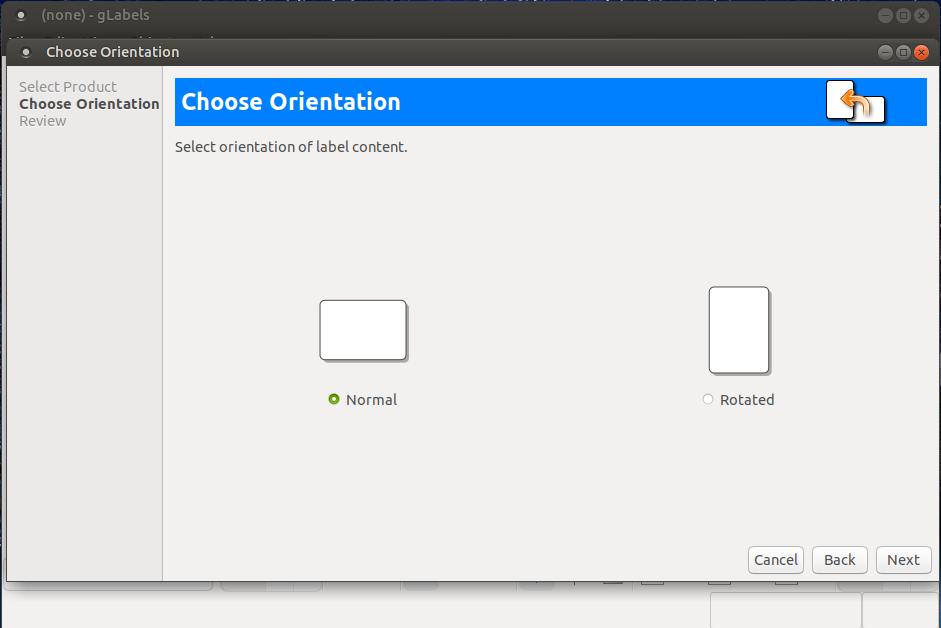
Then click the Next button. A Choose Orientation dialog box will appear to allow you to select the orientation or position of your name tag. Select Normal for horizontal positioned name tag.
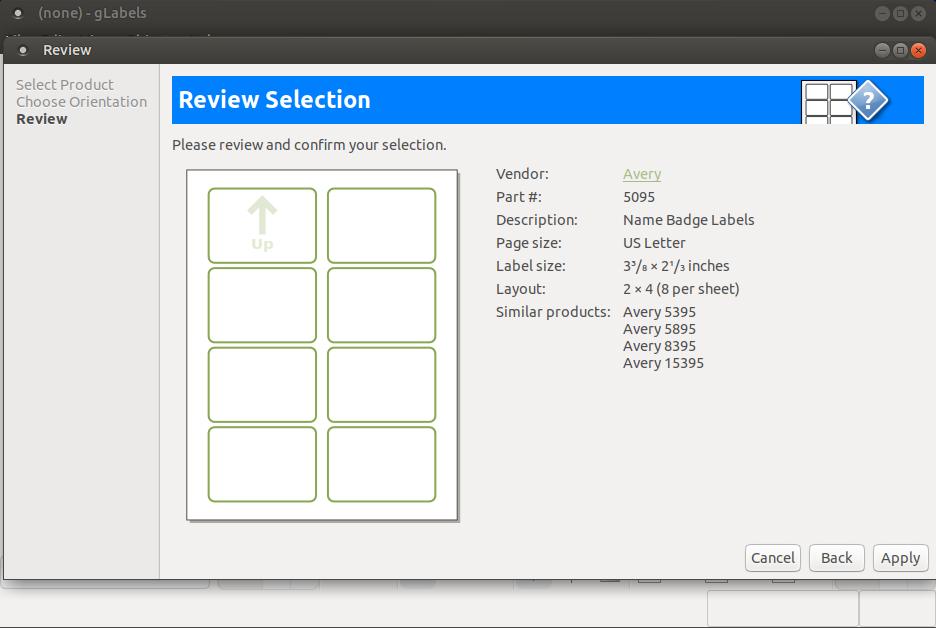
Then click the Next button. You have a chance to look over your choices you have made up to this point in the Review Selection dialog box. You can use the Back button if you noticed that you've made a mistake.
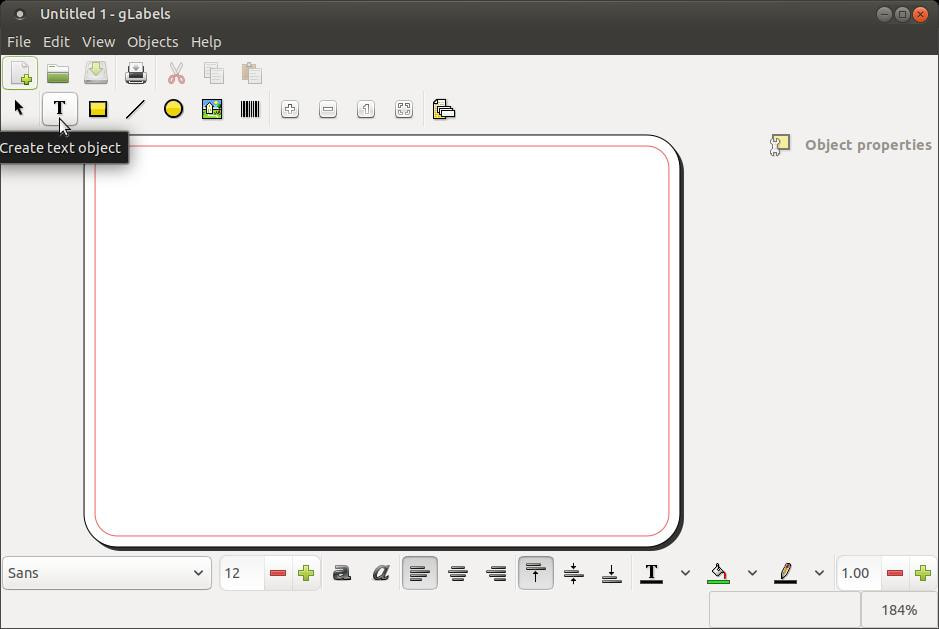
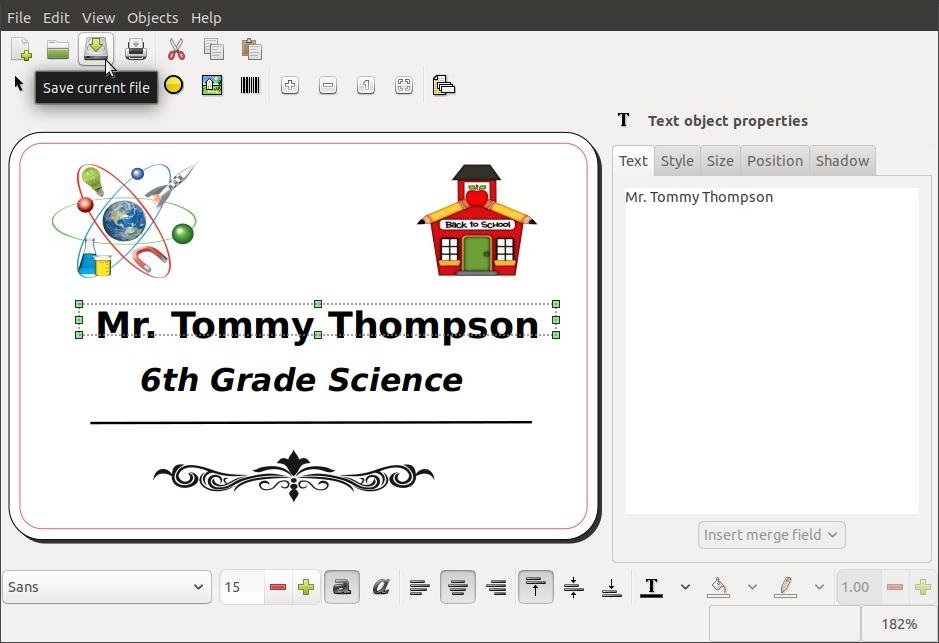
Click the Apply button to start creating your name tag. Click the Create text object button on the toolbar to start putting text on your name tag. The Object properties on the right will change to Text object properties and five different tabs will appear below that title.
Click in an area in the name tag template so that you can type your name. You make changes to the text by using the Text object properties tabs on the right.
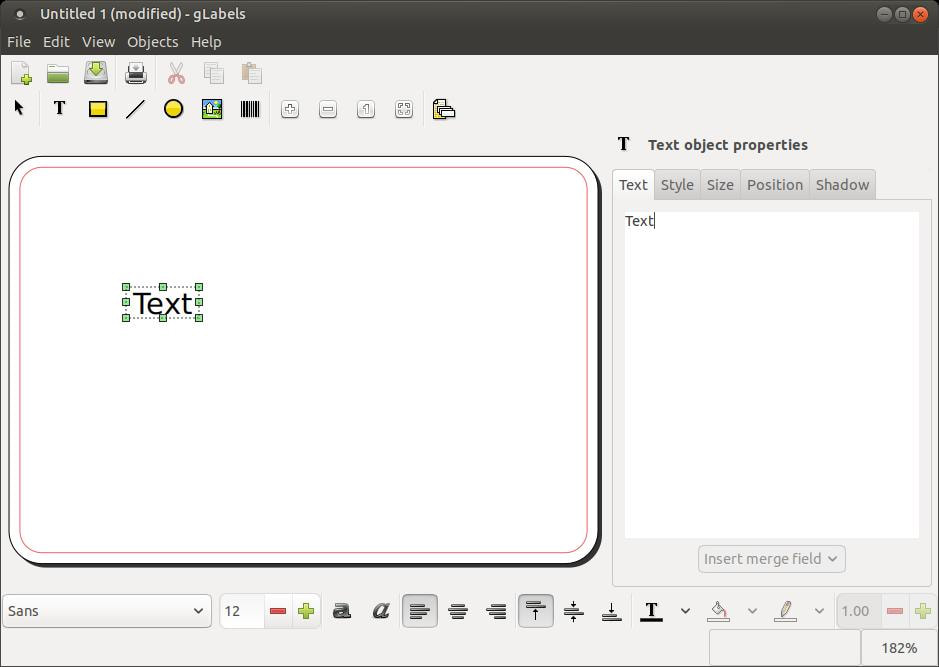
Use the backspace button on your keyboard to delete the word Text and then type your name.

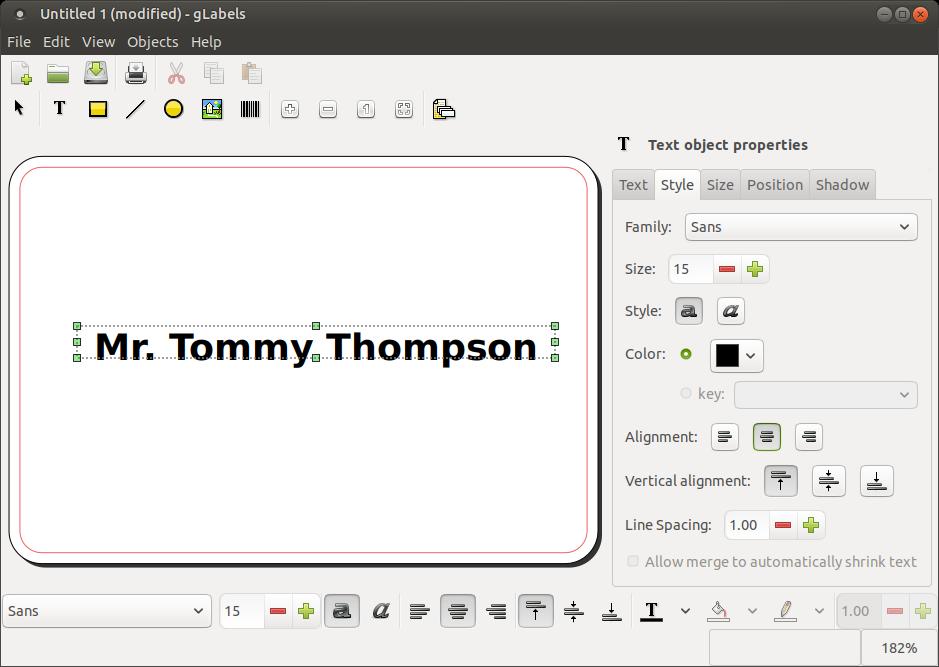
You can change the style of your text by clicking on the Style tab. You can change your font, the size of the font, the style (Bold and/or Italic), the color of your text, the horizontal alignment, the vertical alignment, and the line spacing.
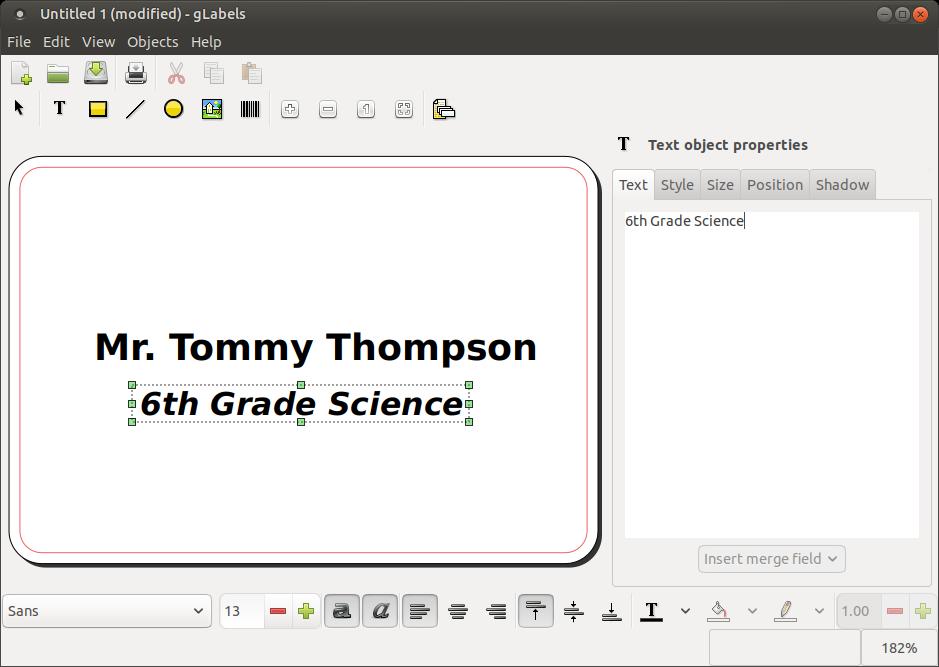
If you want to add additional text that will use a different font style, click on the Create text object button and click on the name tag to allow you to enter your new text. I added a new line of text that used Bold and Italic fonts and I used the toolbar at the botton to make these changes.
If you want to insert an image on your name tag, click the Create image object button on the toolbar and then click on the name tag at the location you want to place it.
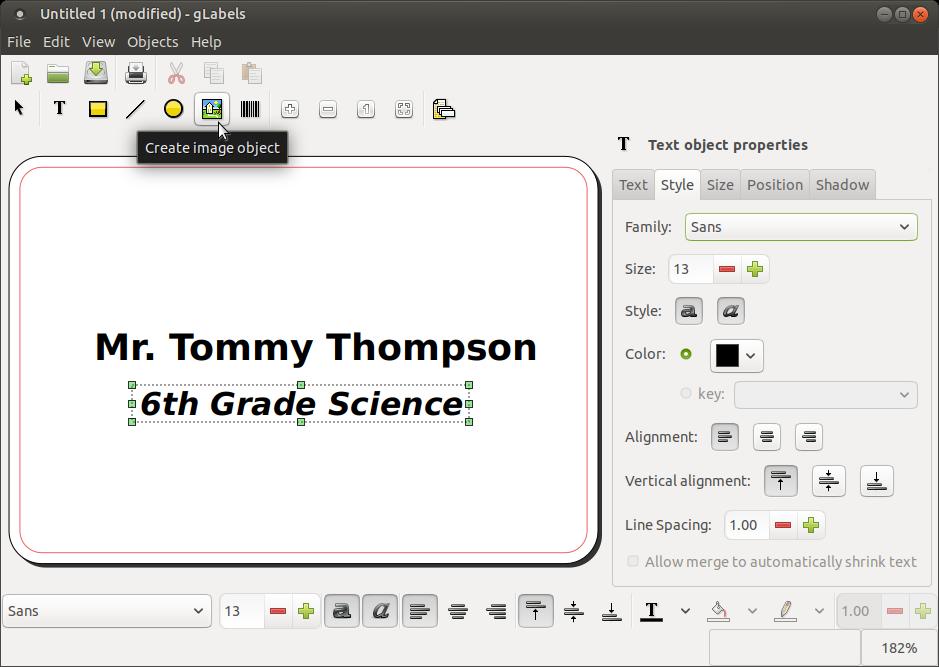
If the box appears to be very small, you can click on one of the edges and drag it to increase its size. The Text object properties on the right will change to Image object properties that contains four tabs.
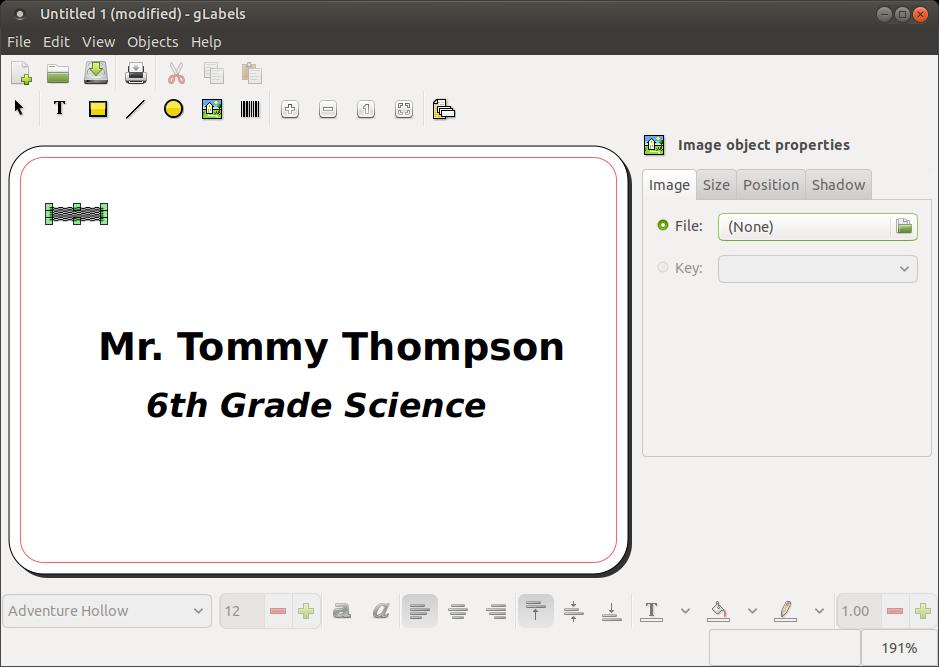
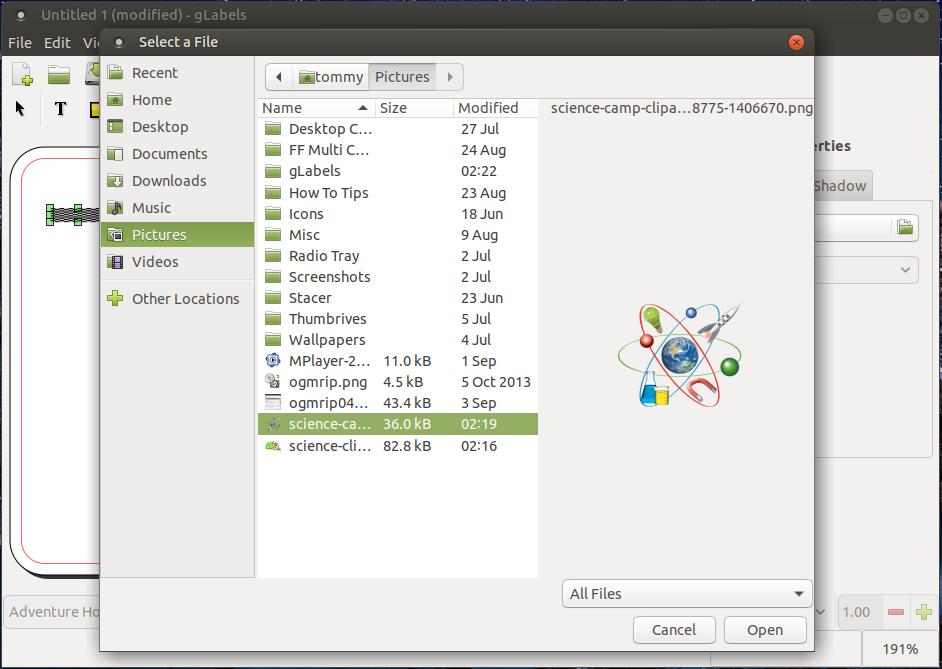
Click the folder icon next to the File option so that you can locate an image to inset on your name tag. Select your image and click on the Open button to insert the image.
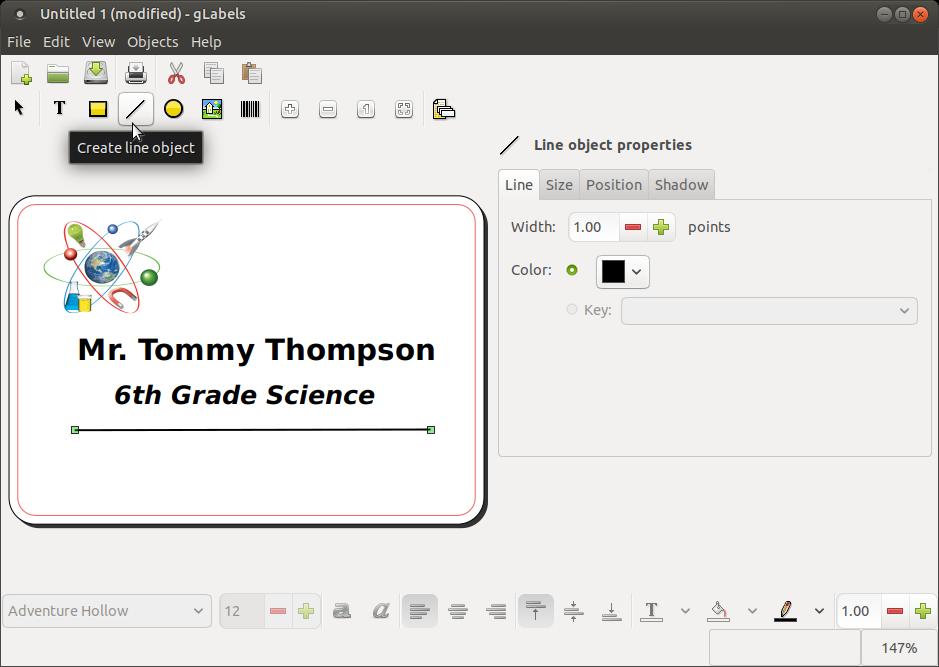
You can insert a line on your name tag by clicking on the Create line object button on the toolbar. The title of Line object properties will appear on the right with four tabs. This section will allow you to modify and change the line style, size, position, and even allow you to add a shadow to your line.
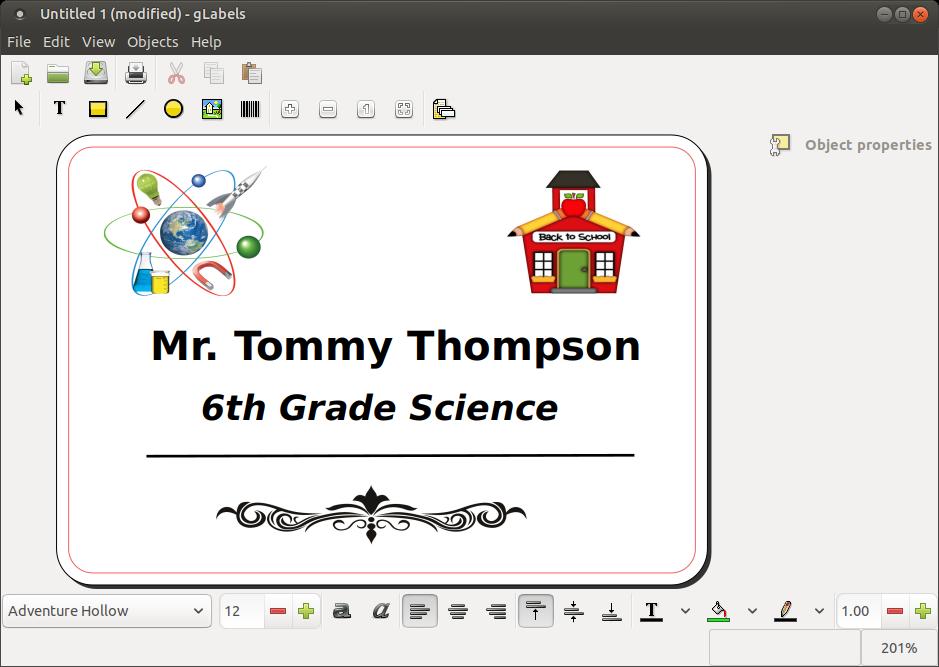
I added a couple more clipart images to make use of some of the white space on the name tag. You have the ability to use your creative skills to make a name very simple or a name tag that is a work of art. I created a very simple name tag to demostrate how to add text, change the style of the text, insert a line, and insert images on your name tag.
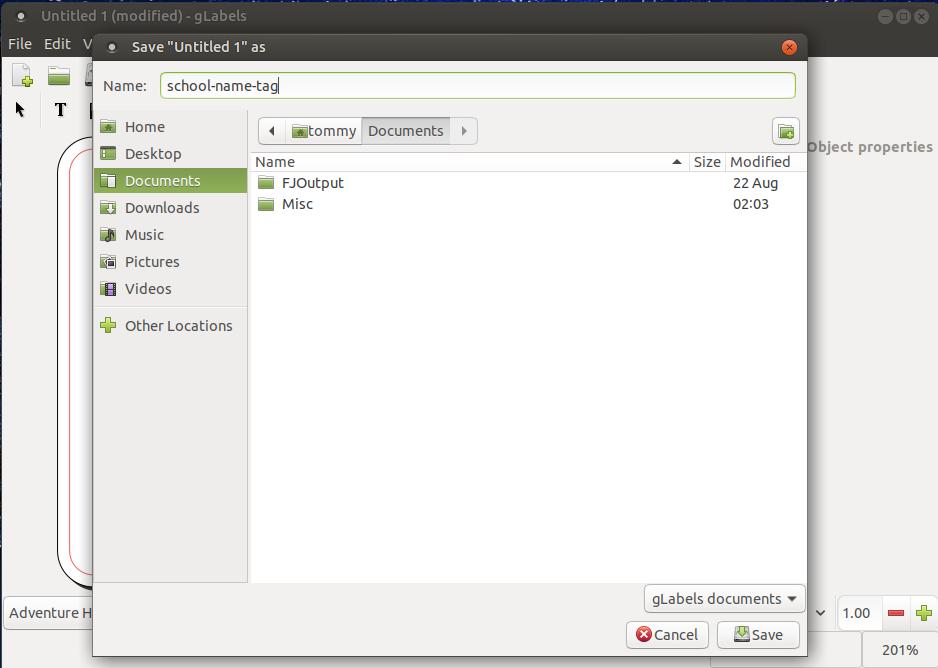
You are now ready to save your name tag. Click the Save current file button on the toolbar to bring up the Save as dialog box.
When the Save "Untitled" as dialog box appears, type a name to help you identify what the file is in the future, select a location to save the file, and then click the Save button.
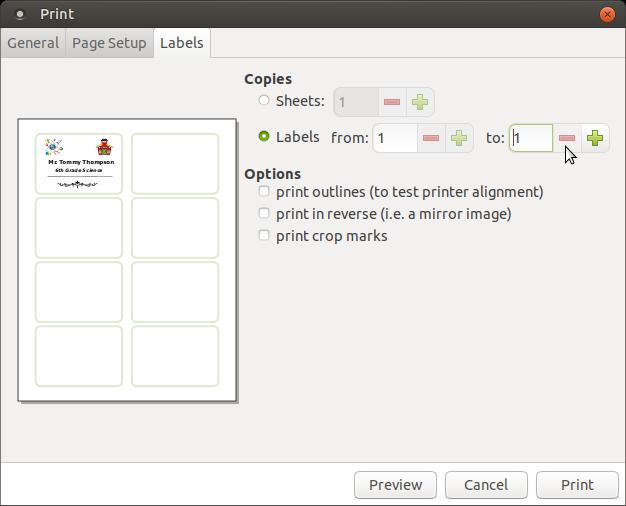
You are now ready to print your name tag. Click the Print current file button on the toolbar.

Select the name of your printer under the General tab and then click the Labels tab.
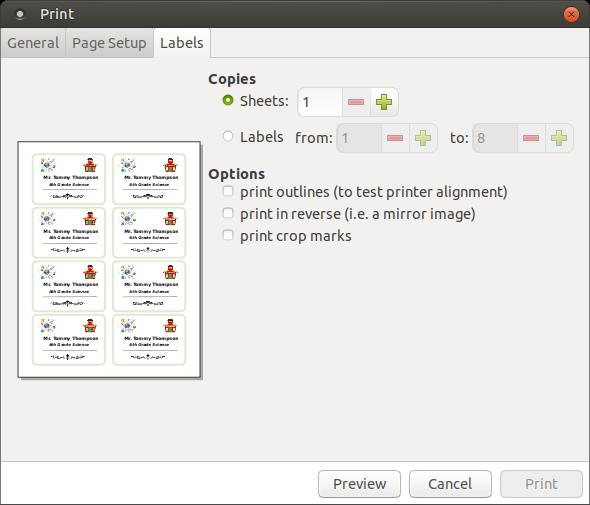
You have the choice to print several sheets or print 1 to 8 name tags by selecting the Labels option under the Copies section. I don't want to waste my name tag stickers, so I'll select from:1 to: 1 so that it will only print one name tag. Then click on the Print button when you have your Avery 5095: Name Badge Labels in your printer and you're ready to print.
Sep 23, 2018
