
Convert A Video Using Handbrake
HandBrake is a great tool for converting a video file from one format to another. In the previous section I illustrated how to use HandBrake to RIP a DVD to a .mp4 file format. In this section, I will illustrate how to convert the .mp4 file format to a .mkv file format. You can follow these same steps for converting from one format to another. (Note: It is illegal to copy, rip, or encode or convert any material that you do not own.)
A lot of new technology devices do n0t have DVD or Blu-ray players, so watching your collection of videos is impossible on these devices. Using Handbrake allows you to RIP and convert videos so that you can put them on a thumb drive or SD card and watch them on your new devices. You can keep them on your hard drive and shared to your devices by using Plex or Emby.
Step 1: Launch HandBrake
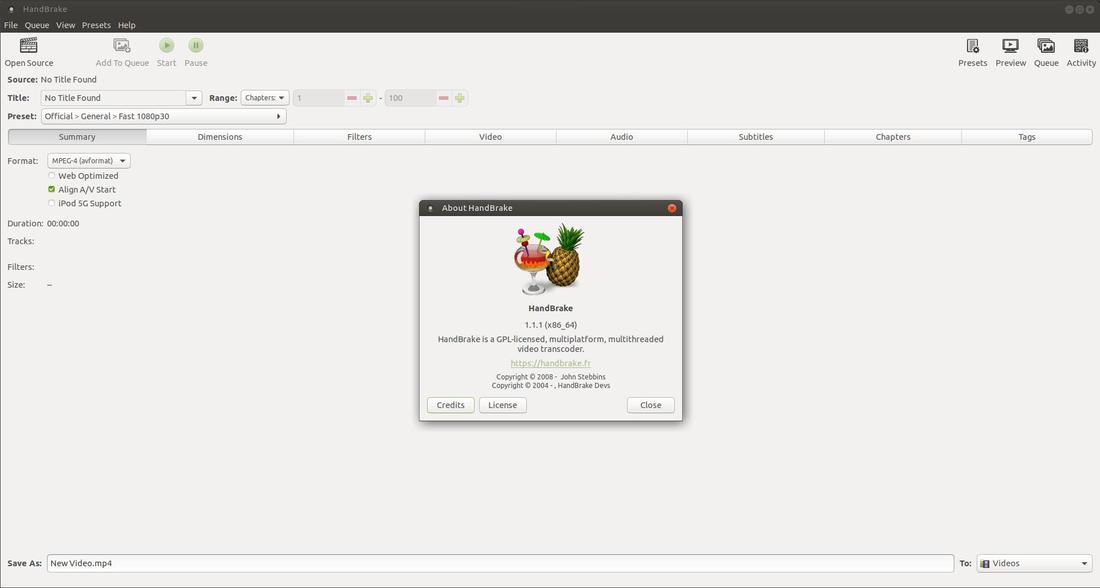
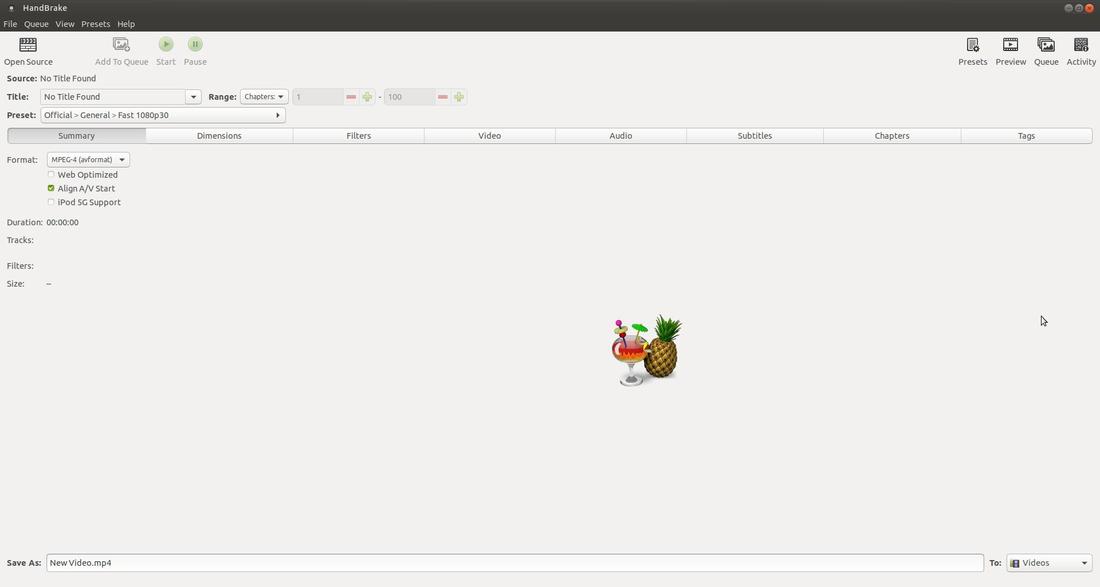
Click the Applications menu, highlight Sound & Video, and click on HandBreak.
A lot of new technology devices do n0t have DVD or Blu-ray players, so watching your collection of videos is impossible on these devices. Using Handbrake allows you to RIP and convert videos so that you can put them on a thumb drive or SD card and watch them on your new devices. You can keep them on your hard drive and shared to your devices by using Plex or Emby.
Step 1: Launch HandBrake
Click the Applications menu, highlight Sound & Video, and click on HandBreak.
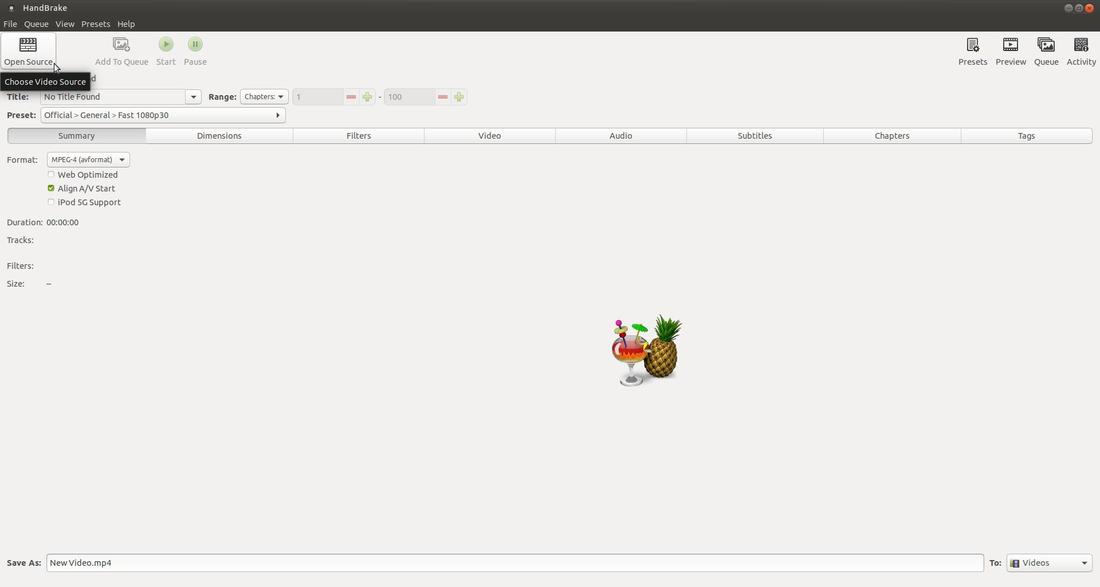
Step 2: Select Your Source Video
Click the Open Source button on the toolbar.
Click the Open Source button on the toolbar.
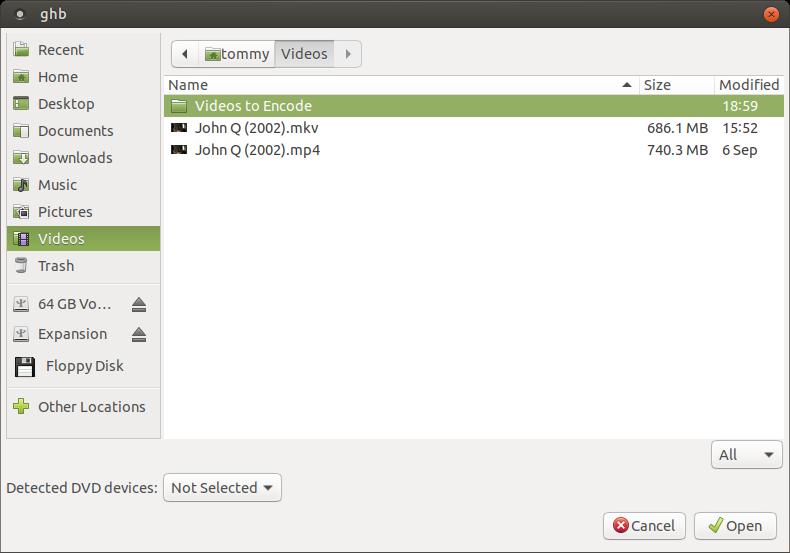
When the dialog box appears, locate your video file and click on it to select it and then click the Open button.
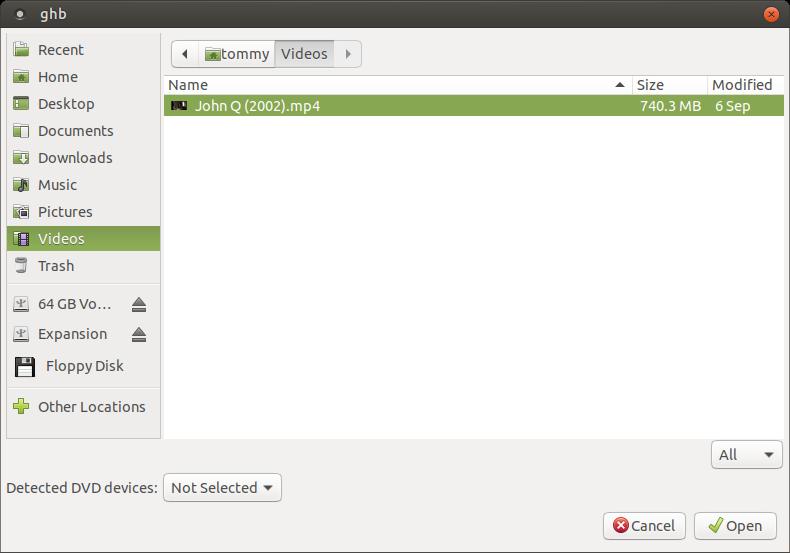
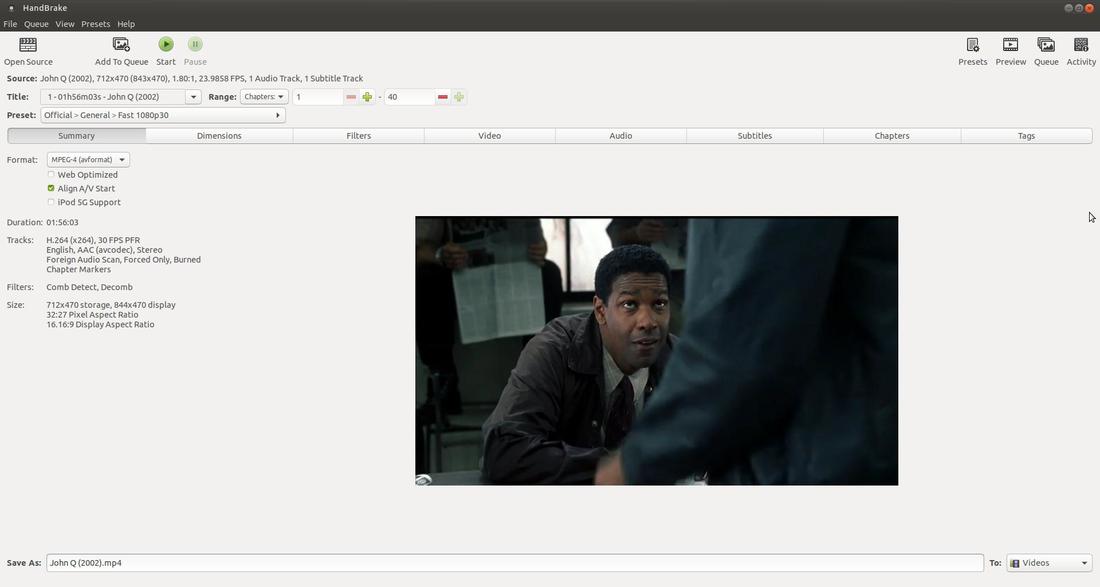
You should see a summary and sample image of your selected video.
Step 3: Select an Appropriate Preset
Click the arrow to the right of Preset, in the upper left corner to display the list of preset settings.
Click the arrow to the right of Preset, in the upper left corner to display the list of preset settings.
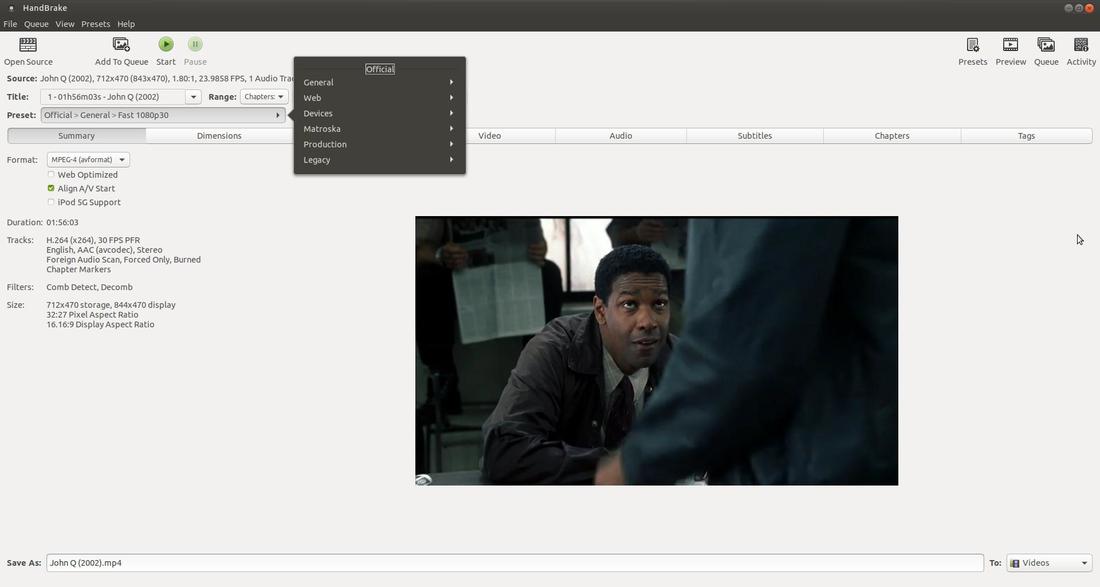
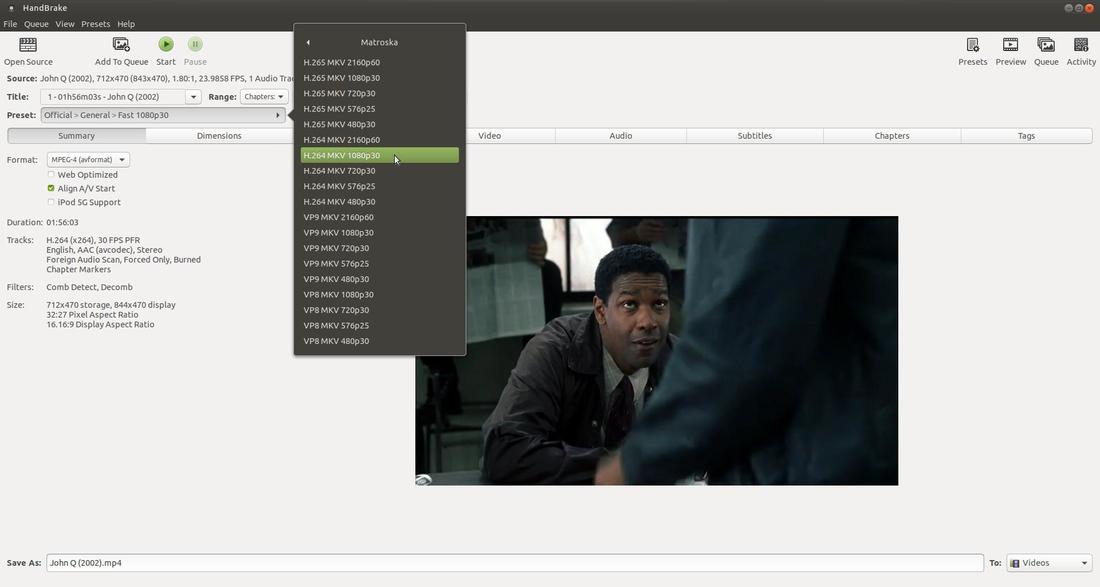
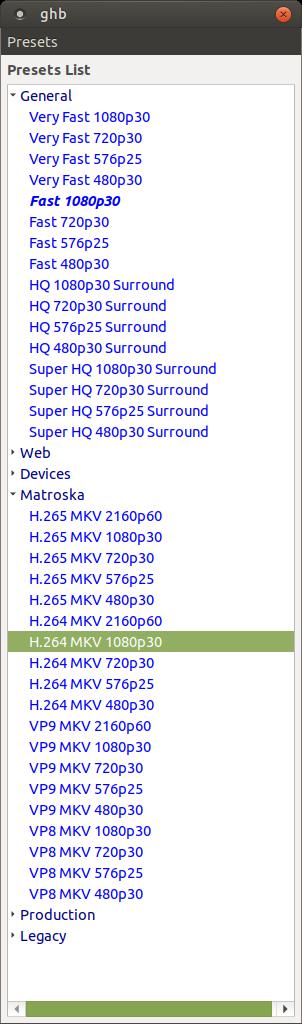
Since we are going to convert from .mp4 to .mkv, you'll need to click on the arrow to the right of Matroska to view more options. I then clicked on H.264 MKV 1080p30 to select it. This will be the file format for your new converted ouput video.
You can view the list of presets that HandBrake choose from by clicking on the View menu and click on Presets List.
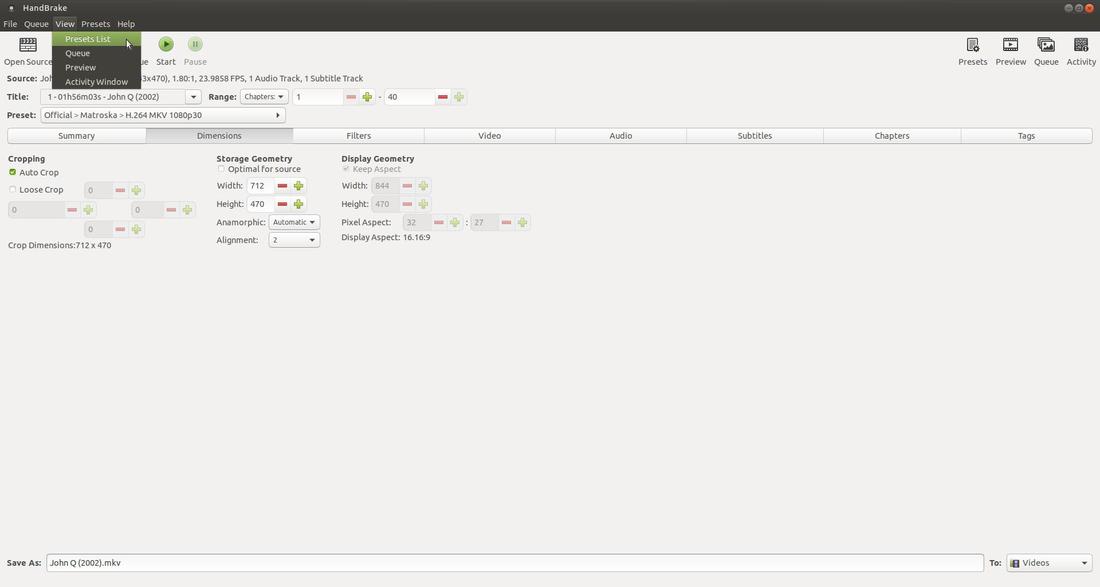
A dialog box will appear that will allow you to view all of preset settings. Most of HandBrake’s official Presets use the .x264 or .x265 video encoders.
Step 4: Select Your Destination
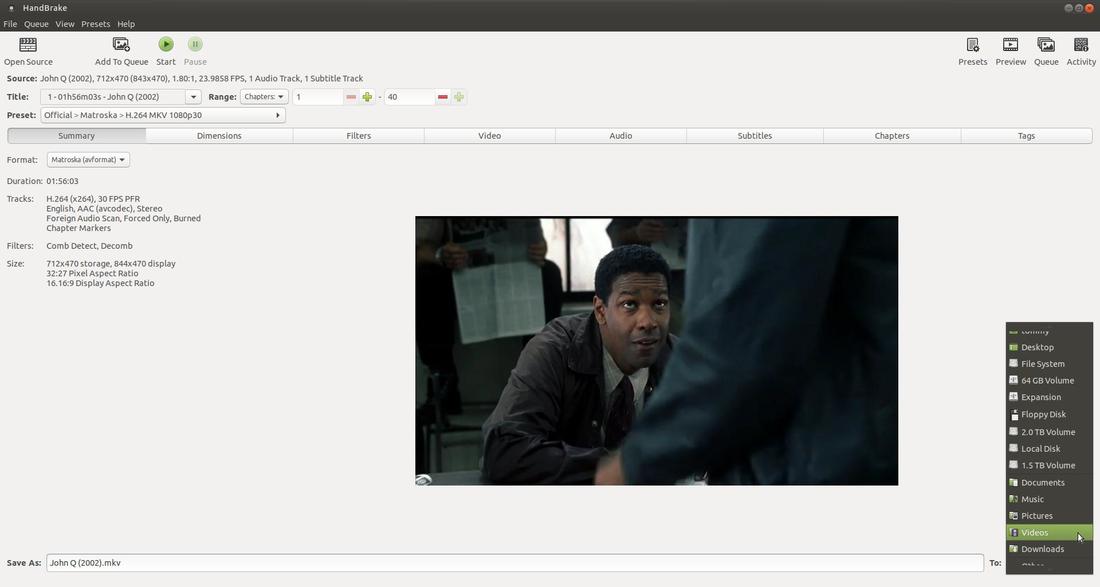
Click the drop-down arrow to the right of To in the lower right corner, and select the location you want to place your new converted video. I selected Videos to place my new video in the same folder as the original source video. This will not overwrite or replace my original file because the new file will have have a .mkv file extension. You can also change the name of your new file next to Save As in the lower left corner before you start the conversion process.
Click the drop-down arrow to the right of To in the lower right corner, and select the location you want to place your new converted video. I selected Videos to place my new video in the same folder as the original source video. This will not overwrite or replace my original file because the new file will have have a .mkv file extension. You can also change the name of your new file next to Save As in the lower left corner before you start the conversion process.
Step 5: Start the Conversion Process
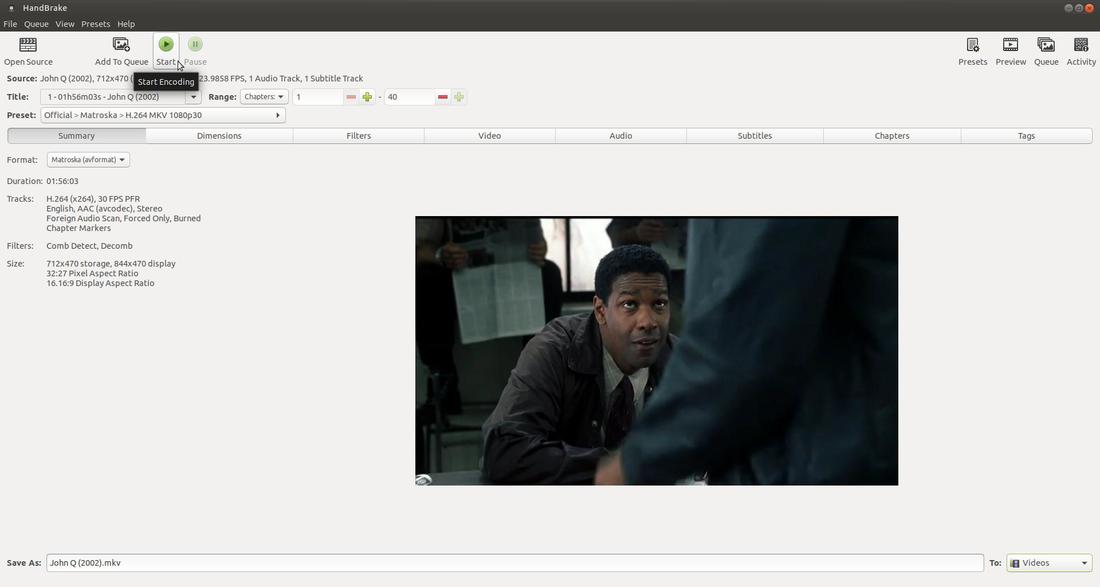
Click on the green Start button on the toolbar to begin the conversion process. This process can take a long time depending on the length of the source video.
Click on the green Start button on the toolbar to begin the conversion process. This process can take a long time depending on the length of the source video.
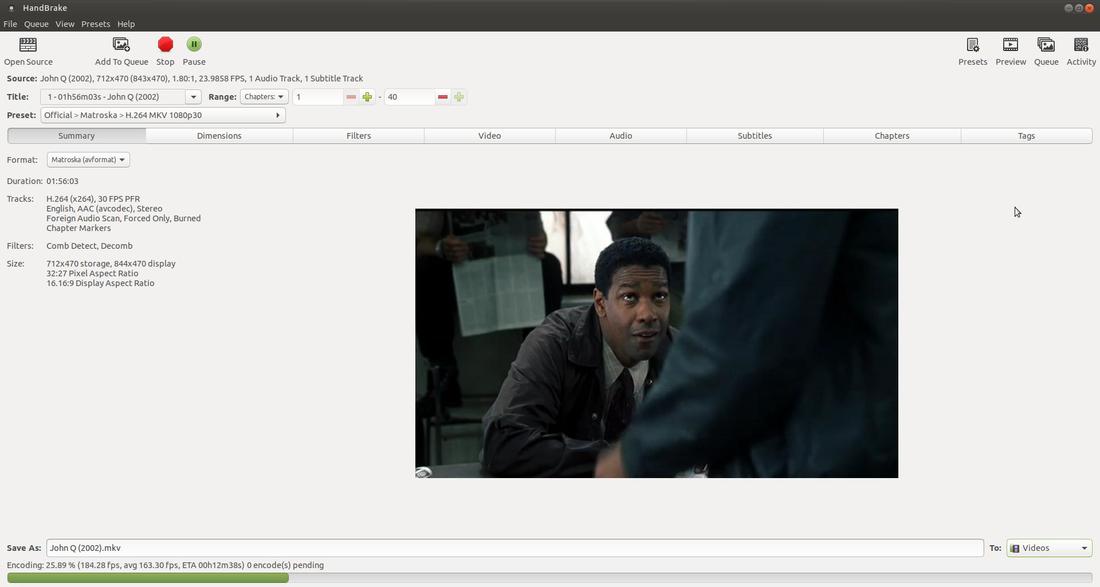
During the encoding or conversion process, the green Start button will change to a red Stop button and the Pause button will because bold to indicate that it is clickable (meaning you can pause the conversion process). You will notice an Encoding progress bar across the bottom.
Encode Done! 0 encode(s) pending will be displayed in the lower left corner when the process has finished. You are ready to go to the location you saved the new video file.

My Videos folder now contains two video files. The original .mp4 file and the newly converted .mkv file.
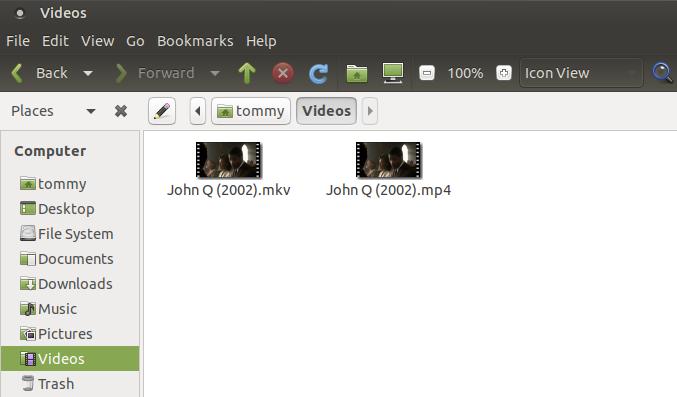
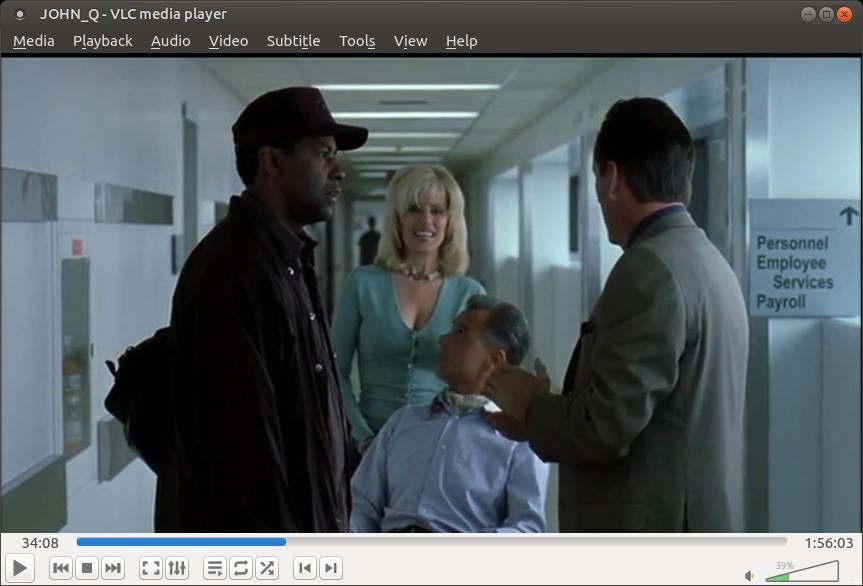
The new file plays as good as the original file.
You are now ready to copy the file to a thumb drive or SD card so that you can play the video on a device that does not have a DVD or Blu-ray player.
Converting Multiple Files using HandBrake
HandBrake also allows you to convert more than one video file at a time. Actually, it converts one video file at a time; however, you can add multiple jobs to the Queue or place them in a list awaiting their turn to be attended to or to proceed. You can add multiple jobs to the Queue and they will convert while you sleep or while you are at work or school.
Step 1: Select Videos Folder
Make sure that the videos you want to convert are in the same folder. Click the Open Source button on the toolbar and select the name of the folder the files are placed in. (Notice: I am opening the folder the files are in, not the individual files.)
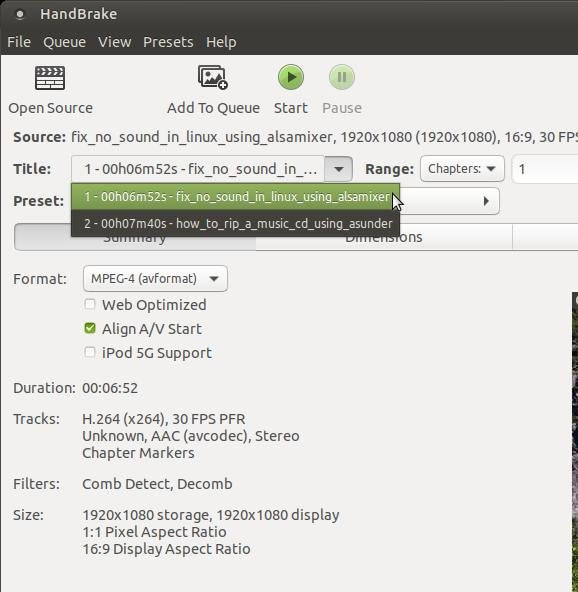
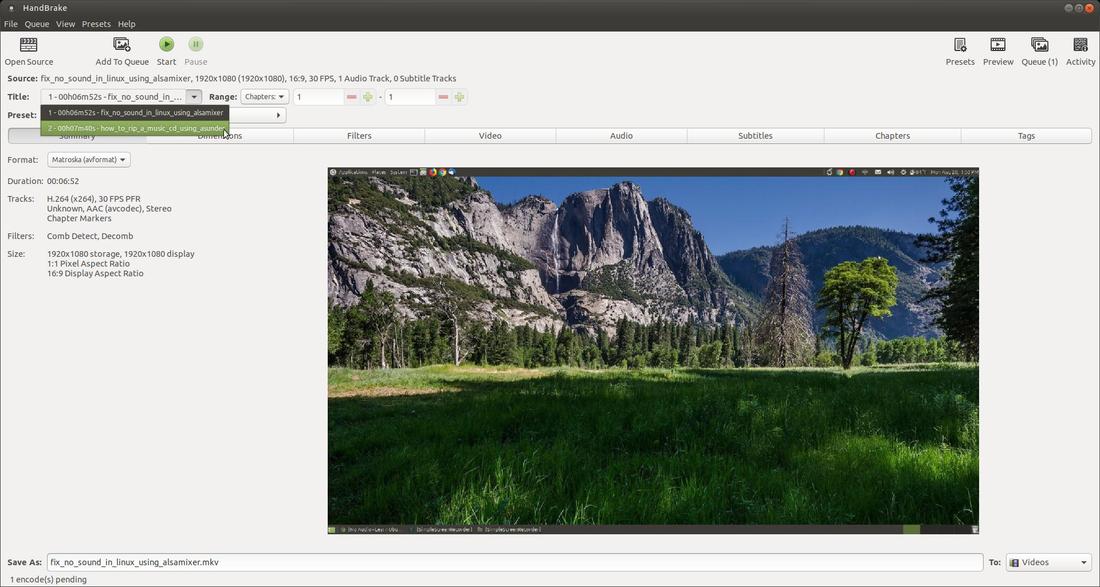
I had two small video files in my Videos to Encode folder. You can view the names of the videos by clicking the drop-down arrow to the right of Title.
With the first video file selected, go through the process to select the preset setting that you want to use to convert your first video file. Do the same steps as we did above.
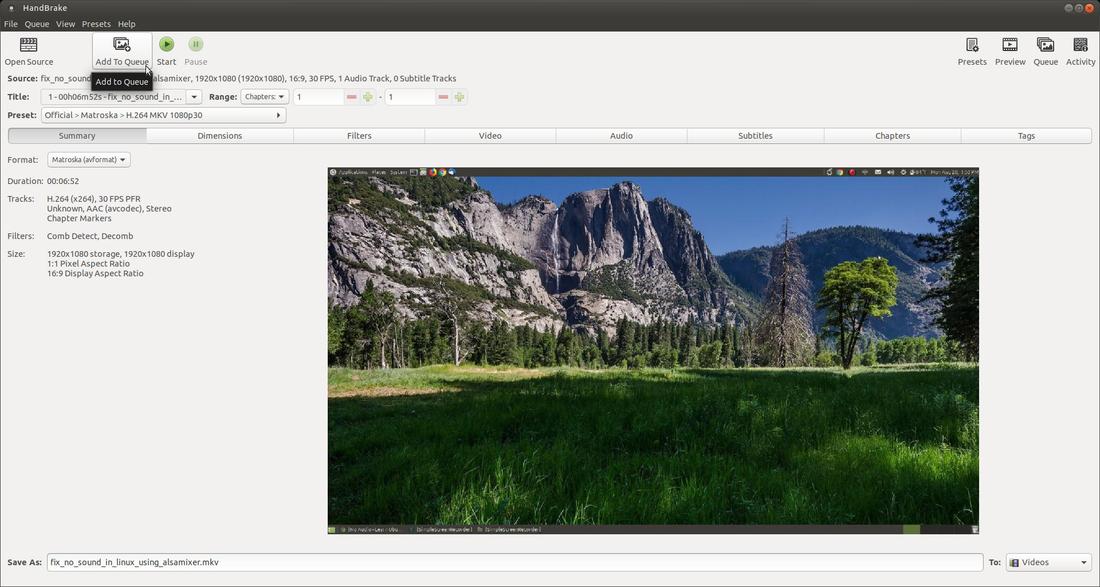
Step 2: Add the Video to the Queue
Then click the Add to Queue button on the toolbar to add the video to the Queue or conversion list.
Then click the Add to Queue button on the toolbar to add the video to the Queue or conversion list.
You will notice the number 1 next to the Queue icon in the upper right corner. This indicates that you currently have one file waiting in the Queue.

After you place the first video in the Queue, click the drop-down arrow to the right of Title and select the second video file in the list. Then repeat the second part of Step 1 to select the preset setting. Then add the file to the Queue. Keep repeating these two steps until you add all of the videos you want to your Queue.
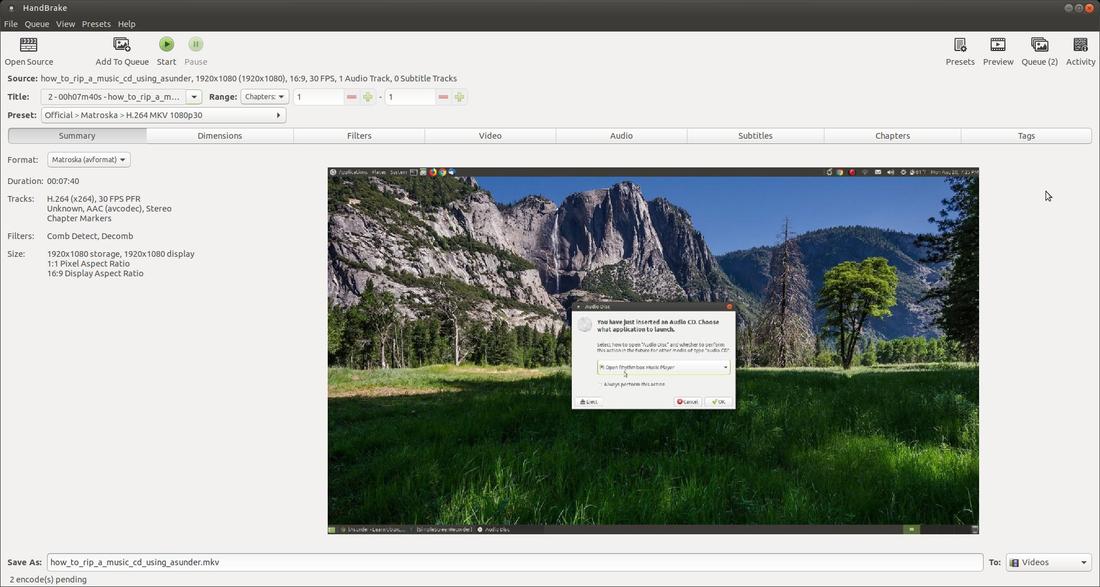
Notice the number to the right of the Queue icon increases each time you add a video file to the Queue.
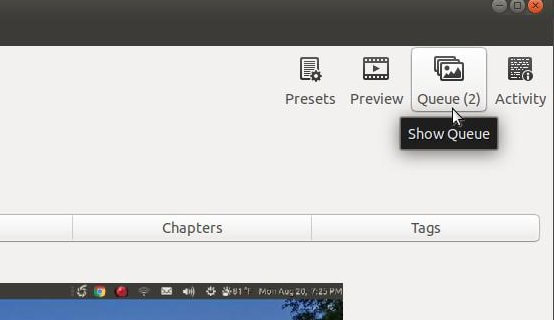
Step 3: Display the Queue
You can display and edit the jobs in the queue by clicking Queue button on the toolbar.
You can display and edit the jobs in the queue by clicking Queue button on the toolbar.
After you click the Queue button on the toolbar, you will see a list of videos that were added to the Queue. You can click on the small arrow to the left of each video to display more info about the video. When you're happy with your selection click green Start button on the toolbar.
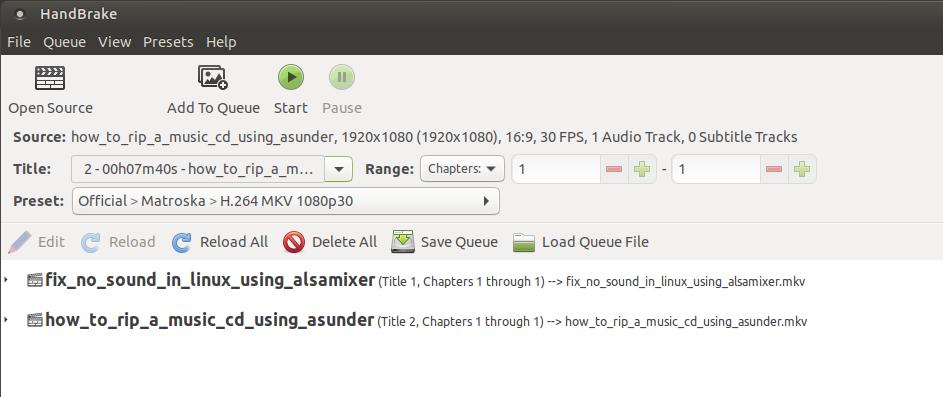
HandBrake will convert your videos from top to bottom.

Oct 4, 2018
