
Imagination Slideshow Creator
Imagination is a lightweight and user-friendly DVD slideshow maker with a clean interface and few dependencies. It only requires the ffmpeg encoder to produce a movie file and libsox to handle the audio.
Imagination has the following features:
* Easy to operate.
* It can make a slideshow from photos selected by the user.
* Support to VOB (DVD Video), OGV (Theora Vorbis), FLV (Flash Video), 3GP (Mobile Phones), H.264/MPEG-4 AVC, and H.265/HEVC.
* Support screen resolutions from 128x96 pixels up to 1920x1080 pixels, when exporting videos.
* Background audio (music or other audio files).
* Auto resize (optional) for images.
* Allow the users to select a background color.
* Over 50 transition effects.
* Zoom effect with duration time.
* Allow users to add explanatory texts (e.g. subtitles).
Imagination can be used to make presentations to be shown by a projector or by a smart TV.
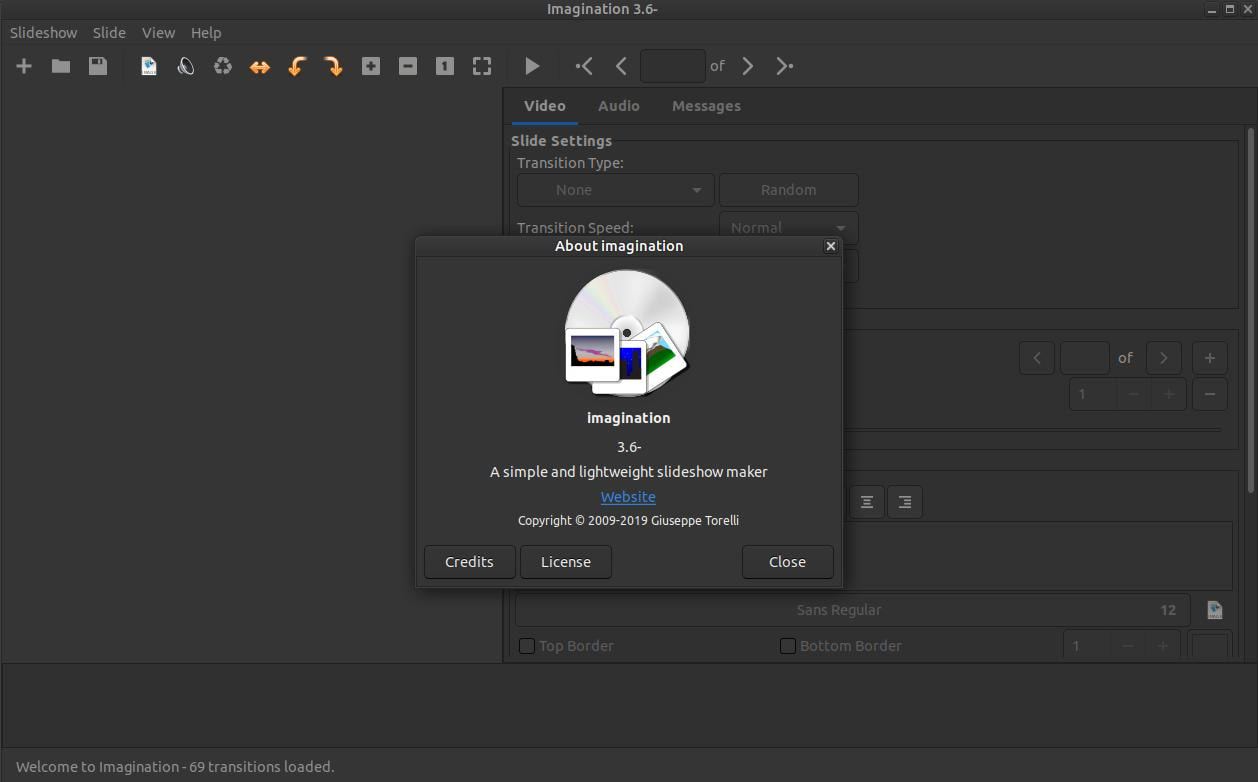
At the time of creating this webpage (January 23, 2021) the current stable release is version 3.6-1. You can go to their Launchpad website for the latest release: https://launchpad.net/ubuntu/+source/imagination.
How to Install Imagination:
Method 1:
You can click the file name imagination_3.6-1_amd64.deb to download the installation of .deb file or go to the following website for the latest release: https://launchpad.net/ubuntu/+source/imagination. When the download completes, open your file manager and locate the file. Use your package installer to install the program. I use GDebi to install .deb files or Debian executable files on my system. (Enter the following in your Terminal: sudo apt install gdebi if you do not have GDebi installed.)
You can click the file name imagination_3.6-1_amd64.deb to download the installation of .deb file or go to the following website for the latest release: https://launchpad.net/ubuntu/+source/imagination. When the download completes, open your file manager and locate the file. Use your package installer to install the program. I use GDebi to install .deb files or Debian executable files on my system. (Enter the following in your Terminal: sudo apt install gdebi if you do not have GDebi installed.)
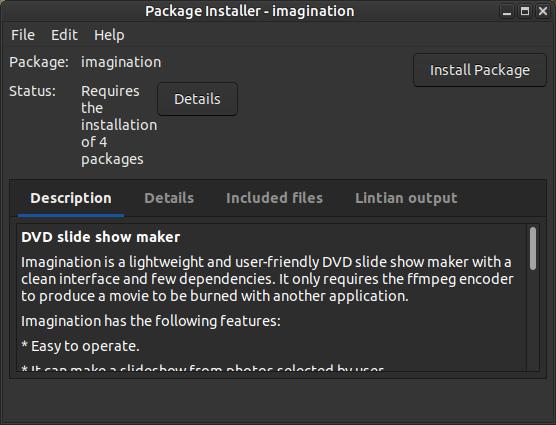
Double-click the imagination_3.6-1_amd64.deb file to bring up the Package Installer. Click the Install Package button to start the installation process.
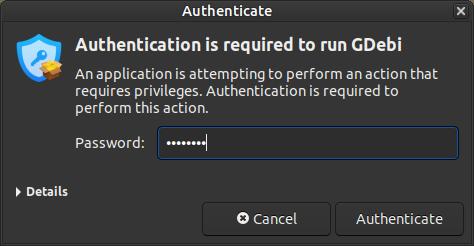
Enter your Password and click the Authenticate button.
It will download and install any dependency files needed and then it will download and install Imagination on your system.
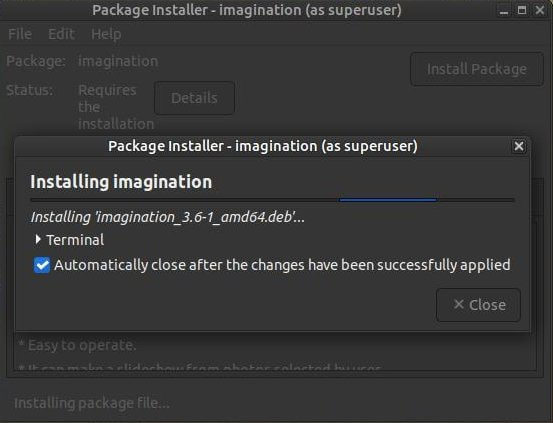
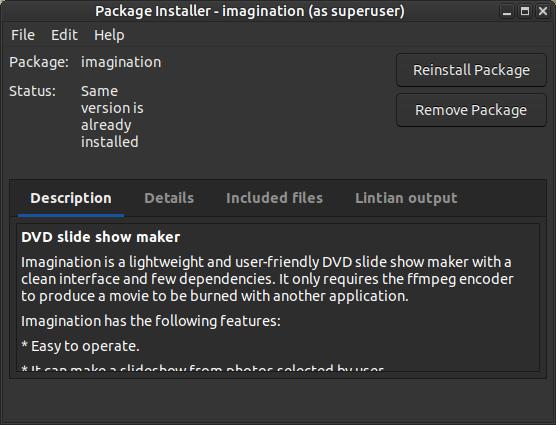
Wait until you see Status: Same version is already installed before you close the Package Installer.
Method 2:
You can install Imagination from the Ubuntu repositories via the Terminal.
sudo apt-get update
sudo apt-get install imagination
You may notice an older version installed if you install it using the Ubuntu repositories.
You can install Imagination from the Ubuntu repositories via the Terminal.
sudo apt-get update
sudo apt-get install imagination
You may notice an older version installed if you install it using the Ubuntu repositories.
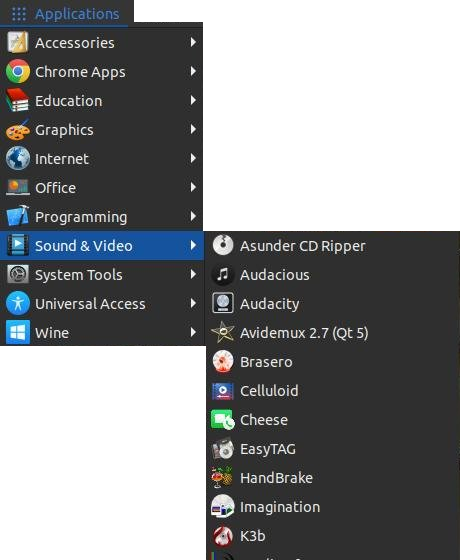
You should now be able to locate Imagination in your start menu. If not, reboot your system and look again. I clicked on Applications, highlight Sound & Video, and then click on Imagination.
You will then see Imagination 3.6-1 load on your screen.
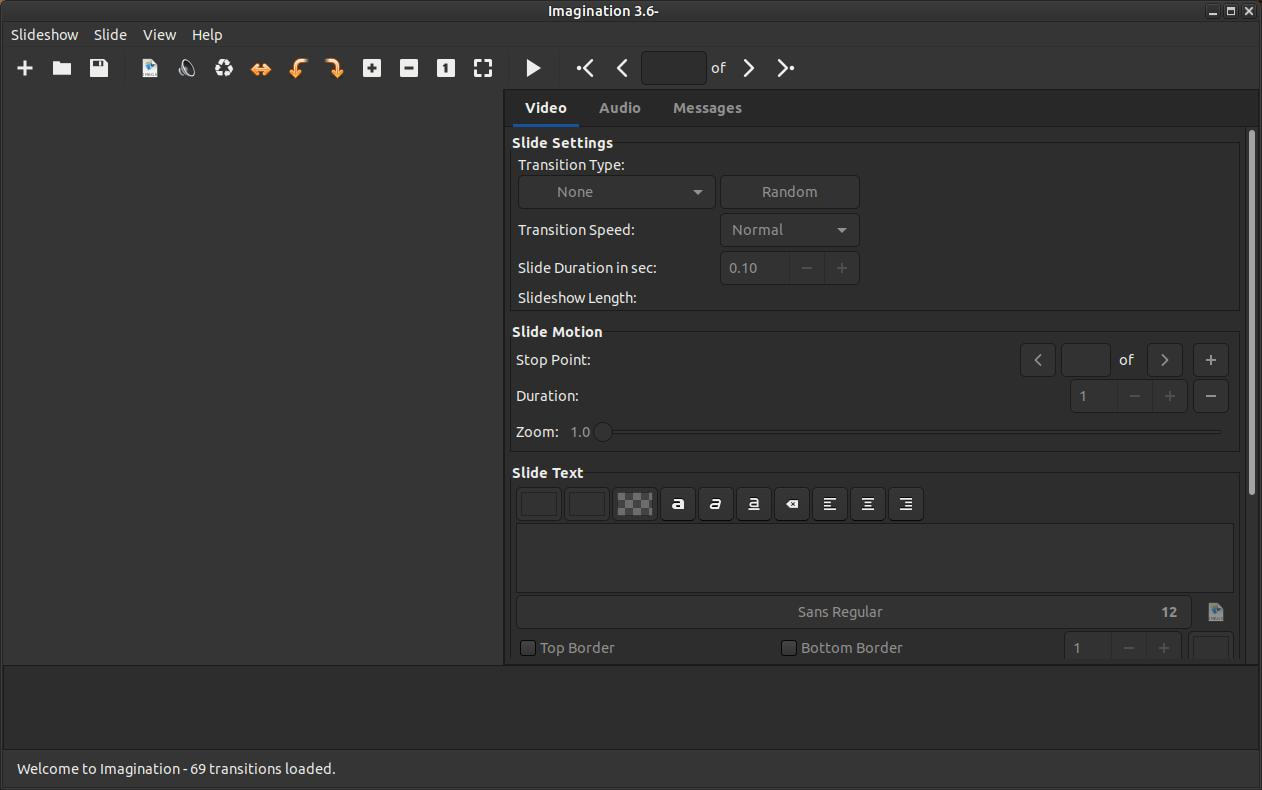
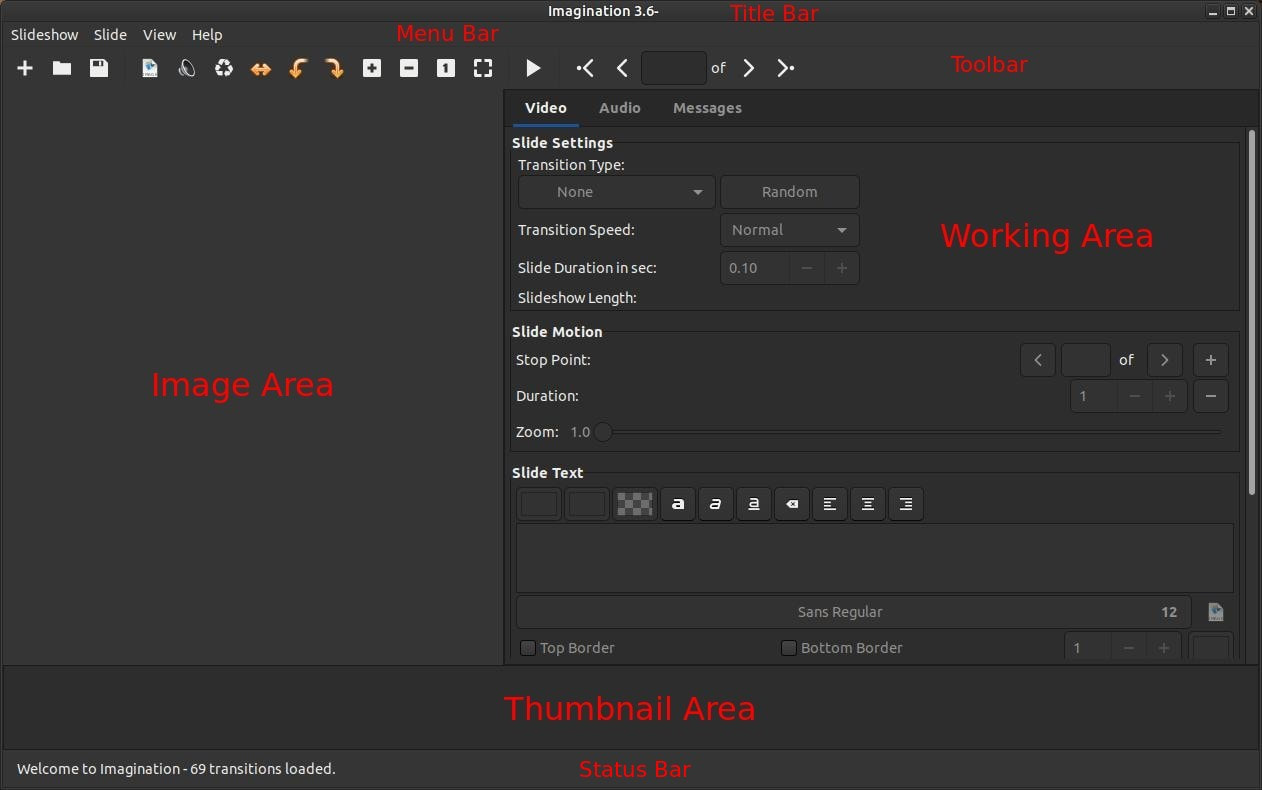
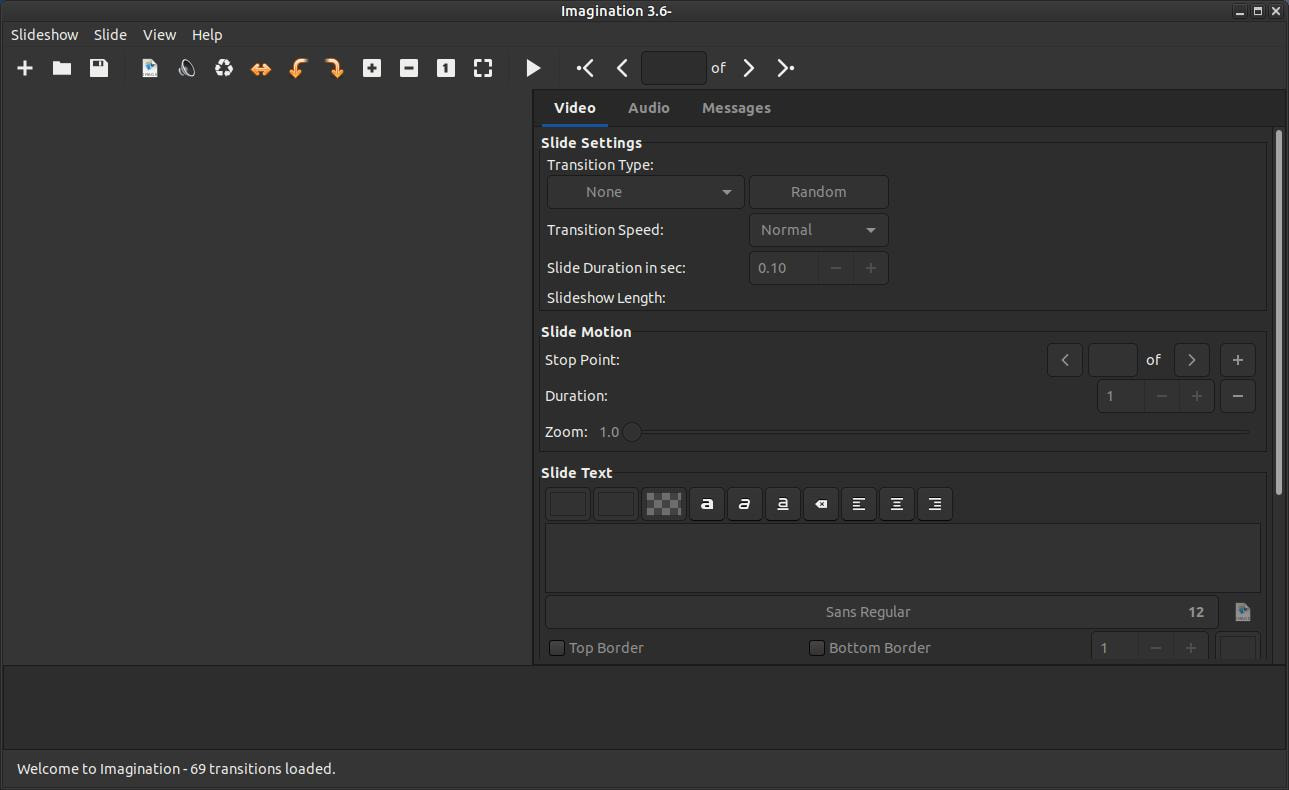
Imagination's Window
This section describes the area of Imagination's window: the title bar, the menu bar, the toolbar, the image area, the working area, the thumbnail area and the status bar.
This section describes the area of Imagination's window: the title bar, the menu bar, the toolbar, the image area, the working area, the thumbnail area and the status bar.
Below is a look through the four menus on the Menu Bar: Slideshow, Slide, View, and Help.
Toolbar

A. New - Create a new slideshow
B. Open - Open a slideshow
C. Save - Save the slideshow
D. Import Pictures As - Import or load pictures
E. Import Music - Import or load music
F. Delete - Delete the selected slides
G. Flip Horizontally - Flip horizontally the selected slides
H. Rotate Counter-Clockwise - Rotate the slide 90 degrees to the left
I. Rotate Clockwise - Rotate the slide 90 degrees to the right
J. Zoom In - Move inward
K. Zoom Out - Move outward
L. Zoom Normal Size - Normal size of image
M. Zoom to Fit - Fit Zoom in Window
N. Preview - Starts the Preview without music
O. Goto First Slide - Go to the first slide of the slideshow
P. Goto Previously Selected Slide - Go to the previous slide of the slideshow
Q. Slide Entry - The number of the selected slide
R. Goto Next Selected Slide - Go to the next slide of the slideshow
S. Goto Last Slide - Go to the last slide of the slideshow
Create a Slide Show
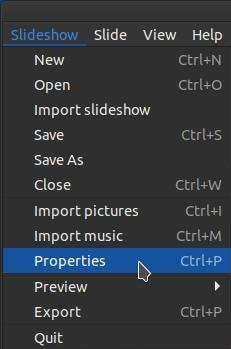
Open Imagination 3.6-1 and click on the Slideshow menu to allow you to go into the Slideshow Settings.
Click on Properties or press Ctrl+P.
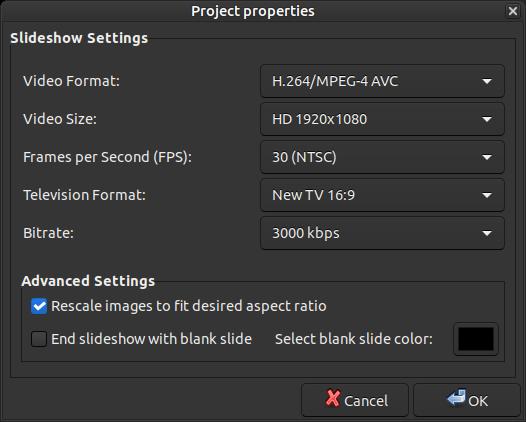
When the Project properties dialog box appears, make the adjustments you need for your slideshow. You can see the options I selected in the image below. You can click the drop-down arrow next to each setting option to allow you to select from multiple options. Click the OK button when you finish.
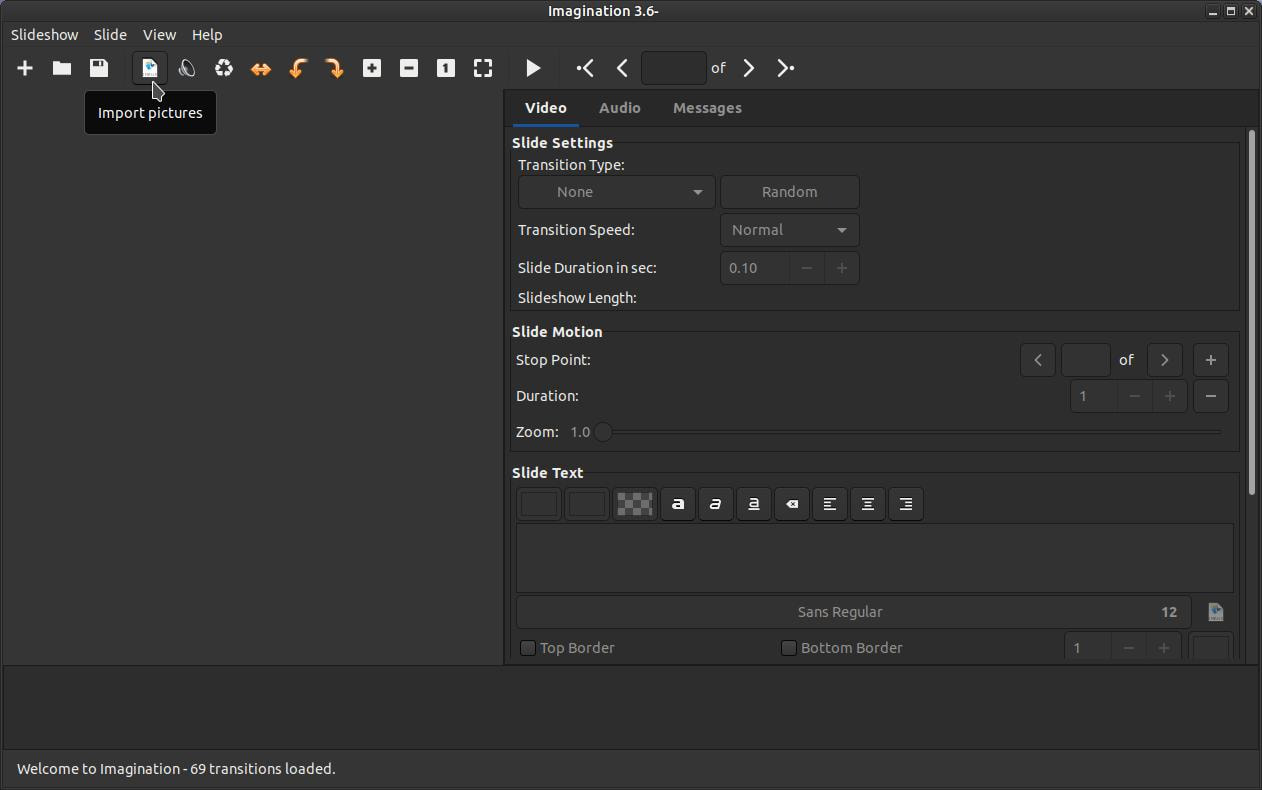
In order to create a slide show you must select your images. Click the Import Pictures As button to allow you to select and import your pictures within the program.
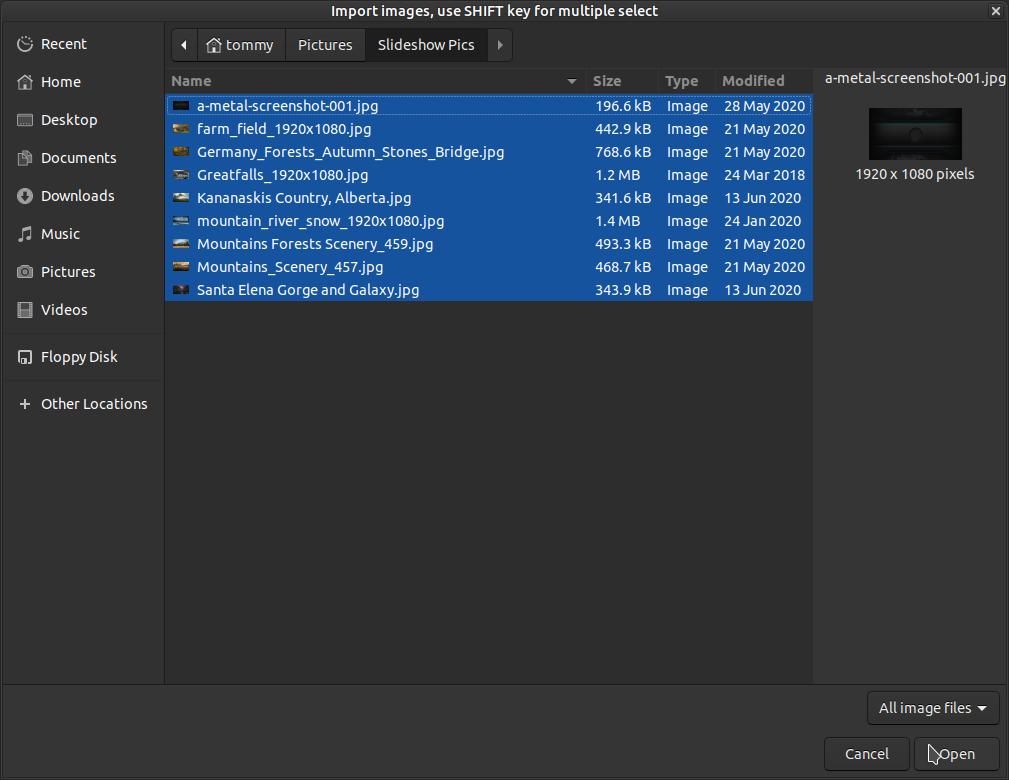
Go to the location or folder that contains your images. Click on the first image and press and hold down the Shift key while pressing the up or down arrow to select your images. You can also press and hold down the Ctrl key while clicking on each image to select individual images you want added to your slide show.Press the Open button once you have all your images selected.
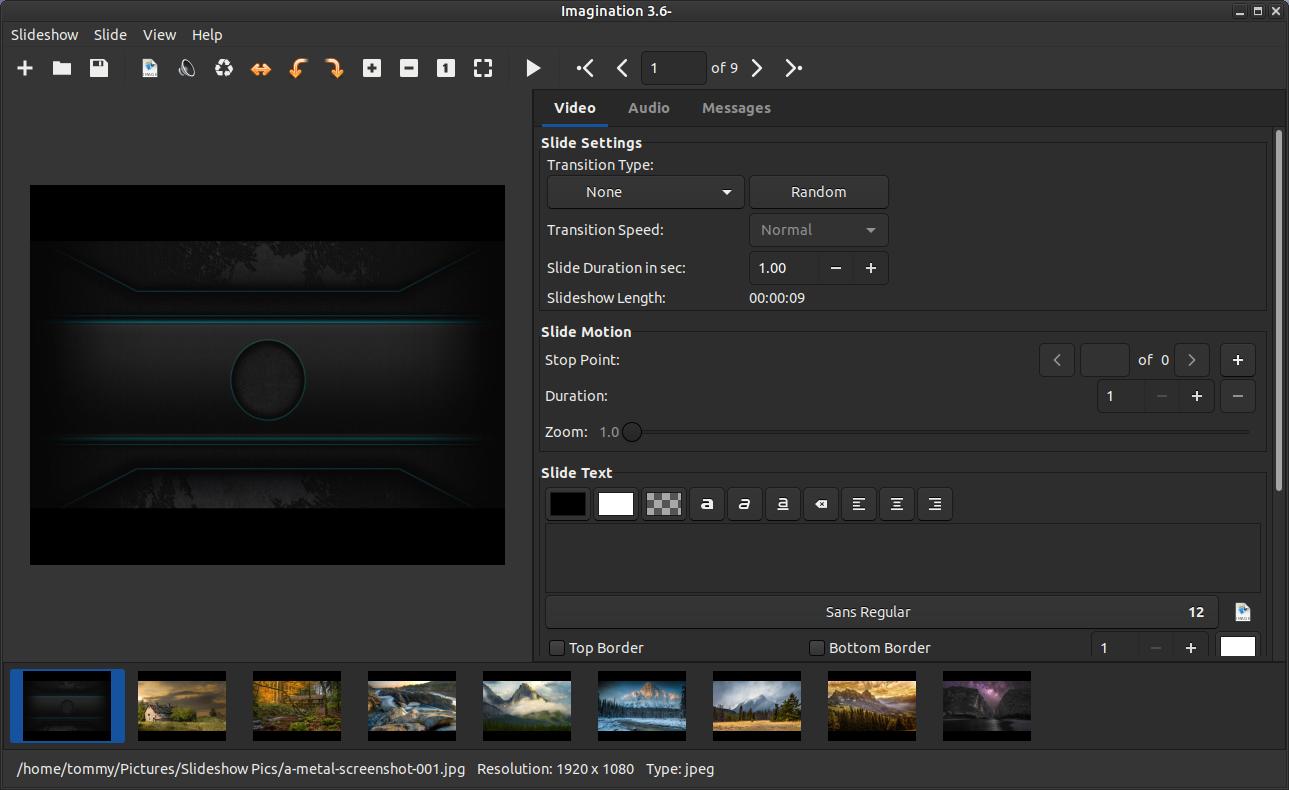
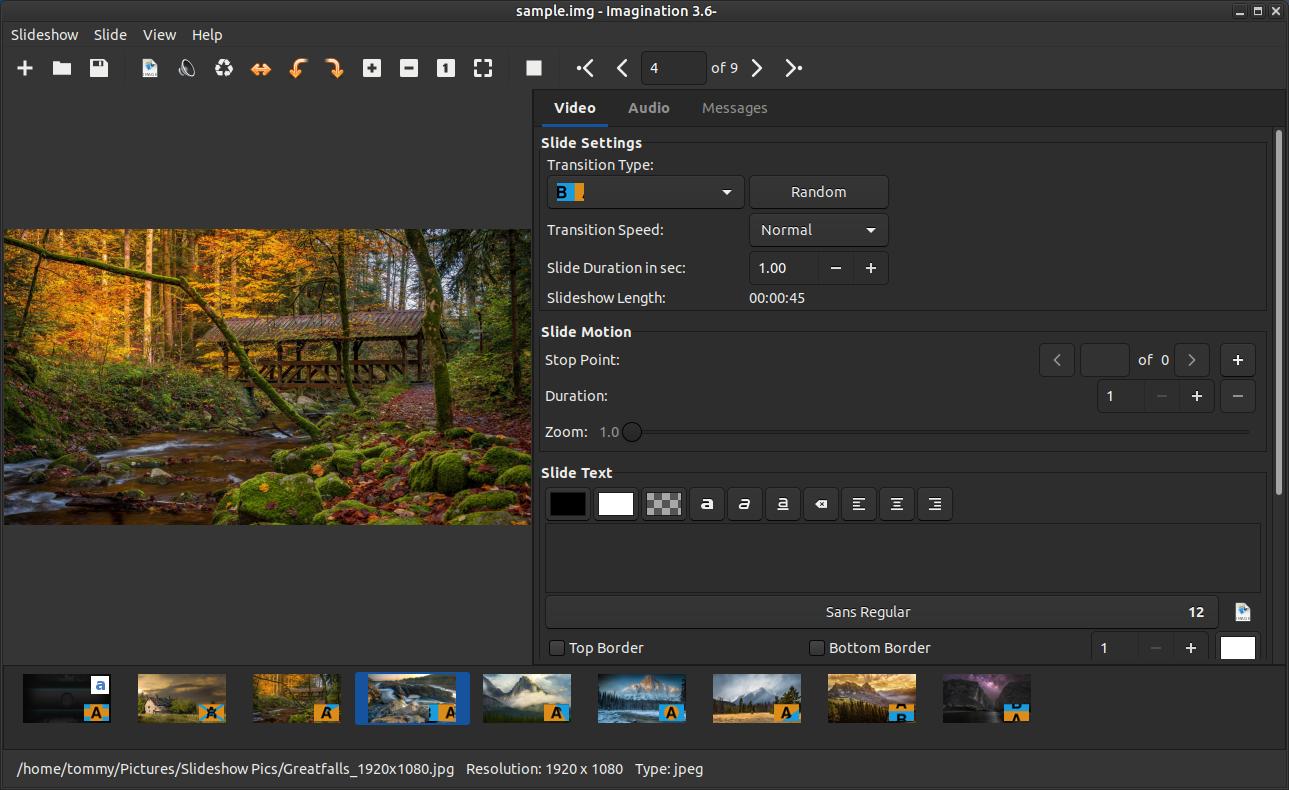
You should now see your images in the Thumbnail Area and the first or selected image in the Image Area.
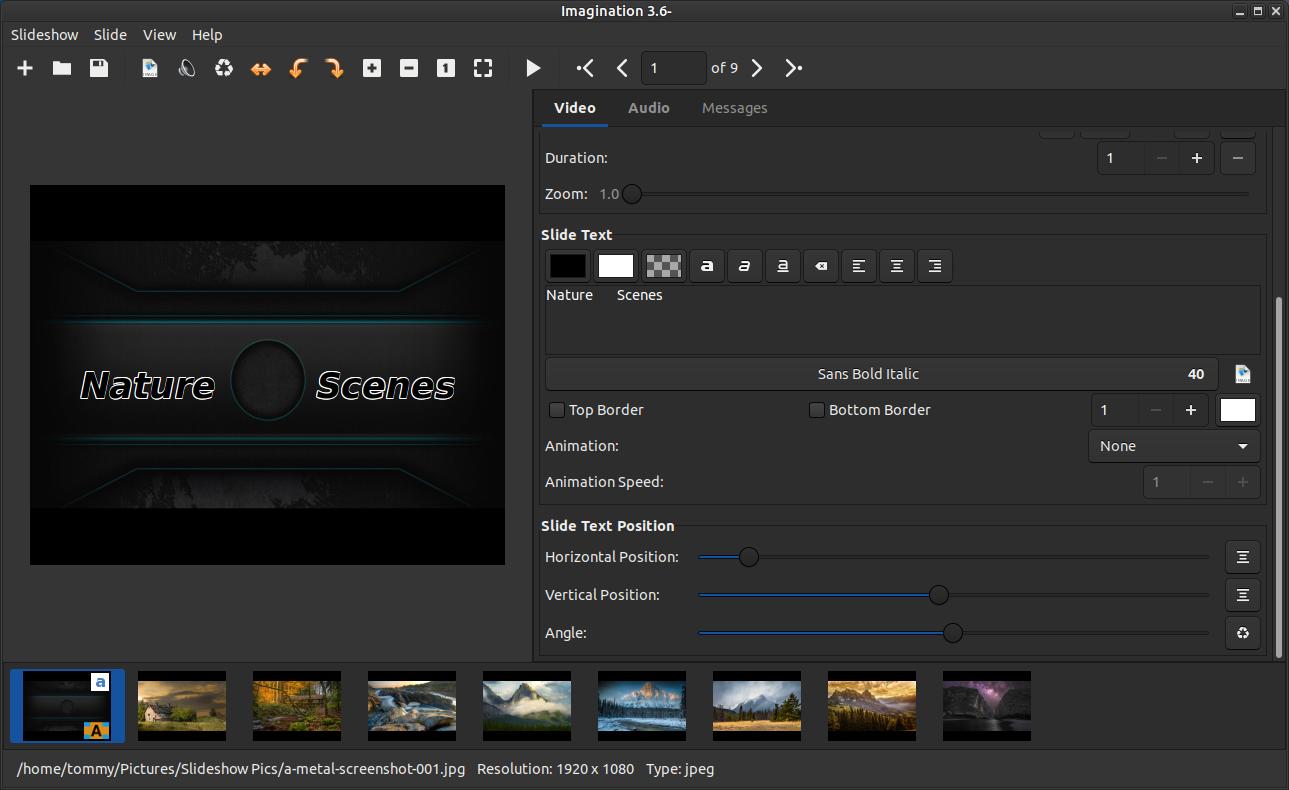
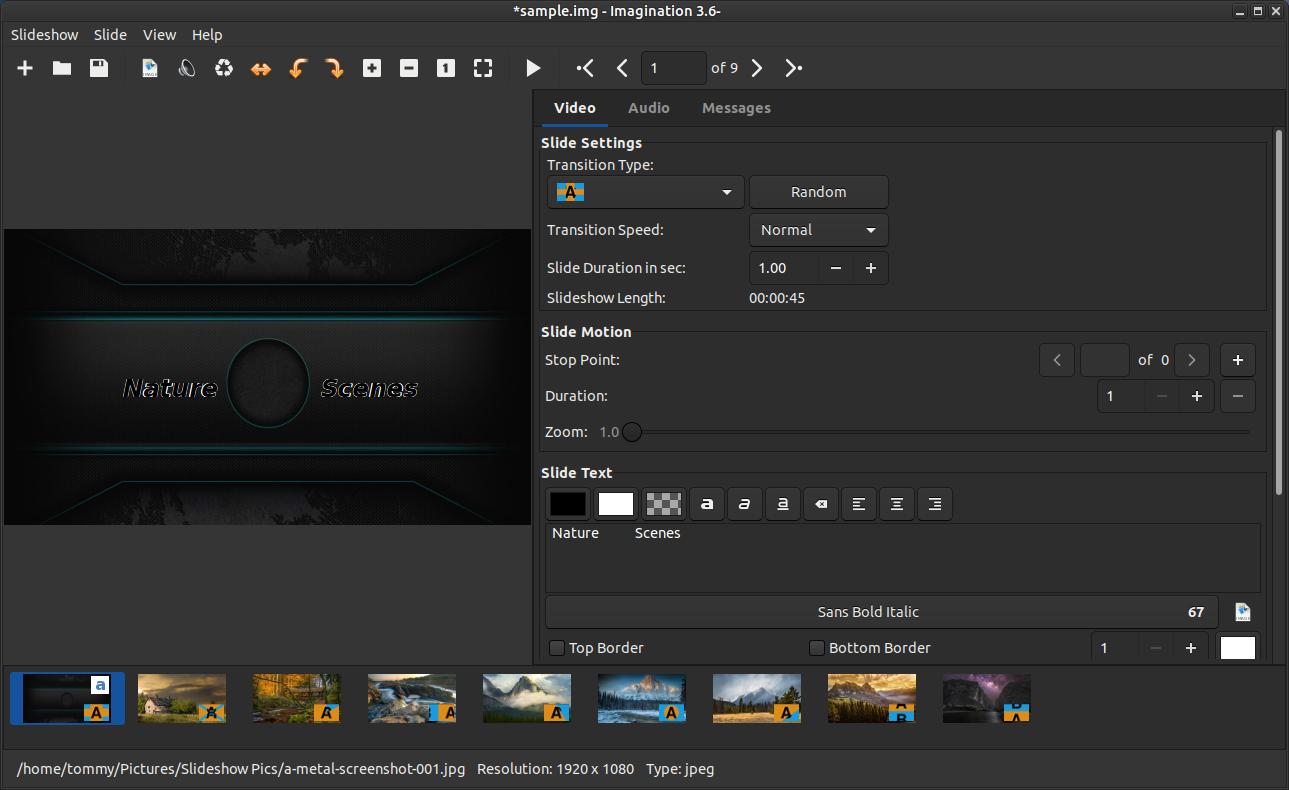
I used a dark background for my first slide as my introduction slide. I scrolled down in the Working Area until I could easily see the Slide Text section. I clicked on the white color to make my fonts white for the dark background. I then typed out my text, "Nature Scenes" and changed my font to Sans Bold Italic and the size to 40. I then used the sliders under the Slide Text Position section to adjust the Horizontal and Vertical Positions.
I then scrolled up and clicked the drop-down arrow to the right of the Transition Type and highlighted Four Box Wipe and then clicked on the first animated icon with the A.
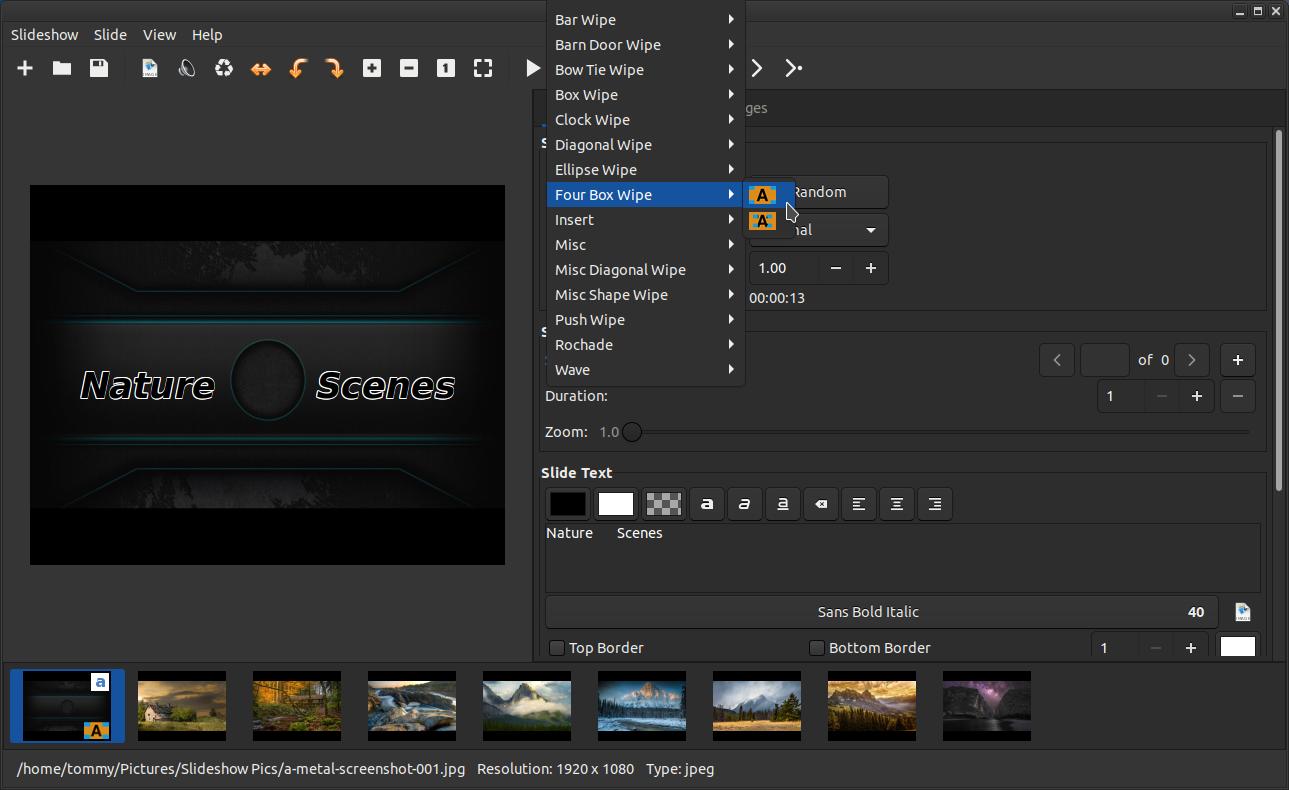
You have a large variety of Transition Types to chose from. You can adjust the Transition Speed to Fast, Normal, or Slow. You can increase or decrease the Slideshow Duration in sec. by increasing or decreasing the number. As you make changes to your slideshow you will see the overall Slideshow Length. You have the option to apply motion to each slide by adjusting the options under the Slide Motion section. I don't won't to use the Zoom feature to create motion on my intro slide.
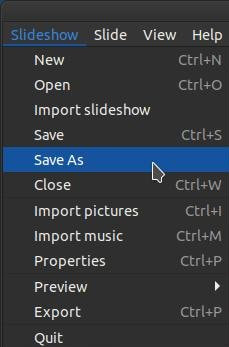
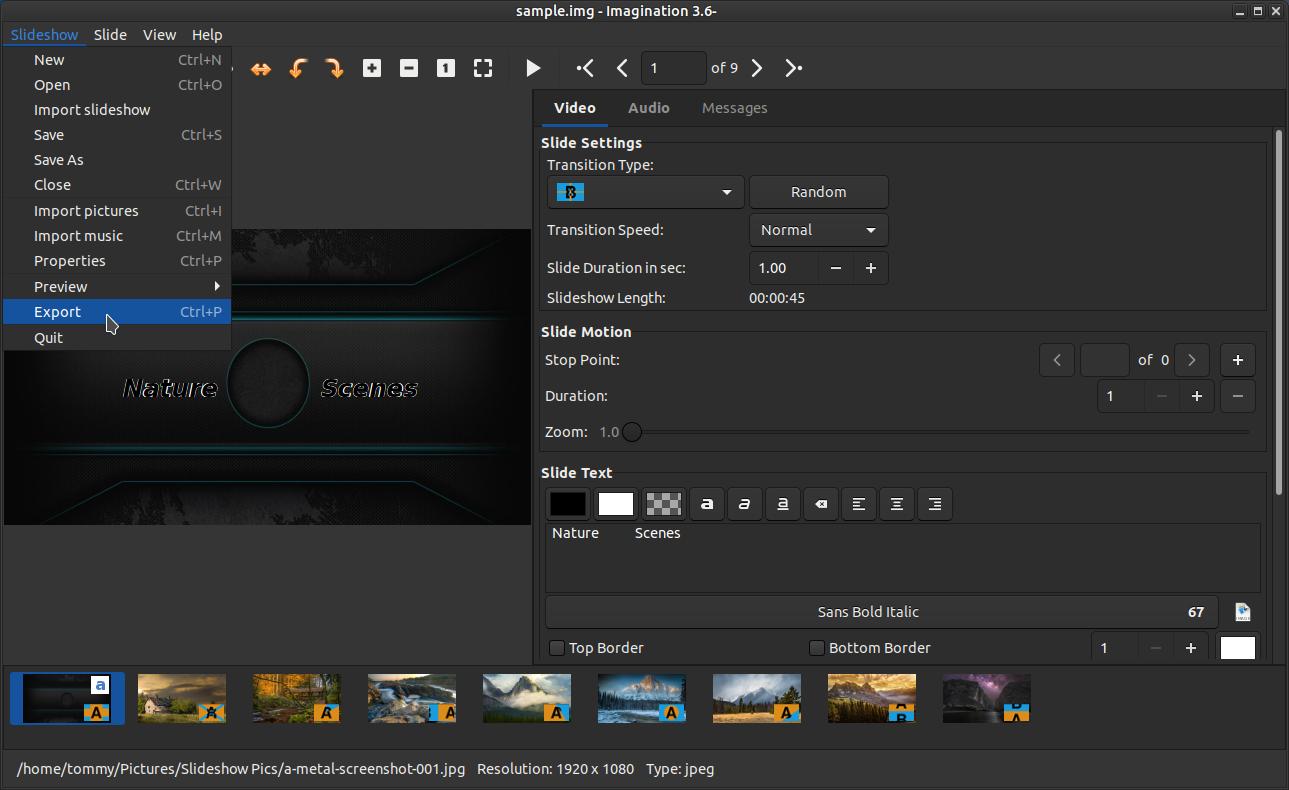
You can Save your project anytime to allow you to work on it later. Click on the Slideshow menu and then on the Save As command.
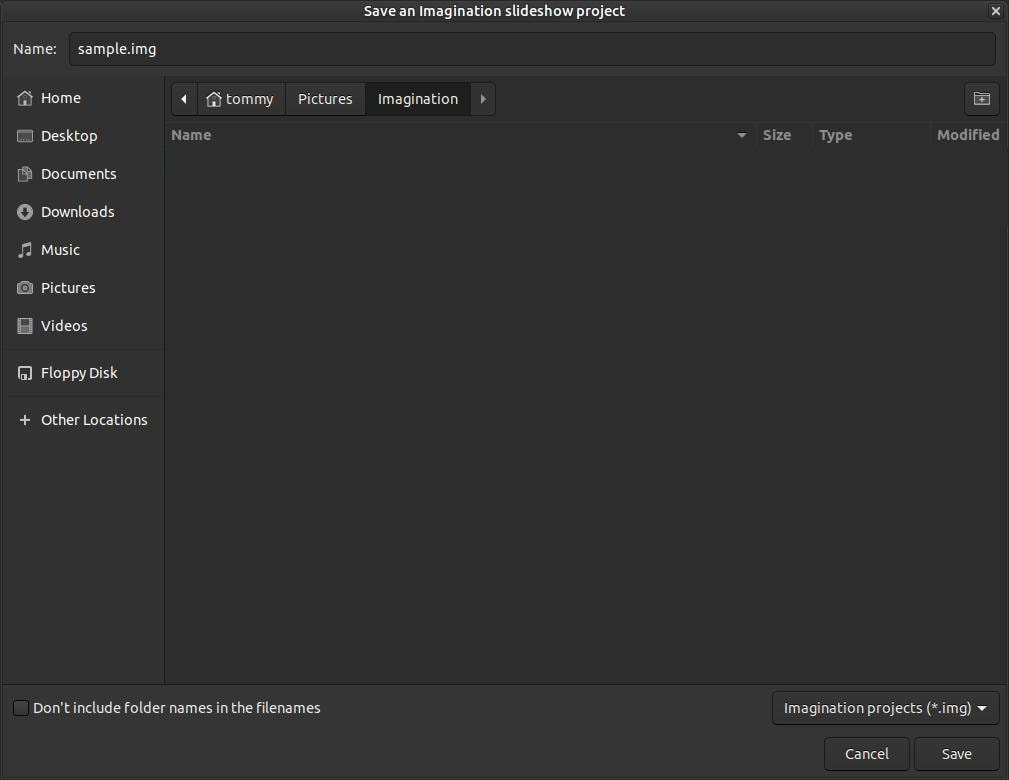
When the Save dialog box appears, type a name in the Name section and make sure to use the .img extension. Click the Save button when you're finished naming your slideshow project.
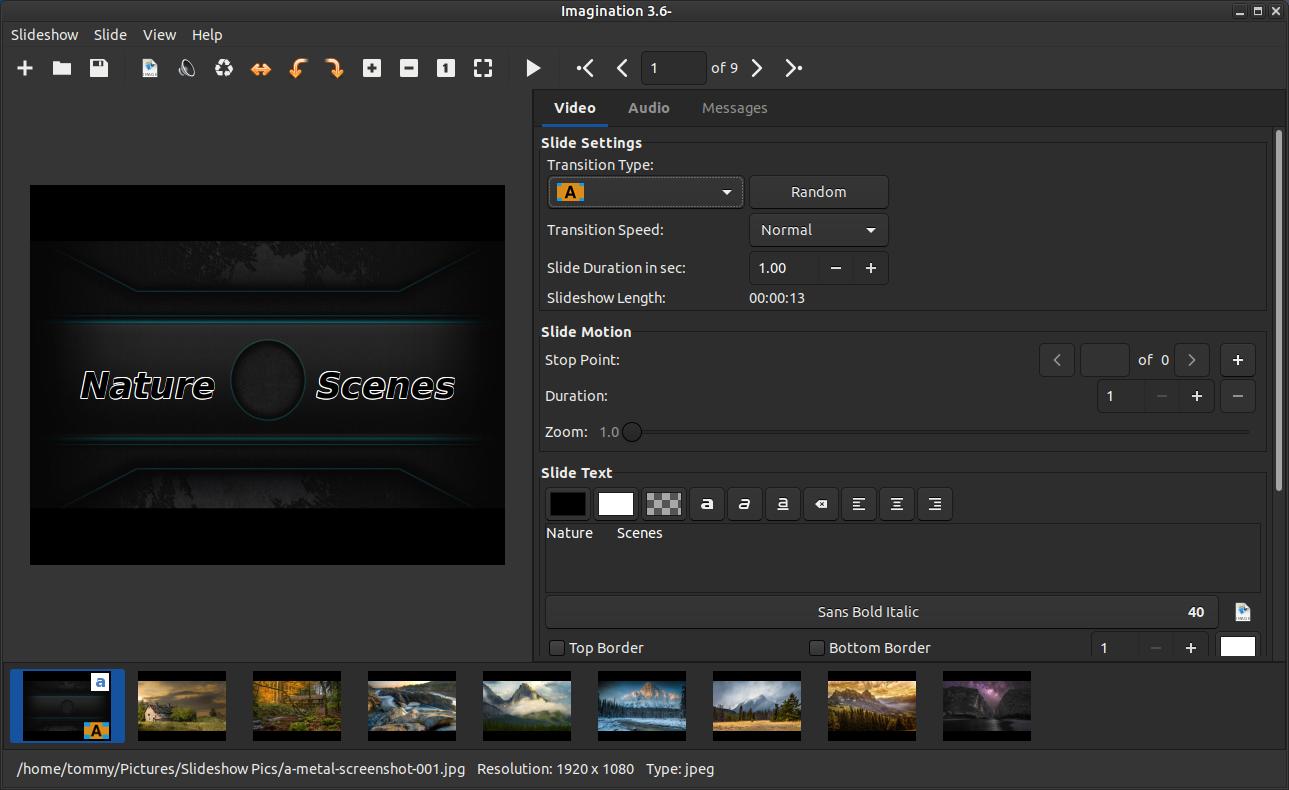
You should see the project name on the Title Bar (sample.img). One the first thumbnail image you'll see two small icons: a blue letter 'a' which represents text on the slide and a black letter 'A' that represents a transition. Now click on the next slide in the Thumbnail Area. You are now ready to make changes in the Working Area for the selected slide.
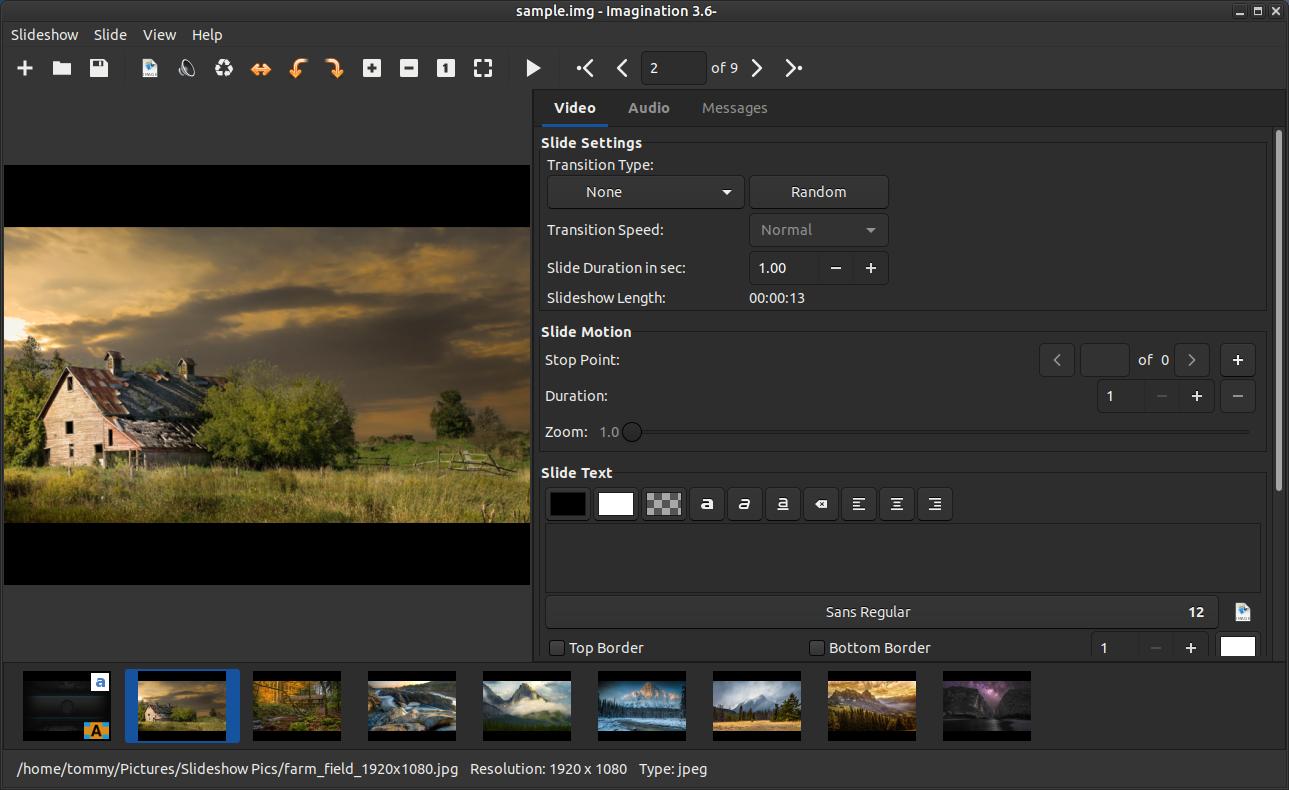
You can select and apply a particular Transition Type for each slide or you can click on each slide and click on the Random button to apply a random transition. When you are finished applying your transitions, you'll see an 'A' in the lower right corner of each slide thumbnail. I have nine slides in my sample slideshow which will only last 45 seconds. You can see the amount of time next to Slideshow Length.
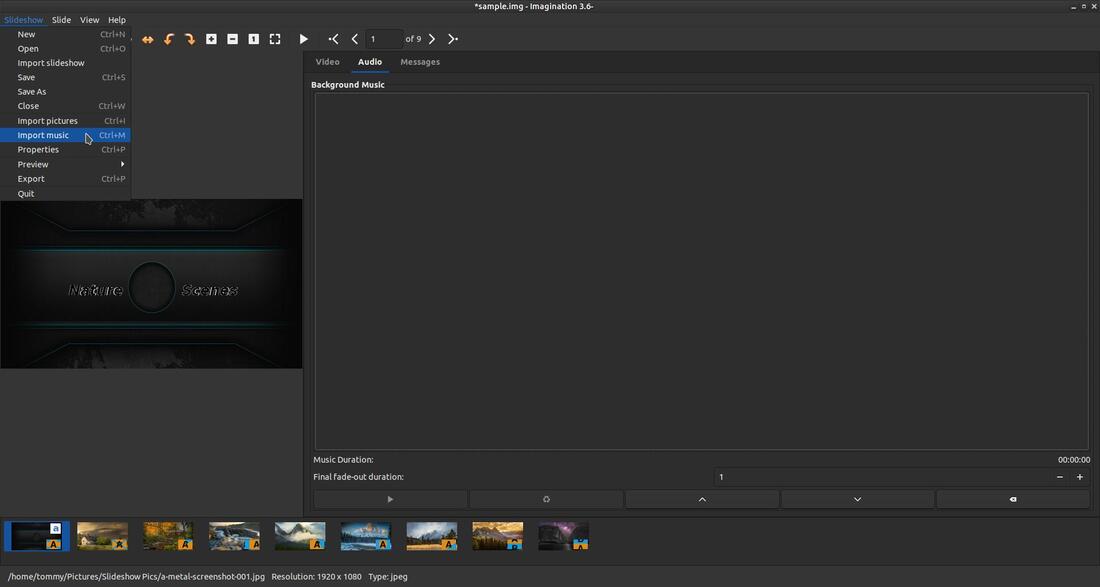
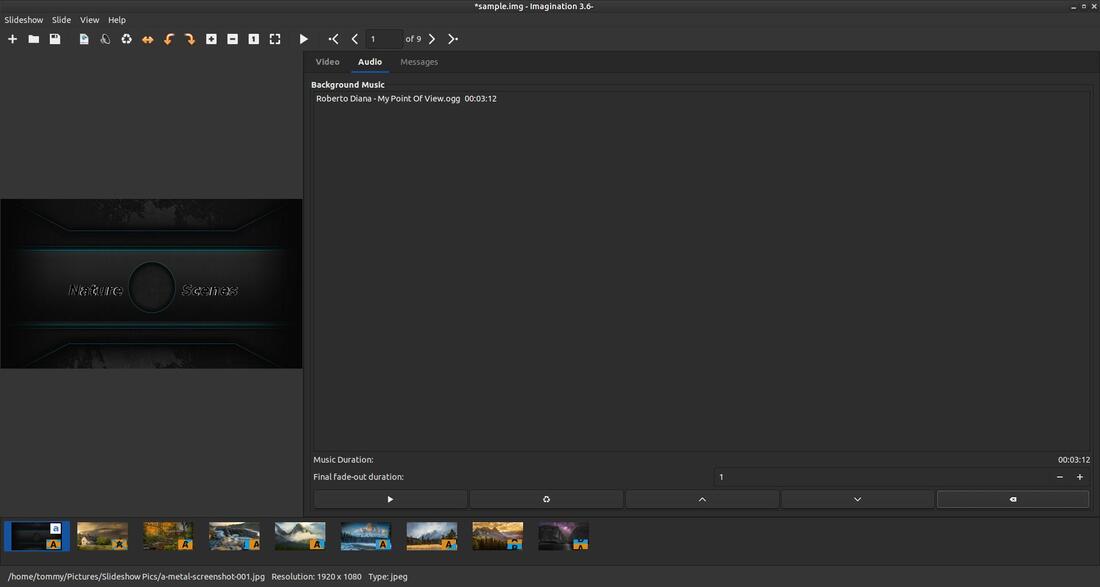
If you want to add music in the background click the Audio tab in the Working Area and then click the Slideshow menu and then click on Import music.
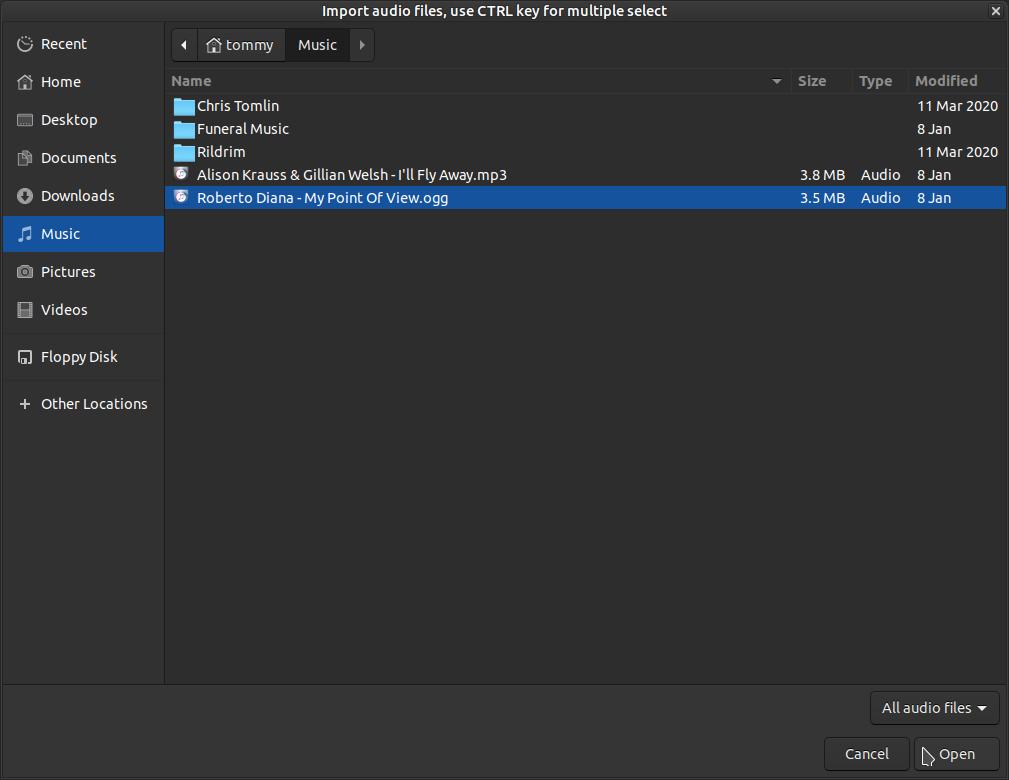
Select you music or song file and then click the Open button. I noticed that it wouldn't load a .mp3 file., but it loaded an .ogg file with no problem. You can use SoundConverter to convert your .mp3 files to .ogg if you dont have any .ogg music or song files.
You will now see your music or song in the Working Area. If you have a large slideshow then you'll probably want to load several music or song files. You can click the Play button in the Working Area to listen to the song. The Play button on the Toolbar will only display your images without music in the background.
To preview you slideshow with music click on the Slideshow menu, highlight Preview and click on With Music.
You will see a preview of the slideshow with music playing in the background.
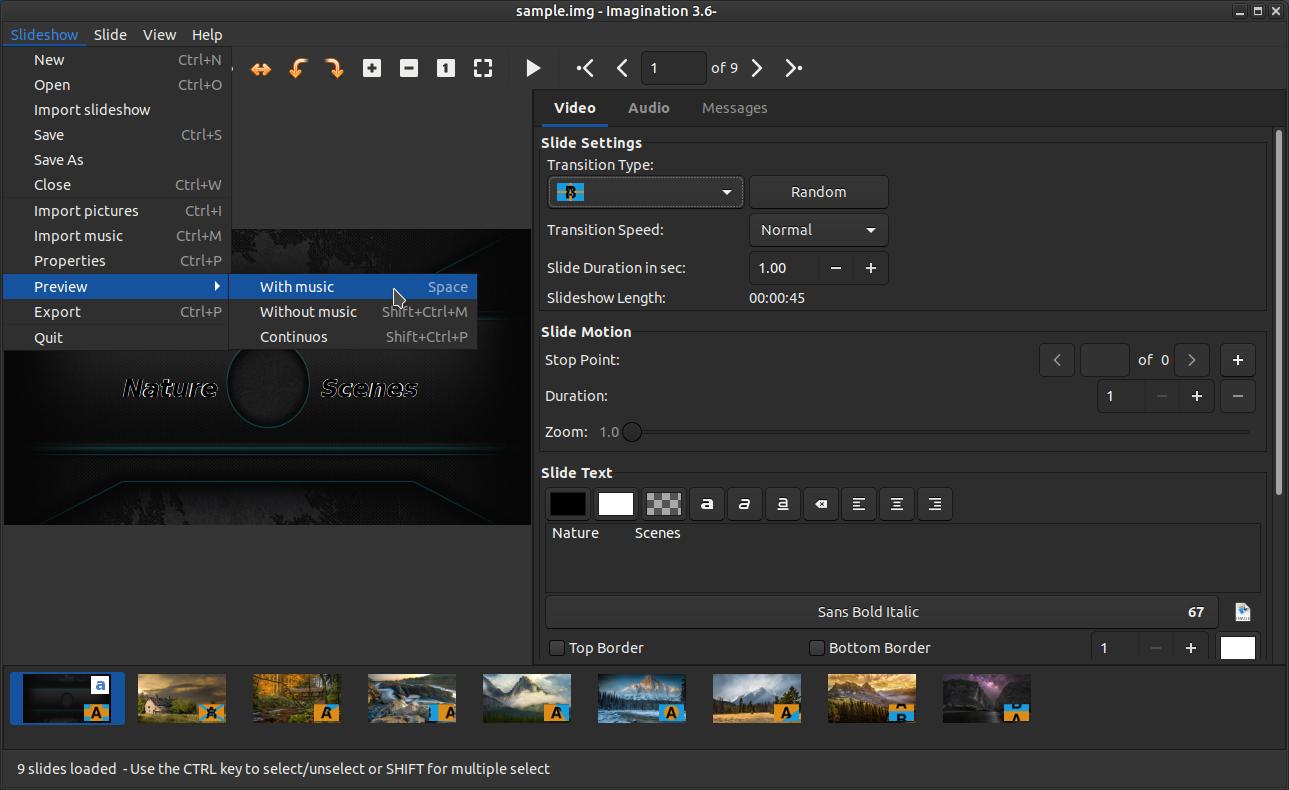
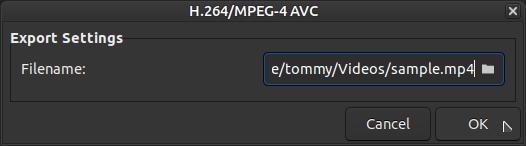
When you are ready to create your slideshow click the Slideshow menu and click on Export.
When the Export dialog box appears, click the folder icon and select the folder you want the file saved in and then type a name for your file. Then click the OK button.
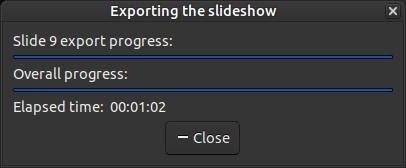
You'll see a small Exporting the slideshow dialog box as it creates your video slideshow.

Click the Close button when it finishes
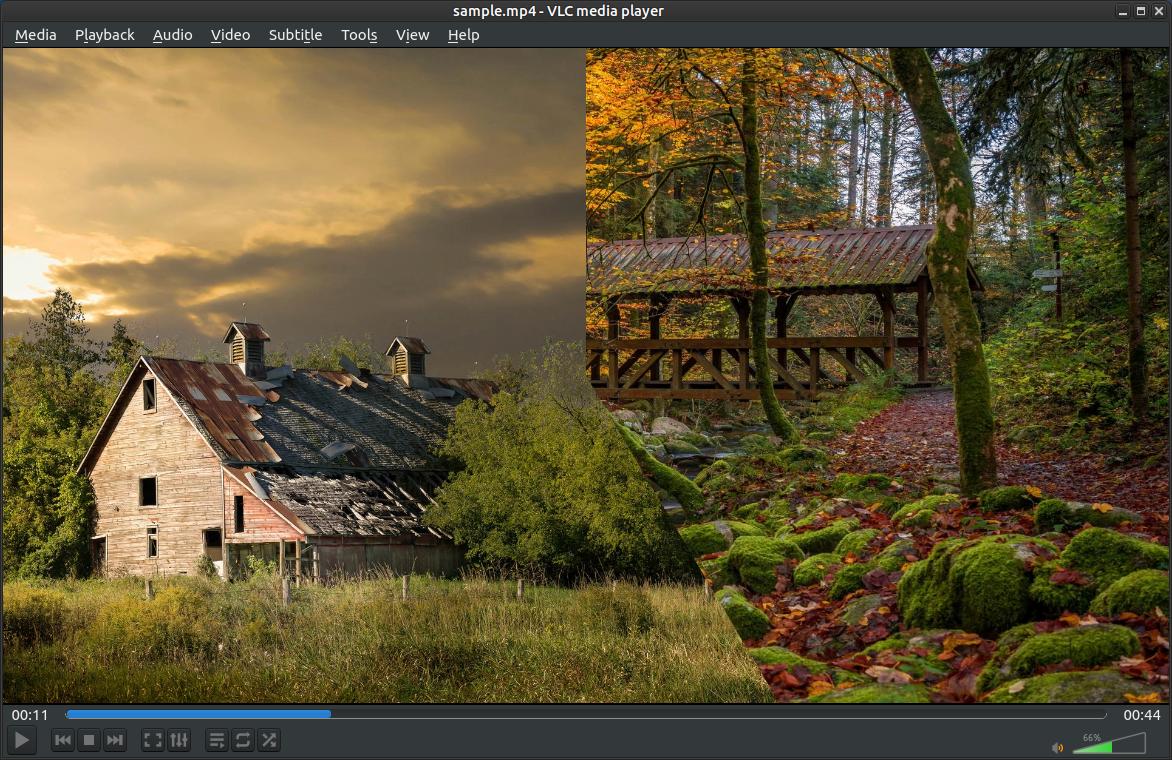
Finally, go to the location of your slideshow and double-click it to open it in your default video player. Your slideshow should play like a professional created it.
Imagination 3.6 has a lot more features. You can click the link below to go to the creators website to look for more information.
Jan 27, 2021
