
Pixelate...
The Pixelate effect is used for anonymizing images. As a teacher, I used to pixelate faces of students that didn't return a signed Photo Release Form. If you want to protect the identity of people in your photos, then Pinta is an excellent tool for the job. The Pixelate effect allows you to quickly hide information in images that you don't want to become public.
If you take a lot of screenshots, then you'll probably want hide exposed email addresses before you post your pics online. If you purchased your dream automobile then you'll probabaly want to blur out your vehicle's license plate before making the image public. If you want to show off your house or front yard, I recommend that you distort your address before you post it on social media. Protecting medical papers and bank statements is important too. Pinta makes it easy to protect those confidental items within your images.
Here's the steps to Pixelate an object or several objects in your photos.
Step 1: Open your photo in Pinta.
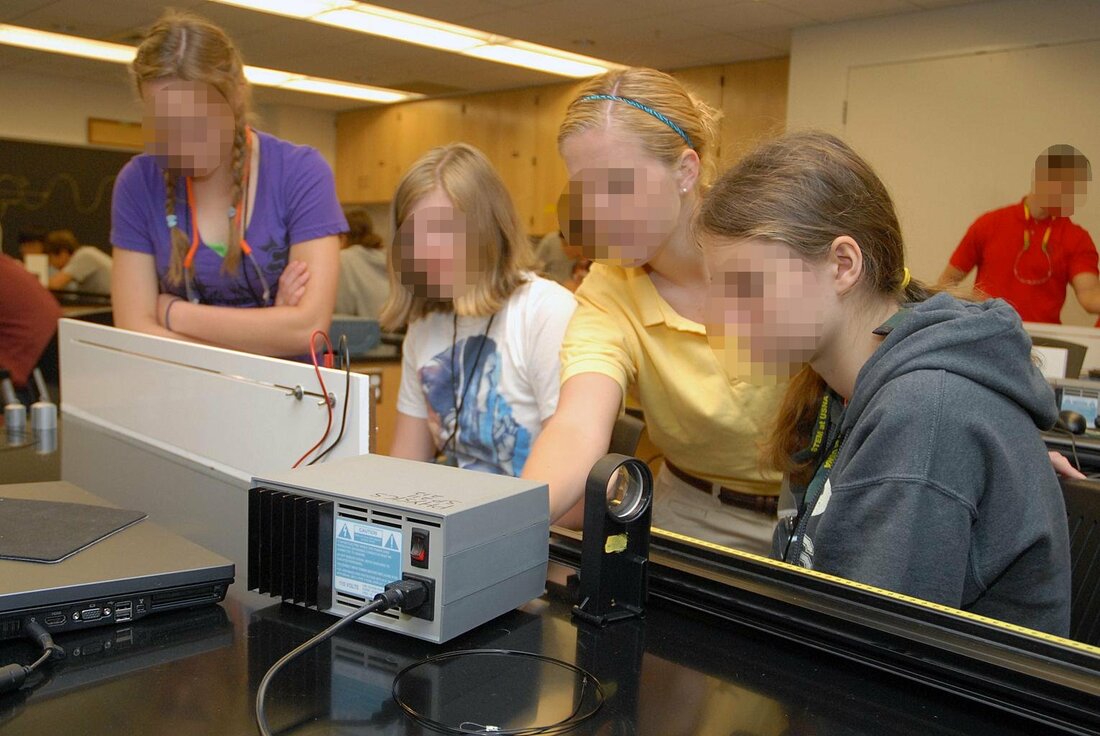
Photo came from Free-Images.com
Step 2: Click on the Ellipse Select tool from the Tool Palette if you are selecting faces. You can also use the Rectangle or Lasso Select tool for faces or other objects.
Step 3: Use the Ellipse Select feature to select the first face or object in your photo.
Step 4: Click on the Effects menu, highlight Distort, and click on Pixelate...
Step 5: When the Pixelate dialog box appears, make some adjustments to the Cell Size slider until you no longer recognize the selected object or subject.
I slid the Cell Size slider to 18 and then I clicked the OK button.
Step 6: Repeat Steps 4 through 5 until you've selected and pixelated all the subjects or objects in your photo.
Step 7: Click the Save button to save your changes or click on the File menu and click on Save As... to give your photo a new name. The second option will let you keep your original image and create a second images with the changes.
Step 7: Click the Save button to save your changes or click on the File menu and click on Save As... to give your photo a new name. The second option will let you keep your original image and create a second images with the changes.
You are now able to post your photo online and protect the identities of the individuals in your picture.
You can now take a screenshot of your results from Speedtest by Ookla and Pixelate your IP address and then share the results on your social media accounts.
Don't forget to distort or Pixelate your license plate before putting your automobile online.
Photo came from Firebird Pinterest Board
Don't forget to Pixelate your address, license number, and any other confidential information from things like your driver's license or ID card.
Photo came from: http://funnypictures.me/bananaville-drivers-license/#
Pixelating an image or parts of an image is a simple task using Pinta.
I hope this was helpful to you.
Take care!
I hope this was helpful to you.
Take care!
May 13, 2019
