
Create Business Cards
If you have a business, large or small, it's a good idea to hand out business cards. Business cards is a great way to promote your name and/or business. When creating a business card, you want it to be clear and concise and not too wordy.
gLabels allow you to create your own business card. This can help you save money if you are just starting your own business.
I will go through the steps for creating a business card.
In the steps below, I will use Avery 5371: Business Cards template to match the Avery Printable Business Cardss, 2 x 3.5 (5371) from Amazon (Avery Printable Business Cards, Laser Printers, 250 Cards, 2 x 3.5 (5371)).
Create a Business Card
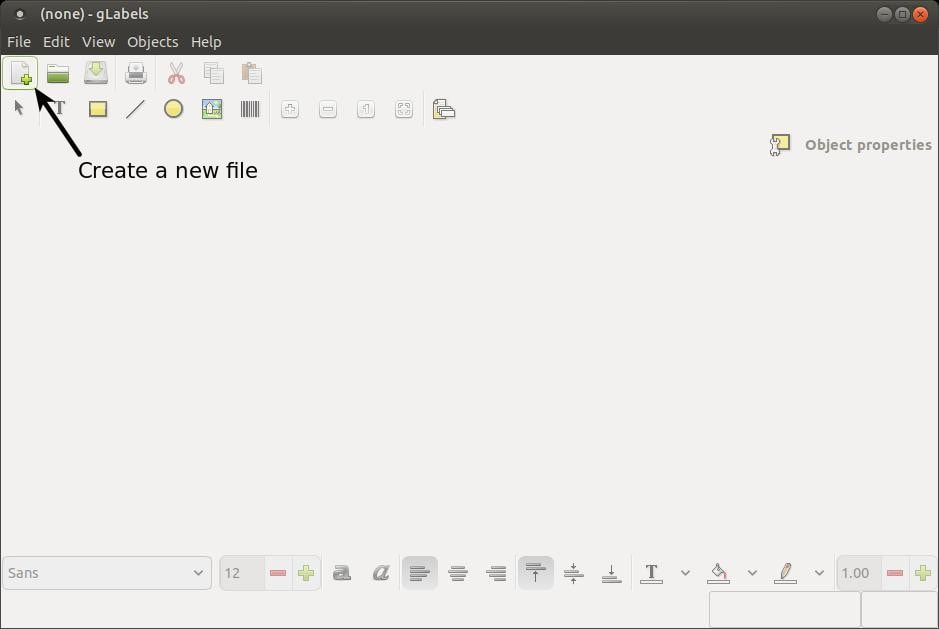
Open the gLabels application and then click on the Create a new file button on the toolbar or click the File menu and click the New option.
gLabels allow you to create your own business card. This can help you save money if you are just starting your own business.
I will go through the steps for creating a business card.
In the steps below, I will use Avery 5371: Business Cards template to match the Avery Printable Business Cardss, 2 x 3.5 (5371) from Amazon (Avery Printable Business Cards, Laser Printers, 250 Cards, 2 x 3.5 (5371)).
Create a Business Card
Open the gLabels application and then click on the Create a new file button on the toolbar or click the File menu and click the New option.
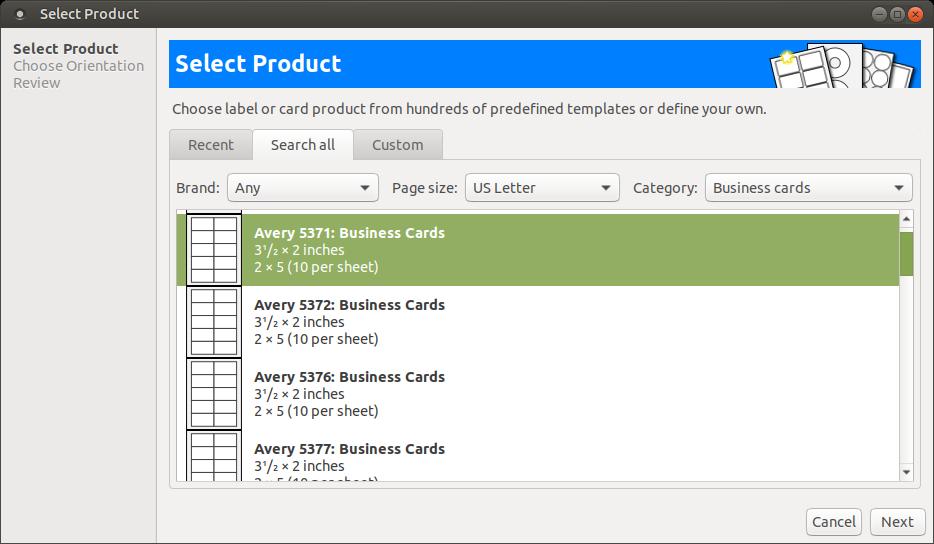
When the Select Product dialog box appears, change the Category to Business cards to shorten the list of label options and then scroll down and find Avery 5371: Business Cards and click it to select it. Then click the Next button.
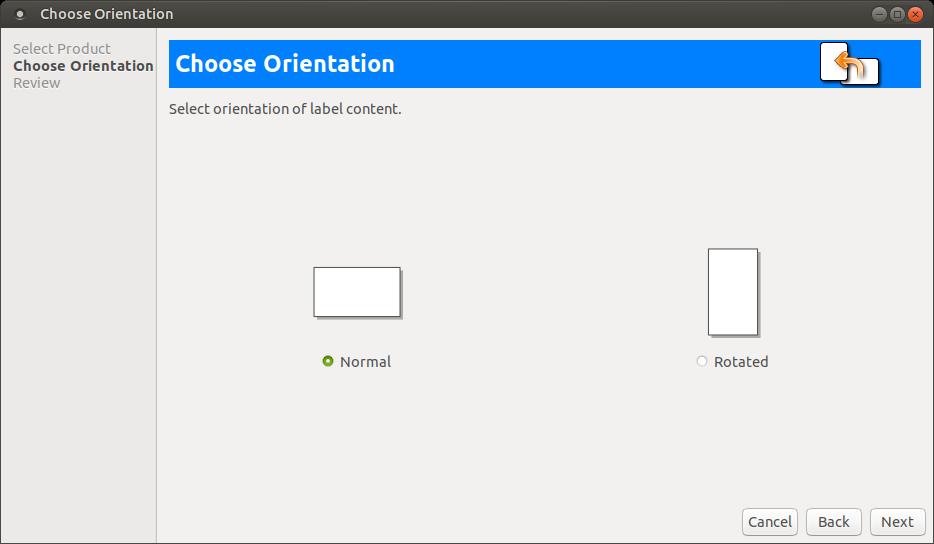
A Choose Orientation dialog box will appear to allow you to select the orientation or position of your name tag. Select Normal for horizontal positioned name tag. Then click the Next button.
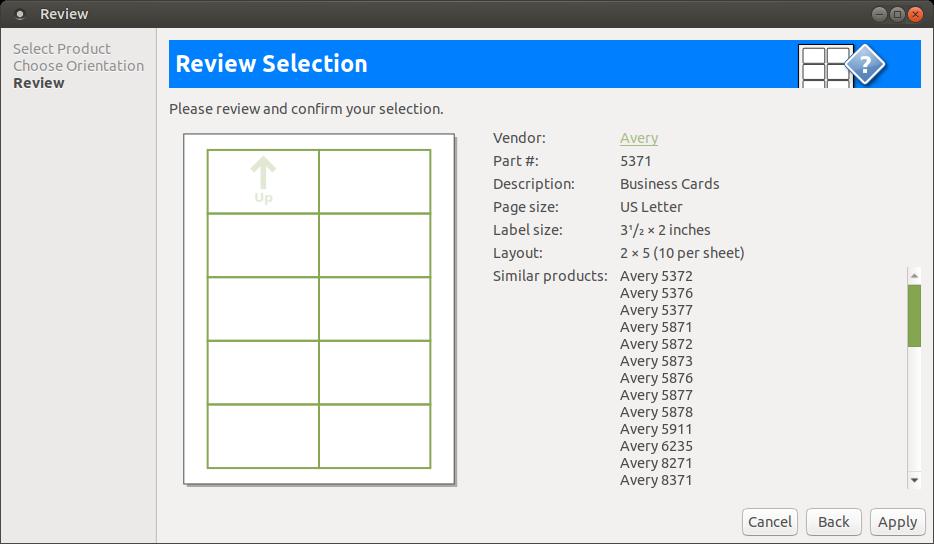
You have a chance to look over your choices you have made up to this point in the Review Selection dialog box. You can use the Back button if you noticed that you've made a mistake. Click the Apply button to start creating your name tag.
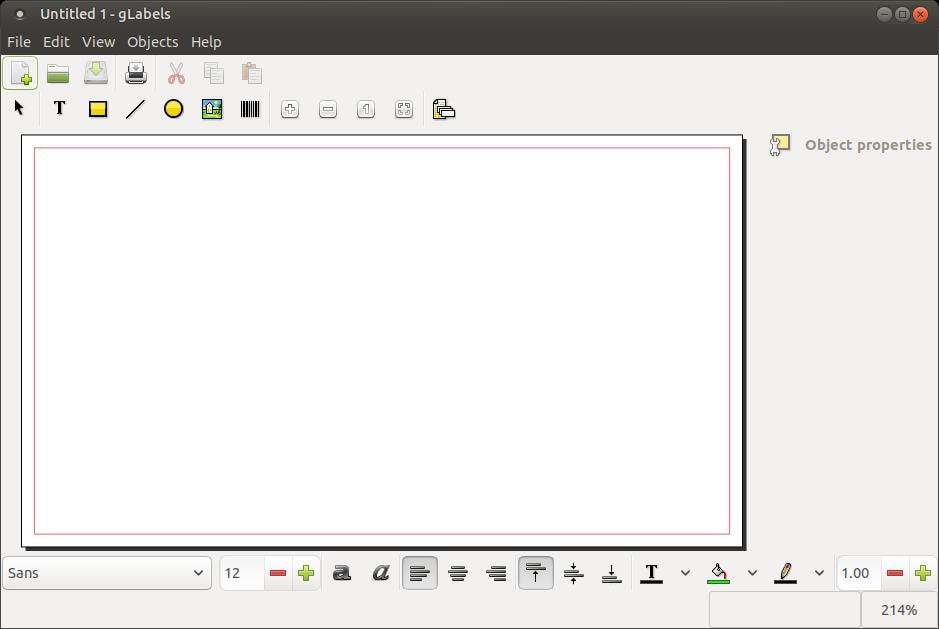
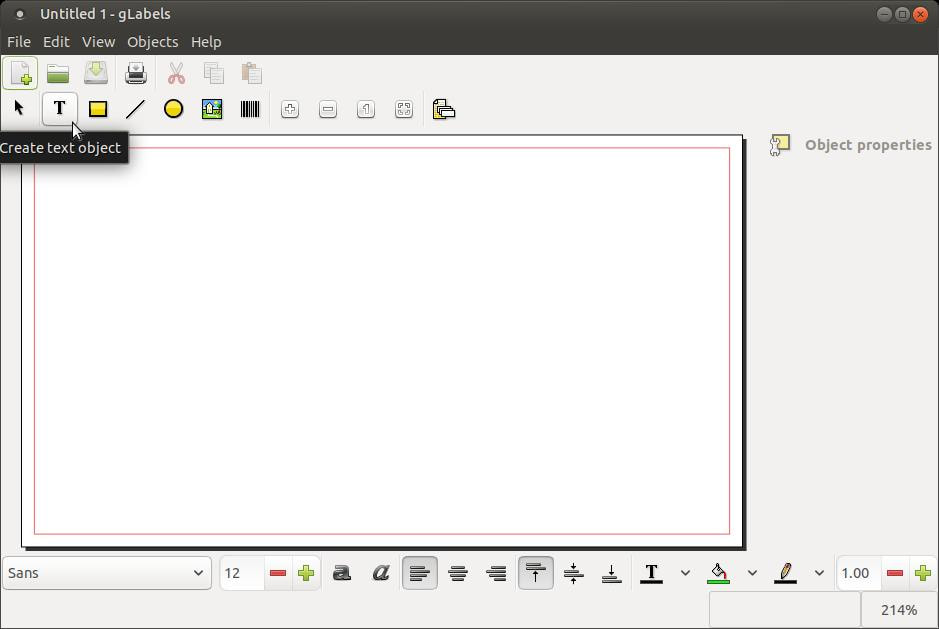
Click the Create text object button on the toolbar to start putting text on your business card. The Object properties on the right will change to Text object properties and five different tabs will appear below that title.
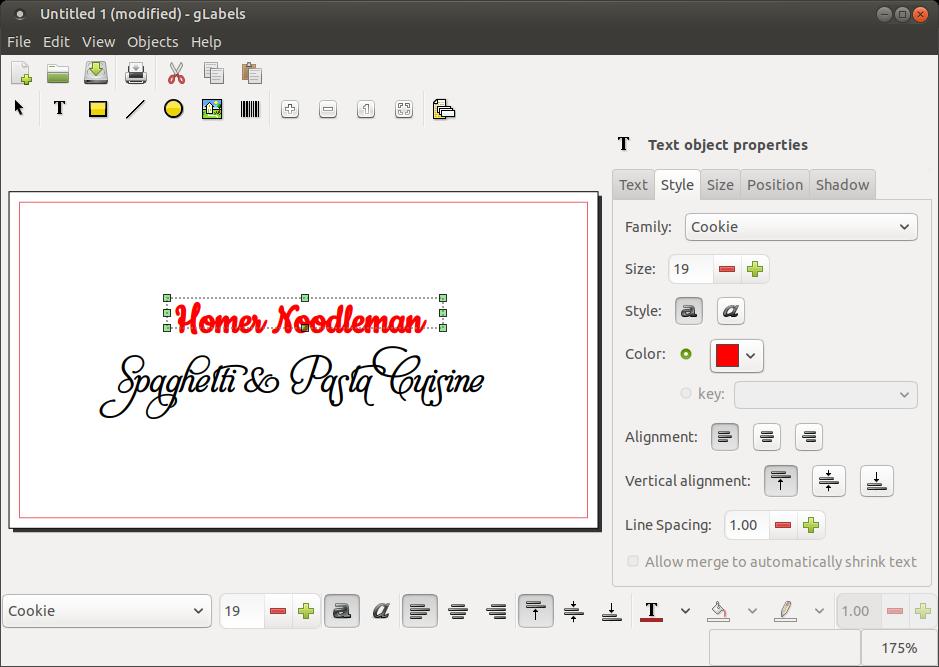
Click in an area in the name tag template so that you can type the text for your business card. You make changes to the text by using the Text object properties tabs on the right. (The name and business name are fake names. These names were used to help illuustrate how to create a business card using gLabels.)
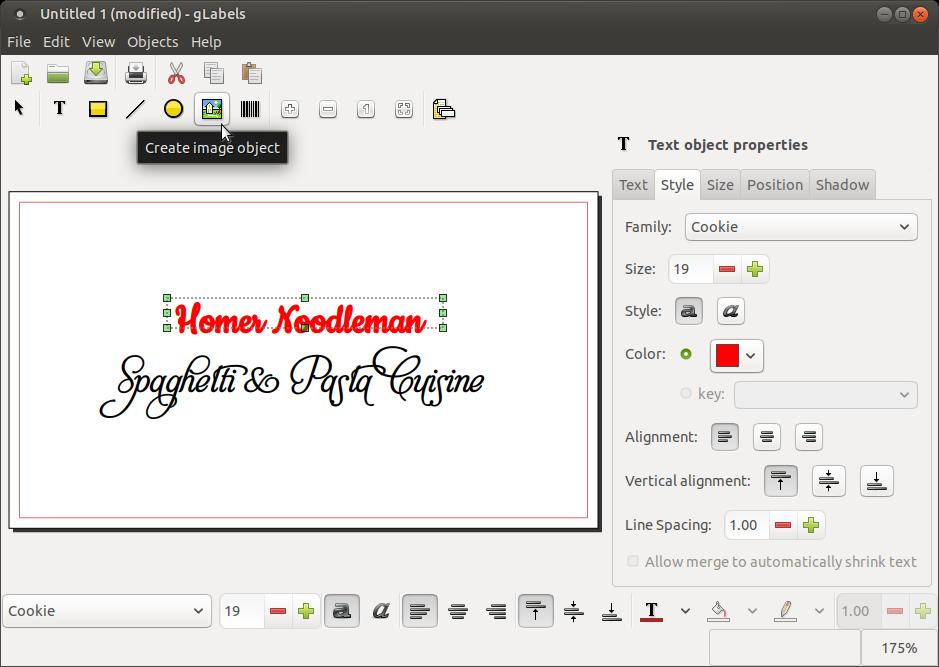
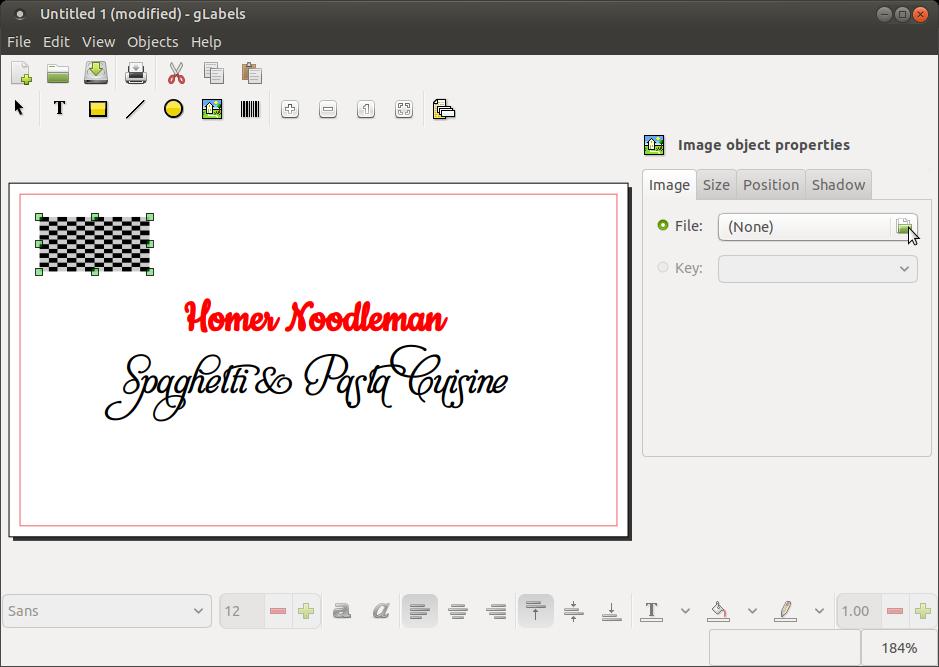
You can add images or clipart to your card by clicking on the Create image object on the toolbar.
Click an area on the card that you want to insert your image. Then click on the folder icon to under the Image tab, to the right of File: to access your image.
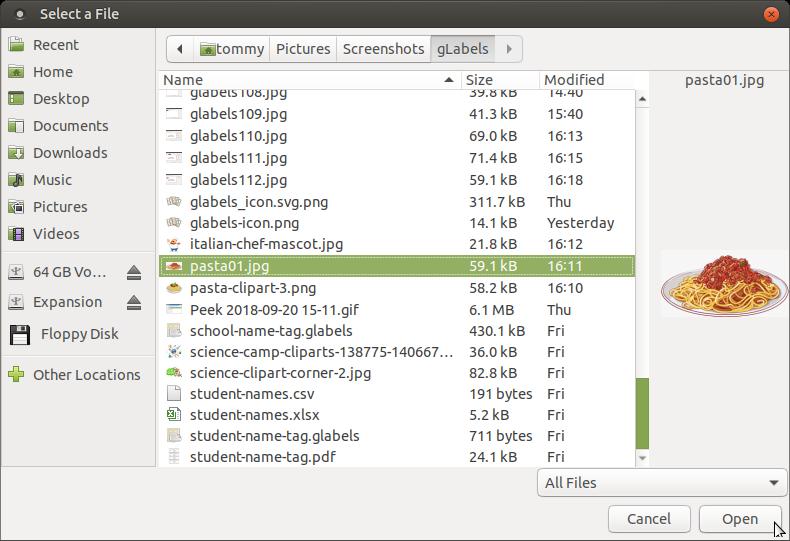
Locate your image and click on it to select it. Then click the Open button to insert it on the card.
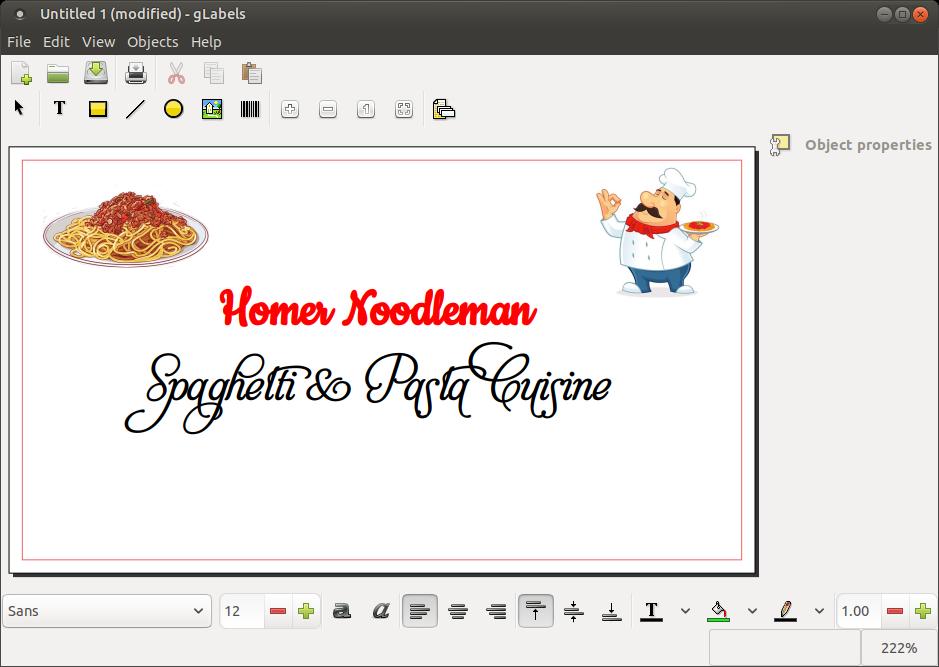
I also added another image to the upper right corner.
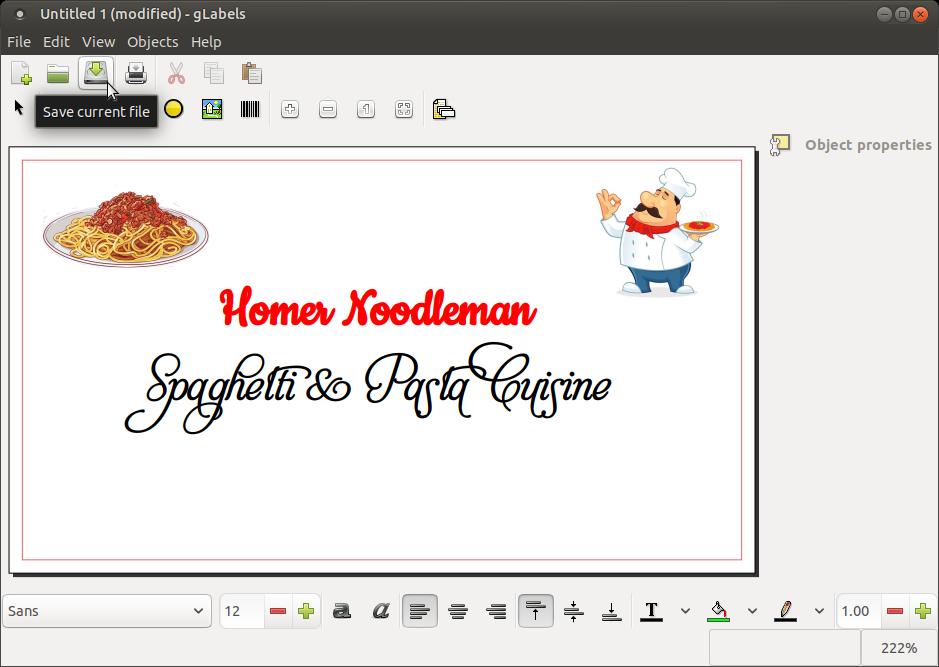
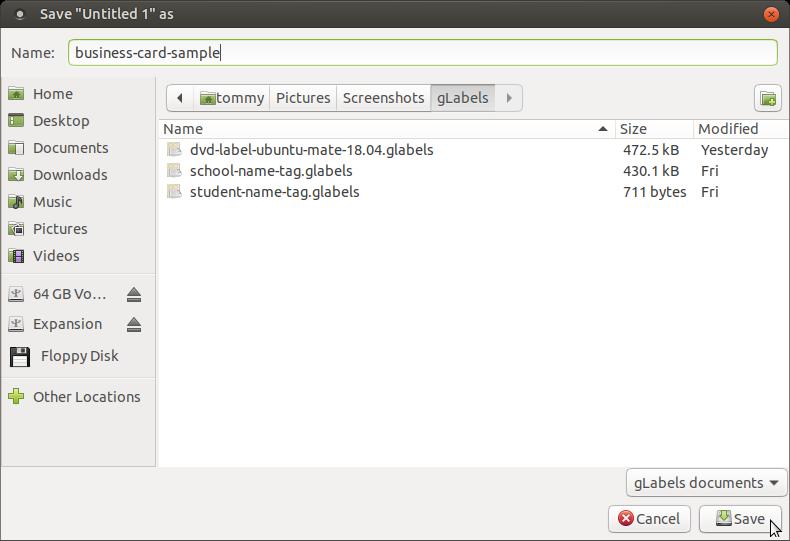
Now would be a good time to save your progress. Click the Save current file button on the toolbar to bring up the Save as dialog box.
When the Save "Untitled 1" as dialog box appears, type a name to help you identify what the file is in the future, select a location to save the file, and then click the Save button.
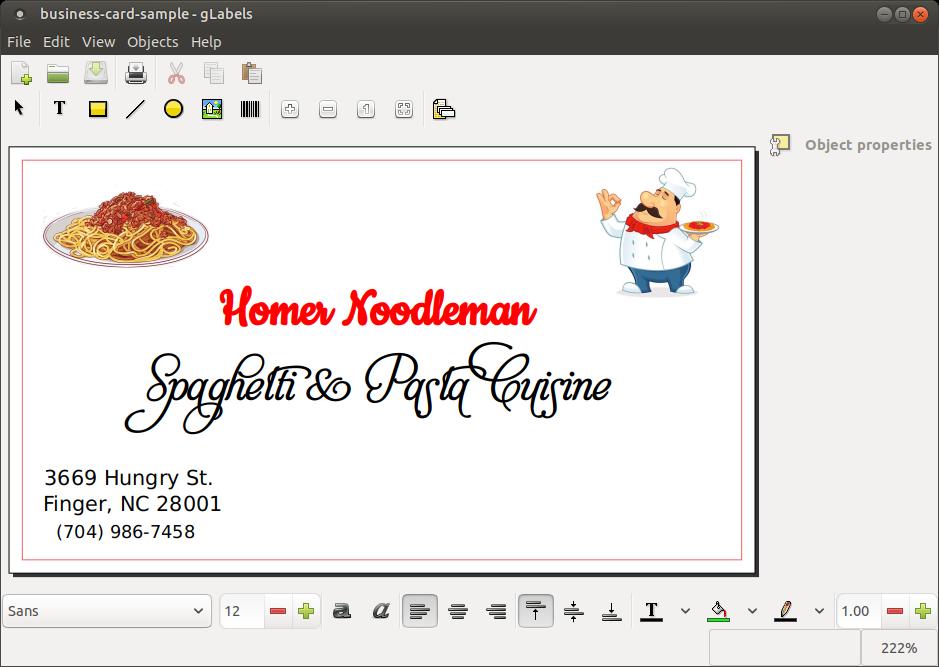
I added the bussiness address and telephone number in the lower left corner of the business card.
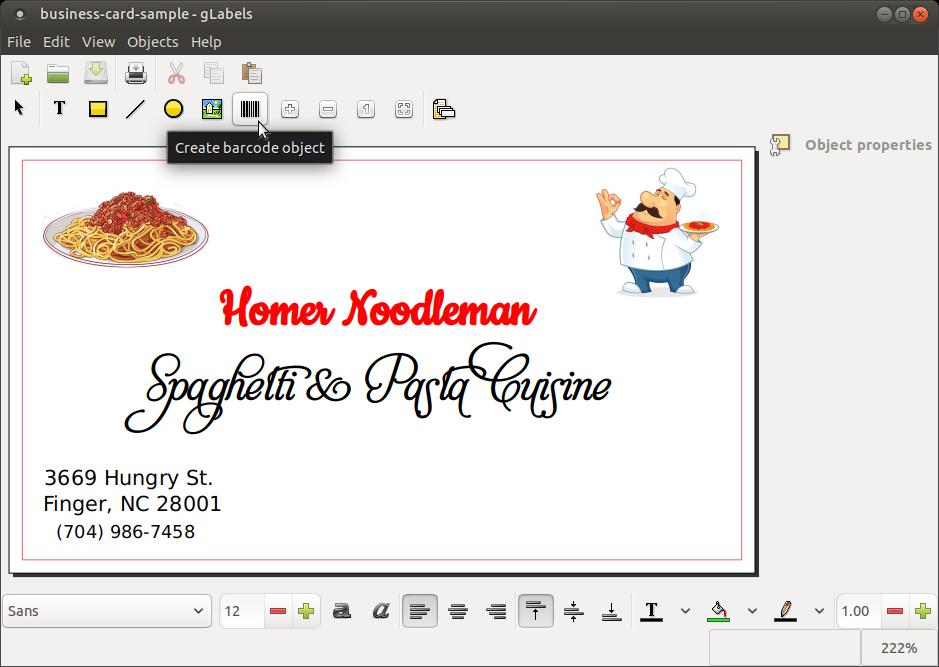
gLabels also gives you the abilty to add a barcode to your label or card. To insert a bardcode, click on the Create barcode object button on the toolbar. QR barcodes allow you to convey large amounts of data in a small format. A QR code holds information in both horizontal and vertical directions. This allows a lot of information to be placed on a very small business card. Click in an empty area once you are ready to insert your bardcode.
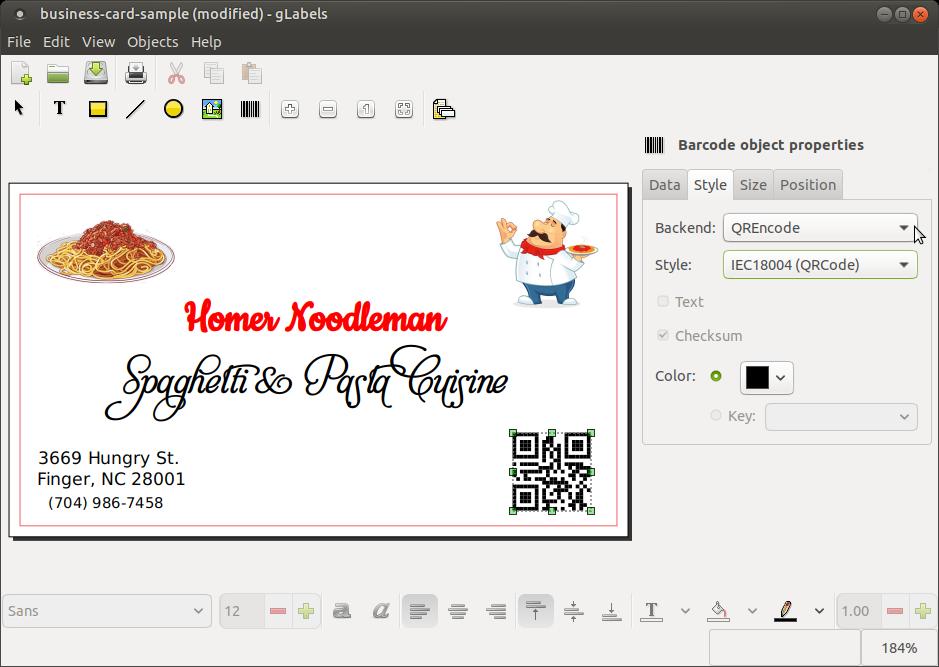
Then change the Backend Barcode Style to QREncode.
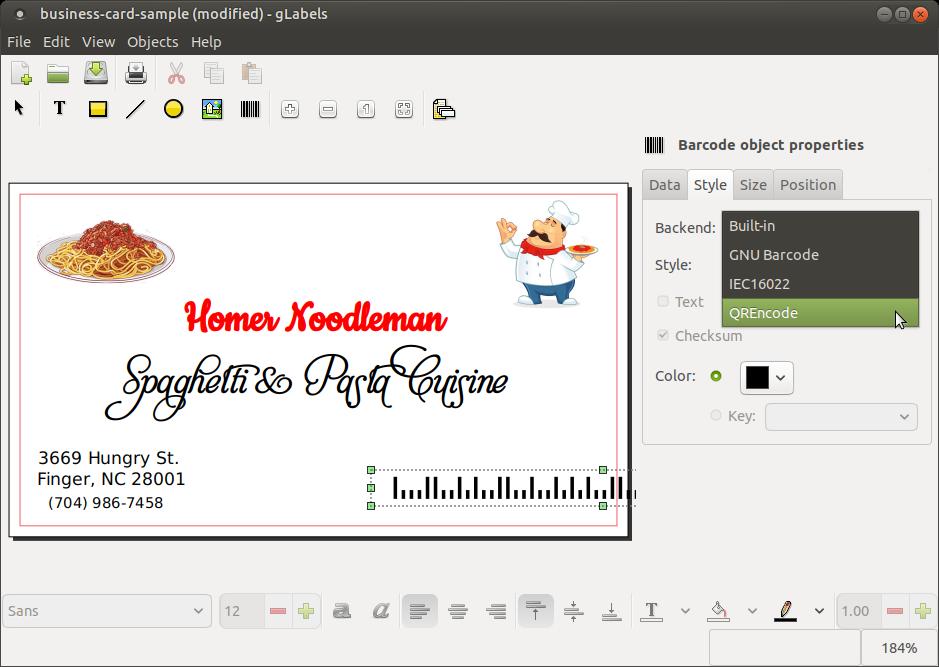
You should notice the barcode changes its appearance from a horizontal direction barcode to a QR Barcode. A QR code can hold hundreds of time more information compared to the horizontal direction barcode.
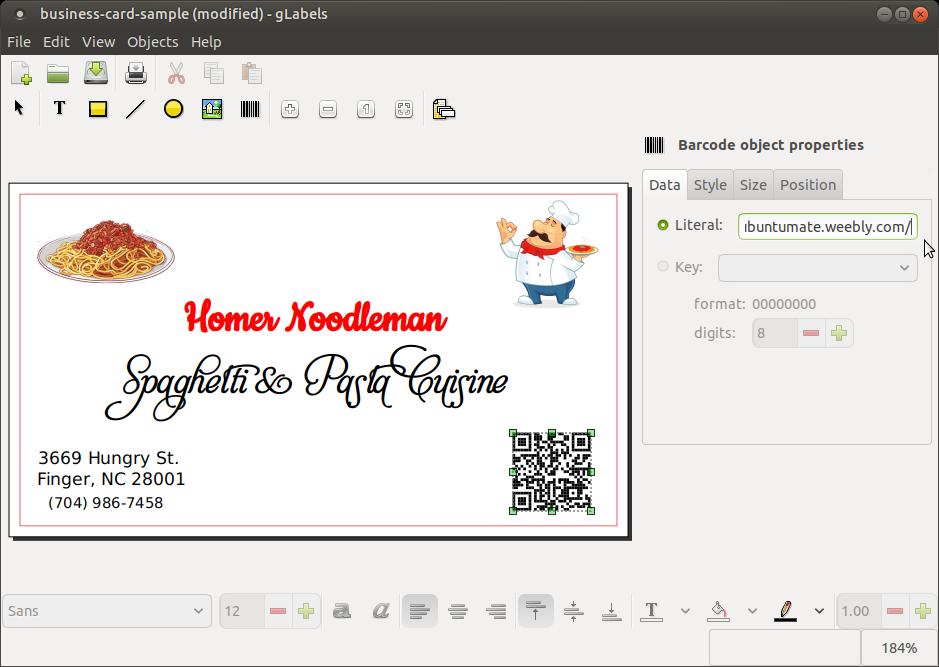
Then click on the Data tab and enter the information you want to place inside the barcode to the right of Literal. I entered my website address as an example.
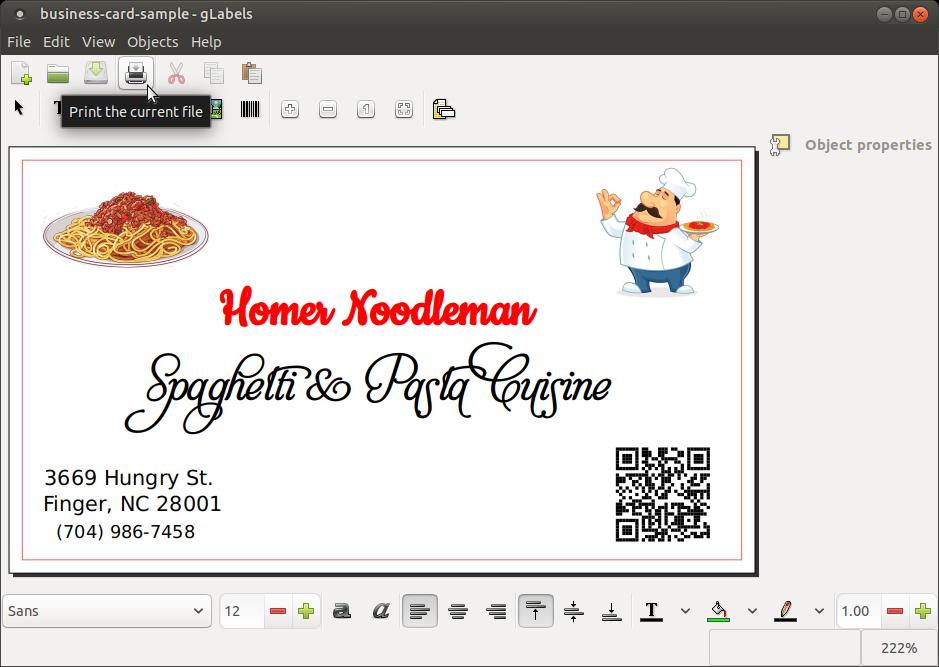
Now save your work and then click the Print the current file button on the toolbar so you can preview and then print your business cards.
When the Print dialog appears, click the Labels tab. I recommend that you select print outlines (to test printer alignment) under Options to see what your name tags will look like. Then click the Preview button at the bottom to give you a closer look at your business cards.
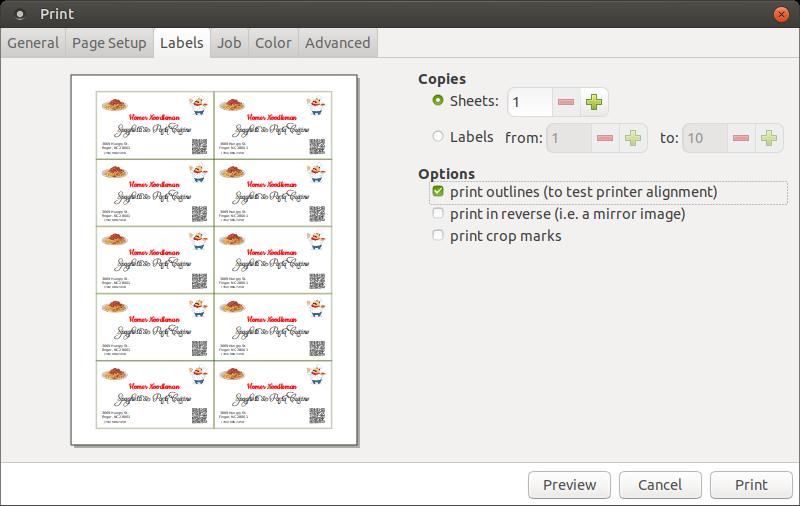
Look over your business cards and make any necessary changes before you print your file.
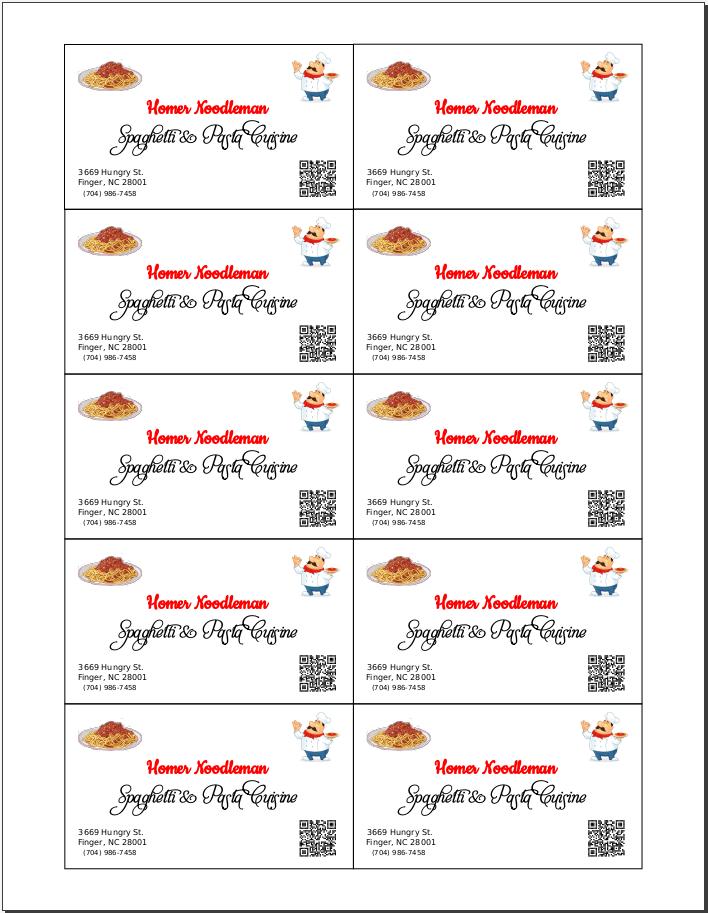
When you are finally satisfied with the look of your business cards, you are ready to print them. Insert the Avery Printable Business Cardss, 2 x 3.5 (5371) stickers in your printer and then click the File menu in gLabels, then click the Print... option, and when the Print dialog box appears, click the Print button.

Sep 26, 2018
