
Pinta: View Menu
The View menu contains commands that change the way your photo or image is displayed. The commands or features in this menu does not alter your image or photo, only the way it is presented on your screen.
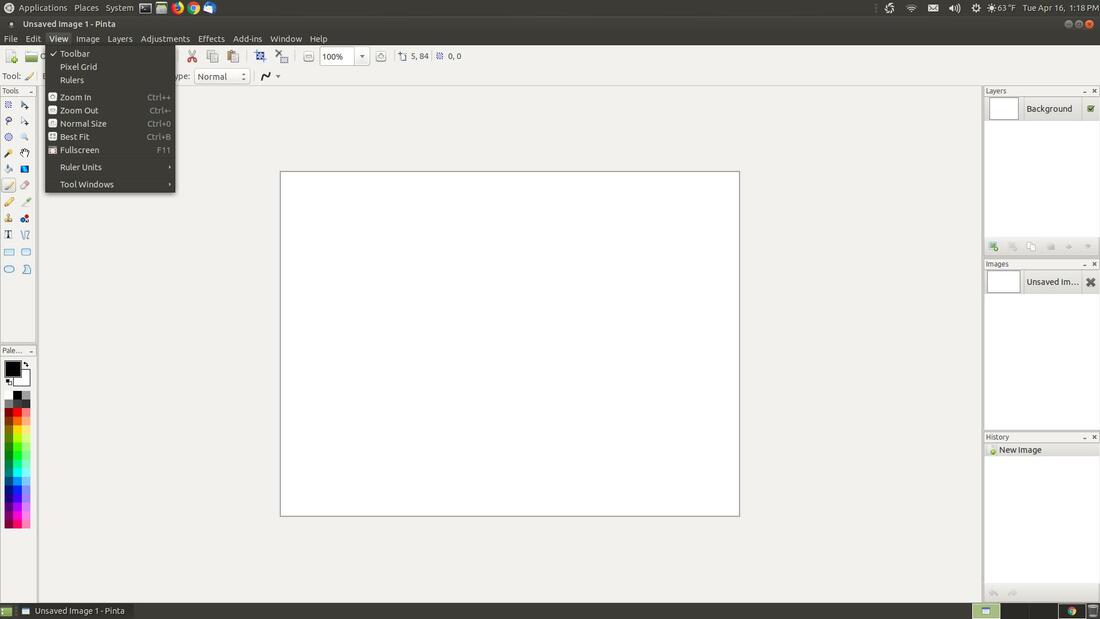
View Menu
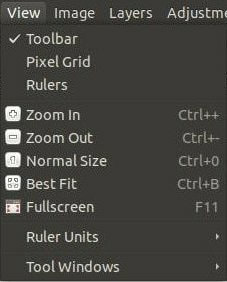
Toolbar
The Toolbar is turned on by default. This means that the Toolbar will be displayed under the Menu bar. (A toolbar is a strip of icons used to perform certain functions.)
The Toolbar is turned on by default. This means that the Toolbar will be displayed under the Menu bar. (A toolbar is a strip of icons used to perform certain functions.)

You can turn off the Toolbar feature by clicking on the View menu and clicking on Toolbar. This will uncheck the command which will turn it off. The Toolbar will no longer be displayed under the Menu bar.

You can turn the Toolbar feature back on by clicking on the View menu and clicking on Toolbar.
Pixel Grid
The Pixel Grid is a feature that will overlay the current image with a grid where each cell is one pixel in size. This is a great feature when precise per-pixel editing is required.
Clicking on this command or feature again will turn the grid off.
The Pixel Grid is a feature that will overlay the current image with a grid where each cell is one pixel in size. This is a great feature when precise per-pixel editing is required.
Clicking on this command or feature again will turn the grid off.
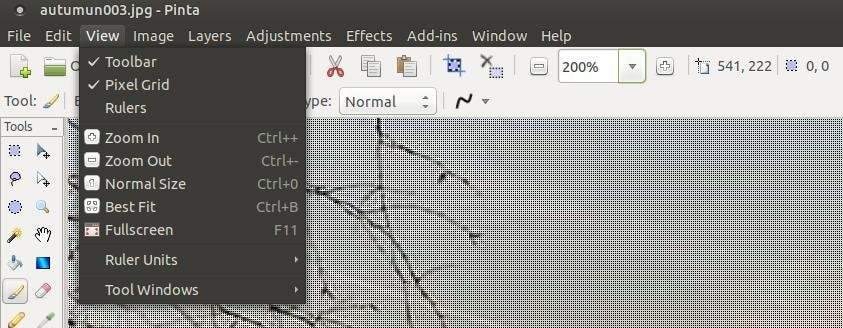
You will notice the Pixel Grid is not visible below 200% magnification.
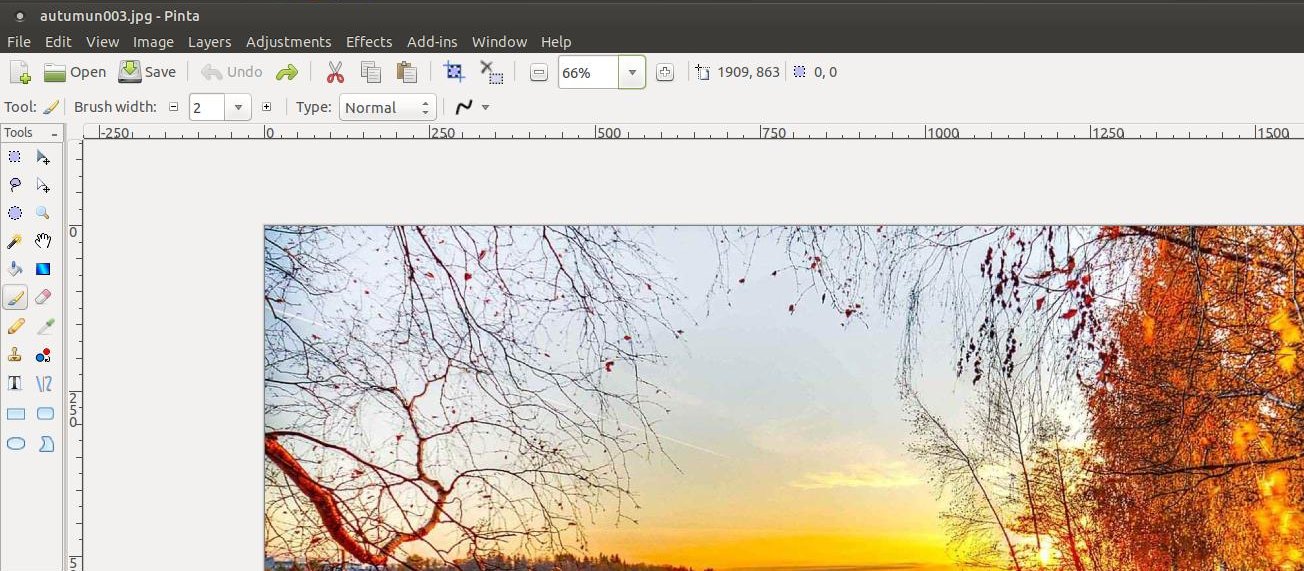
Rulers
The Rulers feature shows or hides rulers along the top and left edges of your image.
Rulers can help you align elements within an image. They can also be used to make measurements or adjust parts of an image to a certain size. Rulers are not visible by default. You can toggle them on or off by clicking on the View menu and clicking on Rulers.
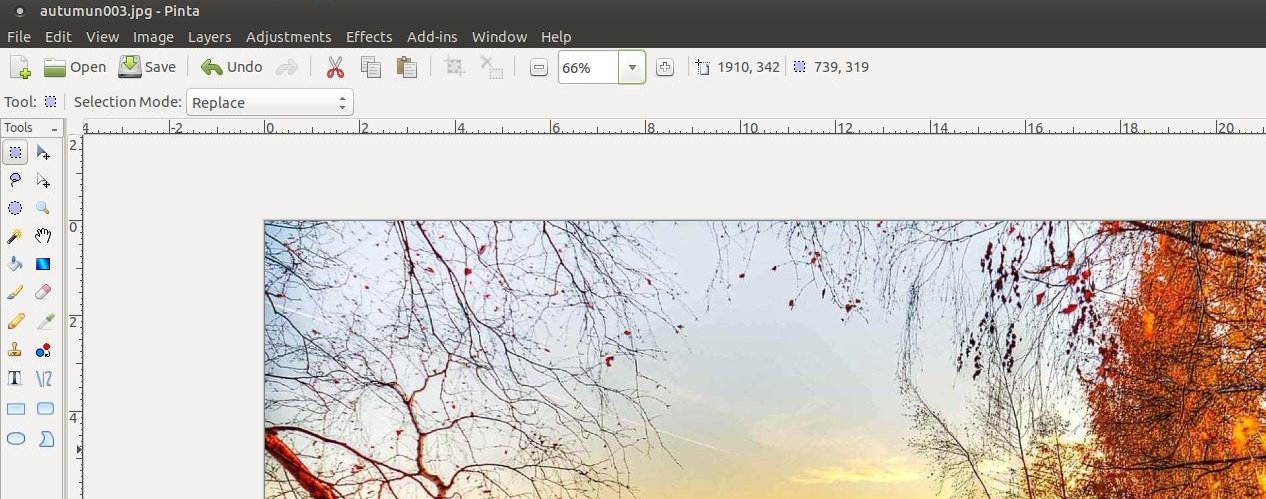
Pixels (Unit of Measurement)
Ruler Units
Pixels, Inches, and Centimeters (Units of Measurement): These three options are are used to define which unit of measurement Pinta will use. These units define how the coordinates of an image are presented.
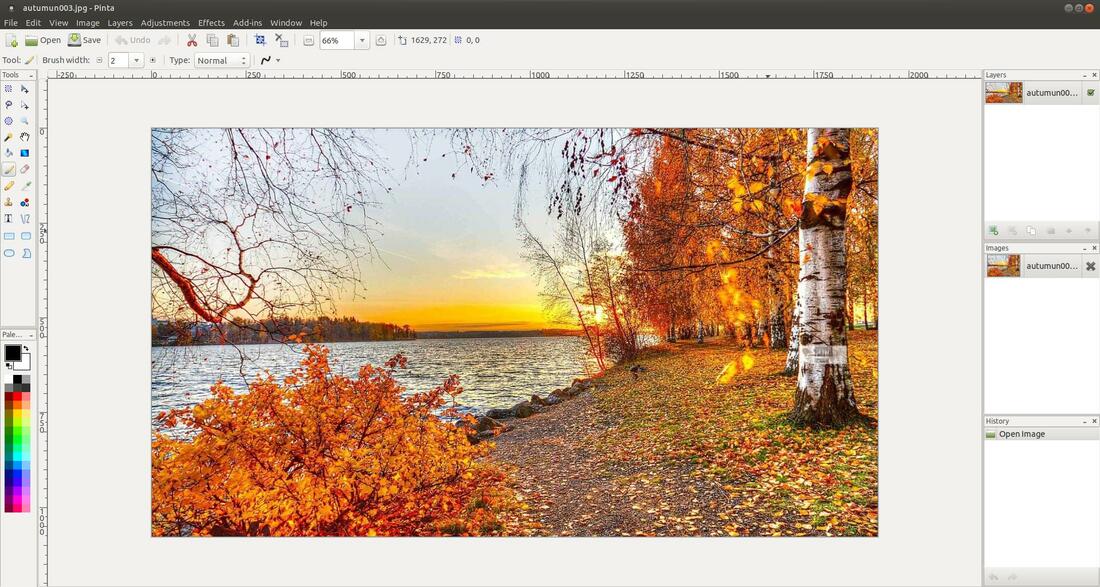
As you can see in the image below, the default unit of measurement is Pixels. You have the ability to change it to Inches or Centimeters.
Pixels, Inches, and Centimeters (Units of Measurement): These three options are are used to define which unit of measurement Pinta will use. These units define how the coordinates of an image are presented.
As you can see in the image below, the default unit of measurement is Pixels. You have the ability to change it to Inches or Centimeters.
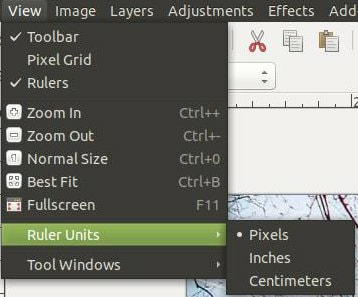
Units of Measurement
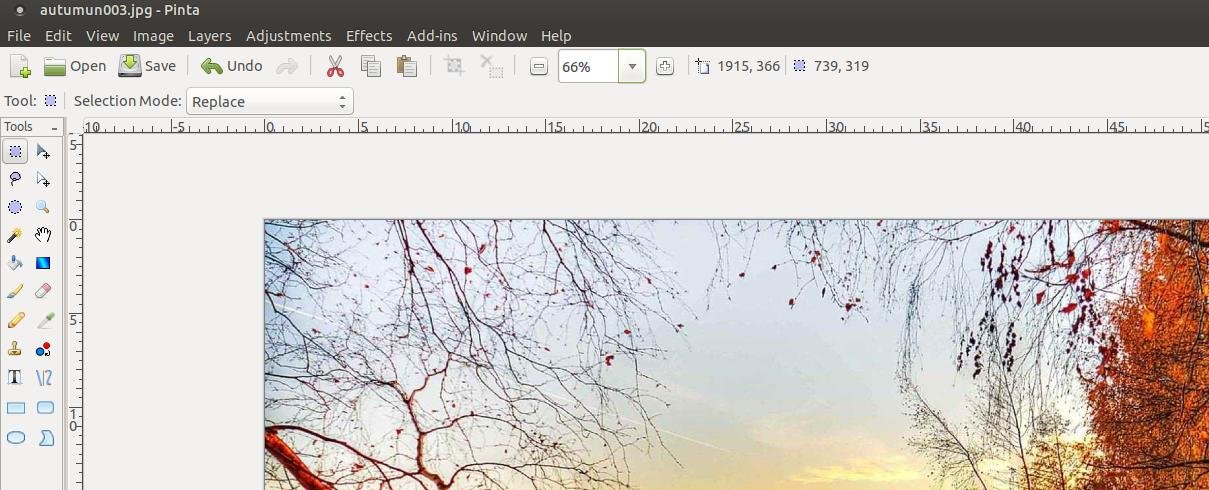
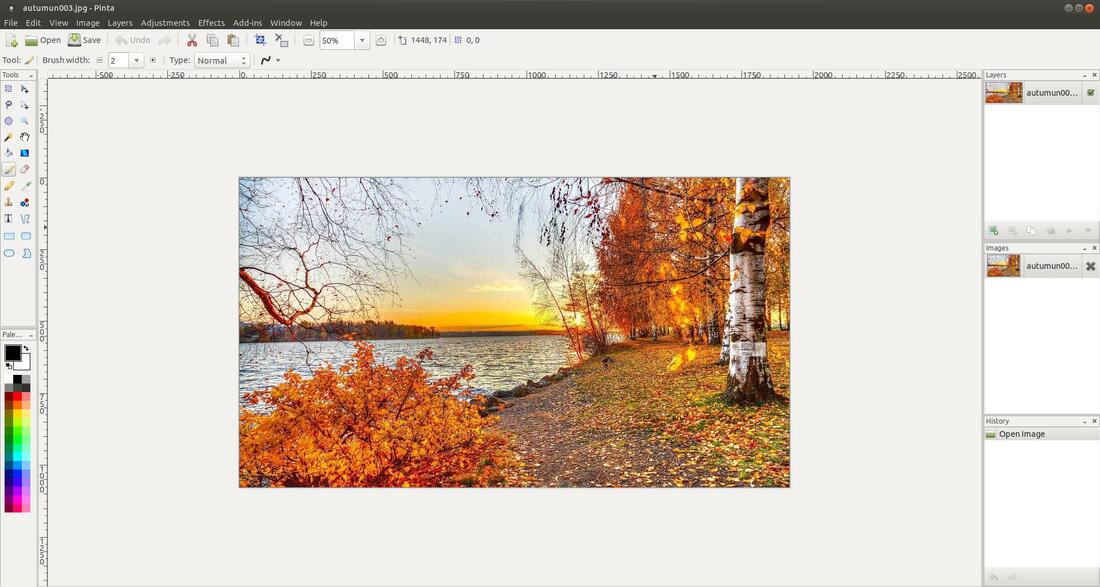
Here's the Ruler using Inches.
Inches (Unit of Measurement)
Here's the Ruler using Centimeters.
Centimeters (Unit of Measurement)
Zoom In
The Zoom In feature zooms in on an image. It gives it the appearance of magnifying it. You can use the shortcut keys to zoom in on an image (Ctrl++). You can also zoom in on an image by clicking the View Menu and then click Zoom In.
The Zoom In feature zooms in on an image. It gives it the appearance of magnifying it. You can use the shortcut keys to zoom in on an image (Ctrl++). You can also zoom in on an image by clicking the View Menu and then click Zoom In.
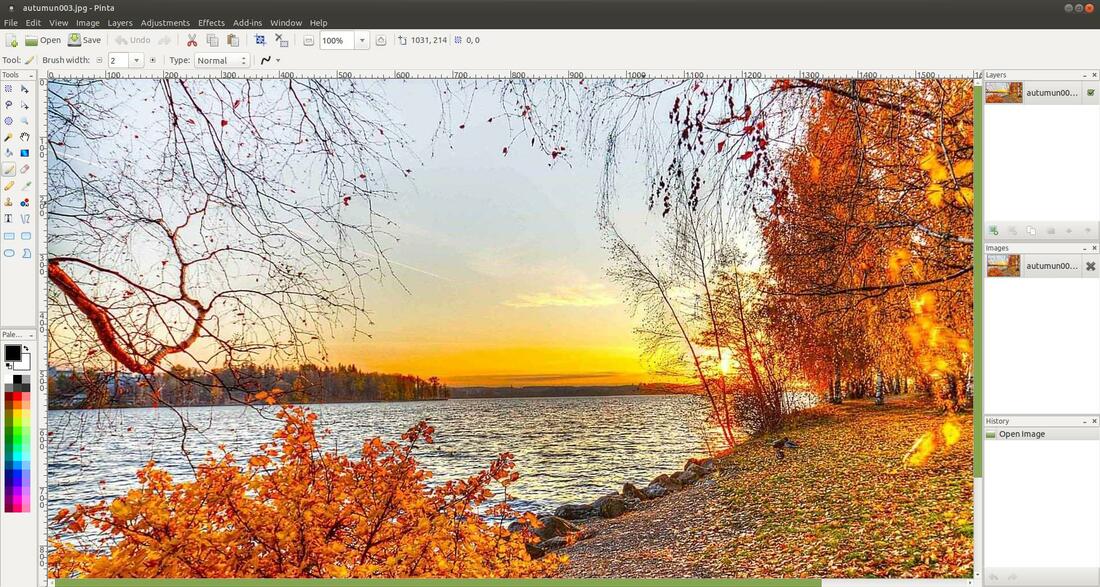
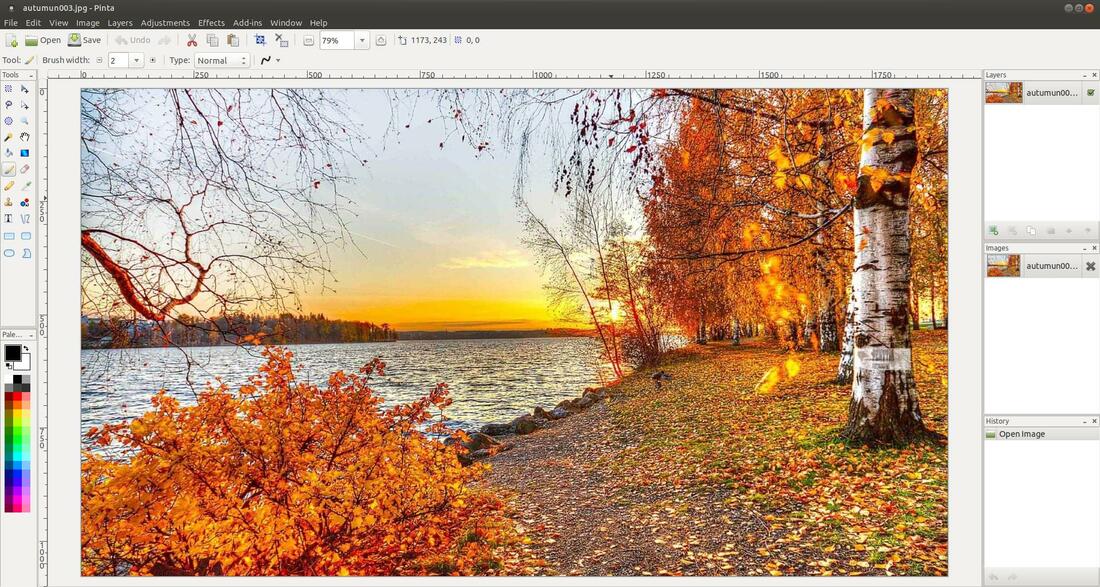
Before Zoom In
You can zoom in multiple times to increase the magnification of your image.
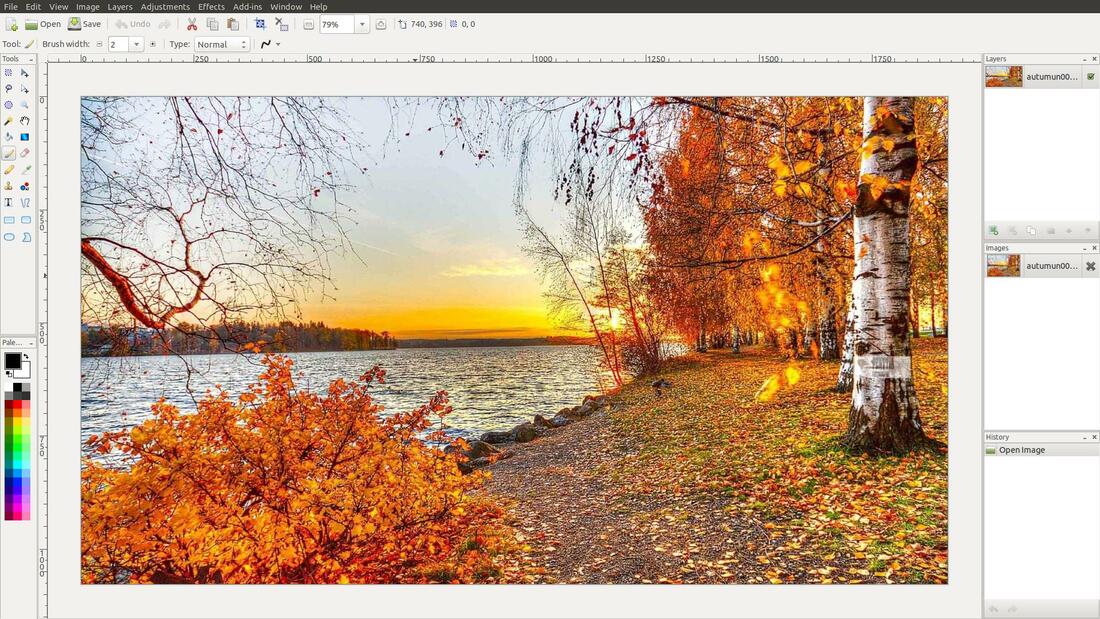
After Zoom In
Zoom Out
The Zoom Out feature zooms out from an image. It gives it the appearance of moving away from the image. You can use the shortcut keys to zoom out on an image (Ctrl+-). You can also zoom out on an image by clicking the View Menu and then click Zoom Out.
The Zoom Out feature zooms out from an image. It gives it the appearance of moving away from the image. You can use the shortcut keys to zoom out on an image (Ctrl+-). You can also zoom out on an image by clicking the View Menu and then click Zoom Out.
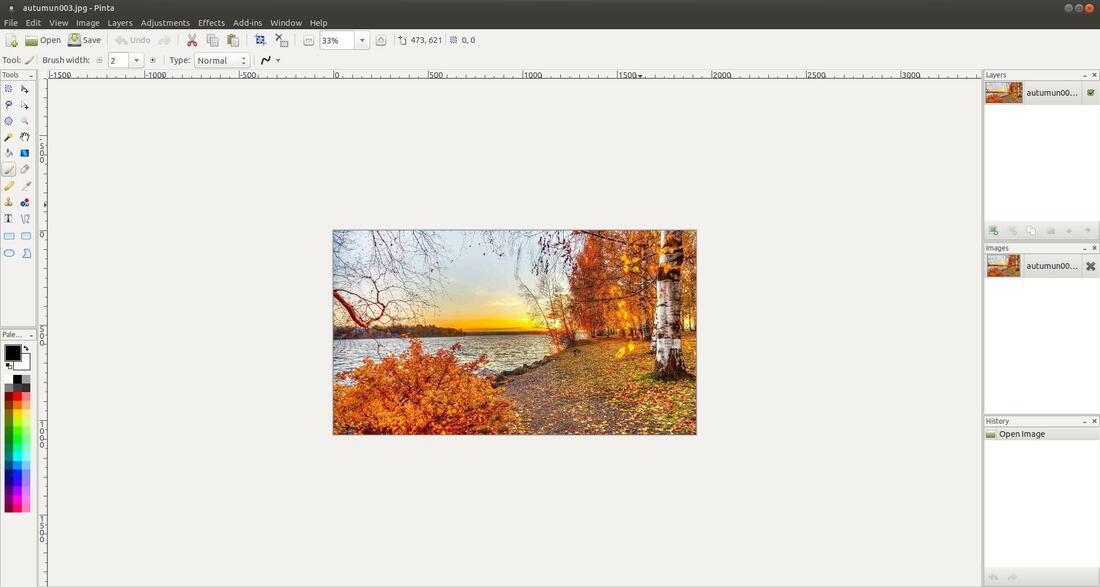
Before Zoom Out
You can zoom out multiple times to decrease the magnification of your image.
After Zoom Out
Normal Size
The Normal Size feature sets the zoom level to 100%. Each pixel on the screen will match up with one pixel in the active layer. To change your image to normal size, click on the View Menu and then click Normal Size. You can use the shortcut keys (Ctrl+0) to change your image to normal size.
The Normal Size feature sets the zoom level to 100%. Each pixel on the screen will match up with one pixel in the active layer. To change your image to normal size, click on the View Menu and then click Normal Size. You can use the shortcut keys (Ctrl+0) to change your image to normal size.
Best Fit
The Best Fit feature resizes the image to fit the Pinta window. You will not have to use the vertical or horizontal scroll bars to see your image. To change your image to best fit, click on the View Menu and then click Best Fit. You can use the shortcut keys (Ctrl+B) to change your image to best fit.
The Best Fit feature resizes the image to fit the Pinta window. You will not have to use the vertical or horizontal scroll bars to see your image. To change your image to best fit, click on the View Menu and then click Best Fit. You can use the shortcut keys (Ctrl+B) to change your image to best fit.
Fullscreen
The Fullscreen feature will expand the Pinta program fullscreen on your system. You can press the F11 key to toggle Fullscreen off and on.
The Fullscreen feature will expand the Pinta program fullscreen on your system. You can press the F11 key to toggle Fullscreen off and on.
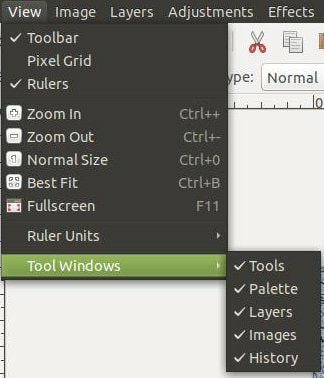
Tool Windows
The Tool Windows feature allows you to toggle off or on the Tool Palette, Color Palette, Layers Window, Images Window, and/or History Pane.
The Tool Windows feature allows you to toggle off or on the Tool Palette, Color Palette, Layers Window, Images Window, and/or History Pane.
By default, all of these are turned on or enabled.
You can uncheck each feature that you want to hide.
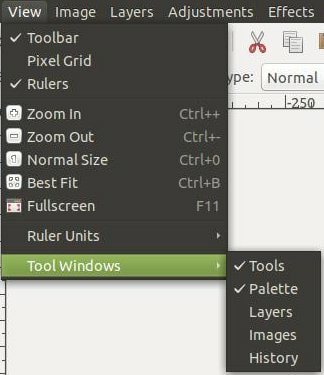
As you can see in the image above, I unchecked the Layers, Images, and History. Below is an image showing the results. The Layers Window, Images Window, and History Pane are missing from the Pinta program. They can be restored by going back into the View Menu, select Tool Windows, and click on Layers, Images, and History.
I hope this helped you understand the features that make up the View Menu.
Take care!
Take care!
Apr 20, 2019
