
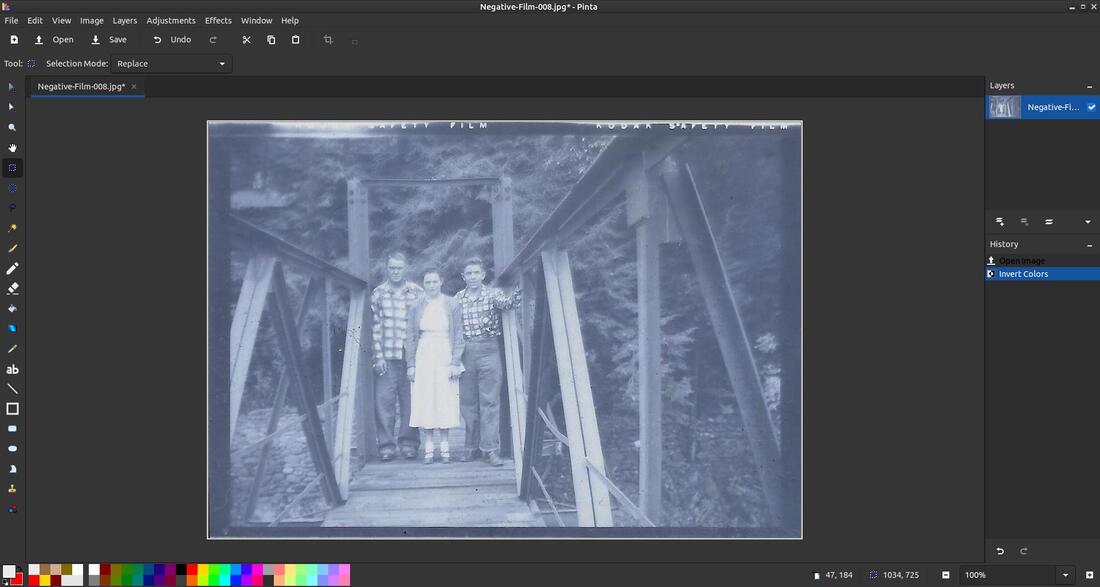
Invert Colors
The Invert Colors adjustments in Pinta will swap the colors in an image to the hue found on the opposite side of the color wheel. For example, white will become black and vice versa. Using this adjustment for a second time will restore the original colors.
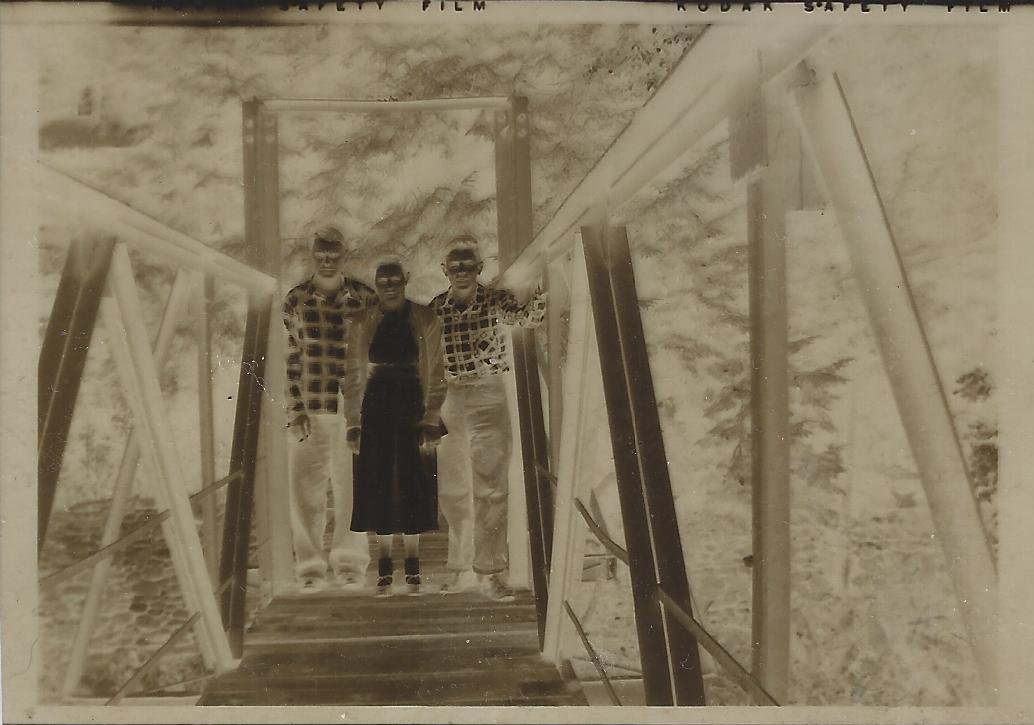
Original Negative
|
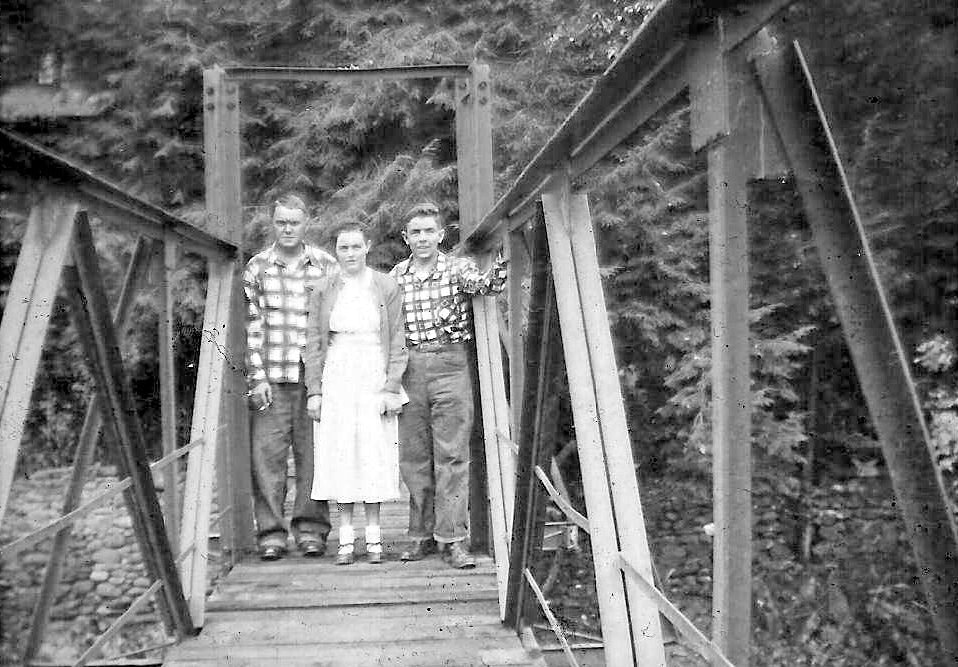
Black & White Converted Image
|
How to Convert a Negative Image to a Digital Image
If you have old film negatives and would like to convert them to digital images, then follow the steps below.
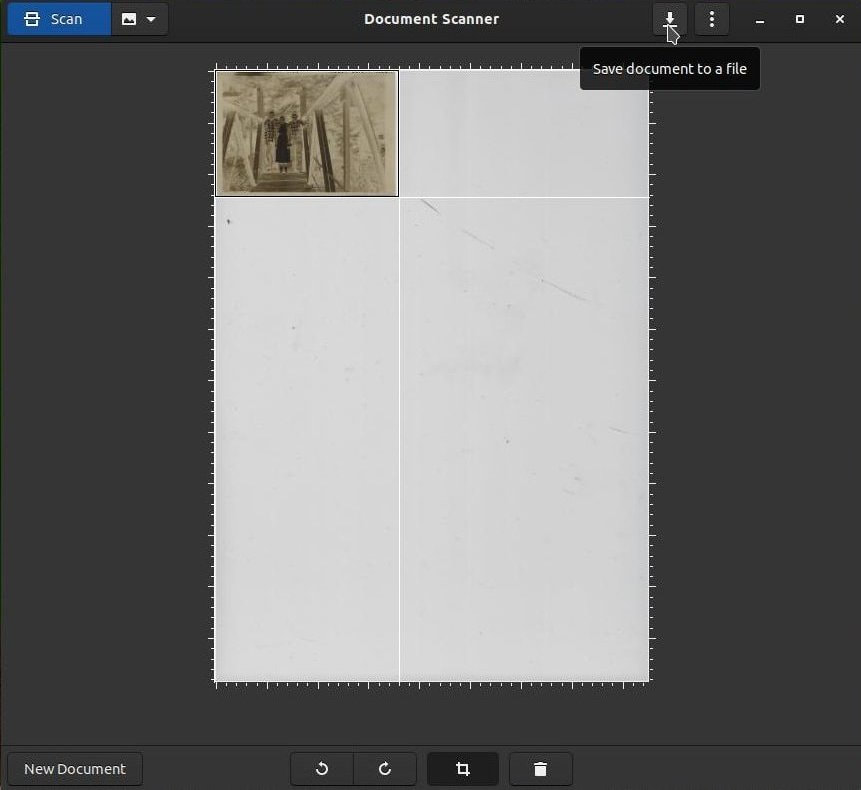
First, place your negative into your scanner. I use the HP Officejet Pro 6978 All-in-One Printer, but most image scanners should work.
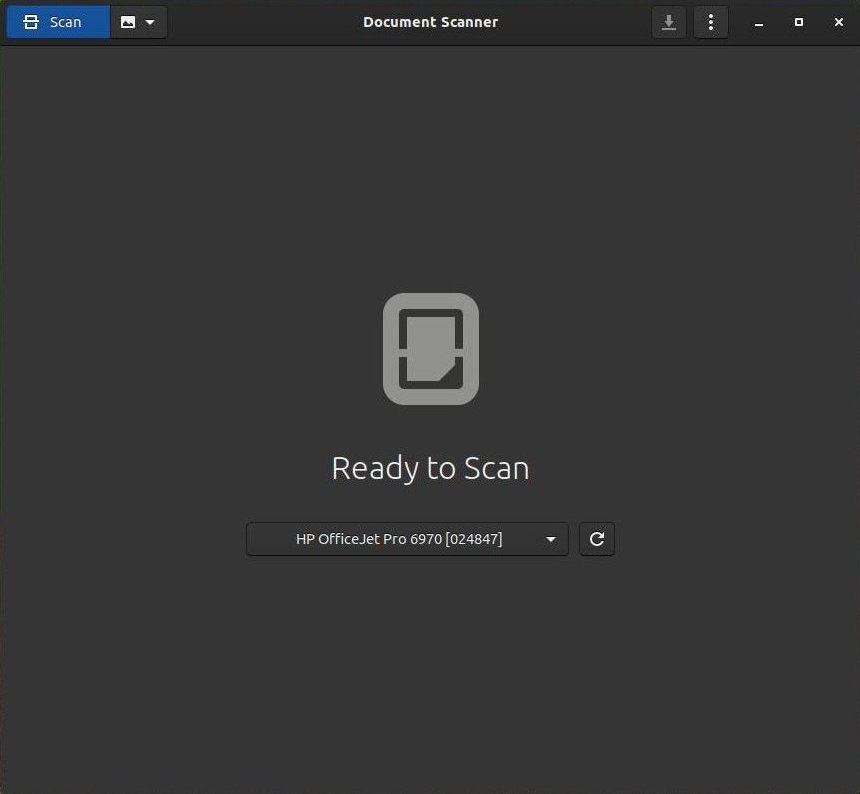
First, place your negative into your scanner. I use the HP Officejet Pro 6978 All-in-One Printer, but most image scanners should work.

Next, open your scanner software. I am using Document Scanner 42.0 at the time of creating this webpage. Scan the negative that's in the scanner.
Now use the scanner software cropping tool to crop your image if your image is smaller than your scanner.

Select the borders of your image.
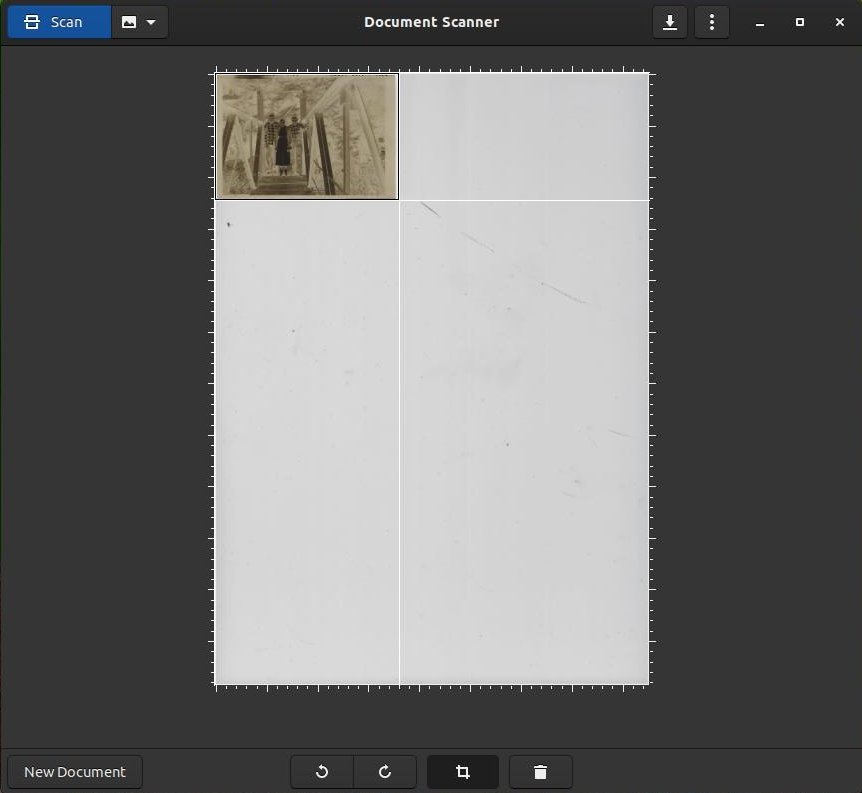
Then save the cropped image to your system.
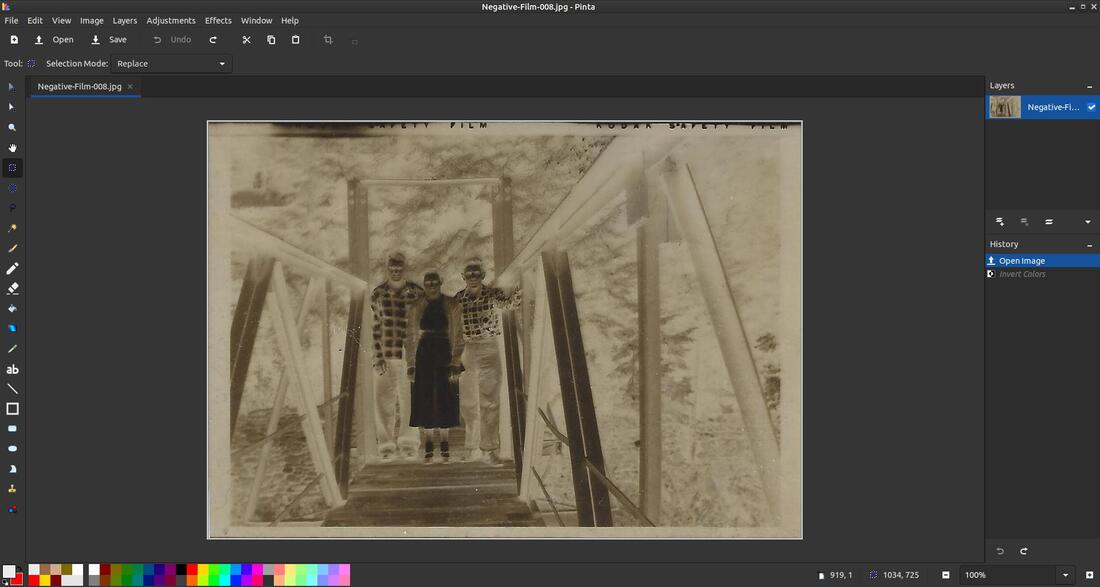
Next, open your scanned image with your image viewer to see if it looks okay and to see if it needs to be cropped more or resized. You can see KODAK SAFETY FILM at the top of my scanned image.
You are ready to open your scanned negative image in Pinta. Pinta is a free, open source program for drawing and image editing for Windows, macOS, and Linux.
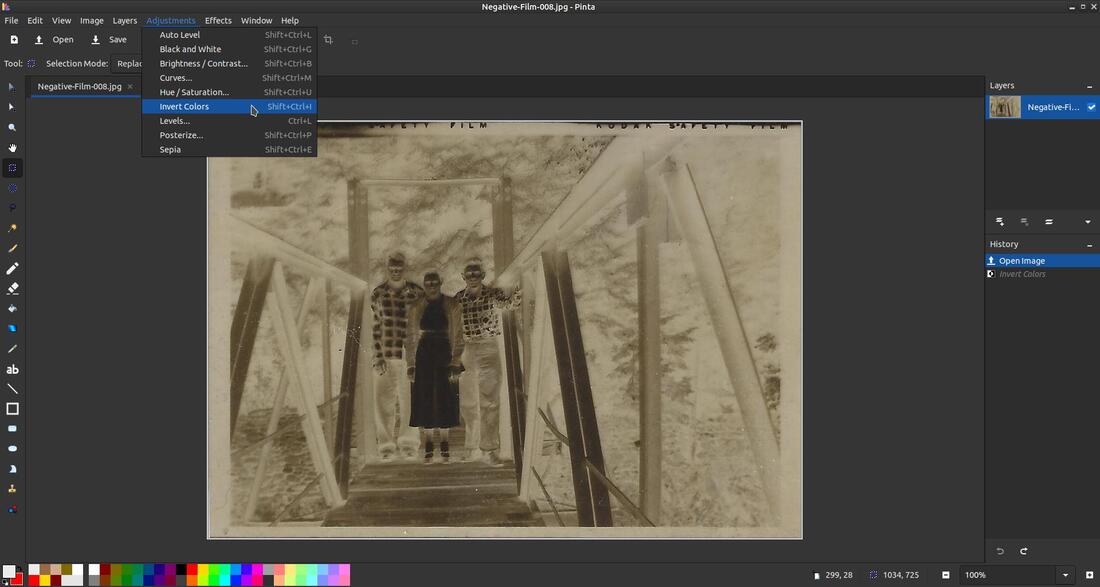
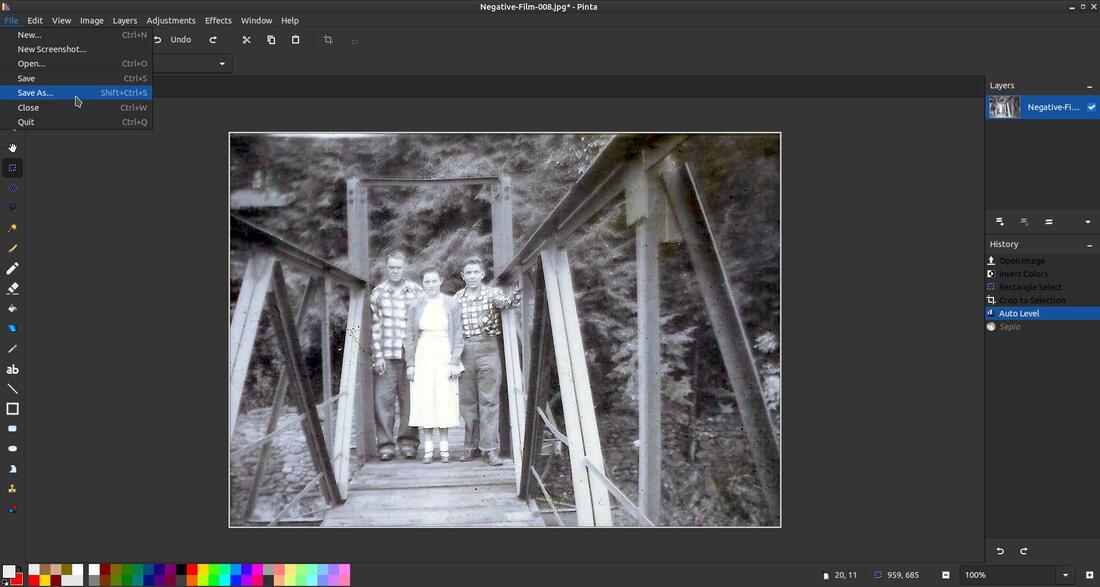
Click on the Adjustments menu and then on Invert Colors.
Your negative should turn into a digital image that can now be edited or modified.
I then clicked on the Rectangle Select from the Tool Palette. I then selected the image within the dark borders.

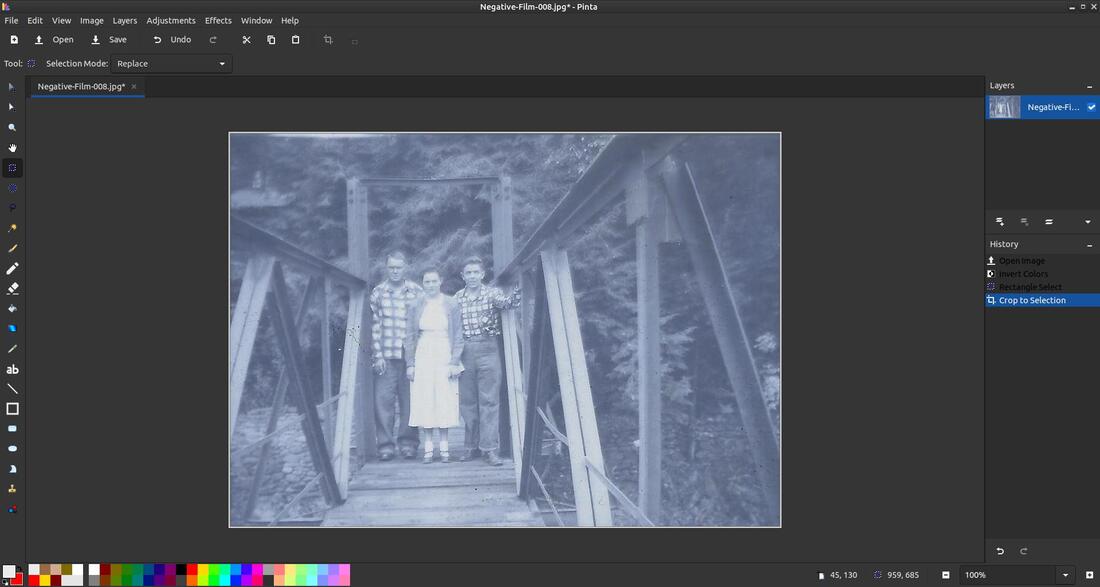
I then clicked on the Image menu and then on Crop to Selection.
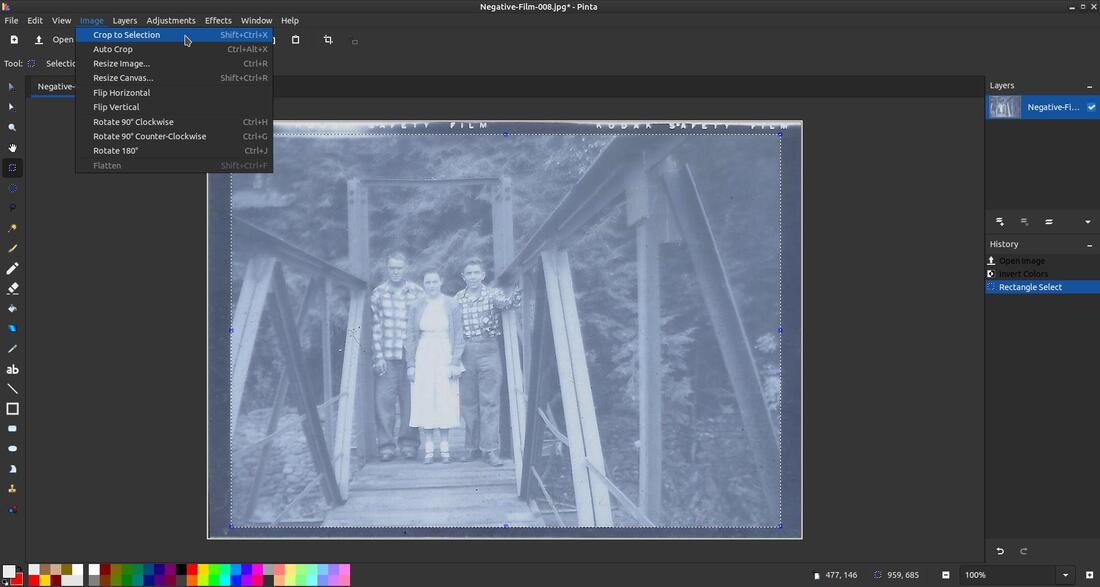
This removed the dark border around the image.
If your image has to much contrast then I recommend that you click on the Adjustments menu and then on Auto Level.
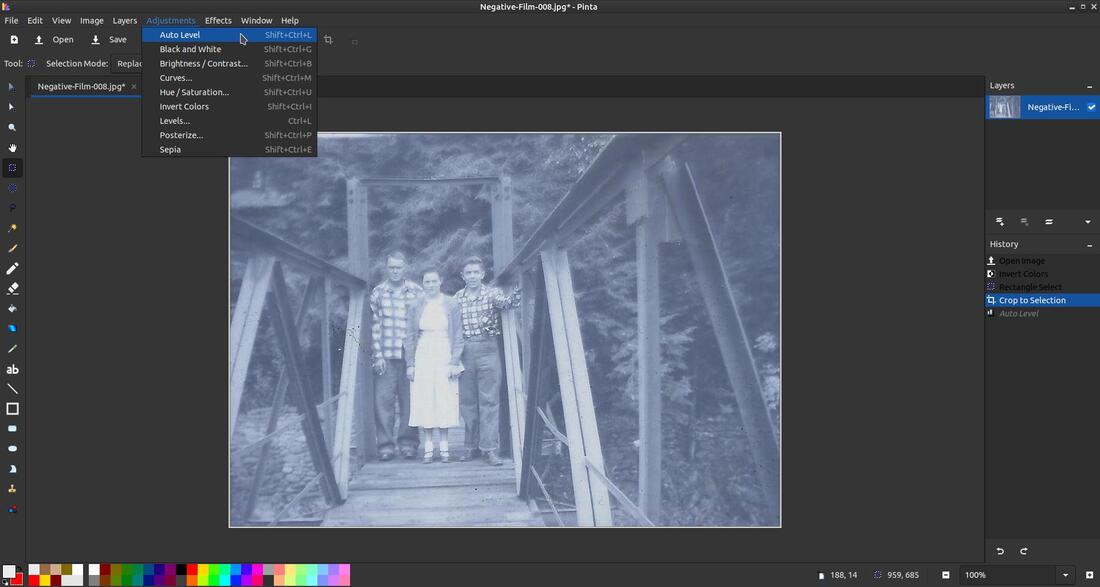
Auto Level is used to equalize the colors in an image. This command attempts to bring an image which are underexposed (too dark) or overexposed (too light) back within normal range. There are no configurable options, so it doesn't have a dialog box.
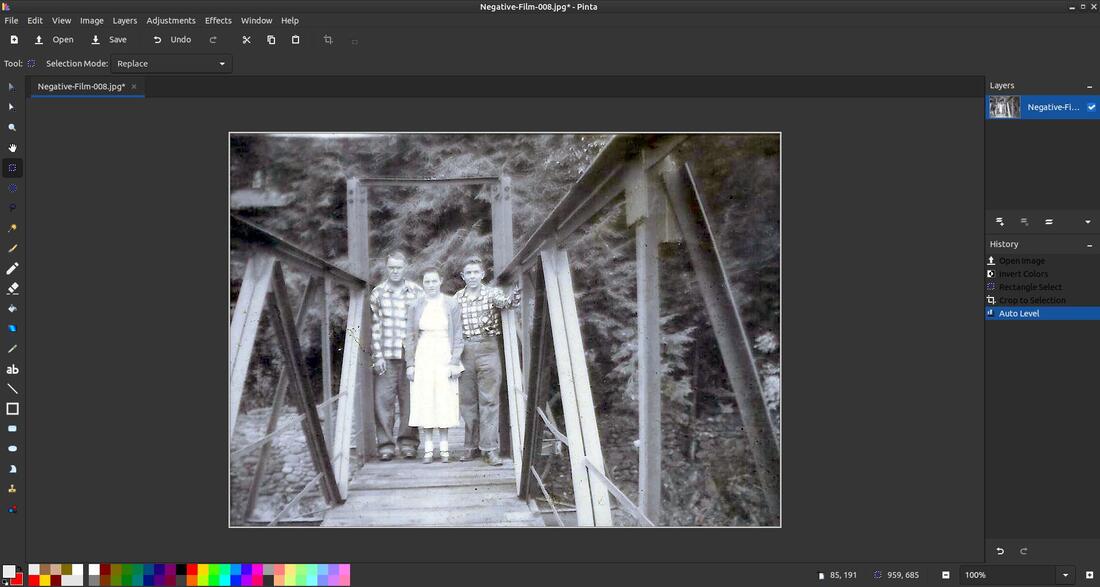
I recommend that you save your image at this point. Click on the File menu and then on Save As...
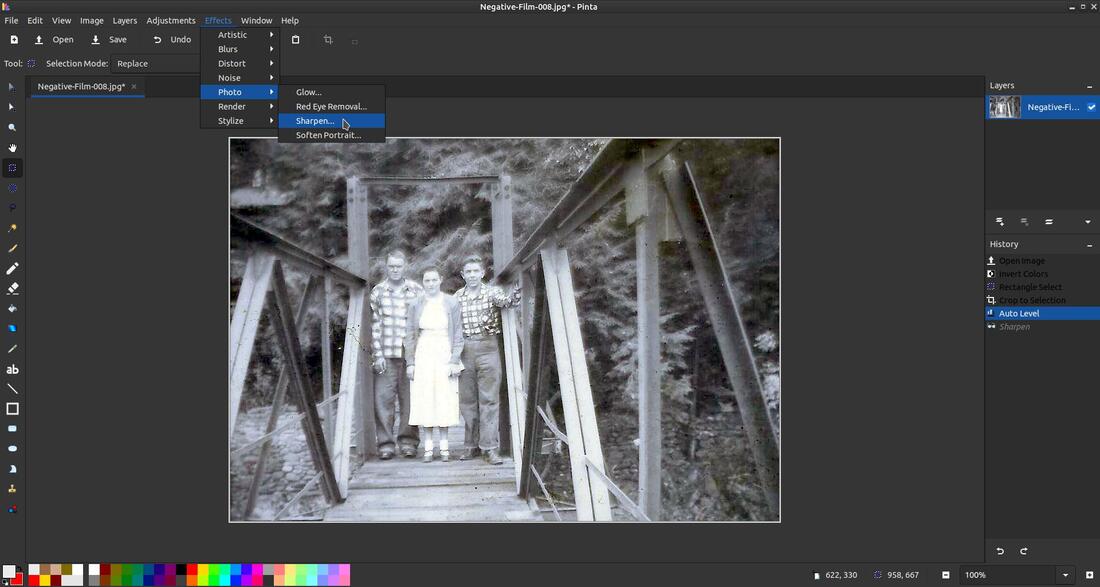
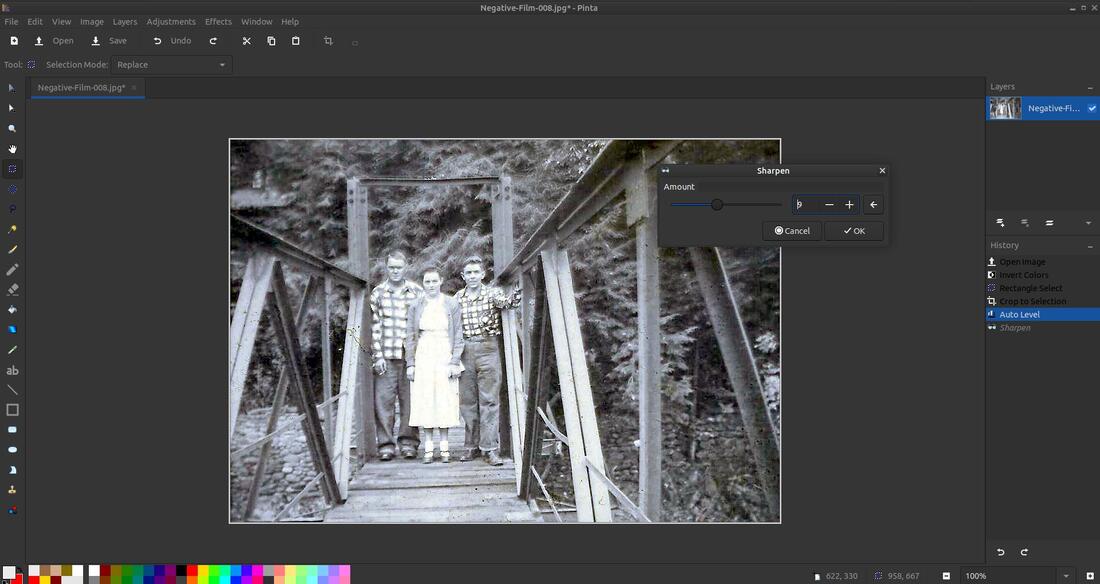
You can use the features within the Adjustments and Effects menus to enhance your image. You can sharpen your image by clicking on the Effects menu and then highlight Photo and then click on Sharpen...
You'll then see a small Sharpen dialog-box with a slider that allows you to improve the apparent sharpness.
Once you have your image the way you want it, I recommend that you save your progress by clicking the Save button.
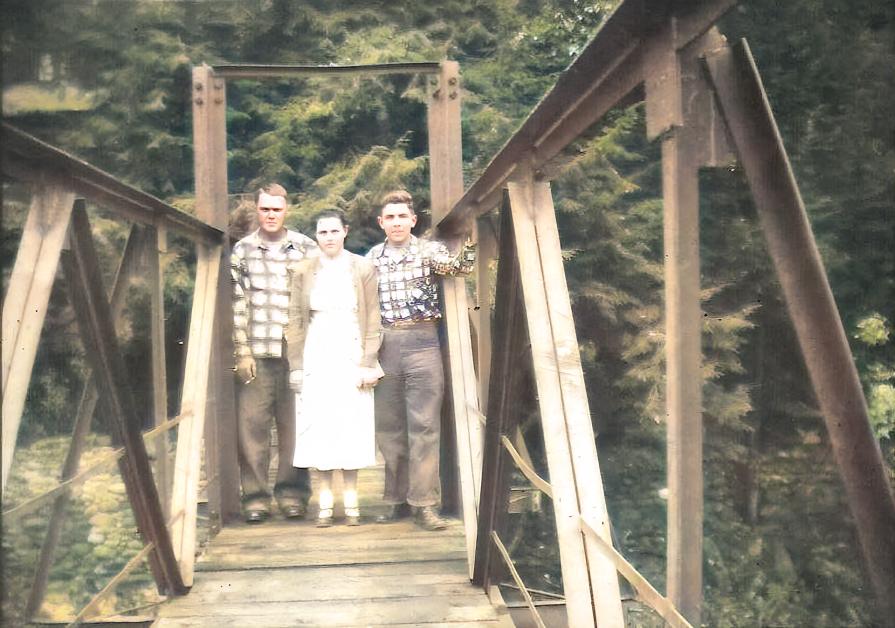
You can search for free Photo Colorizer to find sites like cutout.pro that allows you to turn a black and white image into a color image.
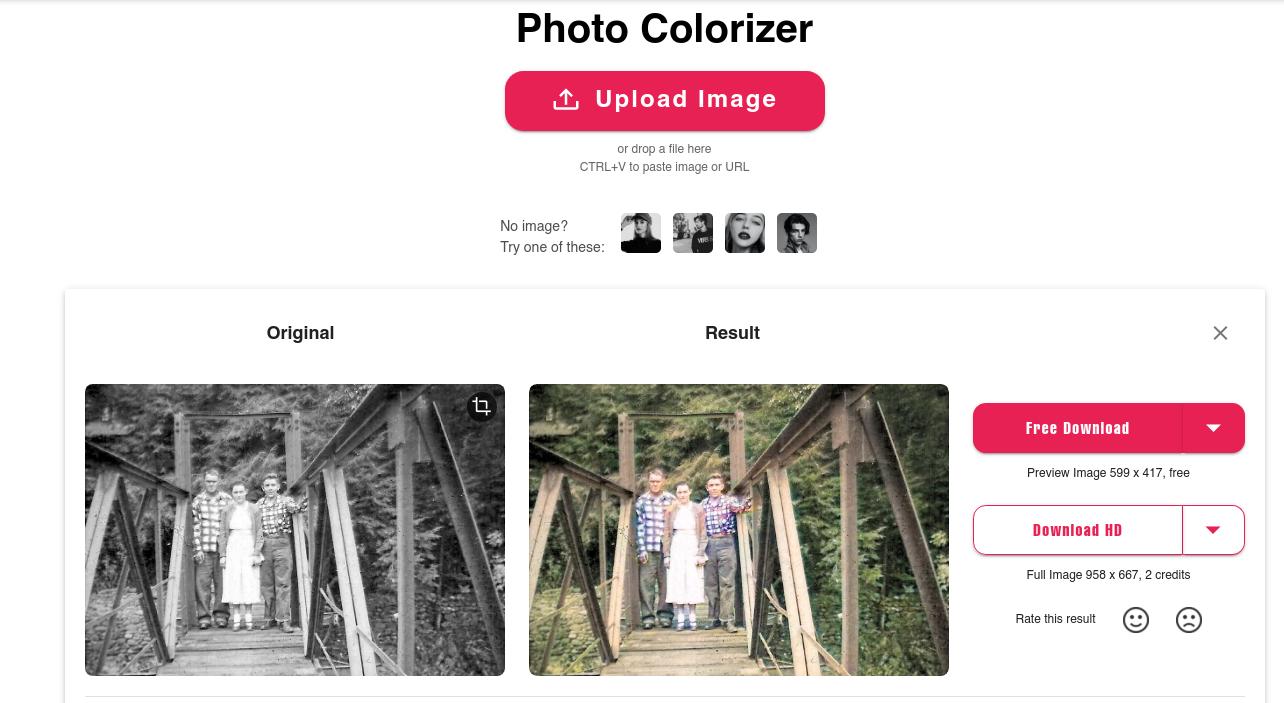
Here's the result of converting a black and white image into a color image.
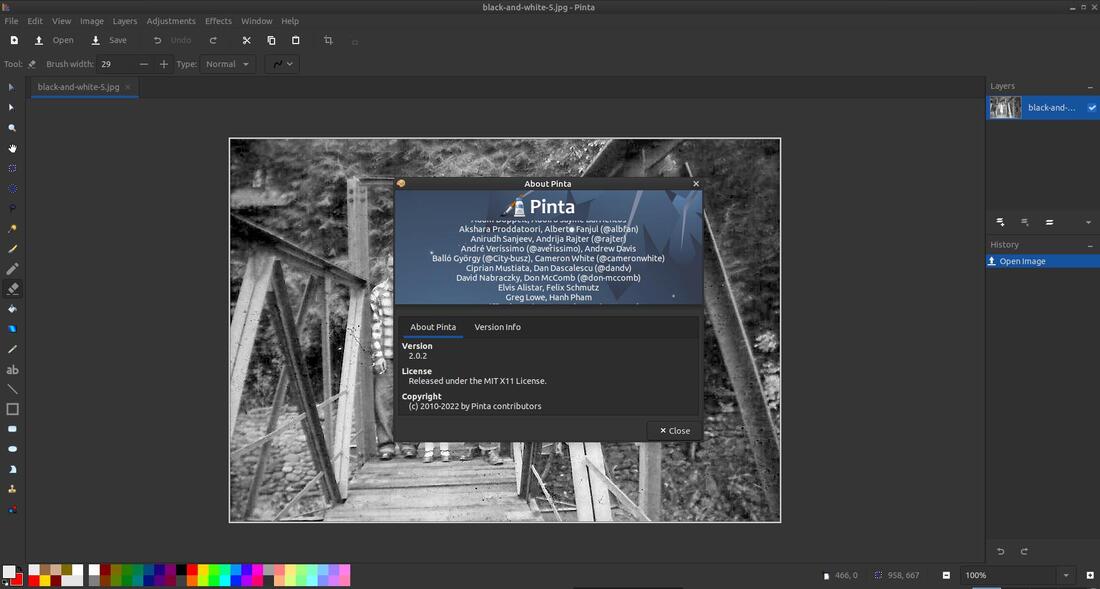
At the time of creating this webpage, I am using Pinta 2.0.2.
If you have old negatives at your house and would like to convert them into digital images, then I highly recommend that you give Pinta a try.
