

How to Restore the Traditional Menu in Ubuntu MATE 18.04
If you have just recently switched from Microsoft Windows to Ubuntu MATE 17.10 or earlier version, then you've noticed the default menus consist of Applications, Places, and System. However, if you decided to download and install the newest long term support version of 18.04 the default menu has changed. Not as drastic as the menu change from Microsoft Windows 7 to Windows 8 or Windows 10, so don't let this menu change frighten you away. If you prefer the Traditional menu over of the new Brisk menu, then follow the steps below to restore the menu that you are familiar with.

The default menu in Ubuntu MATE 18.04
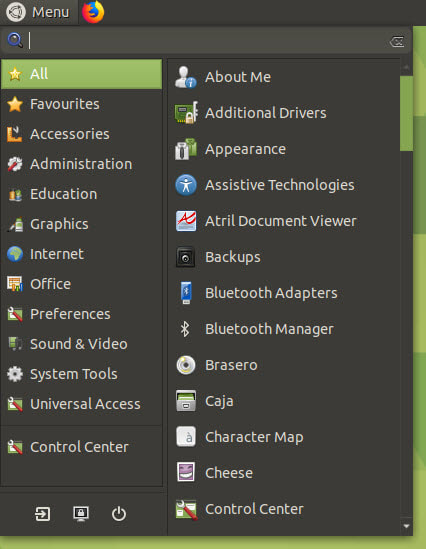
The default Brisk menu in 18.04
Steps to restore the Traditional Menu:
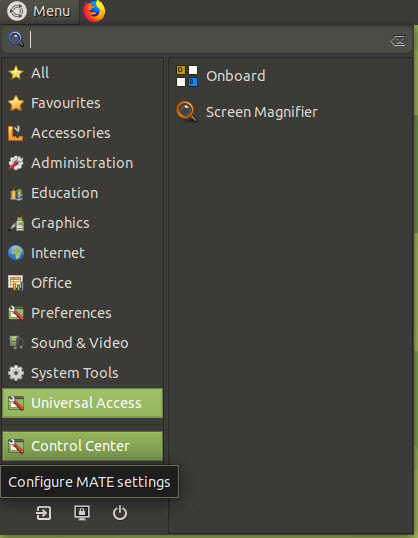
1. Click on the Menu in the upper left and then click on the "Control Center."
1. Click on the Menu in the upper left and then click on the "Control Center."
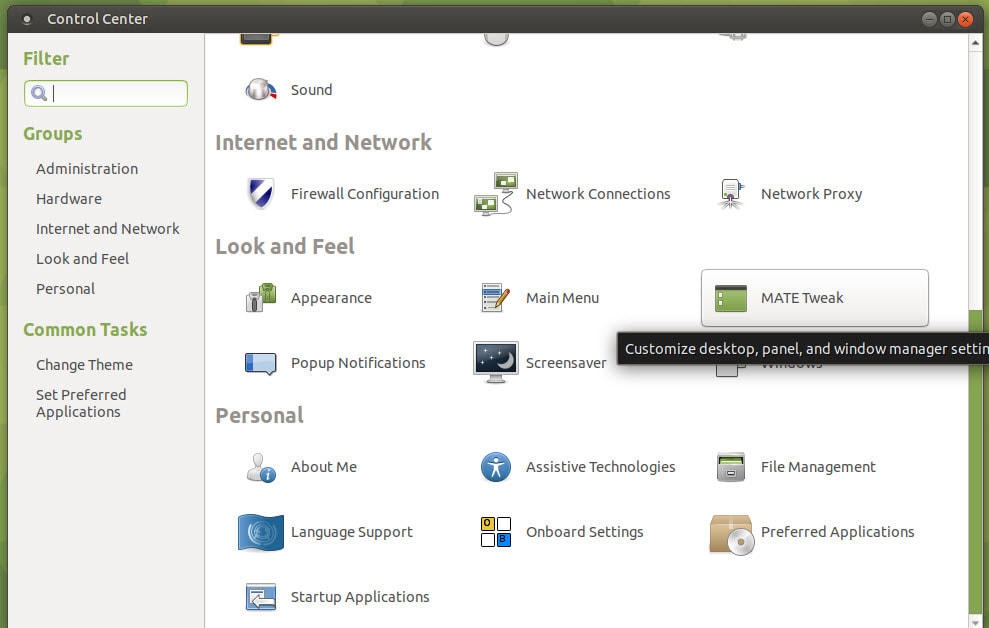
2. When the "Control Center" dialog box appears, use the scroll bar on the right of the dialog box and scroll down until you see a section
called "Look and Feel." Then click on an icon called "MATE Tweak."
called "Look and Feel." Then click on an icon called "MATE Tweak."
3. When the "MATE Tweak" dialog box appears, click on the "Panel" icon on the left side of the dialog box.
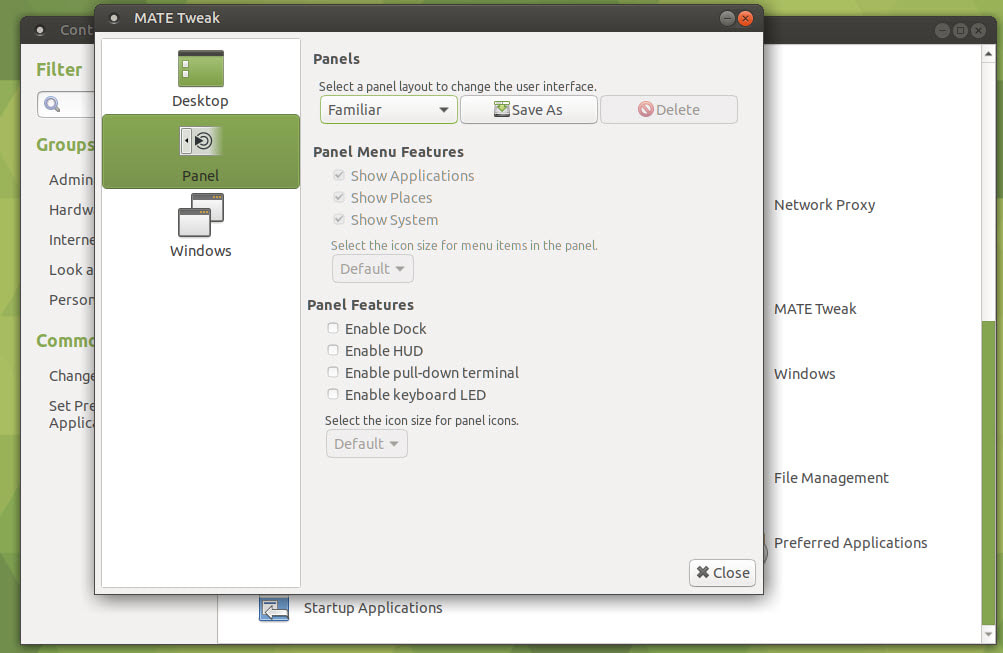
4. Under the "Panels" section you'll see a drop down arrow to the right of Familiar that allows you to change the default menu. The default
menu option is called Familiar and it consists of the Brisk menu. Click on the drop down arrow to change the default menu.
menu option is called Familiar and it consists of the Brisk menu. Click on the drop down arrow to change the default menu.
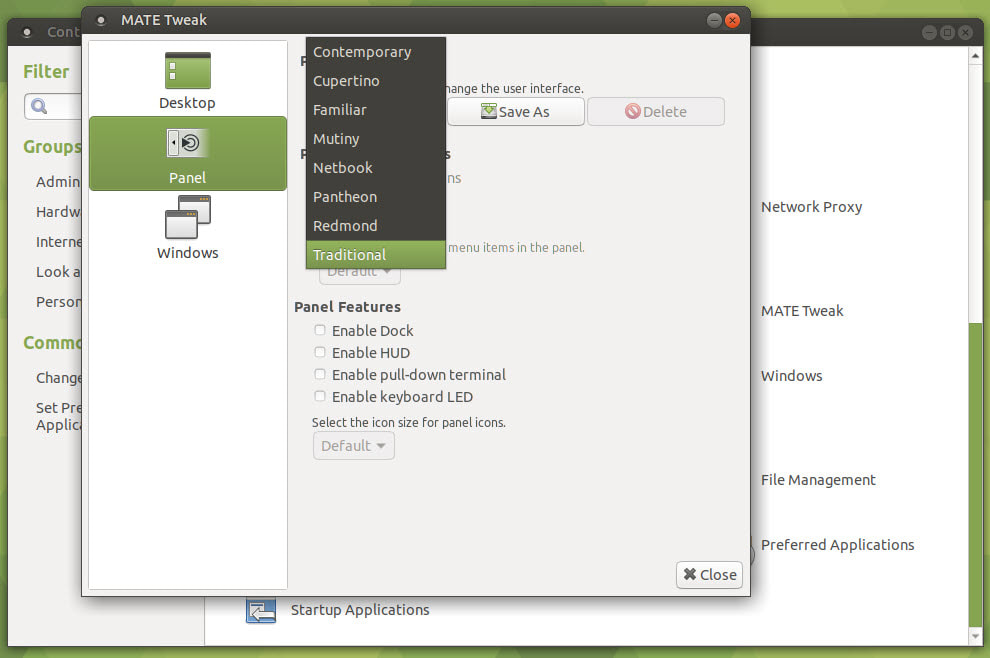
5. Select the Traditional menu when the menu names appear.
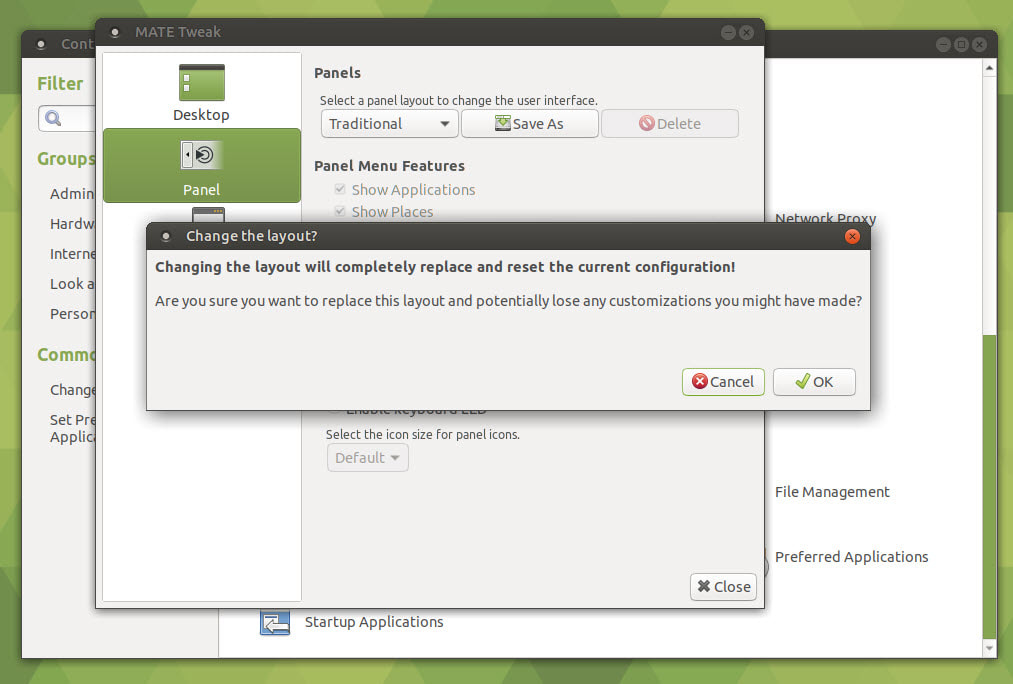
6. Click the "OK" button when the "Change the layout?" dialog box appears.
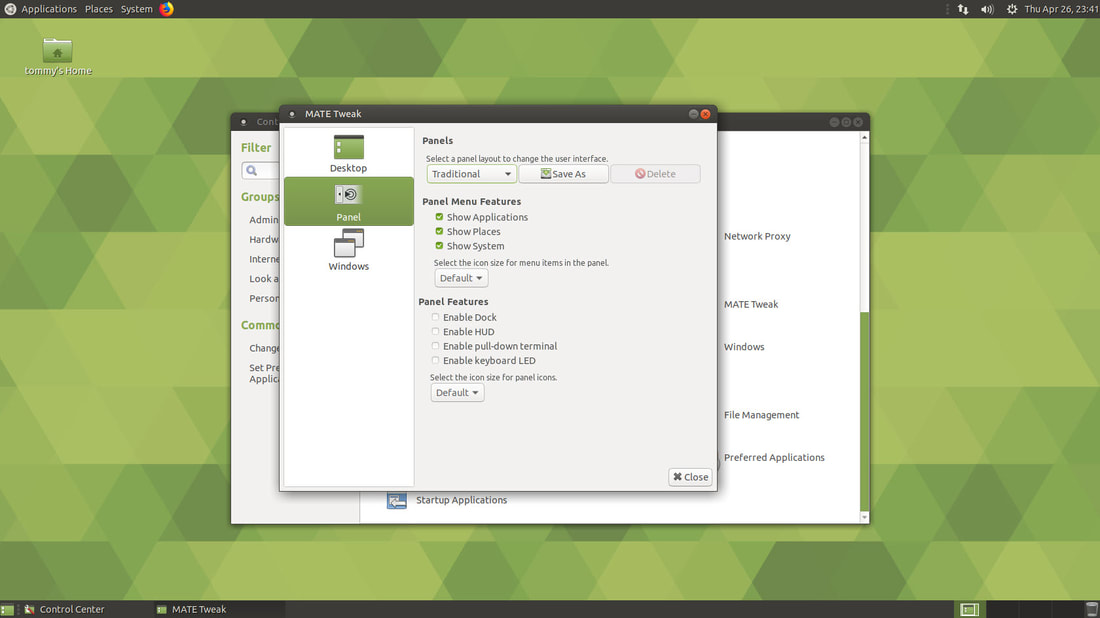
7. Click the "Close" button and then close the "Control Center" dialog box. Your Ubuntu MATE will be back to the classic or traditional
menu that you are comfortable with.
menu that you are comfortable with.
Below is a video I made that explains how to change back to the Traditional Menu.
Apr 27, 2018
