
Multiple Name Badges
gLabels allows you to merge a data source to create multiple name tags or labels.
If you need to print multiple name tags with different names, then gLabels is the software you are looking for. At the beginning of a new school year, teachers like to print name tags for all their students and stick on the front of their school planner or agenda. Teachers also like to print name tags for all their students when they go on a field trip to help chaperones know the names of the students. gLabels allows you to create all these names and save them for future use.
In the steps below I will use Avery 5395 "Name Badge Labels" template to match the name tags from Amazon (Avery Premium Personalized Name Tags, Print or Write, 2-1/3" x 3-3/8", 400 Adhesive Tags 5395).
Create a Multiple Name Badges
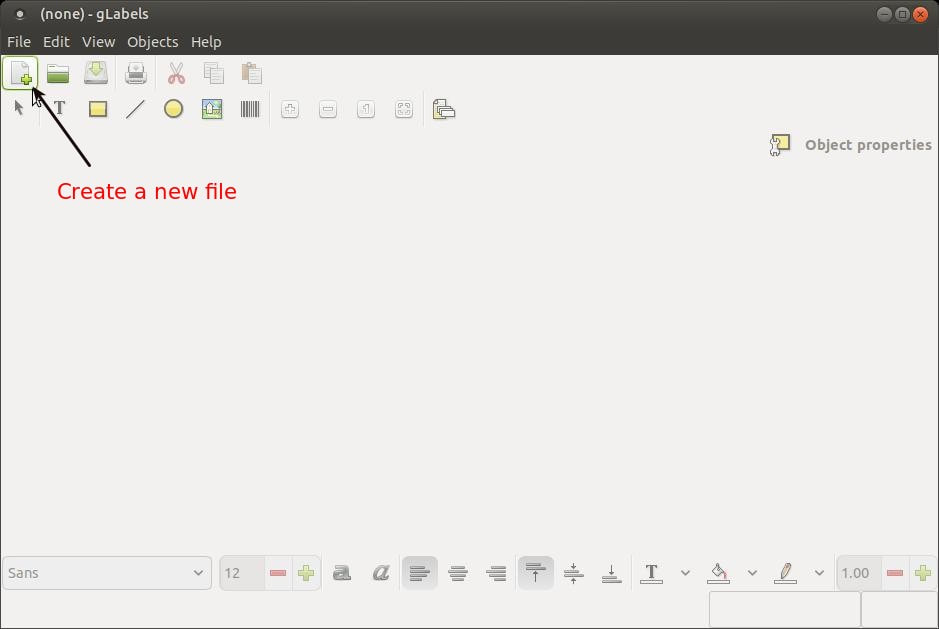
Open the gLabels application and then click on the Create a new file button on the toolbar or click the File menu and click the New option.
If you need to print multiple name tags with different names, then gLabels is the software you are looking for. At the beginning of a new school year, teachers like to print name tags for all their students and stick on the front of their school planner or agenda. Teachers also like to print name tags for all their students when they go on a field trip to help chaperones know the names of the students. gLabels allows you to create all these names and save them for future use.
In the steps below I will use Avery 5395 "Name Badge Labels" template to match the name tags from Amazon (Avery Premium Personalized Name Tags, Print or Write, 2-1/3" x 3-3/8", 400 Adhesive Tags 5395).
Create a Multiple Name Badges
Open the gLabels application and then click on the Create a new file button on the toolbar or click the File menu and click the New option.
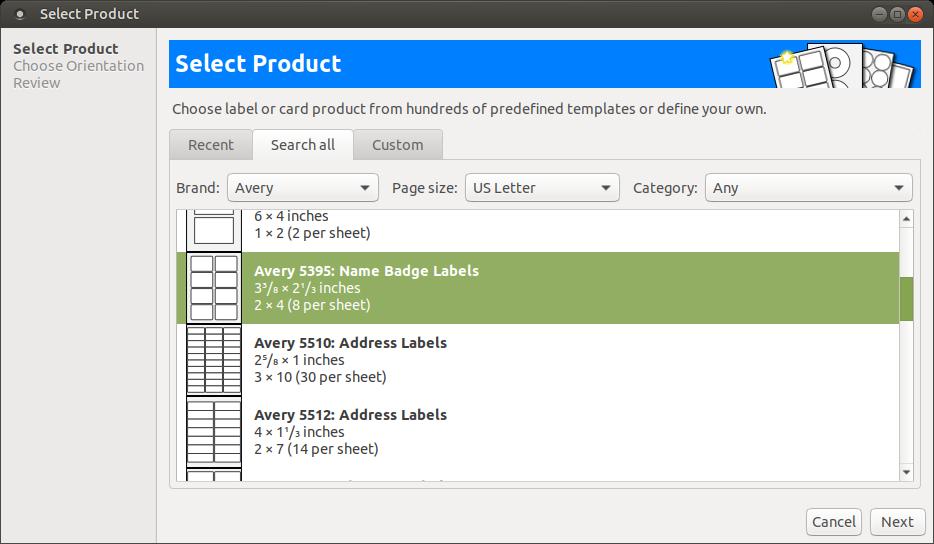
When the Select Product dialog box appears, change the Brand to Avery to shorten the list of label options and then scroll down and find Avery 5395: Name Badge Labels and click it to select it.
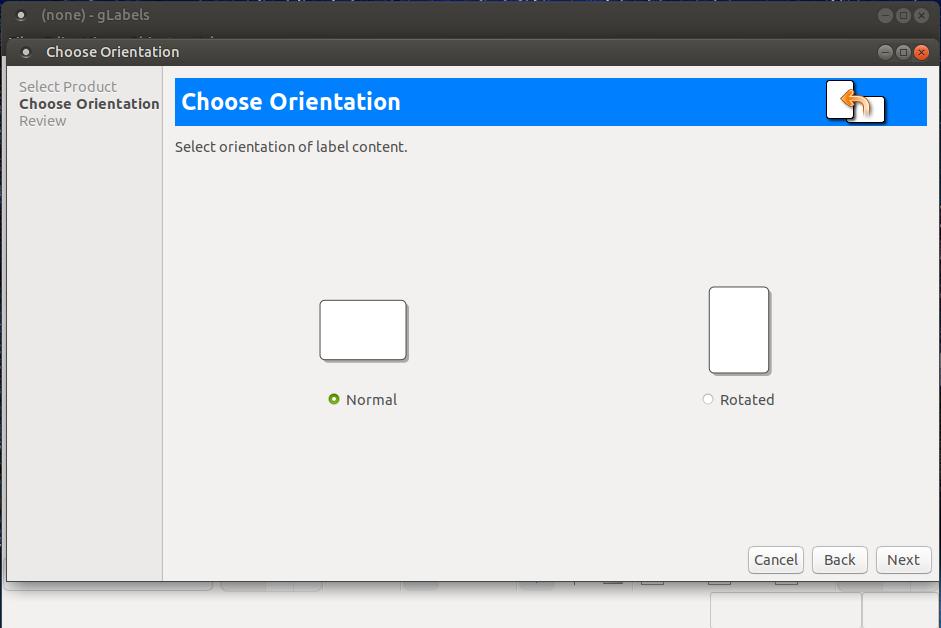
Then click the Next button. A Choose Orientation dialog box will appear to allow you to select the orientation or position of your name tag. Select Normal for horizontal positioned name tag.
Then click the Next button. You have a chance to look over your choices you have made up to this point in the Review Selection dialog box. You can use the Back button if you noticed that you've made a mistake.
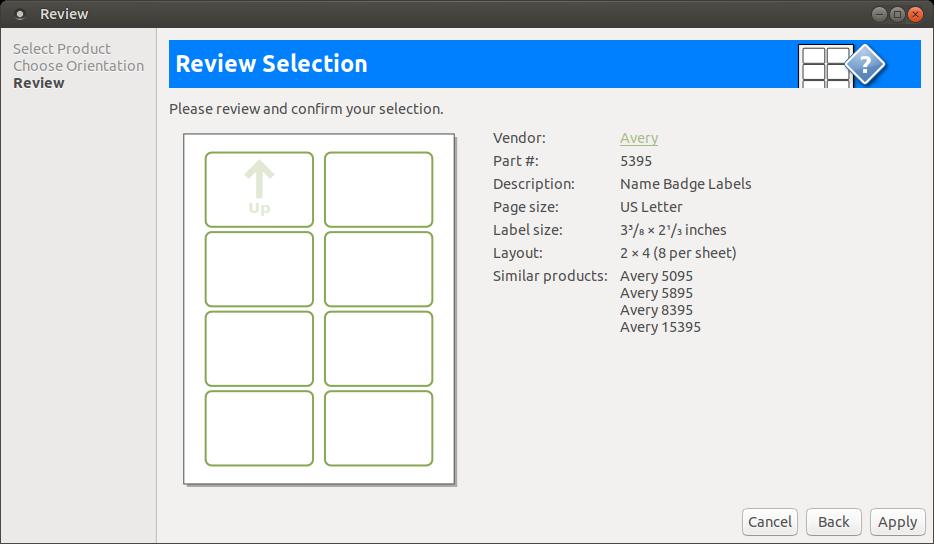
Click the Apply button to start creating your name tags.

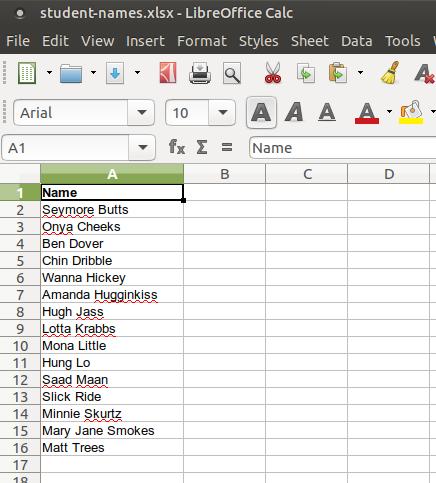
You can merge a data list that contains all the names of students, co-workers, friends, and etc. Before you can print labels with multiple names you must first prepare a source document that contains your merge data. gLabels supports a wide range of data formats, you can use plain text with either tab, colon, or comma between fields, VCard address book files, and direct import of address book entries from Evolution email client. I will use LibreOffice Calc spreadsheet program to create my list of students. (All the students in the list below are fake and the school name I will use on the name tag is also fake. I created these names and school name to use as examples to illustrate how to print name tags using multiple names.) If you use MS Excel at school or work, you can create a list in that program too. I created a title on top of my list. This title will become my placeholder or field name that you will see on the name tag until you print the name tags, print to file, or use print preview on your name tag list. You can create many titles like mailing address, state, zip code, telephone number, and etc. Since I only want to use a list of names, I just created a simple data source that contained a list of names.
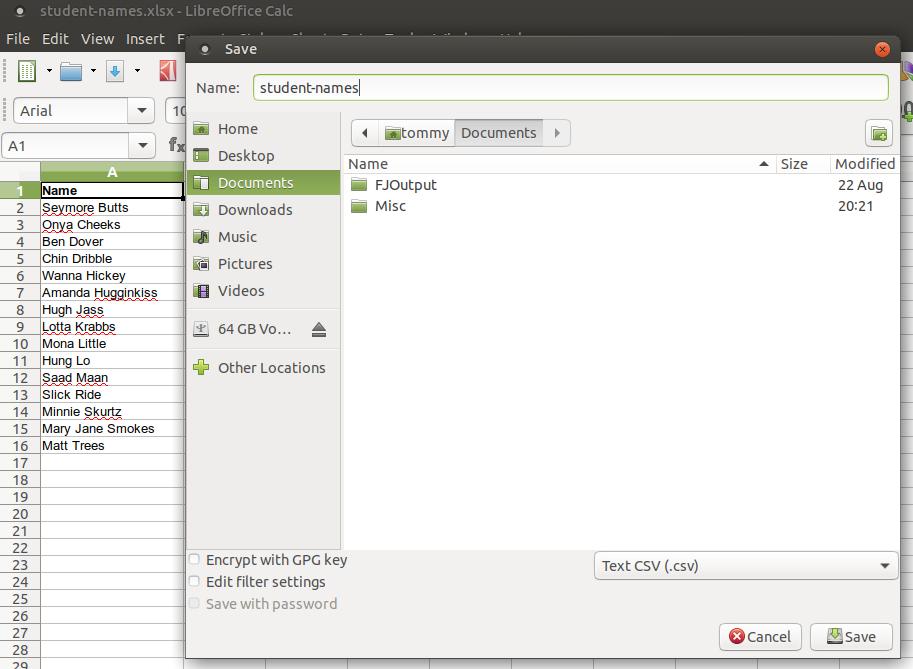
After you create your list and save it as a spreadsheet file, click on the File menu and then click on Save As... When the Save dialog box appears, give the file a name and change the format to Text CSV (.csv), select a loction and then click the Save button.
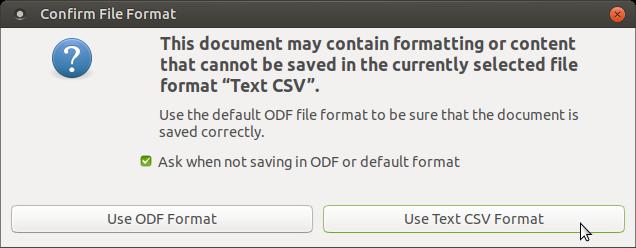
When the Confirm File Format dialog box appears, click on the Use Text CSV Format button.
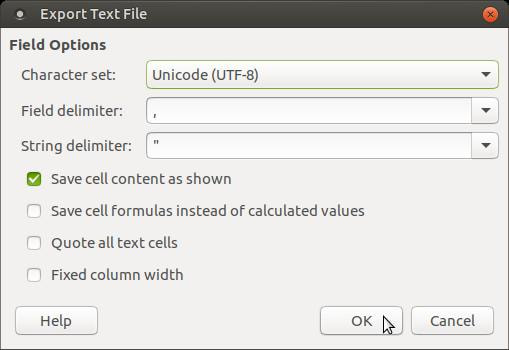
An Export Text File dialog box will appear. Make sure the Character set is set to Unicode (UTF-8), the Field delimiter set to a common (,), and String delimiter set to ". Then click the OK button.
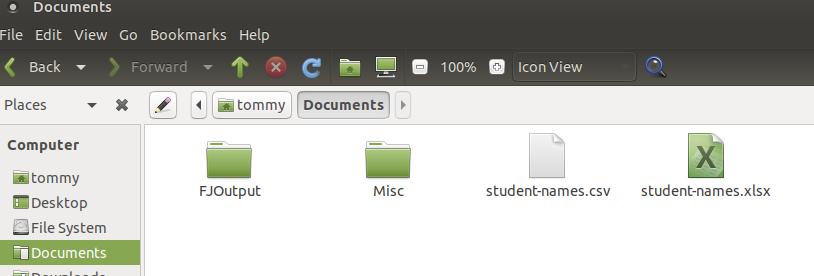
You will notice a new file that contains a file extension of .csv. This is the file that contains the names that will merge into gLabels.
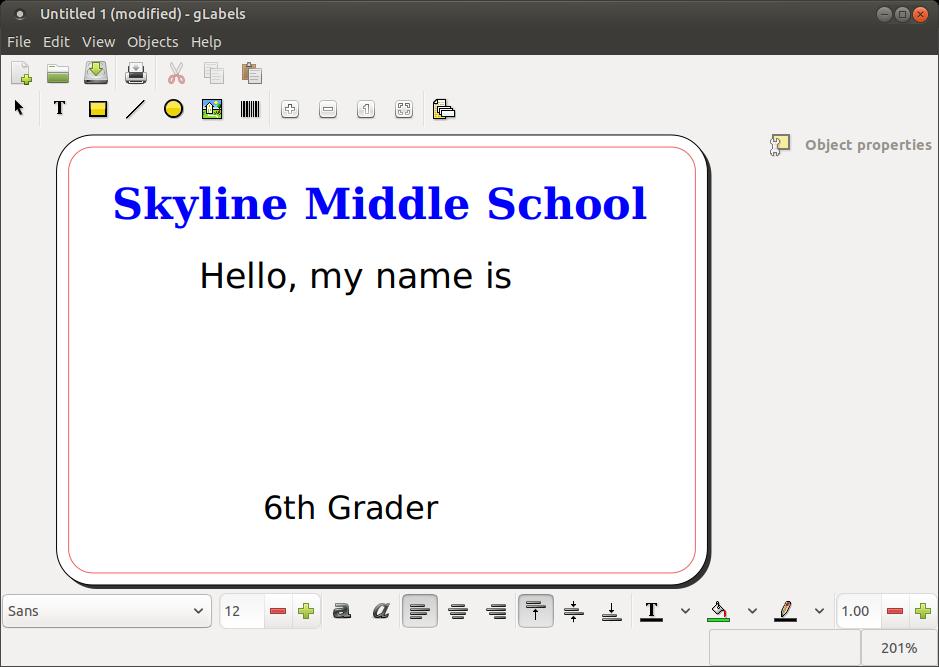
Go back into the gLabels program and type the information that will remain the same on every students name tag. Use the same steps as in the Create a Name Badge in the previous section.
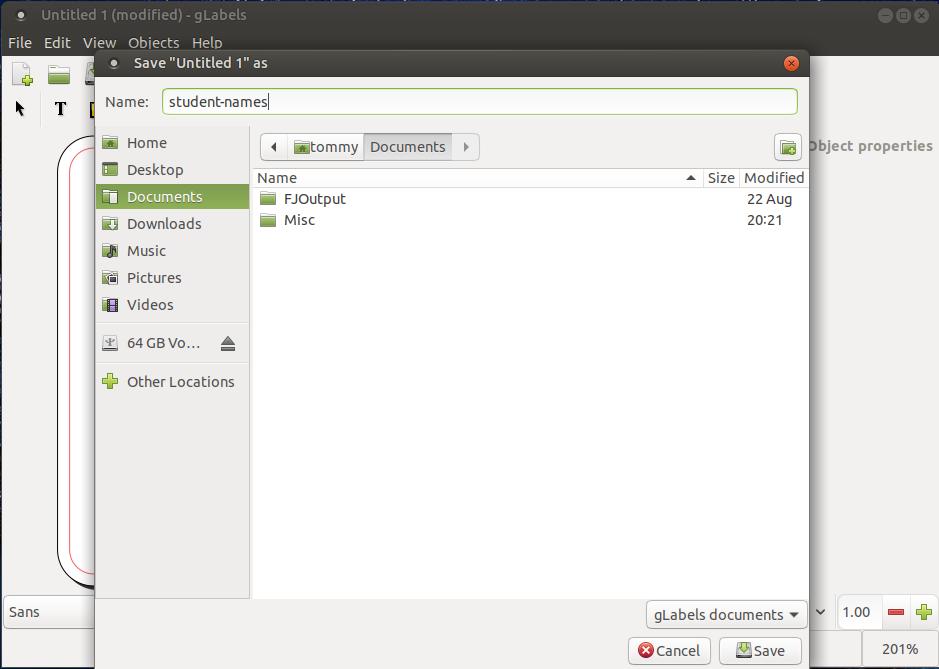
This is a good time to save your file, in case something goes wrong during the merging process.

Give your file a name when the Save "Untitled 1" as dialog box appears and click the Save button.
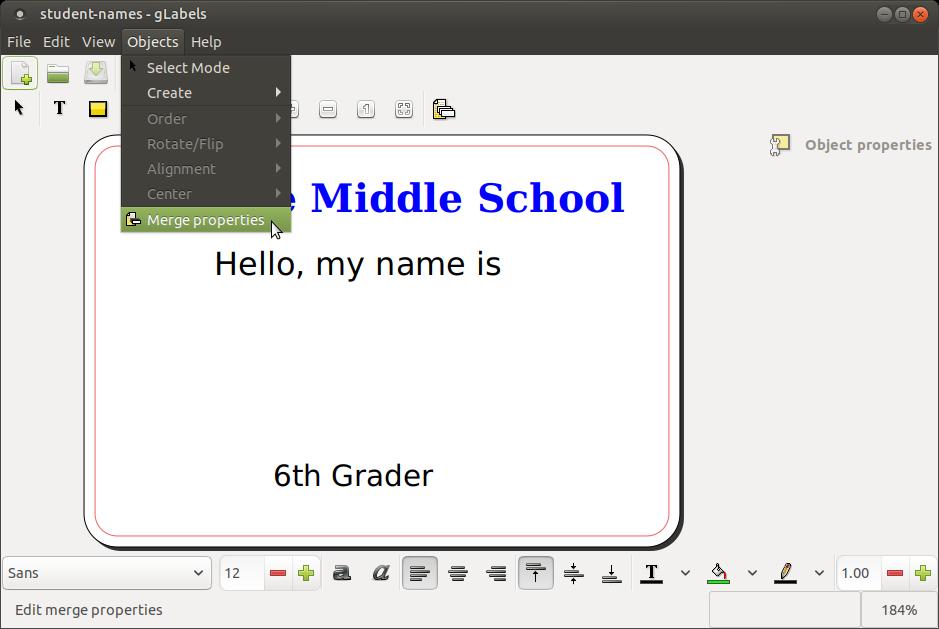
You are now ready to merge the .csv file that contains all the student names. To start this process, click on the Objects menu and then on Merge properties option.
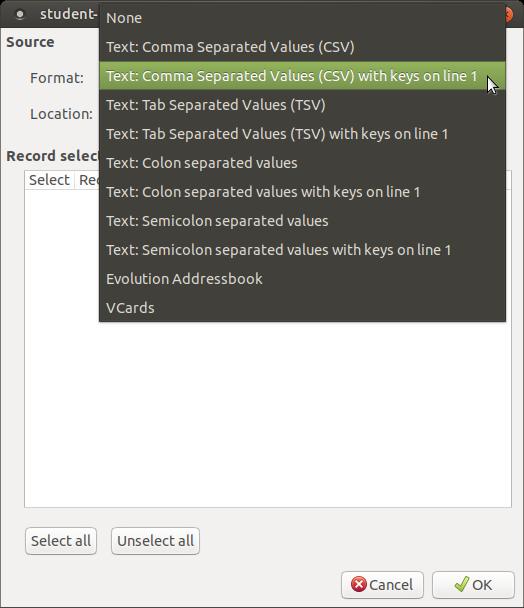
When the Merge Properties dialog box appears, click the down arrow to the right of the Format option. Then select Text: Comma Seperated Values (CSV) with keys on line 1.
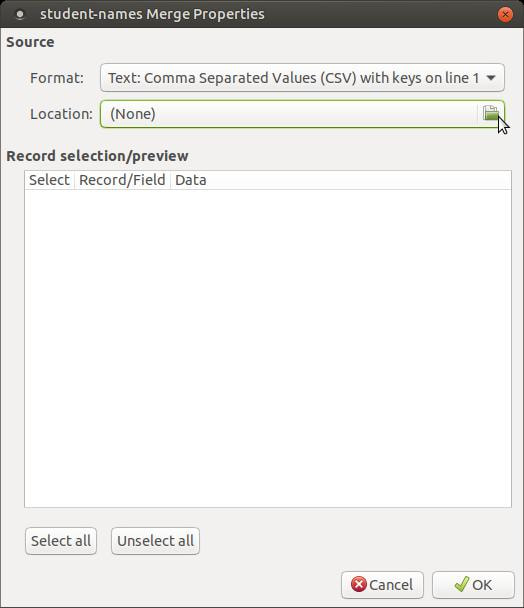
Then click on the folder icon to the right of Location option.
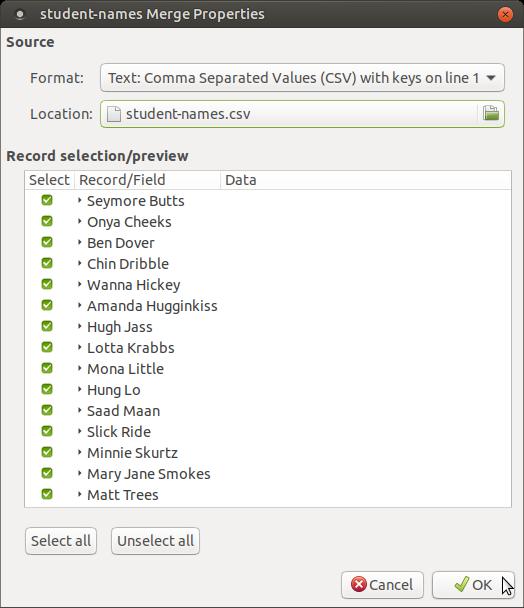
Click on the name of the file that contains the names. It will have a file extension of .csv. Then click the Open button.

You will see a preview of the list of names in the Record/Field section. Now click the OK button.
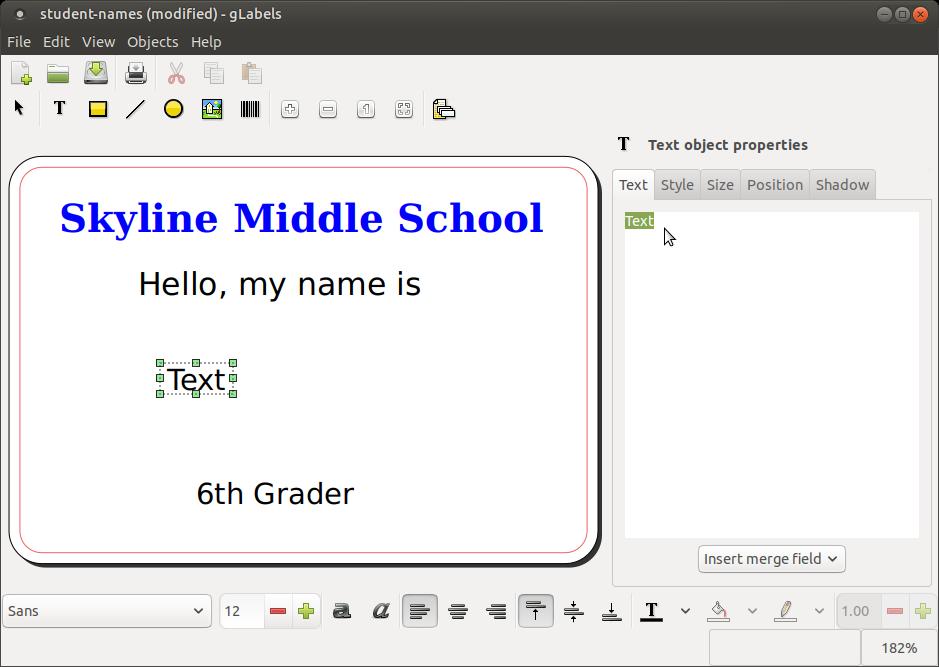
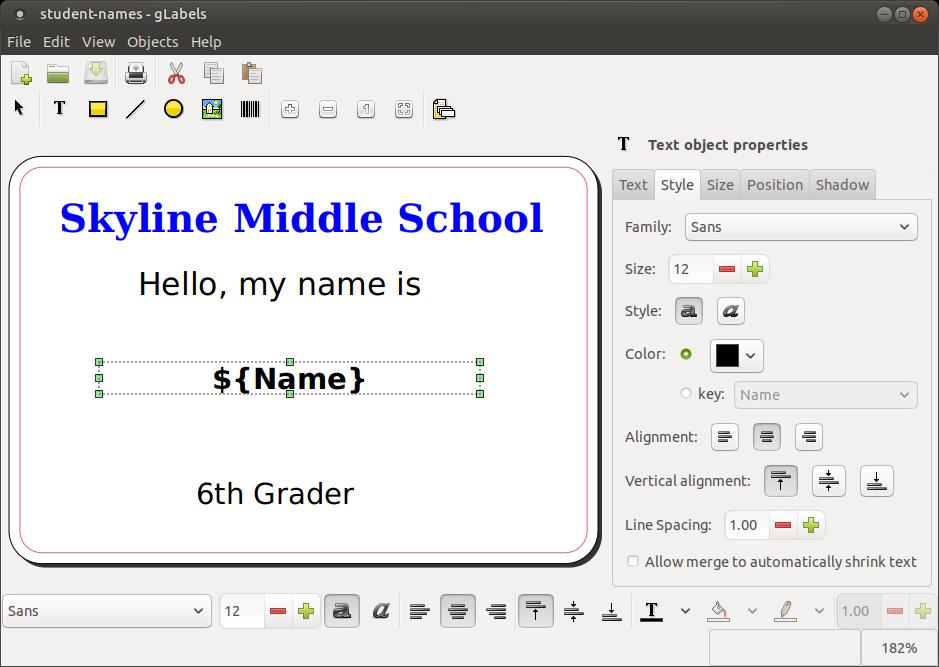
You won't notice anything just yet; however, you will when you add new text to the label. Click the Create text object (T) button on the toolbar and then click the location you want your student name.
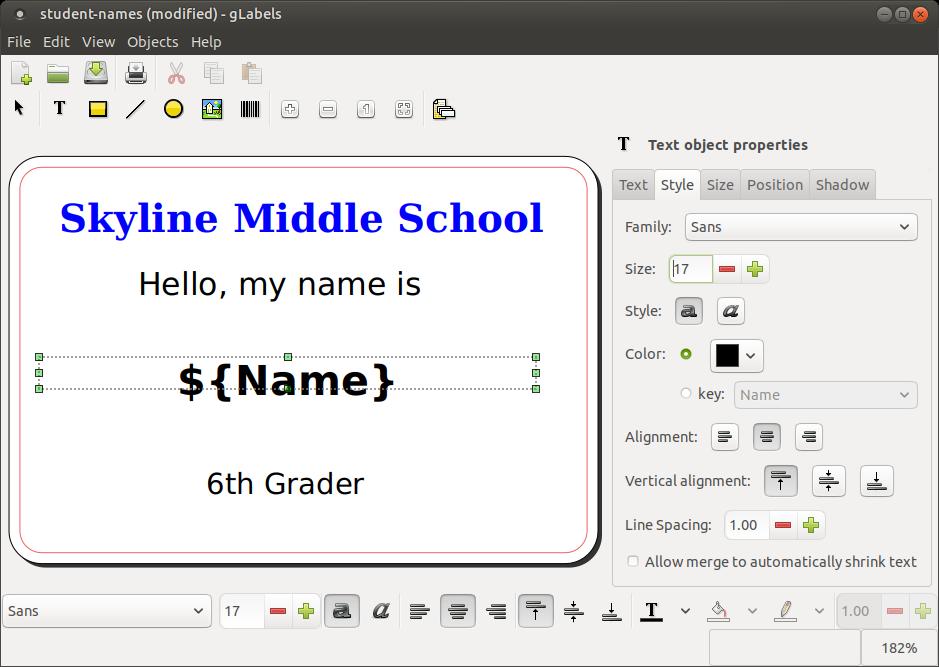
Delete the word Text under the Text tab. Then click the drop down arrow next to Insert Merge Field.
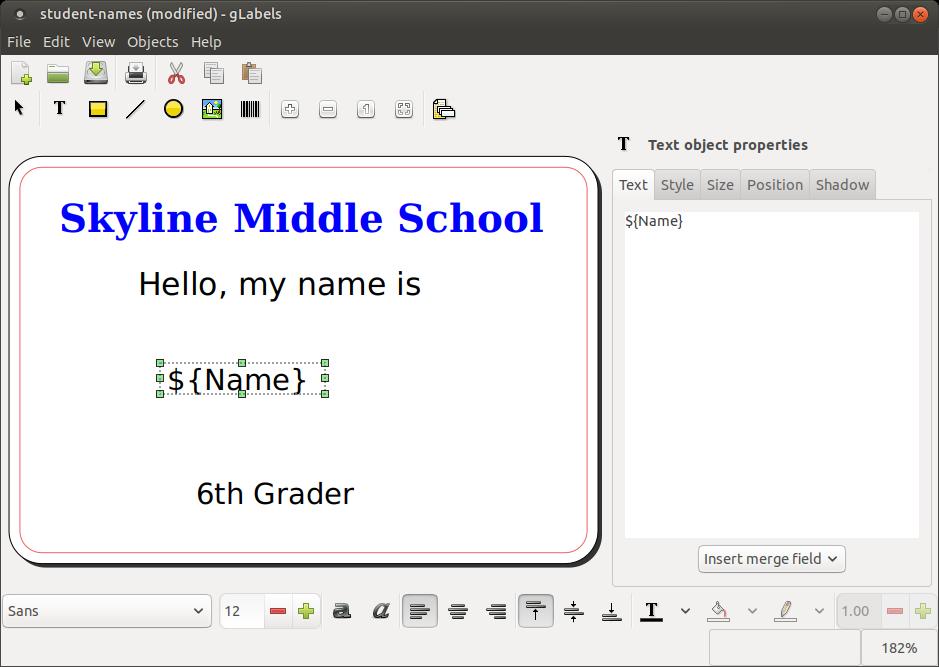
Click on the Name option under Insert Merge Field to insert your placeholder or field name on your name tag. This will be the location of each of the student's names.

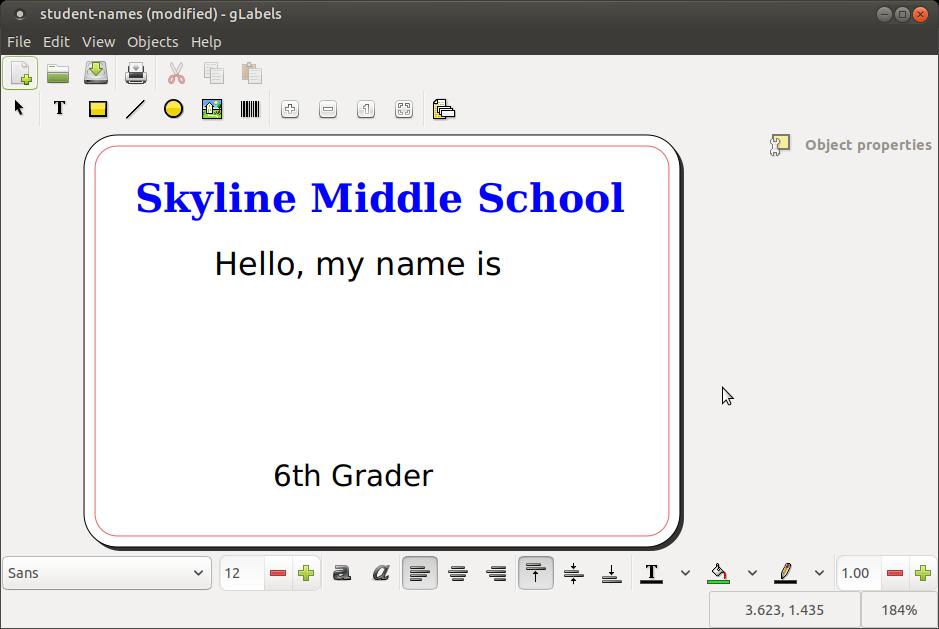
You will see ${Name} appear on your name tag. This is the placeholder or field name that represents the location of each name on your list. You can change the style, size, positiom, and even add a shadow to the field name and it will effect each name on the name tags.
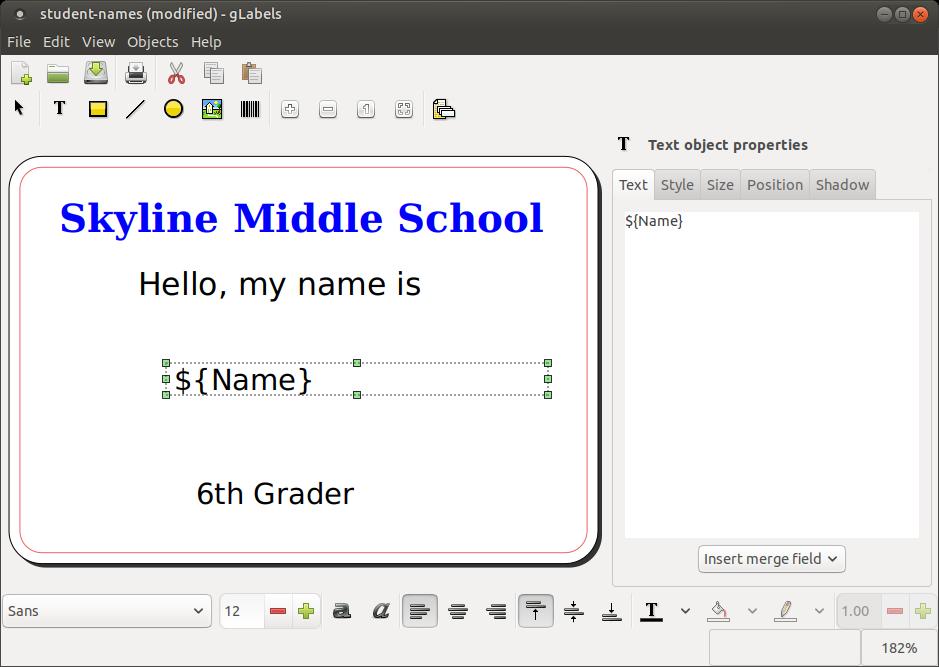
I extended the size of the text box surrounding the field name to accommodate longer names.
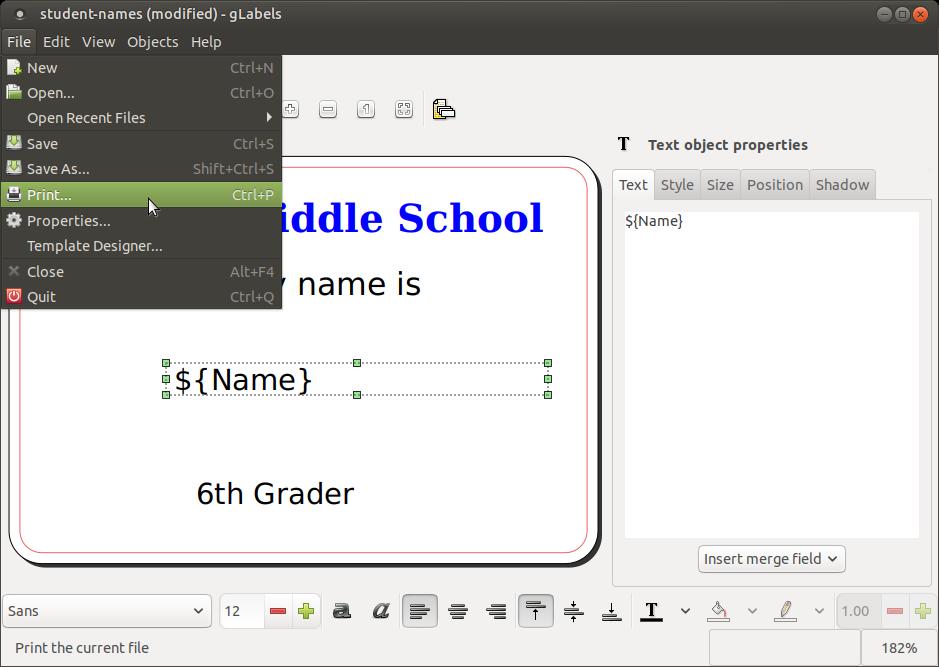
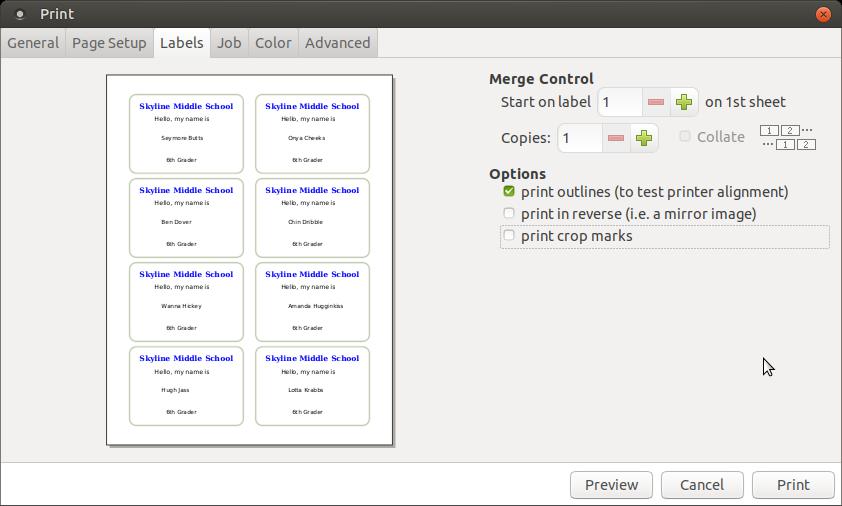
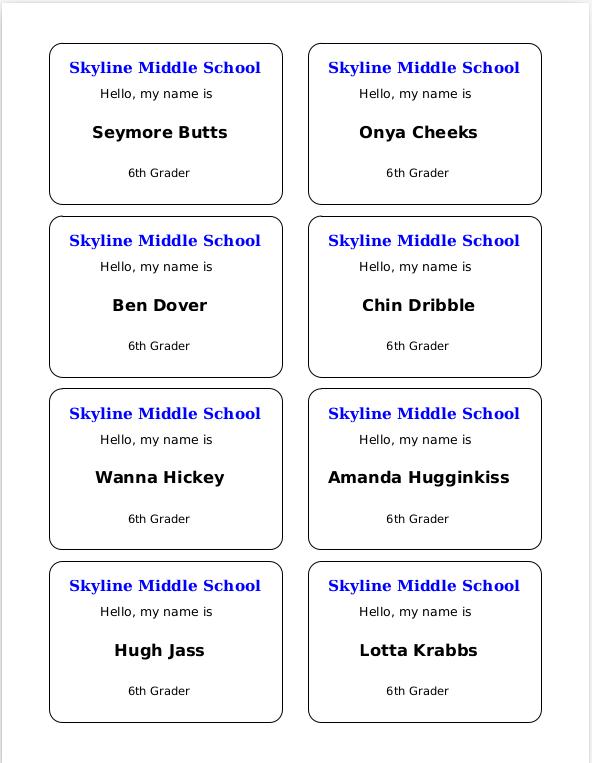
You can preview the name tags before you print them. To preview the name tags, click the File menu, then click on the Print... option.
When the Print dialog box appears, click on the Labels tab at the top.

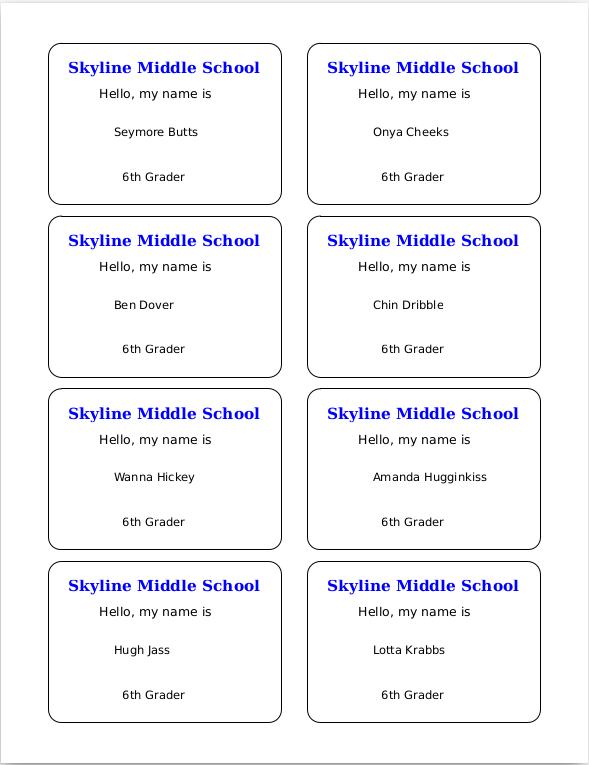
Click on the print outlines (to test printer alignment) under Options to see what your name tags will look like. Then click the Preview button at the bottom to give you a closer look at your name tags.
Look over your name tags and make any necessary changes before you save and print your file.
I decided to bold the field name to bold each of the student names. This will make each name a lot more noticable. Then I changed the Alignment from left alignment to center alignment. This will help center each of the student names in the center of the name tag. Then I clicked the Save button to save my changes.
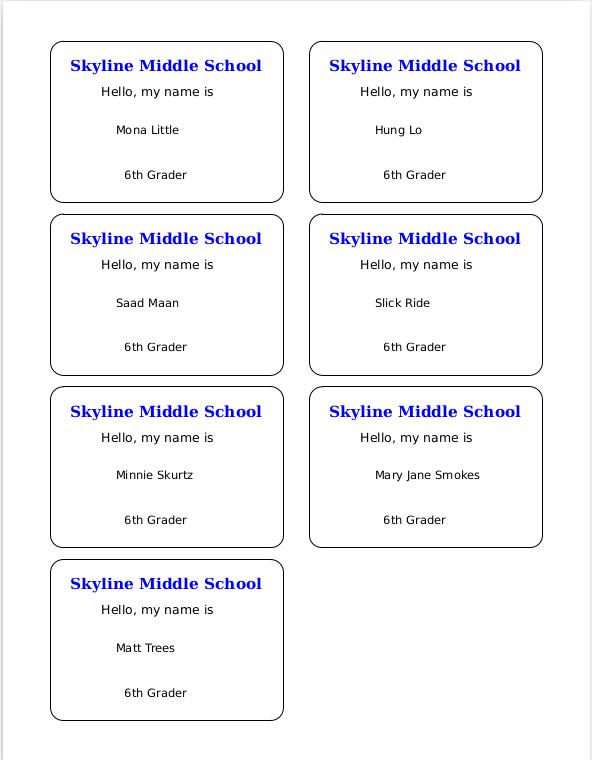
The changes made a huge improvement on the look of the name tags. It would probably look better if the student names were larger, so you might want to increase the field name font size before printing.


I increased the field name font size from 12 to 17 under the Style tab. Then I previewed the name tags again.
I think I finally found the font size for student names that will be easy to read.

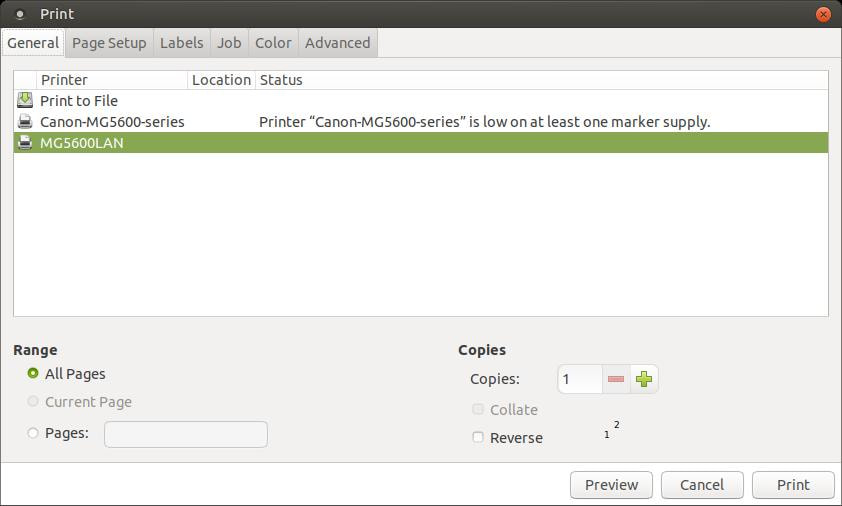
When you are finally satisfied with the look of your name tags, you are ready to print them. Insert the Avery 5395 "Name Badge Labels" stickers in your printer and then click the File menu in gLabels, then click the Print... option, and when the Print dialog box appears, click the Print button.
Dec 11, 2018
