
Popsicle
Popsicle allows you to create multiple bootable USB drives at once.
Popsicle is a multiple USB file flasher utility written in Rust. Popsicle can be able to flash multiple USB devices in parallel.
Features
- Write .iso and .img files
- Works with both USB 2 and USB 3
- Supports USB hubs for parallel writing
- Verify image with SHA1, SHA256, or MD5 checksum
- Dynamic USB drive selection
- Check progress, speed, and success of each device
- CLI version
How to Install Popsicle:
Method 1:
You can can install it via the Software Center. Search for Popsicle and then click the Install button.
You can can install it via the Software Center. Search for Popsicle and then click the Install button.
Method 2:
You can download the binary or Linux installation file from pop-os.org.
Download the file popsicle_1.3.0 for CLI and popsicle-gtk_1.3.0 for GUI .
You can download the binary or Linux installation file from pop-os.org.
Download the file popsicle_1.3.0 for CLI and popsicle-gtk_1.3.0 for GUI .
Command Line
|
Graphical User Interface
|
Uninstall Popsicle
sudo apt remove popsicle popsicle-gtk
sudo apt remove popsicle popsicle-gtk
Method 3:
You can can install it as Flatpak via the FlatHub website.
Command line instructions
Install: flatpak install flathub com.system76.Popsicle
Run: flatpak run com.system76.Popsicle
You can can install it as Flatpak via the FlatHub website.
Command line instructions
Install: flatpak install flathub com.system76.Popsicle
Run: flatpak run com.system76.Popsicle
Method 4:
You can download it via the instructions from GitHub or download the AppImage from the Releases section of their GitHub website. You can also get the AppImage from the AppImages website.
You can download it via the instructions from GitHub or download the AppImage from the Releases section of their GitHub website. You can also get the AppImage from the AppImages website.
How to Use Popsicle:
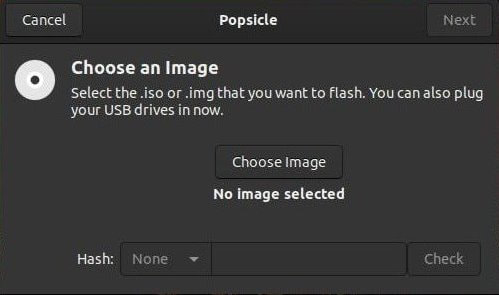
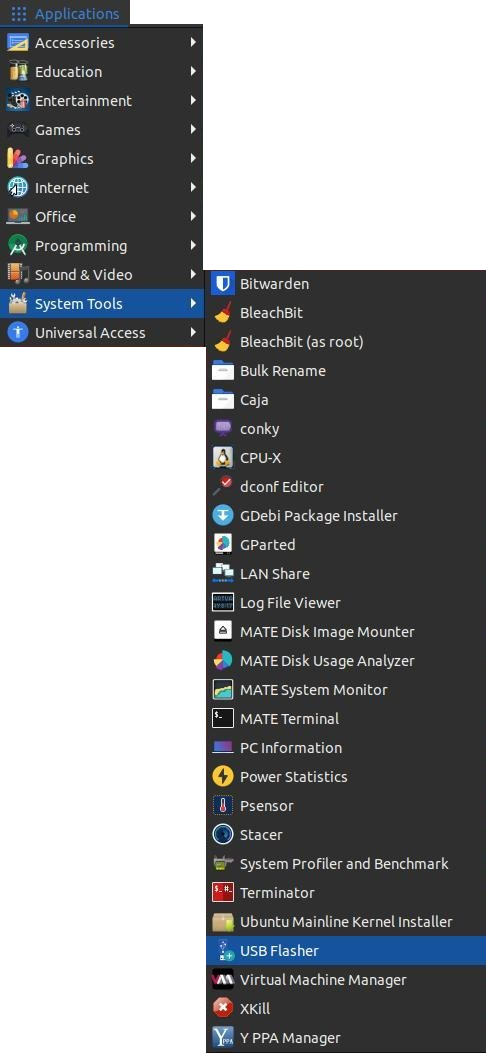
Once you get the program installed, you should be ready to start the application. It should appear as USB Flasher in your menu.
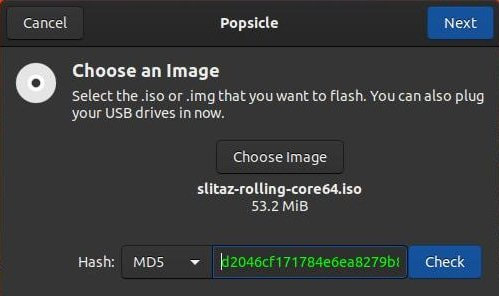
Below is an image of the program when you first start it. I am using a dark theme, so my program appears dark. Click the Choose Image button to select the .iso or .img you want to flash.
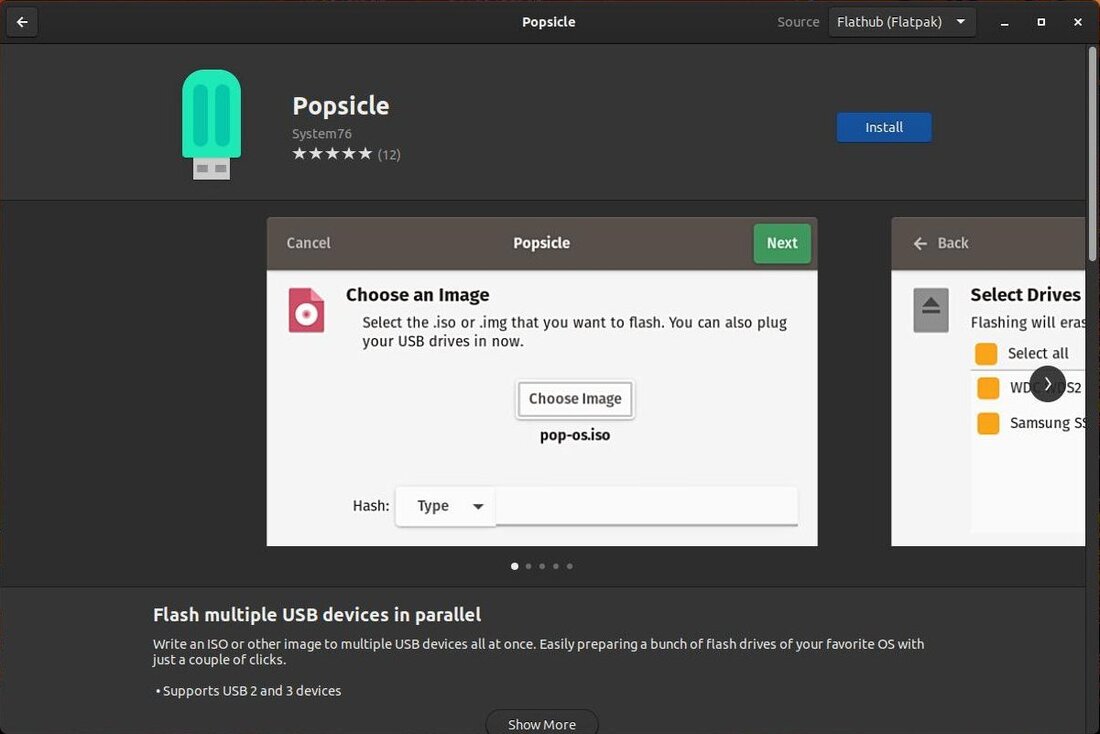
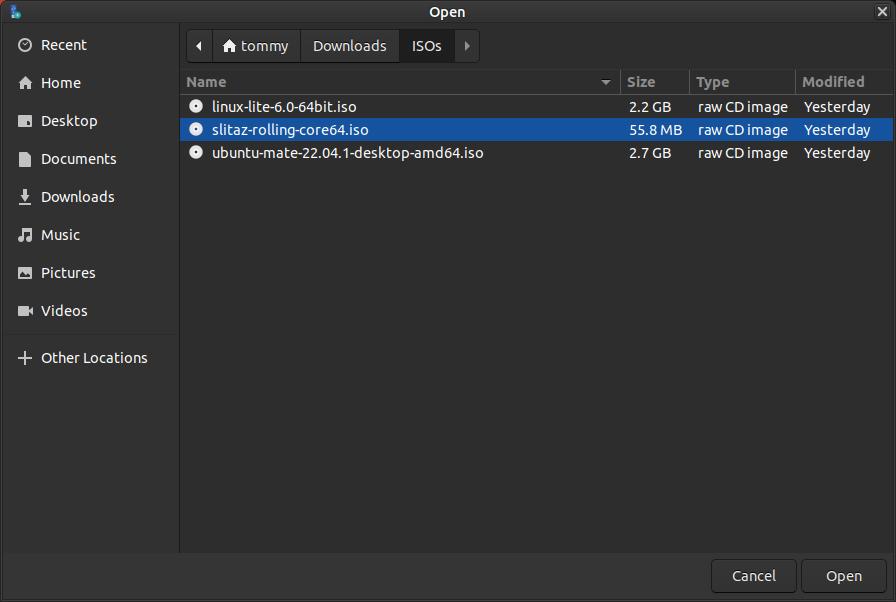
Locate and select your .iso or .img file on your system.
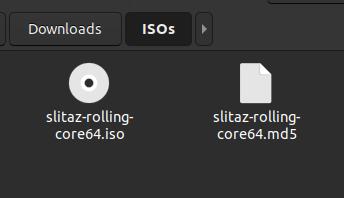
I also downloaded the .md5 file from the official website and placed it in the same folder as the .iso file. I then selected MD5 option next to Hash and then clicked the Check button. If the numbers and letters turn green, you have an unaltered file; however, if the numbers and letters turn red, you have a file that has been tampered with. Click the Next button to continue to the next step.
|
|
MD5 (message-digest algorithm) is a cryptographic protocol used for authenticating messages as well as content verification and digital signatures. MD5 is based on a hash function that verifies that a file you sent matches the file received by the person you sent it to.
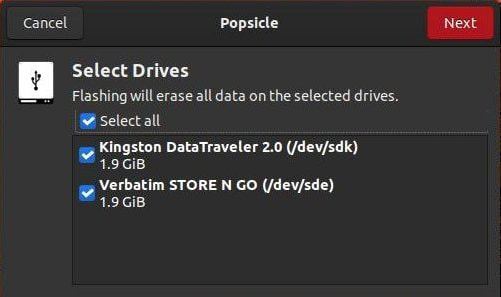
Select the device(s) you want to flash.
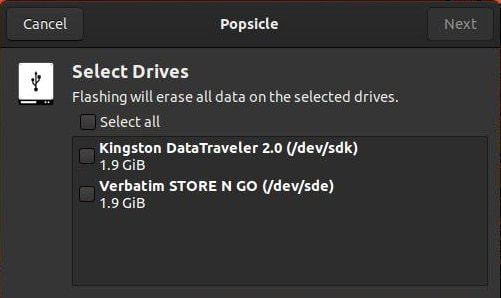
Then click the Next button.
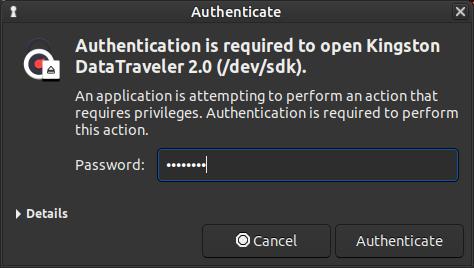
Enter your password and click the Authenticate button.
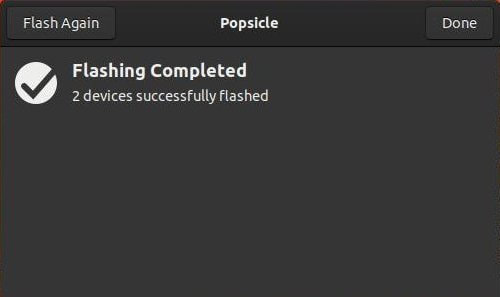
You will now see your device(s) being flashed.
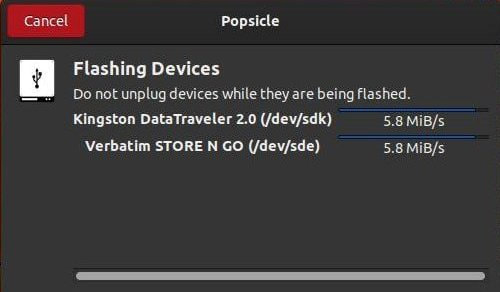
It will prompt you when the process is completed.
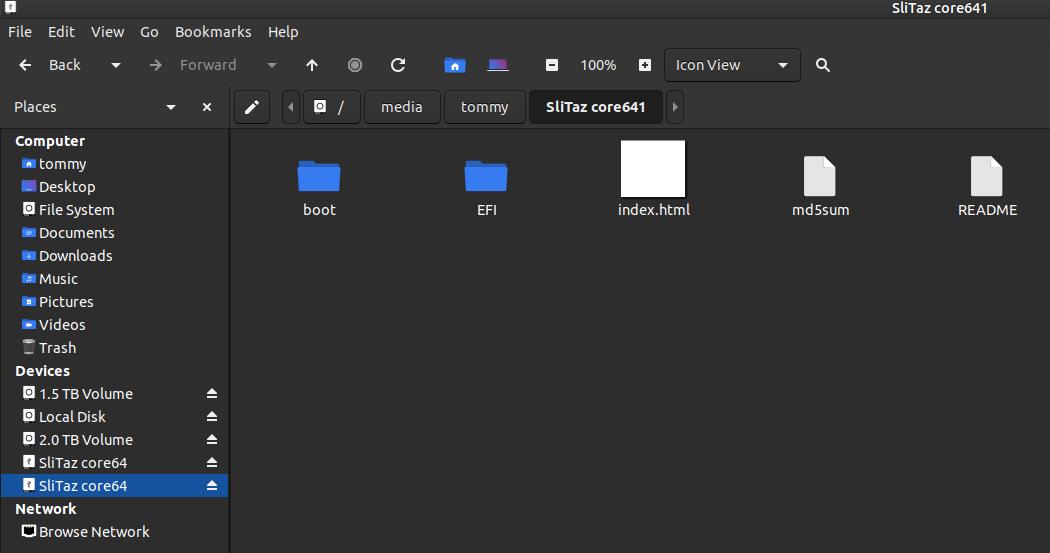
You may need to reboot your system in order for the newly flashed drives to show up in your file manager. As you can see in the image below, I now have two flashed USB drives with SliTaz on them.
Popsicle is a great utility for flashing multiple USB drives at once. It is also great for just flashing a single USB device.
I highly recommend that you give Popsicle a try if you're looking for a nice image flashing program.
I highly recommend that you give Popsicle a try if you're looking for a nice image flashing program.
