
Shutter 0.99
Shutter is screenshot tool for Linux based operating system that is full of features. It allows you to take screenshot of a specific area of your screen, an active window, your entire screen, or even a website. It's comes packed with its own editor so that you can edit the photos immediately after you take a screenshot.
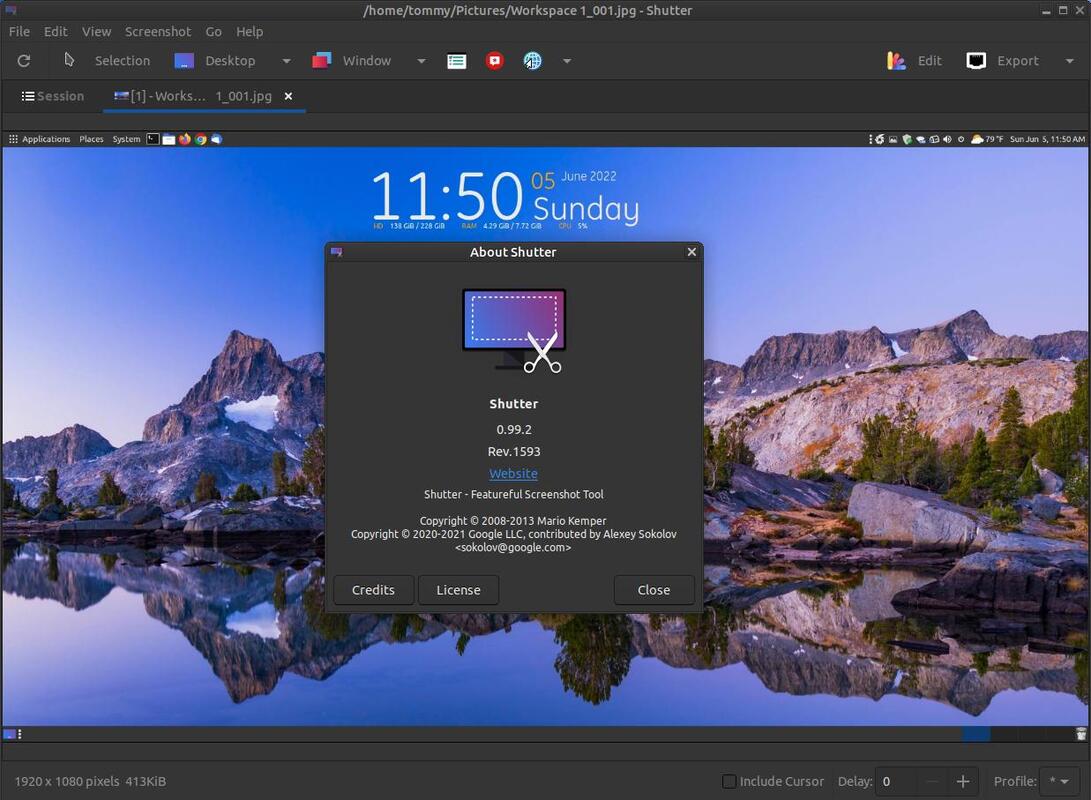
I just recently upgraded one of my old laptops and I discovered that Shutter 0.94.2 was uninstalled during the upgrade because it wasn't compatible with Ubuntu 20.04 or at least some of its dependencies didn't work with the newest version. So I searched online and discovered that Logix of Linux Uprising had already created a fix for Ubuntu 20.04. On May 5, 2020 I installed Shutter using the commands below and it installed Shutter 094.3 on my system. Since that time Shutter has received several updates. On May 22, 2021 Shutter was updated to version 0.96. This version dropped dependency on Gtk2, and starts depending on Gtk3 instead. On June 19, 2021 it updated to version 0.97. This version fixed several regressions of 0.96. On September 3, 2021 it was updated to version 0.99 which fixed several regressions not fixed in 0.98. It is updated often because version 0.99.2 was released on October 24, 2021. You can read more about the releases of Shutter at the Blog section called Posts tagged with release.
How to Install Shutter:
Open your Terminal and enter the following:
sudo add-apt-repository ppa:shutter/ppa
sudo apt-get update
sudo apt install shutter
sudo apt install gnome-web-photo
gnome-web-photo is a dependency that allows Shutter to capture websites.
To remove the program enter the following:
sudo apt-get remove shutter
sudo apt-get remove gnome-web-photo
sudo add-apt-repository --remove ppa:shutter/ppa
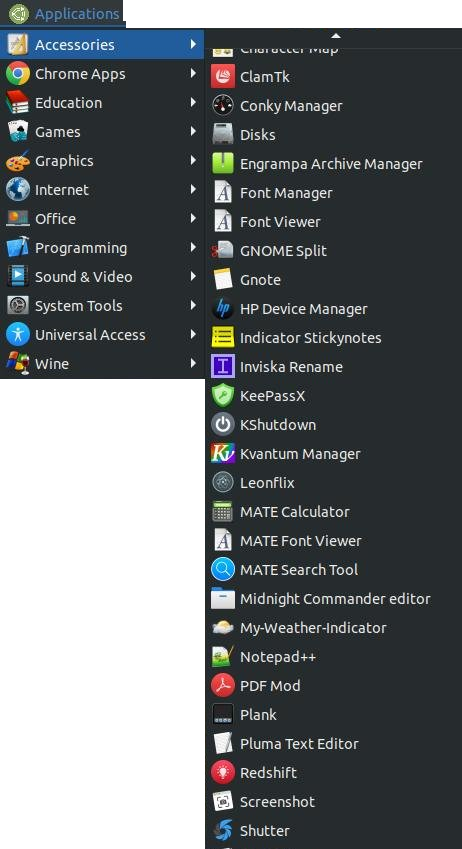
You can access the program in your menu after you get the program installed. I am using Ubuntu MATE with the traditional menu, so I access it by clicking on the Applications menu, highlight Accessories, and then click on Shutter.
When it loads you will notice the Shutter icon in your system tray.

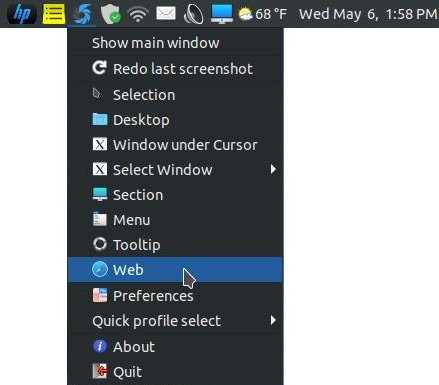
Right-clicking on the icon in the system tray will create a drop-down menu.
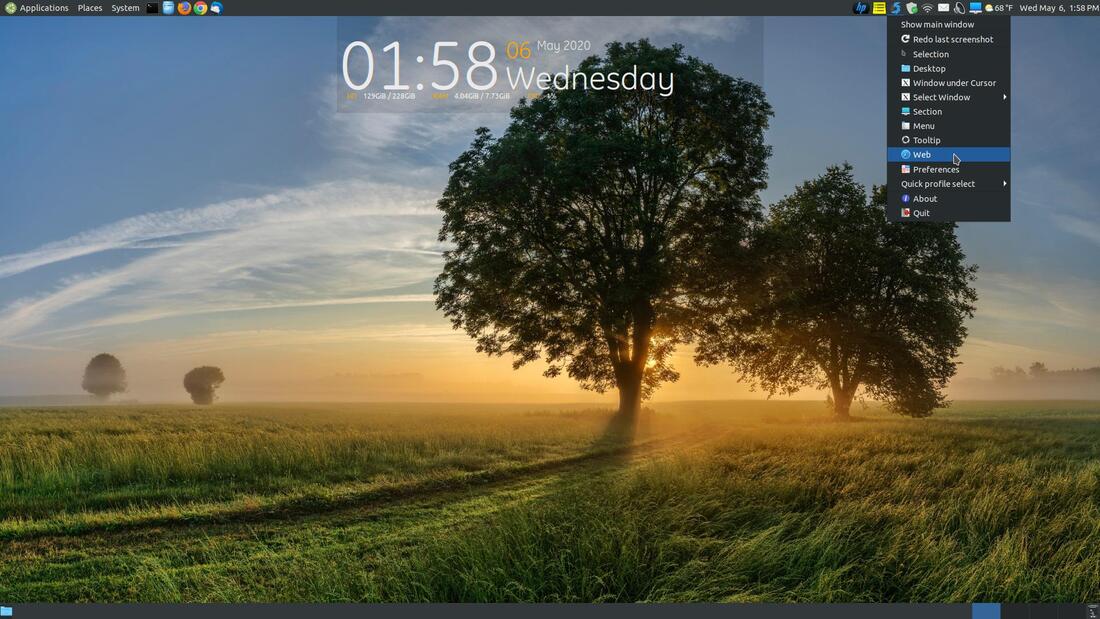
You can access a lot of commands or features within Shutter via the drop-down menu. If I wanted to screen capture an entire webpage I would make sure the webpage is the active tab within my browser and then I would click on the Web command in the drop-down menu.
A small Shutter dialog box will appear and contain the active tab in your browser. If you do not see a dialog box like the one below, minimize your web browser to look behind it. If it is still not visible then click on the Shutter icon in your menu.
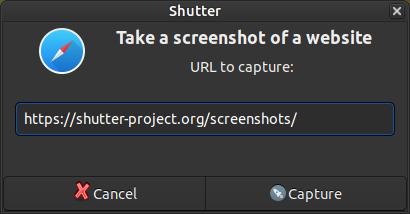
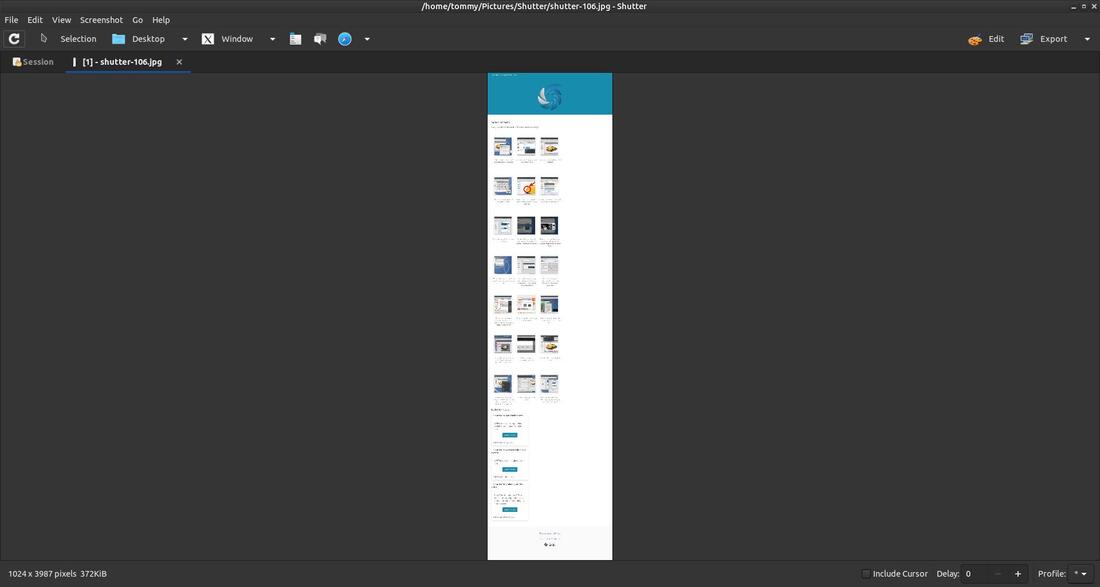
Click the Capture button to start the process of taking a screenshot of your website. When it finishes you'll see an image of the website load into Shutter. You can click the Edit button in the upper right to edit or annotate your image.
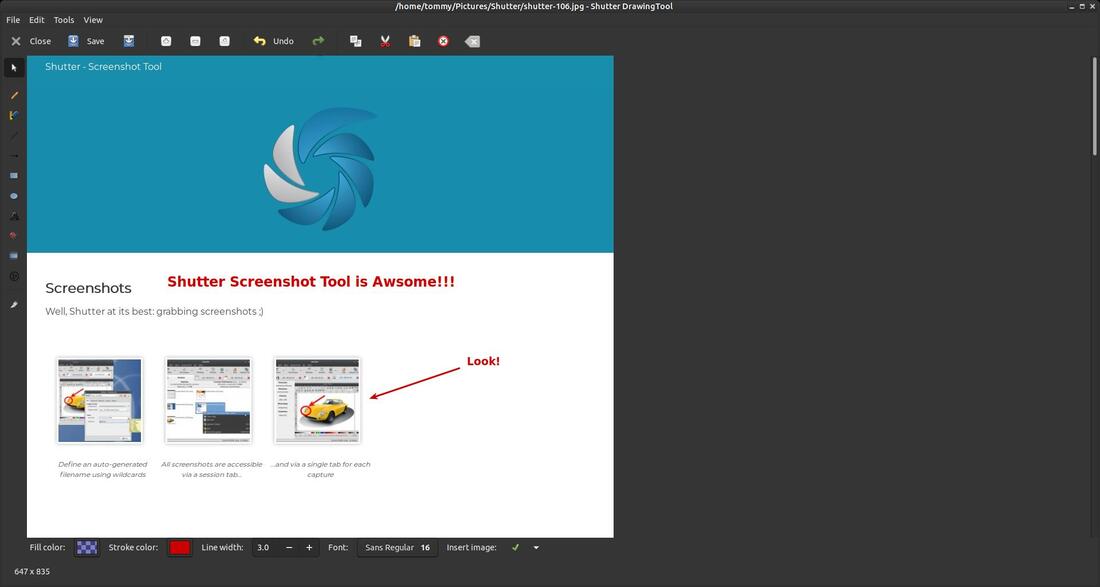
You have a variety of editing tools to modify your image. When you're finished, make sure you save your changes or use the Export to File... command to give your changed image a new name.
If you have any questions about Shutter then click the Shutter Project Issues link or Questions for shutter in Ubuntu.
Shutter is a very powerful screenshot tool.
A complete overview of this screenshot tool can be found at the developers website. You can also keep up with the newest releases at the Third Party Packages website.
Shutter is a very powerful screenshot tool.
A complete overview of this screenshot tool can be found at the developers website. You can also keep up with the newest releases at the Third Party Packages website.

Aug 5, 2021
