
Another Customized Theme for Ubuntu MATE
I just recently created a section on my website that showed how I customized the theme on my desktop computer. On this webpage I will illustrate how I customized one of my laptop computers using Ubuntu MATE.

Here are the names of the individual components that will make-up my theme. I did not create any of these themes, but I did modify most of them to work better with my system.
- Controls Theme: Adwaita-dark
- Window Border Theme: ClearlooksRe
- Icons Theme: Windows
- Pointer Theme: DMZ (Black)
How-To Manually Install New Controls Theme
I orginally downloaded and manually installed the Adwaita-Dark theme from gnome-look.org but then I made some minor adjustments. I ended up compressing this theme and uploaded it to my DropBox and MediaFire accounts. You can download this theme by either of these two sites.
I orginally downloaded and manually installed the Adwaita-Dark theme from gnome-look.org but then I made some minor adjustments. I ended up compressing this theme and uploaded it to my DropBox and MediaFire accounts. You can download this theme by either of these two sites.
DropBox: Click the drop-down arrow
|
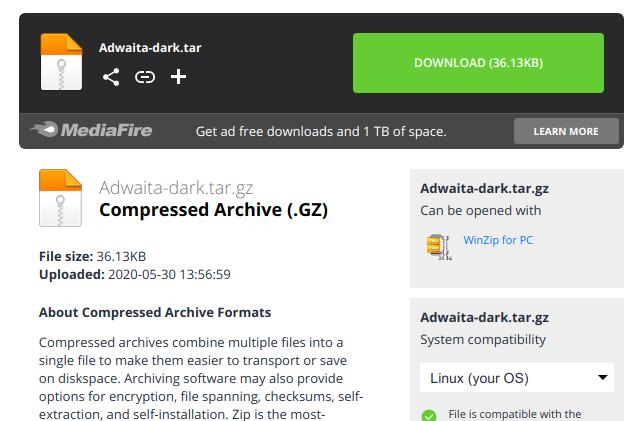
MediaFire: Click the Green Download Button
|
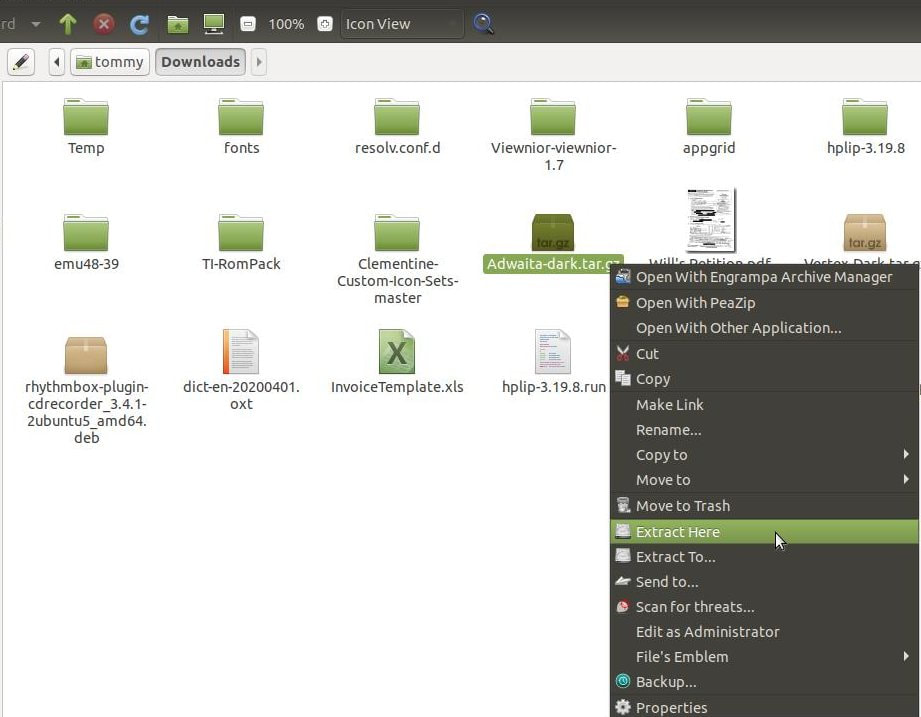
After the compressed file is downloaded go into your Downloads folder or the location you downloaded the file to and right-click it to display a menu. Click on Extract Here command when the menu appears. This will extract the folder inside the current folder.
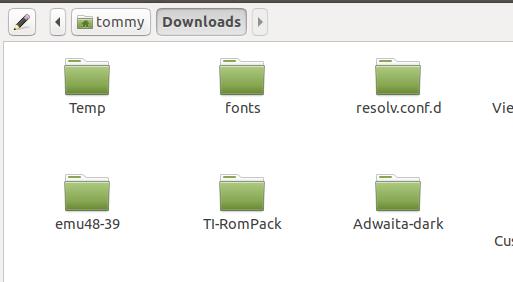
You should now see a Adwaita-dark folder in your Downloads folder or current folder that you downloaded the compressed file.
After you uncompress the Adwaita-Dark Controls theme you will them move or copy the folder into the ~/.themes or /usr/share/themes folder. In my example I placed mine in the /usr/share/themes folder since I am the only user on my computer.
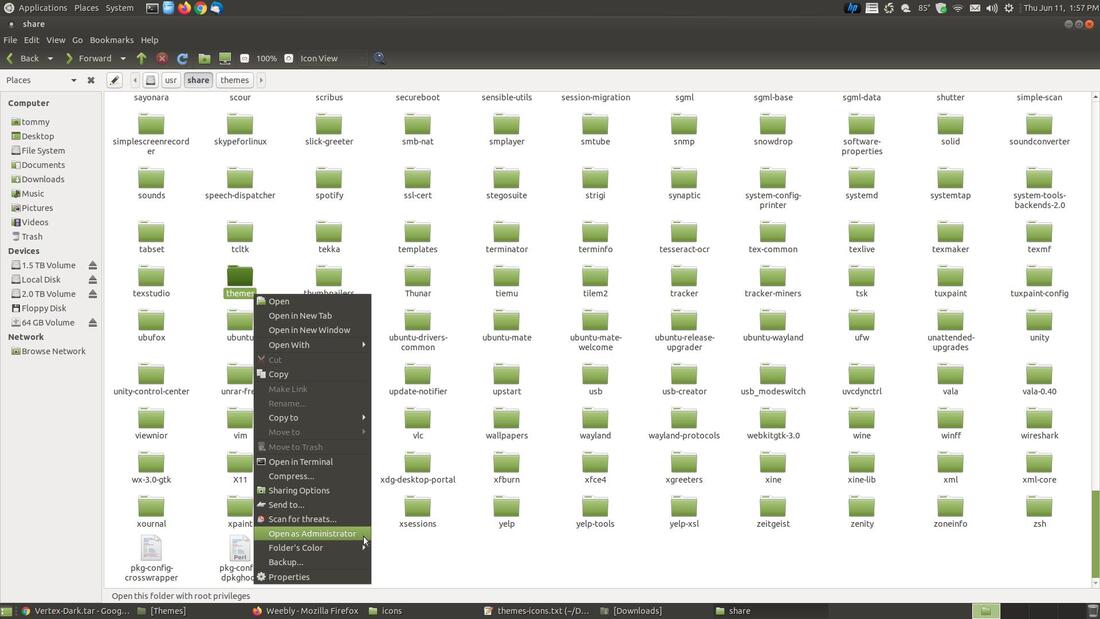
Open the Caja File Manager and navigate to the /usr/share/ folder and then locate the themes folder. Click on it to select it and then right-click it and select Open as Administrator.
Open the Caja File Manager and navigate to the /usr/share/ folder and then locate the themes folder. Click on it to select it and then right-click it and select Open as Administrator.
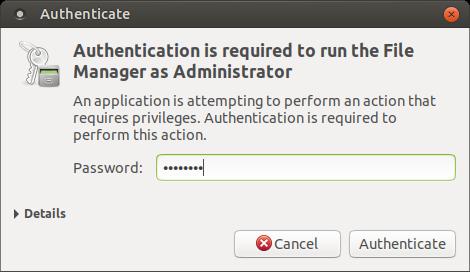
You will be prompted to enter your password so that you will have Administrator privileges to alter or change the contents in your themes folder.
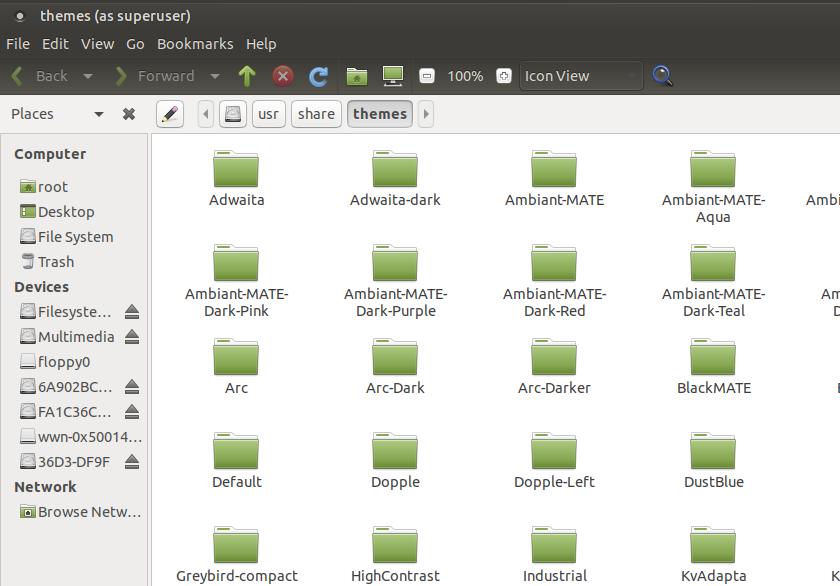
You will notice a new file manager window open your themes folder as a superuser. If you look in the upper left corner you will see themes (as superuser). You now have the ability to add to or delete or modify files or folders in your themes folder.
Now divide your screen into two file managers. On the left I have the /usr/share/themes folder and on the right I have my Downloads folder open where my uncompressed Adwaita-dark folder is located. Now drag the Adwaita-dark folder on the right and place it into the themes folder on the left.
You should now be able to use your new Adwaita-dark Control theme.
How-To Manually Install a New Window Border Theme
I orginally downloaded and manually installed the ClearlooksRe Window Border theme from gnome-look.org but then I made some minor adjustments. I ended up compressing this theme and uploaded it to my DropBox and MediaFire accounts. You can download this theme by either of these two sites.
I orginally downloaded and manually installed the ClearlooksRe Window Border theme from gnome-look.org but then I made some minor adjustments. I ended up compressing this theme and uploaded it to my DropBox and MediaFire accounts. You can download this theme by either of these two sites.
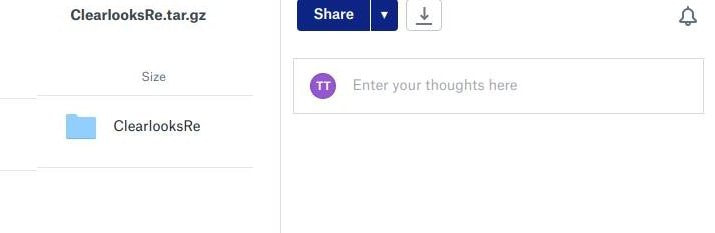
DropBox: Click the drop-down arrow
|
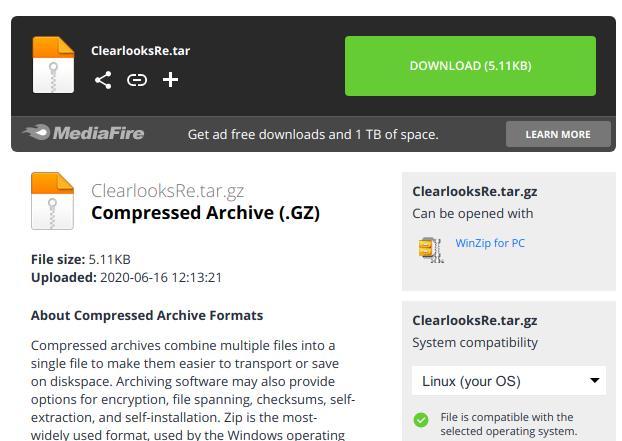
MediaFire: Click the Green Download Button
|
After the compressed file is downloaded go into your Downloads folder or the location you downloaded the file to and right-click it to display a menu. Click on Extract Here command when the menu appears. This will extract the folder inside the current folder.
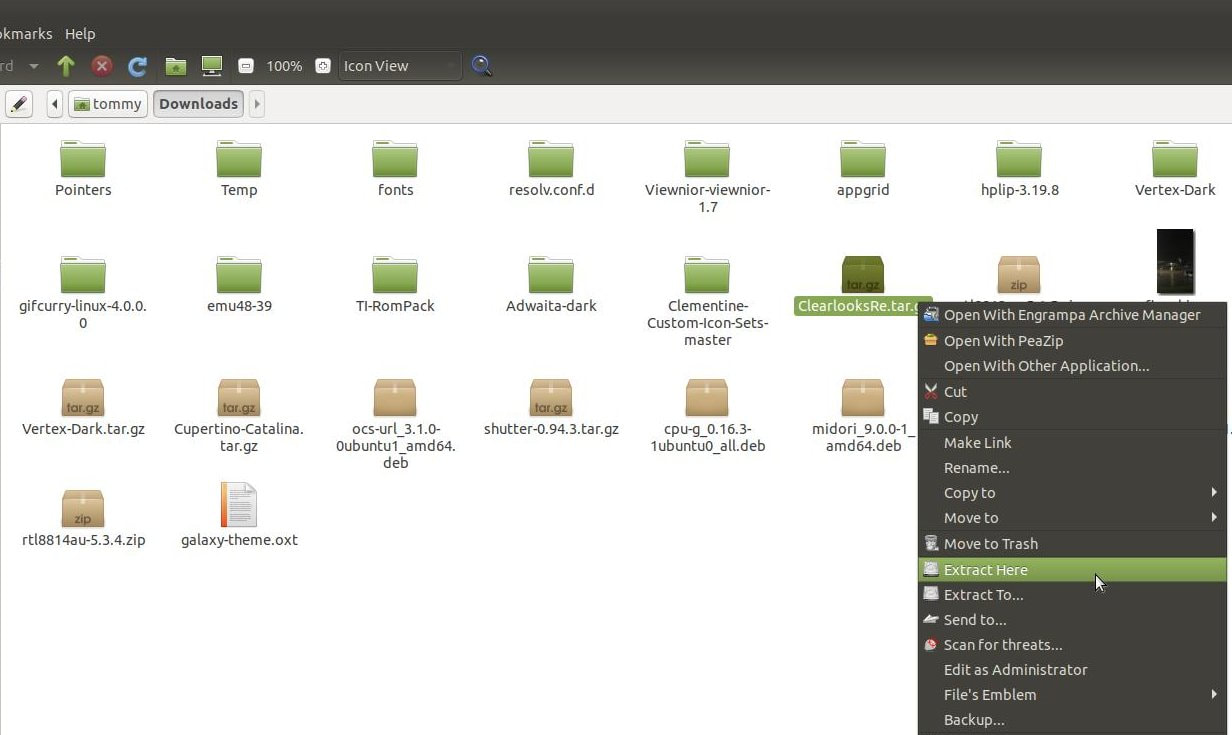
You should now see a ClearlooksRe folder in your Downloads folder or current folder that you downloaded the compressed file.

After you uncompress the ClearlooksRe Window Border theme you will them move or copy the folder into the ~/.themes or /usr/share/themes folder. In my example I placed mine in the /usr/share/themes folder since I am the only user on my computer.
You should still have the themes folder open from installing the Adwaita-dark Controls theme in the last section. If not, look back in the last section and follow the instructions to open the /usr/share/themes folder.
Now divide your screen into two file managers. On the left I have the /usr/share/themes folder and on the right I have my Downloads folder open where my uncompressed ClearlooksRe folder is located. Now drag the ClearlooksRe folder on the right and place it into the themes folder on the left.
You should now be able to use your new ClearlooksRe Window Border theme.
How-To Manually Install a New Icon Theme
You can download my slightly modified Windows icon collection in my DropBox or MeadiaFire accounts. Click the small drop-down arrow to the right of the Share button in DropBox or click the green Download button in MeadiaFire to download the compressed icon collection.
You can download my slightly modified Windows icon collection in my DropBox or MeadiaFire accounts. Click the small drop-down arrow to the right of the Share button in DropBox or click the green Download button in MeadiaFire to download the compressed icon collection.
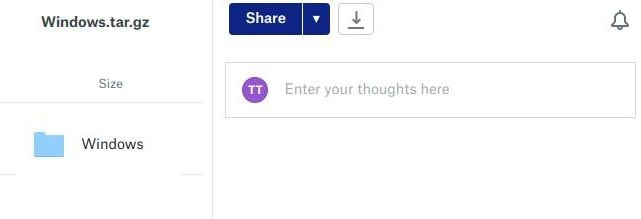
DropBox: Click the drop-down arrow
|
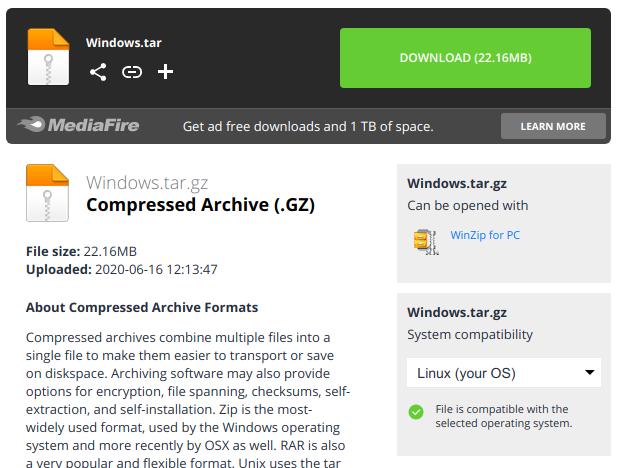
MediaFire: Click the Green Download Button
|
Then go into your Downloads folder or the location you downloaded the file to and right-click it to display a menu. Click on Extract Here command when the menu appears. This will extract the icons folder with all the icon collection inside into the current folder.
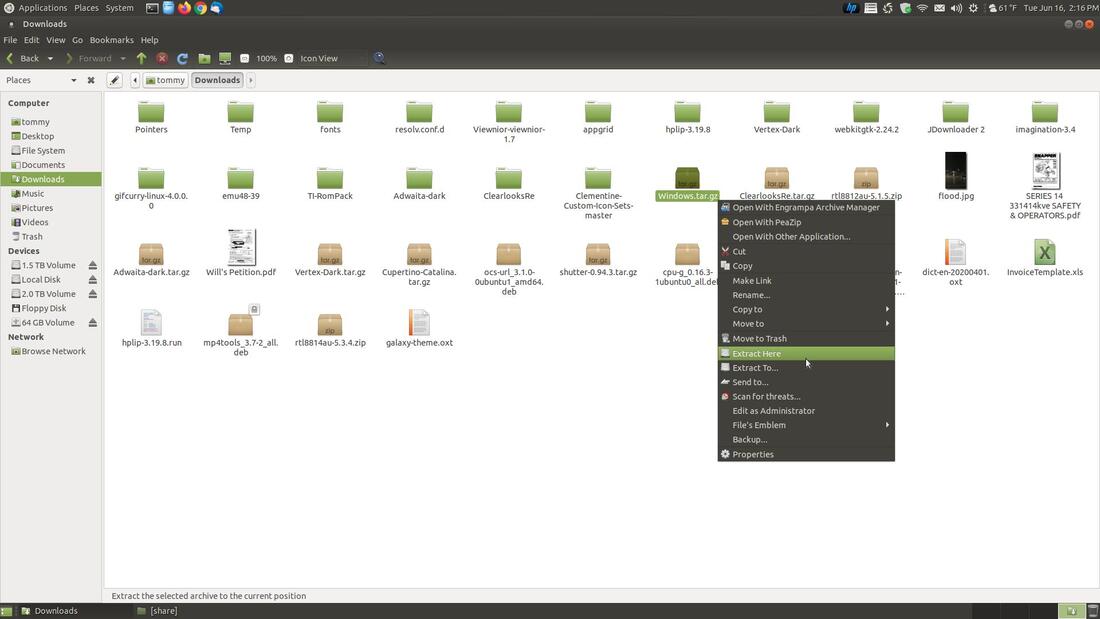
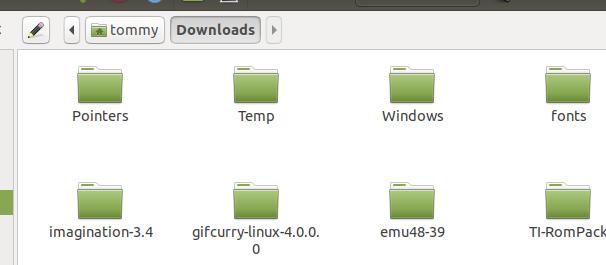
You should now see a new folder called Windows in your Downloads folder or current folder that your extracted the compressed file.
You can move this folder into several different paths and it should work on your system. However, I recommend that you move it into your user only icons folder or systemwide icons folder.
1. .local/share/icons (user only)
2. /usr/share/icons (systemwide)
If you move it into option 1 path then only your account can use these icons and if you move it into option 2 path it will be seen systemwide or by every account on the computer.
Since I am the only user on my computer it will not matter which option I will use. In my example I will use option 1. .local/share/icons.
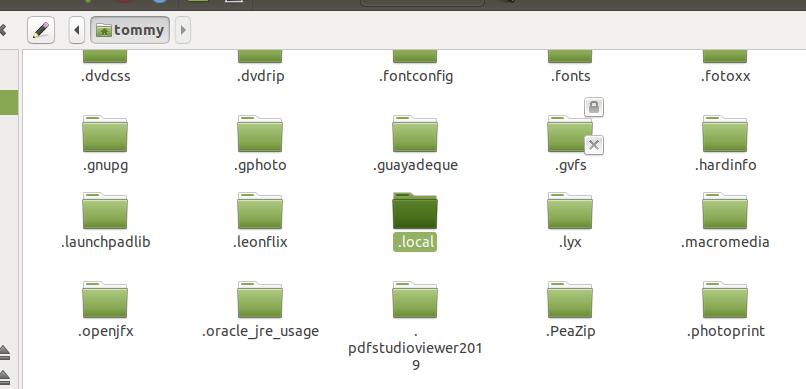
Open your Caja File Manager and make sure that you are in your home folder. Next, click on the View menu and select the Show Hidden Files command.
1. .local/share/icons (user only)
2. /usr/share/icons (systemwide)
If you move it into option 1 path then only your account can use these icons and if you move it into option 2 path it will be seen systemwide or by every account on the computer.
Since I am the only user on my computer it will not matter which option I will use. In my example I will use option 1. .local/share/icons.
Open your Caja File Manager and make sure that you are in your home folder. Next, click on the View menu and select the Show Hidden Files command.

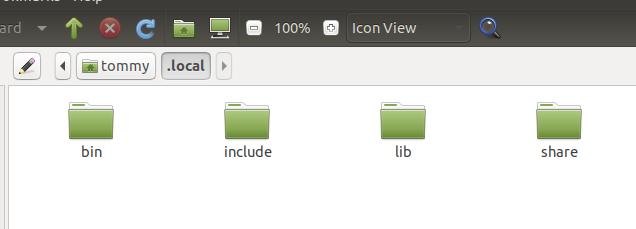
You should now see a hidden folder called .local. Double-click the folder to open it.
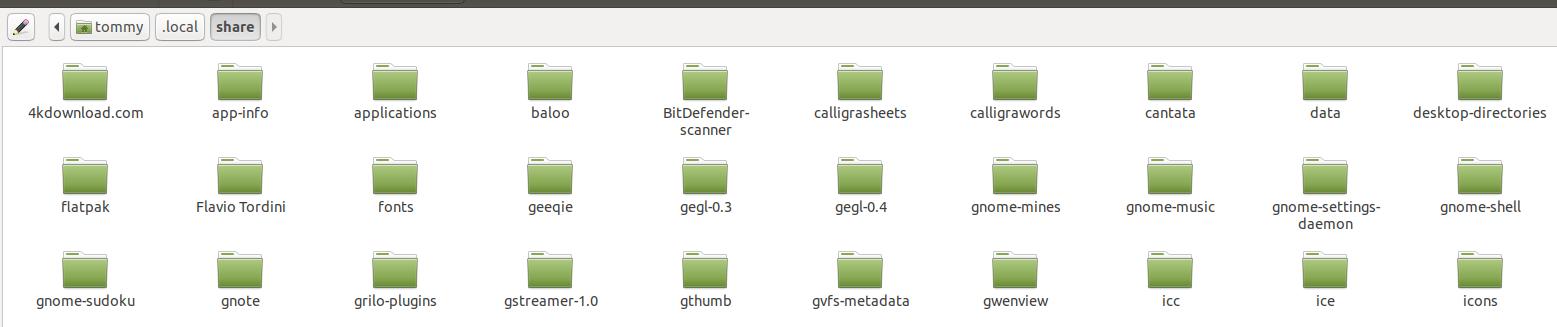
Next, locate and double-click the share folder to open it.
Next, locate and double-click the icons folder to open it.
You will now be ready to move or copy your Windows folder into your icons folder.

Now divide your screen into two file managers. On the left I have the .local/share/icons folder open and on the right I have my Download folder open where my uncompressed Windows folder is located. Now drag the Windows folder on the right and place it into the icons folder on the left.
You will need to reboot your system if it doesn't show up in your Icons tab in the Custom Theme dialog box in your Appearance Preferences. Then you should now be able to use your new Windows icon theme.
How-To Manually Install New Pointers
I have the DMZ (Black) pointer compressed and stored in my DropBox and MediaFire accounts.
I have the DMZ (Black) pointer compressed and stored in my DropBox and MediaFire accounts.
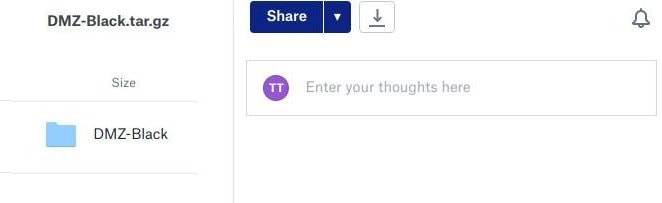
DropBox: Click the drop-down arrow and Download
|
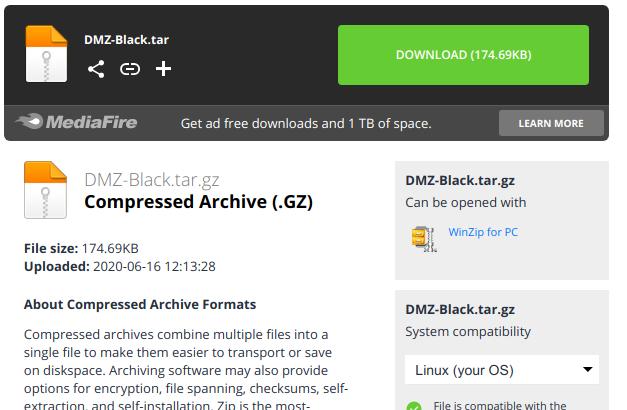
MediaFire: Click the Green Download Button
|
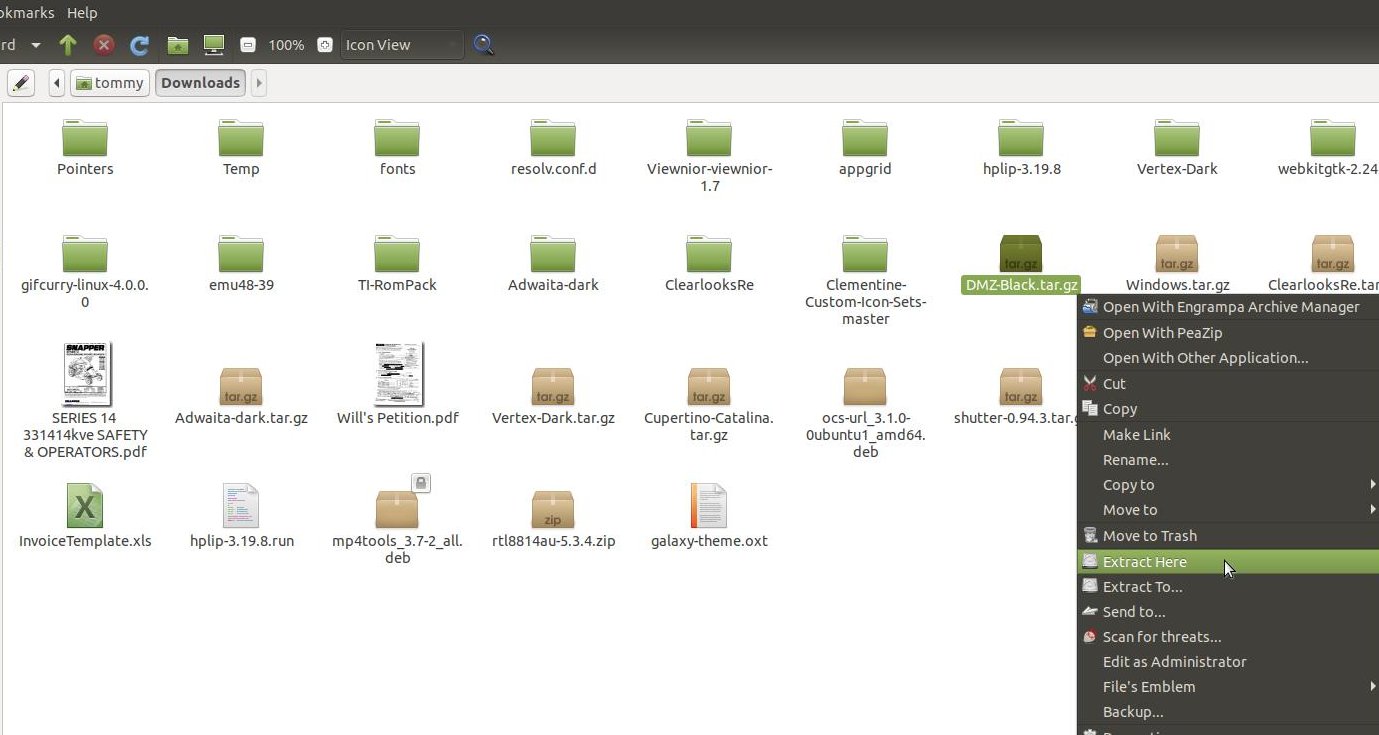
Download DMZ (Black) pointer from one of the sites above and then go into your Downloads folder and locate it. Right-click the DMZ-Black.tar.gz file it to display a menu. Click on Extract Here command when the menu appears. This will extract the folder inside the current folder.
Open another Caja File Manager to /usr/share/icons and then split your window or screen so that /usr/share/icons is on one side and the DMZ-Black folder is on the other.
You should now be able to see multiple new DMZ-Black pointers. You may have to reboot your system for some icons and themes to show up.
How-To Select Your New Theme
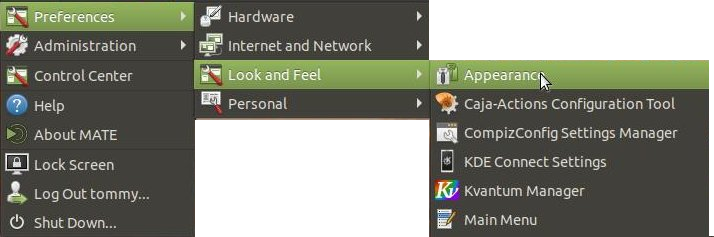
If you're using Ubuntu MATE with the Traditional menu then click on the System menu and highlight Preferences, then Look and Feel, and click on Appearances.
If you're using Ubuntu MATE with the Traditional menu then click on the System menu and highlight Preferences, then Look and Feel, and click on Appearances.
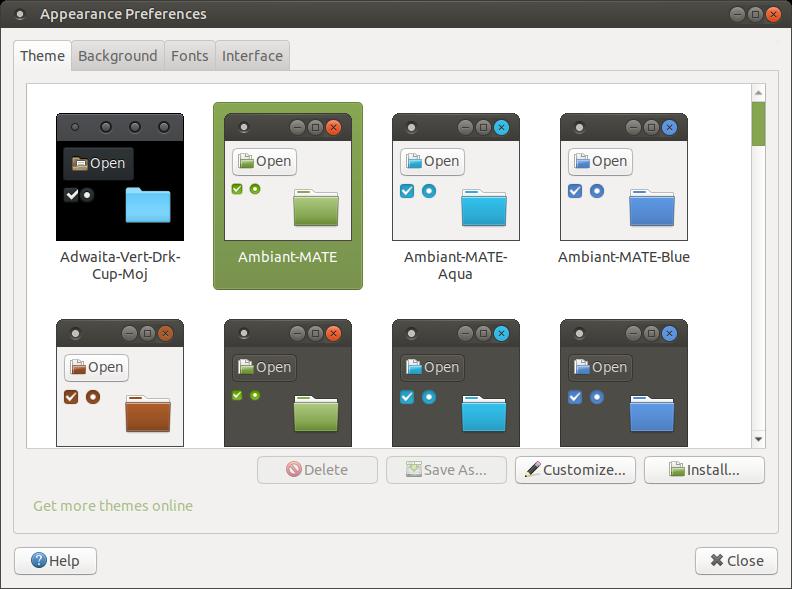
Click the Customize... button in the lower right when the Appearance Preferences dialog box appears.
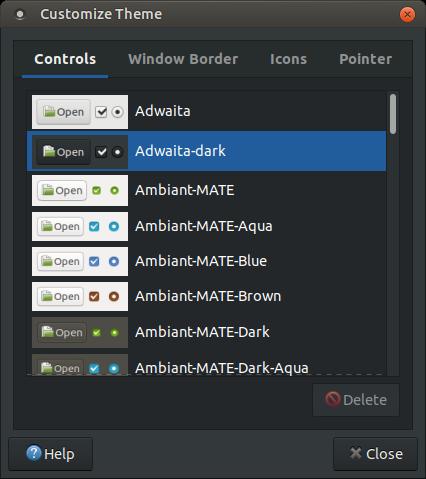
Make sure the Controls tab is the active tab and then locate and select Adwaita-dark to immediately apply it to your system.
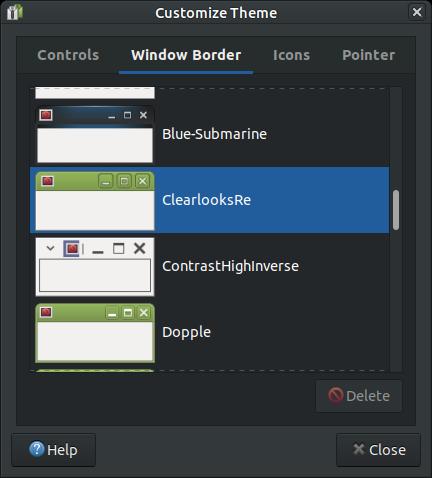
Next click on the Window Border tab and then scroll down and locate and click on ClearlooksRe to apply it to your system.
Then click on the Icons tab and scroll down and locate and click on Windows to apply it to your system.

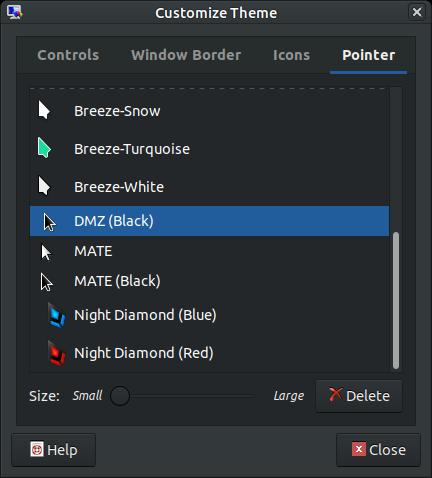
Next, click on the Pointer tab to make it active. Locate and click on the DMZ (Black) icon in the list and then click the Close button.
Now it's time to save your new theme. Click the Save As... button.
Eventually you'll see a Save Theme As... dialog box appear. Now give your new Theme a name and description and then click the Save button.
You should see your newly custom theme in your Theme lists. Now click the Close button and enjoy your new Theme.
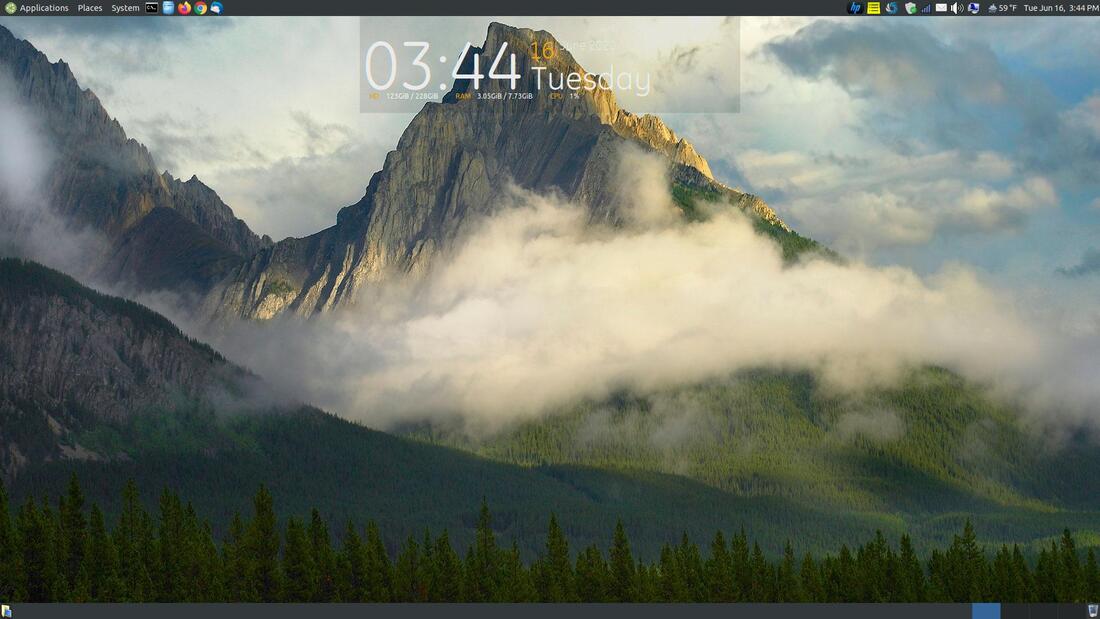
Now explore your system and notice how nice it looks.
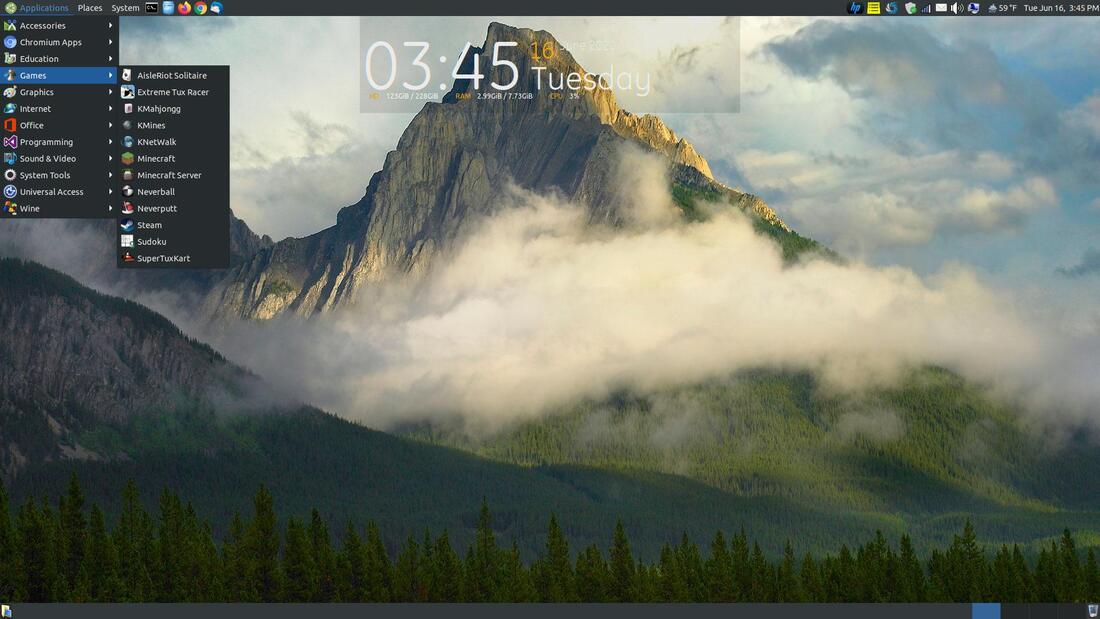
The menus look nice.
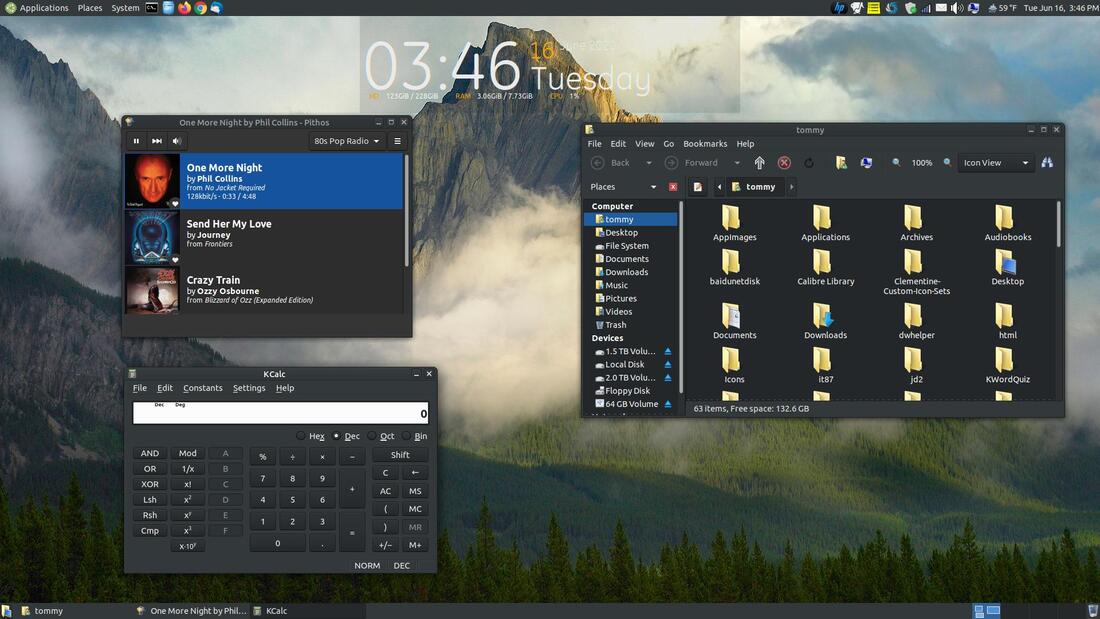
The Caja File Manager looks nice, the calculator, and Pithos also looks great.
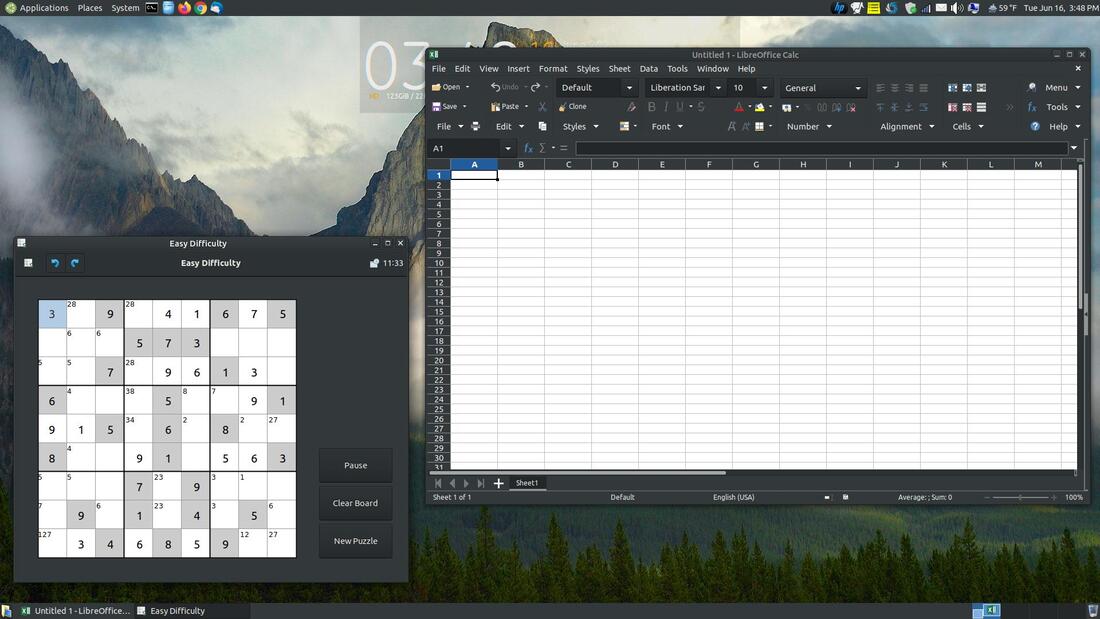
LibreOffice and games such as Sudoku looks great too.
Here's a recap of the themes installed, download links, and location.
If you like using a dark theme, then I highly recommend that you install this on your computer.
- Controls Theme: Adwaita-dark | ( DropBox or MediaFire ) | ( /usr/share/themes )
- Window Border Theme: ClearlooksRe | ( DropBox or MediaFire ) | ( /usr/share/themes )
- Icons Theme: Windows | ( DropBox or MeadiaFire ) | (.local/share/icons)
- Pointer Theme: DMZ (Black) | ( DropBox or MediaFire ) | (/usr/share/icons)
If you like using a dark theme, then I highly recommend that you install this on your computer.

Jun 26, 2020
