
CPU-X
CPU-X is an open source program that gathers information on CPU, motherboard and more.
CPU-X reports informations about:
- Processor
- Motherboard
- Memory
- System
- Graphic card
- Performance
How To Install CPU-X (Ubuntu 19.04 or Newer)
Open your Terminal and enter the following:
sudo add-apt-repository ppa:flexiondotorg/cpu-x
sudo apt-get update
sudo apt-get install cpu-x
You can also download the install file from pkgs.org, Launchpad.net, or the GitHub.
To remove the program enter the following:
sudo apt-get remove cpu-x
sudo add-apt-repository --remove ppa:flexiondotorg/cpu-x
How To Install CPU-X (Ubuntu 18.10 or Older)
Download the compressed file: CPU-X_v3.2.4_Ubuntu.tar.gz or goto GitHub and download the CPU-X_v3.2.4_Ubuntu.tar.gz file.
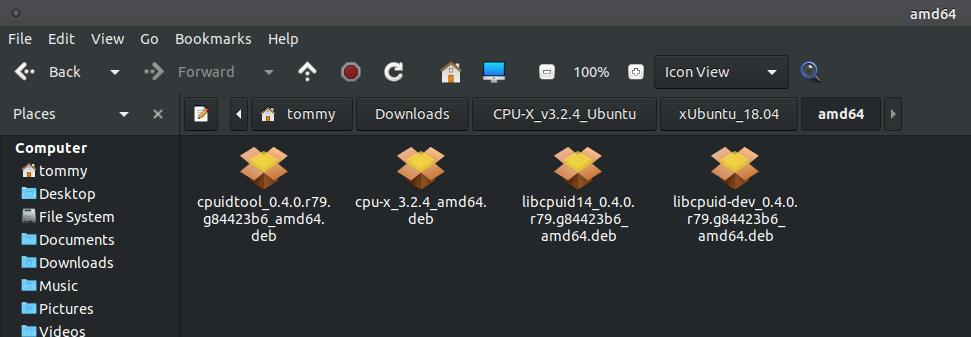
Then go-to the location you downloaded the tar file or compressed file and right-click it and select Extract Here to extract the installation files. Next, open the new folder CPU-X_v3.2.4_Ubuntu. You will see four folders: xUbuntu_16.04, xUbuntu_17.10, xUbuntu_18.04, and xUbuntu_18.10. Open the folder to match your Ubuntu or Ubuntu derivative version and then open the amd64 subfolder. You will see four installation or .deb files. Double-click the file cpuidtool_0.4.0.r79.g84423b6_amd64.deb and click the Install Package button. Wait for the program to completely install before closing the Package Manager. Next, double-click the file libcpuid-dev_0.4.0.r79.g84423b6_amd64.deb and click the Install Package button. Then double-click the file libcpuid14_0.4.0.r79.g84423b6_amd64.deb and click the Install Package button. Finally, double-click the program file cpu-x_3.2.4_amd64 and click the Install Package button. When it completes, you should have the program installed on your system.
Open your Terminal and enter the following:
sudo add-apt-repository ppa:flexiondotorg/cpu-x
sudo apt-get update
sudo apt-get install cpu-x
You can also download the install file from pkgs.org, Launchpad.net, or the GitHub.
To remove the program enter the following:
sudo apt-get remove cpu-x
sudo add-apt-repository --remove ppa:flexiondotorg/cpu-x
How To Install CPU-X (Ubuntu 18.10 or Older)
Download the compressed file: CPU-X_v3.2.4_Ubuntu.tar.gz or goto GitHub and download the CPU-X_v3.2.4_Ubuntu.tar.gz file.
Then go-to the location you downloaded the tar file or compressed file and right-click it and select Extract Here to extract the installation files. Next, open the new folder CPU-X_v3.2.4_Ubuntu. You will see four folders: xUbuntu_16.04, xUbuntu_17.10, xUbuntu_18.04, and xUbuntu_18.10. Open the folder to match your Ubuntu or Ubuntu derivative version and then open the amd64 subfolder. You will see four installation or .deb files. Double-click the file cpuidtool_0.4.0.r79.g84423b6_amd64.deb and click the Install Package button. Wait for the program to completely install before closing the Package Manager. Next, double-click the file libcpuid-dev_0.4.0.r79.g84423b6_amd64.deb and click the Install Package button. Then double-click the file libcpuid14_0.4.0.r79.g84423b6_amd64.deb and click the Install Package button. Finally, double-click the program file cpu-x_3.2.4_amd64 and click the Install Package button. When it completes, you should have the program installed on your system.
Ubuntu MATE 18.04.4 LTS
How To Install CPU-X (Ubuntu 19.04 or Newer)
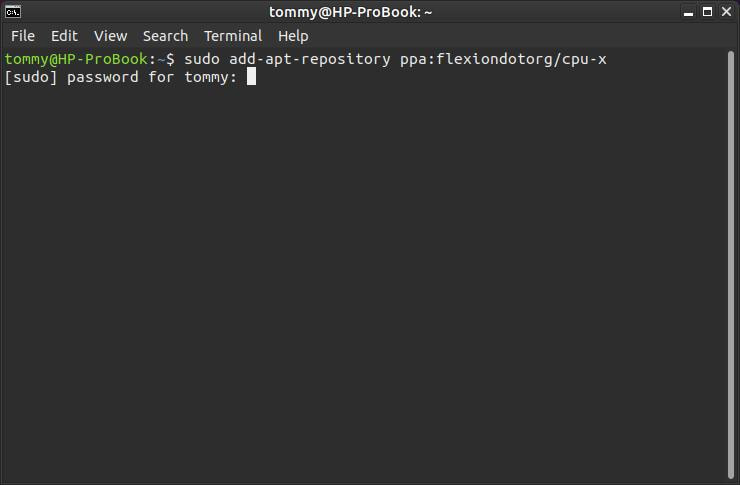
Open your Terminal and enter the following:
sudo add-apt-repository ppa:flexiondotorg/cpu-x
Press the Enter or Return key and enter your password.
Open your Terminal and enter the following:
sudo add-apt-repository ppa:flexiondotorg/cpu-x
Press the Enter or Return key and enter your password.
Ubuntu MATE 19.10
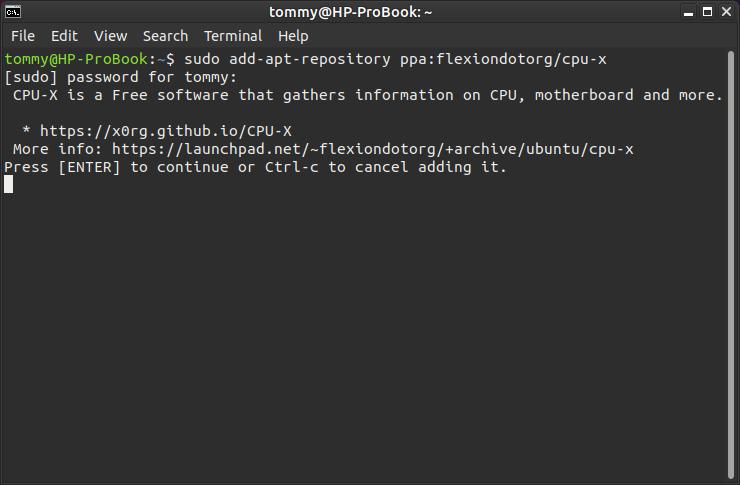
Press the Enter or Return key and then press the Enter key again to continue.
Ubuntu MATE 19.10
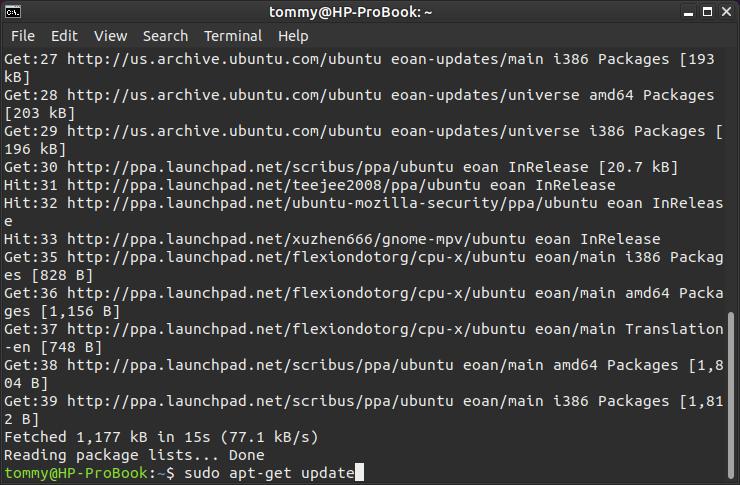
Next, enter the following: sudo apt-get update
Press the Enter or Return key.
Press the Enter or Return key.
Ubuntu MATE 19.10
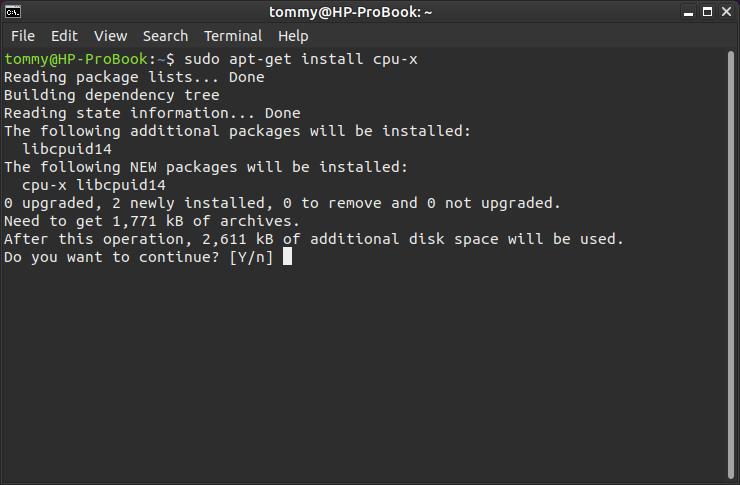
Next, enter the following: sudo apt-get install cpu-x
Press the Enter or Return key and then press the Enter key again to continue.
Press the Enter or Return key and then press the Enter key again to continue.
Ubuntu MATE 19.10
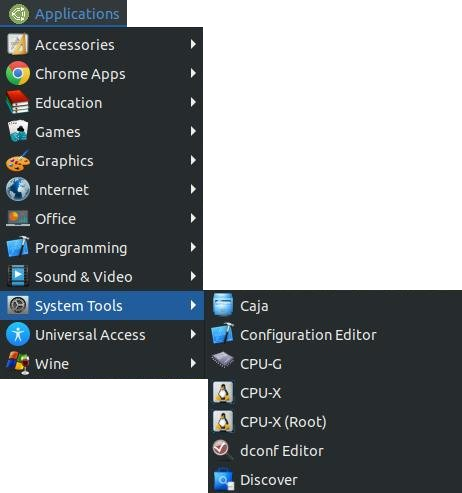
You can access the program in your menu after you get the program installed. I am using Ubuntu MATE with the traditional menu, so I access it by clicking on the Applications menu, highlight System Tools, and then click on CPU-X or CPU-X (Root).

Ubuntu MATE 19.10
|
Ubuntu MATE 18.04.4 LTS
|
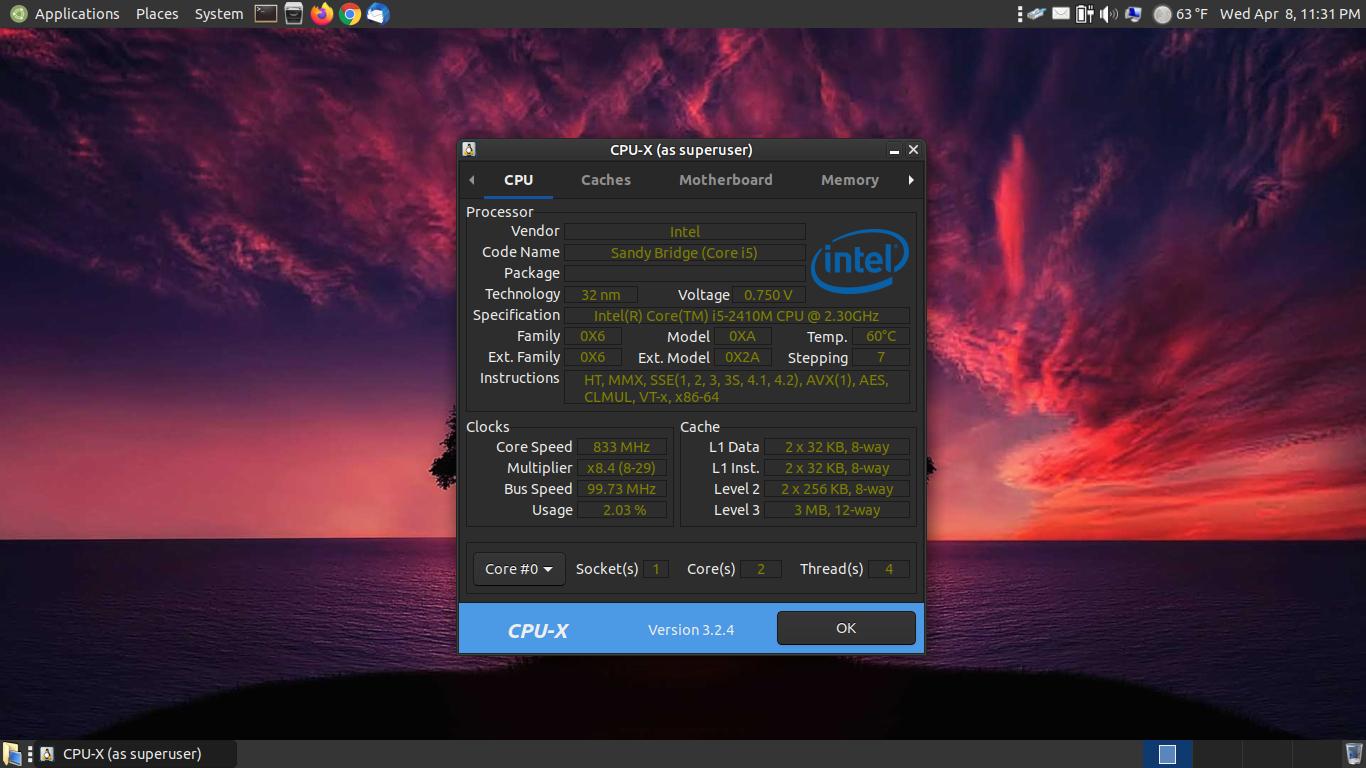
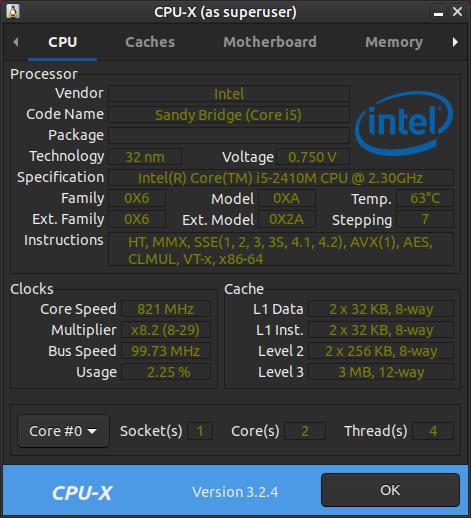
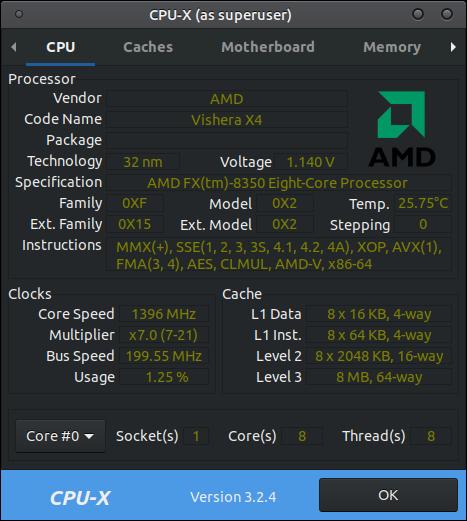
The program will open with the CPU as the active tab. You can view information pretaining to your processor or CPU.
Ubuntu MATE 19.10
|
Ubuntu MATE 18.04.4 LTS
|
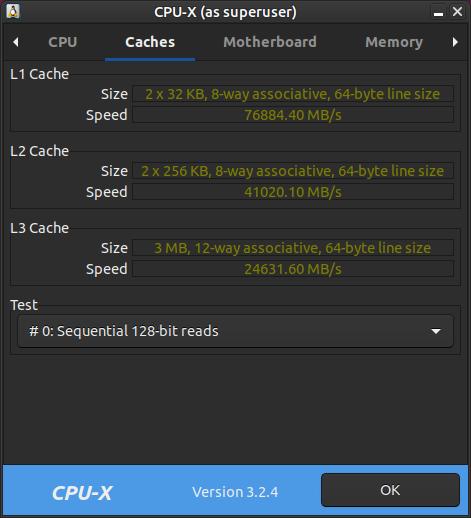
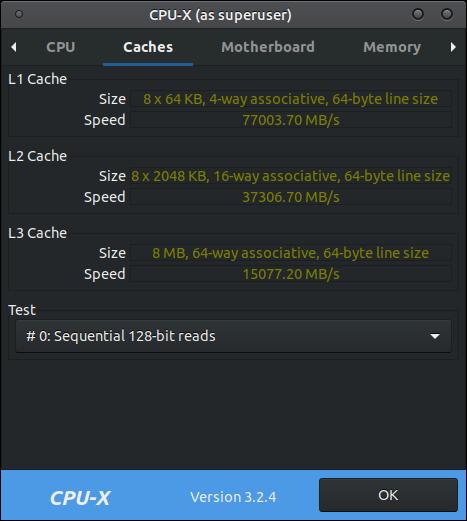
Caches is the second tab that displays information about your L1 Cache, L2 Cache, and L3 Cache. (A cache is a component that stores data so that future requests for that data can be served faster; the data stored in a cache might be the result of an earlier computation or a copy of data stored elsewhere.)
Ubuntu MATE 19.10
|
Ubuntu MATE 18.04.4 LTS
|
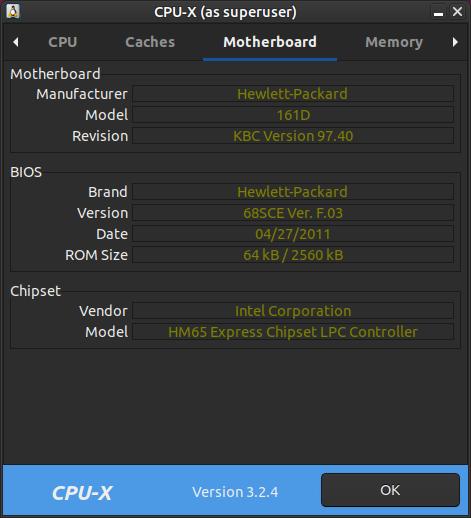
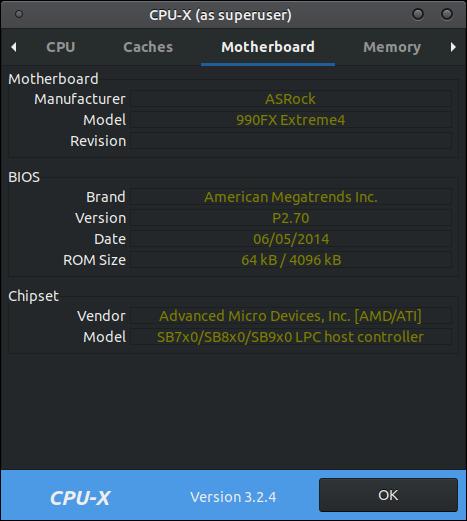
Motherboard is the third tab that displays information about your motherboard.
Ubuntu MATE 19.10
|
Ubuntu MATE 18.04.4 LTS
|
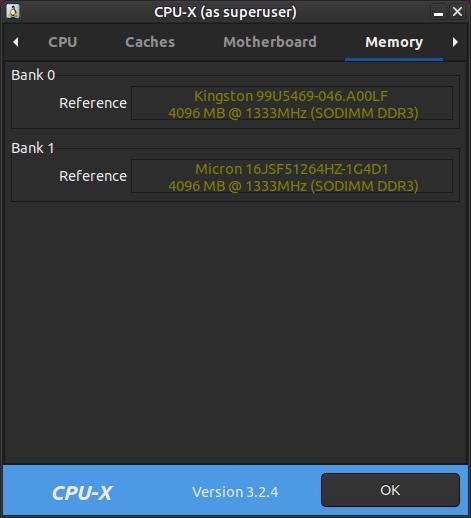
Memory is the fourth tab that displays real time information about your RAM or memory.
Ubuntu MATE 19.10
|

Ubuntu MATE 18.04.4 LTS
|
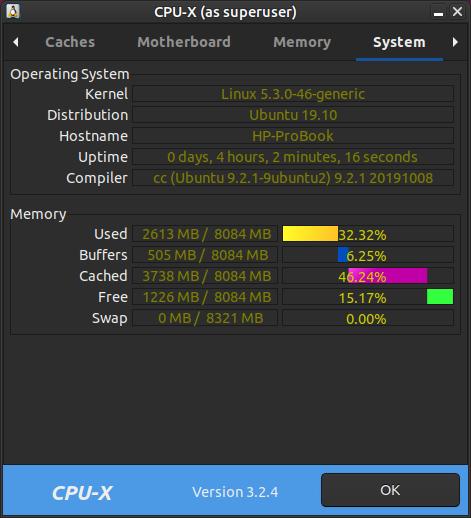
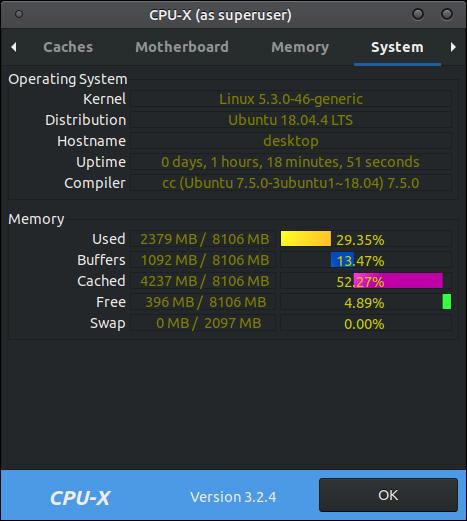
The System tab is the fifth tab that displays information about your computer or system.
Ubuntu MATE 19.10
|
Ubuntu MATE 18.04.4 LTS
|
The sixth tab is the Graphic tab. This will display information about your graphics card.
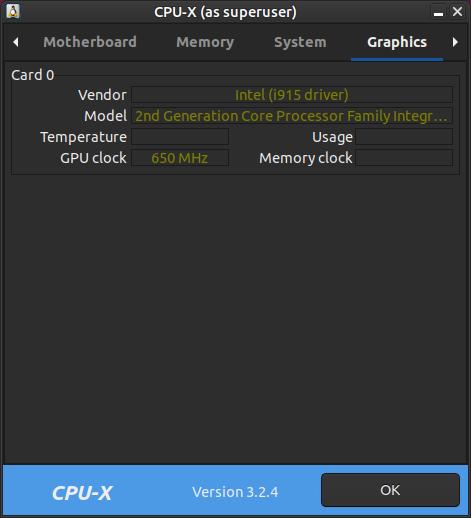
Ubuntu MATE 19.10
|
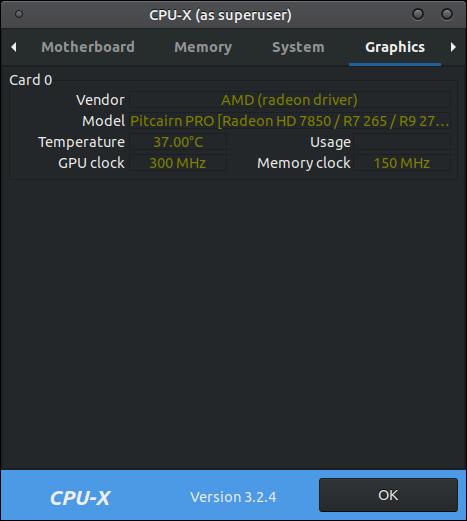
Ubuntu MATE 18.04.4 LTS
|
Bench is the seventh tab across the top. This section will allow you to run some benchmark tests on your system. It's a good idea to run the benchmark tests on your system when it works great and keep a record of your results. Then when your system misbehaves you can run the benchmark tests again and record the results. Then compare the data to help you locate your issue.
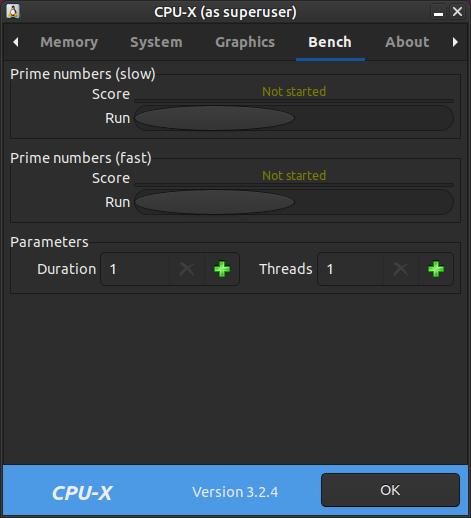
Ubuntu MATE 19.10
|
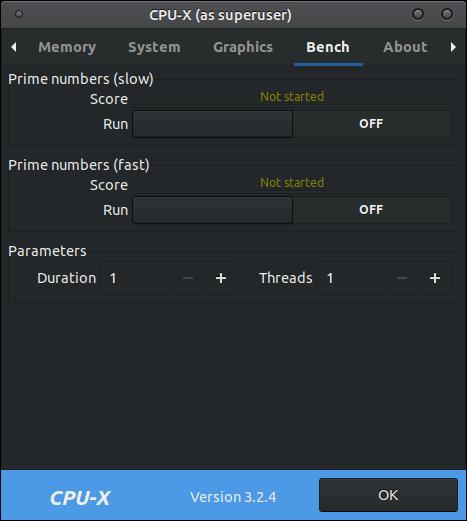
Ubuntu MATE 18.04.4 LTS
|
The last tab is the About tab. This will display information about the program and the author.
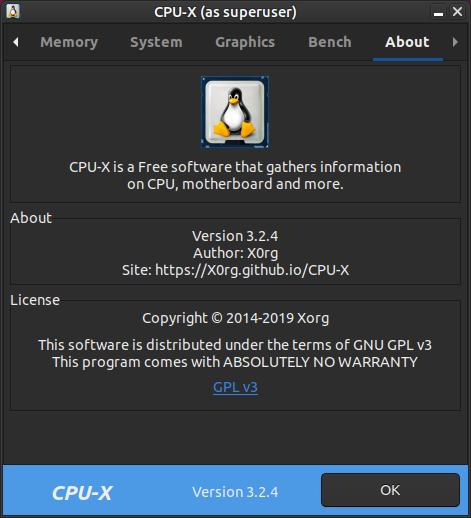
Ubuntu MATE 19.10
|
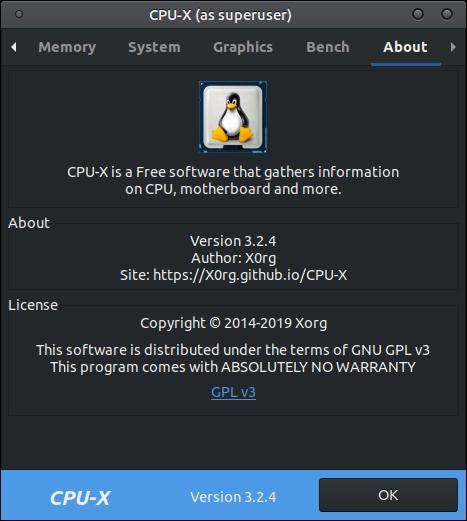
Ubuntu MATE 18.04.4 LTS
|
This is a nice little utility for looking up information about your system.
