
Gifcurry
Gifcurry is the open-source video editor for GIF makers.
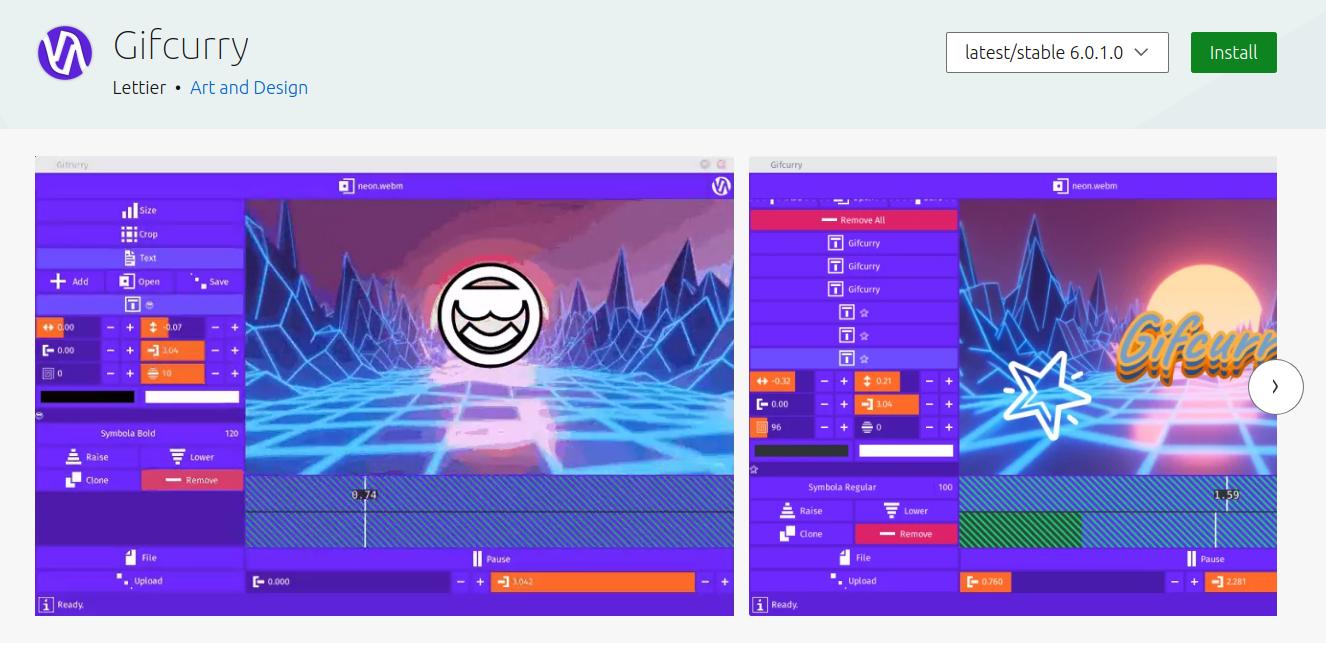
Gifcurry allows you to import a video, trim, crop, add text, pick a font, set the size, enable dithering, import subtitles, and save your creation as either a GIF or a video. For more information about Gifcurry, go to their GitHub website or Application website.
How to Install Gifcurry:
Method 1:
You can can install it via AppImage from their Releases website, Gnome-Look.org, KDE Store, and the AppImages website.
You can can install it via AppImage from their Releases website, Gnome-Look.org, KDE Store, and the AppImages website.
Download the most current version of Gifcurry and move the AppImage into the folder of your choice.
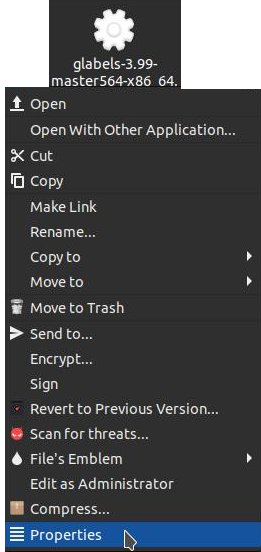
Right-click the file and click on Properties.
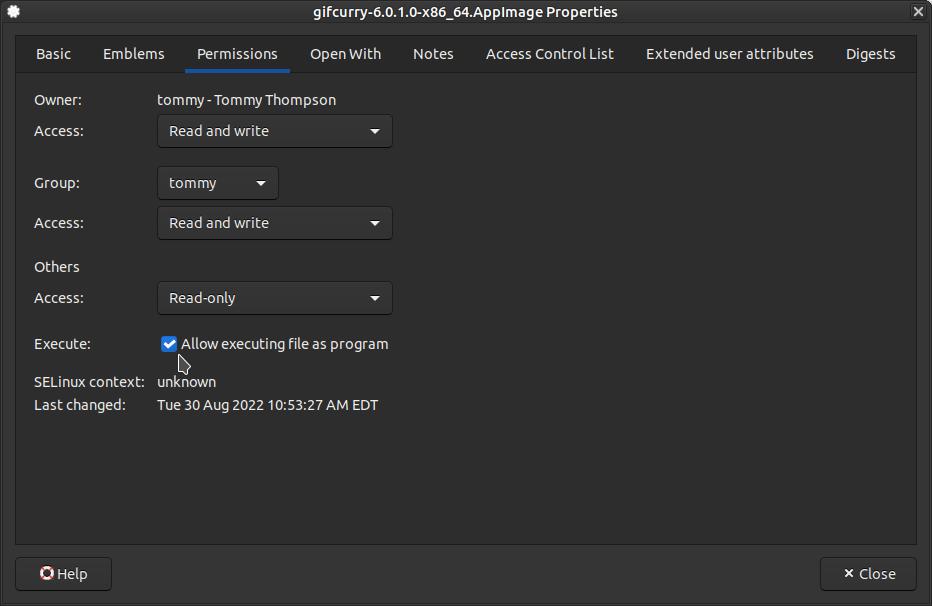
Click the Permissions tab within the Properties dialog box and then click the checkbox next to Allow executing file as program. Then click the Close button.
The file is now executable. You can double-click it to start the program.
If you want to add an icon in your menu then open your Main Menu editor. When the Main Menu editor loads, select the category on the left you want to put it in and then click on the New Item button.
If you want to add an icon in your menu then open your Main Menu editor. When the Main Menu editor loads, select the category on the left you want to put it in and then click on the New Item button.
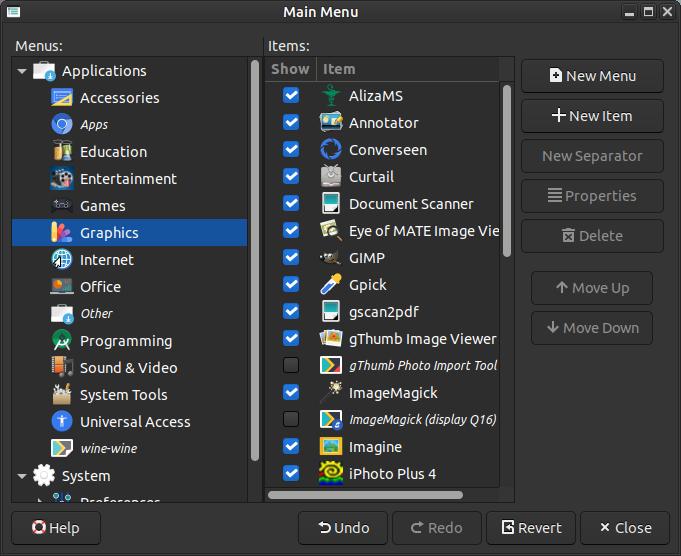
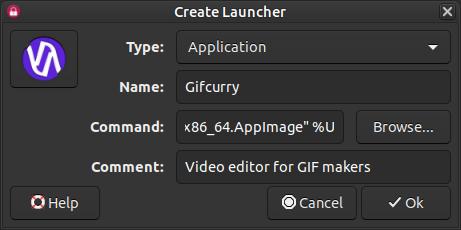
This will bring up a Create Launcher dialog box. Then enter the following information: (Use the location of your AppImage next to Command.)
Type: Application
Name: Gifcurry
Command: "/home/tommy/AppImages/gifcurry-6.0.1.0-x86_64.AppImage" %U
Comment: Video editor for GIF makers
Then click the icon button on the left and pick an icon of your choice. You can use the icon on the bottom of this webpage. Then click the OK button.
Type: Application
Name: Gifcurry
Command: "/home/tommy/AppImages/gifcurry-6.0.1.0-x86_64.AppImage" %U
Comment: Video editor for GIF makers
Then click the icon button on the left and pick an icon of your choice. You can use the icon on the bottom of this webpage. Then click the OK button.
Then locate and click on Gifcurry to select it within the Main Menu editor. Click the Move Up button until you have it arranged alphabetically in your list. Then click the Close button.
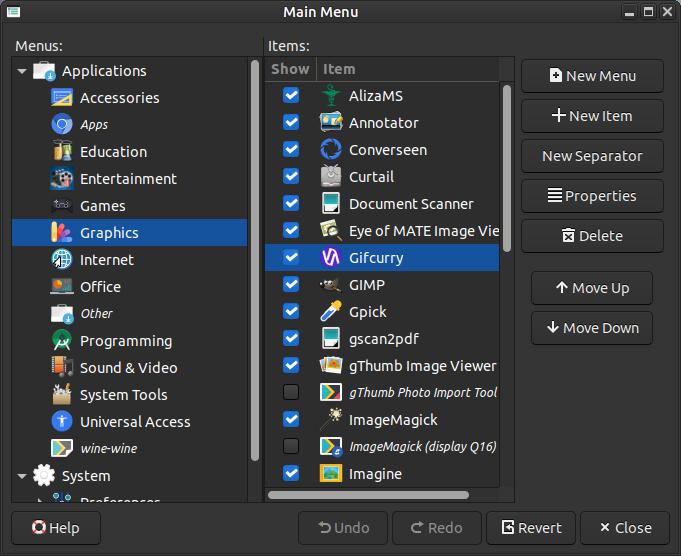
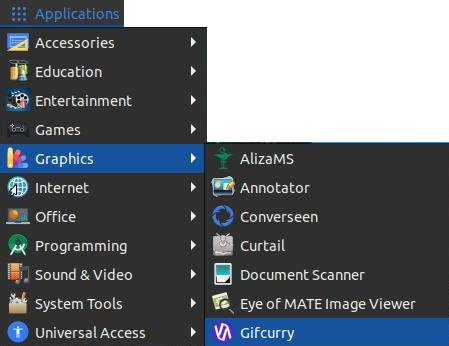
You should now see Gifcurry in your menu.
Method 2:
You can can run it directly from the binary file by extracting it from the tar.gz file from the GitHub releases webpage.
You can can run it directly from the binary file by extracting it from the tar.gz file from the GitHub releases webpage.

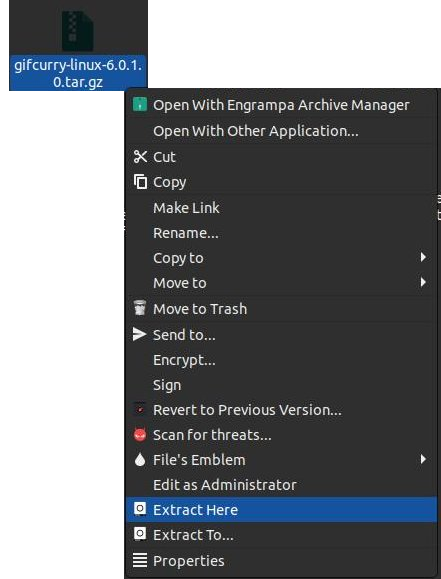
Right-click on gifcurry-linux-6.0.1.0.tar.gz and select Extract Here to uncompress the file.
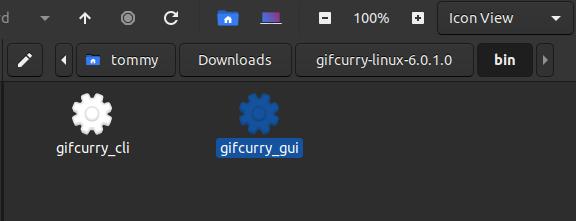
Open the gifcurry-linux-6.0.1.0 folder and then open the bin folder and then double-click the gifcurry_gui file.
Method 3:
You can can install it via snap package from the snapcraft website.
You can can install it via snap package from the snapcraft website.
How to Use Gifcurry:
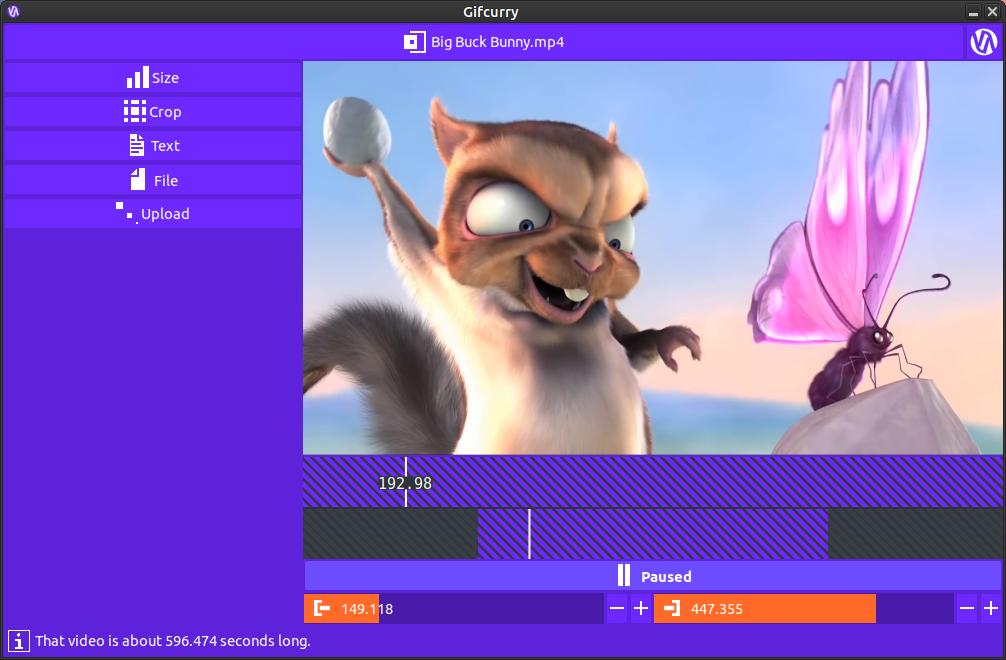
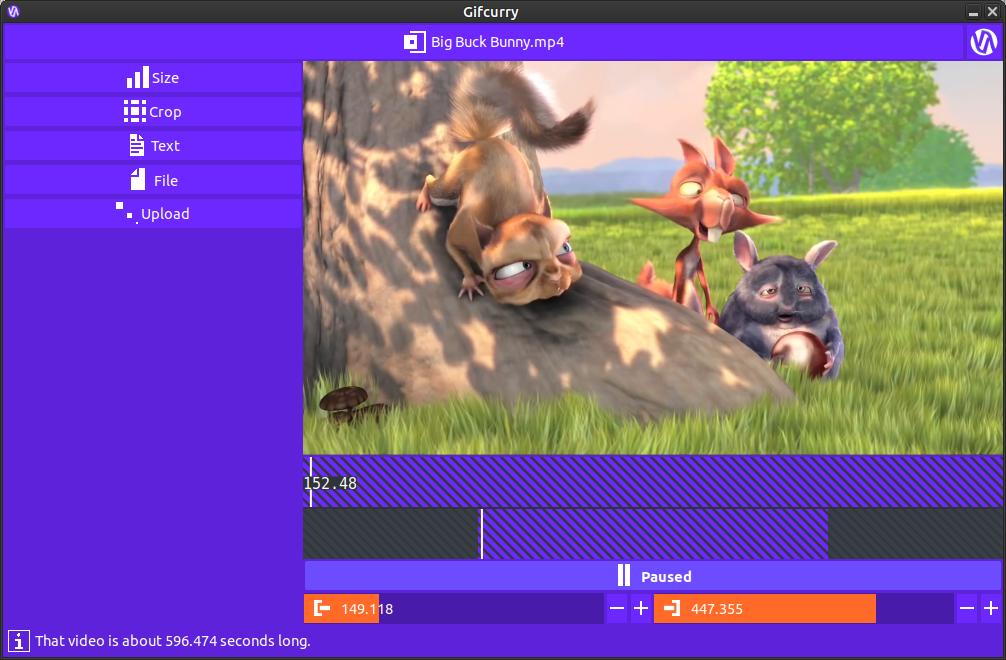
Once you get the program installed, you should be ready to start the application. The program looks very basic when it first loads. Click the Open button...
Once you get the program installed, you should be ready to start the application. The program looks very basic when it first loads. Click the Open button...

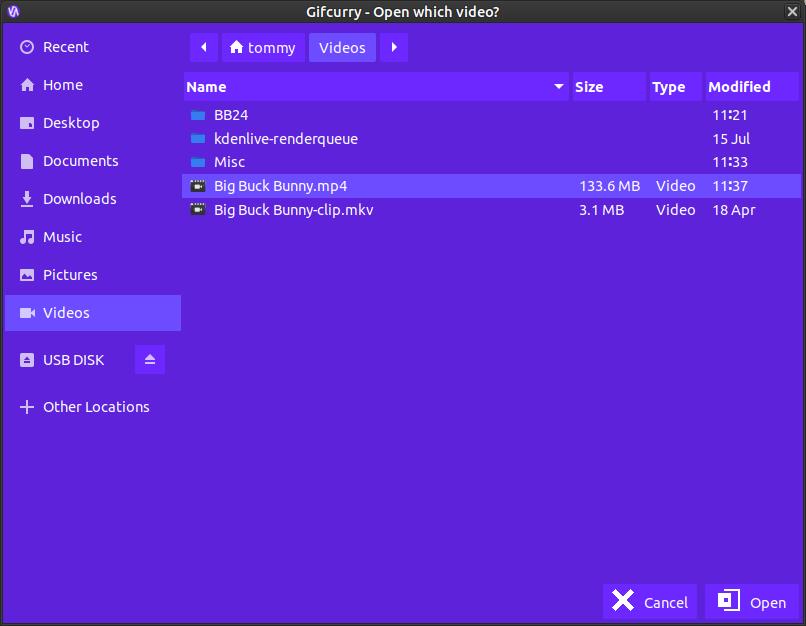
...and locate a video you want to trim and convert into an animated gif.
When the video loads it will automatically start playing. You can click the Pause button near the bottom middle section. It will then change to a Paused button.
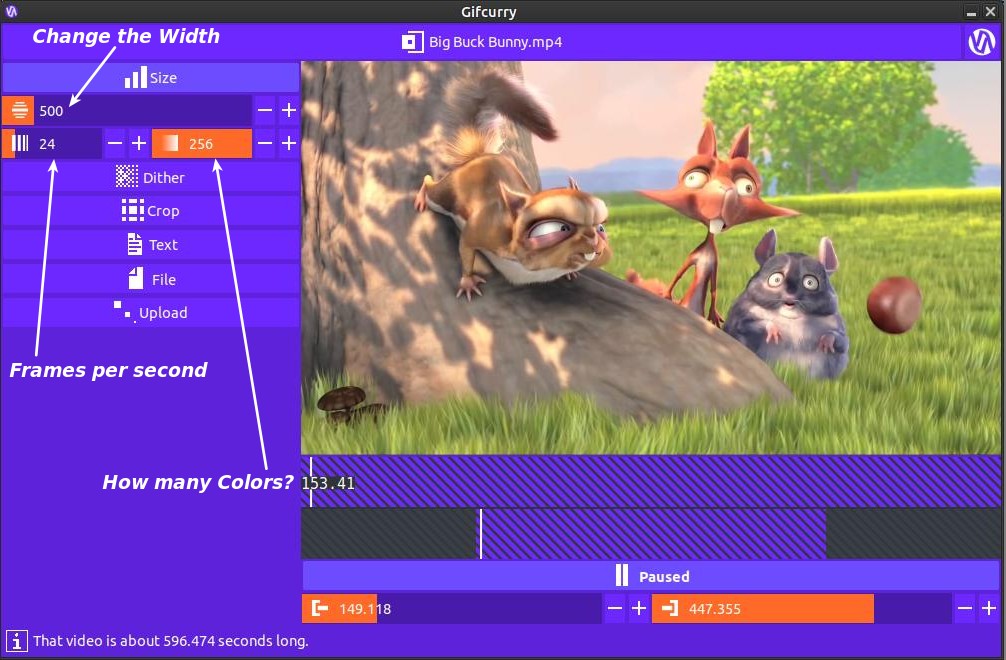
Size
Click on the the Size button on the left to display three options. The first or top option allows you to change the width of your animated image. The default size is 500 pixels wide. The second option or option on the left allows you to change the number of frames per second. The default value is 24 frames per second. The third option or option on the right allows you to change the number of colors. The default value is 256 colors.
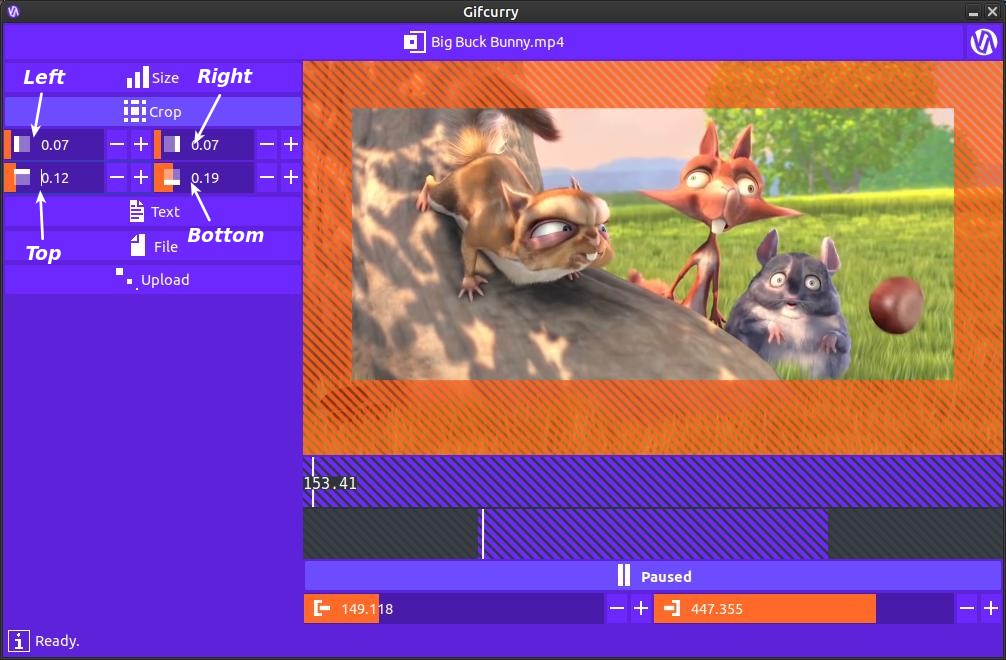
Crop
Click on the the Crop button on the left to display four options. The first or top left option allows you to change the how much to crop from the left. The second or top right option allows you to change the how much to crop from the right. The third or bottom left option allows you to change the how much to crop from the top. The fourth or bottom right option allows you to change the how much to crop from the bottom. The default value for each option is 0.00.
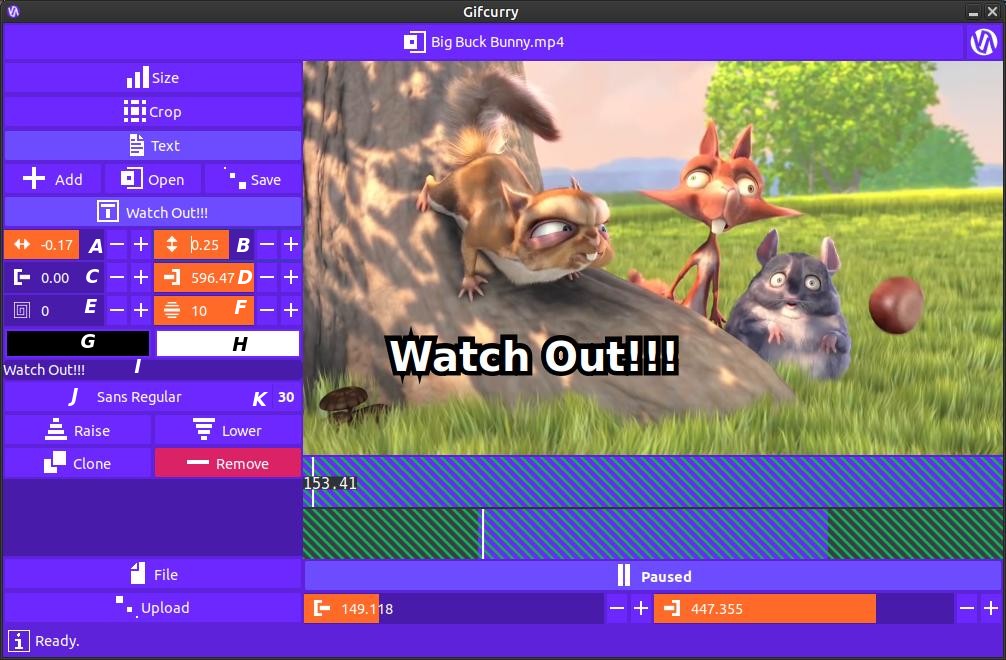
Text
Click on the the Text button on the left to display several options. Across the top within the Text section you have the Add, Open, and Save buttons. These buttons allows you to Add text or subtitles to your animated image to different sections and Save them. The Open button allows you to open text you have already saved to edit it. You also have eleven other options:
A = Move left or right G = Outline color
B = Move up or down H = Text fill color
C = Start time I = Text
D = End time J = Font type
E = Rotate value K = Font size
F = Outline thickness
A = Move left or right G = Outline color
B = Move up or down H = Text fill color
C = Start time I = Text
D = End time J = Font type
E = Rotate value K = Font size
F = Outline thickness
Bottom Controls
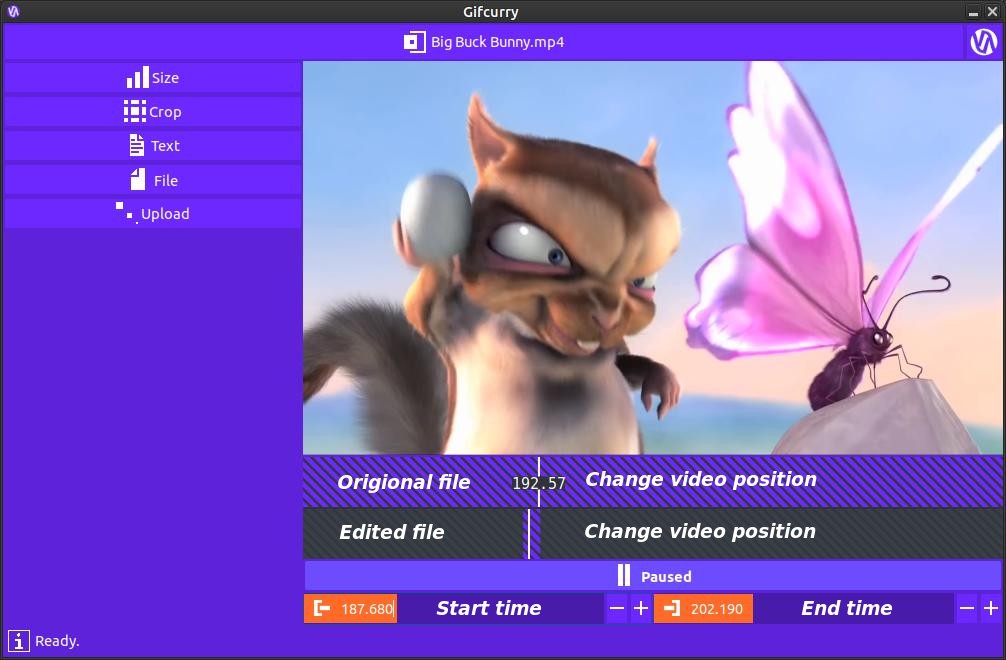
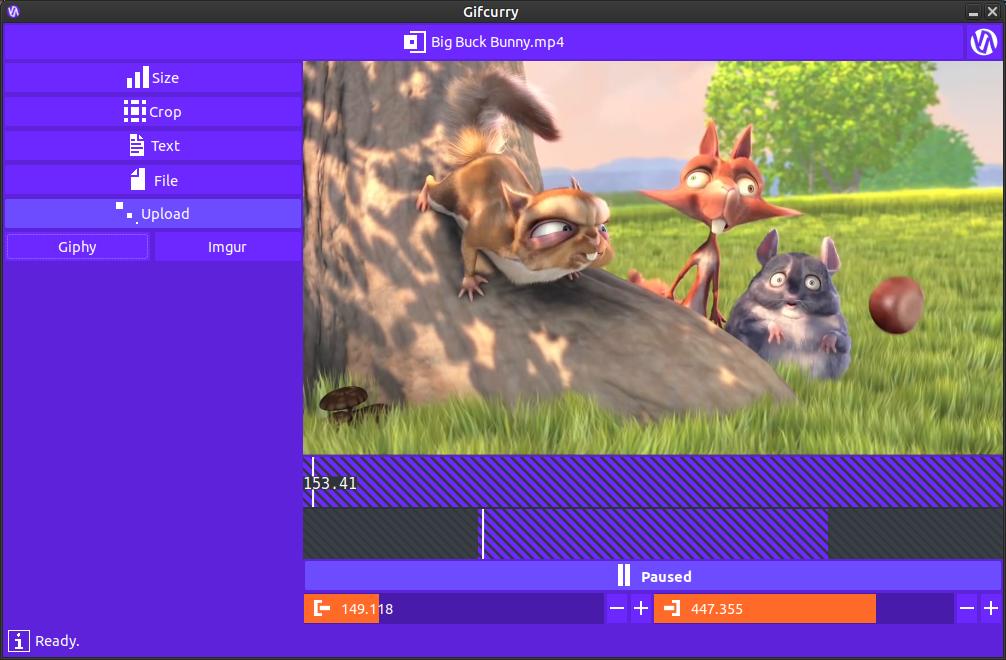
The top bar across the bottom is the time line for the Original file. You can click around in that area to view different time stamps within the video. The second bar is the time line for your Edited file. You can also click around to different locations within the video. The bottom left numbers represent the Start time of your edited animated video and the numbers to the right represent the End time. You can use the minus (-) and plus (+) symbols to fine adjust the exact Start and End times.
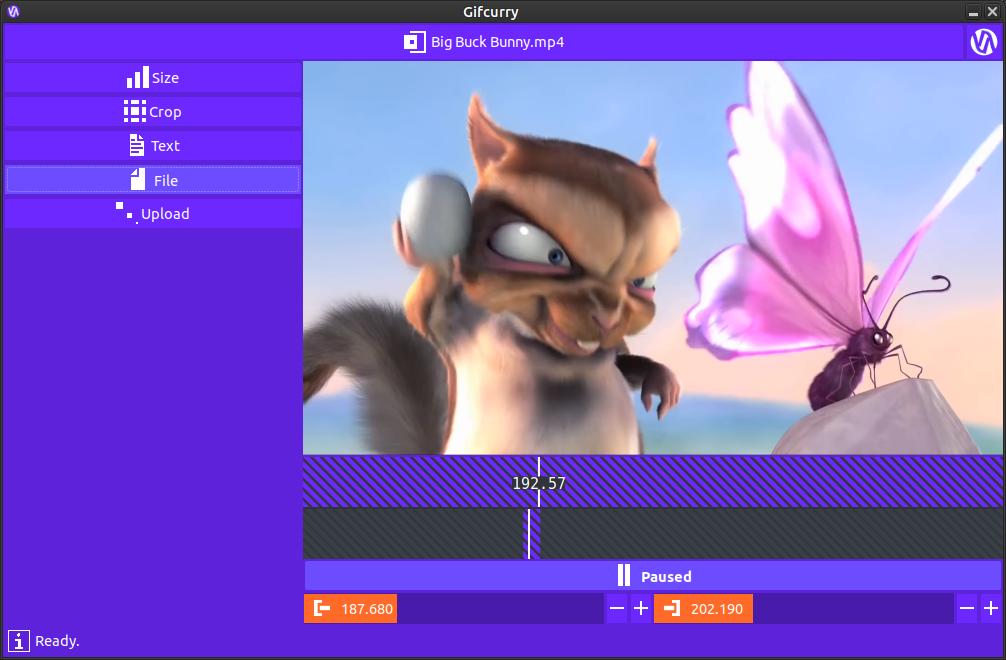
File
Click on the the File button on the left to save your animated image.
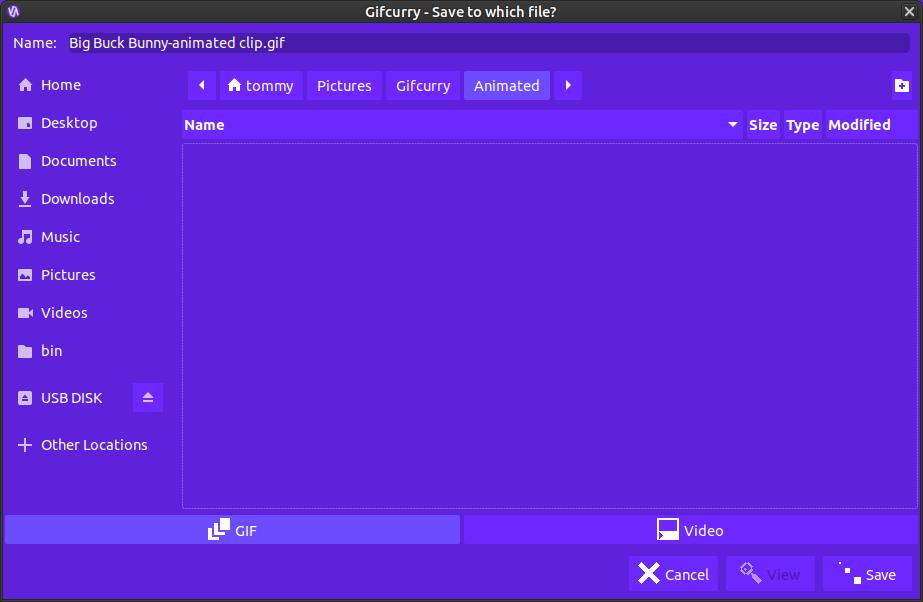
A Save dialog box will appear to allow you to save your work or progress. You can type the name of the animated image at the top and select if it will be an animated GIF or Video format at the bottom. Then click the Save button at the bottom.
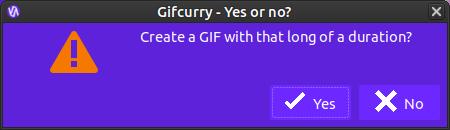
You'll be prompted with a Yes or No dialog box. Clicking Yes will save your animated image. Please wait while your animated image is processed. It will open in your default animated image viewer when the process is completed.
You should now see your animated image or animated gif file.
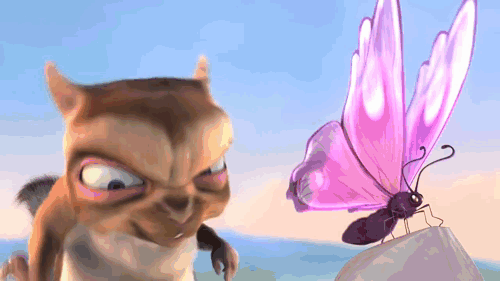
500x281 pixels
Upload
Click on the the File button on the left to Upload your animated image to the web. You can either use the program to upload the animated image to Giphy or Imgur.
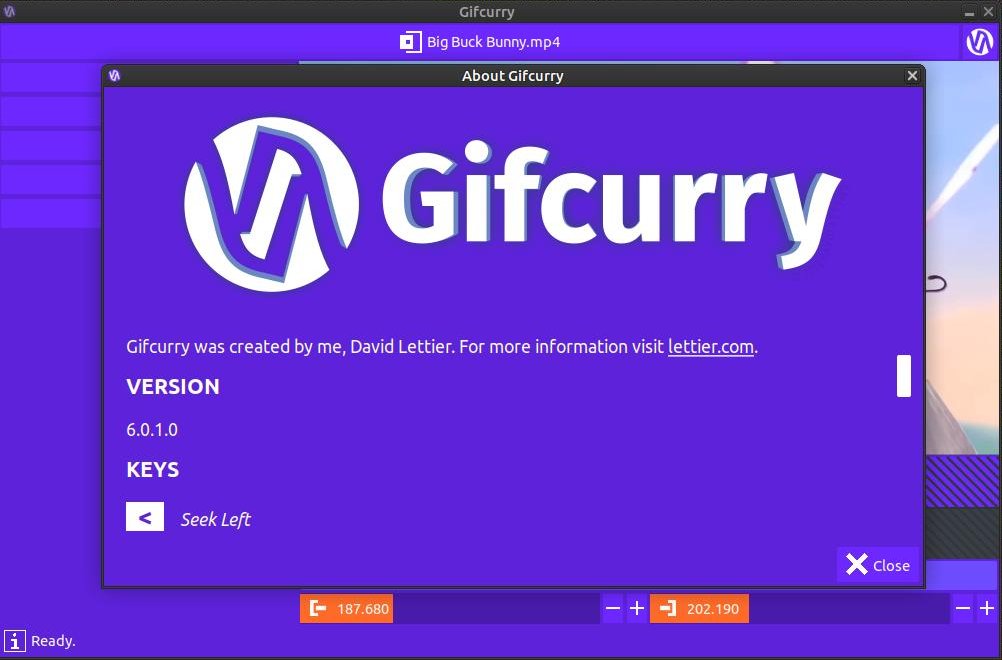
At the time of creating this webpage, Gifcurry is Version 6.0.1.0.
Gifcurry is a great little program for converting sections of video files and converting them into animated gifs.
You can create funny animated gifs or prove that Jasmine Davis should have been eliminated during the first stage of the competition during week 2 of Big Brother 24 US Head Of Household (HOH). 😊
You can create funny animated gifs or prove that Jasmine Davis should have been eliminated during the first stage of the competition during week 2 of Big Brother 24 US Head Of Household (HOH). 😊
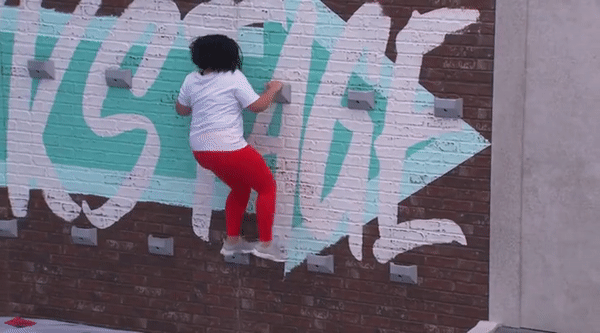
Jasmine's Foot Touched the Ground (600x333 pixels)
I highly recommend that you give Gifcurry a try.
