
Pinta: Edit Menu
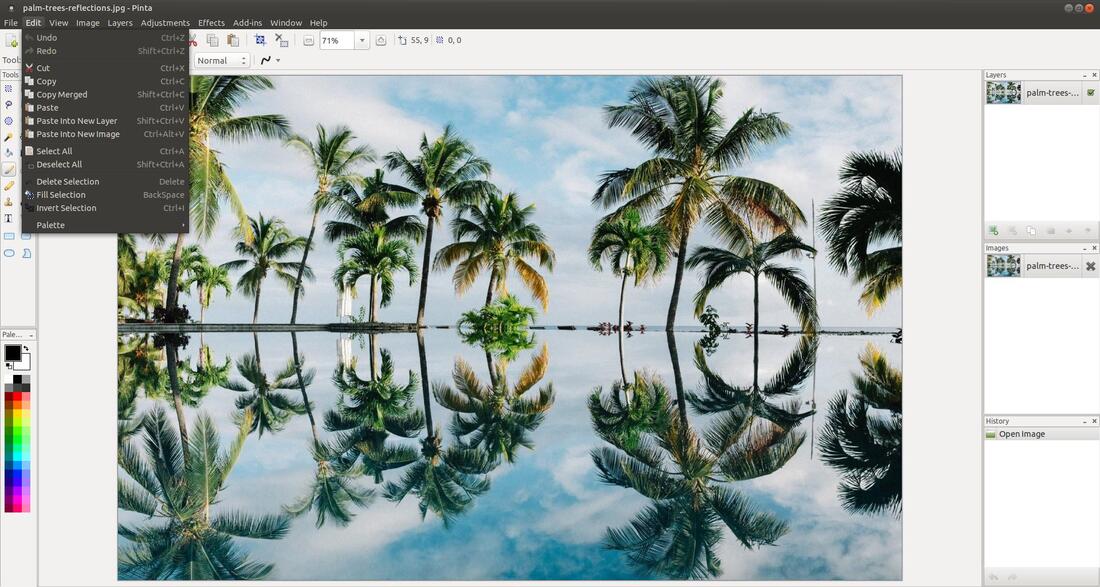
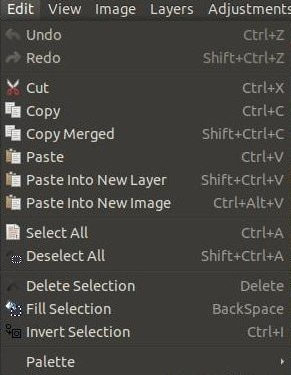
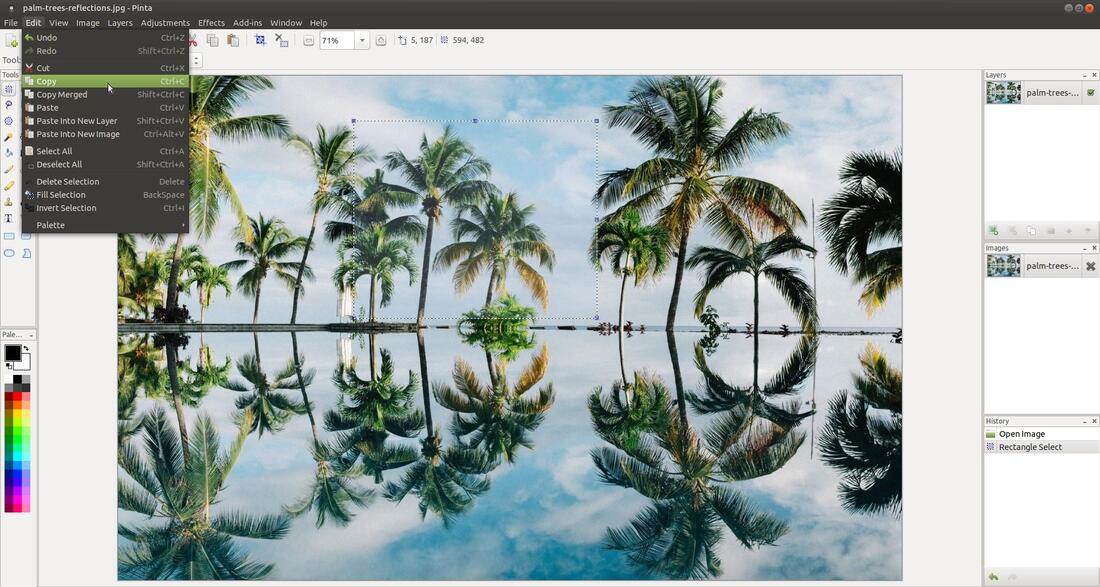
The Edit Menu is the second menu in the menu bar that contains commands relating to the handling of information within an image and the manipulation of an image. The commands found in the Edit menu are: Undo, Redo, Cut, Copy, Copy Merged, Paste, Paste into New Layer, Paste into New Image, Select All, Deselect All, Delete Selection, Fill Selection, Invert Selection, and Palette. Each of the commands have a set of shortcut keys assigned to them, except for the Palette command, to help provide an easier and quicker method of navigating and executing these commands.
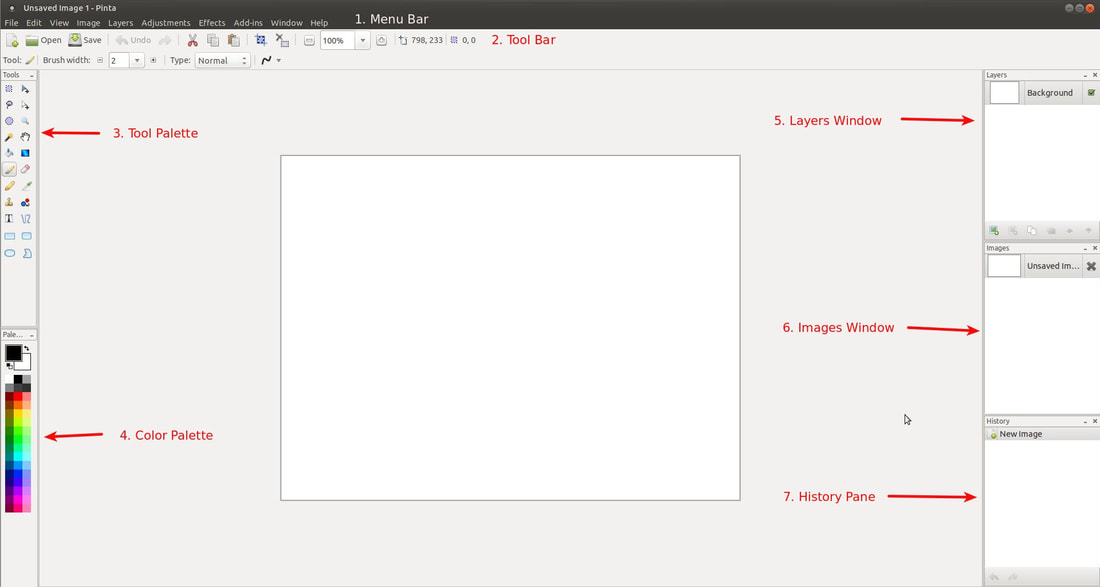
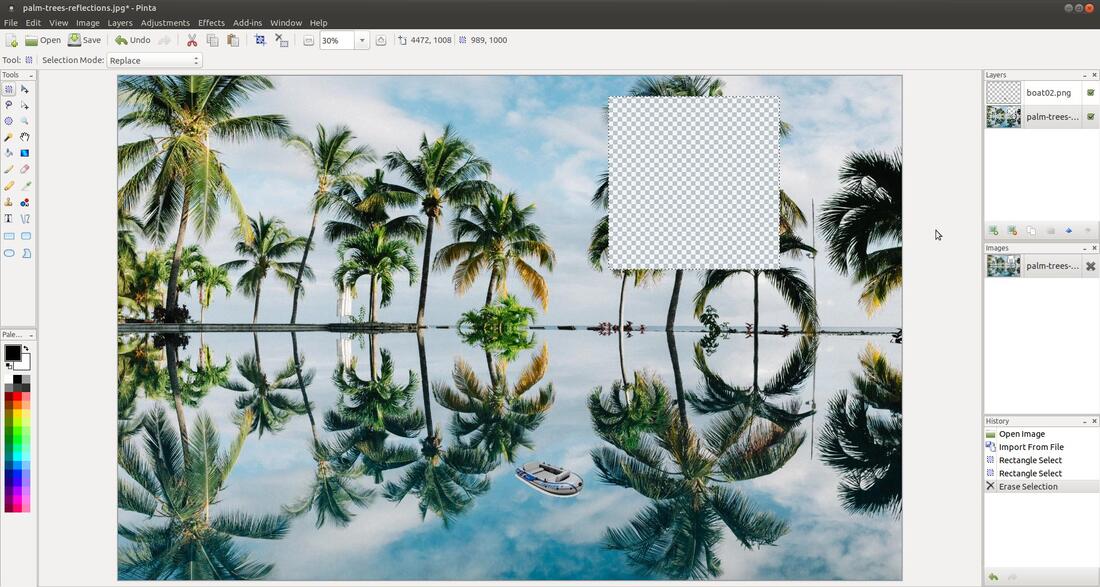
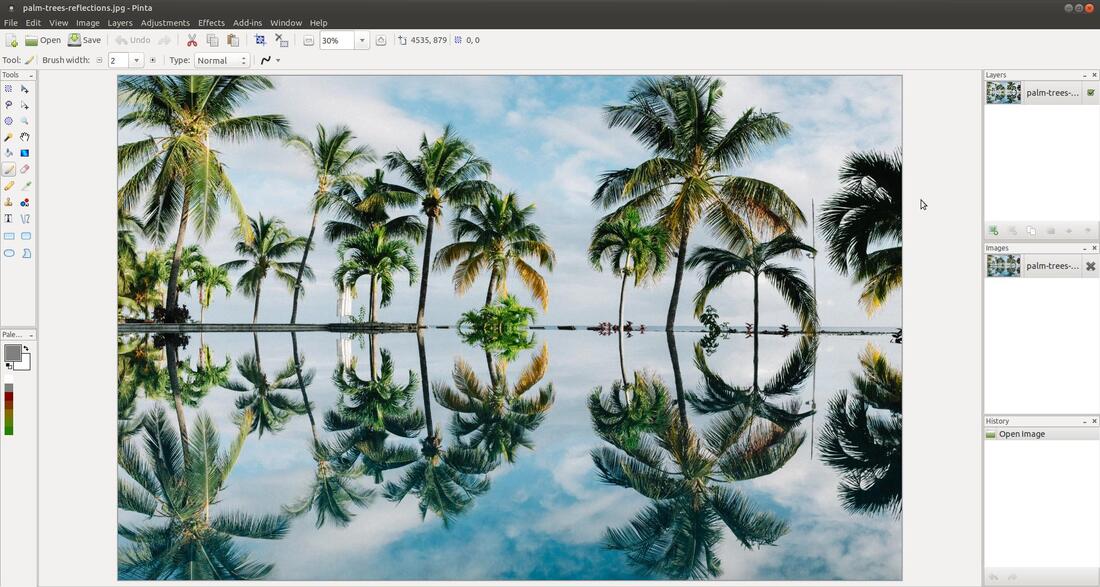
Some of the commands in the Edit Menu will effect what you see in the History Pane, Images Window, and Layers Window. Therefore, I included the image below to use as a reference.
Undo
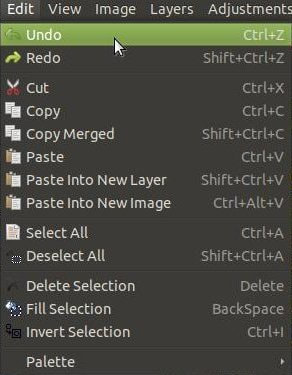
The Undo command allows you to erase the last change done to an image reverting it to an older state. Notice the History Pane when you click on the Undo command. The selected item moves up the list to the previous item.
The Undo command allows you to erase the last change done to an image reverting it to an older state. Notice the History Pane when you click on the Undo command. The selected item moves up the list to the previous item.
The Undo command can also be invoked by pressing the Ctrl+Z shortcut keys.
Redo
The Redo command allows you to reverse your last Undo. Notice the History Pane when you click on the Redo command. The selected item moves down the list to the next item. So, the Redo command restores any actions that have been previously undone using an Undo.
The Redo command allows you to reverse your last Undo. Notice the History Pane when you click on the Redo command. The selected item moves down the list to the next item. So, the Redo command restores any actions that have been previously undone using an Undo.
The Redo command can also be invoked by pressing the Shift+Ctrl+Z shortcut keys.

Cut
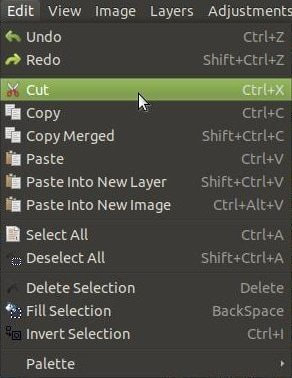
The Cut command allows you to remove a selected portion of the active layer and place it on the clipboard. (A clipboard is a temporary storage area for data that the user wants to copy from one place to another.)
The Cut command allows you to remove a selected portion of the active layer and place it on the clipboard. (A clipboard is a temporary storage area for data that the user wants to copy from one place to another.)
The Cut command can be invoked by pressing the Ctrl+X shortcut keys.
Copy
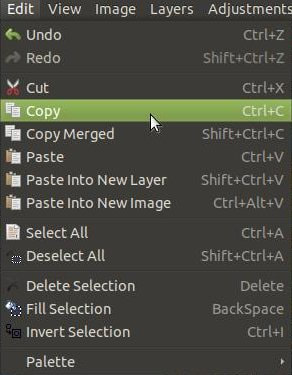
The Copy command copies the selected region to the clipboard. Unlike the Cut command, the Copy command leaves the selection on the active layer. The current selection also remains active in the active window.
The Copy command copies the selected region to the clipboard. Unlike the Cut command, the Copy command leaves the selection on the active layer. The current selection also remains active in the active window.
The Copy command can be invoked by pressing the Ctrl+C shortcut keys.
Copy Merged
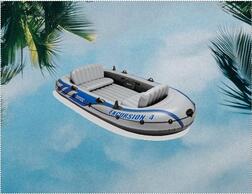
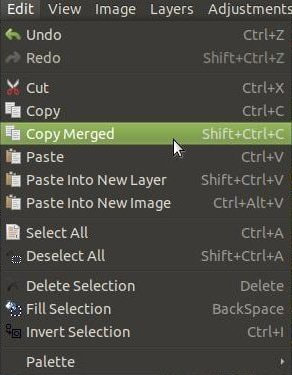
The Copy Merged command copies all the layers in the selected area to the clipboard. I used the Rectangle Select feature in the Tool Palette to select the boat from from the boat02.png image in the Layers Window. Then I selected the Copy Merged feature from the Edit menu. This placed the selected boat and everything in the selected area from the image(s) below the boat02.png in the Layers Window.
The Copy Merged command copies all the layers in the selected area to the clipboard. I used the Rectangle Select feature in the Tool Palette to select the boat from from the boat02.png image in the Layers Window. Then I selected the Copy Merged feature from the Edit menu. This placed the selected boat and everything in the selected area from the image(s) below the boat02.png in the Layers Window.

You can see the contents that was placed on the clipboard from using the Copy Merged command.
The Copy Merged command can be invoked by pressing the Shift+Ctrl+C shortcut keys.
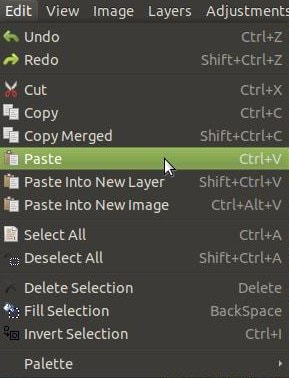
Paste
The Paste command allows you to insert an image or selected section of an image from the clipboard into the active image.
The Paste command allows you to insert an image or selected section of an image from the clipboard into the active image.
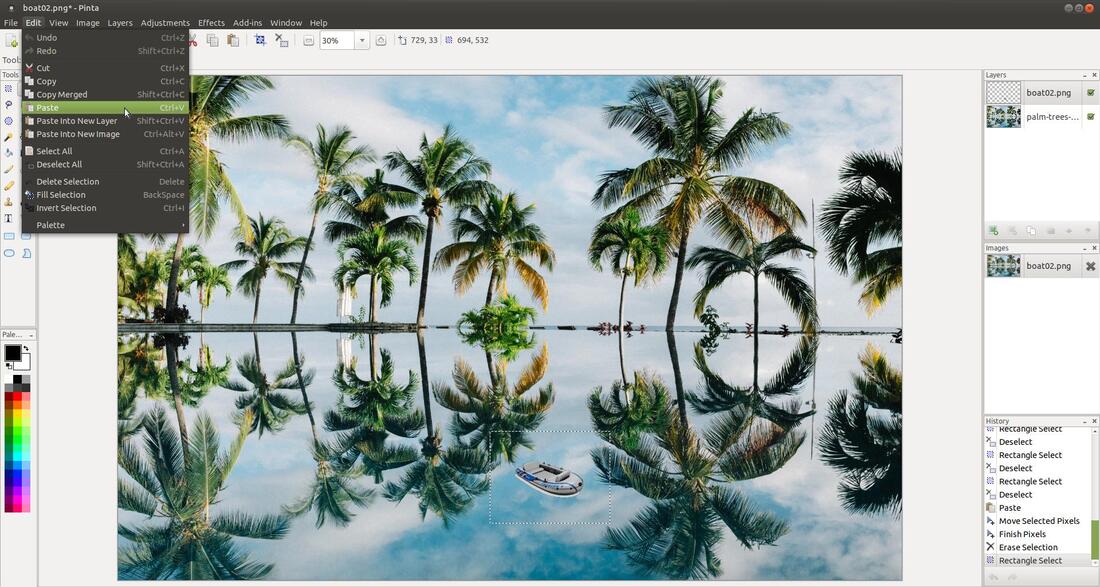
By default, the image on the clipboard will be placed in the upper left corner of the active image. You can use the Move Selected Pixels tool from the Tool Palette and move the newly inserted image around.
The Paste command can be invoked by pressing the Ctrl+V shortcut keys.
Paste Into New Layer
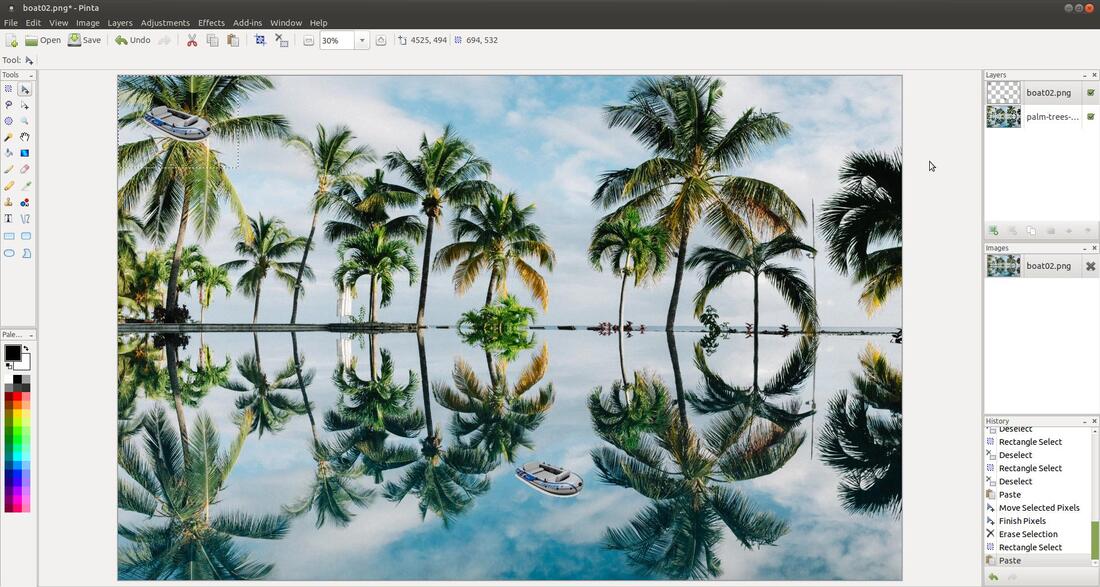
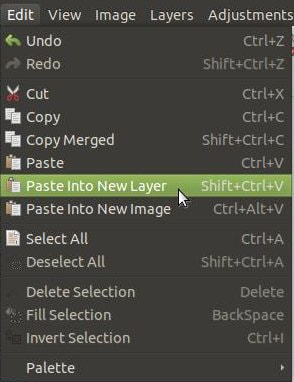
The Paste Into New Layer command is similar to the Paste command, except that a new layer is created to hold the clipboard image. Using this command will not overwrite any existing pixels in your image. As you can see in my example below (look in the Layers Window), a new layer called Layer 2 was created when I used the Paste Into New Layer command.
The Paste Into New Layer command is similar to the Paste command, except that a new layer is created to hold the clipboard image. Using this command will not overwrite any existing pixels in your image. As you can see in my example below (look in the Layers Window), a new layer called Layer 2 was created when I used the Paste Into New Layer command.

The Paste Into New Layer command can be invoked by pressing the Shift+Ctrl+V shortcut keys.
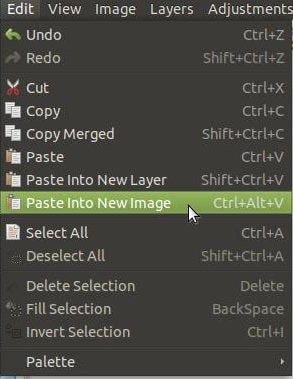
Paste Into New Image
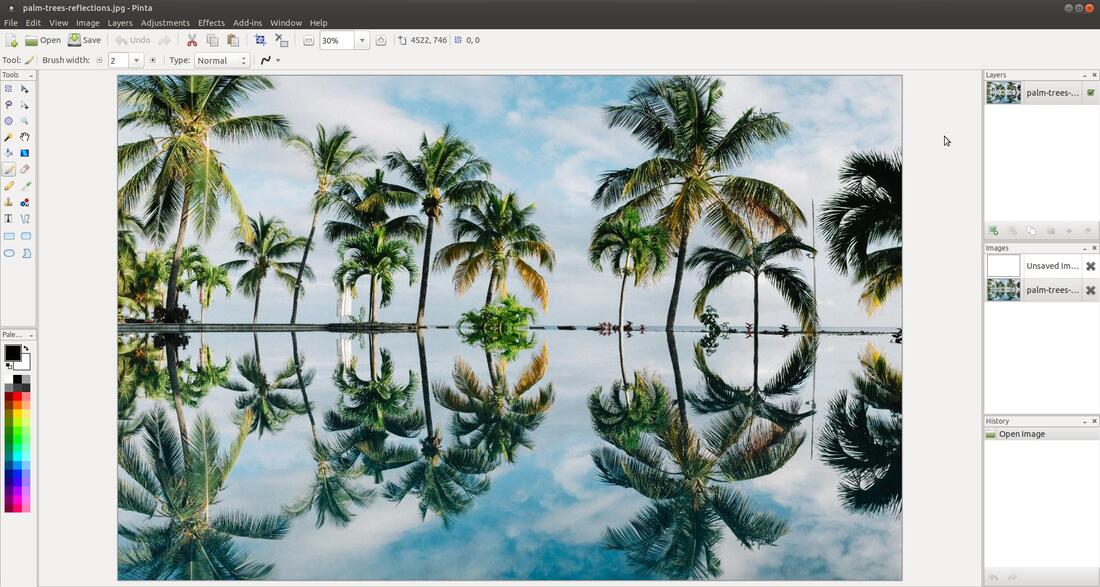
The Paste Into New Image command is similar to the Paste command, except that it creates a new image, makes it active, then pastes the contents of the clipboard into it (look in the Images Window). The new image will be exactly the same size as the clipboard image.
The Paste Into New Image command is similar to the Paste command, except that it creates a new image, makes it active, then pastes the contents of the clipboard into it (look in the Images Window). The new image will be exactly the same size as the clipboard image.

The Paste Into New Image command can be invoked by pressing the Ctrl+Alt+V shortcut keys.
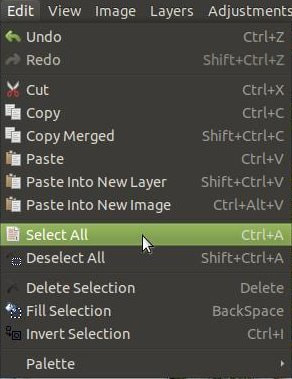
Select All
Th Select All command causes the entire active layer to become selected.
Th Select All command causes the entire active layer to become selected.

The Select All command can be invoked by pressing the Ctrl+A shortcut keys.
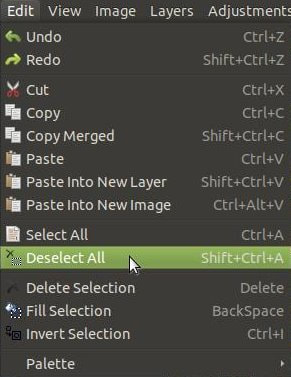
Deselect All
Th Deelect All command forces all selected pixels to be deselected. After you invoke this command, you will no pixels in the active window selected.
Th Deelect All command forces all selected pixels to be deselected. After you invoke this command, you will no pixels in the active window selected.

The Deselect All command can be invoked by pressing the Shift+Ctrl+A shortcut keys.
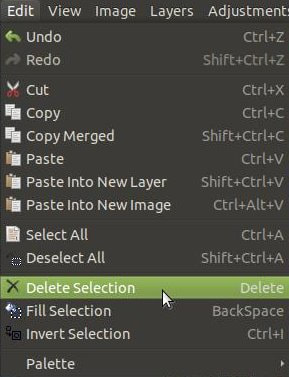
Delete Selection
The Delete Selection command deletes or removes the contents that is selected in the active image.
The Delete Selection command deletes or removes the contents that is selected in the active image.
The Delete Selection command can be invoked by pressing the Delete key.
Fill Selection
The Fill Selection command will fill the active selection within an image with the current Primary color.
The Fill Selection command will fill the active selection within an image with the current Primary color.
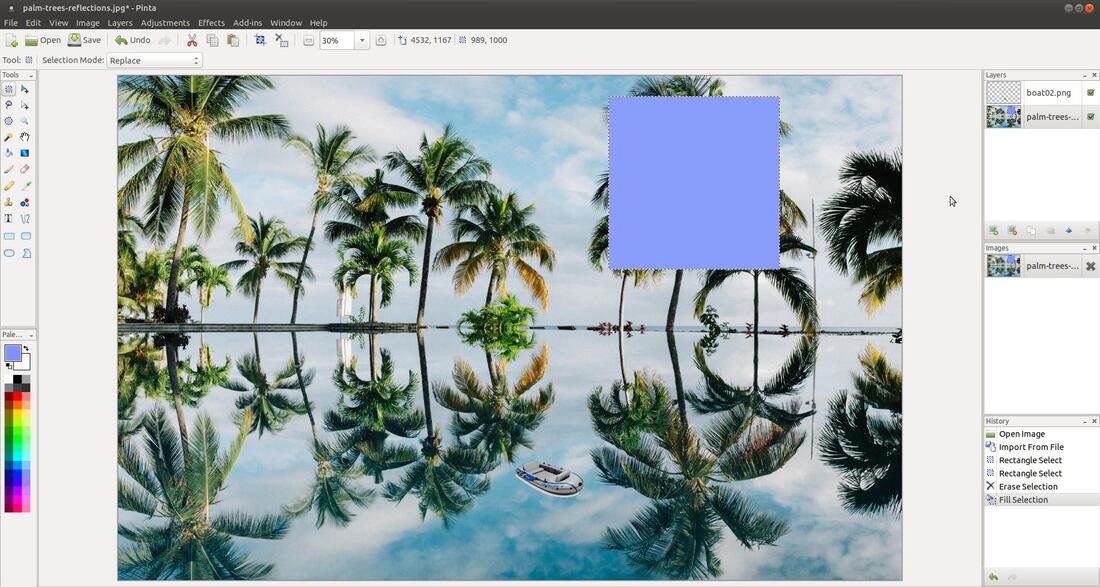
The Fill Selection command can be invoked by pressing the BackSpace key.
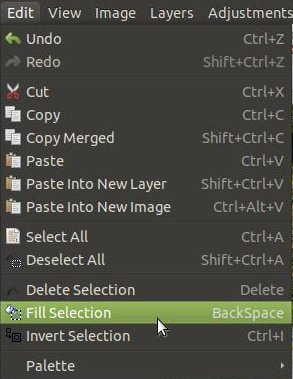
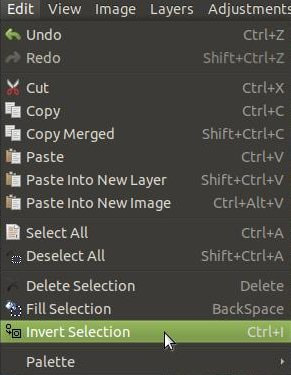
Invert Selection
The Invert Selection command will cause all the active pixels that are selected to be deselected and all the pixels that weren't selected will become selected.
The Invert Selection command will cause all the active pixels that are selected to be deselected and all the pixels that weren't selected will become selected.
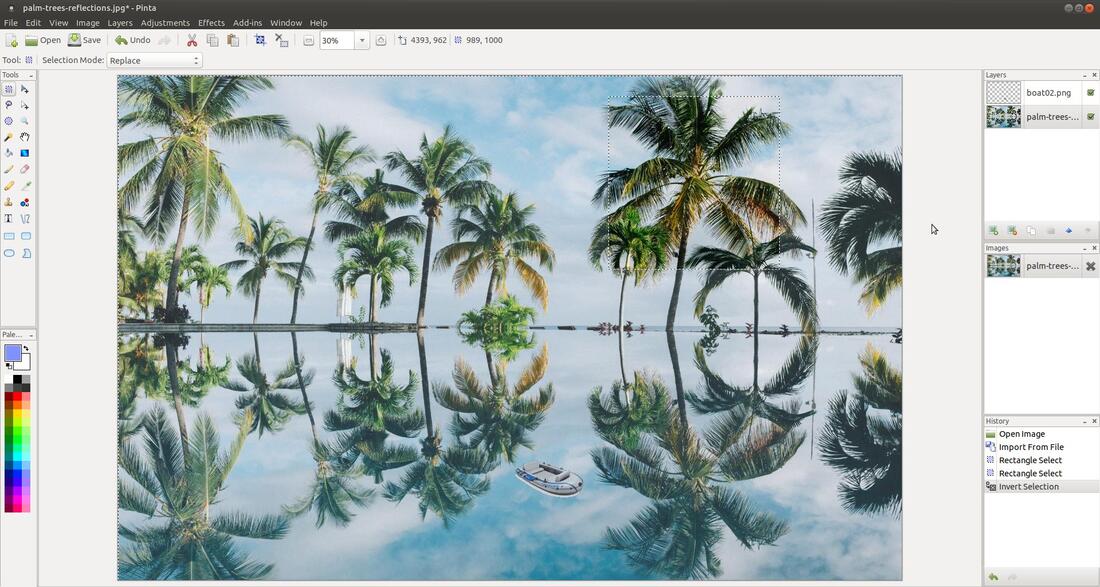
The Invert Selection command can be invoked by pressing the Ctrl+I shortcut keys.
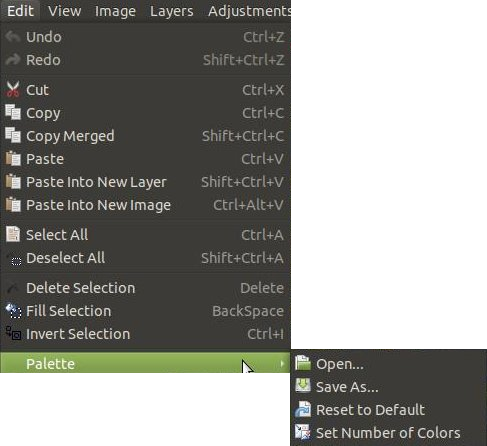
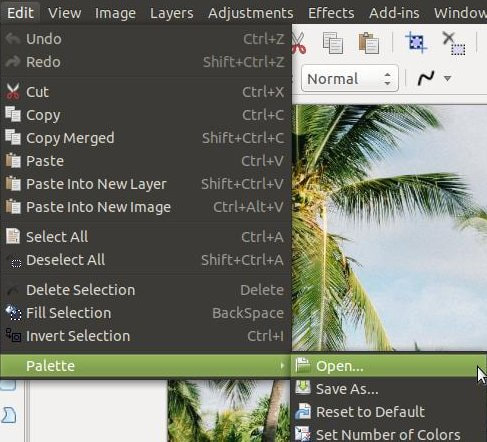
Palette (Submenu)
The Palette submenu contains four commands: Open..., Save As..., Reset to Default, and Set Number of Colors. These commands allow you to make and save a custom color palette for later use.
The Palette submenu contains four commands: Open..., Save As..., Reset to Default, and Set Number of Colors. These commands allow you to make and save a custom color palette for later use.
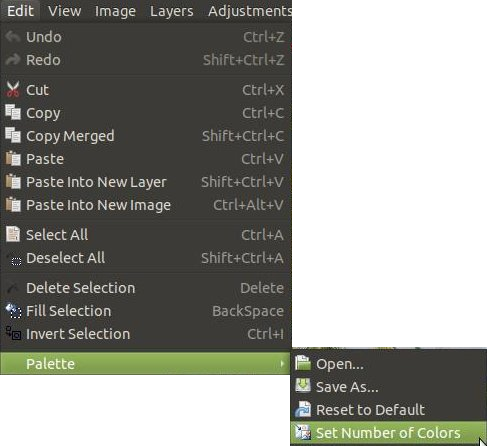
Set Number of Colors
The Set Number of Colors command is used to adjust the number of colors in the Color Palette.
The Set Number of Colors command is used to adjust the number of colors in the Color Palette.
Clicking on Set Number of Colors command will cause a Resize Palette dialog box to appear. You can enter a New Palette size to change the number of colors displayed in the Color Palette.
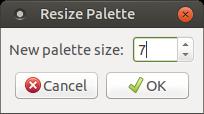
In my example, I changed the default value from 48 to 7. Now, you will only see 7 colors displayed on the Color Palette.
Reset to Default
The Reset to Default command allows you to restore your Color Palette back to the default settings.
The Reset to Default command allows you to restore your Color Palette back to the default settings.
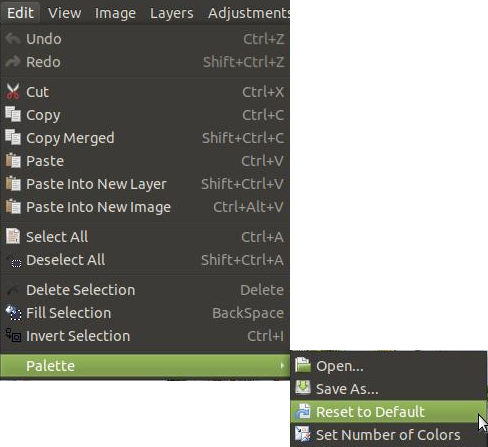
You will see the normal 48 colors. It will have three columns and sixteen rows.
Save As...
The Save As... command allows you to save a customize Color Palette.
The Save As... command allows you to save a customize Color Palette.
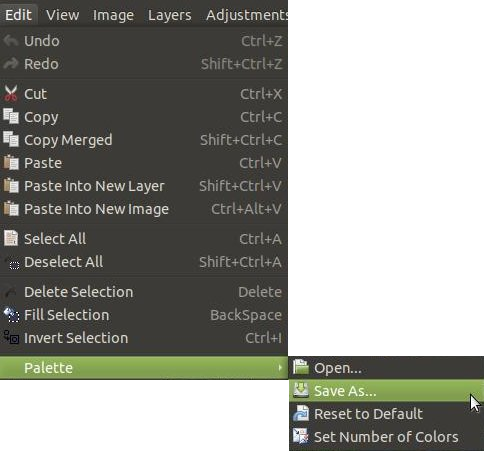
A Save Palette File dialog box will appear when you click on the Save As... command. You can give your new Color Palette a name and save it to a location of your choice. I gave my new Color Palette the name place and I saved it in a folder I created called Palettes.
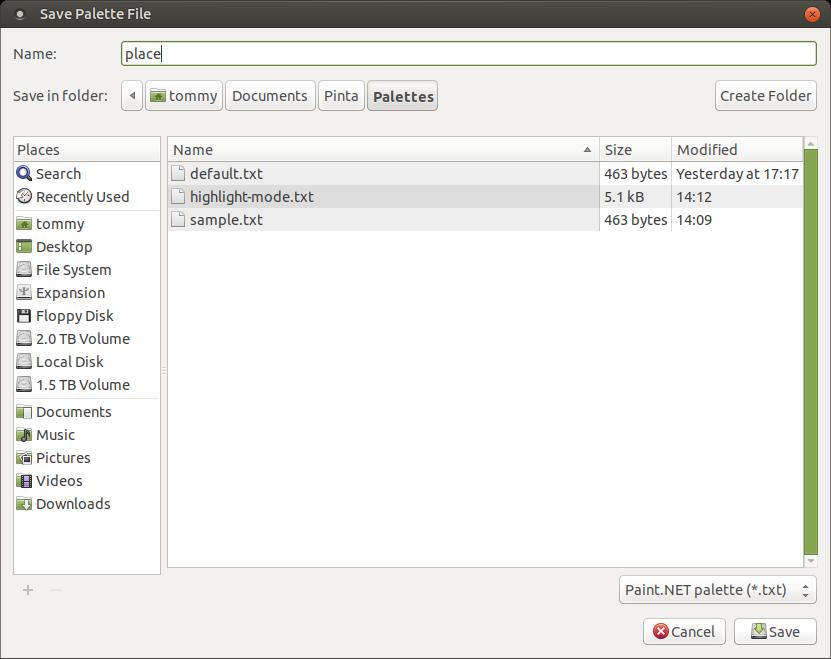
I clicked the Save button to save the file.

Open...
The Open... command allows you to open a custome Color Palette.
The Open... command allows you to open a custome Color Palette.
An Open Palette File dialog box will appear when you click on Open... I selected a file named sample.txt that I created earlier. Click the Open button to open the new Color Palette.
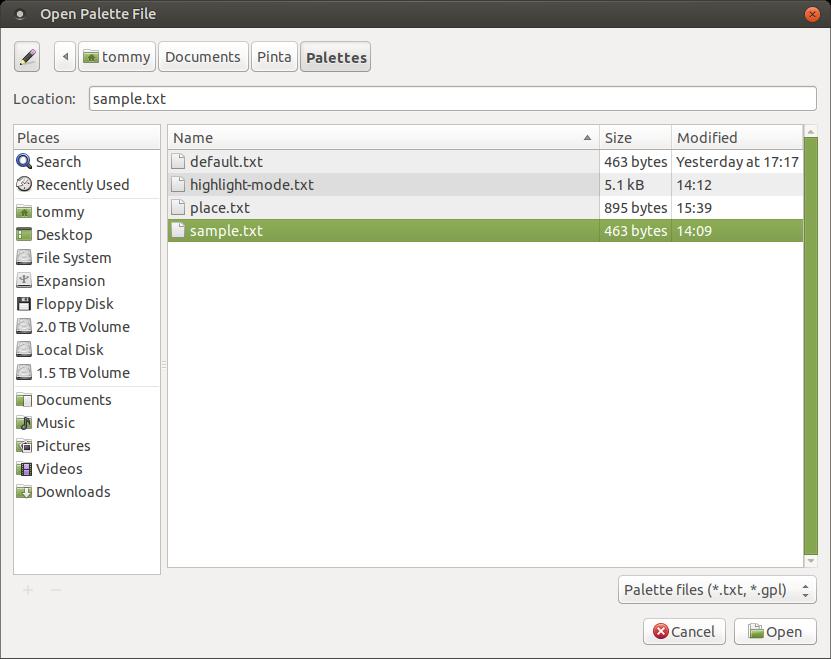
As you can see in the Color Palette, I changed one of my gray colors from the default palette with a shade of blue taken from the blue sky using the color picker. I also replaced one of the dark red colors with a dark blue color taken from the water using the color picker.

I hope the information on this page helped you understand each of the commands or features found in the Edit menu of Pinta.
Take care!
Take care!
Jun 13, 2019
