
Emby Media Server
Emby Media Server allows you to manage your personal media library, such as your home videos and photos.
Emby Media Server is a great way to create your own multimedia streaming service for your home. The instructions below are for installing Emby Media Server on Ubuntu/Ubuntu MATE 20.04 LTS. You can find installation files for other platforms at https://emby.media.
How to Install Emby Media Server
It is an easy process to install Emby Media Server on your system. Just follow the steps below and it will be up and working in no time.
We need to first update our Ubuntu system before we install Emby. So open your Terminal and enter the following:
sudo apt update
sudo apt upgrade
It is an easy process to install Emby Media Server on your system. Just follow the steps below and it will be up and working in no time.
We need to first update our Ubuntu system before we install Emby. So open your Terminal and enter the following:
sudo apt update
sudo apt upgrade
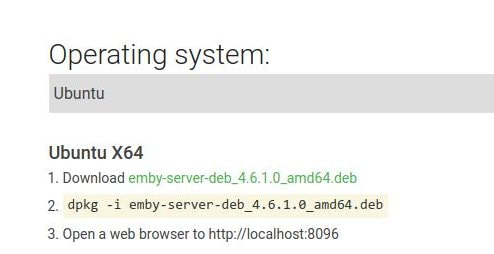
Now, we need to download the Emby package. Go to the website https://emby.media/linux-server.html and download the installation file for your system. At the time of creating this webpage, Emby Server was at version 4.6.1.0, so I clicked on the emby-server-deb_4.6.1.0_amd64.deb. This started the download process.
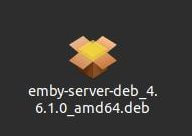
Next, go to the location where your file is located. My file was downloaded in the Downloads folder. I located the file and then double-clicked the file to start my package installer or package manager. I use the GDebi package installer on my system. (You can install GDebi by opening your Terminal and entering the following: sudo apt-get install gdebi.)
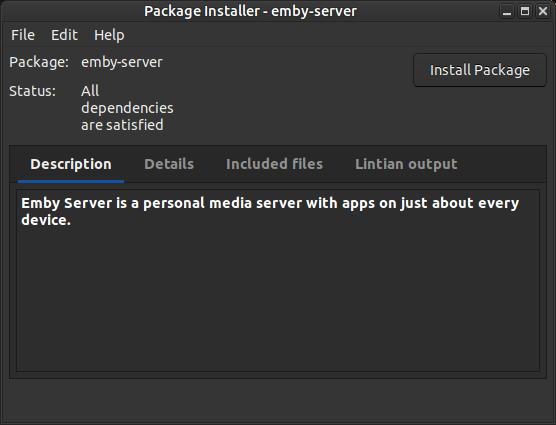
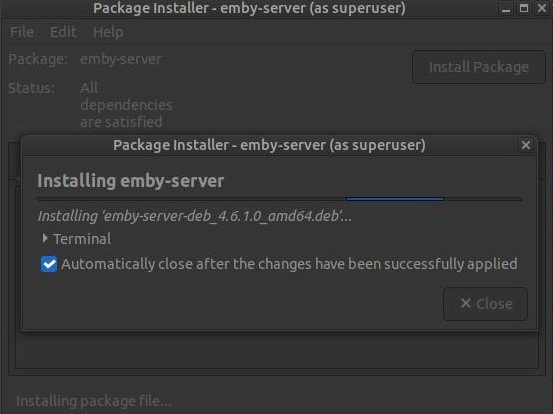
The Package Installer will open to allow you to install the program via the click of a button. Click on the Install Package button to start the installation process.
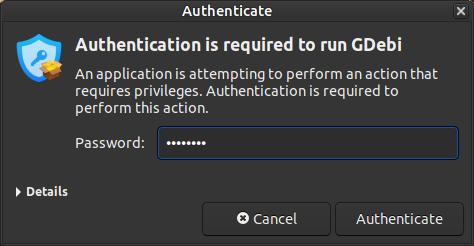
Enter your password and click the Authenticate button.
You will notice a smaller dialog box with an indicator line showing the program being installed.
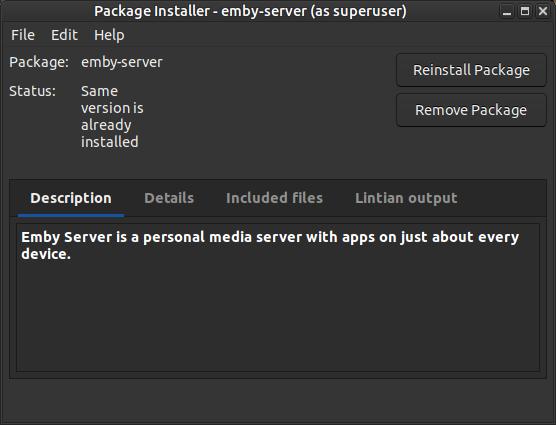
Do not close the Package Installer dialog box until you see the Status: Same version is already installed and the two buttons Reinstall Package and Remove Package.
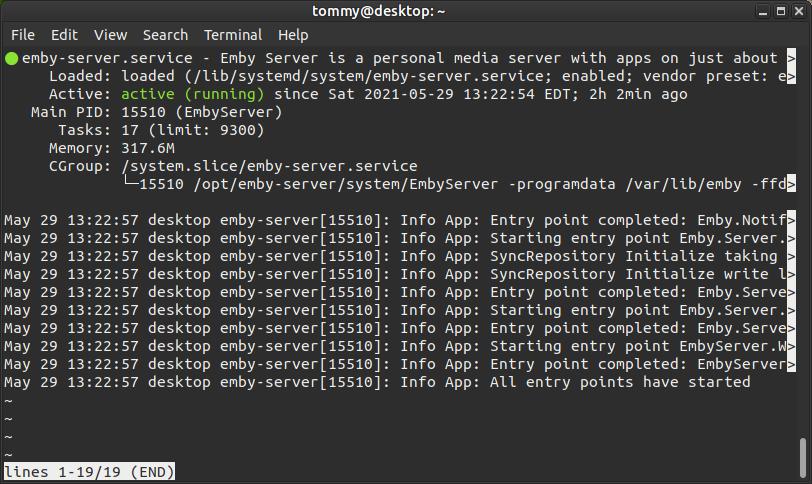
Now, check if the Emby service is up and running by entering the following in the Terminal:
sudo systemctl status emby-server.service
sudo systemctl status emby-server.service
You should see something similar to the contents in my Terminal. You should see a green light to the left of emby-server.service at the top and Active: active (running).
If the service is not running or has stopped, then Enter the following in the Terminal:
sudo systemctl start emby-server.service
sudo systemctl start emby-server.service
Configure Your Firewall
Emby Media Server requires certain ports to be open for it to work. I will be using UFW (Uncomplicated Firewall) in my example. (If you do not have firewall running on your system you can skip this section.)
For most users allowing port 8096 is all you need to do in order to stream your media throughout your local network. All you need to do is to open your Terminal and enter the following:
sudo ufw disable
sudo ufw allow 8096
sudo ufw allow 8096/tcp
sudo ufw enable
Next, update the profile list:
sudo ufw app update emby-server.service
Then apply the new firewall rule by typing:
sudo ufw allow emby-server.service
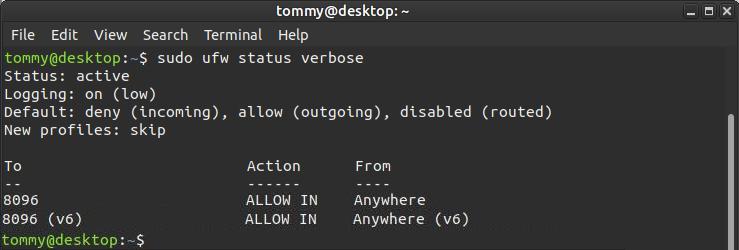
Finally check if the new firewall rule applied successfully with:
sudo ufw status verbose
sudo ufw status verbose
Configure Emby
Before you start the Emby setup wizard let’s create the directories that will store the Emby media files. You need to create folders that will reflect the type of files that will be placed in them. In my example I will create a embymedia folder in the opt folder (a folder not part of the operating system) and create two folders inside the embymedia folder. I will create a Movies folder that will contain all my movies and a TV folder that will contain all my TV shows. To create these folders enter the following in your Terminal:
sudo mkdir -p /opt/embymedia/Movies
sudo mkdir -p /opt/embymedia/TV
You don't have to create those same named folders or place them in the same location. Actually, on my desktop system I installed the Emby Media Server on my SSD and my Movies and TV folders on another internal hard drive. In order for Emby to read or locate your media files on another hard drive you must create a mount point. A mount point defines where to find the data or files on the hard drives in your system. I have the instructions on my How-To Create a Mount Point section of my website.
The Emby Media Server user should have read and write permissions on the directories we just created. Enter the following to give read and write privileges to each new folder. Also, don't use any spaces when creating any of these folders.
sudo chown -R emby: /opt/embymedia/Movies
sudo chown -R emby: /opt/embymedia/TV
If you add an extra folder to the /opt/embymedia/ then don't forget to do the steps above but use the new folder name.
My actual Movies and TV Shows are on a separate internal hard drive via a Mount Point of Media, so I had to enter the following:
sudo chown -R emby: /home/tommy/Media/Movies
sudo chown -R emby: /home/tommy/Media/TV
You can also create a Movies and TV folder in your Videos folder if you have s big enough hard drive. Just replace my name tommy with your name. Then enter the following (remembering to replace my name with your name):
sudo chown -R emby: /home/tommy/Videos/Movies
sudo chown -R emby: /home/tommy/Videos/TV
For the rest of this webpage I will use the /opt/plexmedia/ as my example that contains my Movies and TV folders.
If you need additional help with file permissions then check out this site: File Permissions Guide for New Linux Users
Now, open a web browser and enter the following:
http://localhost:8096
You will then create your first user account in Emby. Create as username and password.
http://localhost:8096
You will then create your first user account in Emby. Create as username and password.
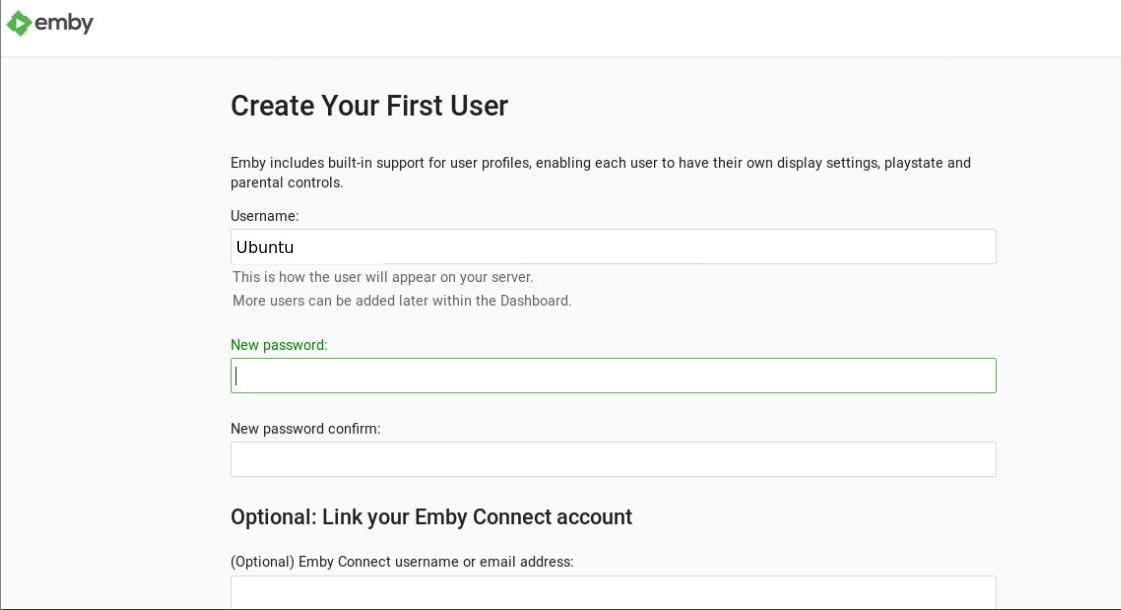
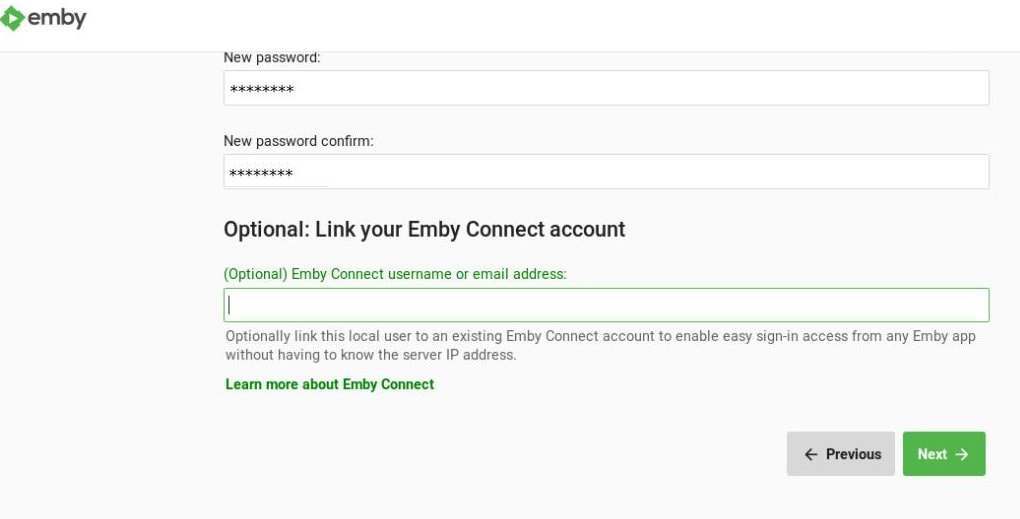
You can link your account with Emby Connect by entering your username or email address, but this is optional.
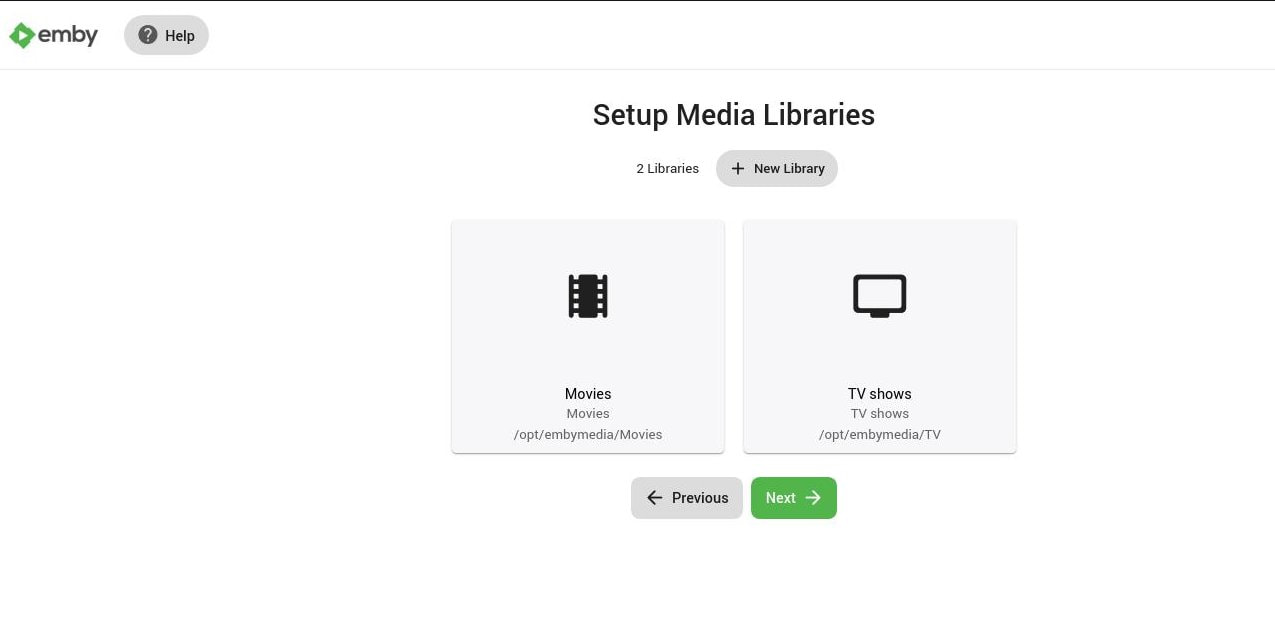
Next we can start to set up the media libraries. Click the drop-down under Content type and select Movies (or the title of your media content). Then type the name you want to be displayed. I typed in Movies under the Display name.
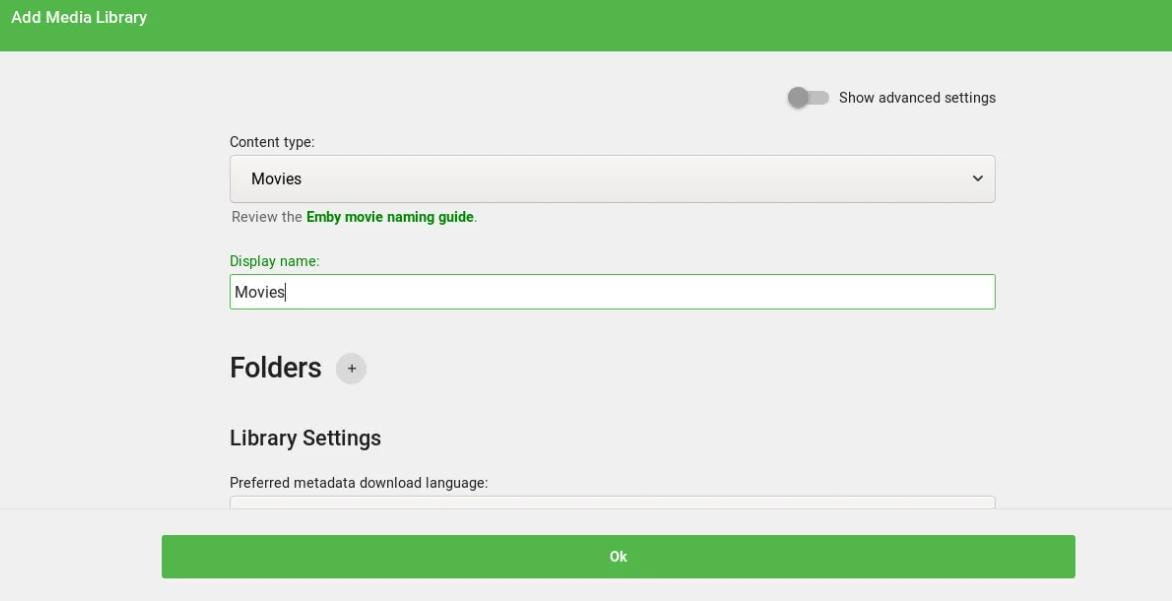
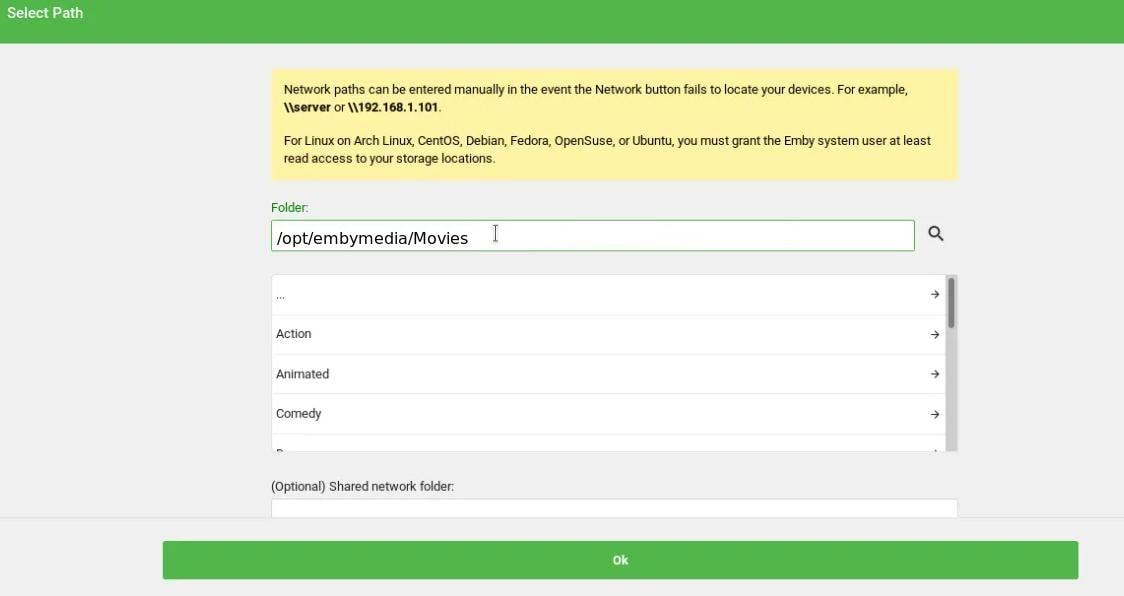
Enter the location or path to your media. My movies are located in the path of /opt/embymedia/Movies. You can also scroll down and navigate to the location of your media files.
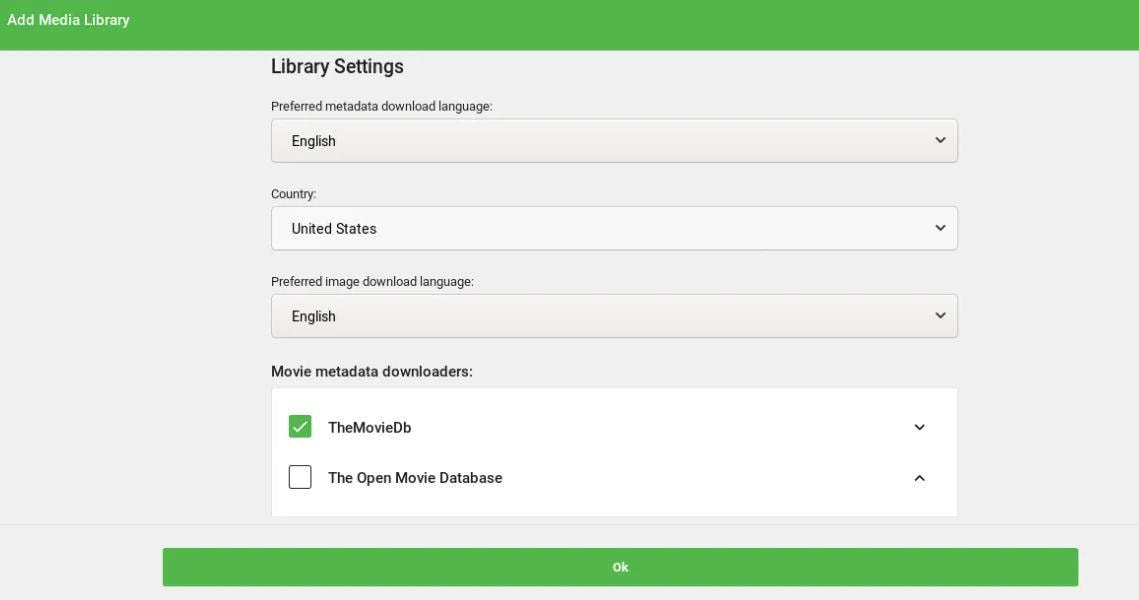
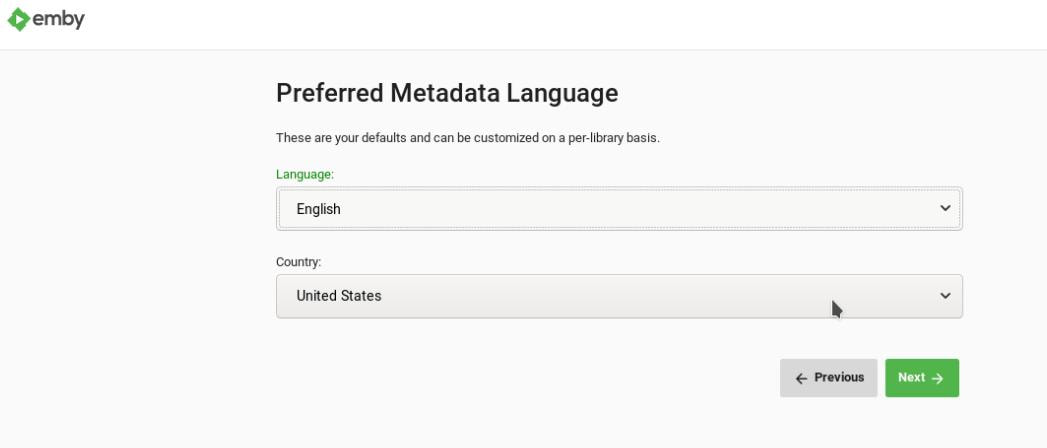
Next, select your preferred language and country. Select the movie metadata download sites and then click OK.
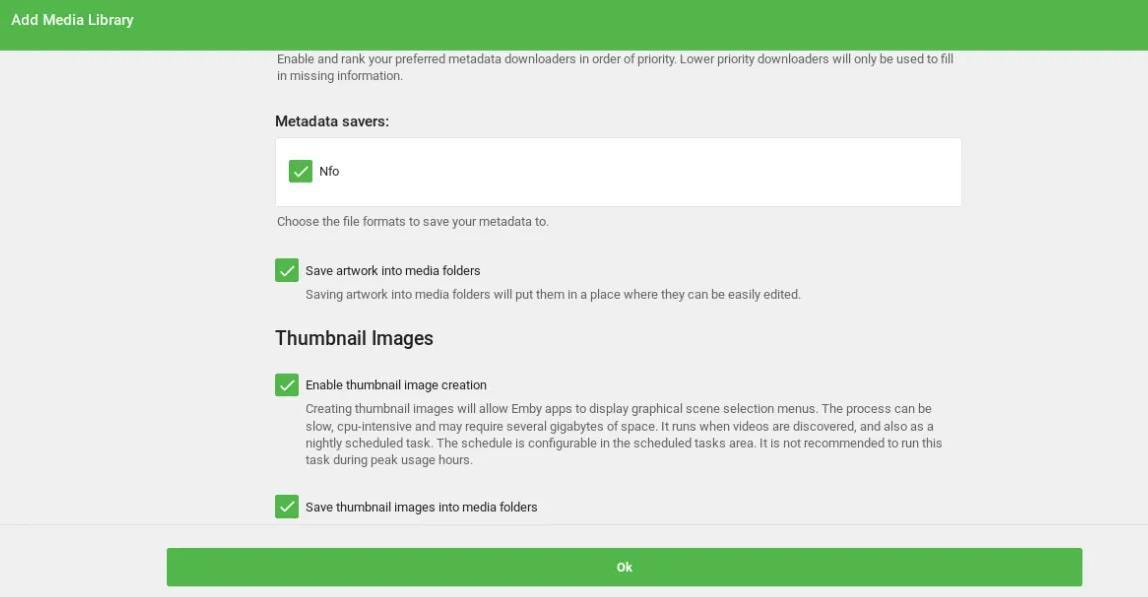
Select the format for your metadata format and if you want the thumbnail images saved in the folder with your media files. Then click OK to continue.
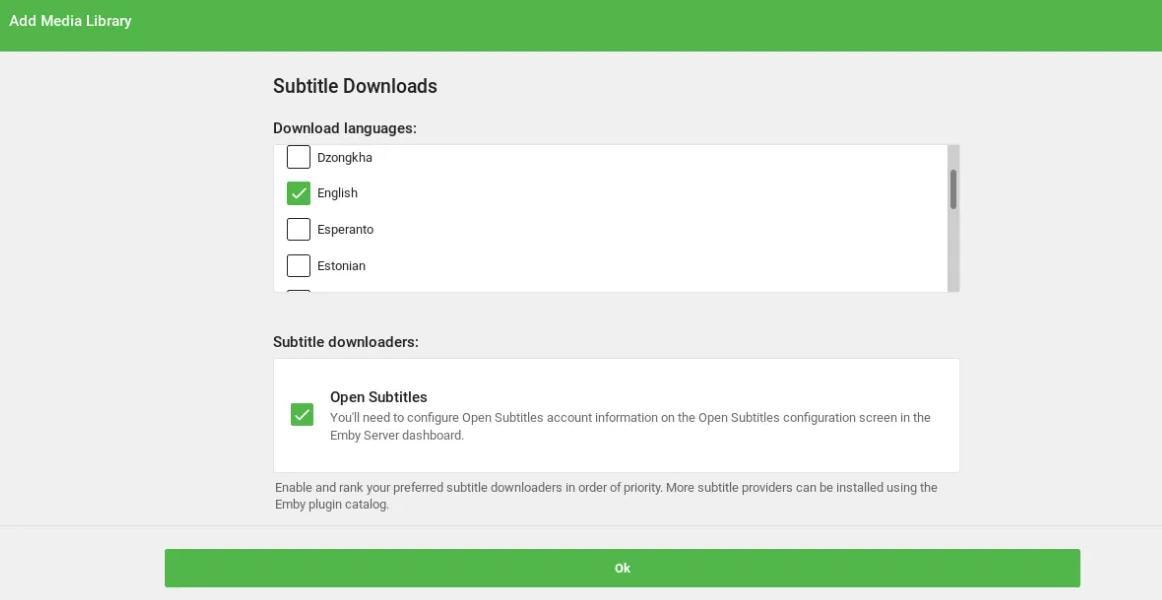
Select the language for subtitles and then click OK.
Now go through the same steps above but this time setup your media library for your TV shows. Then click Next.
The next section where I again set the metadata language and country. Then click Next to continue.
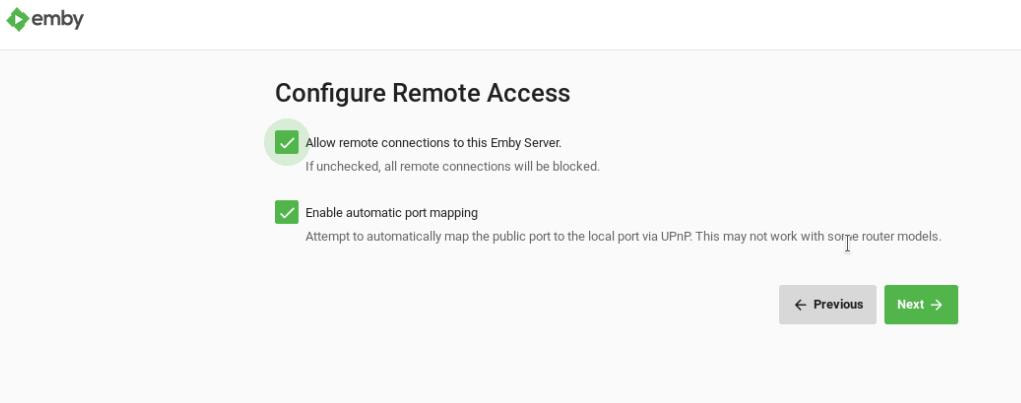
You can then select if you want to use remote access. Please read the Port Forwarding Guide for more information on port forwarding. Then click the Next button.
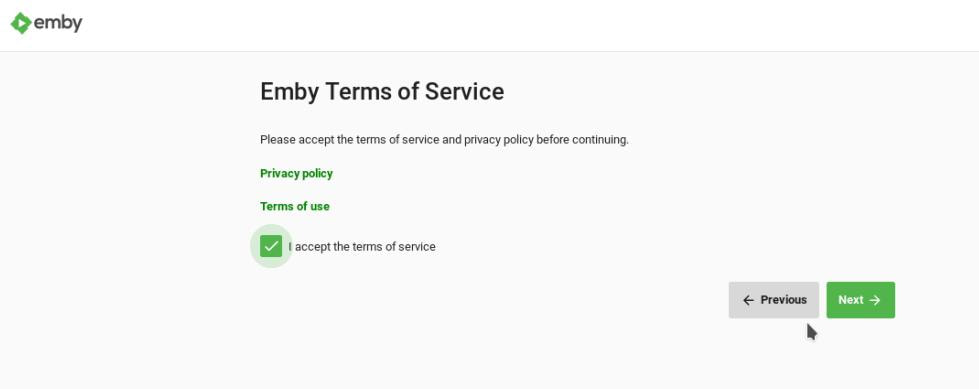
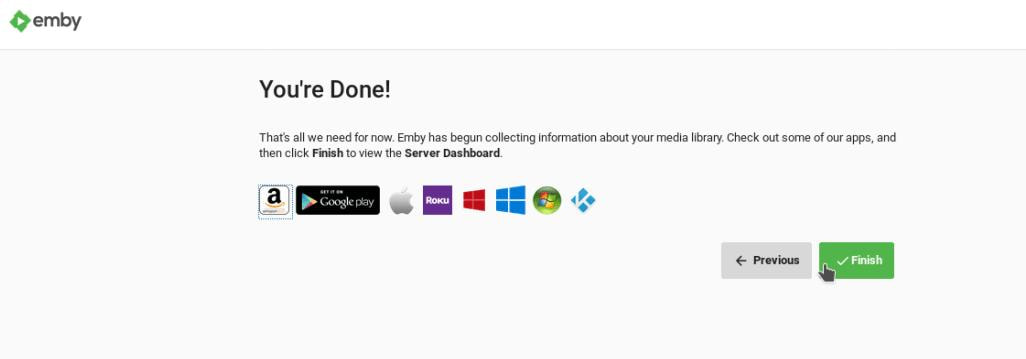
You'll have to check the box next to "I accept the terms of service" before you can continue. Then click the Next button.
It will prompt you to let you know that you're done. Click the Finish button.
First Run of Emby
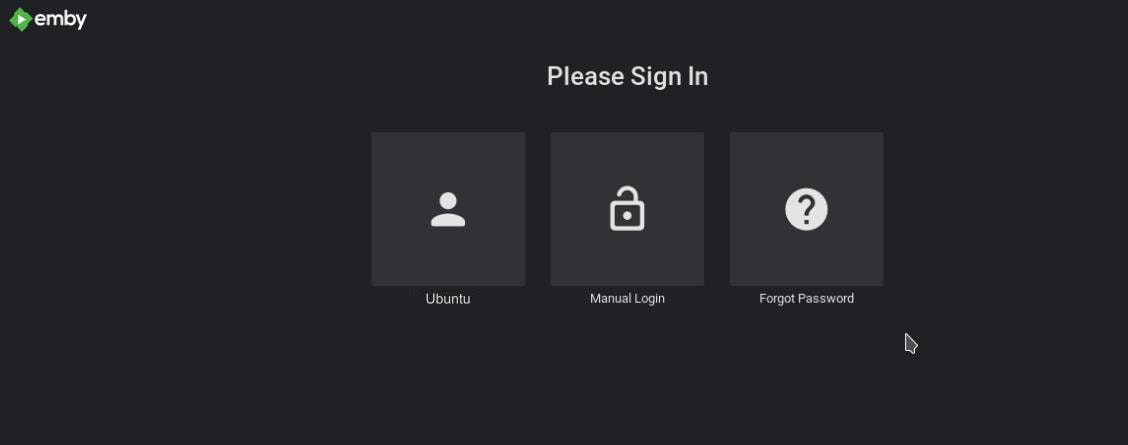
To run the media server open your browser and navigate to http://localhost:8096 and click on your username. I created Ubuntu as my username.
To run the media server open your browser and navigate to http://localhost:8096 and click on your username. I created Ubuntu as my username.
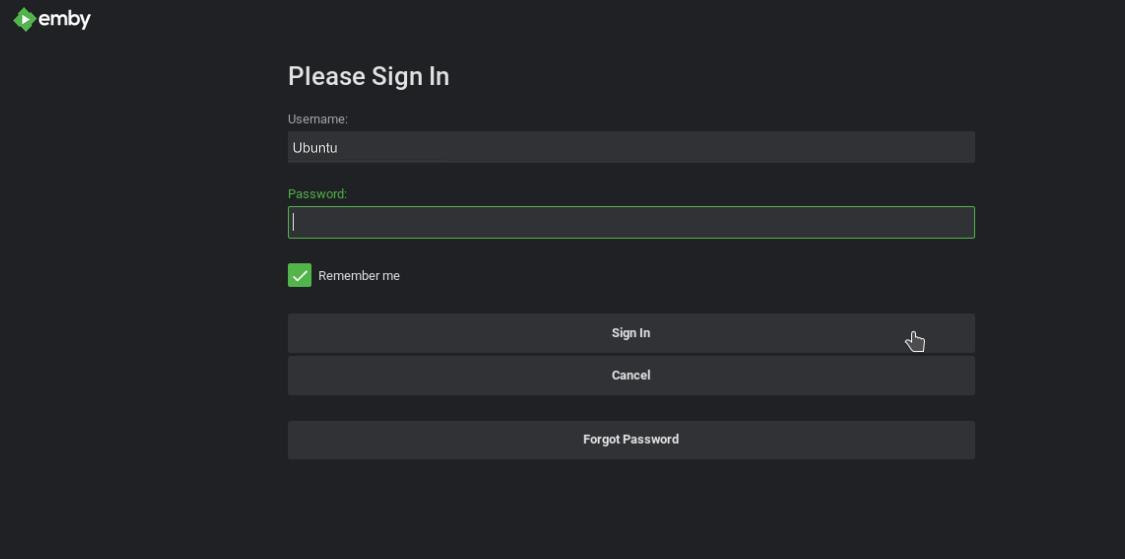
Enter your Emby Media Server username and password and then click the Sign In button.
Don't panic if you don't immediately see your movies and TV shows. Emby has to scan and locate your media files and then look across the Internet to locate a cover art image and description. It may take a while to complete this process (depending on the number of media files).
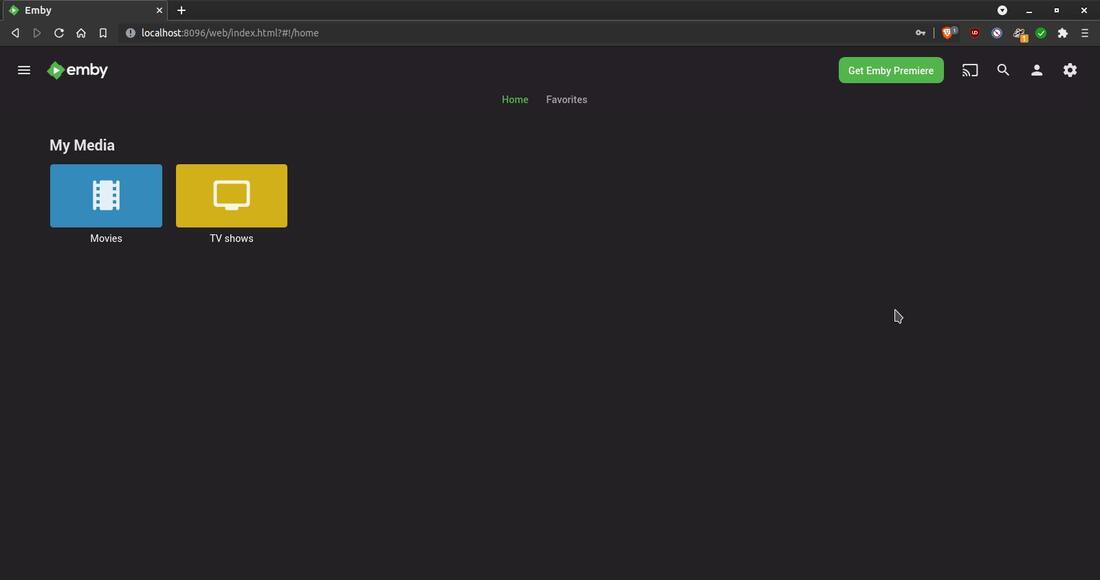
They will eventually show up.
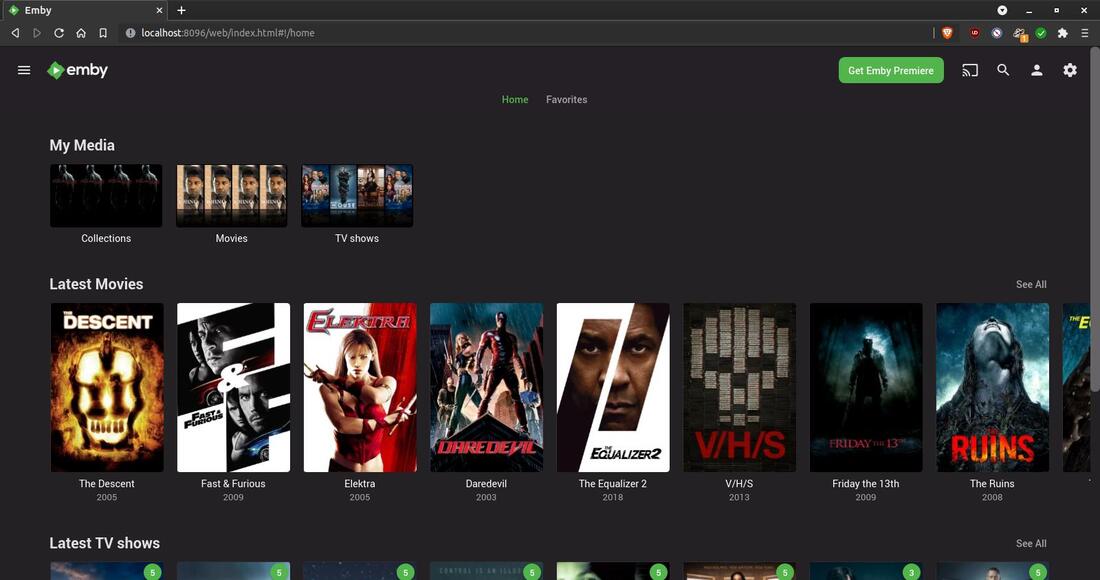
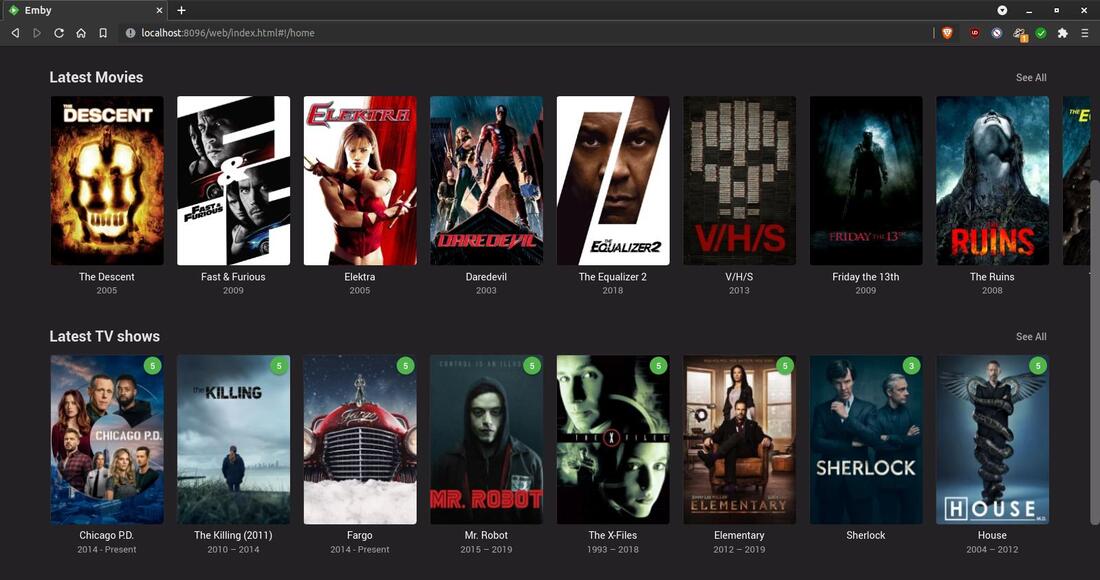
You'll be able to see some of the most recent additions added to your media library on the Emby home screen. You can click a topic under the My Media section to view your entire movie collection or TV shows.
Emby has a nice user interface, but it doesn't have all the features found in Plex.
Uninstall Emby Media Server
To completely remove the Emby Media Server from the computer, first make sure the Plex Media Server is not running by entering the following: sudo systemctl stop emby-server or sudo service emby-server stop
Then do the following:
To completely remove the Emby Media Server from the computer, first make sure the Plex Media Server is not running by entering the following: sudo systemctl stop emby-server or sudo service emby-server stop
Then do the following:
- Run the command: sudo apt-get purge --auto-remove emby-server
- Run the command: sudo rm -rf /var/lib/emby
- Run the command: sudo rm /etc/init/emby-server.conf
- Next, you need remove the open port 8096 by entering: sudo ufw delete 8096
- To remove any dependencies that were installed with Emby Media Server that are no longer used by anything else on the system enter the following: sudo apt-get autoremove
Need Additional Help
Below are some links to help you if you need additional help with Emby.
Below are some links to help you if you need additional help with Emby.
Conclusion
You now should have a working Emby Media Server on your system. You can start adding to your Media Library.
You now can install the Emby app on a variety of devices and enjoy the multimedia content on your system. Get the Emby player app for
Android, Android TV, Mac/iOS, Roku, Fire TV, and many more devices.
June 2, 2021
