
XnView MP
XnView MP is a cross-platform photo viewer that supports all common picture and graphics formats. XnView MP supports over 500 image formats and export to about 70 different file formats. This program allows you to view your images in numerous ways and it provides you with a variety of editing tools to modify or alter your images. It even comes with an easy to use yet powerful batch conversion module.

How to Install XnView MP:
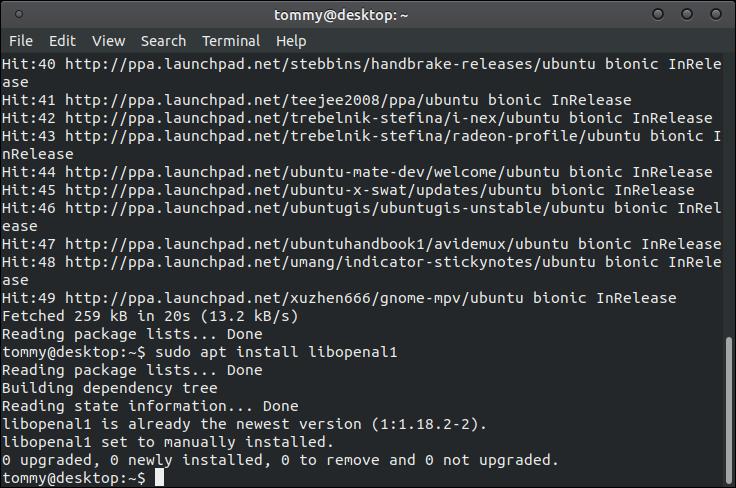
You must first install the libopenal1 depency file before you install XnView MP.
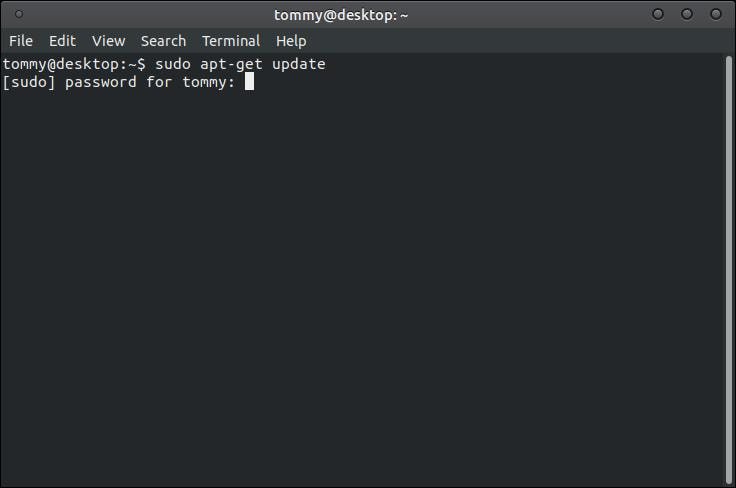
1. Open the Terminal (Shortcut: Ctrl + Alt + T)
2. Type the following command: sudo apt-get update
3. Press Enter or Return and type in your password
4. Type the following command: sudo apt install libopenal1
5. Type Y and press Enter or Return
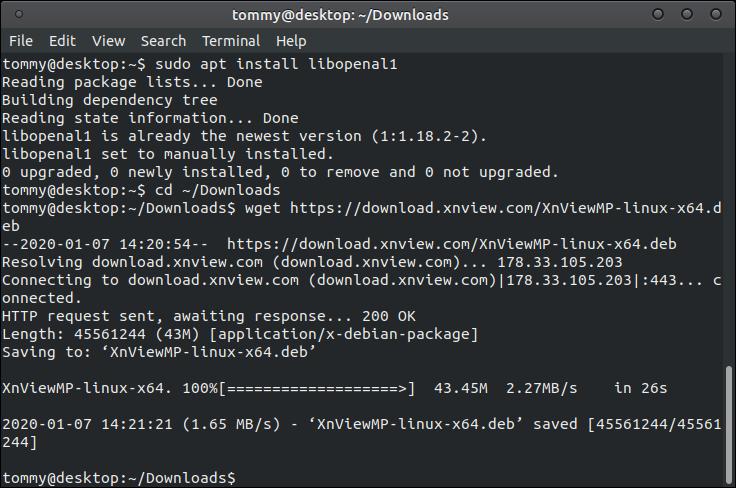
6. Type cd ~/Downloads
7. Type wget https://download.xnview.com/XnViewMP-linux-x64.deb
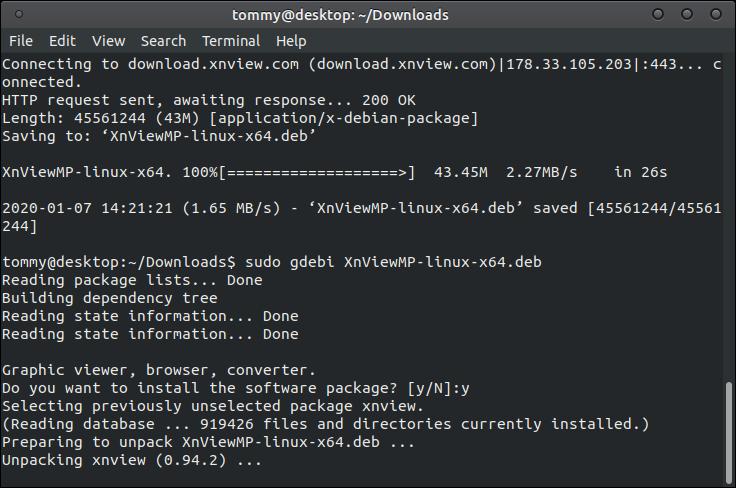
8. Type sudo gdebi XnViewMP-linux-x64.deb
Illustrated Instructions
1. Open the Terminal (Shortcut: Ctrl + Alt + T)
2. Type the following command: sudo apt-get update
3. Press Enter or Return and type in your password
You must first install the libopenal1 depency file before you install XnView MP.
1. Open the Terminal (Shortcut: Ctrl + Alt + T)
2. Type the following command: sudo apt-get update
3. Press Enter or Return and type in your password
4. Type the following command: sudo apt install libopenal1
5. Type Y and press Enter or Return
6. Type cd ~/Downloads
7. Type wget https://download.xnview.com/XnViewMP-linux-x64.deb
8. Type sudo gdebi XnViewMP-linux-x64.deb
Illustrated Instructions
1. Open the Terminal (Shortcut: Ctrl + Alt + T)
2. Type the following command: sudo apt-get update
3. Press Enter or Return and type in your password
4. Type the following command: sudo apt install libopenal1
5. Type Y and press Enter or Return
5. Type Y and press Enter or Return
6. Type cd ~/Downloads
7. Type wget https://download.xnview.com/XnViewMP-linux-x64.deb
7. Type wget https://download.xnview.com/XnViewMP-linux-x64.deb
8. Type sudo gdebi XnViewMP-linux-x64.deb
9. Type Y and press Enter or Return
9. Type Y and press Enter or Return
How to Uninstall XnView MP:
1. Open the Terminal (Shortcut: Ctrl + Alt + T)
2. Type the following command: sudo apt-get remove xnviewmp
1. Open the Terminal (Shortcut: Ctrl + Alt + T)
2. Type the following command: sudo apt-get remove xnviewmp
First Time Access
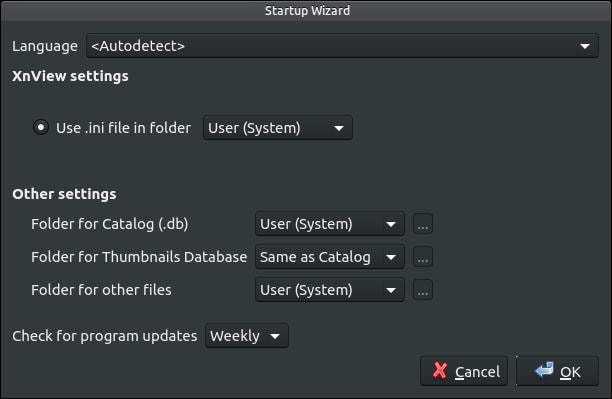
The first time you start XnView MP, you will be greeted with a Startup Wizard. Answer the following options within the dialog box and click the OK button.
The first time you start XnView MP, you will be greeted with a Startup Wizard. Answer the following options within the dialog box and click the OK button.
You will then see XnView MP Photo Manager.
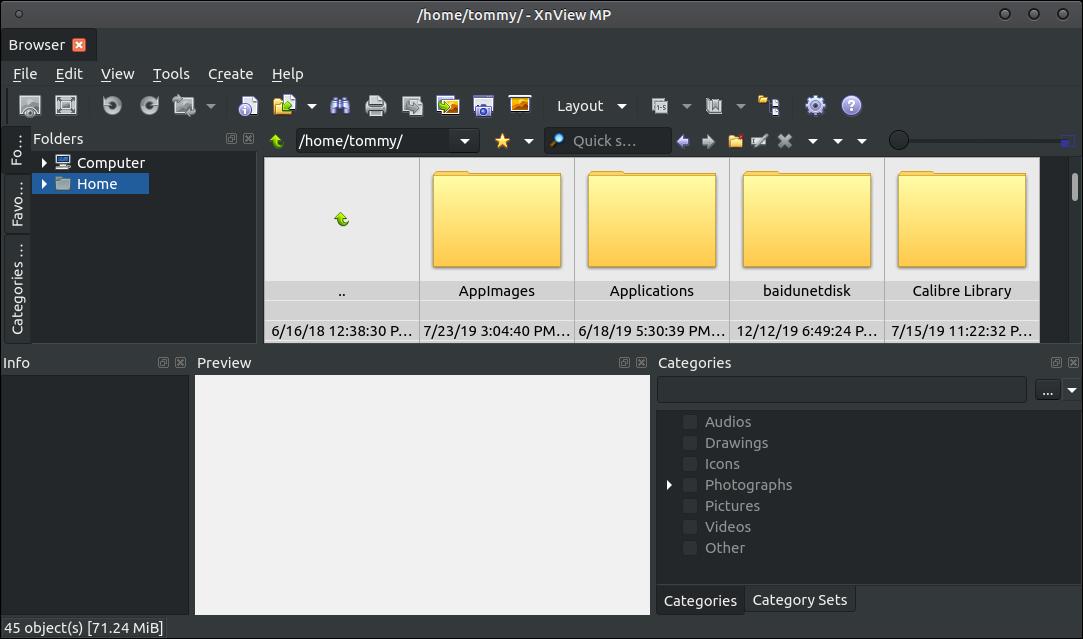
You can navigate to your Pictures folder in the upper left side of the program. The program is arranged by Folders, Location & Thumbnails, Quick Search, Info, Preview, and Catagories.

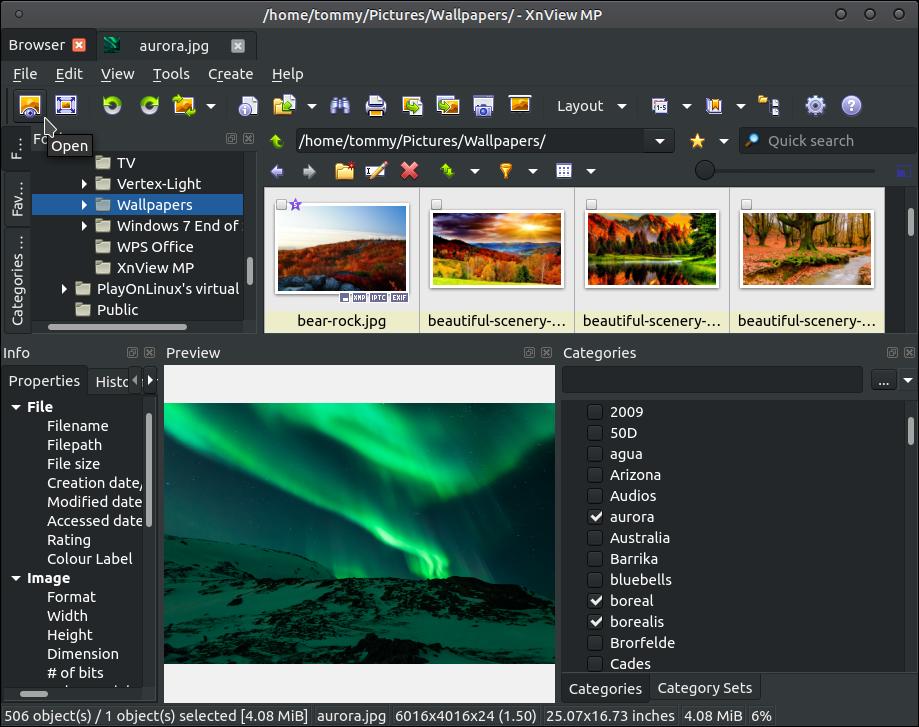
After you locate the image you want to view, click the Open button in the upper left corner to open XnView MP Image Viewer.
The selected image will immediately open in XnView MP Image Viewer.
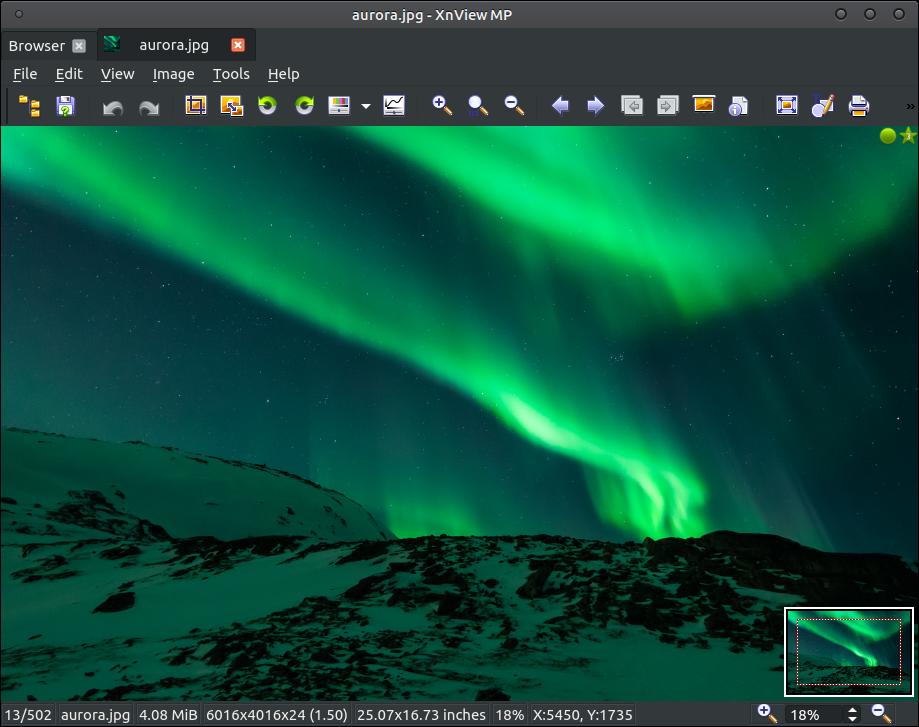
The Open button will change to a Browse button. It works as a toggle button to switch back and forth between the Image Viewer and Photo Manager.
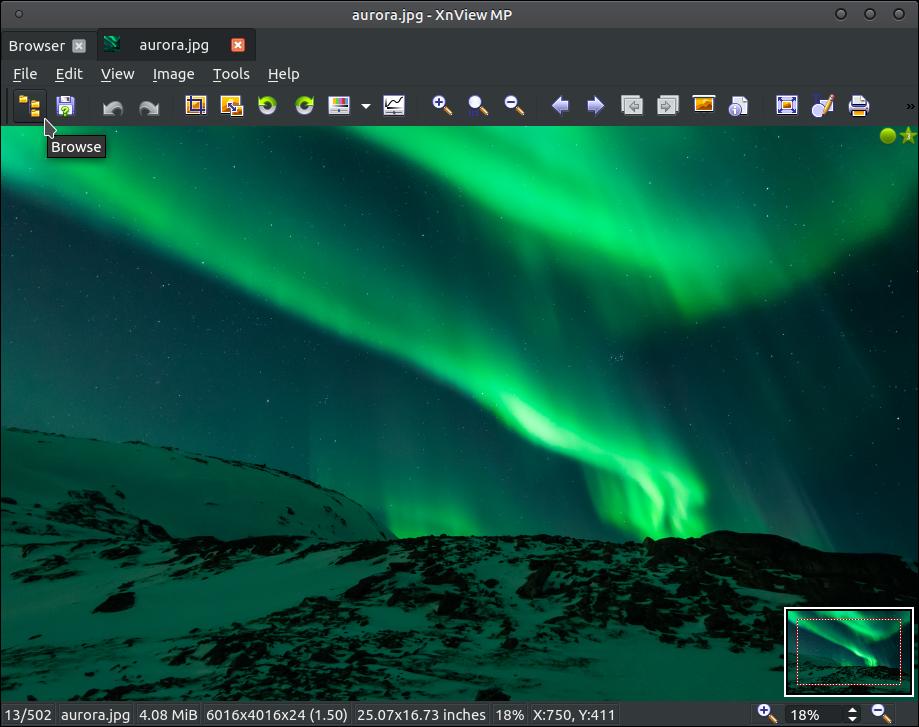
You can advance to the next image in your folder by clicking the Next File button or go back an image clicking on the Previous File button.

The slideshow below will illustrate the name of each button on the toolbar.
Now take a look through each menu on the Menu bar.
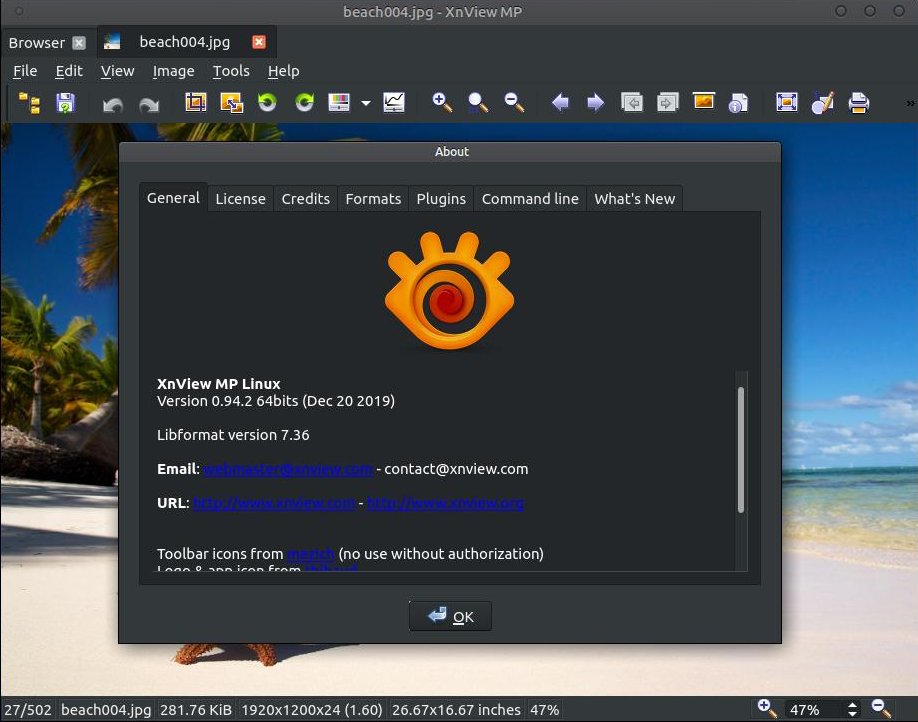
At the time of making this webpage, the version I installed was XnView MP Linux Version 0.94.2 64bits.
You can install XnView MP on Windows, Mac, and Linux. Click on XnView MP link and then scroll to the bottom to download it for your platform. "XnView MP is provided as FREEWARE (NO Adware, NO Spyware) for private or educational use (including non-profit organizations)."
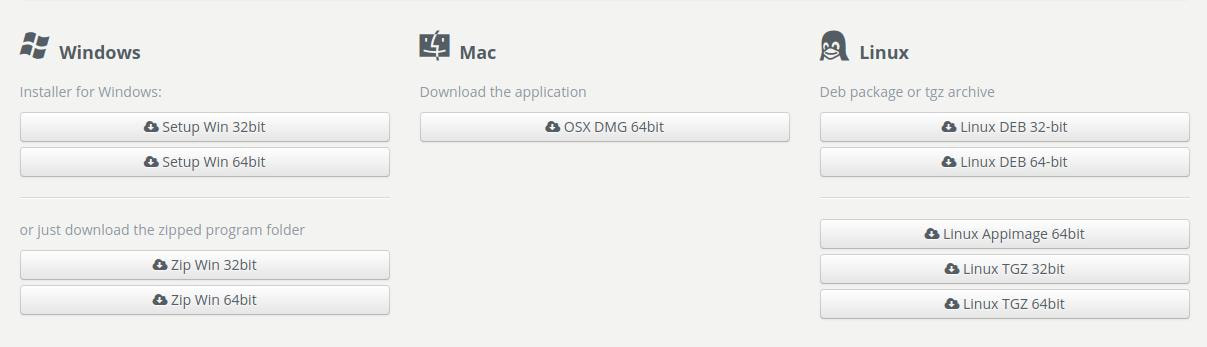
Image from: https://www.xnview.com/en/xnviewmp/
XnViewMP for Beginners
Visit their Forum
"The XnView MP forum is probably the best place to start interacting with other users and the developer."
Visit their Forum
"The XnView MP forum is probably the best place to start interacting with other users and the developer."

Jan 9, 2020
