
Create Return Address Labels
gLabels allows you to create professional return labels quickly and easily. It's a great for those high-volume mailing needs.
In the steps below I will use Avery 5267: Return Address Labels template to match the return address labels from Amazon (Avery Address Labels with Sure Feed for Laser Printers, 0.5" x 1.75", 2,000 Labels, Permanent Adhesive (5267)). (The name and mailing address used in the example below is a fake name and address. I created the name and address to use as examples to illustrate how to print return address labels using a sungle name and address.)
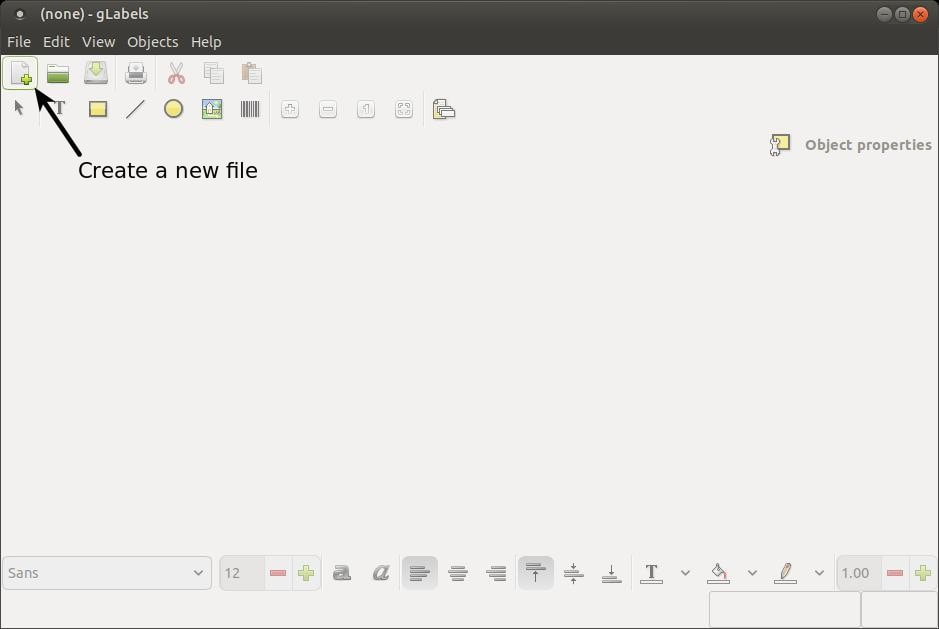
Open the gLabels application and then click on the Create a new file button on the toolbar or click the File menu and click the New option.
In the steps below I will use Avery 5267: Return Address Labels template to match the return address labels from Amazon (Avery Address Labels with Sure Feed for Laser Printers, 0.5" x 1.75", 2,000 Labels, Permanent Adhesive (5267)). (The name and mailing address used in the example below is a fake name and address. I created the name and address to use as examples to illustrate how to print return address labels using a sungle name and address.)
Open the gLabels application and then click on the Create a new file button on the toolbar or click the File menu and click the New option.
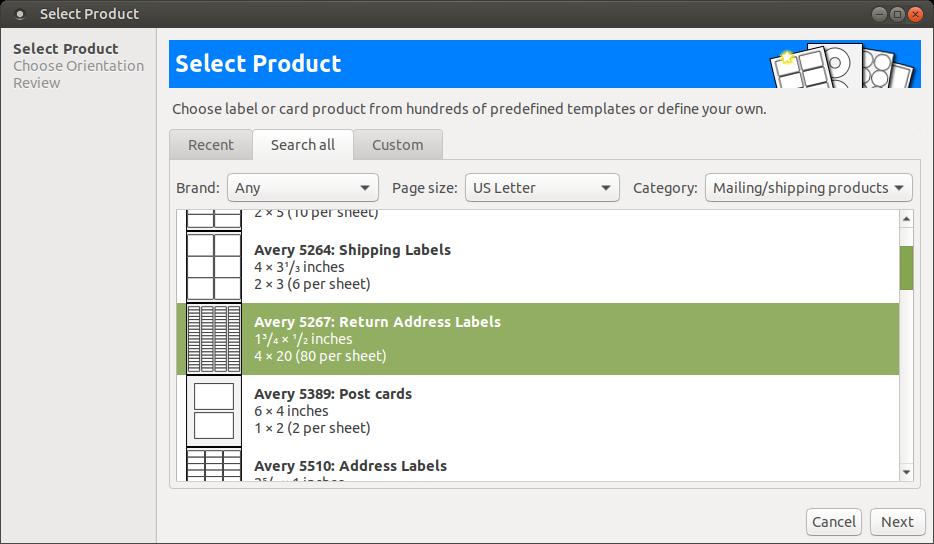
When the Select Product dialog box appears, change the Category to Mailing/shipping products to shorten the list of label options and then scroll down and find Avery 5267: Return Address Labels and click it to select it.
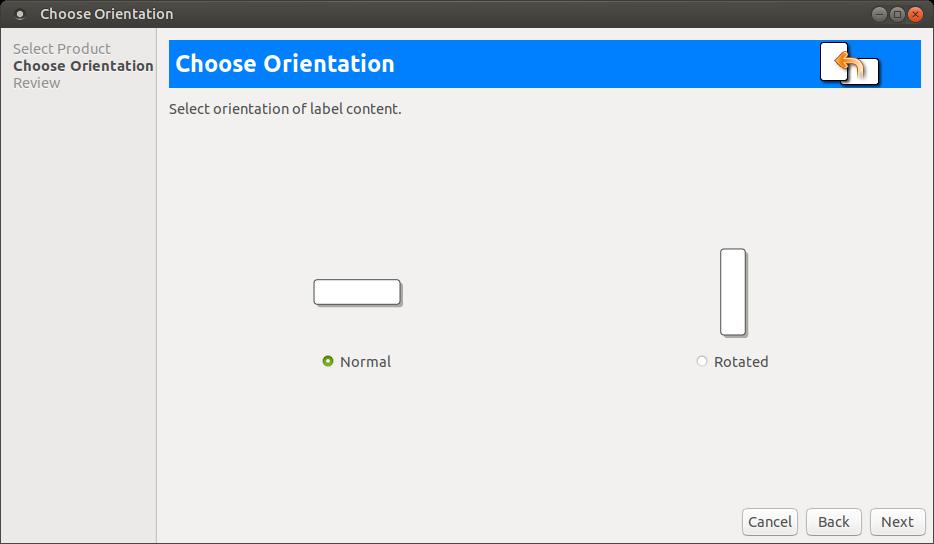
Then click the Next button. A Choose Orientation dialog box will appear to allow you to select the orientation or position of your name tag. Select Normal for horizontal positioned name tag.
Then click the Next button. You have a chance to look over your choices you have made up to this point in the Review Selection dialog box. You can use the Back button if you noticed that you've made a mistake.

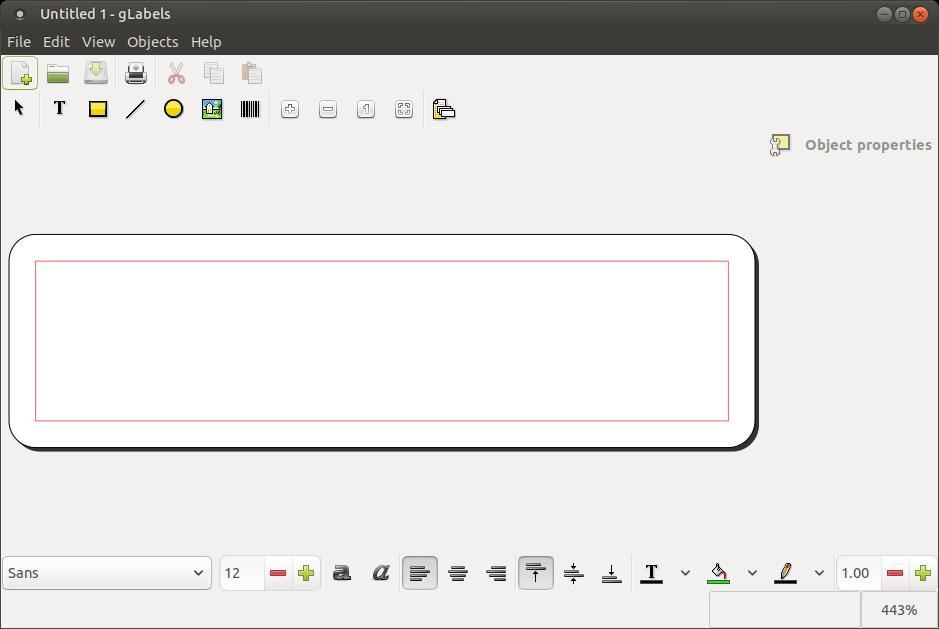
Click the Apply button to start creating your return address labels.

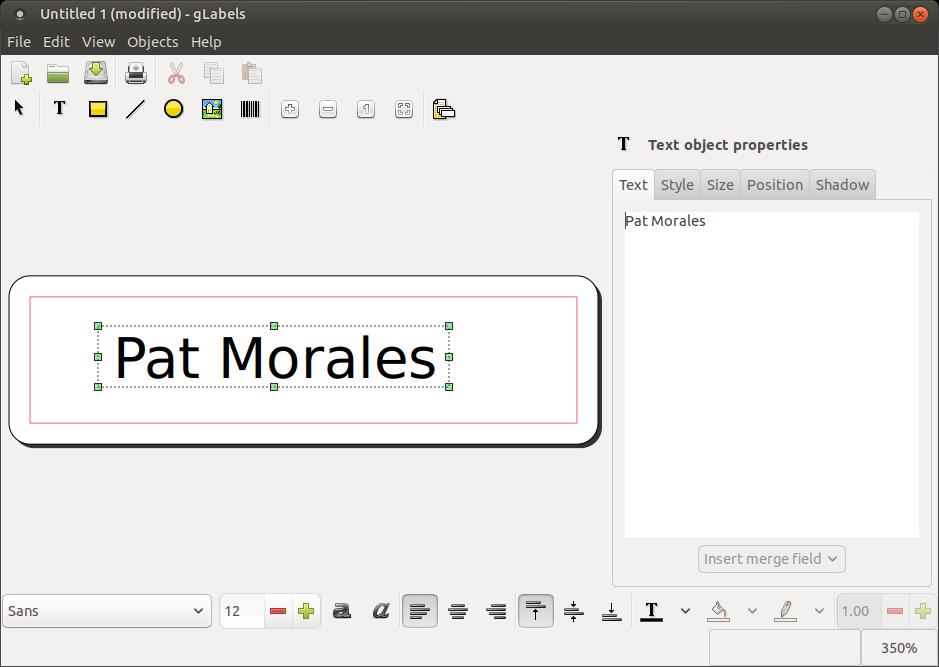
Click the Create text object (T) button on the toobar to allow you to type your name on the return address label.

Type your name or the name of the person you want on your return address label. Remember, you type the name and edit the text on the right side of the program.
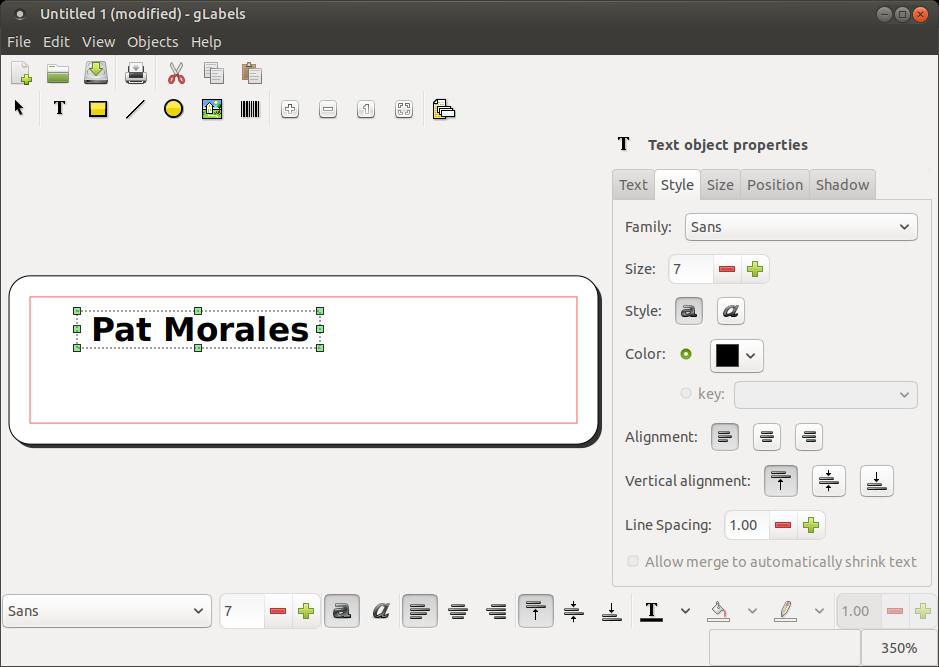
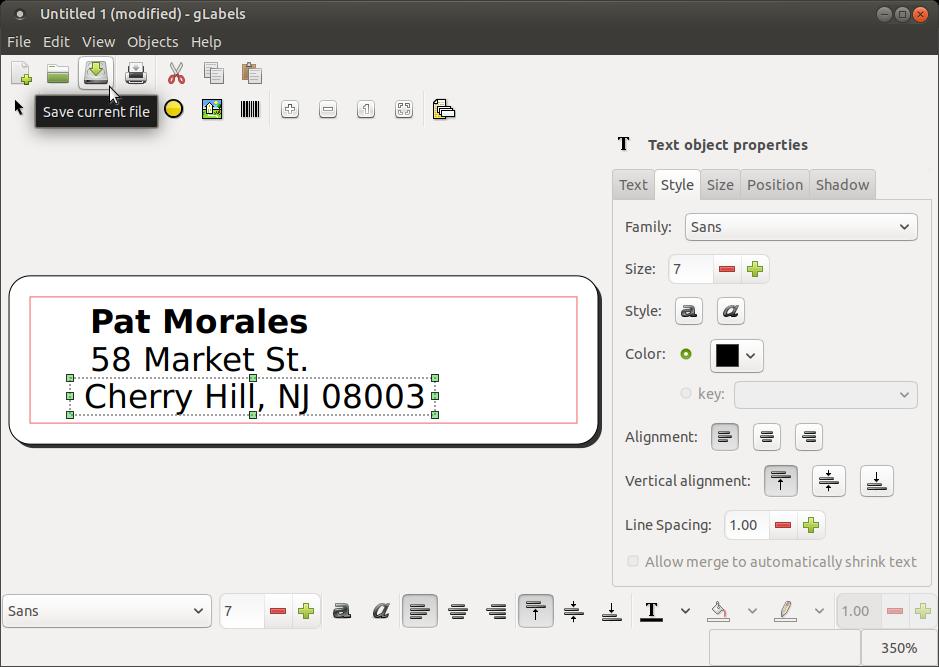
I reduced the font size under the Style tab, bolded my text, and moved the name to the left on the return address label.
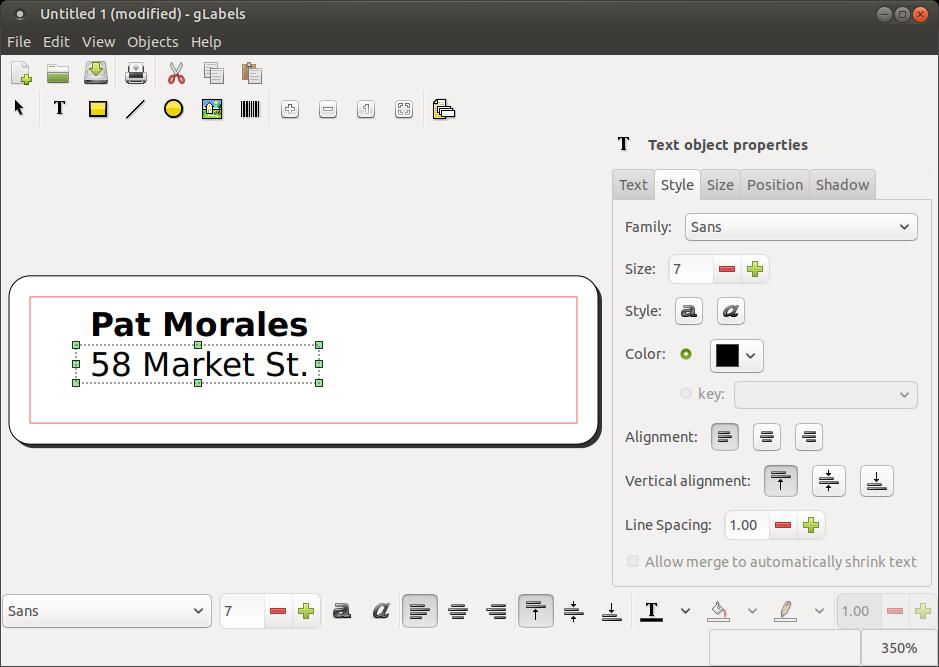
I then clicked the Create text object (T) button on the toobar to allow me to type in a street address.
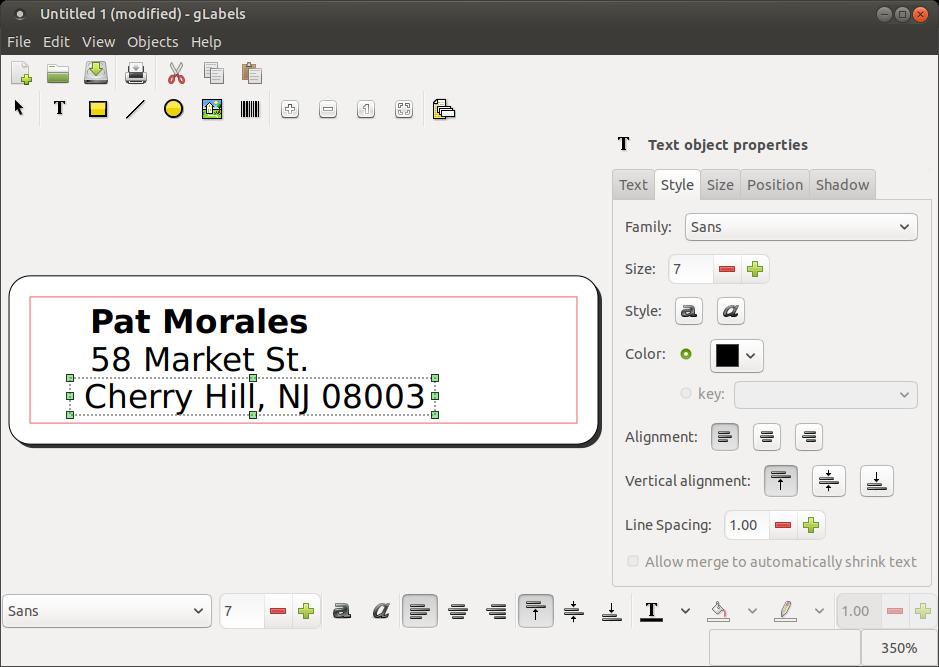
I then clicked the Create text object (T) button on the toobar to allow me to type in city, state, and ZIP code.
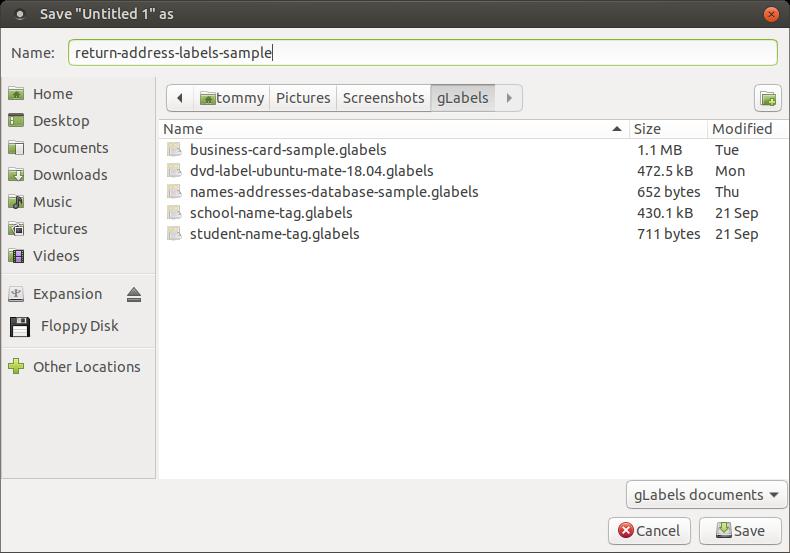
Now is a good time to save the return address label.
Give the file a name that you will recognize in the future and select a location for the file. Then click the Save button.
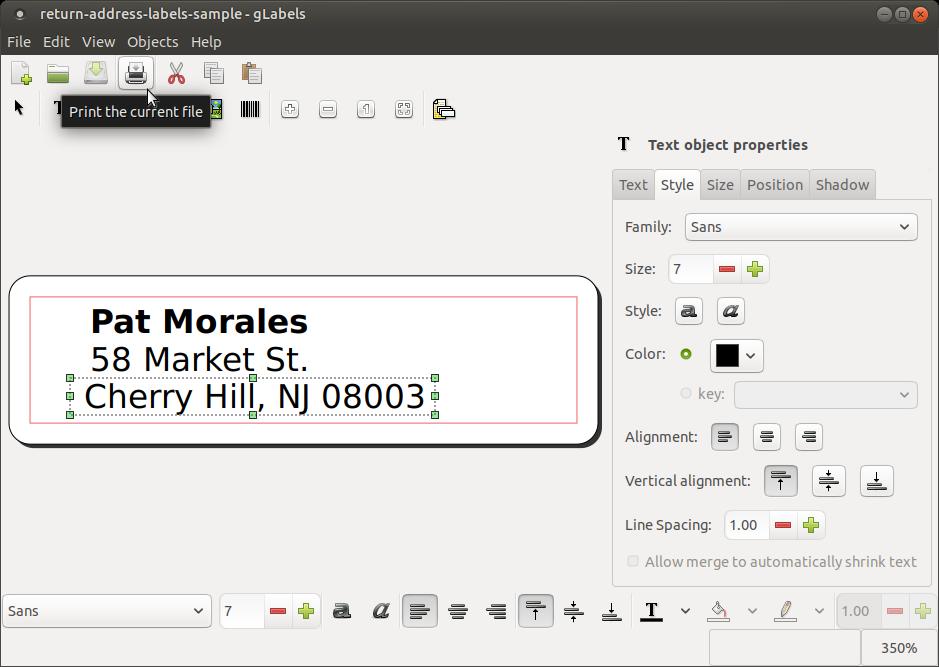
You can preview the return address label before you print them. To preview the labels, click the Print the current file button on the toolbar.
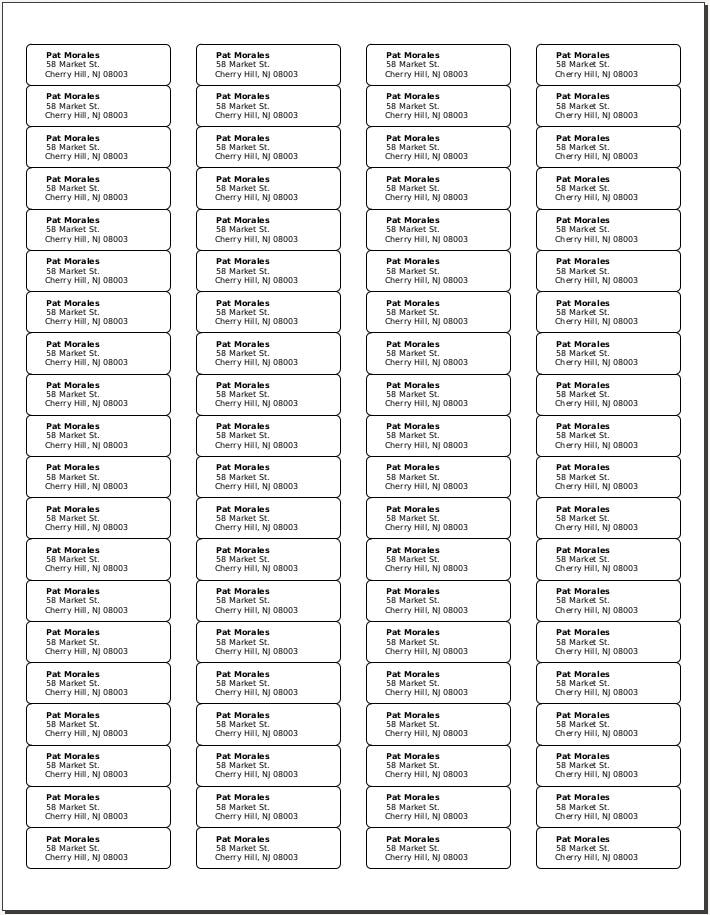
When the Print dialog box appears, click on the Labels tab at the top. Click on the print outlines (to test printer alignment) under Options to see what your address labels will look like. Then click the Preview button at the bottom to give you a closer look at your address labels.
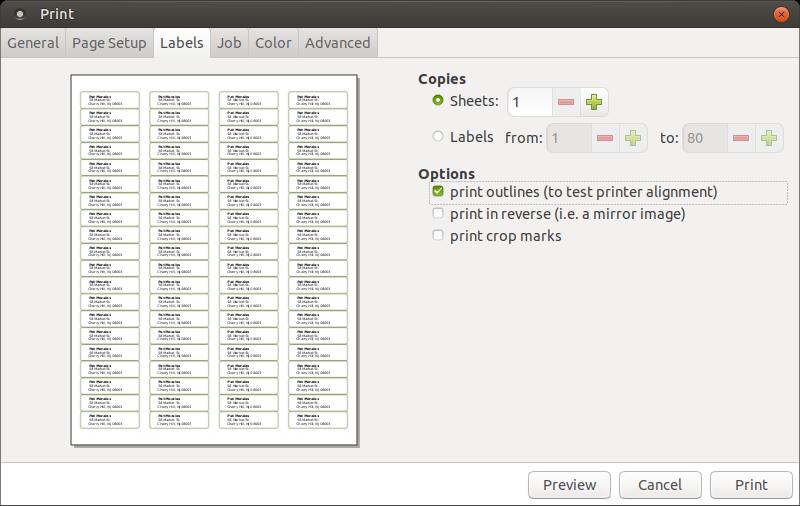
Look over your return address labels and make any necessary changes before you save and print your file.
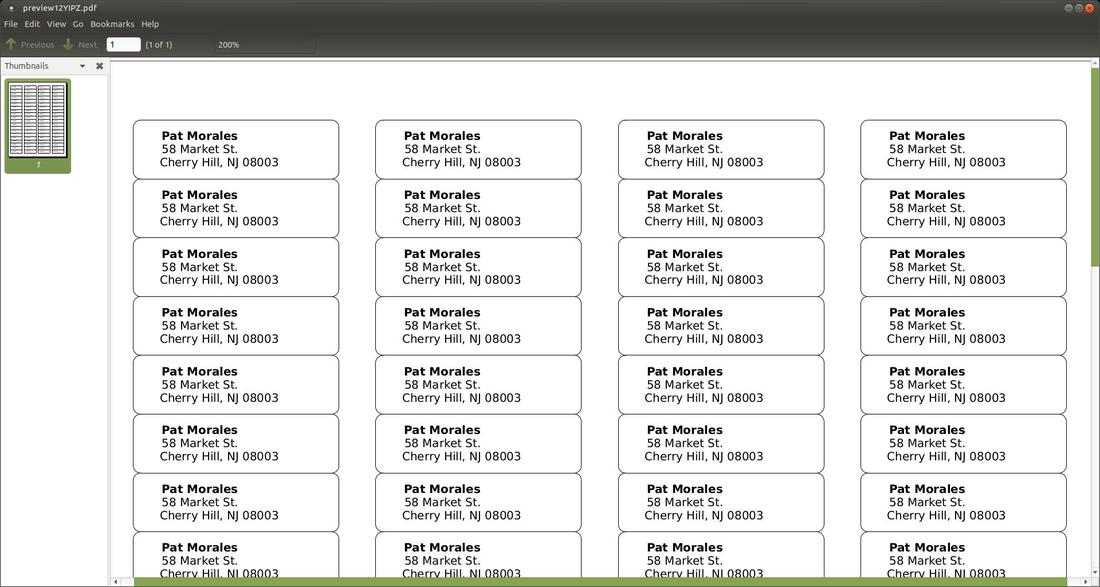
A zoomed in closer view.
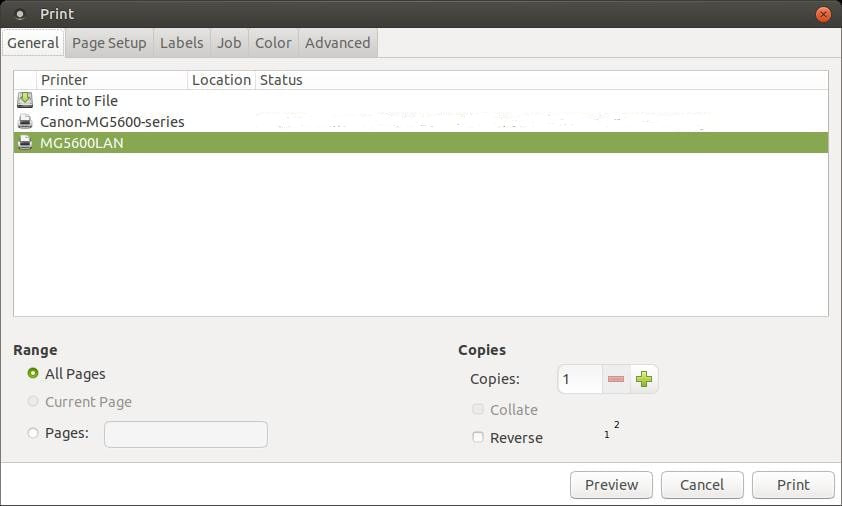
When you are finally satisfied with the look of your return address labels, you are ready to print them. Insert the Avery 5267: Return Address Labels stickers in your printer and then click the File menu in gLabels, then click the Print... option, and when the Print dialog box appears, click the Print button.
Sep 30, 2018
