
Brave Browser
Brave is a free and open-source web browser that is fast, private and secure.

How to Install Brave: (For Debian, Ubuntu and Mint)
1. Open the Terminal (Shortcut: Ctrl + Alt + T)
2. Type the following command: sudo apt install apt-transport-https curl gnupg
3. Press Enter or Return and type in your password (Press the Y key if prompted)
4. Type the following command:
sudo curl -fsSLo /usr/share/keyrings/brave-browser-archive-keyring.gpg https://brave-browser-apt-release.s3.brave.com/brave-browser-archive-keyring.gpg
5. Type the following command:
echo "deb [signed-by=/usr/share/keyrings/brave-browser-archive-keyring.gpg arch=amd64] https://brave-browser-apt-release.s3.brave.com/ stable main"| sudo tee /etc/apt/sources.list.d/brave-browser-release.list
6. Type the following command: sudo apt update
7. Type the following command: sudo apt upgrade
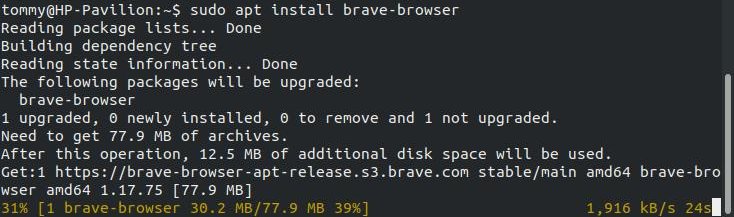
8. Type the following command: sudo apt install brave-browser
9. Type Y and press Enter or Return
If you have a different operating system then go to Brave.com and click the Download Brave button.
1. Open the Terminal (Shortcut: Ctrl + Alt + T)
2. Type the following command: sudo apt install apt-transport-https curl gnupg
3. Press Enter or Return and type in your password (Press the Y key if prompted)
4. Type the following command:
sudo curl -fsSLo /usr/share/keyrings/brave-browser-archive-keyring.gpg https://brave-browser-apt-release.s3.brave.com/brave-browser-archive-keyring.gpg
5. Type the following command:
echo "deb [signed-by=/usr/share/keyrings/brave-browser-archive-keyring.gpg arch=amd64] https://brave-browser-apt-release.s3.brave.com/ stable main"| sudo tee /etc/apt/sources.list.d/brave-browser-release.list
6. Type the following command: sudo apt update
7. Type the following command: sudo apt upgrade
8. Type the following command: sudo apt install brave-browser
9. Type Y and press Enter or Return
If you have a different operating system then go to Brave.com and click the Download Brave button.
How to Remove Brave
1. Open the Terminal (Shortcut: Ctrl + Alt + T)
2. Type the following command: sudo apt remove brave-browser
3. Type the following command: sudo apt purge brave-browser
4. Type the following command: rm -rf ~/.config/BraveSoftware
5. Type the following command: rm -rf ~/.cache/BraveSoftware
1. Open the Terminal (Shortcut: Ctrl + Alt + T)
2. Type the following command: sudo apt remove brave-browser
3. Type the following command: sudo apt purge brave-browser
4. Type the following command: rm -rf ~/.config/BraveSoftware
5. Type the following command: rm -rf ~/.cache/BraveSoftware
Illustrated Instructions for Installing Brave:
1. Open the Terminal (Shortcut: Ctrl + Alt + T)
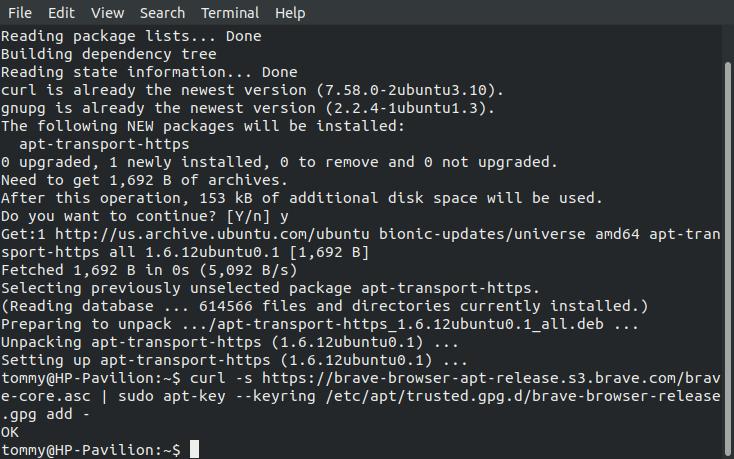
2. Type the following command: sudo apt install apt-transport-https curl gnupg
3. Press Enter or Return and type in your password (Press the Y key if prompted)
1. Open the Terminal (Shortcut: Ctrl + Alt + T)
2. Type the following command: sudo apt install apt-transport-https curl gnupg
3. Press Enter or Return and type in your password (Press the Y key if prompted)

4. Type the following command:
sudo curl -fsSLo /usr/share/keyrings/brave-browser-archive-keyring.gpg https://brave-browser-apt-release.s3.brave.com/brave-browser-archive-keyring.gpg
sudo curl -fsSLo /usr/share/keyrings/brave-browser-archive-keyring.gpg https://brave-browser-apt-release.s3.brave.com/brave-browser-archive-keyring.gpg
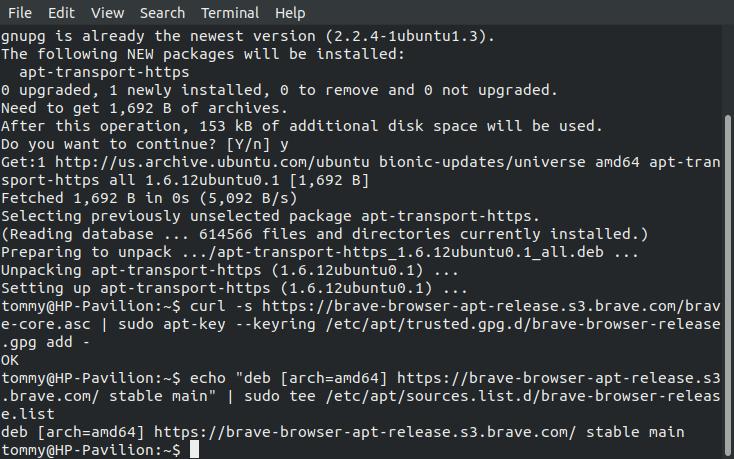
5. Type the following command:
echo "deb [signed-by=/usr/share/keyrings/brave-browser-archive-keyring.gpg arch=amd64] https://brave-browser-apt-release.s3.brave.com/ stable main"|sudo tee /etc/apt/sources.list.d/brave-browser-release.list
echo "deb [signed-by=/usr/share/keyrings/brave-browser-archive-keyring.gpg arch=amd64] https://brave-browser-apt-release.s3.brave.com/ stable main"|sudo tee /etc/apt/sources.list.d/brave-browser-release.list
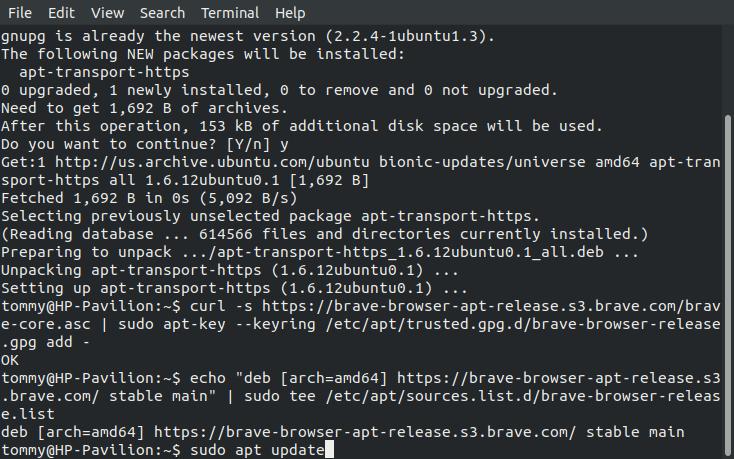
6. Type the following command: sudo apt update
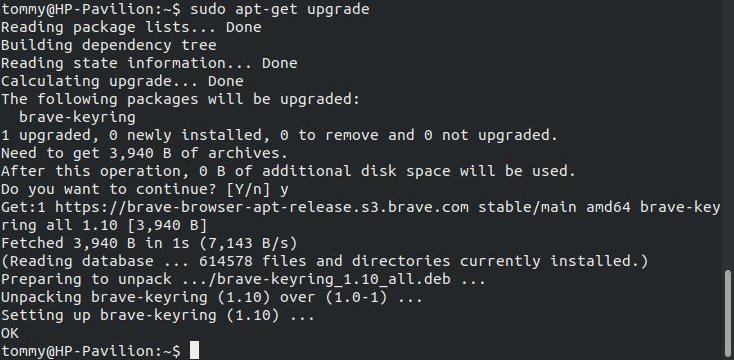
7. Type the following command: sudo apt upgrade
8. Type the following command: sudo apt install brave-browser
9. Type Y and press Enter or Return
9. Type Y and press Enter or Return
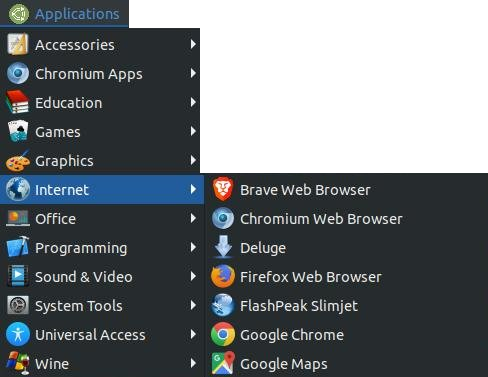
You should now see Brave Web Browser in your menu. (Reboot your system if you don't see it.)
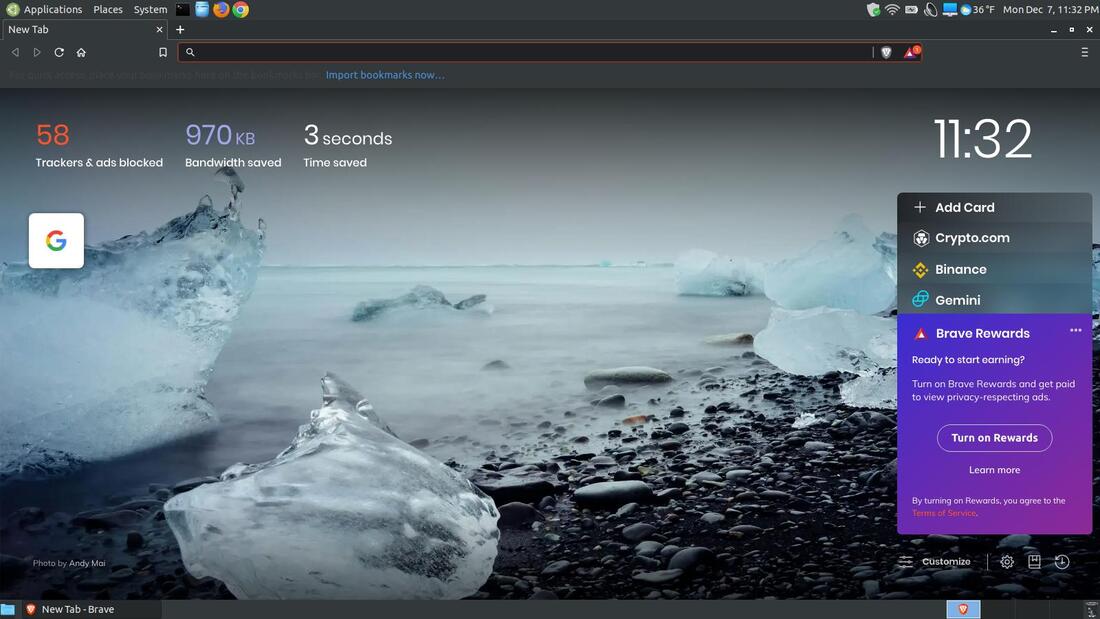
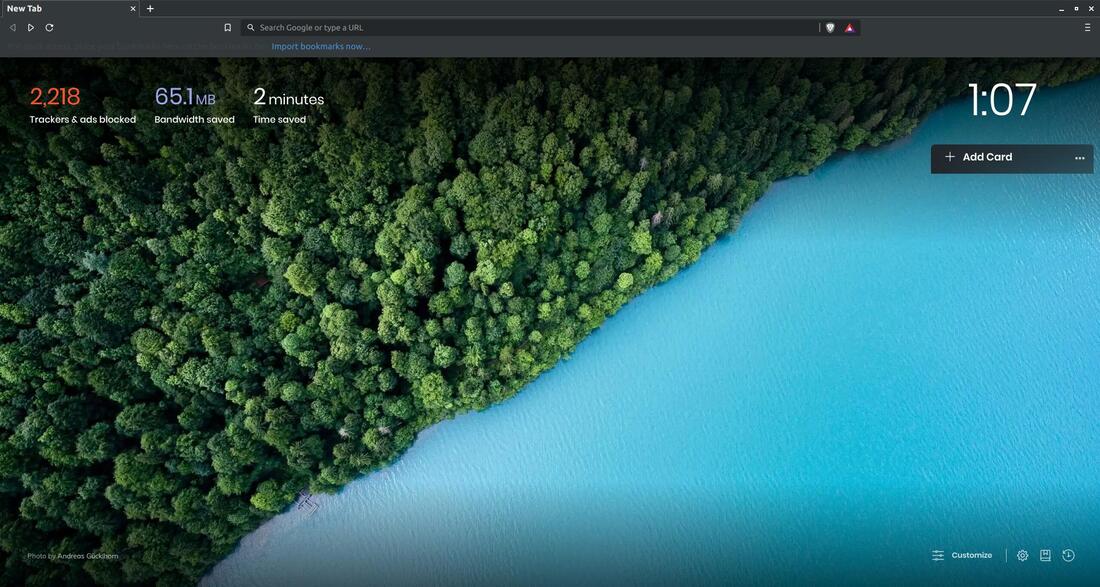
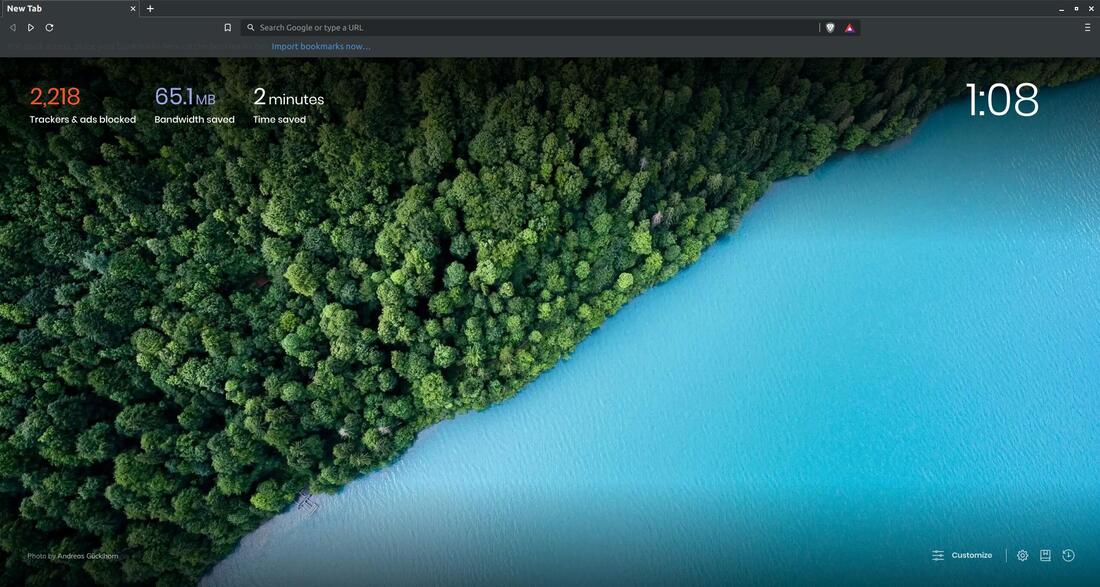
Brave will look similar to the image below when you first open it.
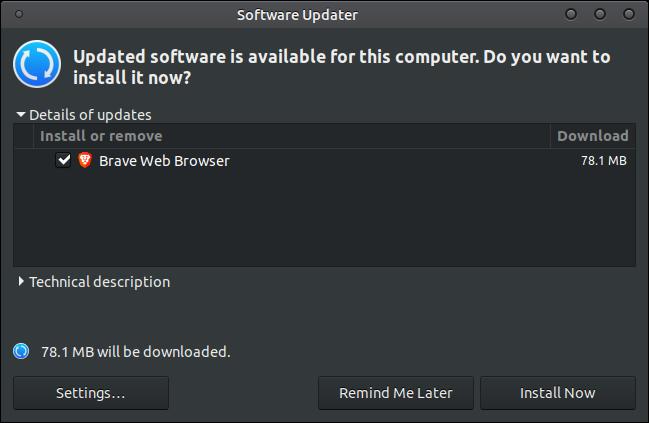
If you install Brave by the instructions listed above, you will receive updates when they become available via your Software Updater.
Customize Brave
You can click the Customize button in the lower right corner to bring up the Customize Dashboard that will allow you to make changes to your new tab page.
You can click the Customize button in the lower right corner to bring up the Customize Dashboard that will allow you to make changes to your new tab page.
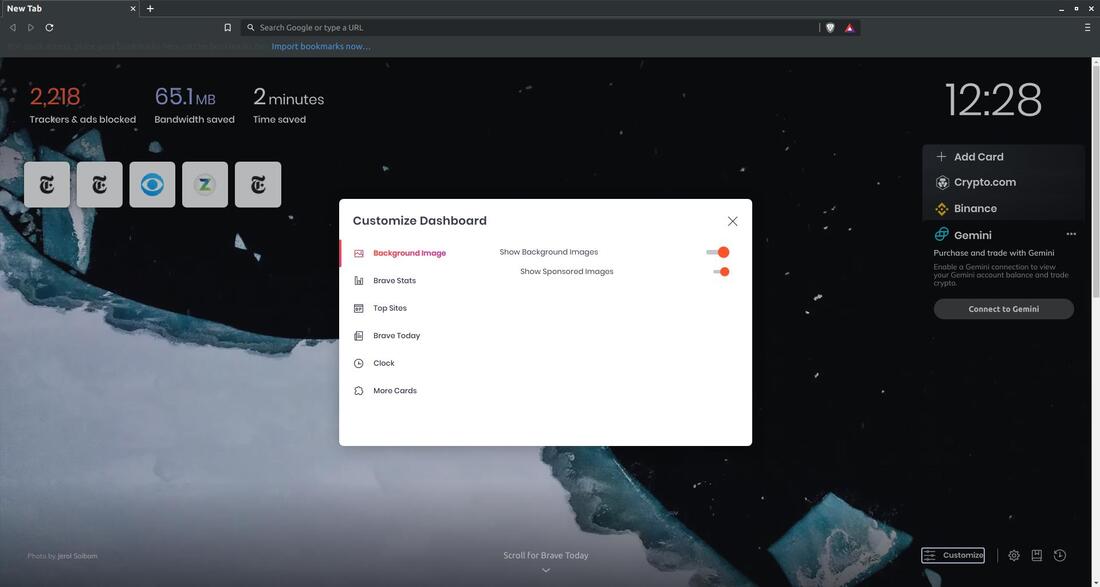
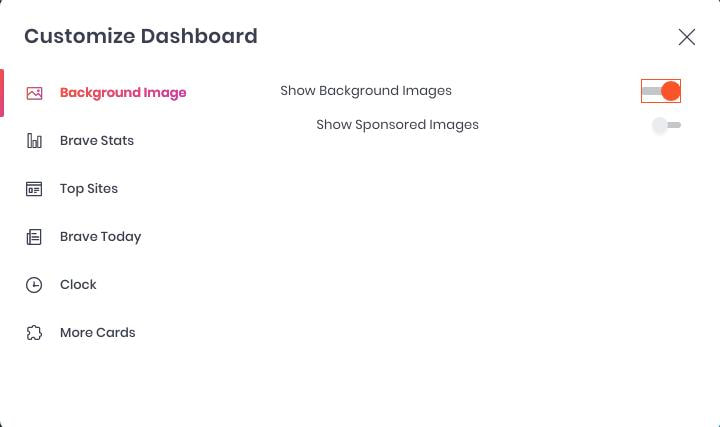
Click on a tab on the left to select a topic to allow you to make changes pertaining to that topic. Background Image is selected by default and this section allows you to see a background image within your browser and display sponsored images in our new tab page. Both are turned on by default, but you can switch them off.
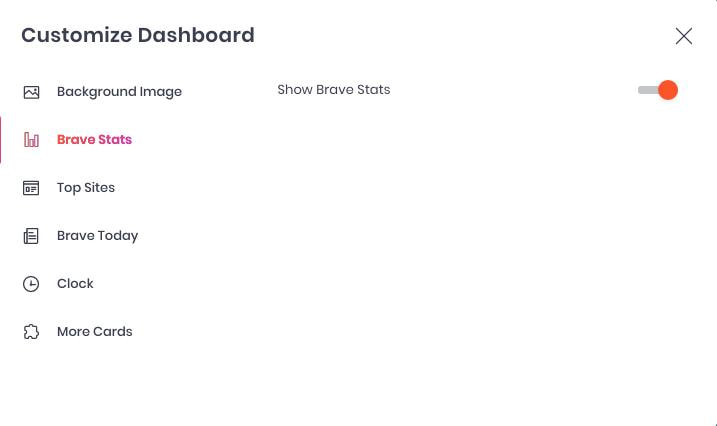
Click on the Brave Stats to allow you to turn off the Brave Stats displayed in the new tab page. This removes the data displayed from the Trackers & ads blocked, Bandwidth saved, and Time saved. You can always go back into the Brave Stats and turn them back on.
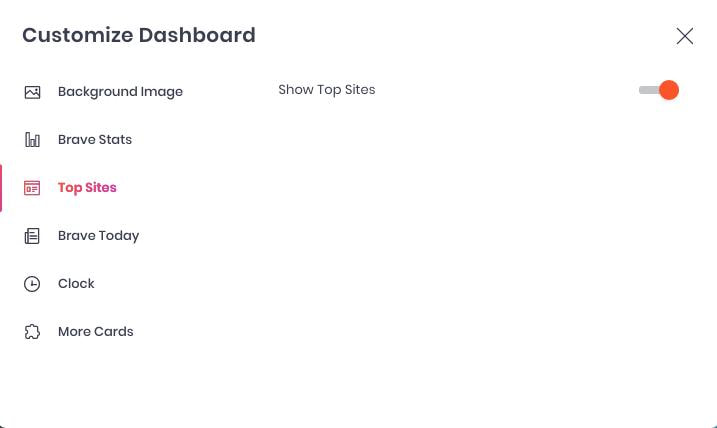
Click the Top Sites to turn off the icons or speed dials to the top sites or most visited sites.
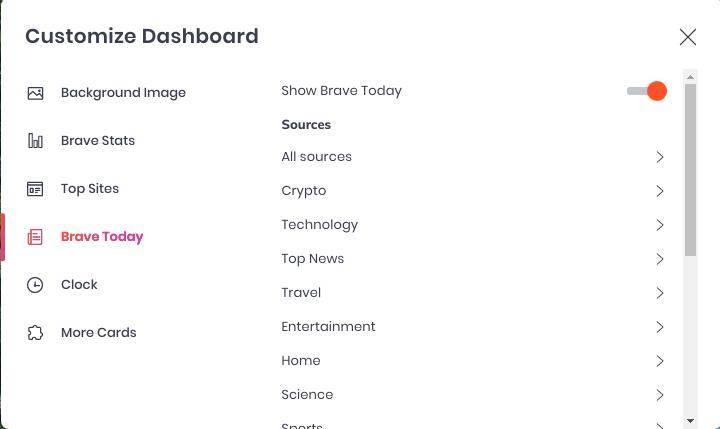
Click the Brave Today section to allow you to turn off the Brave Today news section at the bottom of your new tab. You can click a right arrow next to a topic to customize that topic.
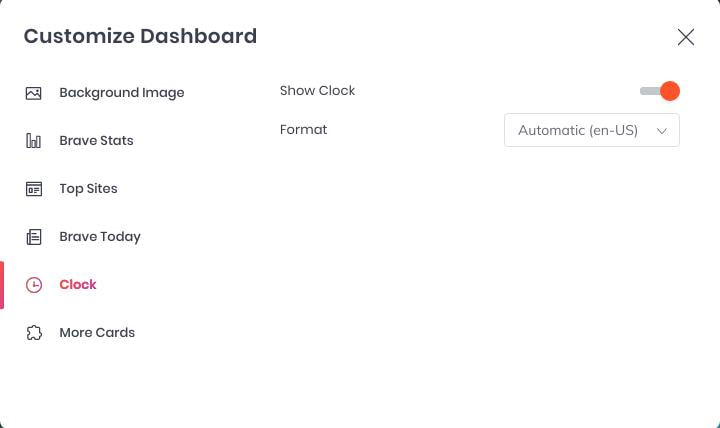
Click the Clock section to turn on or off the clock on your new tab page. You can select between three different formats: Automatic, 12-hour clock, and/or 24-hour clock.
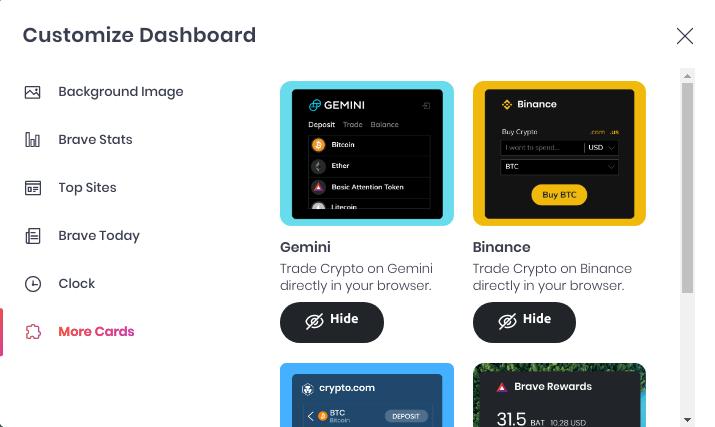
Click the More Cards section to show or hide the Gemini, Binance, Cryto.com, and/or Brave Rewards cars on the new tab page.
The new tab page cleans up nicely. You can remove the + Add Card to make it look simpler.
To remove the + Add Card from the new tab or start page, click the ... on the right. Then click the Hide Add Card option from the drop-down menu.

This makes Brave look very good and simple.
You can add a home button and remove the empty space to the right and left of the URL bar by clicking the hamburger menu in the upper right corner and then click the Settings option.

Look under the Appearance section and turn on the Show home button to display your Homescreen button on the URL bar and turn on Use wide address bar to remove the empty space.
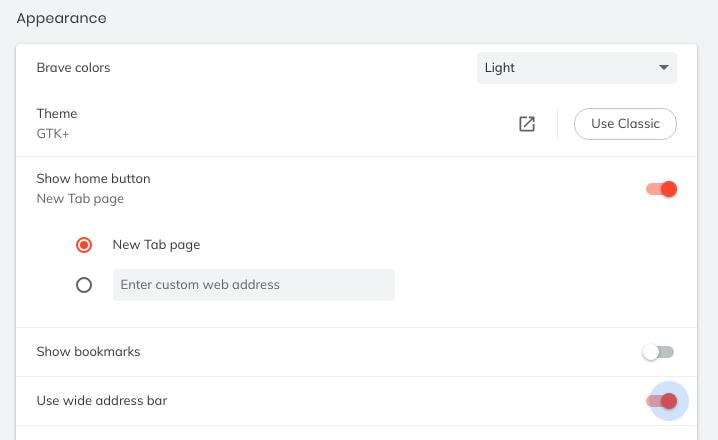
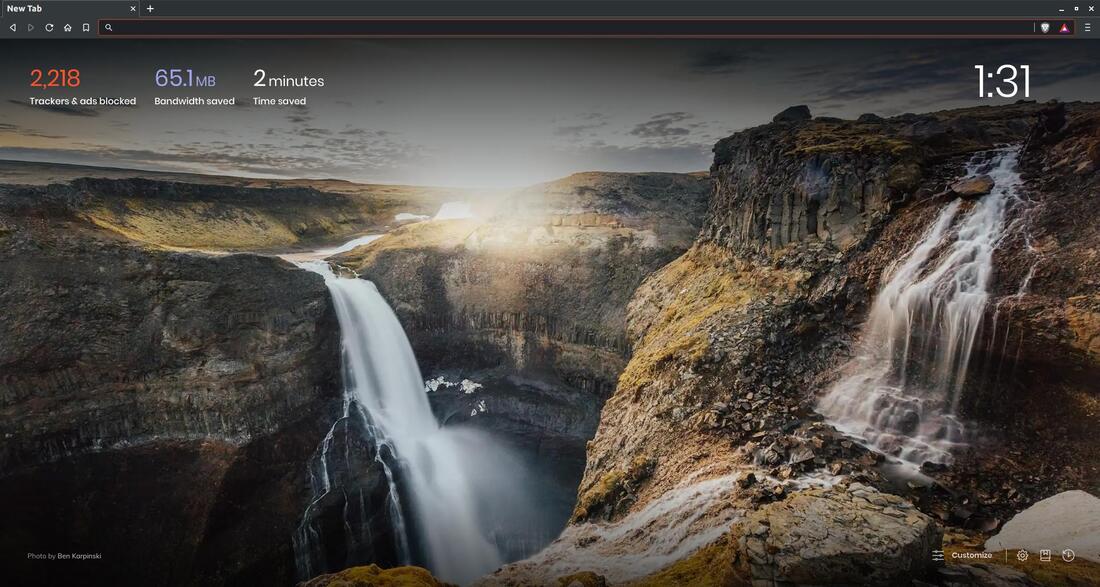
To hide the Import bookmarks now... under the url bar you need to turn off Always show bookmarks on new tab page.
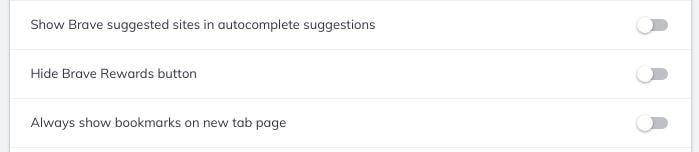
The new tab or start page looks simple and nice. You no longer have all that clutter to look at.
Adding Extensions
Click the hamburger icon in the upper right corner to display the drop-down menu. Next, click on the Extensions option.
Click the hamburger icon in the upper right corner to display the drop-down menu. Next, click on the Extensions option.
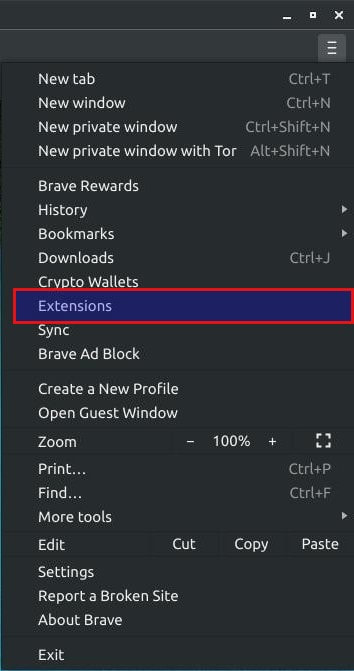
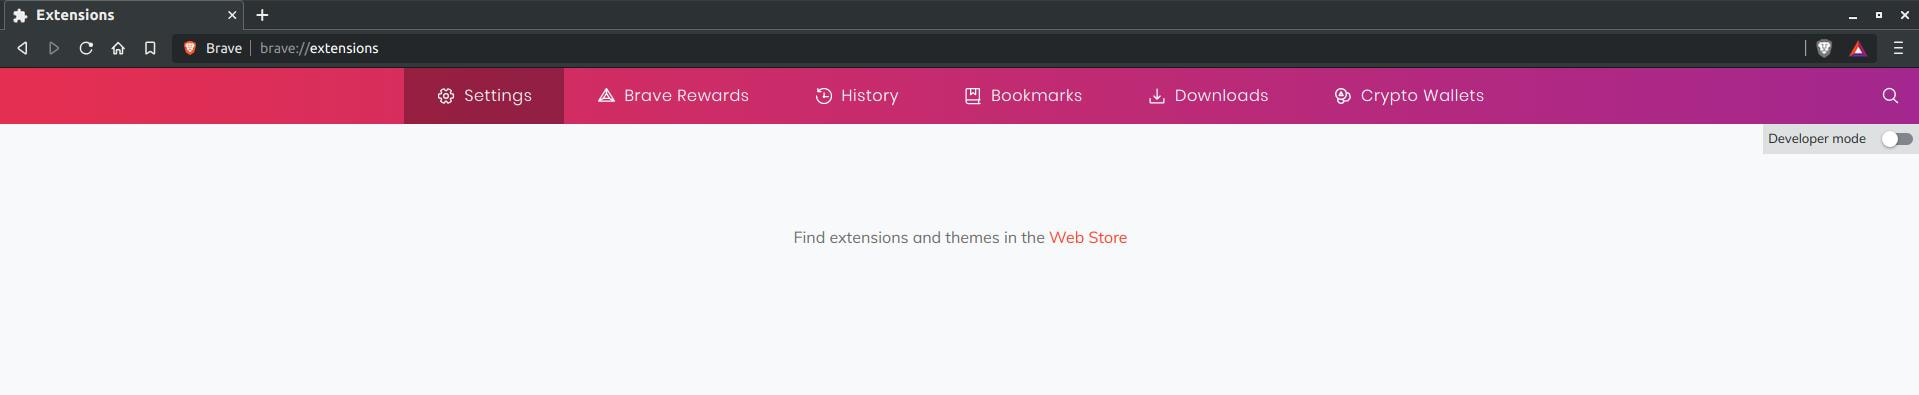
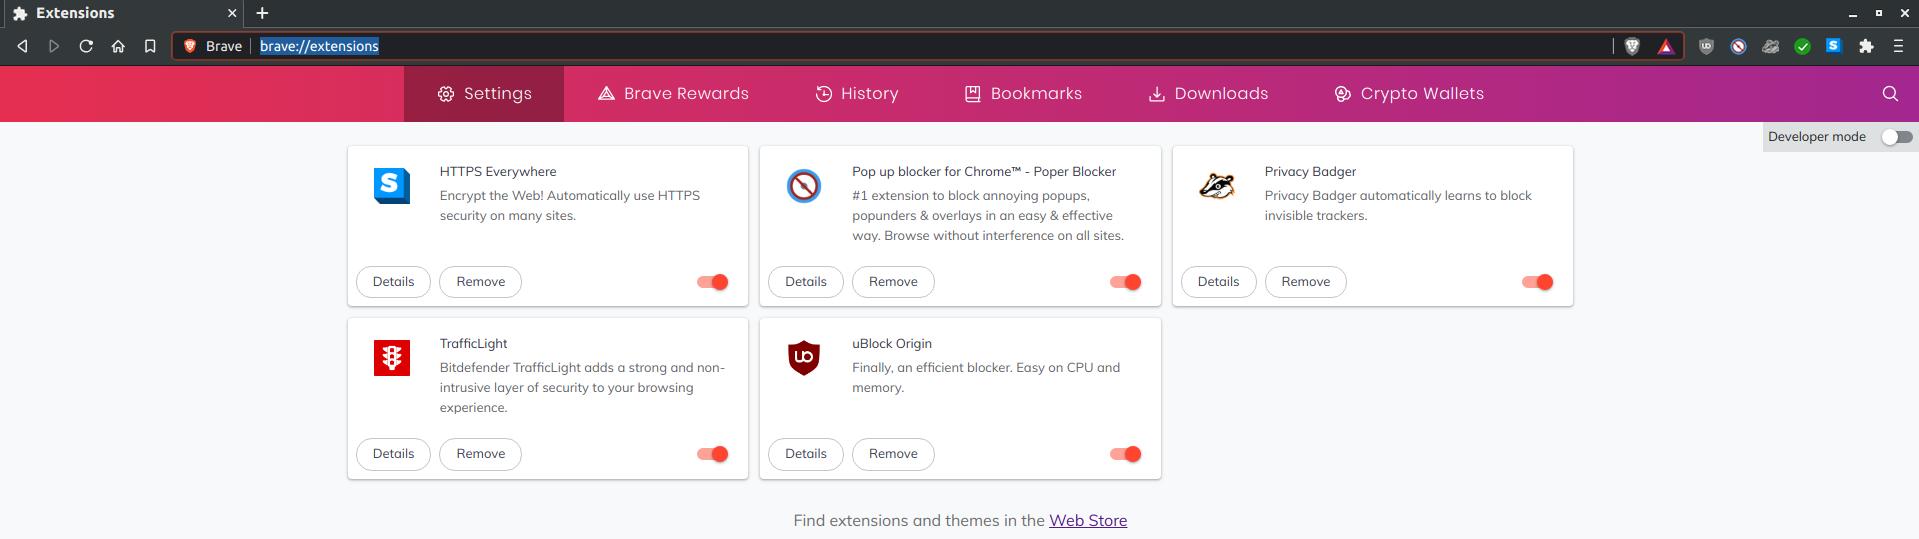
This will open the brave://extensions/ and then click the Web Store link to open the Chrome Web Store.
You can find and install extensions that you would install in Google Chrome.
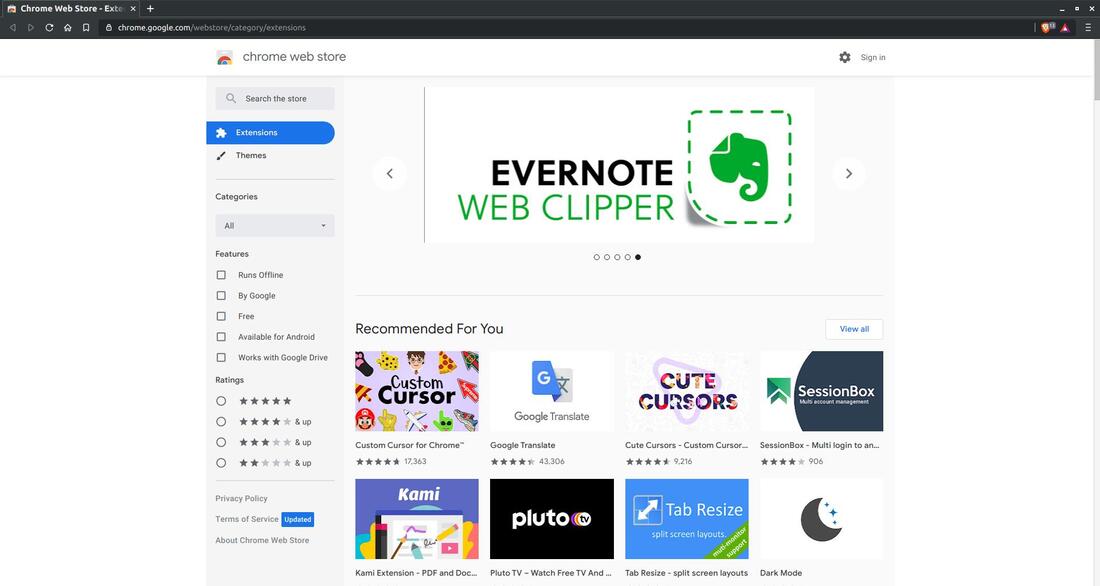
Here's some recommended extensions:
I added uBlock Origin, Poper Blocker, Privacy Badger, TrafficLight, and HTTPS Everywhere to add more protection to a private browser.

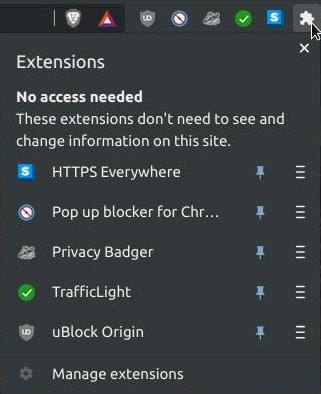
Click the Extensions icon (shaped like a puzzle) to view your installed extensions. You can click on the pushpin icon to pin an extension to your URL bar. You can manage your extensions by clicking on Manage extensions.
You can also put brave://extensions/ in your URL bar to allow you to manage your extensions.
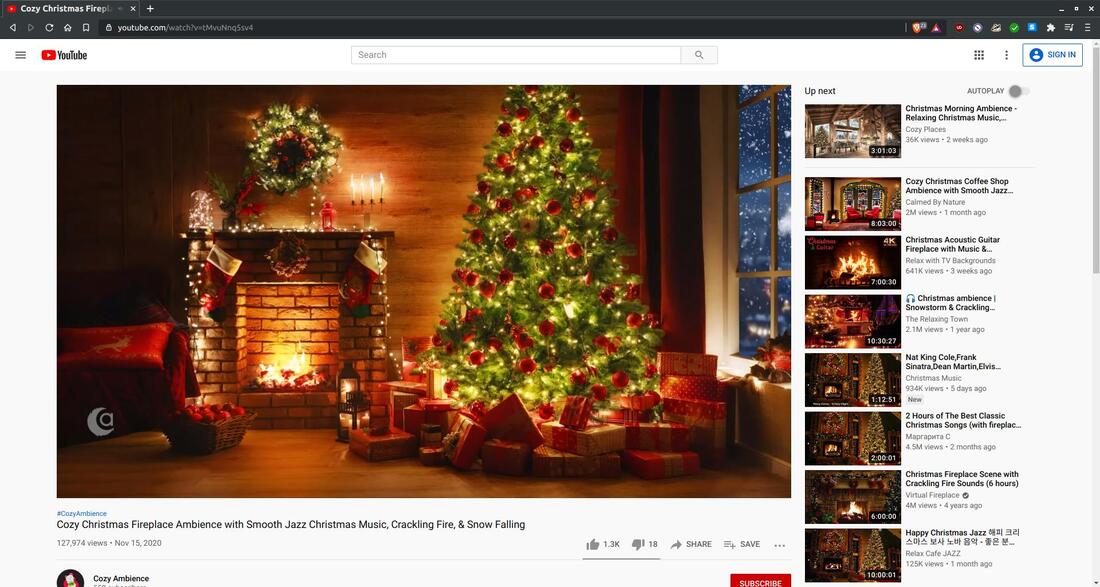
Videos from YouTube are crystal clear.
Brave Settings
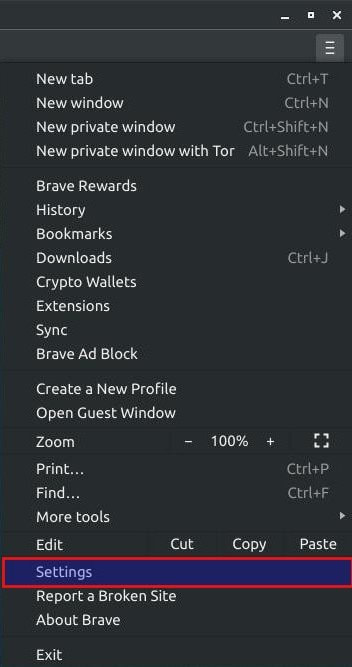
You can access Brave's Settings by clicking on the hamburger icon in the upper right corner to display the drop-down menu. Next, click on the Settings option.
You can access Brave's Settings by clicking on the hamburger icon in the upper right corner to display the drop-down menu. Next, click on the Settings option.
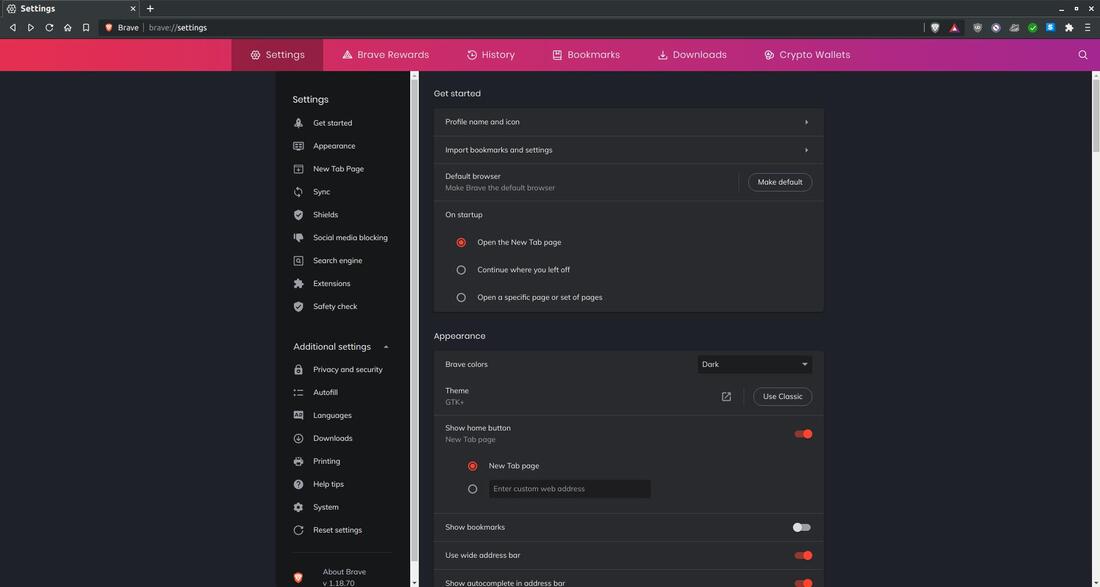
You can navigate different sections of Brave's Settings on the left side of the browser. You can click on a section to quickly move to that section or you can use the scroll bar on the right to navigate to a particular section.
Get Started
The first section in the Settings list is Get started. You can change your profile name and icon, import your bookmarks and settings from other browsers, make it your default browser, and set your start page.
The first section in the Settings list is Get started. You can change your profile name and icon, import your bookmarks and settings from other browsers, make it your default browser, and set your start page.

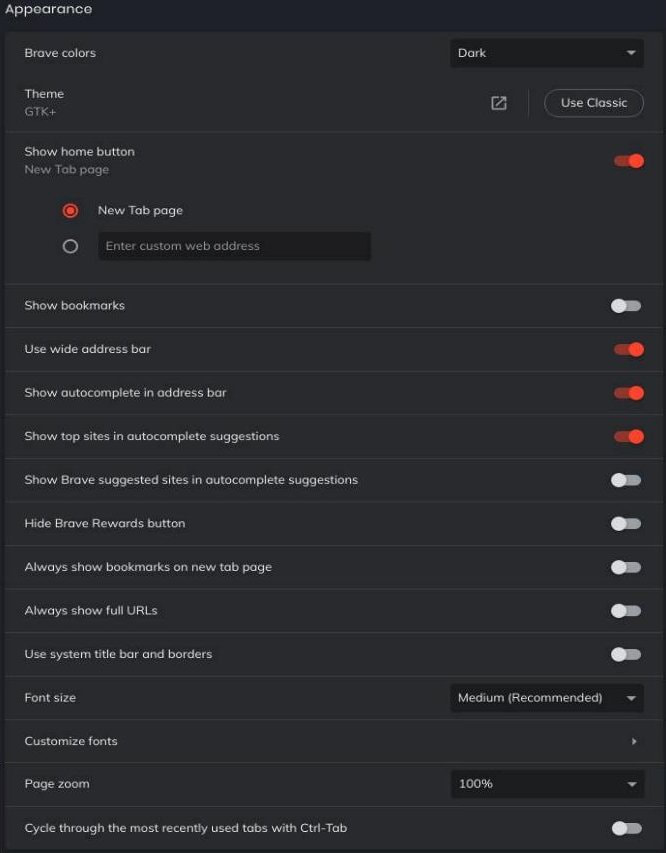
Appearance
The second section in the Settings list is Appearance. This section allows you to change your Brave colors from Light to Dark, You can change your browser theme and turn on or off your home button. You can set your New Tab page to a specific website. You can turn on or off bookmarks and the wide address bar. You can set whether or not you want to show autocomplete in the address bar and show top sites in the autocomplete suggestions. You can see from the image below at all the other options you can change in this section.
The second section in the Settings list is Appearance. This section allows you to change your Brave colors from Light to Dark, You can change your browser theme and turn on or off your home button. You can set your New Tab page to a specific website. You can turn on or off bookmarks and the wide address bar. You can set whether or not you want to show autocomplete in the address bar and show top sites in the autocomplete suggestions. You can see from the image below at all the other options you can change in this section.
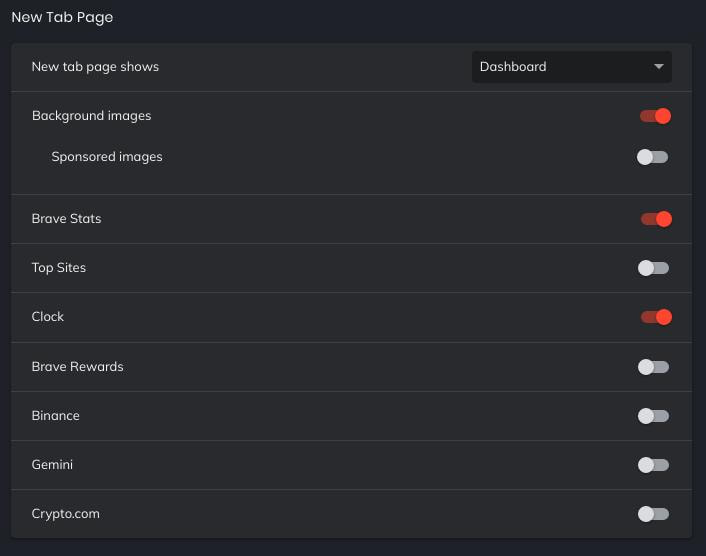
New Tab Page
This section allows you to control what you see on a new tab. The first option allows you to control whether your new tab page shows a Dashboard, Homepage, or Blank page. You can turn on or off Background images and/or Sponsored images. You can determine if you want to display Brave Stats, Top Sites, Clock, Brave Rewards, Binance, Gemini, and/or Crypto.com.
This section allows you to control what you see on a new tab. The first option allows you to control whether your new tab page shows a Dashboard, Homepage, or Blank page. You can turn on or off Background images and/or Sponsored images. You can determine if you want to display Brave Stats, Top Sites, Clock, Brave Rewards, Binance, Gemini, and/or Crypto.com.
Sync
The next section allows you to sync your Brave browsers across the Internet. You'll have to click on the right arrow and then click the Start a new Sync Chain button so that it can create you a Sync Code.
The next section allows you to sync your Brave browsers across the Internet. You'll have to click on the right arrow and then click the Start a new Sync Chain button so that it can create you a Sync Code.

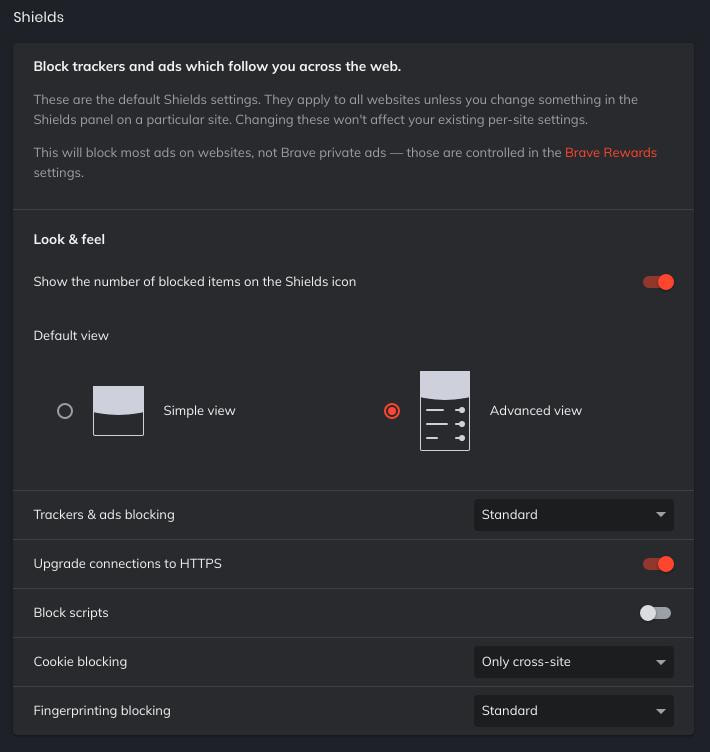
Shields
This section allow you to make changes to your secturiy settings. You can turn on or off to Show the number of blocked items on the Shields icon. You can select between Simple view and Advanced view. You have three options for Trackers & ads blocking: Aggressive, Standard, and Disabled. You can turn on or off the Upgrade connections to HTTPS. With this feature turned on you won't need to install the HTTPS Everywhere extension. You can Block scripts and you select options for Cookie blocking and Fingerprinting blocking.
This section allow you to make changes to your secturiy settings. You can turn on or off to Show the number of blocked items on the Shields icon. You can select between Simple view and Advanced view. You have three options for Trackers & ads blocking: Aggressive, Standard, and Disabled. You can turn on or off the Upgrade connections to HTTPS. With this feature turned on you won't need to install the HTTPS Everywhere extension. You can Block scripts and you select options for Cookie blocking and Fingerprinting blocking.
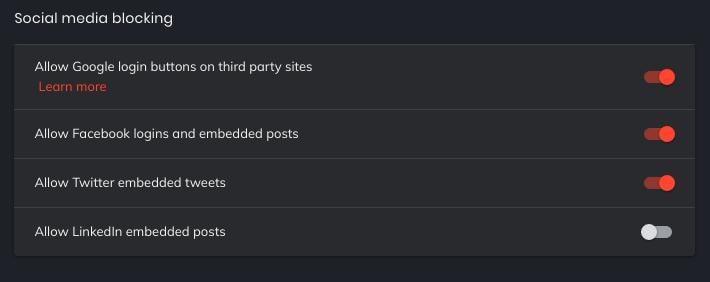
Social Media Blocking
Brave offers you ways to block Facebook, Twitter, and Linkedin embedded posts and Google login buttons on third party sites.
Brave offers you ways to block Facebook, Twitter, and Linkedin embedded posts and Google login buttons on third party sites.
Search Engine
This section allows you to select what search engine is used in the address bar and it allows you to manage your search engine.
This section allows you to select what search engine is used in the address bar and it allows you to manage your search engine.

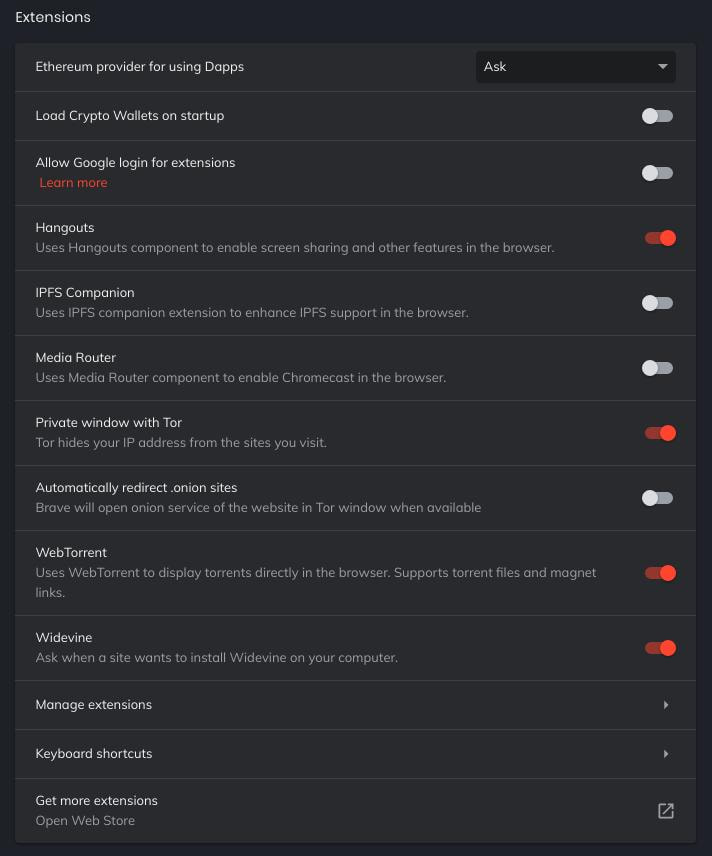
Extensions
You have a wide variety of options to control your extensions. Brave has the ability to use torrents from your browser.
You have a wide variety of options to control your extensions. Brave has the ability to use torrents from your browser.
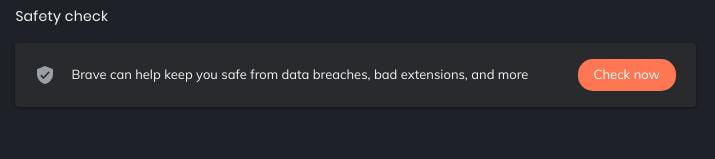
Safety Check
This feature allows you to check for data breaches, bad extensions, and more by clicking the Check now button.
This feature allows you to check for data breaches, bad extensions, and more by clicking the Check now button.
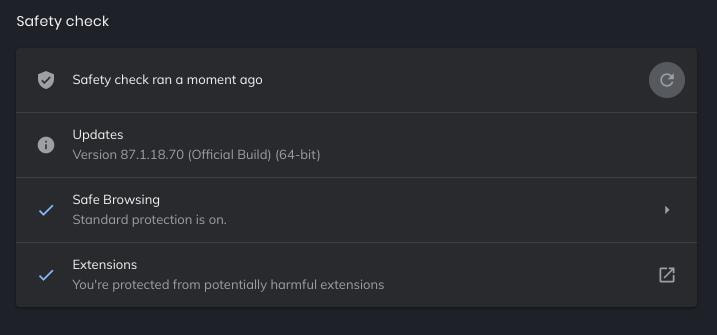
Here's an example of the results after Brave runs a Safety check. It lets you know if your browser is updated and informs you if the standard protection is turned on and if you're protected from potentially harmful extensions.
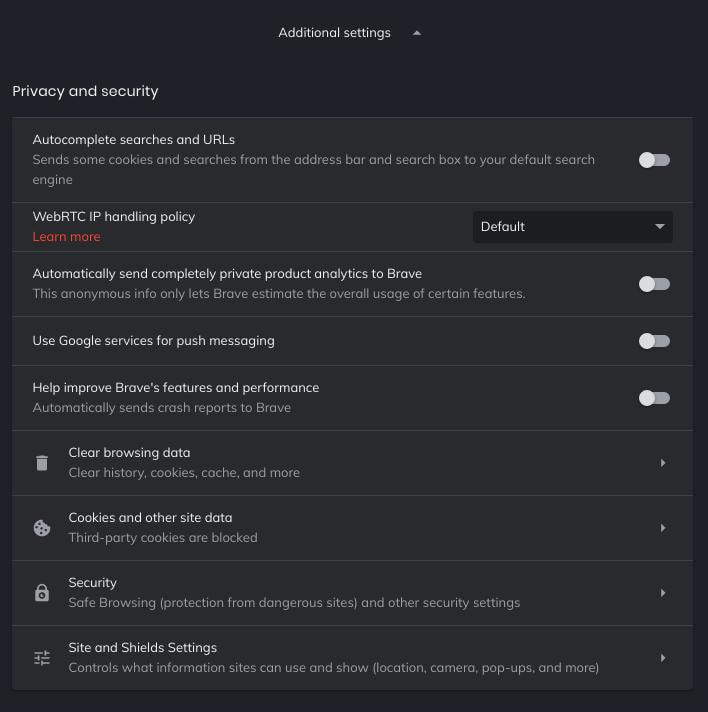
Additional Settings
You can click the arrow next to Additional settings to view more sections and options.
Privacy and Security
You can enable or disable Autocomplete searches and URLs that will allow you to send your cookie information to the default search engine. If this feature is turned off this helps protect your surfing data. There's an entire blog on Brave's privacy and security.
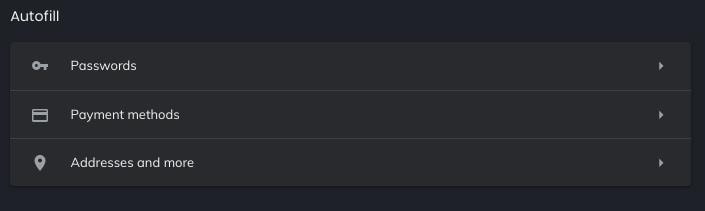
Autofill
This section allows Brave to save your online passwords, payments methods, Addresses and more.
This section allows Brave to save your online passwords, payments methods, Addresses and more.
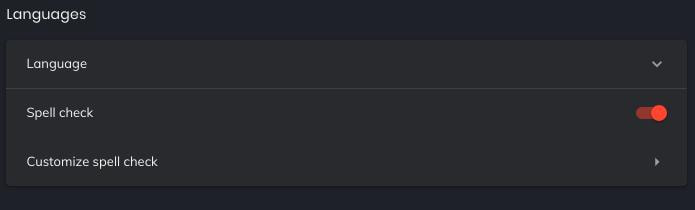
Languages
This section allows you to set the default language used in Brave. You can enable the browser's Spell check feature and it lets you Customize spell check.
This section allows you to set the default language used in Brave. You can enable the browser's Spell check feature and it lets you Customize spell check.
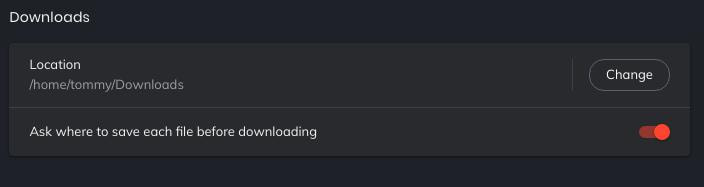
Downloads
This section allows you to change the default location of the files you download. You can enable the feature to ask you each time that you download a file to ask you where you want to save it.
This section allows you to change the default location of the files you download. You can enable the feature to ask you each time that you download a file to ask you where you want to save it.
Printing
This section allows you to select the default printer you have access to. Click the square icon with the arrow to bring up the Printers dialog box to allow you to select your default printer.
This section allows you to select the default printer you have access to. Click the square icon with the arrow to bring up the Printers dialog box to allow you to select your default printer.

Help Tips
This feature when turned on will automatically detect when a webpage is unavailable and will offer to search the Wayback Machine for a backup.
This feature when turned on will automatically detect when a webpage is unavailable and will offer to search the Wayback Machine for a backup.

When you get the 404 error message you'll be prompted to check for a saved version online.
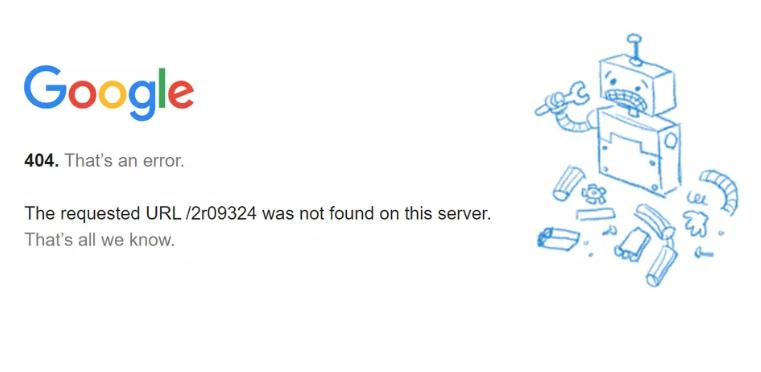
Image: Google
You'll be prompted with the following message, "Sorry, that page is missing. Do you want to check if a saved version is available on the Wayback Machine? Check for saved version"

If it can find a saved copy of the missing site, it will bring it up in yoour browser. The White House section on Climate Change is a good example.
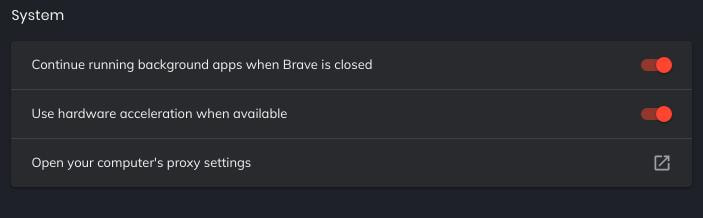
System
This section allows you to turn on or off the Continue running background apps when Brave is closed. When this feature is enabled it will speed up the loading of your Brave browser; however, if you do not have a lot of resources on your system then it may use up memory that could be used for higher priority software. You can turn on or off the hardware accelerator. If you have trouble playing videos or you have an old computer then you may want to turn off this feature. You also have the ability to open your computer's proxy settings.
This section allows you to turn on or off the Continue running background apps when Brave is closed. When this feature is enabled it will speed up the loading of your Brave browser; however, if you do not have a lot of resources on your system then it may use up memory that could be used for higher priority software. You can turn on or off the hardware accelerator. If you have trouble playing videos or you have an old computer then you may want to turn off this feature. You also have the ability to open your computer's proxy settings.
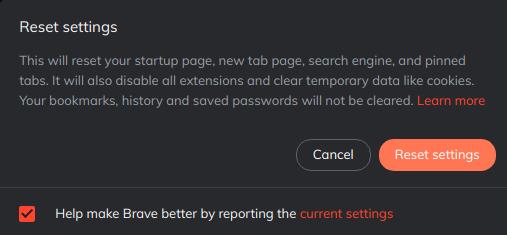
Reset Settings
If you want to restore your Brave browser back to the way it was when you first installed it then click the arrow on the right.
If you want to restore your Brave browser back to the way it was when you first installed it then click the arrow on the right.

A small Reset settings dialog box will appear allowing you to click a Reset settings button. You can click the Cancel button if you decide not to reset the browser. You can uncheck the box to the left of Help make Brave better by reporting the current settings to prevent Brave from sending your settings data to the people at Brave.
There's a lot features and settings that you can change to control the way your browser works and looks.
Dec 14, 2020
