
Noise Music Player
Noise Music Player (a.k.a. Music) is the default music or audio player for elementary OS.
Noise Music Player was the default music player for elementary OS up till version 4.2. The program name changed to Music when version 5.0 was released on October 16, 2018. At the time of me writing this (Mar. 30, 2020) Music is currently on version 5.0.5. The installation file is still called noise or noise_5.0.5+r2841+pkg116~daily~ubuntu6.0.1_amd64.deb from Launchpad.
How To Install Noise Music Player (a.k.a. Music)
Open your Terminal and enter the following:
sudo add-apt-repository ppa:elementary-os/daily
sudo apt-get update
sudo apt-get install noise
You can also download the install file from launchpad, GitHub, and pkgs.org.
To remove the program enter the following:
sudo apt-get remove noise
sudo add-apt-repository --remove ppa:elementary-os/daily
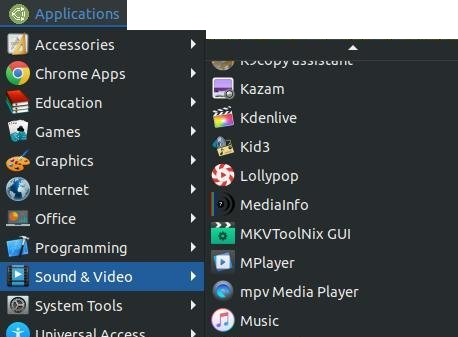
You can access the program through your menus. I use Ubuntu MATE 18.04.4 LTS, so I click on the Applications menu, highlight Sound & Video, and then click on Music.
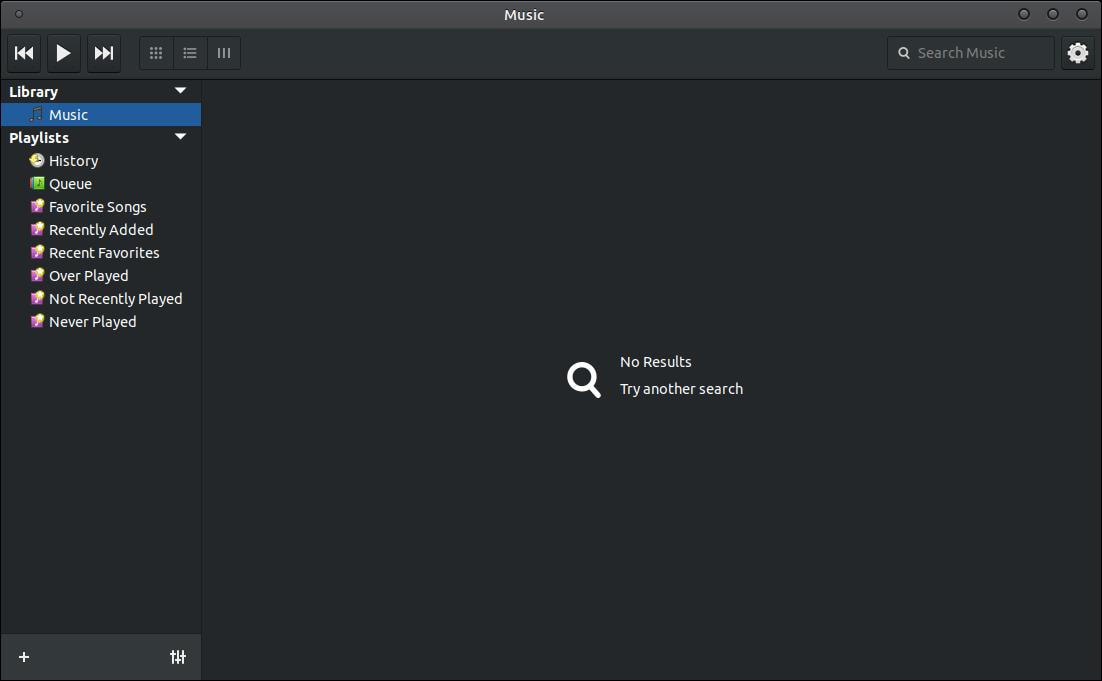
The first time you open the program it will look blank. You'll have to load your music or albums. However, if you have any music or audio files in the default Music folder you may see some music or audio files when you first open the program.
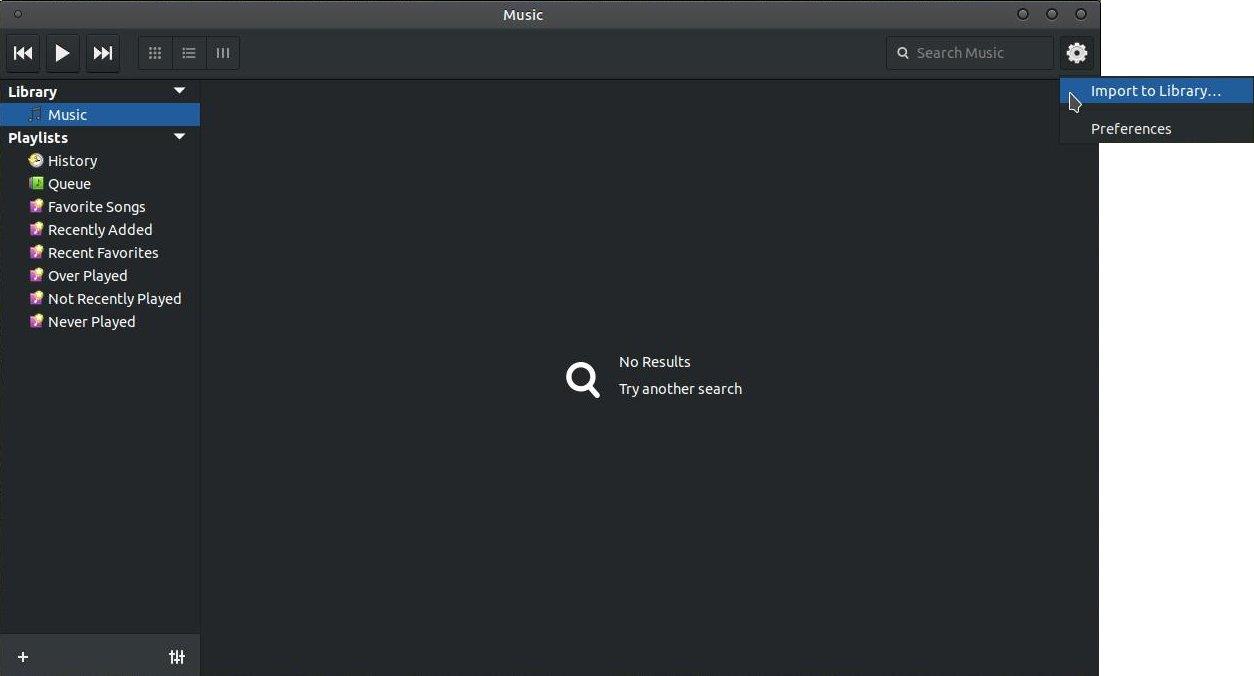
You can load music into the player by clicking the Settings gear icon in the upper right and click on Import to Library... A dialog box will appear to allow you to locate and select a folder with your albums.
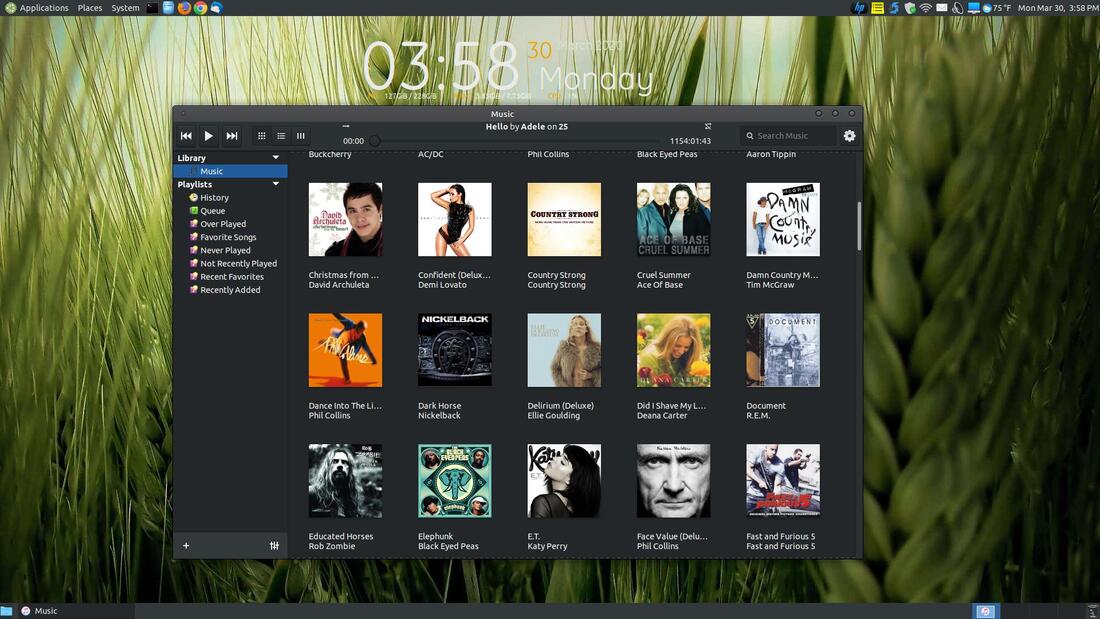
You will see your songs and albums load into the Music player. You will botice a progress bar grow across the top as the songs load.
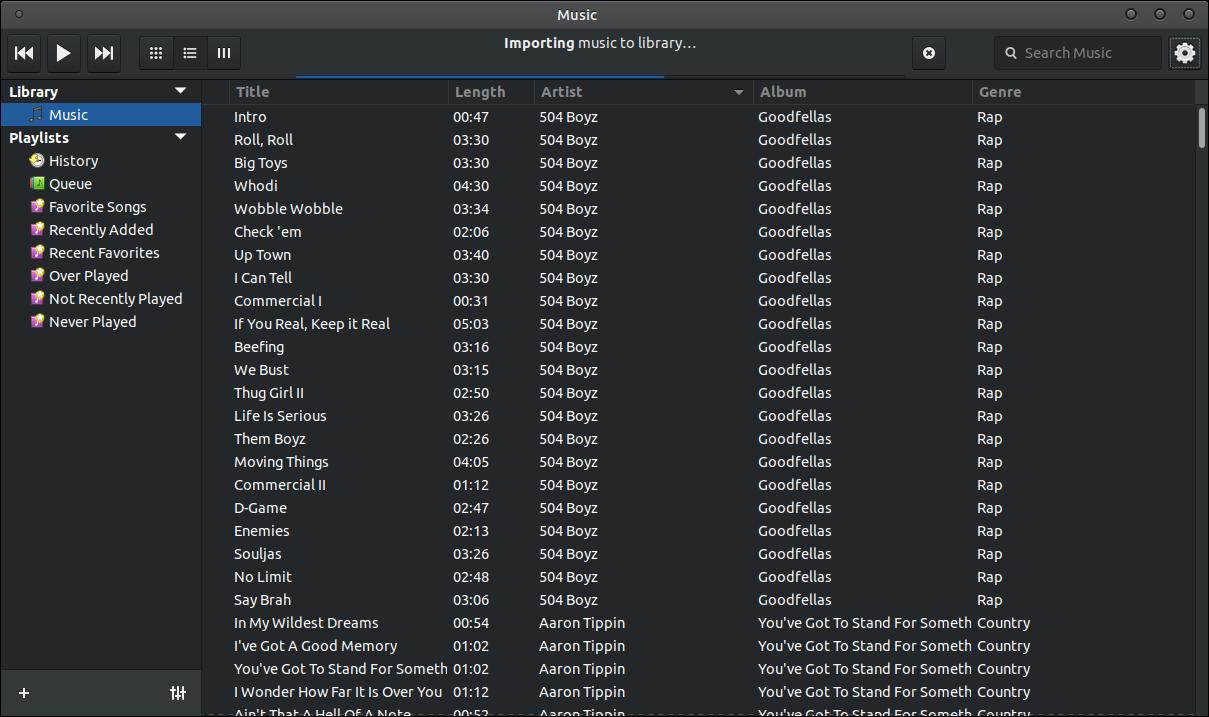
You will notice a simple toolbar across the top. The first button is the Previous button, then the Play button, then the Next button, then the View as Albums button, then the View as List button, and then the View as Columns button. In the center of the toolbar is the progress bar and above it is the song title. To the left of the song title is the Enable Shuffle button and to the right is the Enable Repeat. In the upper right corner of the titlebar is the Search Music box and the Settings icon.

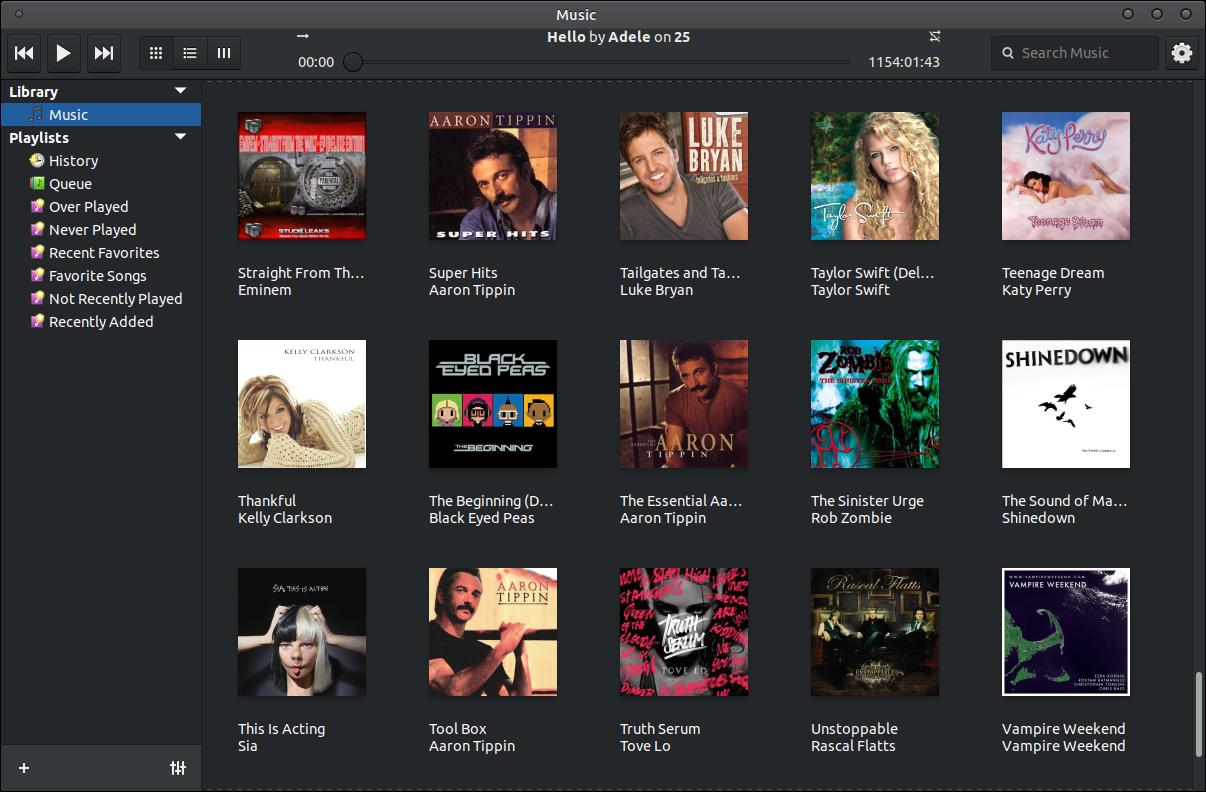
Your album art or cover art will be displayed when you select the View as Albums button on the toolbar.
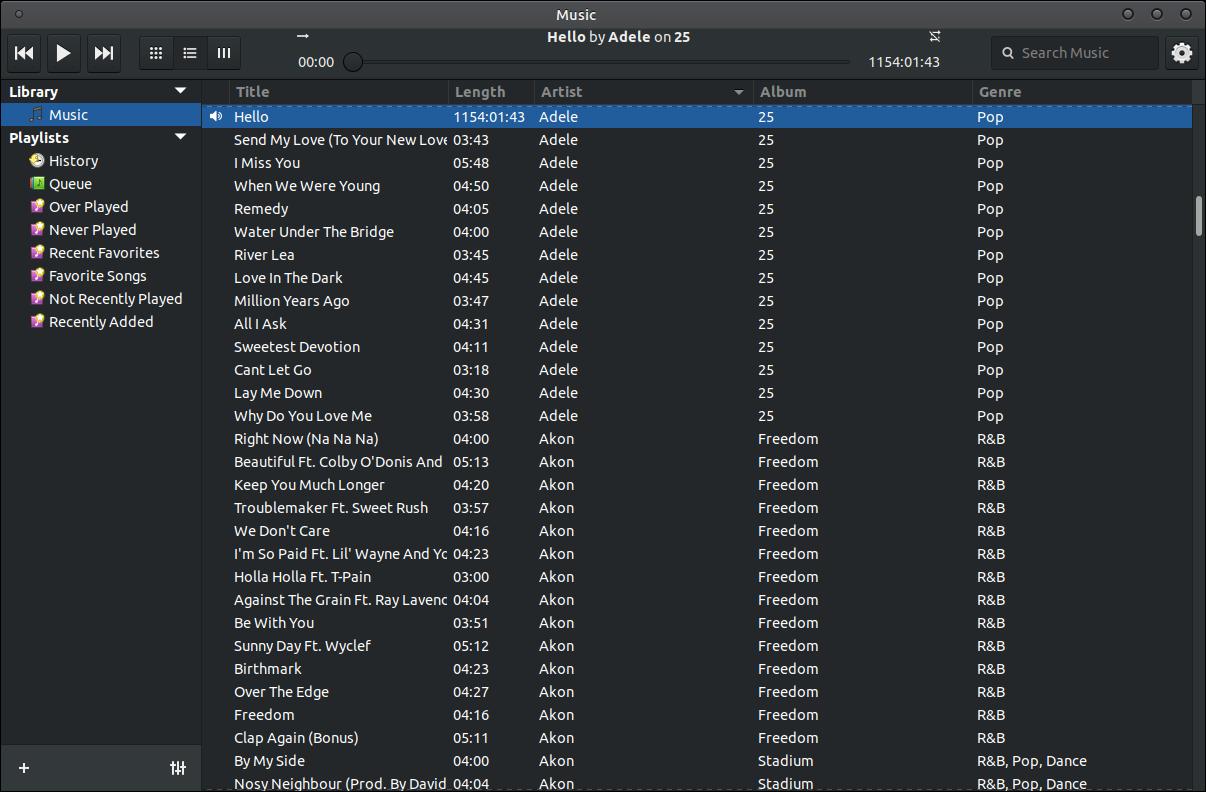
All of your songs will be displayed in a list when you click the View as List button.
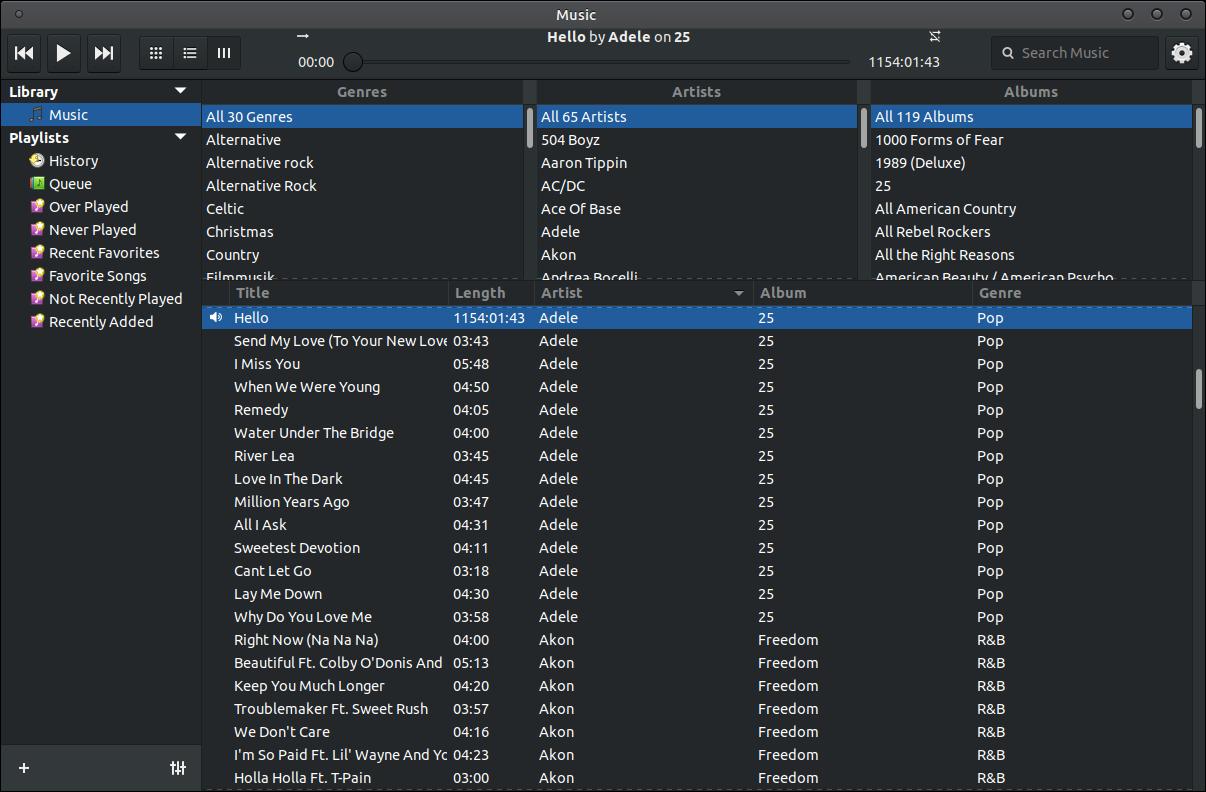
When you click the View as Columns button, it will organize your music by Genres, Artists, Albums, and Songs.
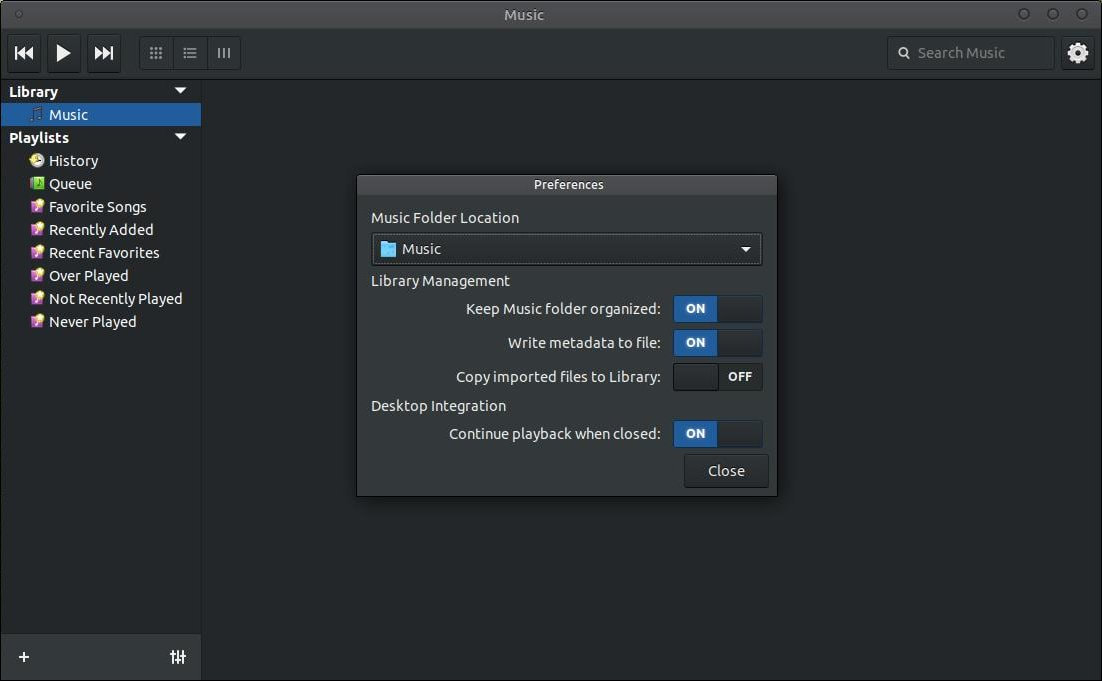
If you click on the Settings icon and then on Preferences you will notice a Preferences dialog box. In this dialog box you can select the Music Folder Location. You probably should set the location of your music before you import your music files. You have three options under the Library Management section: 1. Keep Music folder organized 2. Write metadata to file 3. Copy imported files to Library. Under Desktop Integration you have Continue playback when closed. Each of these options can be turned off or on.
In the lower left you have an Add Playlist button and an Equalizer button.

You have two choices when you click the Add Playlist button: 1. Add Playlist 2. Add Smart Playlist. (A Smart Playlist will add songs to the list based on a prearranged criteria or rules.)

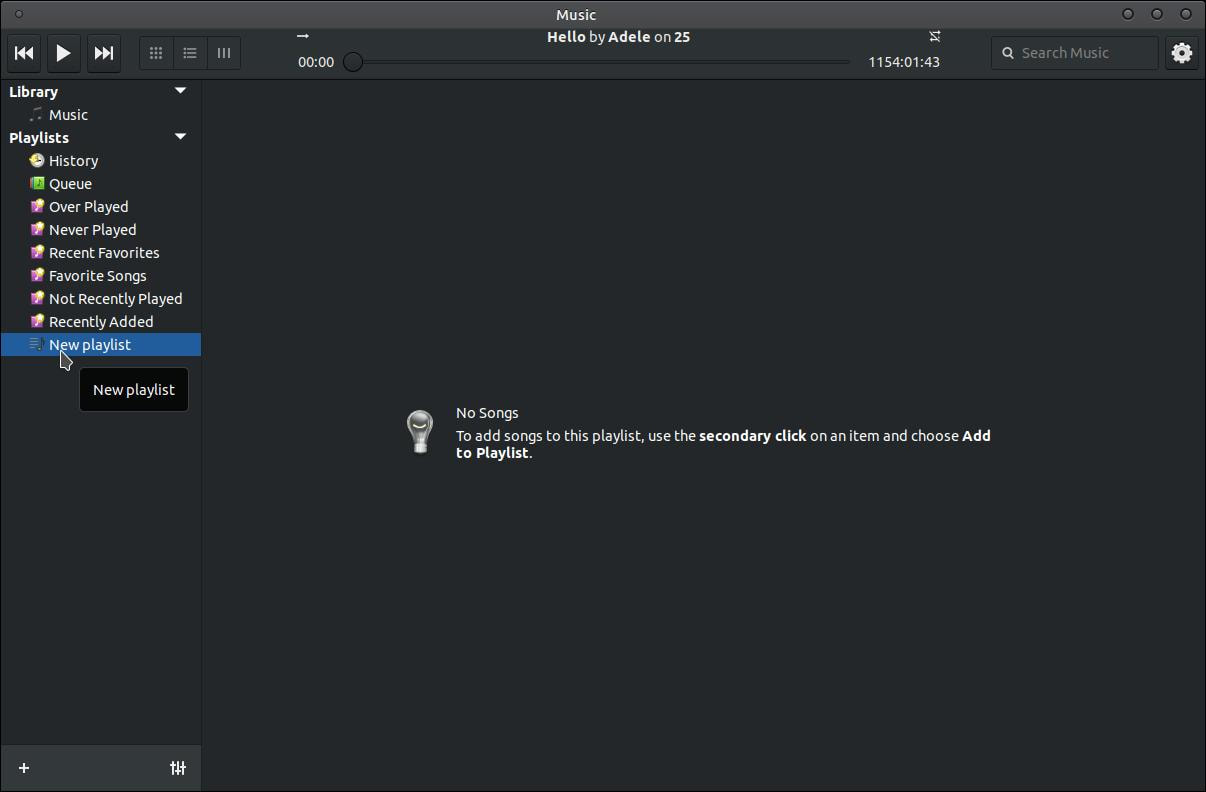
Clicking on the Add Playlist option will allow you to create a New Playlist to your Playlists section on the left.
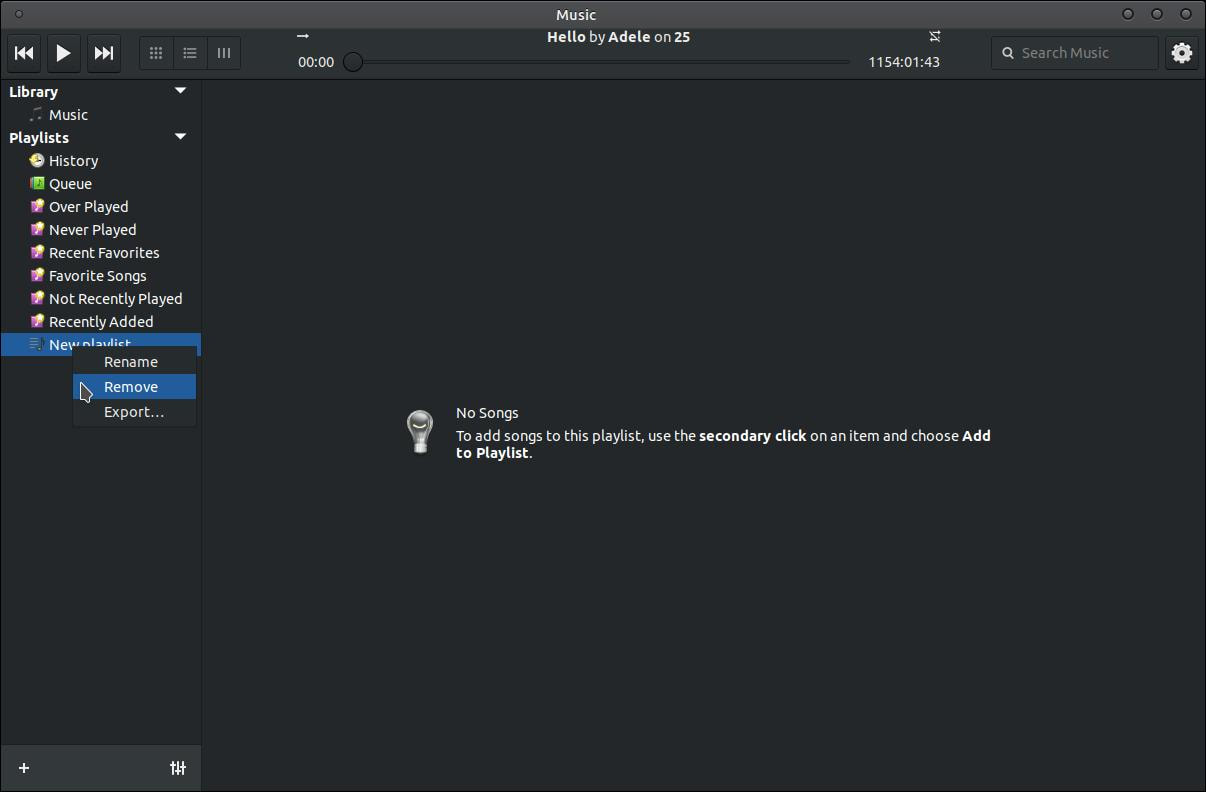
Right-clicking on one of your Playlists will bring up a small menu to allow you to Rename, Remove, or Export... the selected playlist.
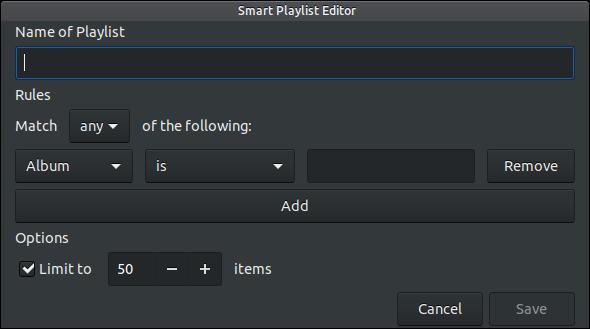
Clicking on the Add Smart Playlist option will bring up a Smart Playlist Editor dialog box. In this dialog box you can give your new playlist a name and select a variety of rules. You can click the Add button to add additional rules to your new playlist. Under the Options section allows you to set a limit to the number of songs or items that can be added to your Smart Playlist.
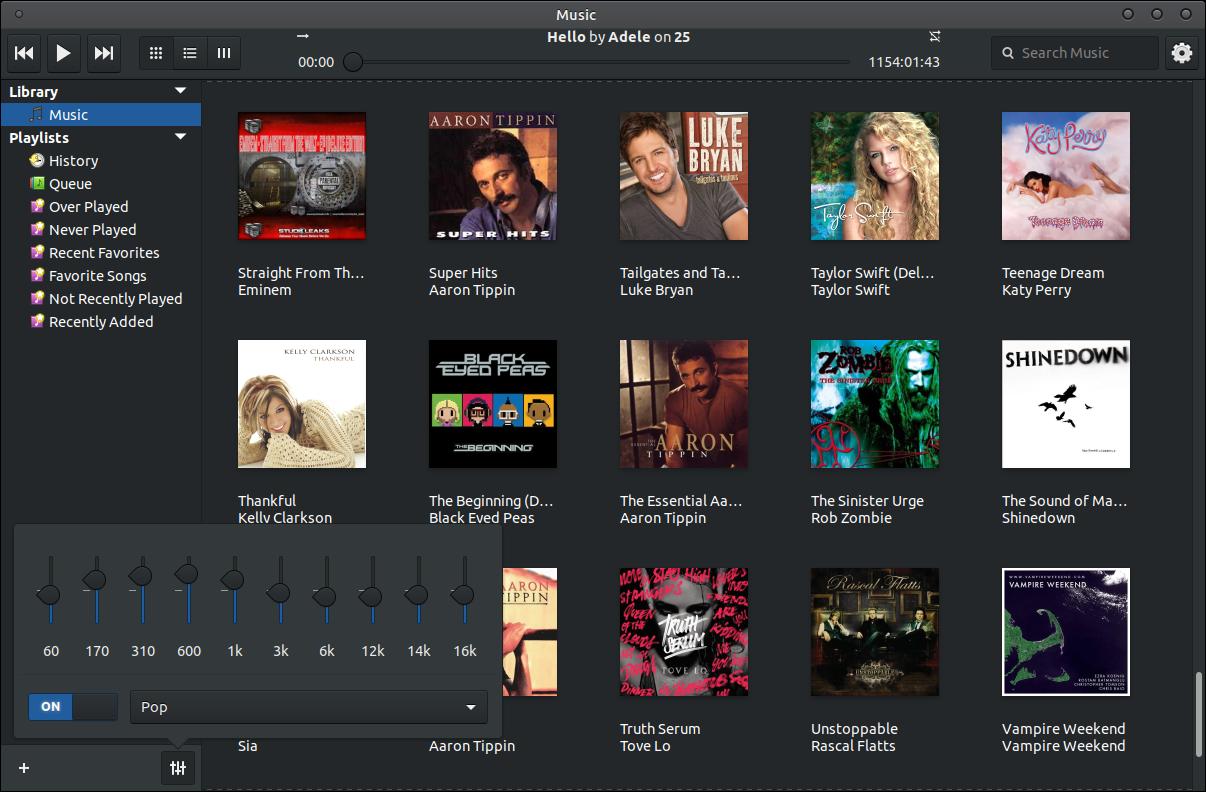
Clicking on the Equalizer button will allow you to turn ON an Equalizer.

You have a variety of preset equalizer settings to choose from.
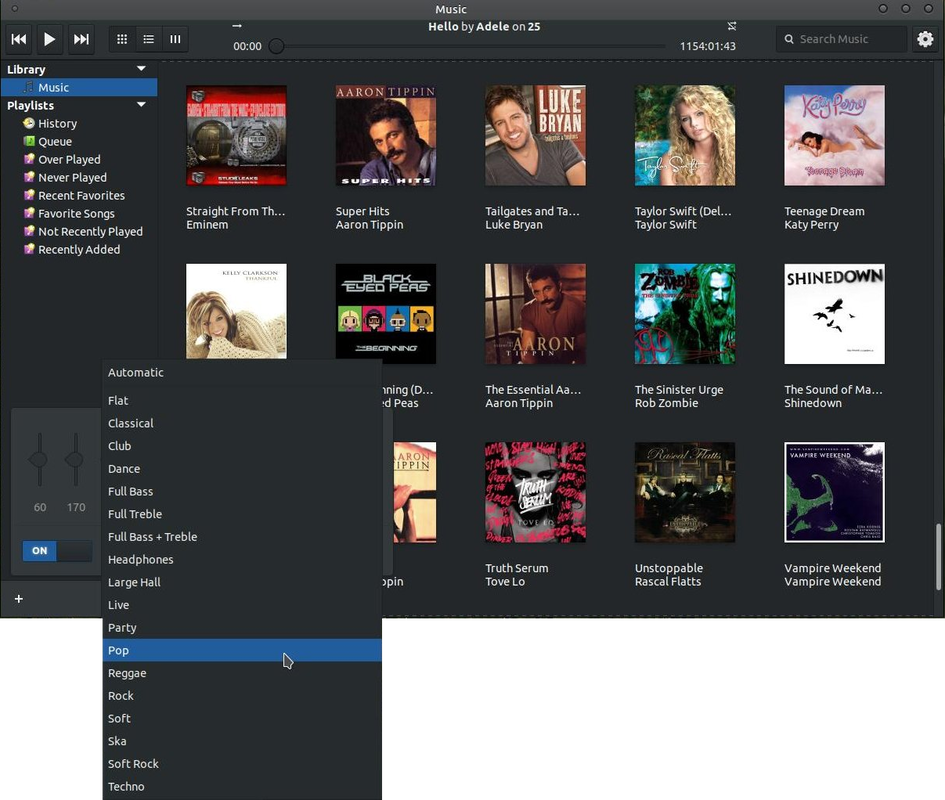
Here's an example of Pop settings.
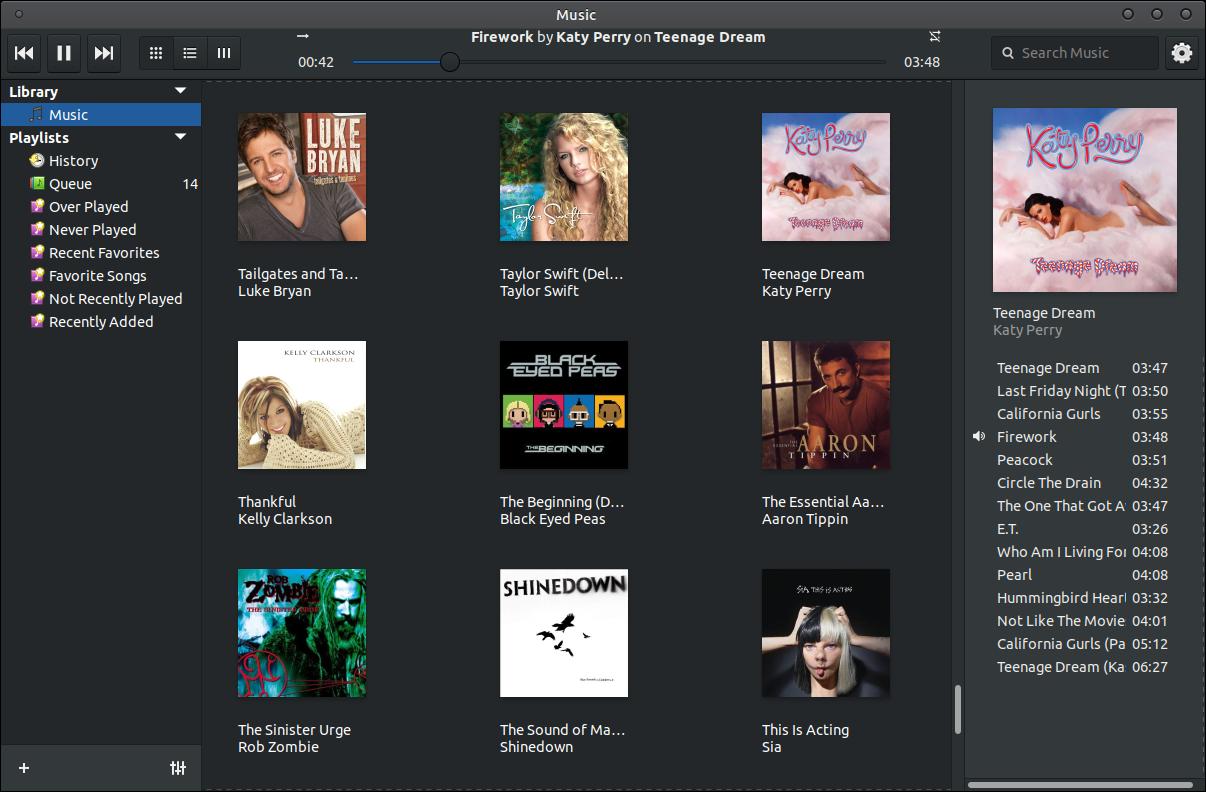
Playing a song or an entire album is very easy. First scroll through your list of albums until you find one that you want to listen to.
Click on the album you want to listen to and notice your song list on the right. Now double-click on the song you want to listen to.

When the song finshes it will automatically play the next song in your list.
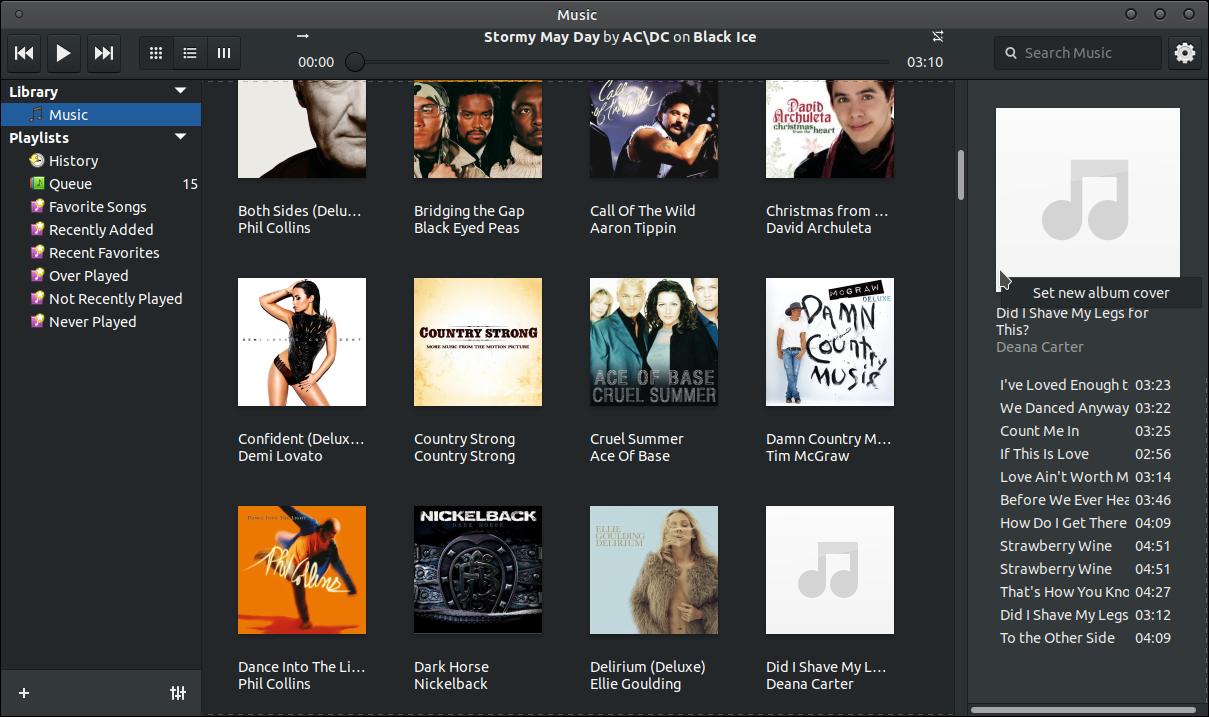
When you first load your albums into the player you may notice some albums may not display an album art or cover art. You can locate the cover art online and then place it into the folder with your songs. Then click on the empty album to display Set new album cover option.
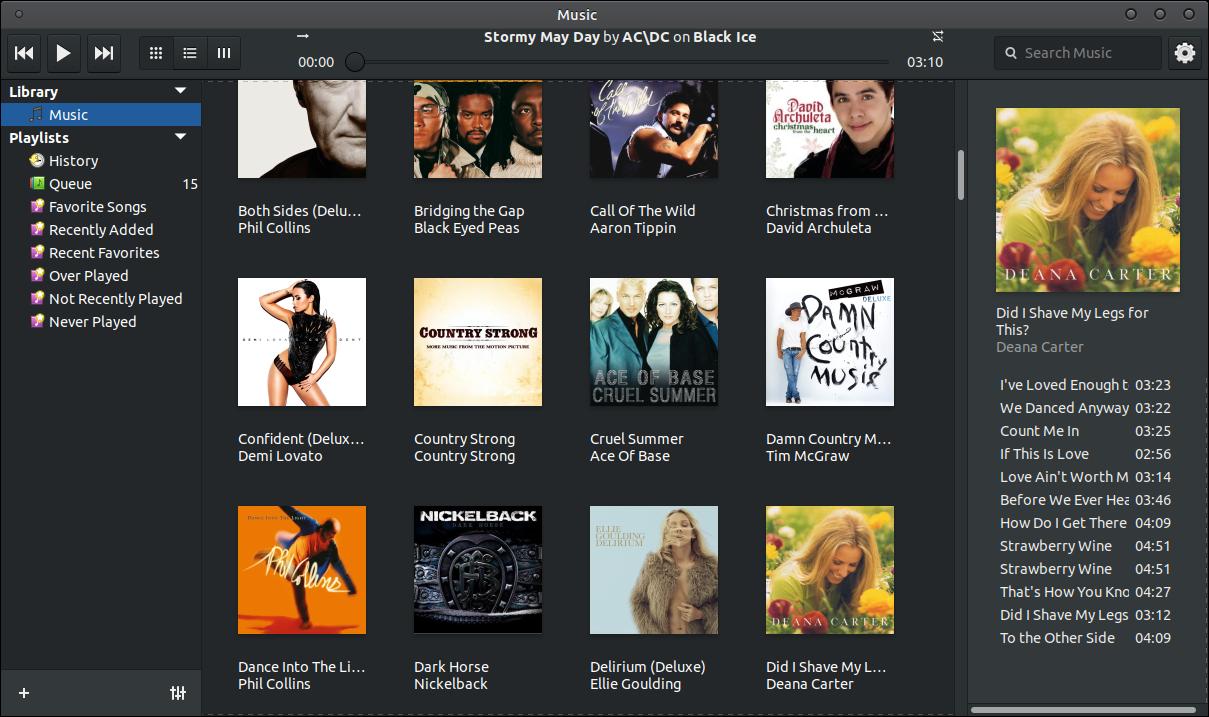
You can then navigate to your cover art and select it. It will then be added to your album.
If your album art is to small then you can resize it with a program like Pinta.
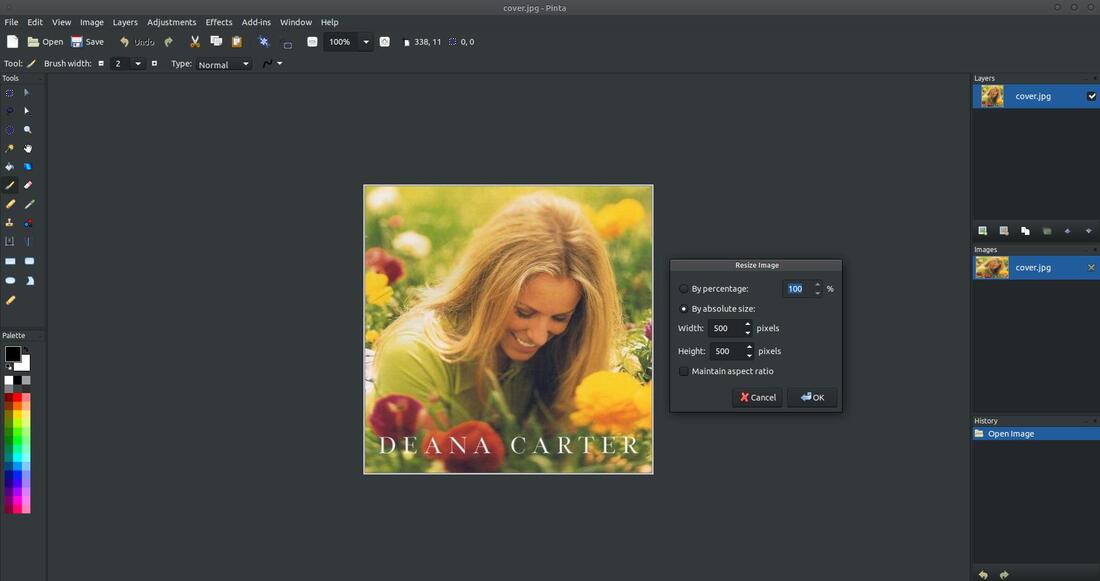
The cover art size should be square, so you'll need your Width and Height equal sizes. You'll need to uncheck Maintain aspcct ratio to allow you to make your cover art square.

Noise Music Player (a.k.a. Music) is decent music player for Linux systems. I don't mind the lack of features because simplicity makes using software a lot easier. However, Noise Music Player places a album art or cover art file called 'cover.jpg" into every album folder. The software doesn't always find an album art or it finds one with the wrong size. There are no settings to reconfigure this issue or fix the issue, so you have to fix it manually. You also have no volume control or slider within the program. You have to use shortcut keys or control the master volume of your system to control the volume.

Apr 1, 2020
