
OBS Studio

|
Open Broadcaster Software (OBS) or OBS Studio is a free and open-source software suite for recording your desktop, game recording, and live streaming.
OBS Studio can be a bit intimidated at first, because it has more advanced features compared to SimpleScreenRecorder. However, if you don't get overwhelmed at all the options, you will eventually enjoy using it. If you are into gaming, then this is the screen capturing software for you. It supports unlimited number of scenes and sources. OBS Studio can be installed via the Software Boutique. You can find it in the Sound & Video section. |
How to Install OBS Studio:
1. Open the Terminal (Shortcut: Ctrl + Alt + T)
2. Type the following command to add the PPA: sudo add-apt-repository ppa:obsproject/obs-studio
3. Press Enter or Return and type in your password
4. Type the following command: sudo apt-get update
5. Type the following command: sudo apt-get install obs-studio
6. Type Y and press Enter or Return
How to Uninstall EasyTag:
1. Open the Terminal (Shortcut: Ctrl + Alt + T)
2. Type the following command: sudo apt-get remove obs-studio
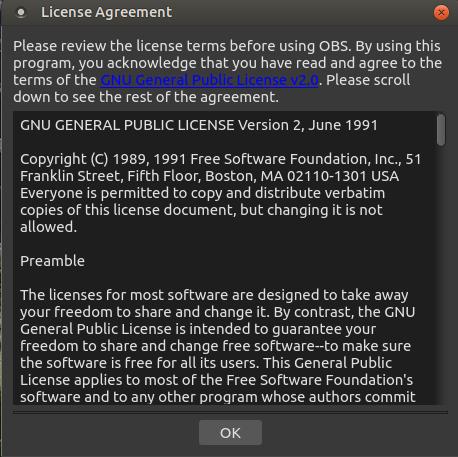
To start OBS Studio, click on th Applications menu, then highlight Sound & Video, then click on OBS. A License Agreement dialog box will appear the first time you run OBS Studio. Click the OK button to continue.
1. Open the Terminal (Shortcut: Ctrl + Alt + T)
2. Type the following command to add the PPA: sudo add-apt-repository ppa:obsproject/obs-studio
3. Press Enter or Return and type in your password
4. Type the following command: sudo apt-get update
5. Type the following command: sudo apt-get install obs-studio
6. Type Y and press Enter or Return
How to Uninstall EasyTag:
1. Open the Terminal (Shortcut: Ctrl + Alt + T)
2. Type the following command: sudo apt-get remove obs-studio
To start OBS Studio, click on th Applications menu, then highlight Sound & Video, then click on OBS. A License Agreement dialog box will appear the first time you run OBS Studio. Click the OK button to continue.
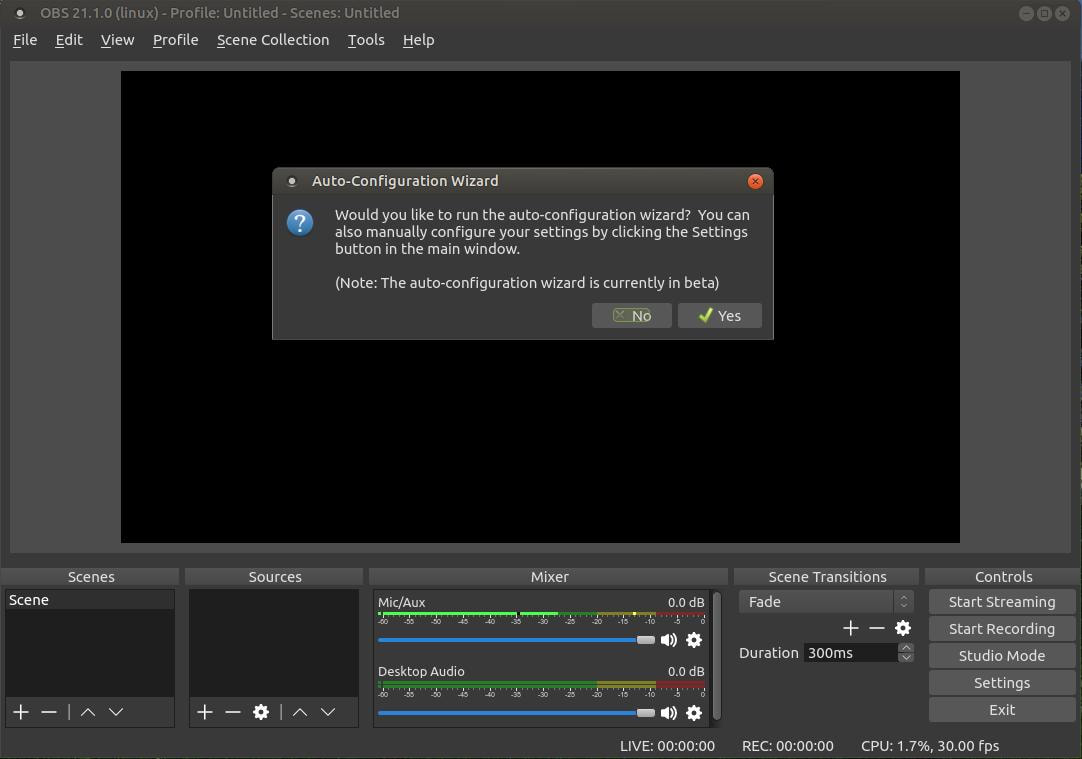
An Auto-Configuration Wizard will appear next to help you set up your settings. The Auto-Configuration Wizard is in beta or final stages of development, but I don't think it's needed. If you are not sure how to answer a question or two using the wizard, it may affect the performance of your screen recordings. So I would suggest that you click No and manually configure your settings. Don't panic, I will step you through the process.
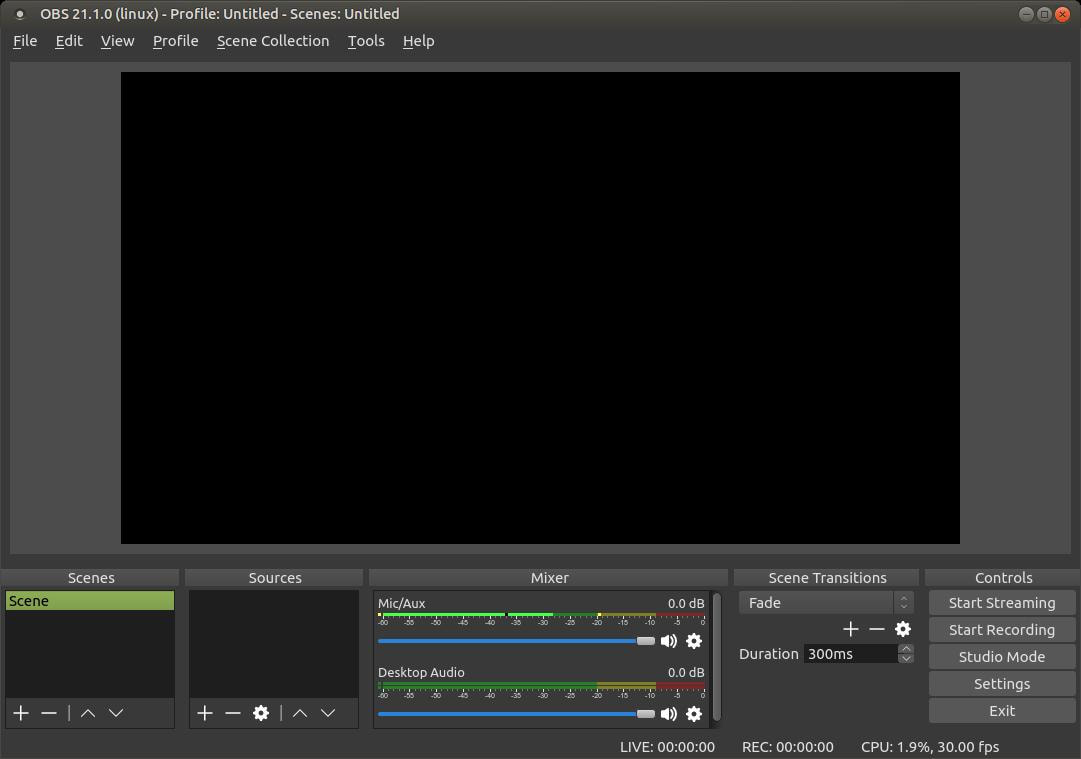
Once the Auto-Configuration Wizard closes, you should be looking at something similar to the image below. Click the Settings option in the lower right corner.
The Settings dialog box will appear and the General tab on the left should be highlighted. You can change your language and theme at the top. You can use my settings as a guide to help you get started.
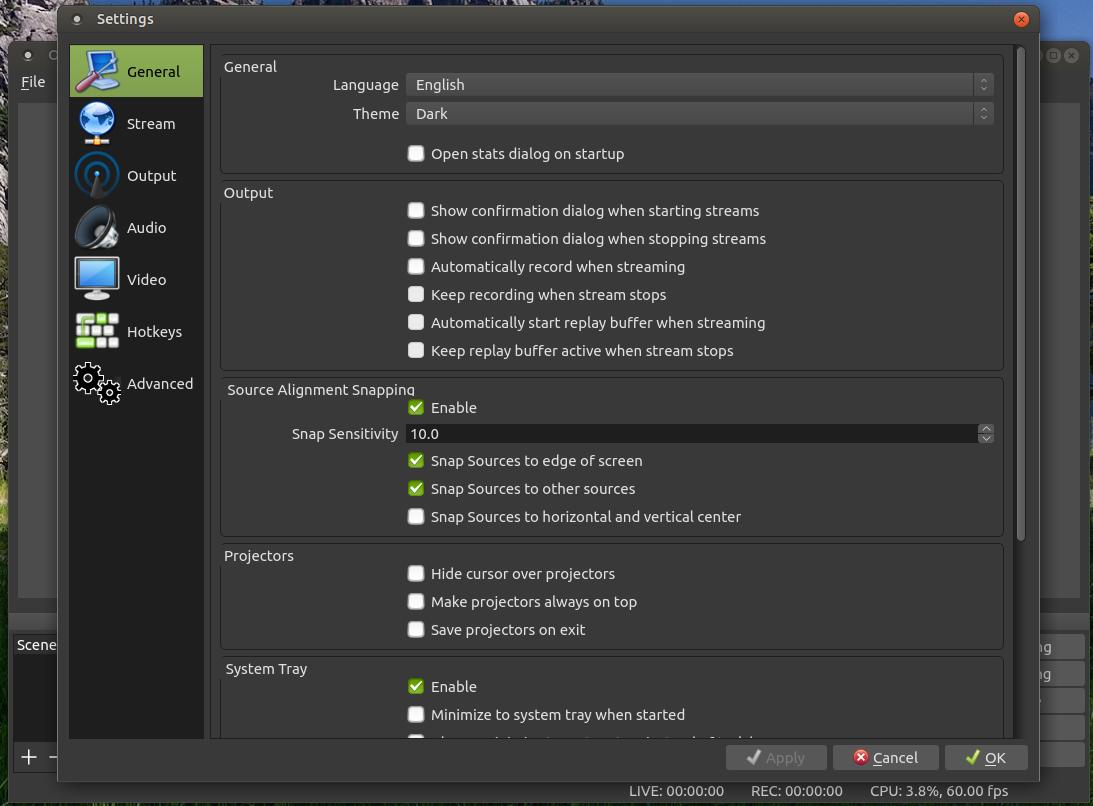
I scrolled down so you could see the settings at the bottom. Click the Apply button if you made any changes to save them.

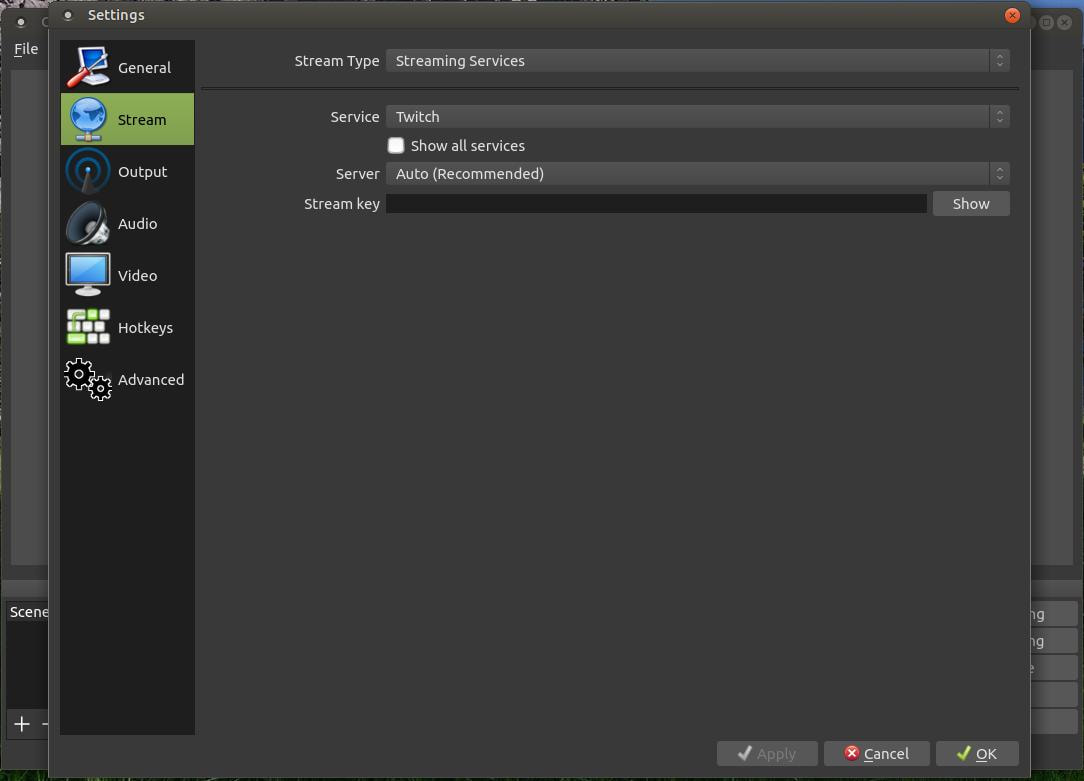
I made no changes to the settings in the Stream section. These settings will depend on the location that you plan to stream. So for the sake of keeping things simple, I will skip the settings in this tab.
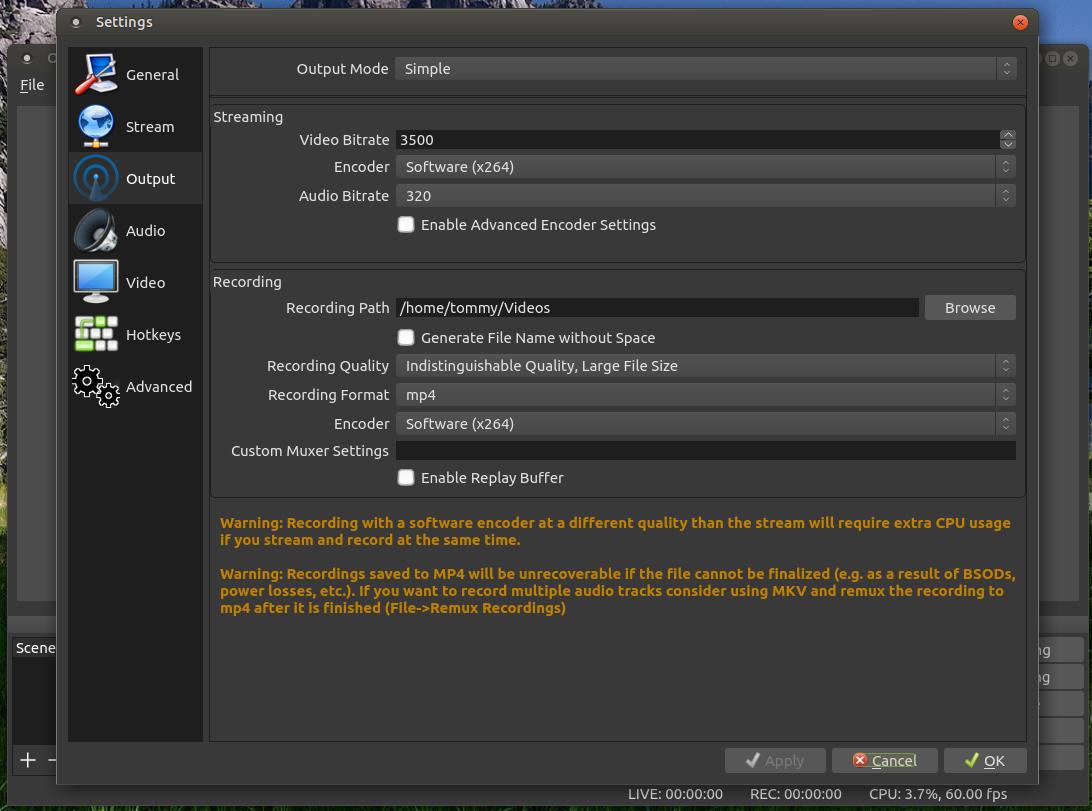
Select the Output tab and make the following changes to your settings. Output Mode: Simple, Streaming Section - Video Bitrate: 3500, Encoder: Software (x264) Audio Bitrate: 320. Recording Section - Recording Path: select a location for your video, Recording Quality: Indistinguishable Quality, Large File Size, Recording Format: mp4, Encoder: Software (x264). Ignore the warnings at the bottom of the dialog box. If you plan to eventually record online video gaming, then I recommend saving your recorded video to a seperate hard drive if one is available. This will help reduce lag in your video game. Click the Apply button if you made any changes to save them.
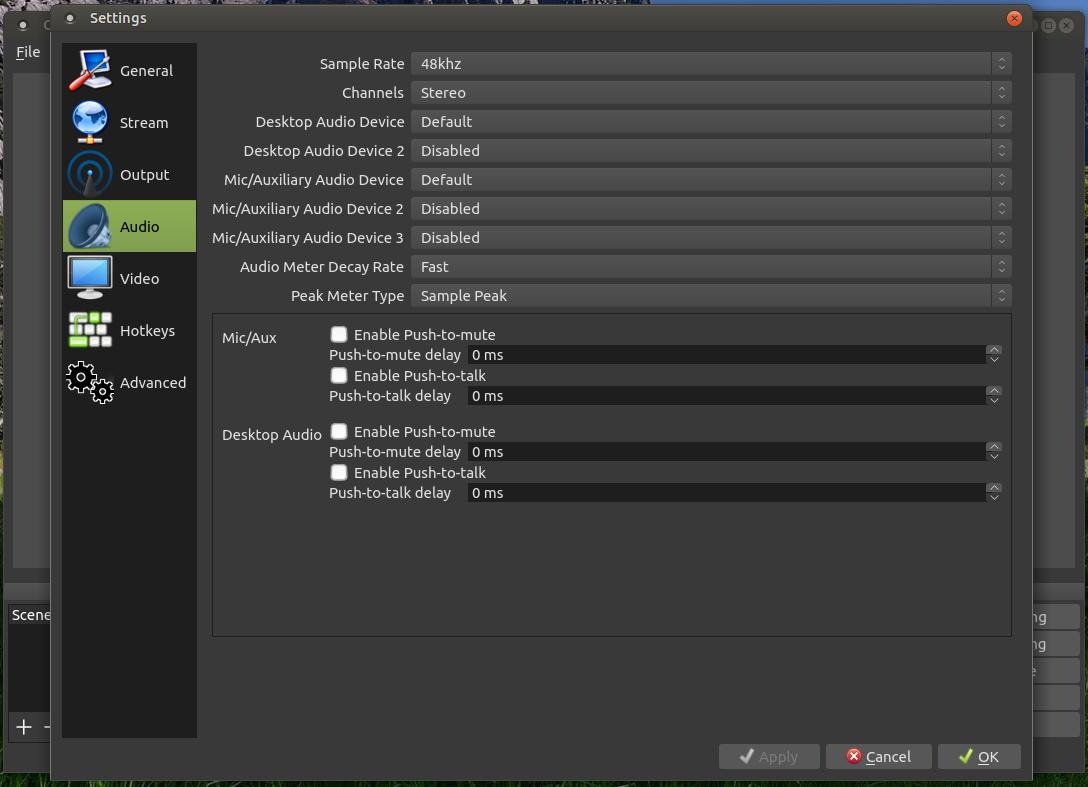
Select the Audio tab and make the following changes to your settings. Sample Rate: 48khz, Channels: Stereo, Desktop Audio Device: Default, Desktop Audio Device 2: Disabled, Mic/Auxillary Audio Device: Defualt (unless you have multiple mics, then select the mic you prefer), Mic/Auxillary Audio Device 2: Disabled, Mic/Auxillary Audio Device 3: Disabled, Audio Meter Decay Rate: Fast, Peak Meter Type: Sample Peak. Click the Apply button if you made any changes to save them.
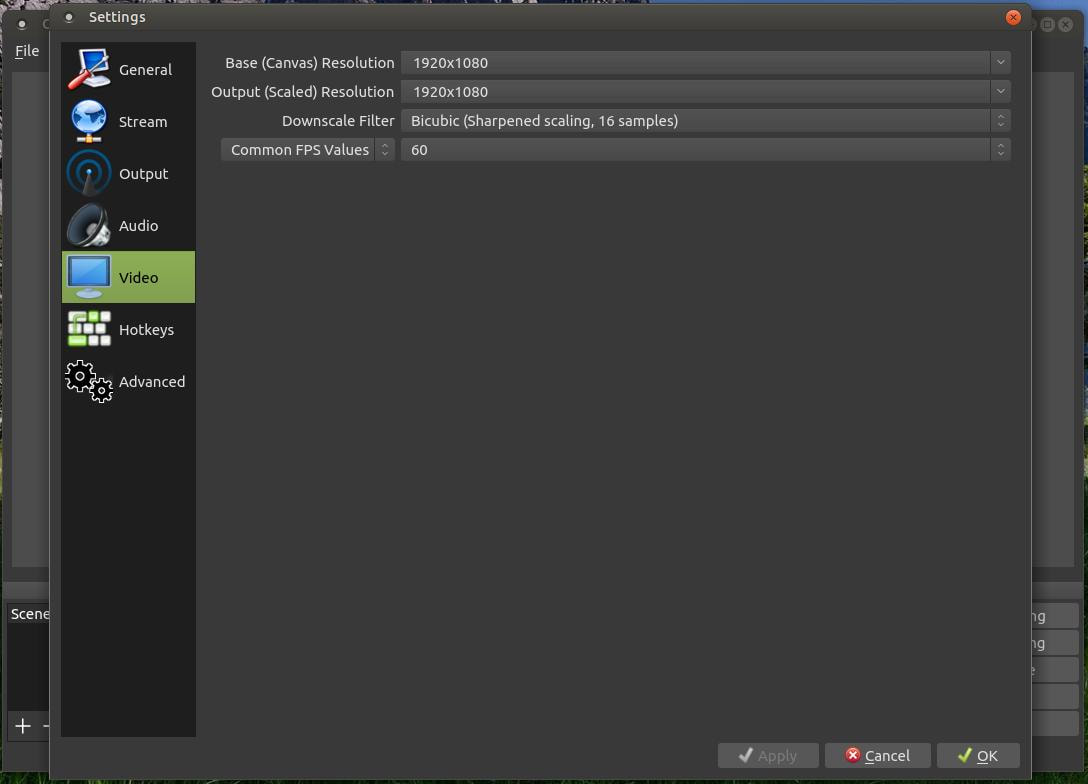
Select the Video tab and make the following changes to your settings. The settings below are based on my video components and capabilities. You can enter my settings and if your video looks bad then go back and make changes to the settings. Base (Canvas) Resolution: 1920x1080, Output (Canvas) Resolution: 1920x1080, Downscale Filter: Bicubic (Sharpened scaling, 16 samples), Common FPS Values: 60. Click the Apply button if you made any changes to save them. (I highly recommend that you put in the screen resolution for your system. If you are unsure what your screen resolution is, click on the following link: http://whatismyscreenresolution.net/. It will display your screen width and height (WxH). Put in your screen resolution in the Base Resolution and Output Resolution for best results. If you do not have a powerful system, enter 30 for the Common FPS Values.)
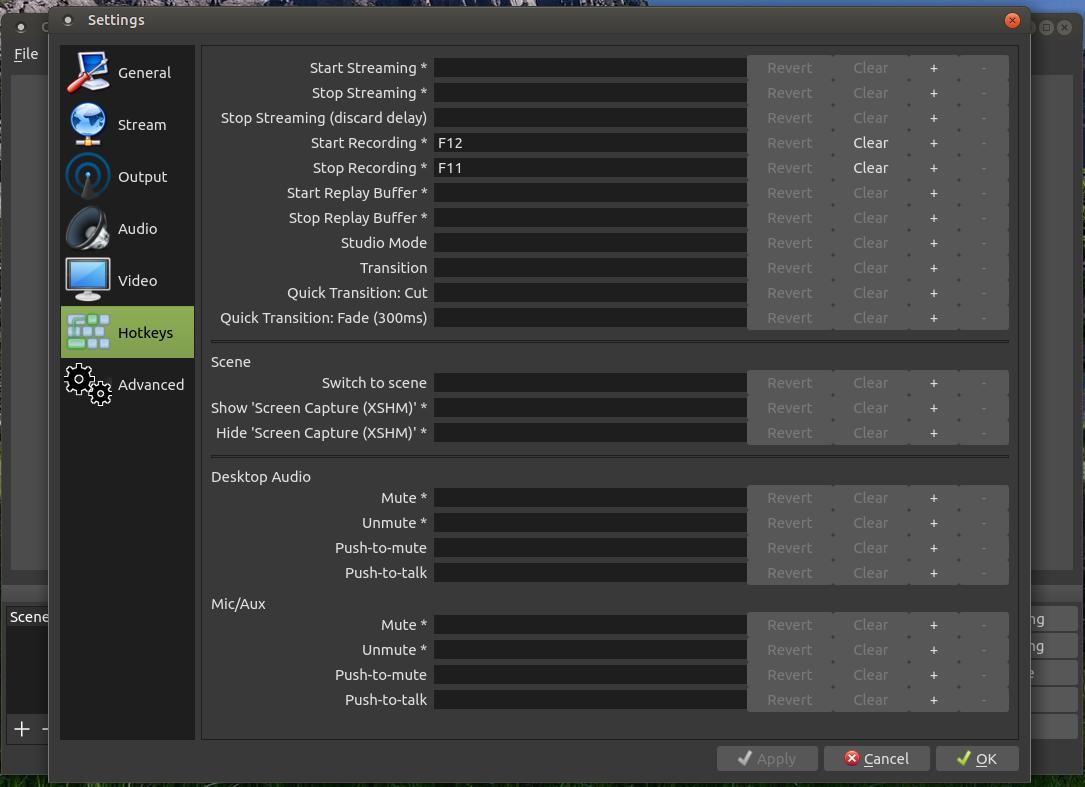
Select the Hotkeys tab and make the following changes to your settings. You can customize a lot of the features of OBS Studio by assigning hotkeys. I think a lot of hotkeys can be a bit confusing trying to remembering them all. However, I do like assigning hotkeys for starting and stopping the recording of the video. I always minimize the OBS Studio dialog box and use my hotkeys so that I don't have to spend a lot of time editing my video and cropping off the beginning and ending points of my videos. I set my Start Recording: F12 and my Stop Recording: F11. These are easy keys to remember. Assign keys that is easily remembered for you and then click the Apply button to save your changes.
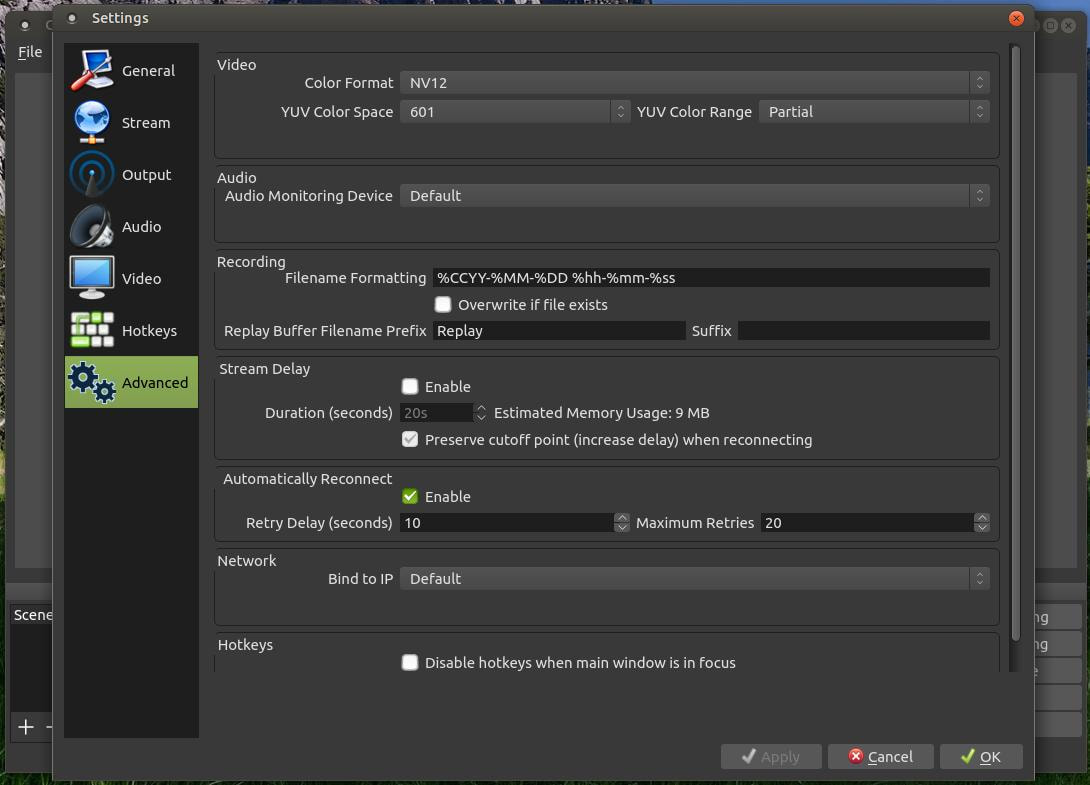
Select the Advanced tab and compare your settings with mine. Make any necessary changes and then click the Apply button to save the changes. Then click the OK button to close the Settings dialog box.
Don't panic If you still have a black screen after making the changes in the Settings. You have yet to select a source that you will be recording.

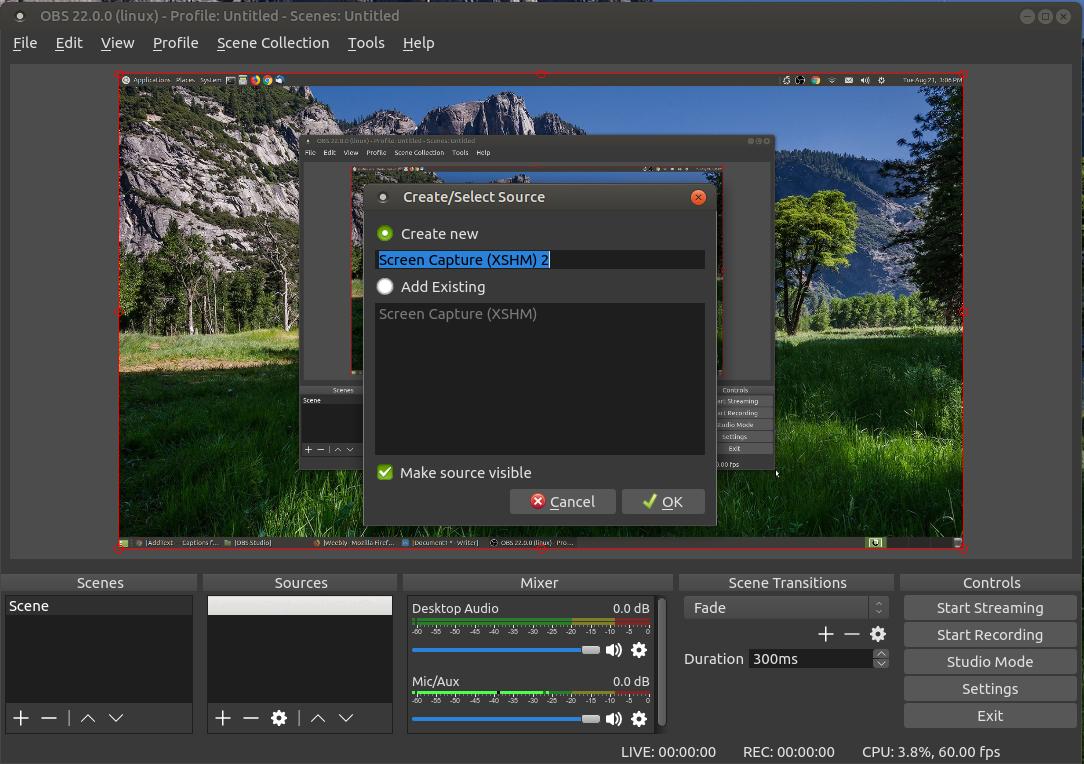
Next to Scenes is a section called Sources. Click the plus (+) symbol and select Screen Capture (XSHM) to be able record your desktop.

A Create/Select Source dialog box will appear and you need to type a name you can remember or select the default option and then click OK.
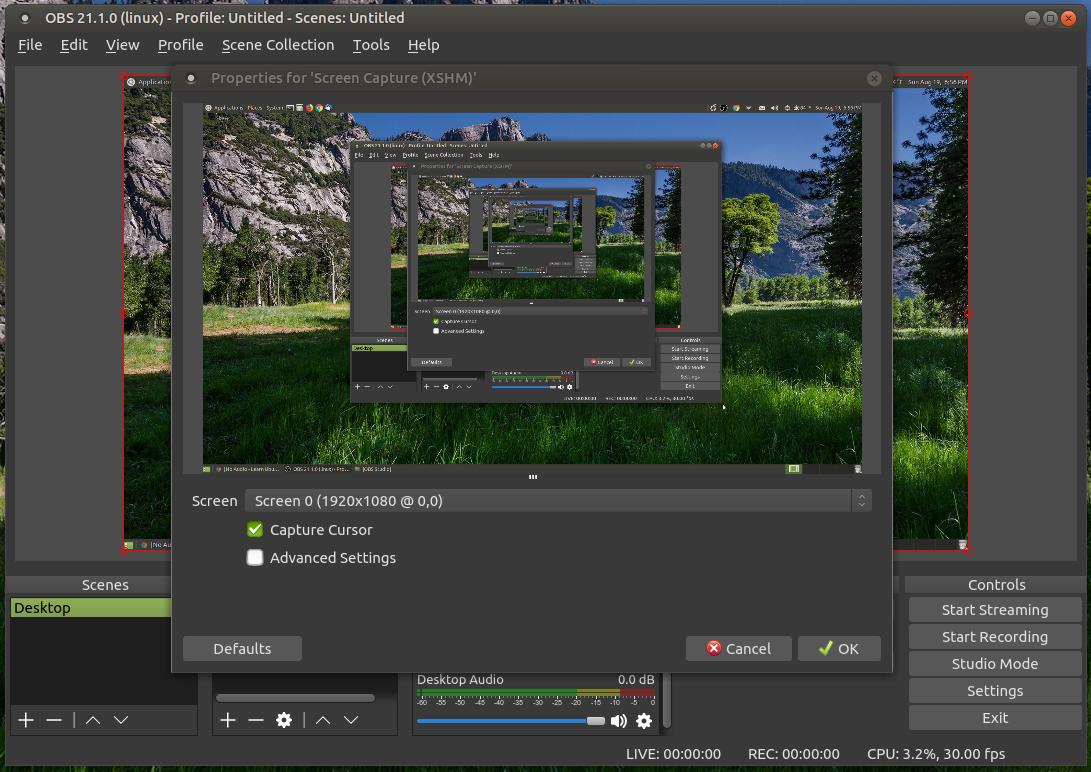
A Propeties for dialog box will appear that allows you to select your screen and screen resolution and whether or not you want to capture your cursor. Click the OK button when you finish.
You are now ready to start recording your desktop using OBS Studio. You can click the Start Recording button or minimize the dialog box and start recording by pressing the hotkey you assigned to start recording.
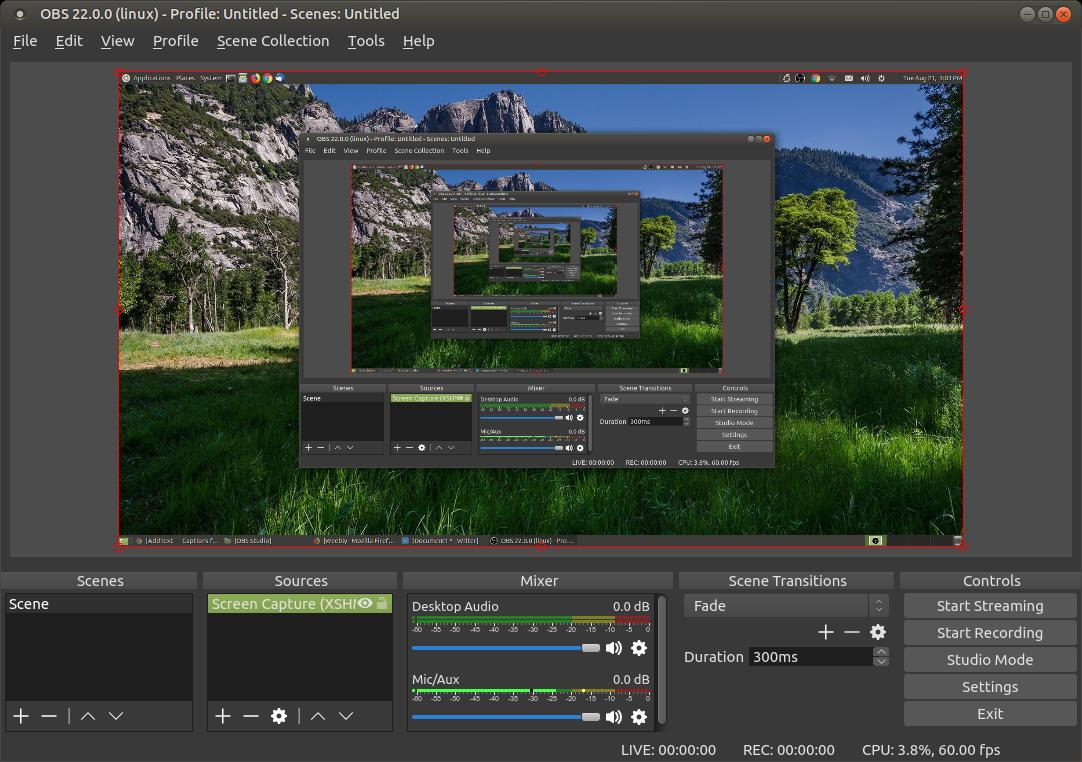
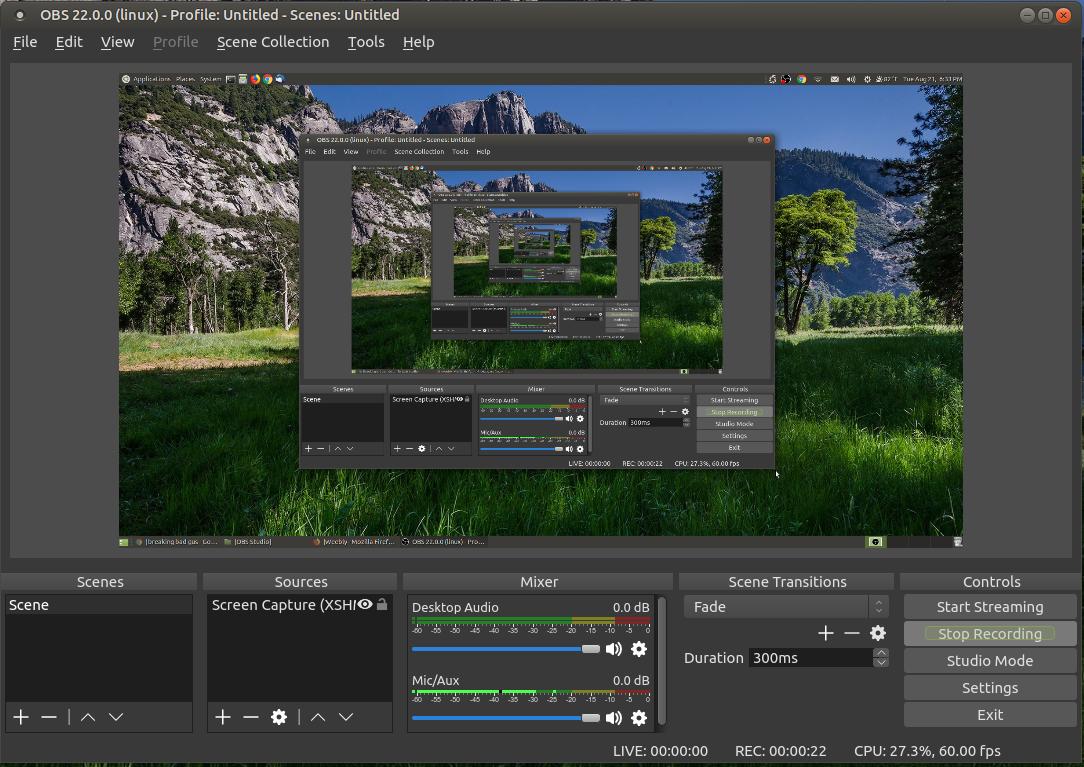
If you click the Start Recording button it will immediately change to Stop Recording button. I prefer to minimize the dialog and press my F12 key to start recording and then press my F11 key to stop recording.
The OBS Studio icon will appear in your panel when it is actively running or running in the background. It will have a red dot on it while you are recording. This helps you identify if you are recording after you press your hotkey for Start Recording.

The red dot will disappear when you press the hotkey for Stop Recording. The icon will remain in your panel until you exit the program.

I hope the information on this page helped you get started using OBS Studio. The more you use the program, the better you will get at it. I have several links below that will teach you more about OBS Studio.
More Advanced Tutorials:
OBS Studio Tutorial Series
How to Stream with OBS Studio
The Ultimate OBS Studio Tutorial
OBS Studio MASTER CLASS 2018
Course Index
More Advanced Tutorials:
OBS Studio Tutorial Series
How to Stream with OBS Studio
The Ultimate OBS Studio Tutorial
OBS Studio MASTER CLASS 2018
Course Index
Good Luck!!!
Aug. 25, 2018
