
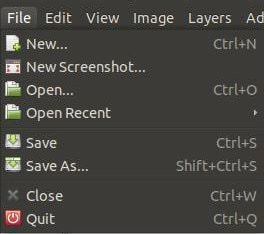
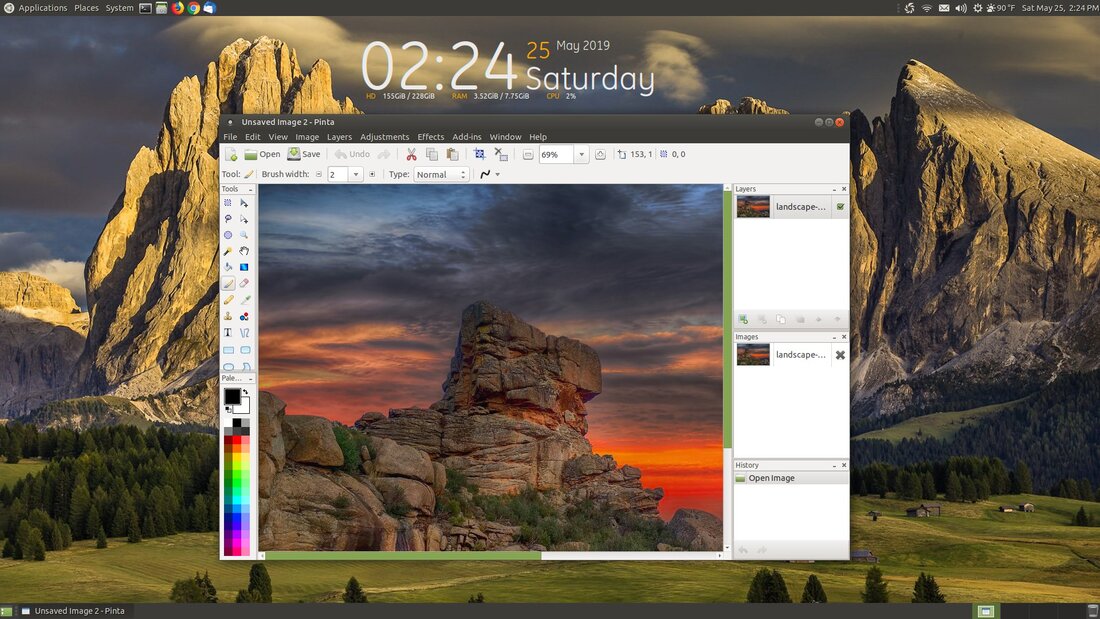
Pinta: File Menu
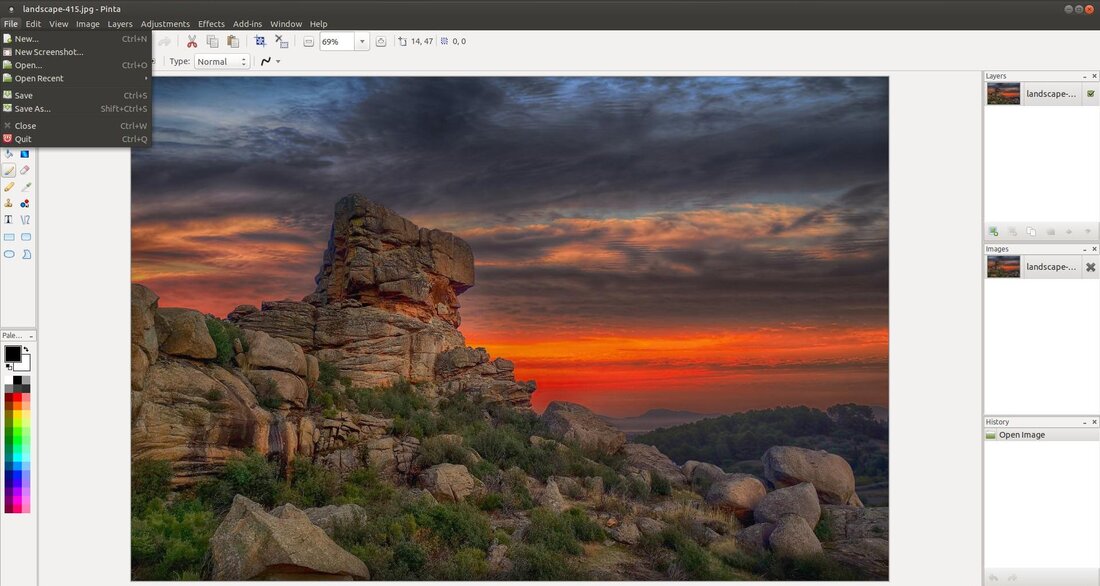
The File menu contains commands that allows you to create a new image, take a screenshot of your desktop, open an image, save an image, close an image, and quit the program within Pinta.
New...
The New... command allows you to create a new, blank, single layered image. By default, the single layer will be filled with white; however, you can select a transparent background instead. Also by default, the Orientaion of your new image will be displayed as Landscape but you can change it to Portrait. The keyboard shortcut for File, New... is Ctrl + N.
The New... command allows you to create a new, blank, single layered image. By default, the single layer will be filled with white; however, you can select a transparent background instead. Also by default, the Orientaion of your new image will be displayed as Landscape but you can change it to Portrait. The keyboard shortcut for File, New... is Ctrl + N.
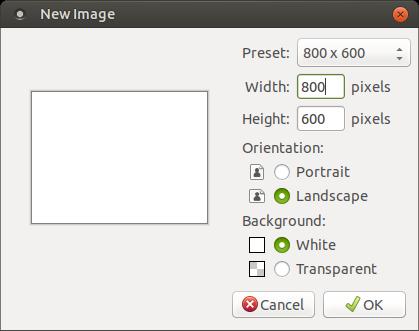
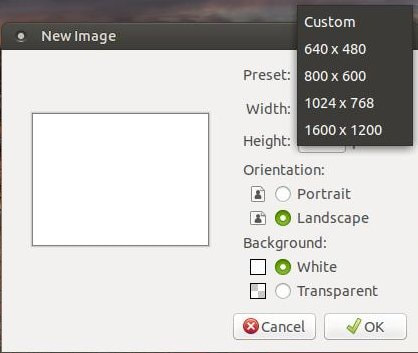
The default or Preset canvas size is set to 800 x 600 pixels. You can also select from 640 x 480, 1024 x 768, 1600 x 1200 pixels or you can create a Custom size image. If you select the Custom option then you can enter your new values in the Width and Height. Click the OK button to accept the changes.
New Screenshot...
The New Screenshot... command allows you to capture a screenshot of your desktop. Clicking on New Screenshot... will bring up a Take Screenshot dialog box.
The New Screenshot... command allows you to capture a screenshot of your desktop. Clicking on New Screenshot... will bring up a Take Screenshot dialog box.

The default delay value is set at 0 in the Take Screenshot dialog box.

When you click the OK button it will immediately take a screenshot of your desktop without the mouse pointer. Below is the result of using the New Screenshot... option.
For more information on taking screenshots with Pinta, click on New Screenshot... or go to https://learnubuntumate.weebly.com/screenshot-tool.html.
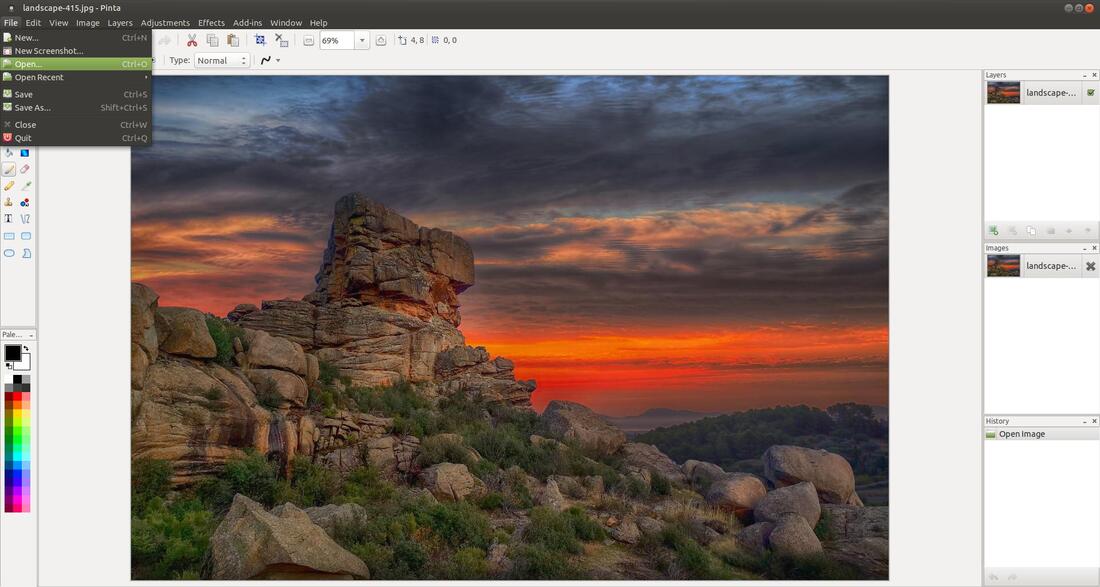
Open...
The Open... command allows you to open an existing image for editing. The keyboard shortcut for File, Open is Ctrl + O.
The Open... command allows you to open an existing image for editing. The keyboard shortcut for File, Open is Ctrl + O.
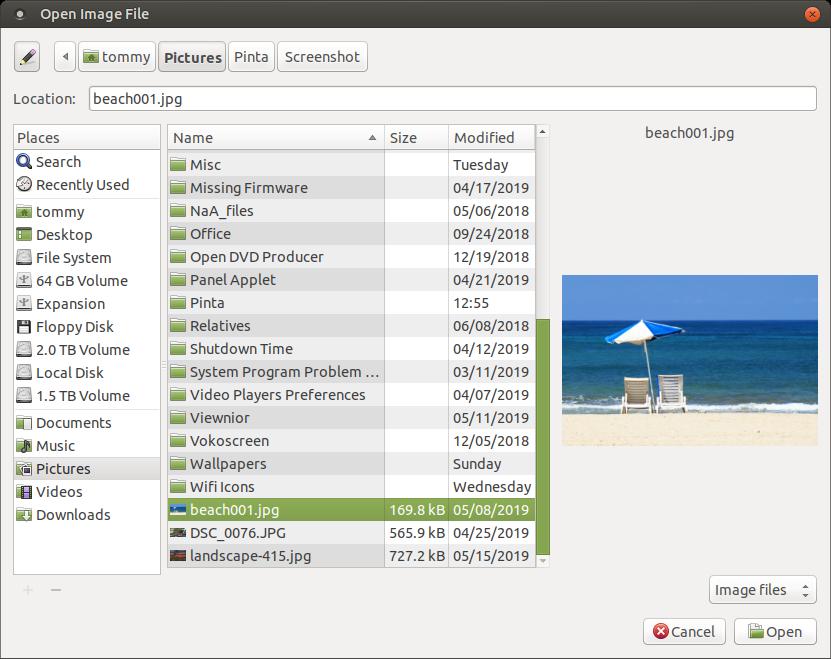
An Open Image File dialog box will appear when you click on the Open... option. In this dialog box you can select an image and then click on the Open button. You will notice a smaill image and image name on the right hand side of the dialog box. This will help you select the correct photo before you actually open it. This is great for folders that contains a lot of images that the names doesn't describe the image.
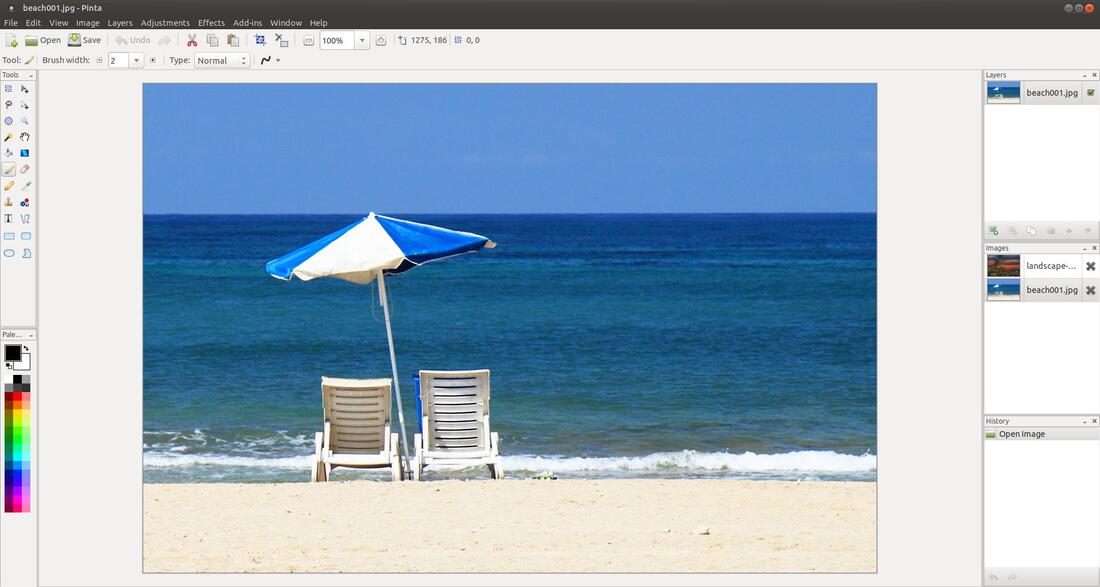
The opened image will be added to the Layers Window and Image Window list.
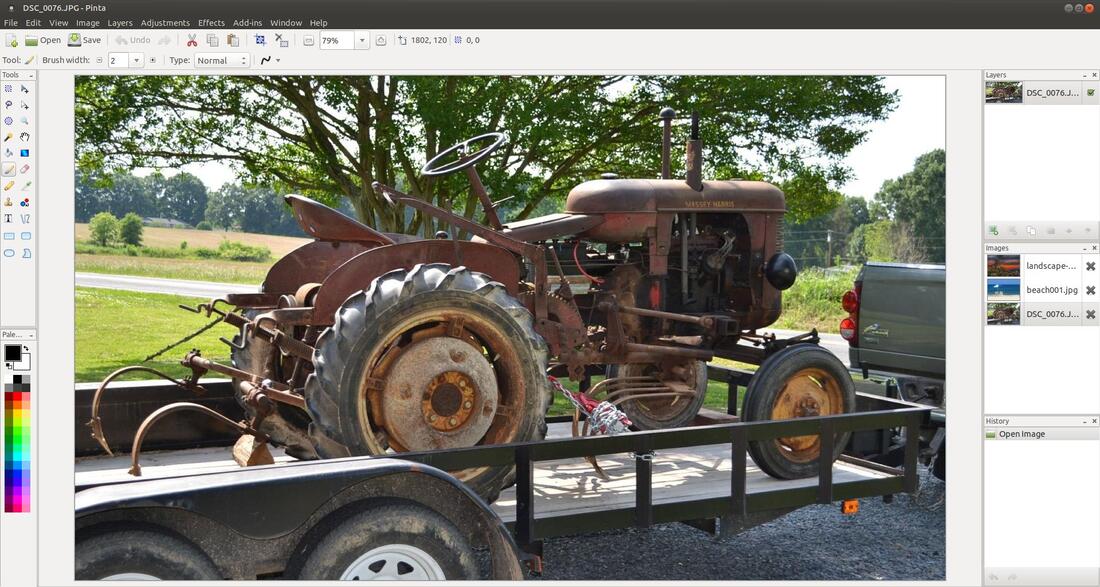
Open Recent...
The Open Recent... command allows quick access to the last ten images opened in Pinta.
The Open Recent... command allows quick access to the last ten images opened in Pinta.
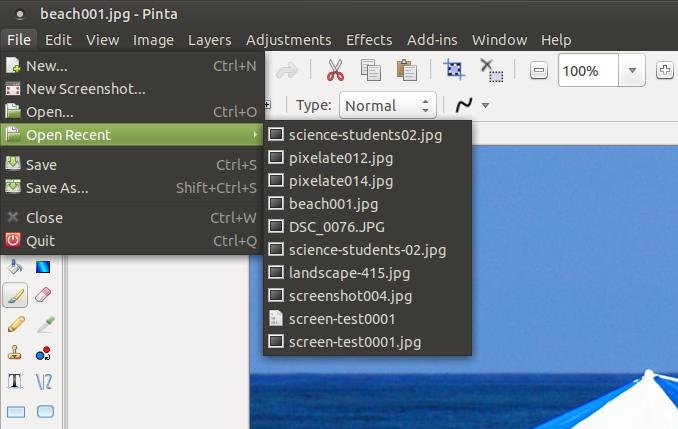
Clicking on one of the ten images will open the image immediately unless the image in the list was deleted or moved. In my example, I clicked on the image named DSC_0076.JPG. The image opened instantly and it was added to the Layers Window and Image Window list.
Save
The Save command allows you to save the image with the current filename. The keyboard shortcut for File, Save is Ctrl + S.
The Save command allows you to save the image with the current filename. The keyboard shortcut for File, Save is Ctrl + S.
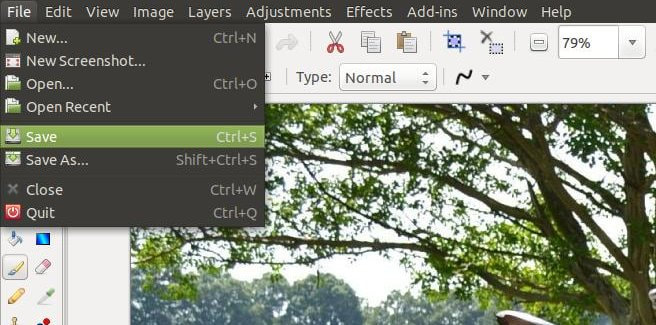
If you just created an image or an image has never been given a name then a dialog box will be presented so that you can give the image a name.
Save As...
The Save As... command allows you to save your image with a new name, format, and location. This is extremely useful if you want to create a copy of an edited image while retaining the original image. The keyboard shortcut for File, Save As... is Shift + Ctrl + S.
The Save As... command allows you to save your image with a new name, format, and location. This is extremely useful if you want to create a copy of an edited image while retaining the original image. The keyboard shortcut for File, Save As... is Shift + Ctrl + S.
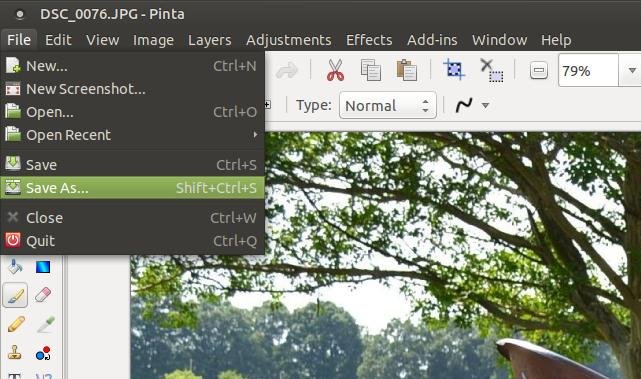
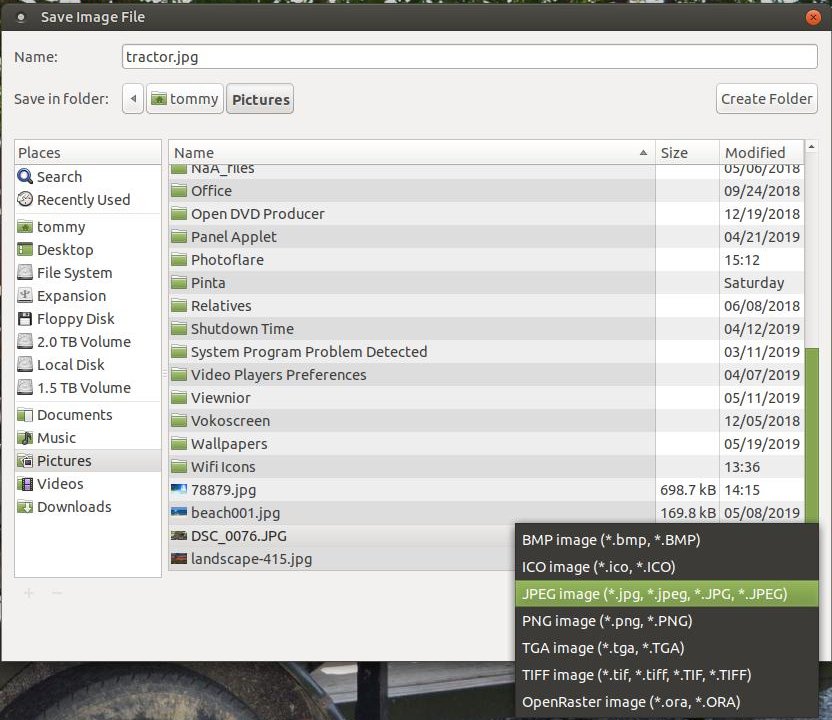
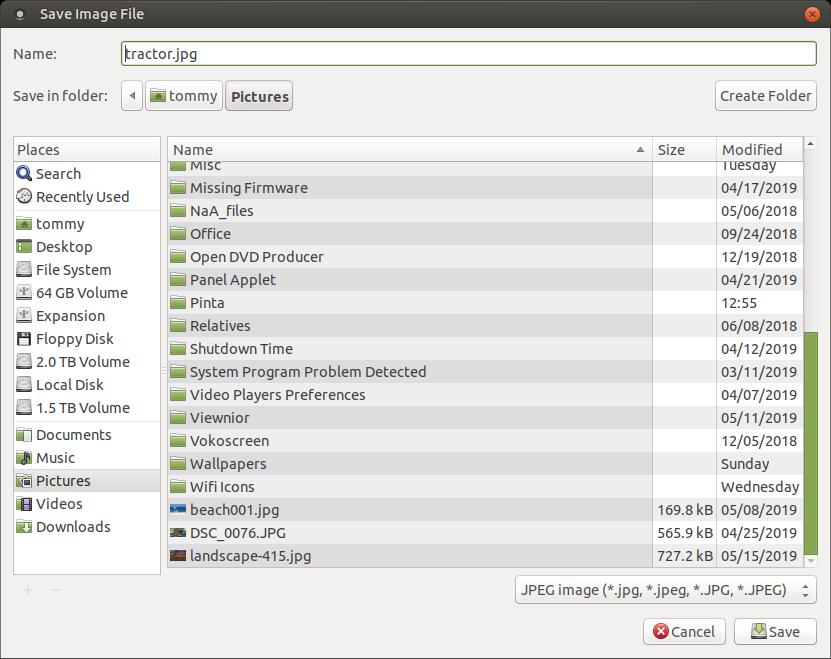
A Save Image File dialog box will appear when you click on Save As... in the File menu. This will allow you to give your edited image a new name.
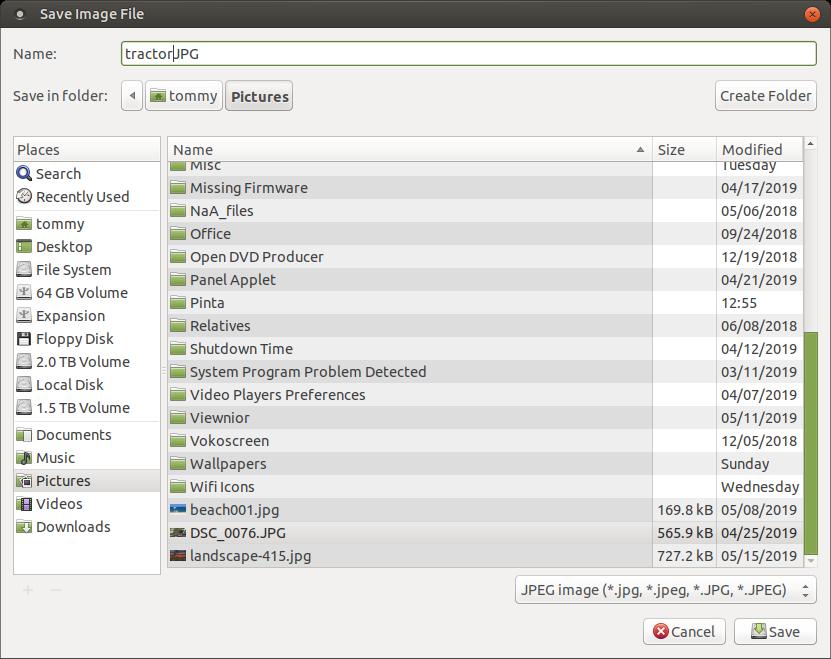
You can also change the format of the image by selecting .bmp, .ico, .jpg, .png, .tga, .tiff, and .ora file extension. Pinta will convert the image to a new format for you.
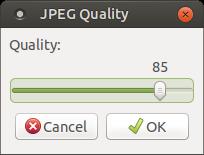
When you click the Save button and small JPEG Quality (or name of the format you selected) dialog box will appear.
You can adjust the slider to display a larger number or smaller number. The larger the number the greater the quality and the smaller the number the poorer the quality. Also, the larger the number the larger the file size and the smaller the number the smaller the file size. The default value is set at 85. This is a good value for a decent quality at a decent file size.
You can see in my Pictures folder that I kept the original file DSC_0076.JPG and I also have the new tractor.jpg file.

Close
The Close command allows you to close or exit the active image file. The keyboard shortcut for File, Close is Ctrl + W.
The Close command allows you to close or exit the active image file. The keyboard shortcut for File, Close is Ctrl + W.
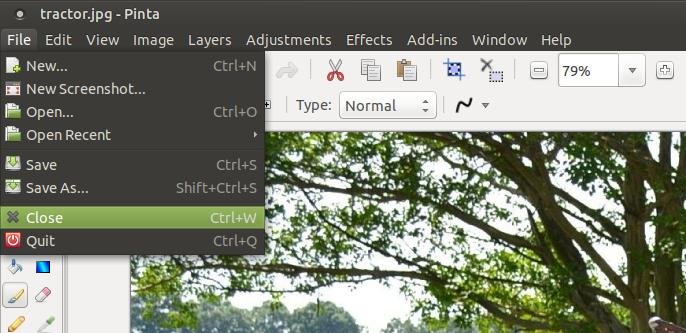
As you can see in the Layers Window the tractor.jpg file was closed.

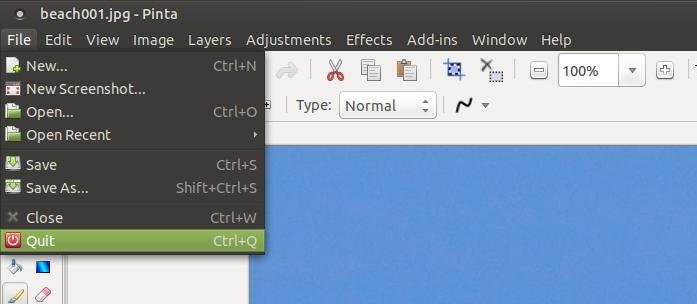
Quit
The Quit command allows you to cxit the program. The keyboard shortcut for File, Quit is Ctrl + Q. If you have any unsaved changes, you will be prompted to save your image(s) before the program exits.
The Quit command allows you to cxit the program. The keyboard shortcut for File, Quit is Ctrl + Q. If you have any unsaved changes, you will be prompted to save your image(s) before the program exits.
I hoped that this information has helped you better understand the options or commands found in the File menu.
Take care!
Take care!
May 28, 2019
