
How-To Install Hardware Enablement Stack (HWE)
Before you attempt to install Hardware Enablement Stack (HWE) please make sure you understand the difference between General Availability (GA) kernel and Hardware Enablement (HWE) kernel. The General Availabity (GA) kernel is the most stable kernel which usually comes out with an original Long Term Support (LTS) release and the Hardware Enablement (HWE) kernel pulls in the most recent versions of the Linux kernel. The purpose of the HWE kernels is to provide support for newer platforms and hardware components.
I prefer to use Long Term Support (LTS) releases of Ubuntu MATE because it gives you longer support and better stability compared to the non-LTS releases. However, the non-LTS releases generally have newer features, but it is usually more buggy and it has to be upgraded every nine months. Installing HWE on a LTS release will allow you to take advantage of newer hardware or fixes for your existing hardware while providing long term support for your system.
I prefer to use Long Term Support (LTS) releases of Ubuntu MATE because it gives you longer support and better stability compared to the non-LTS releases. However, the non-LTS releases generally have newer features, but it is usually more buggy and it has to be upgraded every nine months. Installing HWE on a LTS release will allow you to take advantage of newer hardware or fixes for your existing hardware while providing long term support for your system.
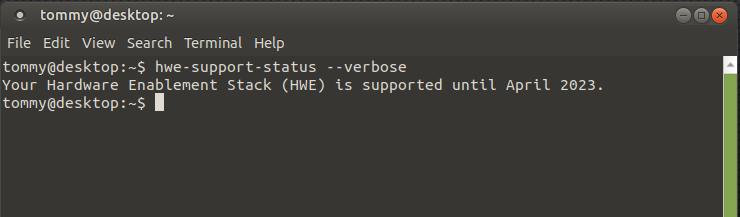
How to check to see if you have Hardware Enablement Stack (HWE) installed. Open your Terminal and enter the following command:
hwe-support-status --verbose

As you can see in the image above, my desktop computer does not have HWE installed. It also displays how long my system is supported by Canonical.
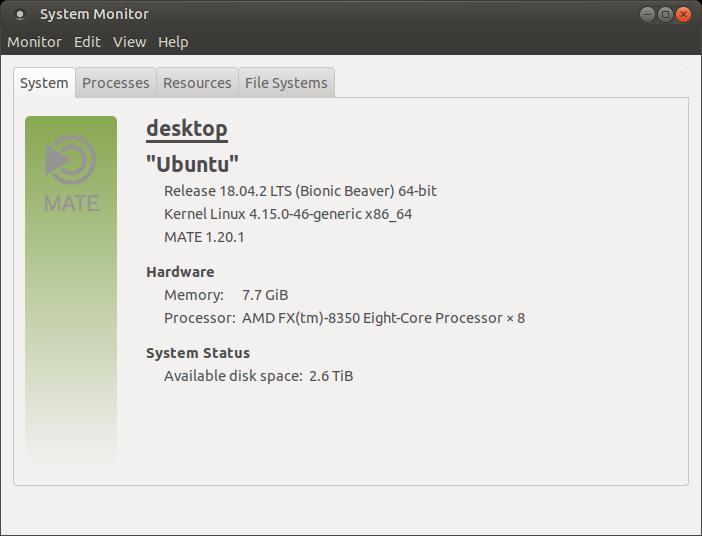
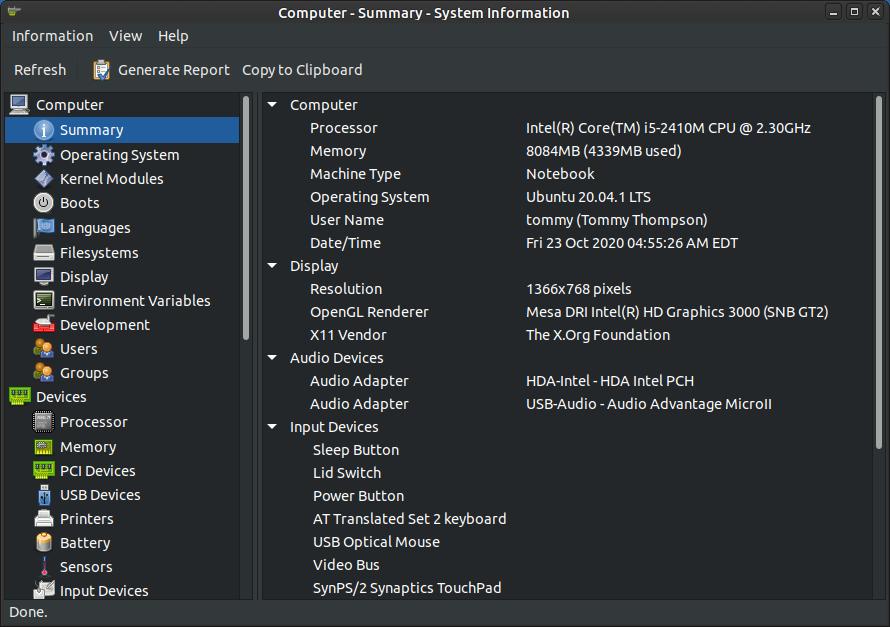
The MATE System Monitor displays the Ubuntu release version, kernel version, and MATE version. It also displays the amount of memory in your system and processor type and it lets you know how much disk space you have available. To access MATE System Monitor, click on Applications menu, then highlight System Tools, and then click on MATE System Monitor.
The MATE System Monitor displays the Ubuntu release version, kernel version, and MATE version. It also displays the amount of memory in your system and processor type and it lets you know how much disk space you have available. To access MATE System Monitor, click on Applications menu, then highlight System Tools, and then click on MATE System Monitor.
If you want to use the LTS Hardware Enablement Stack (HWE) on your Ubuntu 18.04 (desktop/laptop) then enter the following commands.
sudo apt install --install-recommends linux-generic-hwe-18.04 xserver-xorg-hwe-18.04
On your Ubuntu 18.04 server (this is for sever only) enter the following commands.
sudo apt install --install-recommends linux-generic-hwe-18.04
sudo apt install --install-recommends linux-generic-hwe-18.04 xserver-xorg-hwe-18.04
On your Ubuntu 18.04 server (this is for sever only) enter the following commands.
sudo apt install --install-recommends linux-generic-hwe-18.04
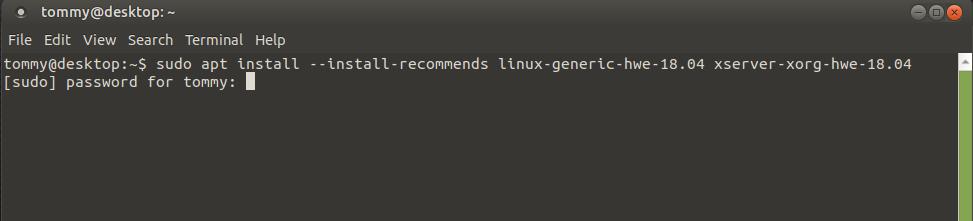
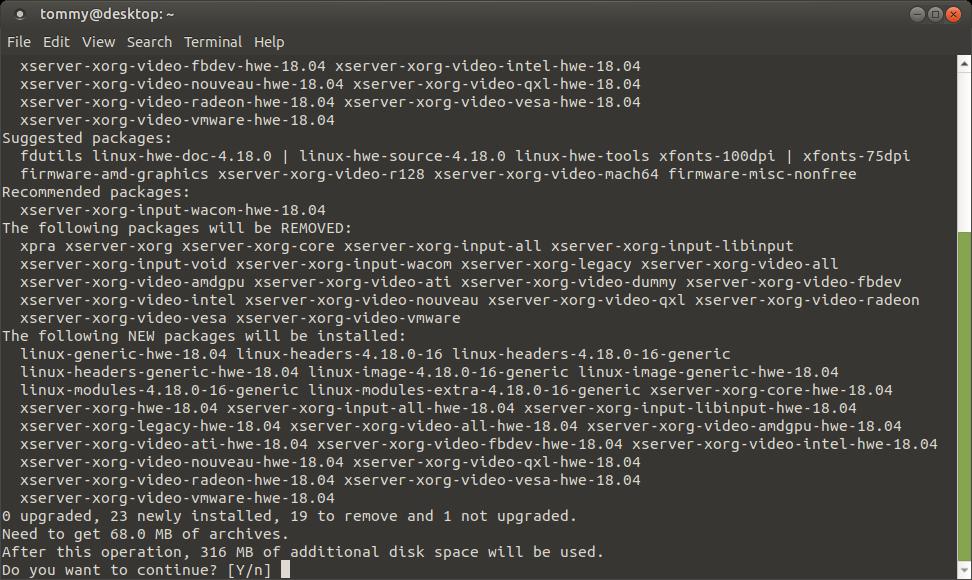
Enter your password and press the Enter or Return key to start the installation process. The press Y to continue.
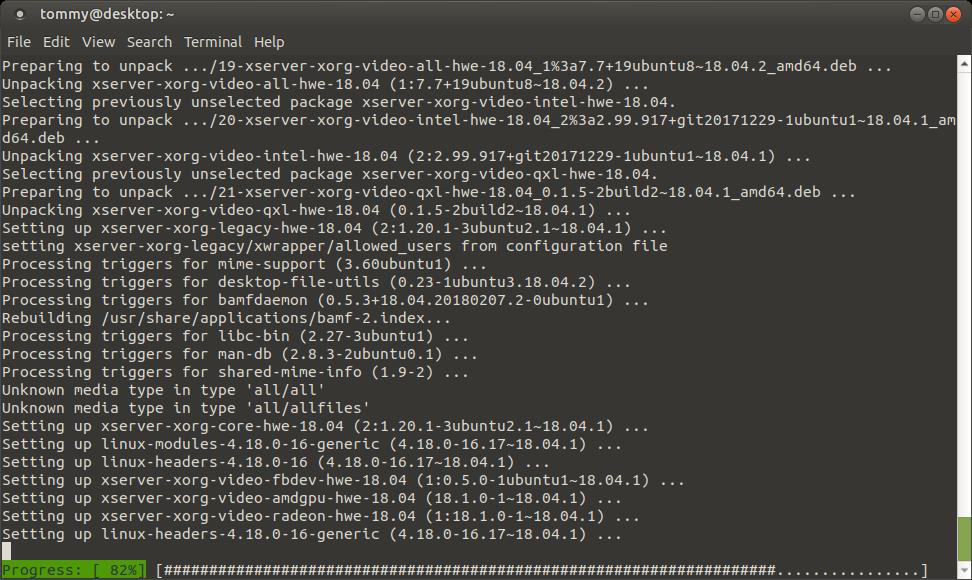
Wait while the installation process takes place.
When it completes the installation process type Exit and press the Enter or Return key to exit the Terminal and then reboot or restart your system.
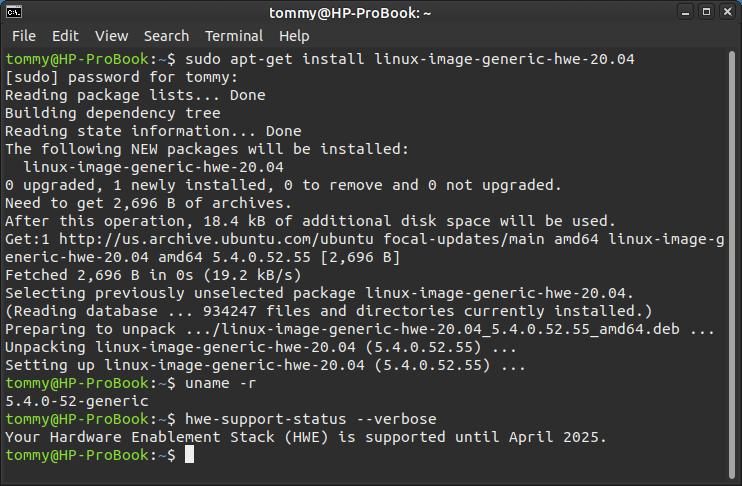
If you use a Wifi dongle like I do, you'll have to enter the driver before you can get online. Once you get online, you are ready to check to see if Hardware Enablement Stack (HWE) installed properly. Open your Terminal and enter the following command:
hwe-support-status --verbose
If you use a Wifi dongle like I do, you'll have to enter the driver before you can get online. Once you get online, you are ready to check to see if Hardware Enablement Stack (HWE) installed properly. Open your Terminal and enter the following command:
hwe-support-status --verbose
The MATE System Monitor shows the kernel upgraded from version 4.15.0-46-generic to version 4.18.0-16-generic.

Use your system for a while to make sure everything works properly. If your system crashes or has problems then you can revert back to your old kernel.
Once you have determined that the new kernel didn't break anything, you are ready to remove your old kernel to save space.
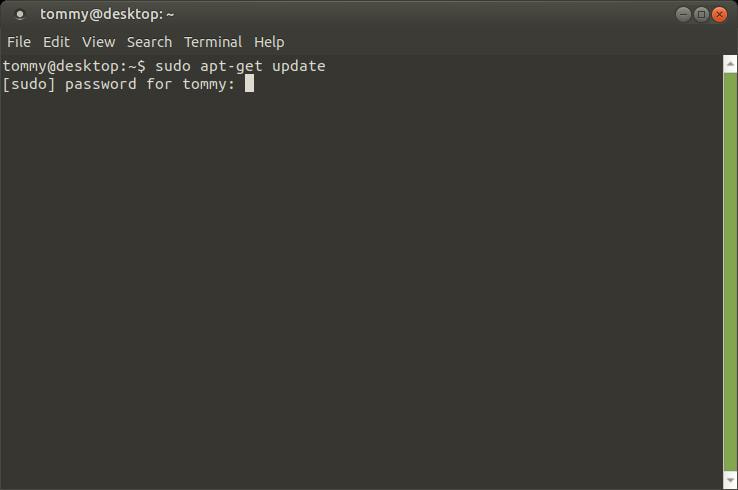
Open your Terminal and enter the following command:
sudo apt-get update (enter your password and press Enter)
Once you have determined that the new kernel didn't break anything, you are ready to remove your old kernel to save space.
Open your Terminal and enter the following command:
sudo apt-get update (enter your password and press Enter)
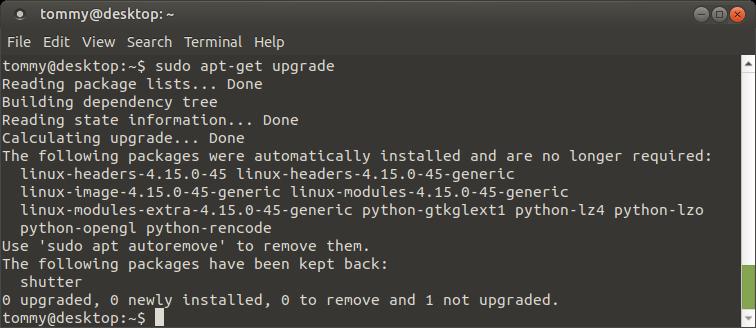
Next, enter the following command:
sudo apt-get upgrade (then press Enter)
sudo apt-get upgrade (then press Enter)
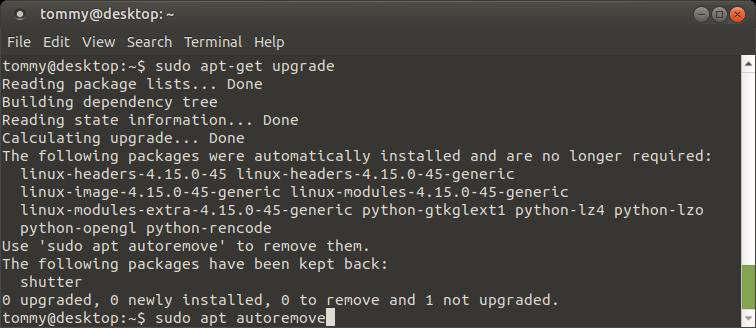
To remove your old kernel, enter the following command:
sudo apt-get autoremove --purge (then press Enter)
sudo apt-get autoremove --purge (then press Enter)
Press Y when prompted.
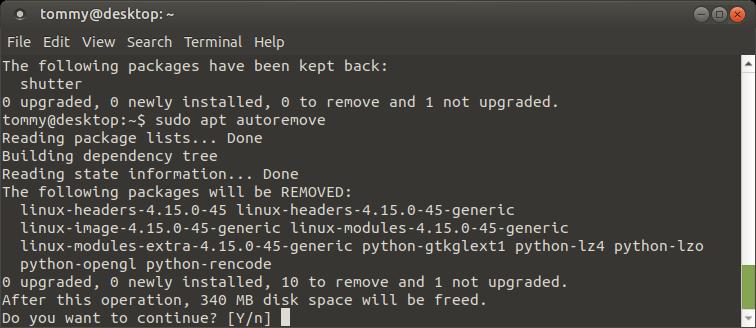
Wait while your old kernel uninstalls from your system.
Then type exit and press Enter or Return to close your Terminal.
How to Remove the Hardware Enablement Stack (HWE)
To remove the program enter the following:
sudo apt-get remove linux-generic-hwe-18.04
To remove the program enter the following:
sudo apt-get remove linux-generic-hwe-18.04
Now you can enjoy the LTS of your operating system while your system will get updated kernels to keep up with the ever changing technological advancements in hardware.
I hope this has been some help to you.
Take care!
I hope this has been some help to you.
Take care!
