
How to install Realtek WiFi Driver After a Kernel Update
(For Kernels 4.19 and newer)
If you have been using the Wifi driver for the Realtek RTL8188AU Chipset then you'll need to upgrade your driver for kernels 4.19 or newer.
Realtek RTL8188AU Driver
Realtek RTL8188AU Chipset
How to install RTL8812AU Master WiFi Driver (For kernels 4.19 and newer)
Confirm your USB wireless adapter is using Realtek chipset
Open a terminal and then type in this command:
lsusb
If you see “Realtek Semiconductor Corp.” in the list, then move to the next step
Confirm your USB wireless adapter is using Realtek chipset
Open a terminal and then type in this command:
lsusb
If you see “Realtek Semiconductor Corp.” in the list, then move to the next step

1). Download the rtl8812au-master Wireless Driver (URL: https://www.dropbox.com/s/0wgxxs71v06aue9/rtl8812au-master.zip?dl=0) or
rtl8812au-master.zip.
Download Instructions: (URL: www.dropbox.com/s/v5fxxs9vjyzxtmr/Realtek%20RTL8812AU-Master%20Driver.txt?dl=0 ) or
Realtek RTL8812AU-Master Driver.txt
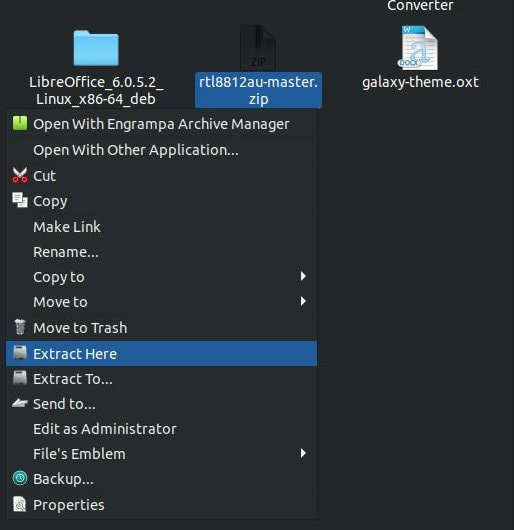
2.) Locate the rtl8812au-master.zip file that you downloaded. I recommend that you place the file in the Downloads folder. Right-click the file and select Extract Here command.
rtl8812au-master.zip.
Download Instructions: (URL: www.dropbox.com/s/v5fxxs9vjyzxtmr/Realtek%20RTL8812AU-Master%20Driver.txt?dl=0 ) or
Realtek RTL8812AU-Master Driver.txt
2.) Locate the rtl8812au-master.zip file that you downloaded. I recommend that you place the file in the Downloads folder. Right-click the file and select Extract Here command.
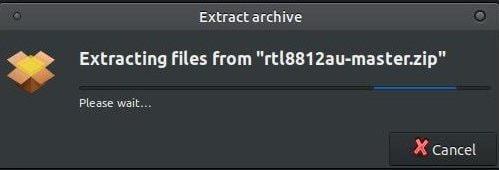
You should see an Extract archive dialog bog that says, "Extracting files from "rtl8812au-master.zip" This will uncompress or unzip the folder of the WiFi driver in your Downloads folder.
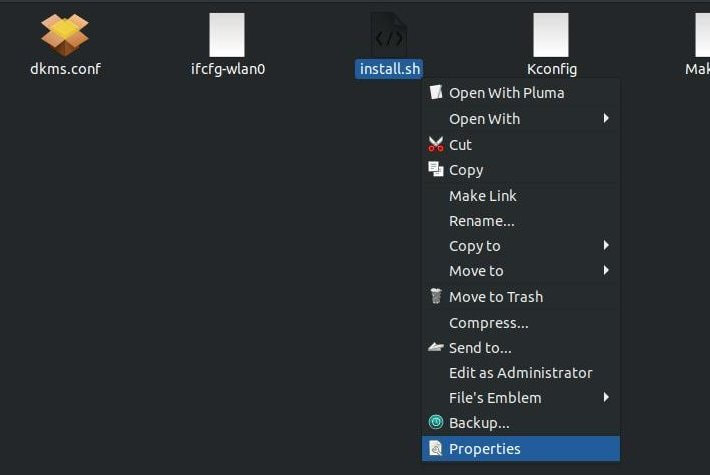
3.) Locate the rtl8812au-master folder and double-click it to open it.

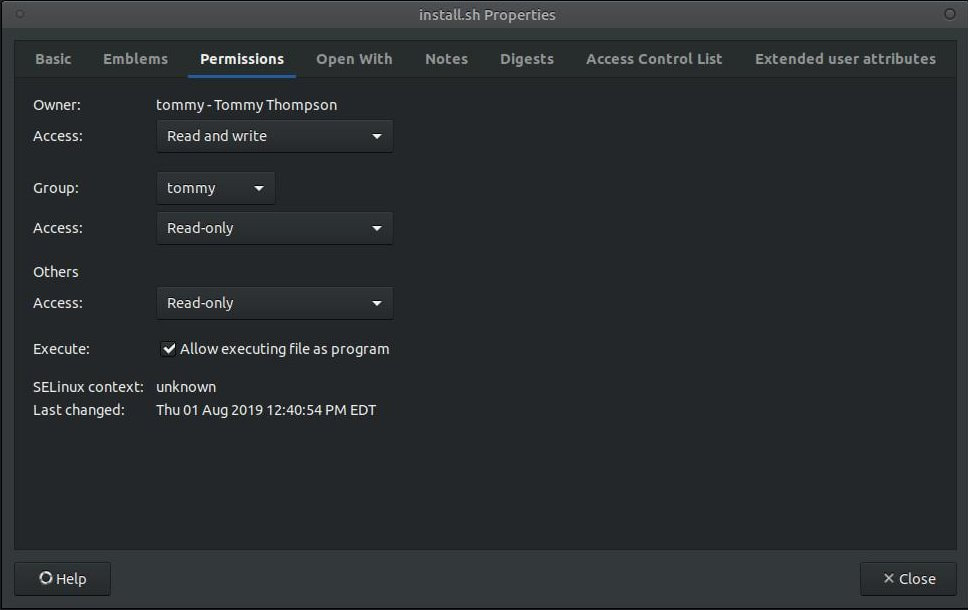
4.) Locate the install.sh file or script and then right-click the file and select the Properties command.
5.) Click on the Permissons tab when the install.sh Properties dialog box appears. Make sure there's a check in the box next to "Allow executing file as program." Then click on the Close button.
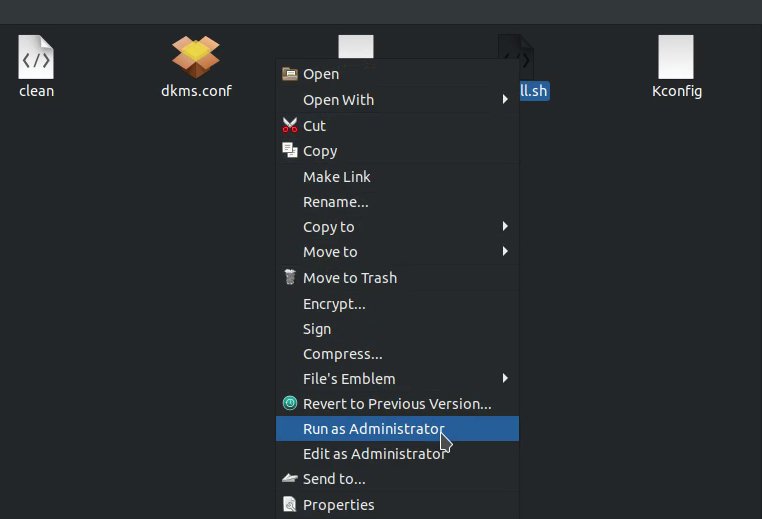
6.) Right-click the install.sh file or script and click the Run as Administrator command to start the installation process.
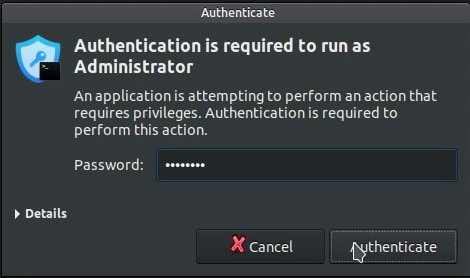
7.) Enter your password when the Authenticate dialog box appears and then press the Auhenticate button.
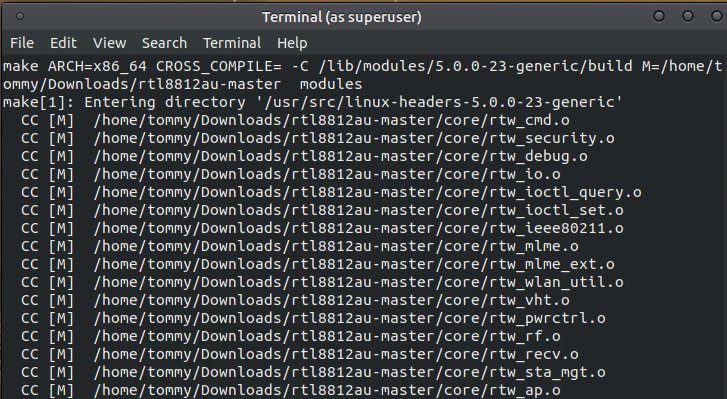
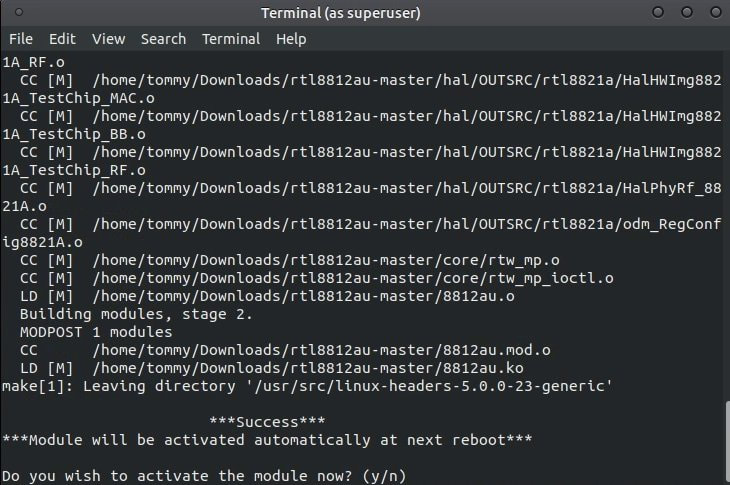
8.) Your Terminal should open as a superuser and the installation should began.
9.) When the installation completes it will ask you, "Do you wish to activate the module now?" I recommend that you press the y key and then press Enter or Return.
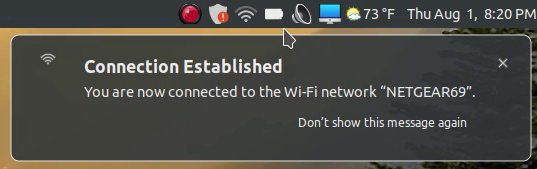
10.) In a few moments you'll see your WiFi connect to the Internet. However, you may be prompted to enter your WiFi password.
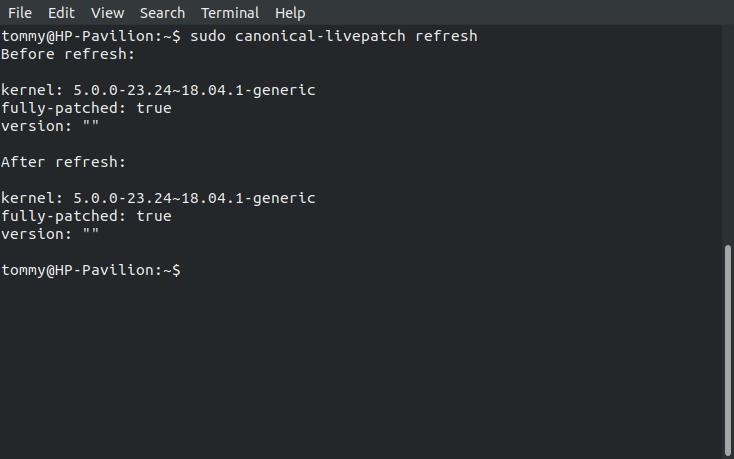
11.) To remove the red exclamation point on the shield next to the WiFi icon, go back in your Terminal and enter the following:
sudo canonical-livepatch refresh
Then press the Enter or Return key
sudo canonical-livepatch refresh
Then press the Enter or Return key
12.) I recommend that you reboot or restart your system before you use your browser.

Aug 2, 2019
