
GPicView
GPicView is an image viewer that is known for fast-startup, low memory usage, and simple user interface. The user interface is inspired by the default image viewer of Windows XP.
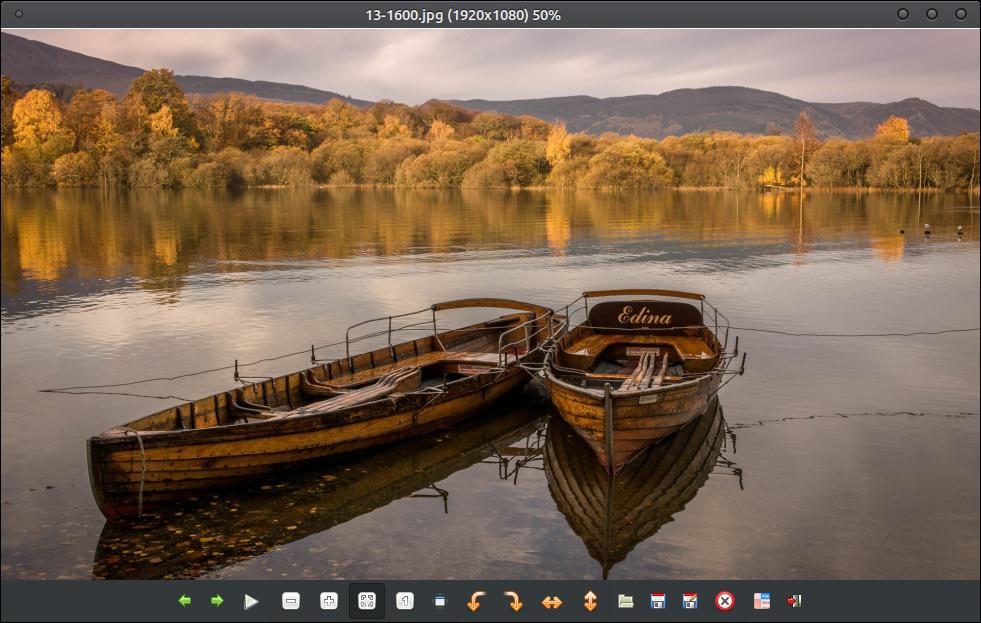
GPicView features fullscreen mode, rotating/flipping, and saving images as JPG, TIFF, BMP, PNG and ICO. It has a compact interface with the toolbar is located at the bottom of the window. It reduces clutter by not having a menubar across the top. All the normal menu functions can be accessed by right-clicking the image space.
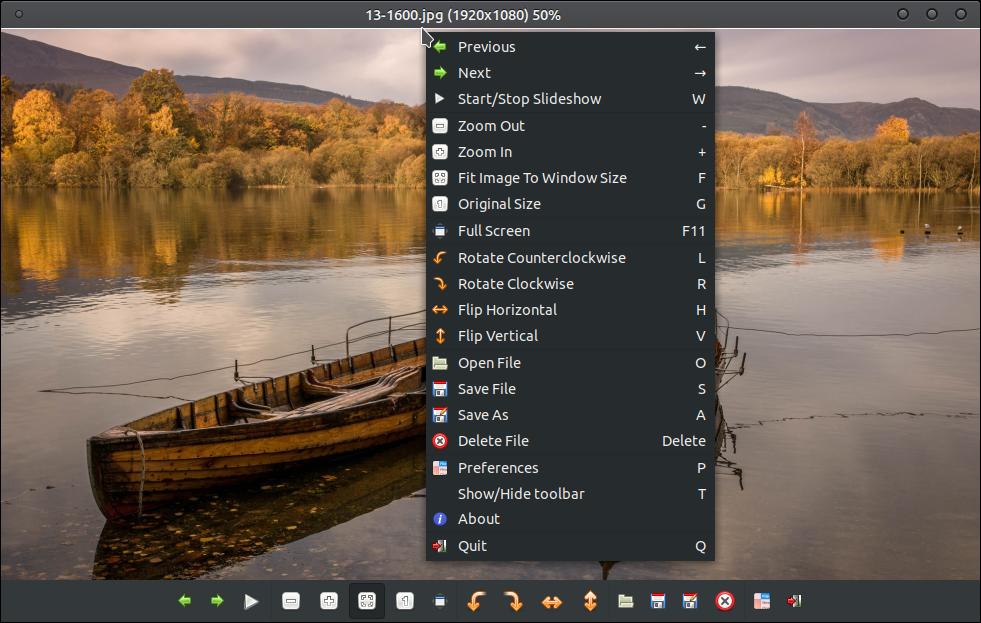
You can match the icon in the bottom toolbar to the icon in the menu (in the image above) to help you identify the name of the button.
How to Install GPicView:
1. Open the Terminal (Shortcut: Ctrl + Alt + T)
2. Type the following command: sudo apt-get update
3. Press Enter or Return and type in your password
4. Type the following command: sudo apt-get install gpicview
5. Type Y and press Enter or Return
How to Uninstall GPicView:
1. Open the Terminal (Shortcut: Ctrl + Alt + T)
2. Type the following command: sudo apt-get remove gpicview
1. Open the Terminal (Shortcut: Ctrl + Alt + T)
2. Type the following command: sudo apt-get update
3. Press Enter or Return and type in your password
4. Type the following command: sudo apt-get install gpicview
5. Type Y and press Enter or Return
How to Uninstall GPicView:
1. Open the Terminal (Shortcut: Ctrl + Alt + T)
2. Type the following command: sudo apt-get remove gpicview
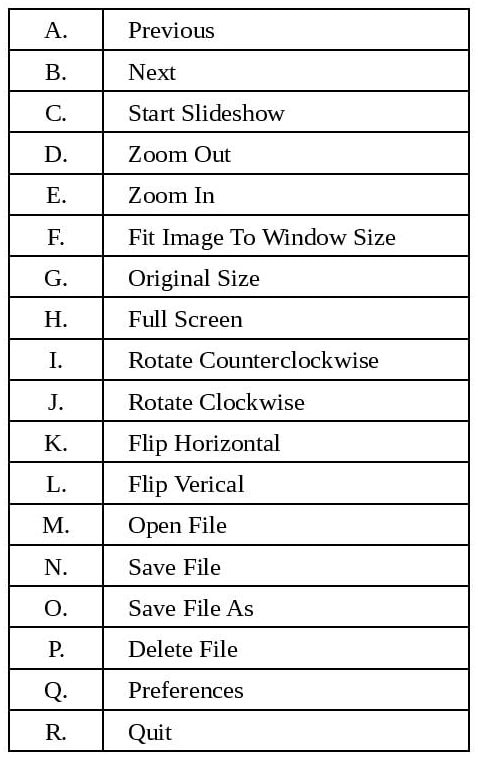
In the image below, you'll notice that I placed alphabets over each button so that I could define them in a table below the image.
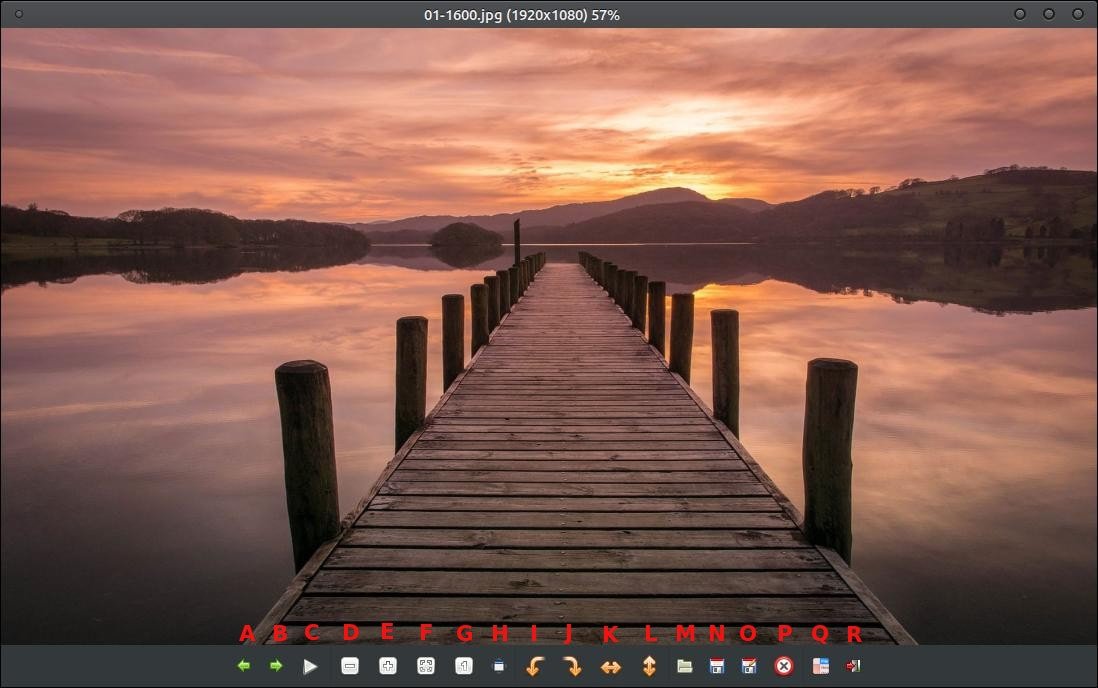
Here's the Buttons on the Toolbar.
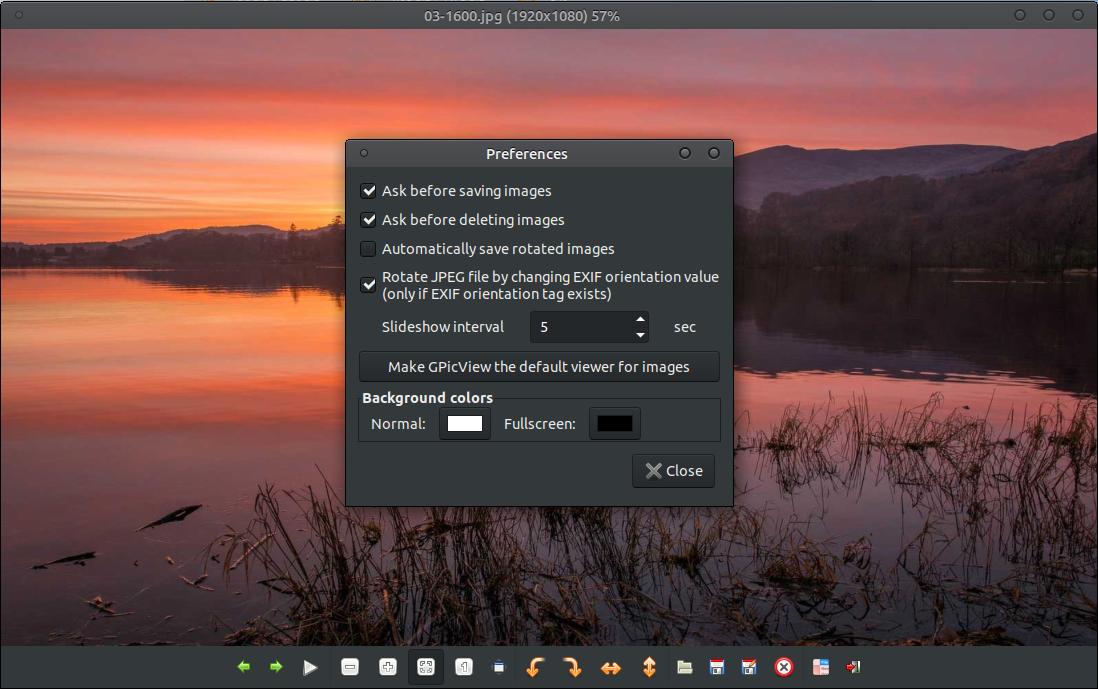
Here you can see some of the options you have in the Preferences dialog box.
You can right-click on your image and click on Show/Hide toolbar to make the toolbar disappear or reappear. You can also press T to toggle on or off the toolbar.
I hope this helped you understand what GPicView looks like and a glimpse into how to use it on your system.

Jan 21, 2020
