Scanning using Simple Scan
You can scan images and documents and save them as a digital file by using Simple Scan/Document Scanner. To use Simple Scan/Document Scanner you need to make sure that your printer/scanner is connected and the printer and scanner drivers are installed. I will have another section on installing drivers such as printers and scanners. This section will focus on using Simple Scan/Document Scanner.
To bring up the software you'll need to click on the Applications menu, highlight the Graphics section, and then scroll down and click on Simple Scan (Ubuntu MATE 20.04 LTS or earlier) or Document Scanner (Ubuntu MATE 22.04 LTS or newer).
To bring up the software you'll need to click on the Applications menu, highlight the Graphics section, and then scroll down and click on Simple Scan (Ubuntu MATE 20.04 LTS or earlier) or Document Scanner (Ubuntu MATE 22.04 LTS or newer).
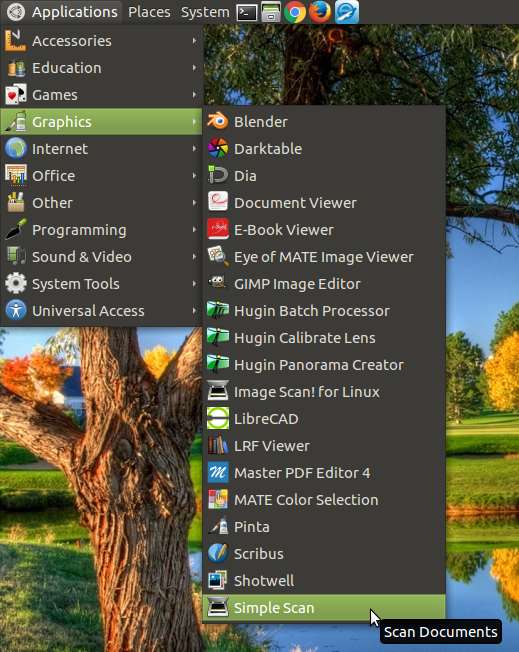
Ubuntu MATE 20.04 LTS
|
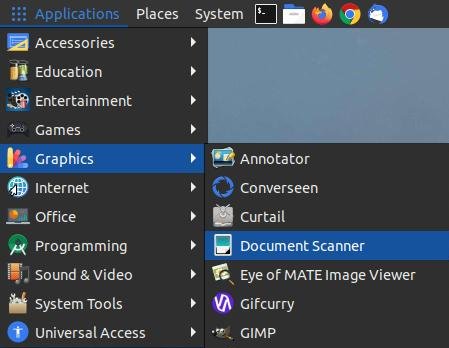
Ubuntu MATE 22.04 LTS
|
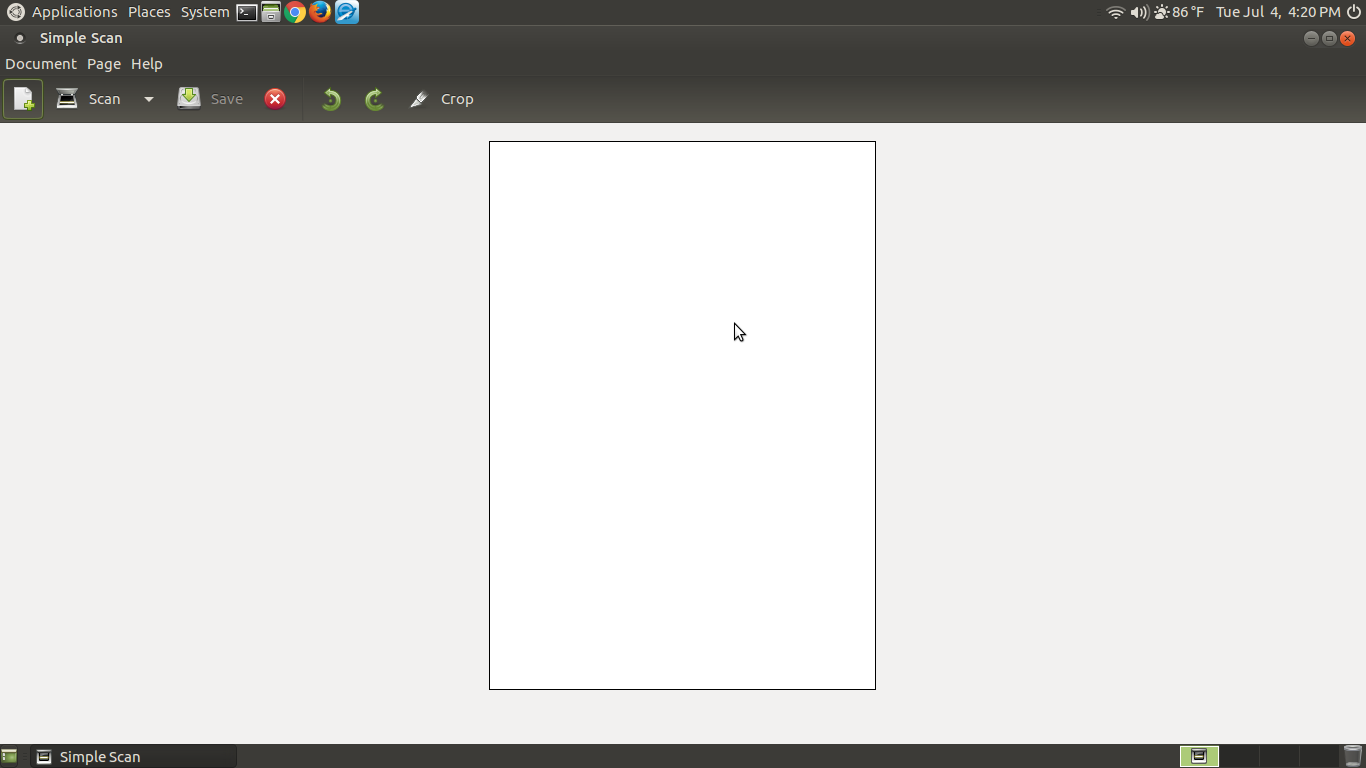
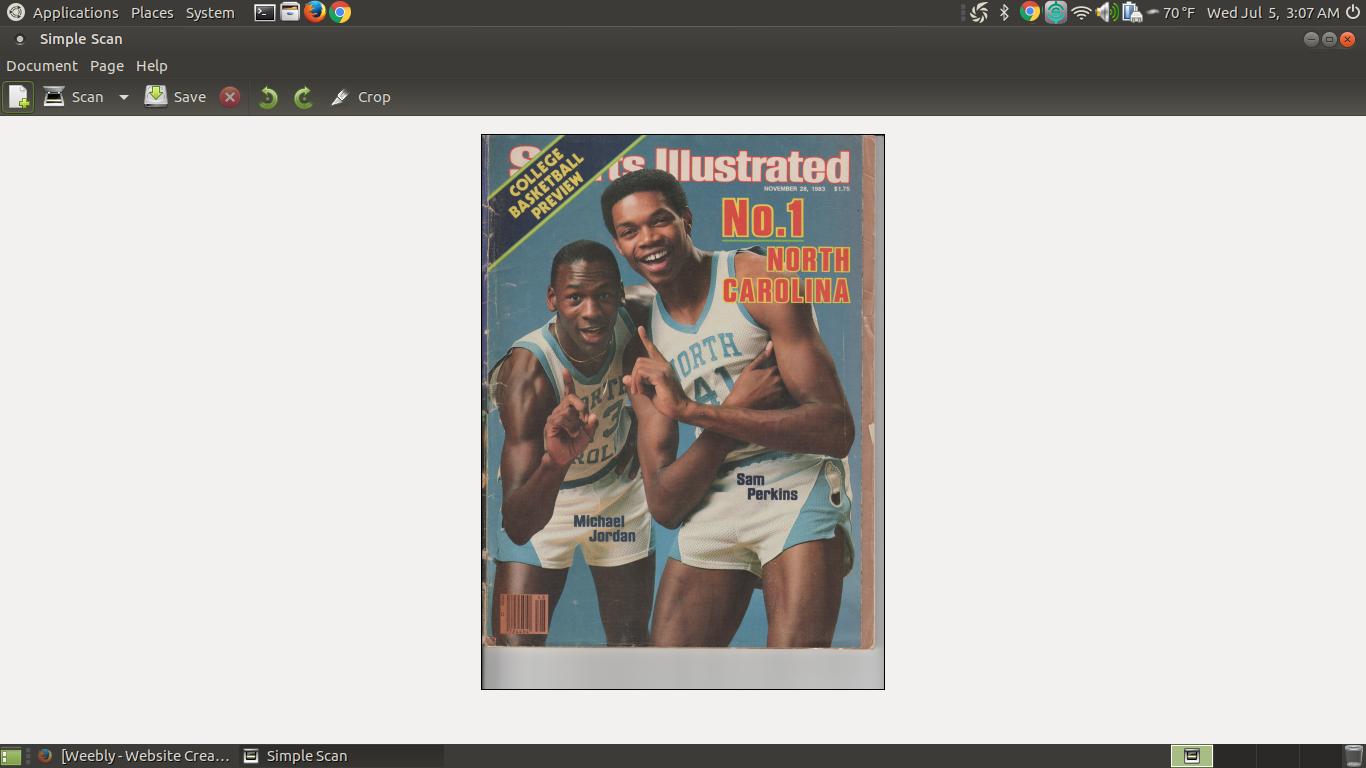
After you click on Simple Scan it should appear on your screen.
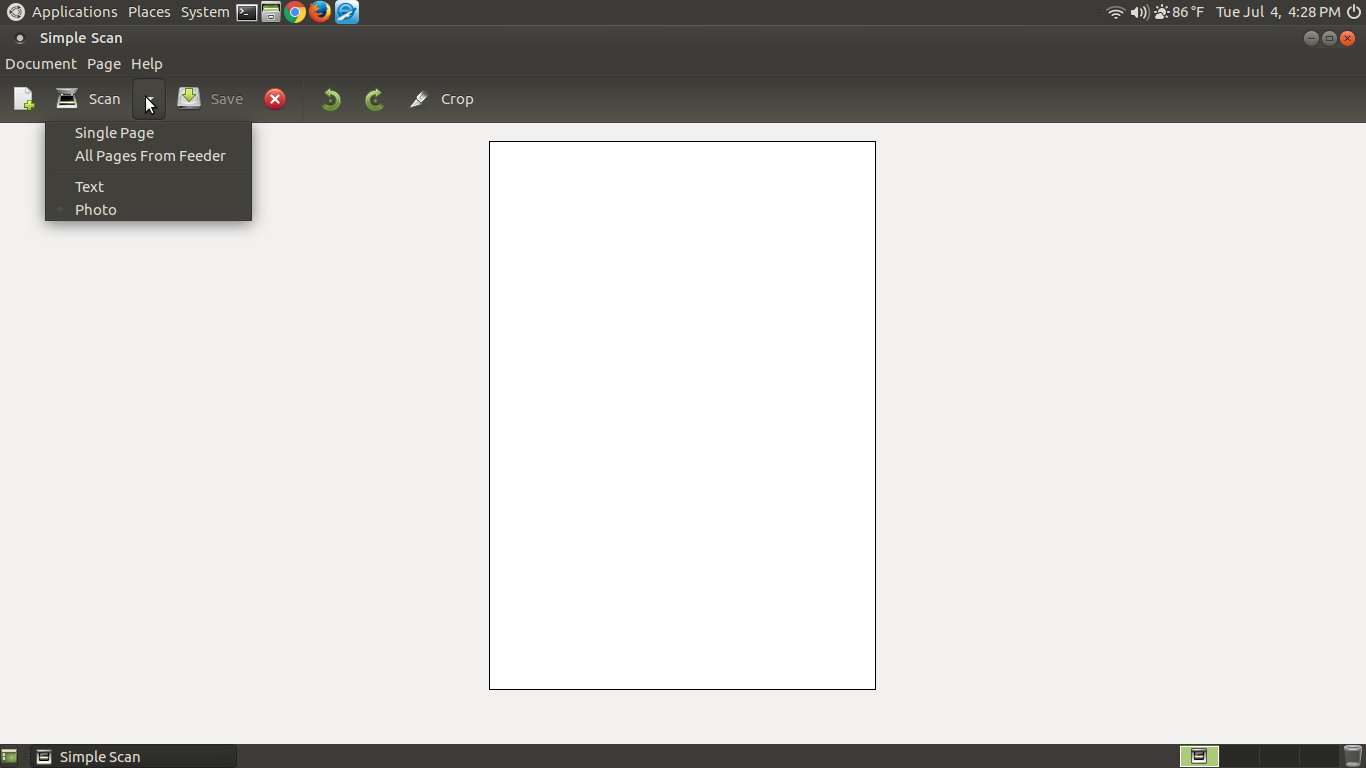
Once Simple Scan appears on your screen you have the option of scanning text or photo. If you have a flatbed scanner you can select Single Page to scan one page at a time. If your scanner has an Automatic Document Feeder then you have the choice of scanning multiple pages.
In my example I selected the Single Page option because I scanned the front of an old sports magazine. Notice how the scanner scanned more than just the cover. I can use Simple Scan to crop the cover.
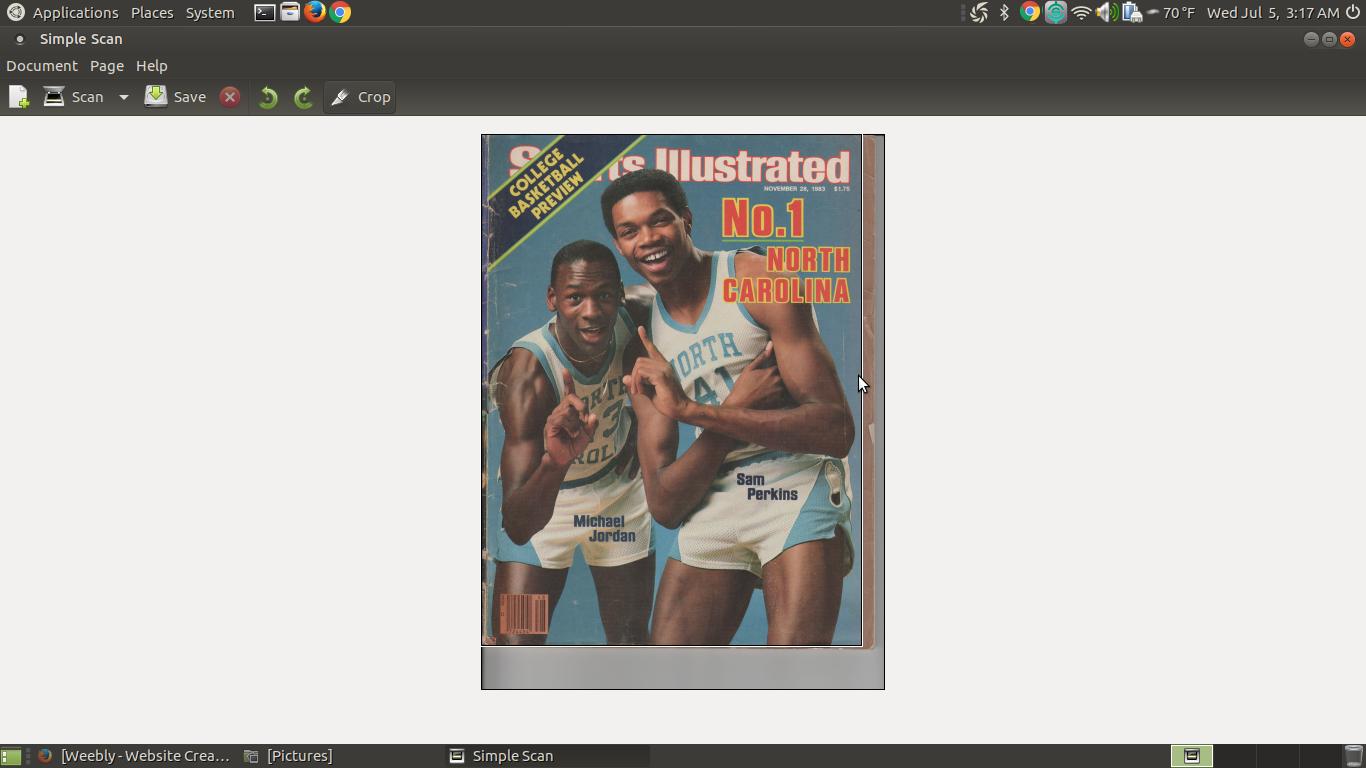
To crop your image you click onto the Crop icon and drag the box to the outer edges of your image.
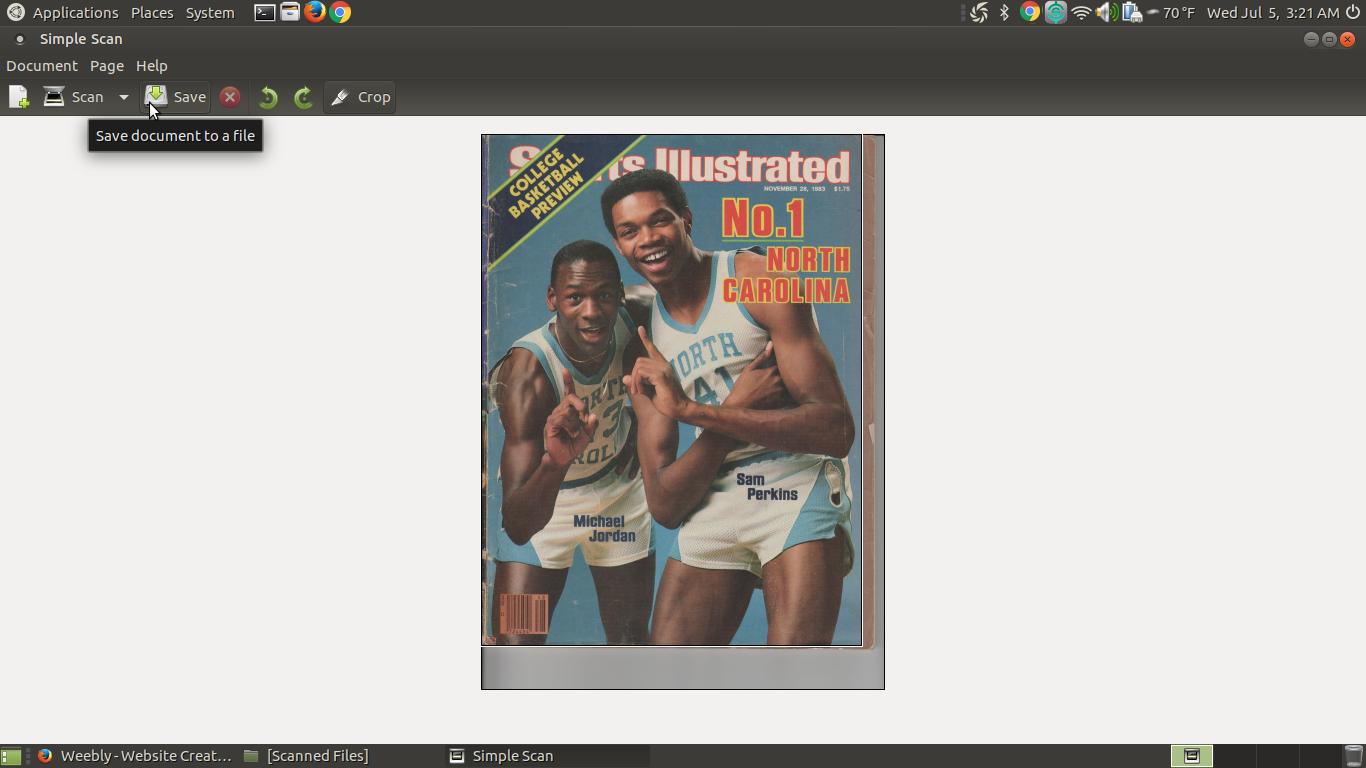
Then press the save button to Save your cropped picture.
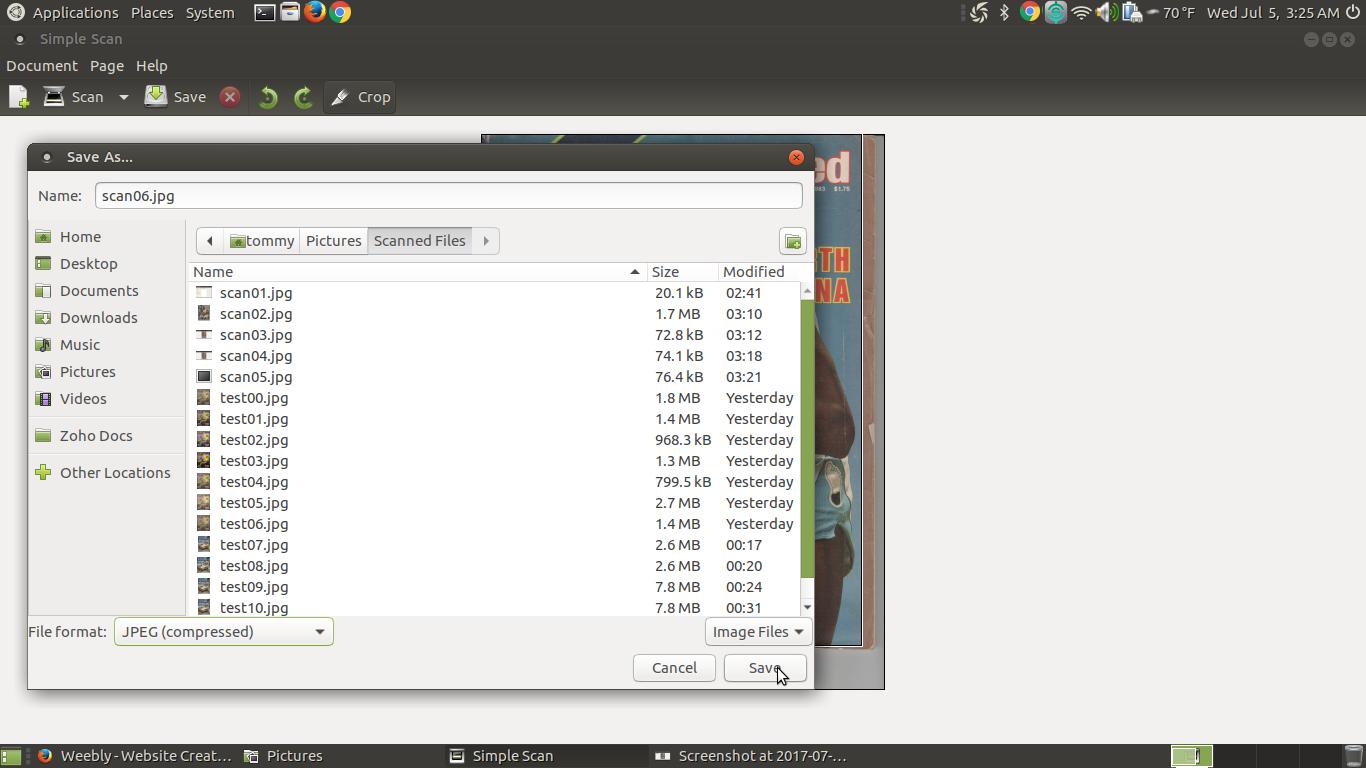
Then give your picture a name and save it to a location that you can easily access it. To save it as a picture file you'll need to change the File format to JPEG or PNG and then press the Save button.
Here is the result of scanning, cropping, and saving the photo.

Below is a video I made on my laptop. I explain how to use Simple Scan to scan a picture, crop it, and save it as an image file.