
VLC Media Player
|
VLC Media Player is a free and open source cross-platform multimedia player that supports most video file formats. It includes most of the codecs you need in order to play a wide variety of video files. It can be installed on most platforms, meaning it works on Windows, Mac, Linux, Andriod, and more. That makes it one of the most popular multumedia players.
VLC Media Player contains no spyware, adware, and it doesn't track your online activity. One of the newest features of VLC Media Player is the ability to send the videos on your computer to your TV working with your Chromecast. |
Steps for Installing VLC Media Player via the unofficial VLC PPA:
Method 1:
You can install the the most current version of VLC by entering the following commands below.
1. Open the Terminal (Shortcut: Ctrl + Alt + T)
2. Type the following command: sudo add-apt-repository ppa:savoury1/vlc3
3. Press Enter or Return and type in your password (Press the Enter key after each repository you add below)
4. Type the following command: sudo add-apt-repository ppa:savoury1/multimedia
5. Type the following command: sudo add-apt-repository ppa:savoury1/graphics
6. Type the following command: sudo add-apt-repository ppa:savoury1/ffmpeg4
7. Type the following command: sudo apt update
8. Press Enter or Return
9. Type the following command: sudo apt upgrade
10. Press Enter or Return
11. Type the following command: sudo apt install vlc
To remove VLC and the PPAs enter the following:
1. sudo apt-get remove vlc
2. sudo add-apt-repository --remove ppa:savoury1/vlc3
3. sudo add-apt-repository --remove ppa:savoury1/multimedia
4. sudo add-apt-repository --remove ppa:savoury1/graphics
5. sudo add-apt-repository --remove ppa:savoury1/ffmpeg4
Windows users are used to downloading executable (.exe) files and installing programs on their computer using the file they downloaded. Ubuntu and Debian users are also able to download Debian Software Package file or DEB file (.deb) that can install software very similar to the way Windows users install programs. Ubuntu and Debian users need a free tool called gdebi in order for them to install .deb files. Ubuntu MATE comes with the gdebi tool pre-installed. (sudo apt install gdebi)
Steps for Installing VLC Media Player
1. Download the .deb file that matches your system.
VLC Media Player (32 Bit)
VLC Media Player (64 Bit)
1. Download the .deb file that matches your system.
VLC Media Player (32 Bit)
VLC Media Player (64 Bit)
2. When the download completes, locate the file and double-click it. A Package Installer dialog box will pop-up to allow you to install the
software.
software.
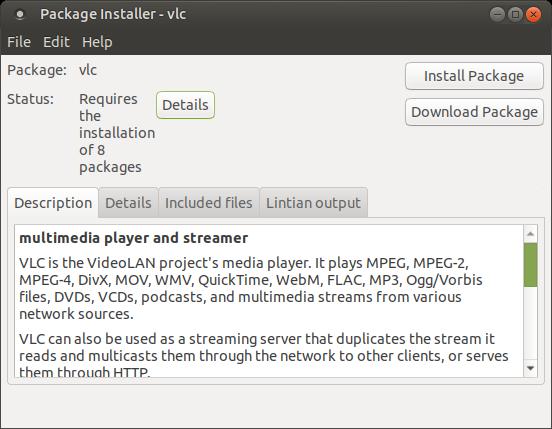
3. VLC Media Player requires some additional packages to be installed on your computer before it installs on your system. You can click on
the Details button to see a list of software packages that need installing or you can just click the Install Package button and let the
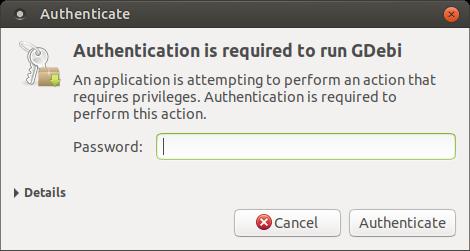
Package Installer do all the work. I recommend that you click the Install Package button. You will then be prompted to enter your
password to install the required packages and then install VLC Media Player.
the Details button to see a list of software packages that need installing or you can just click the Install Package button and let the
Package Installer do all the work. I recommend that you click the Install Package button. You will then be prompted to enter your
password to install the required packages and then install VLC Media Player.
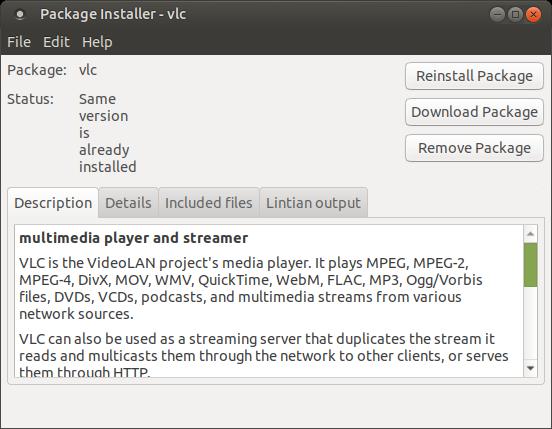
4. You will see a dialog box pop-up that will indicate that the extra packages are downloading and then installed and then the VLC Media
Player will be installed. It will take some time for this to happen. When everything completes, the Package Installer will look like the
image below.
Player will be installed. It will take some time for this to happen. When everything completes, the Package Installer will look like the
image below.
Steps for Removing VLC Media Player
Just double-click the .deb file that you downloaded and click the Remove Package button. If you no longer have the original .deb file then you can uninstall VLC Media Player via the Synaptic Package Manager or using the Terminal.
If you are an Ubuntu user that prefers to install the software using the SNAP Store, then click this link VLC media player for Ubuntu. Everyone else will need to click on this link Official Downloads of VLC media player.
Keep in mind, if you install VLC Media Player via the .deb file that installing via the SNAP Store won't update the software, it will install it a second time. You will have two seperate VLC Media Players on your system. Installing software via SNAP Packages is a whole new topic.
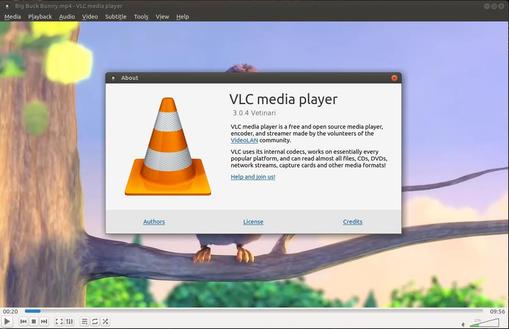
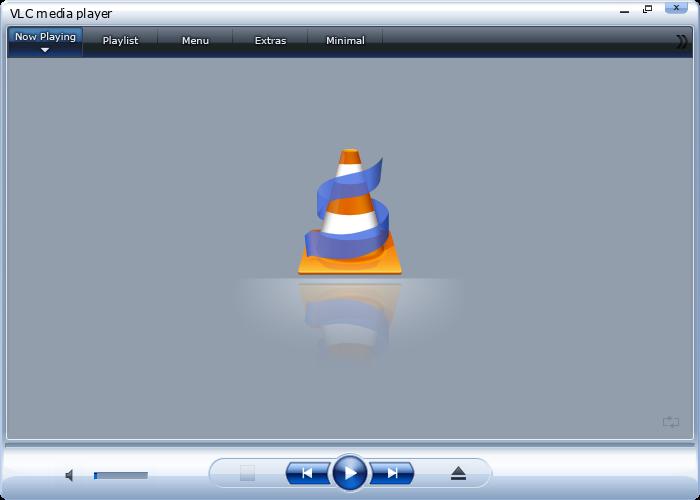
You can access the program by clicking on the Applications menu, highlight Sound & Video, then click on VLC media player. It will look very basic, but it is packed with a lot of features.
Keep in mind, if you install VLC Media Player via the .deb file that installing via the SNAP Store won't update the software, it will install it a second time. You will have two seperate VLC Media Players on your system. Installing software via SNAP Packages is a whole new topic.
You can access the program by clicking on the Applications menu, highlight Sound & Video, then click on VLC media player. It will look very basic, but it is packed with a lot of features.
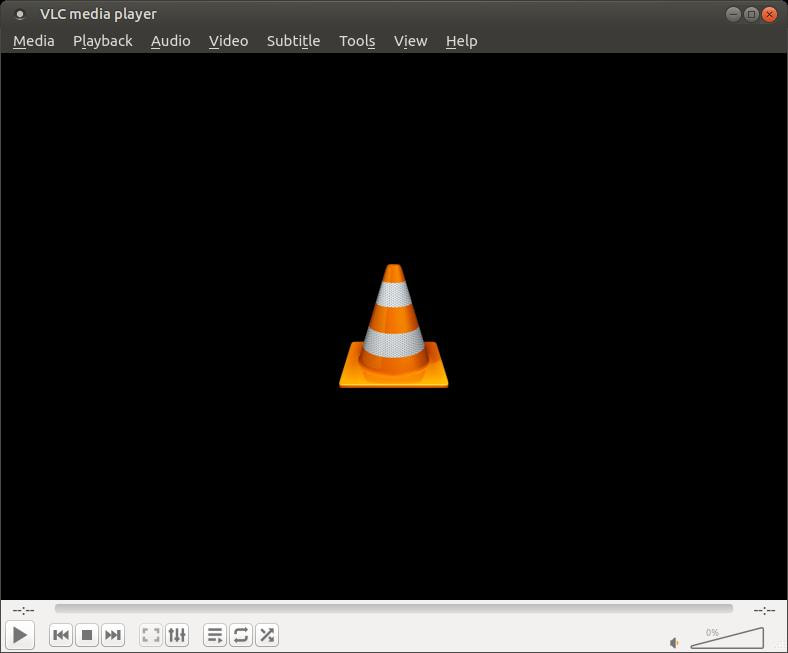
Here's a quick look through the menus.
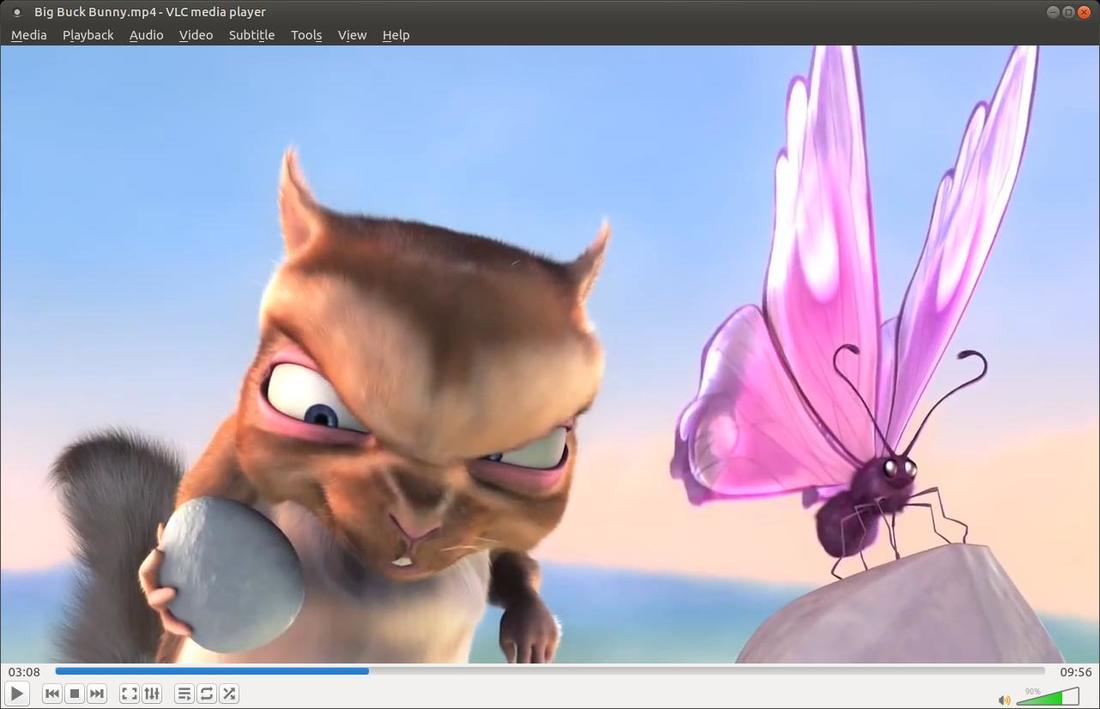
It's a very popular multimedia player for a reason. The video and audio quality is great. (Poor little butterfly.)
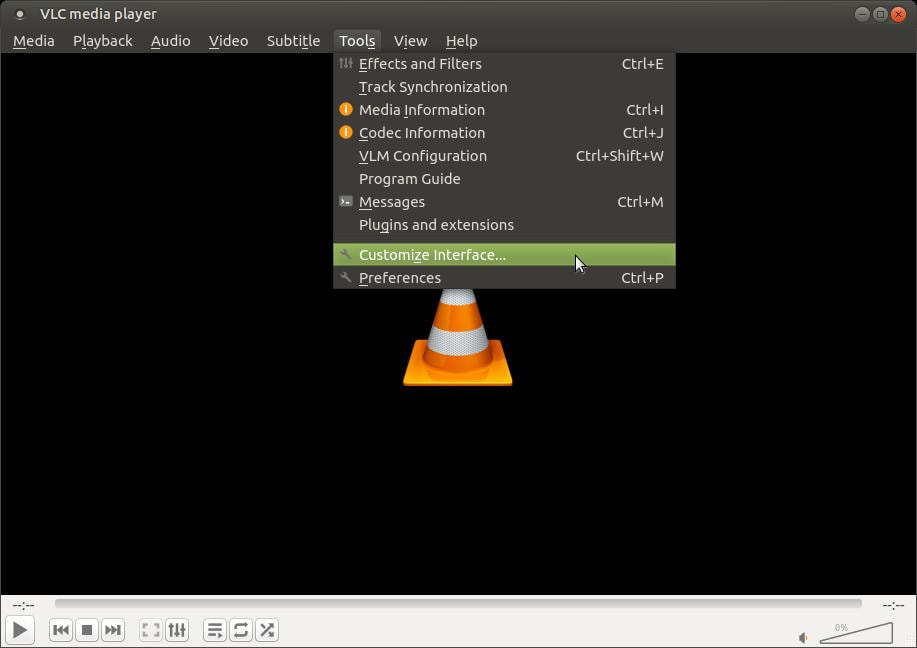
You can customize the look and interface of VLC media player. To change the arrangements of buttons and other features, click on the Tools menu and then click on Customize Interface...
A Toolbars Editor will appear allowing you to change your toolbars. You can add or remove buttons or features and you can change their appearnce from flat to big.
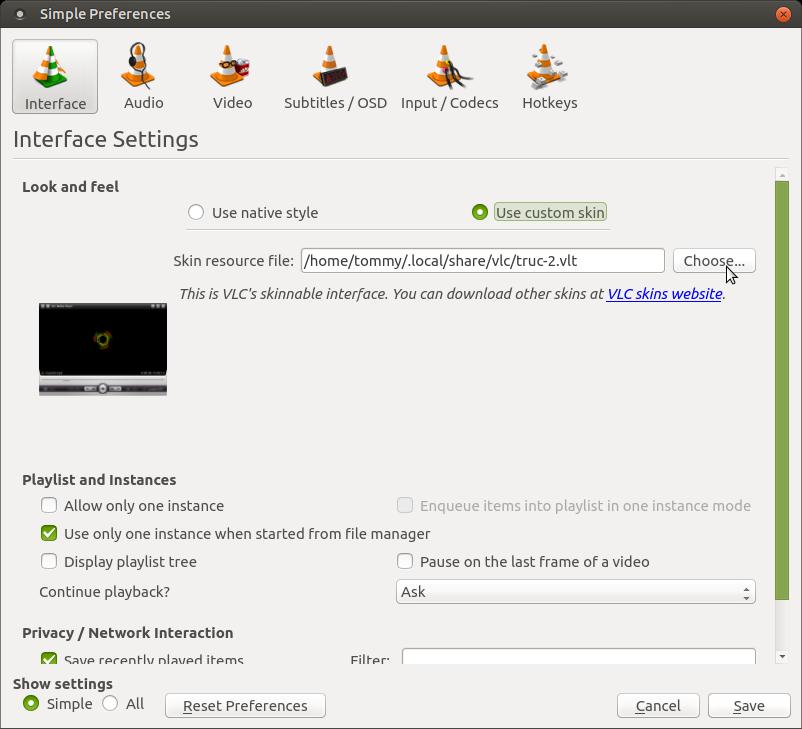
You can also can the appearance or skin of VLC media player. Click on the Tools menu and then click on Preferences.

A Simple Preferences dialog box will appear and it will give you a lot of options. We will focus on changing the skin. Make sure the Interface icon is selected in the upper right corner and then look for the option Use custom skin under the Look and feel section.
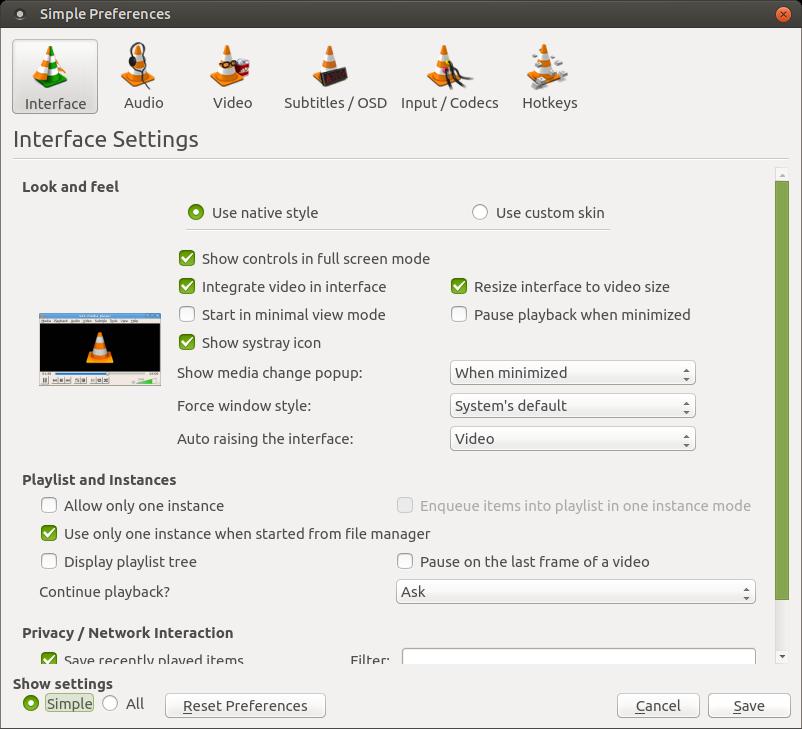
Click the on the circle to the left of Use custom skin to select it. Before you select another skin, you must install some new skins. You can click the VLC skins website link below the Choose... button to take you to the VideoLan - Skins website. On that website you can download a bulk of skins that is 37MB in size that contains 120 skins. I already downloaded that large file and reduced it to 8.9MB that contains 36 skins. You can download my small set at my DropBox or Google Drive.

Go to the location you downloaded the compressed skin file and right-click it. When the the pop-up menu appears, click on the Extract To... command.
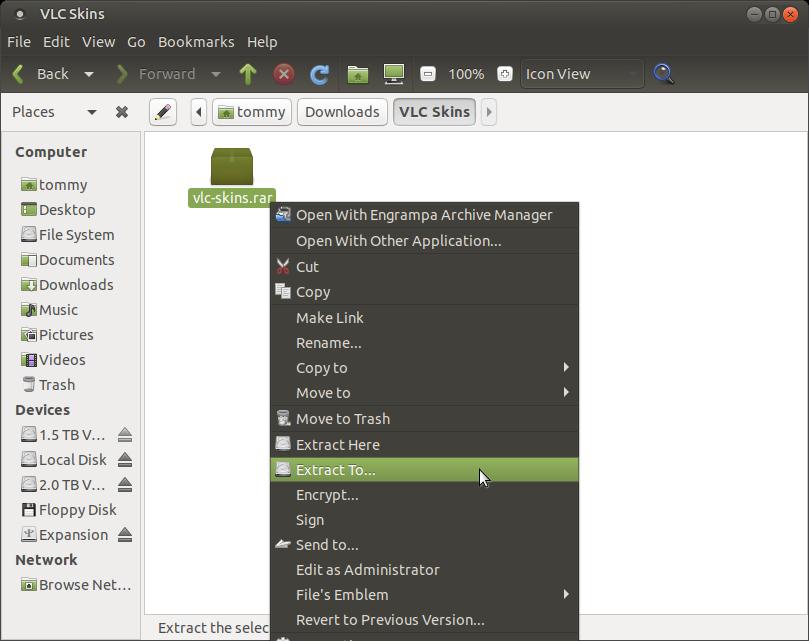
An Extract dialog box will appear. Don't immediately click the Extract button or you'll extract the files in the same folder as the compressed file.
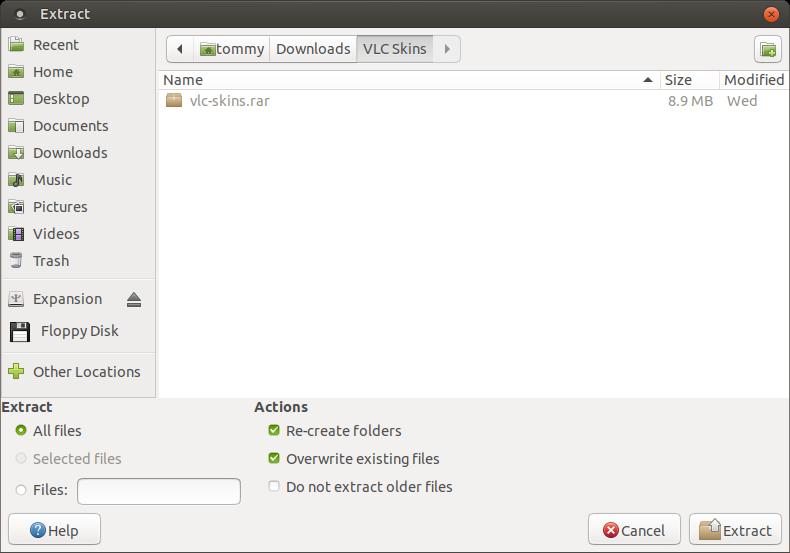
Follow these instructions to extract the skins in the .local/share/vlc/ folder. In the Extract dialog box click on the Home folder in the upper left. Then scroll down until you locate the .local folder and open it. Inside that folder is a share folder. Double-click the share folder to open it. Then scroll down until you locate the vlc folder. Double-click the vlc folder to open it and then click the Extract button. This will extract all the skins into your vlc folder. Now you are ready to apply a new skin.
Now go back into your Simple Preferences dialog box and click on the Choose... button.
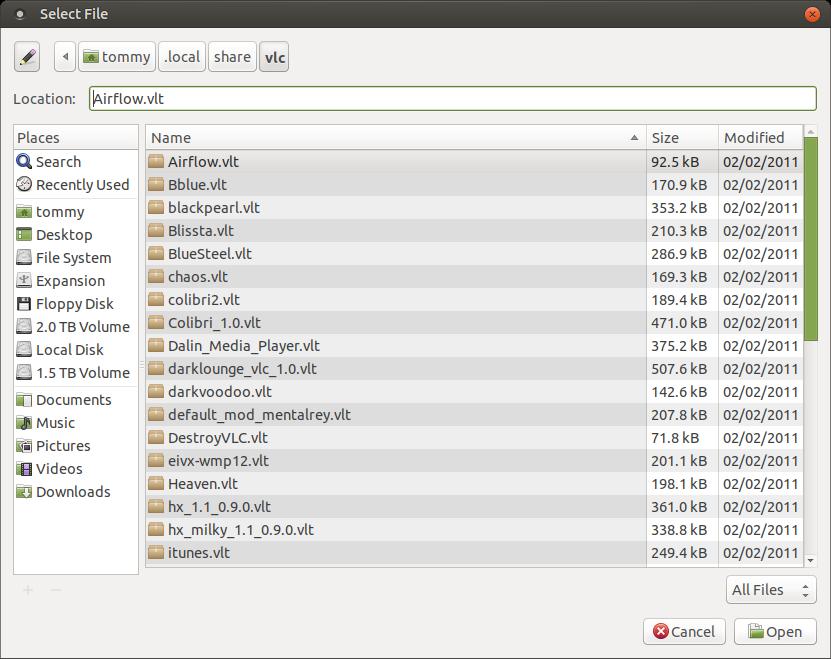
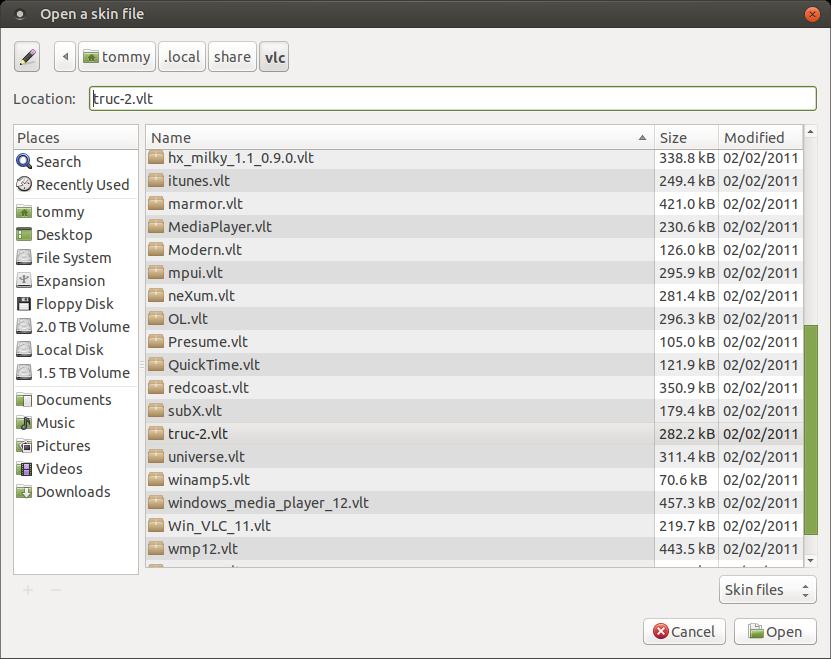
A Select File dialog box will appear. Your job now is to locate the vlc folder within this patch: .local/share/vlc/ (Remember, files and folders that start with a dot . are hidden files or folders. You can see these hidden files in your file manager by clicking the View menu and Show Hidden Files) If you do not see a Location: search bar near the top of the Select File dialog box, then click on the pencil icon.
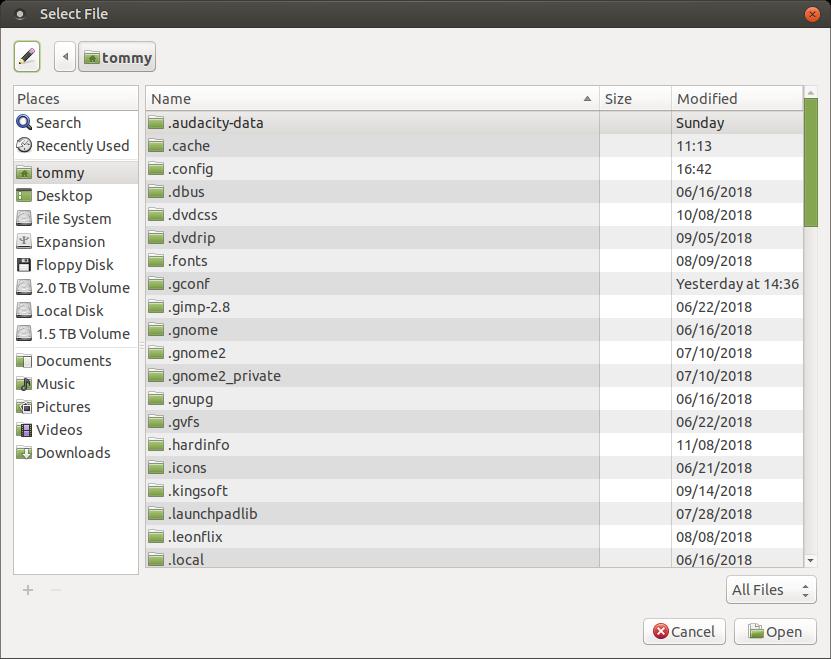
Your dialog box should now look like mine.
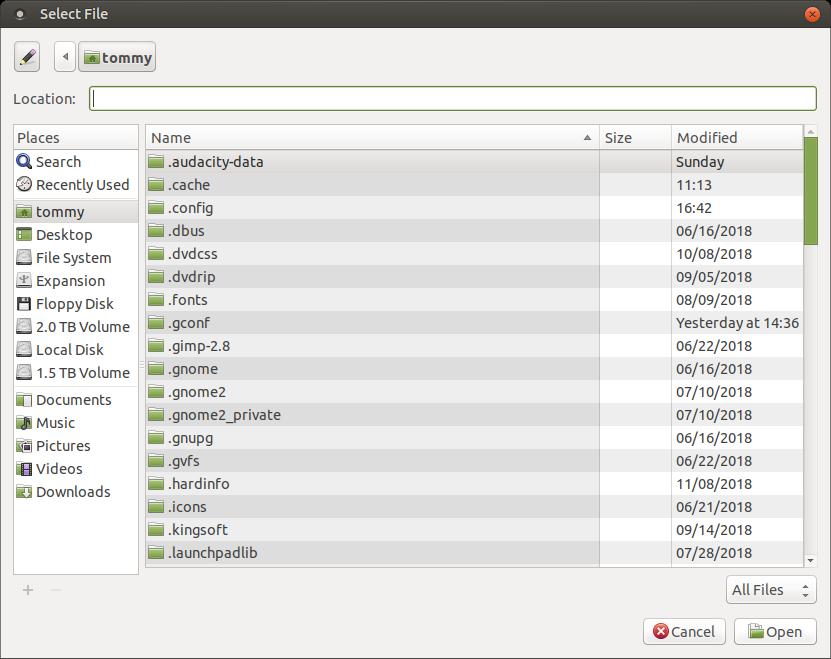
In the Location: bar type the following: .local/share/vlc/ and press the Enter or Return key or you can navigate through the menu structure.

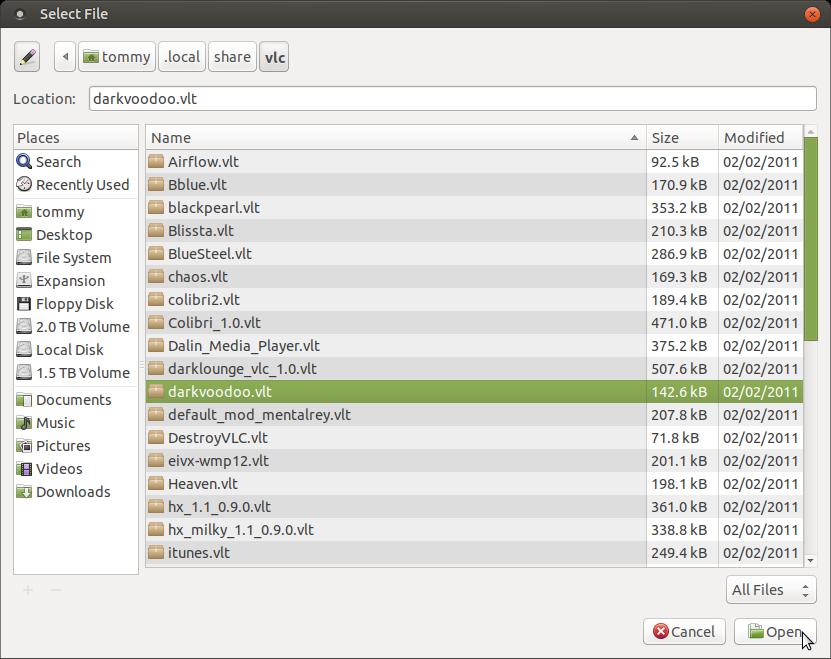
You now can select any of the new skins.
Click the Open button after you made your selection.
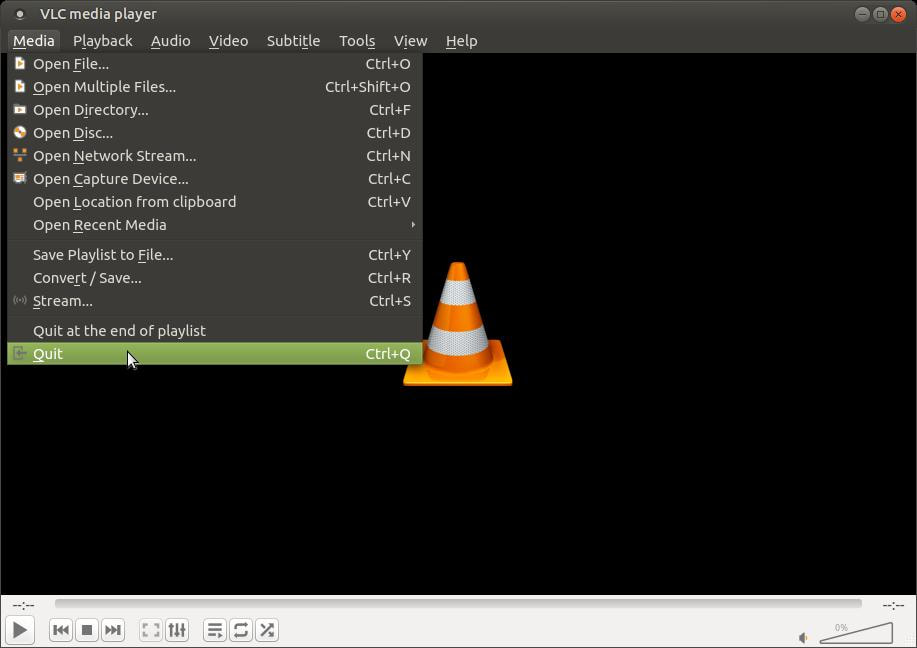
Next. click the Save button.

Quit or close VLC media player.
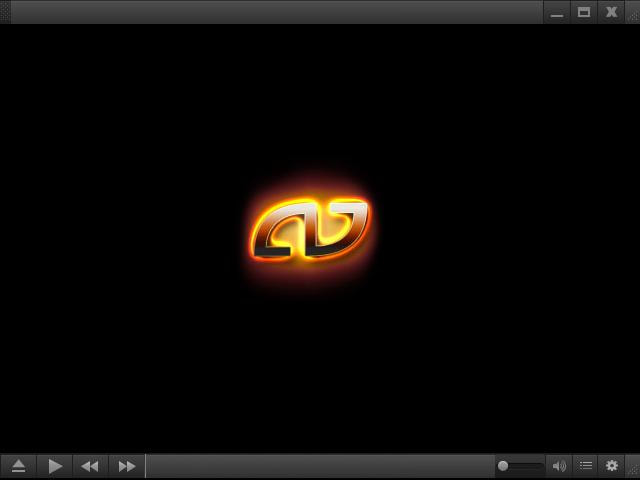
Now, re-open VLC media player. Your new skin will now be applied. I selected the DarkVoodoo skin.
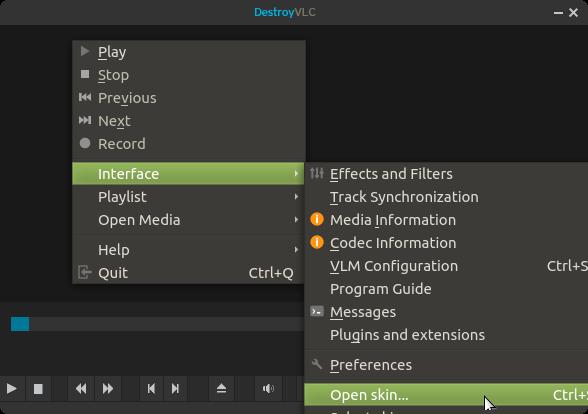
VLC media player will remember your skins folder, so you no longer need to seach for the vlc folder. Just right-click somewhere within VLC and high-light Interface, then click on the Open skin... option.

It will immediately open the VLC folder with all your skins.
Select a new skin and click the Open button.
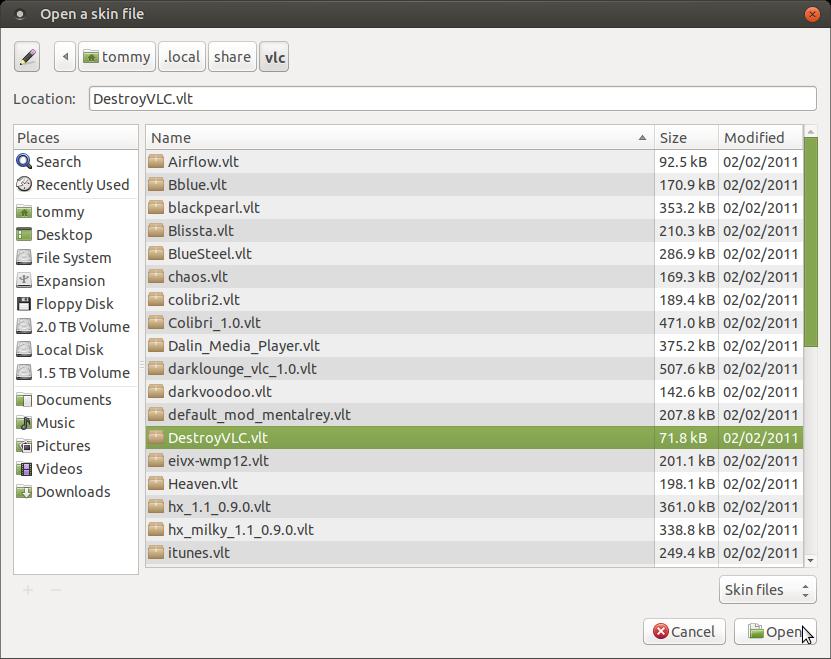
Your skin will immediately change. You no longer have to close VLC and re-open it. You do that for the first time so that it stores the path of your skins. The skin below is the DestroVLC skin.

Now you can change your skin very quickly by right-clicking somewhere within VLC and high-light Interface, then click on the Open skin... option.
Select a new skin and click the Open button.
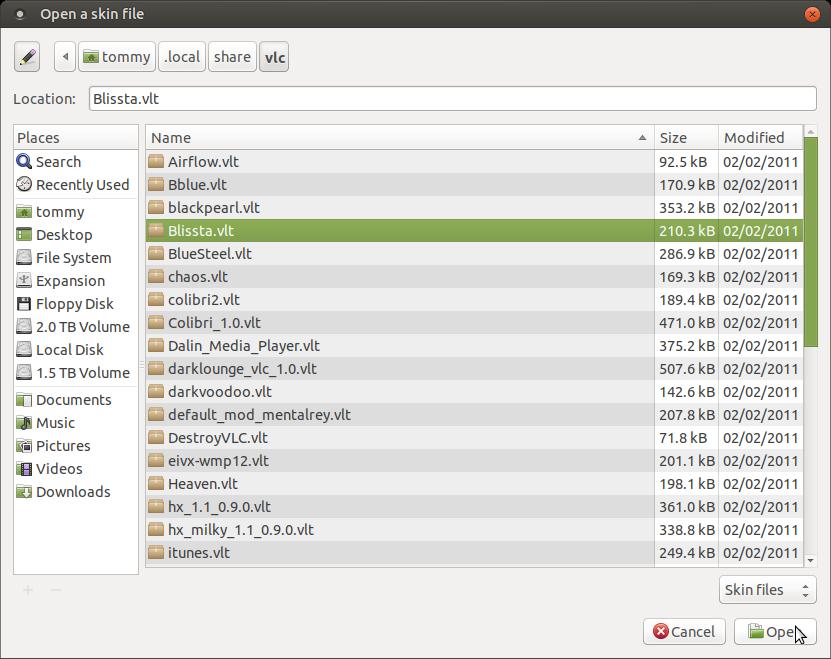
A new skin will immediately be displayed.
Here are some of the skin examples:
How to Stream From VLC to Your Chromecast
One of the best features of VLC media player is its ability to send video to your Chromecast device. If you are using Ubuntu, then you must have at least version 18.04 or newer and the newest version of VLC media player. I am currently using Ubuntu MATE 18.04 and VLC media player 3.0.4 Vetinari. To prevent the older version from conflicting with the newest version, I recommend that you uninstall your old version and install the newest version.
To send your video to your Chromecast:
1. Open VLC media player

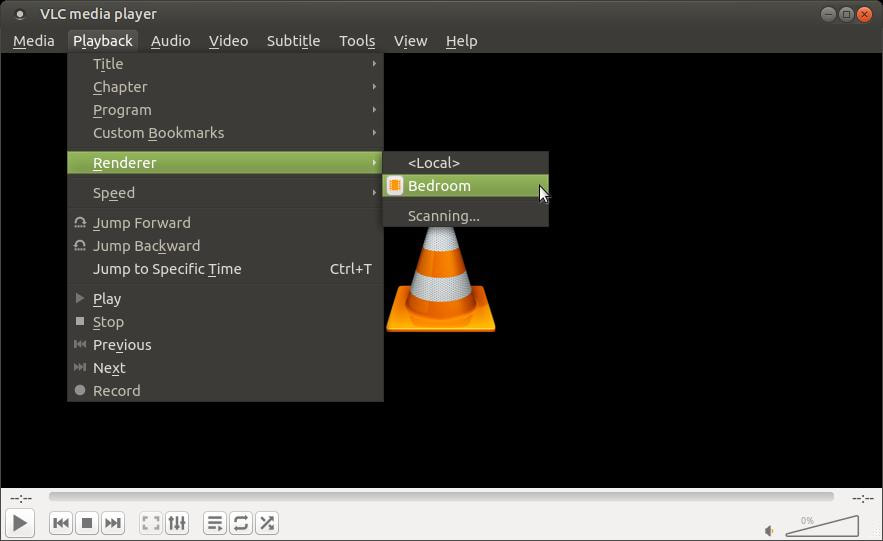
2. Clink on the Playback menu, then highlight Renderer, and then click on the name of your Chromecast device.
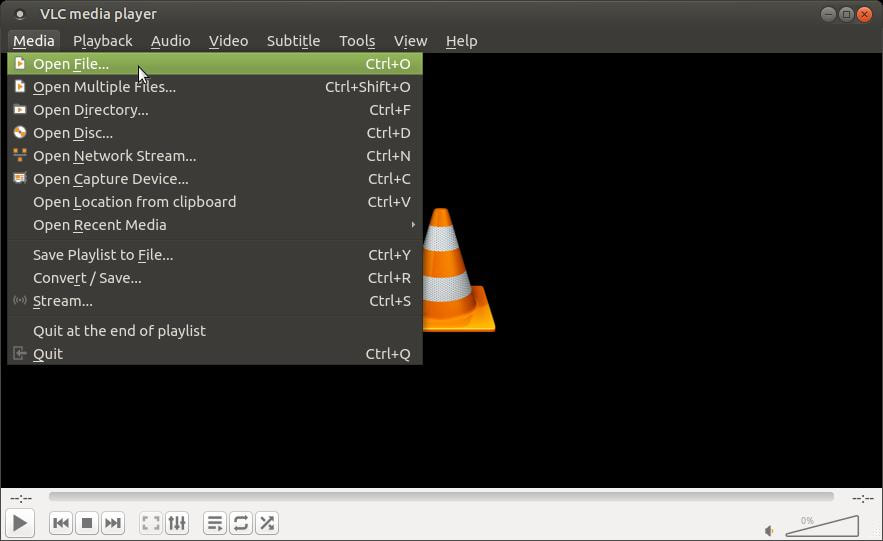
3. Open a video file in VLC and it should immediately start streaming the video to your Chromecast device. Click on the Media menu and then
click on the Open File... command.
click on the Open File... command.
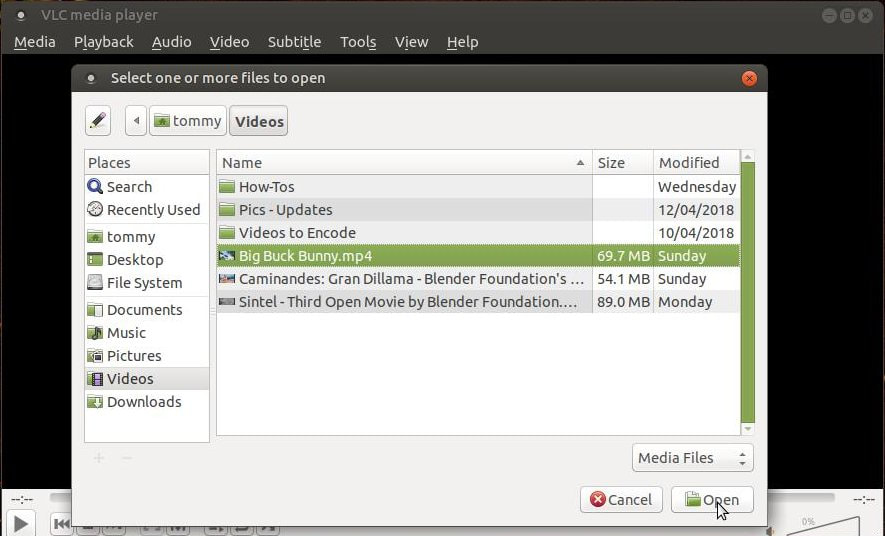
When the dialog box appears, locate a video that you want to watch and click on it to select it and then click on the Open button.
4. You won't be able to see or hear the video in the VLC media player because the data is being sent to your Chromecast device. However, you
will see the video progress bar move across the bottom to indicate the video is being sent.
will see the video progress bar move across the bottom to indicate the video is being sent.

VLC media player has so many more features, but I will wait to another time to discuss some more of them. I understand why VLC media player is one of the most popular multimedia players.
How to Fix VLC not Exiting properly
If you installed the newest version of VLC and it doesn't close properly when you try to exit the program then try the steps below.
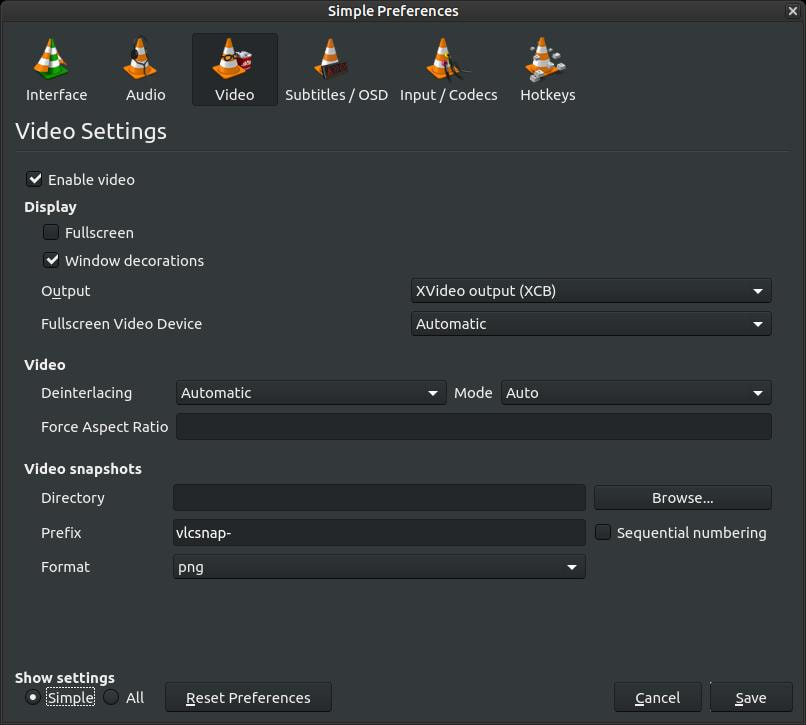
Step 1: Click on the Tools menu, then click on Preferences > Video > change Output to XVideo output (XCB) > Save and restart player
If you installed the newest version of VLC and it doesn't close properly when you try to exit the program then try the steps below.
Step 1: Click on the Tools menu, then click on Preferences > Video > change Output to XVideo output (XCB) > Save and restart player
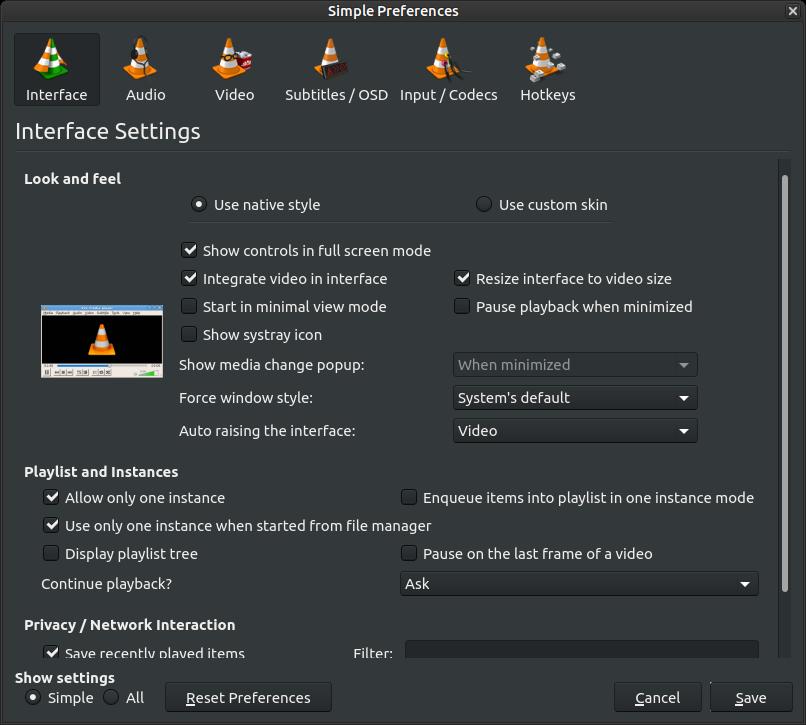
Step 2: Click on the Tools menu, then click on Preferences > Interface > under Playlist and instances check Allow only one instance > uncheck Show systray icon > Save and restart player
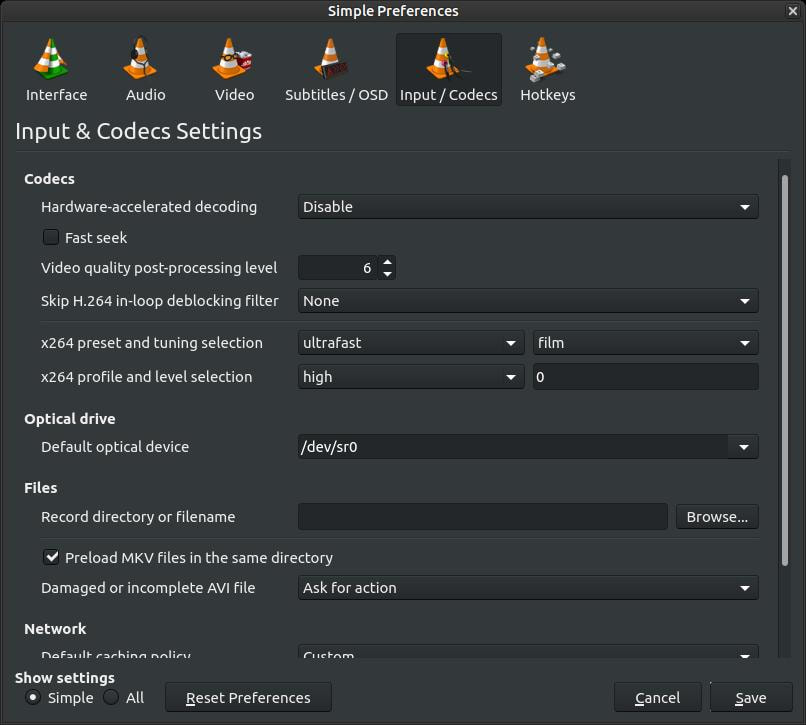
Step 3: If you have an older AMD Radeon video card then I recommend that you click on the Tools menu, then click on Preferences > Input/Codecs > change Hardware-accelerated decoding to Disable > Save and restart player
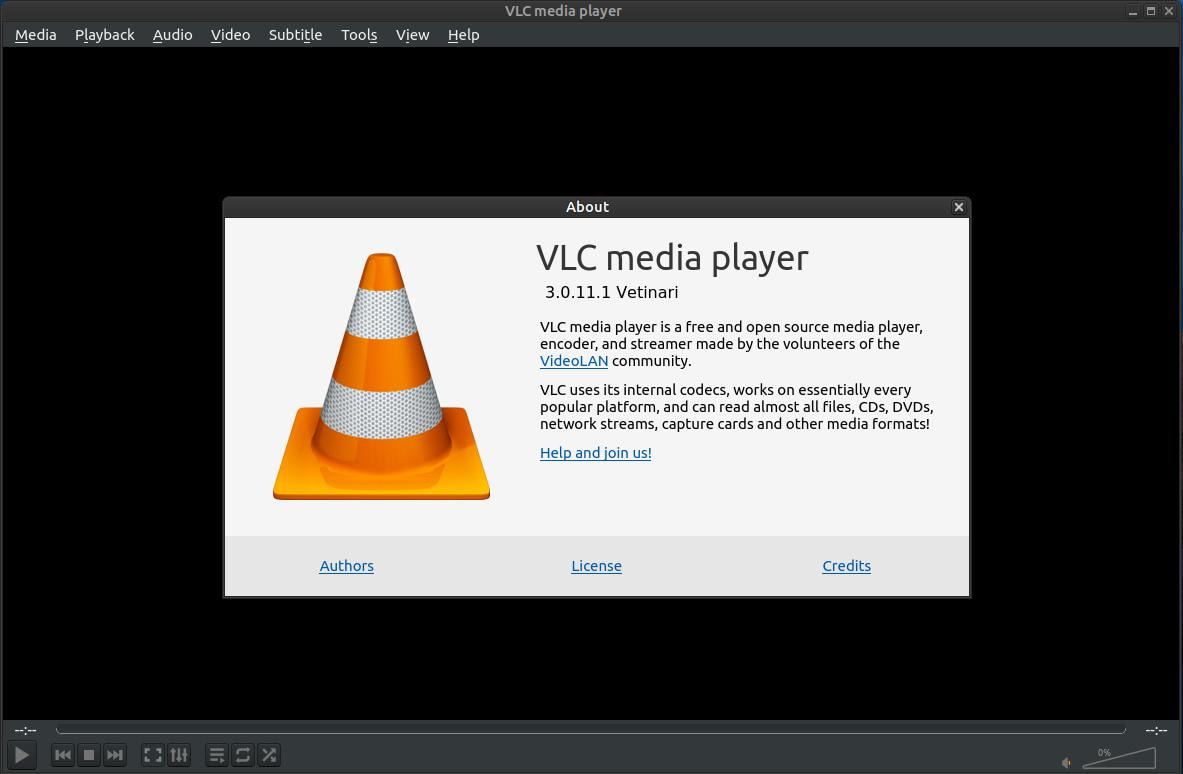
This should work with VLC media player 3.0.11.1 or newer.
I hope the information on this webpage was helpful to you.
Take care!
Take care!

Dec 15, 2018
