
Okular
Okular is a universal document viewer that works on multiple platforms. It supports documents such as PDF, Postscript, DjVu, CHM, XPS, ePub and others.
It's developed by KDE; however, it works great on Ubuntu MATE 18.04.1 LTS. It can be a bit tricky to install on Ubuntu 20.04/Ubuntu MATE 20.04 LTS that use an amdgpu graphics card.
There are multiple ways that you can install Okular on your Ubuntu MATE system. You can install it via the Terminal by typing in sudo apt install okular, you can download the deb package that matches your operating system, or you can install the latest version via the snapcraft store. I installed the latest version by installing the snap. Before you can install snap packages, you must first install Snap or snapd. If you are using Ubuntu 16.04 or newer, then you are ready to go because Snap has been pre-installed. Go here to see the list of Linux distibutions that have snapd pre-installed or how to install snapd on your system: https://docs.snapcraft.io/installing-snapd/6735. To install Okular on Windows, click on Okular-Master-335-Windows to download and install the program.
There are multiple ways that you can install Okular on your Ubuntu MATE system. You can install it via the Terminal by typing in sudo apt install okular, you can download the deb package that matches your operating system, or you can install the latest version via the snapcraft store. I installed the latest version by installing the snap. Before you can install snap packages, you must first install Snap or snapd. If you are using Ubuntu 16.04 or newer, then you are ready to go because Snap has been pre-installed. Go here to see the list of Linux distibutions that have snapd pre-installed or how to install snapd on your system: https://docs.snapcraft.io/installing-snapd/6735. To install Okular on Windows, click on Okular-Master-335-Windows to download and install the program.
How to Install Okular:
Method 1: (Snap Version)
This method may not load in Ubuntu 20.04 LTS that have an amdgpu graphics card unless you run it with the sudo command.
1. Open the Terminal (Shortcut: Ctrl + Alt + T)
2. Type the following command: sudo snap install okular
3. Press Enter or Return and type in your password
4. Press Enter or Return
Method 2: (Flatpak Version)
This is the preferred method for installing on Ubuntu 20.04 LTS that have an amdgpu graphics card.
Make sure you have flatpak installed:
1. Open the Terminal (Shortcut: Ctrl + Alt + T)
2. Type the following command: sudo add-apt-repository ppa:alexlarsson/flatpak
3. Type the following command: sudo apt update
4. Type the following command: sudo apt install flatpak
Next, you need to enable flatpak:
5. Type the following command: flatpak remote-add --if-not-exists flathub https://flathub.org/repo/flathub.flatpakrepo
Next, install okular:
6. Type the following command: flatpak install flathub org.kde.okular
Method 3: (Binary Package)
This method may break packages in Ubuntu 20.04 LTS that have an amdgpu graphics card and VLC installed.
1. Open the Terminal (Shortcut: Ctrl + Alt + T)
2. Type the following command: sudo add-apt-repository ppa:kubuntu-ppa/backports
3. Press Enter or Return and type in your password
4. Press Enter or Return
5. Type the following command: sudo apt-get install okular
6. Type the following command: sudo apt-get install okular-extra-backends texlive-binaries
7. Press Enter or Return
8. Type the following command: exit
9. Press Enter or Return
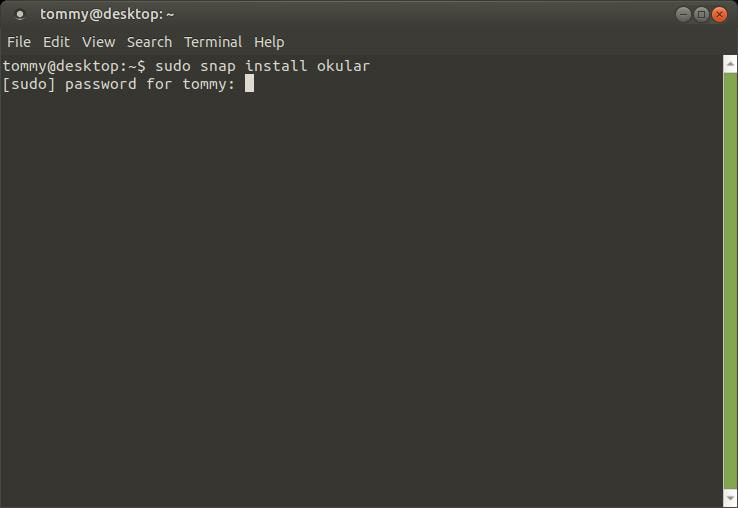
Snap Installation Example
How to Uninstall Okular:
Method 1: (Snap Version)
1. Open the Terminal (Shortcut: Ctrl + Alt + T)
2. Type the following command: sudo snap remove okular
3. Press Enter or Return and type in your password
4. Press Enter or Return
Method 2: (Flatpak Version)
1. Open the Terminal (Shortcut: Ctrl + Alt + T)
2. Type the following command: flatpak remove flathub org.kde.okular
3. Press Enter or Return and type in your password
4. Press Enter or Return
5. Type the following command: exit
6. Press Enter or Return
Method 3: (Binary Package)
1. Open the Terminal (Shortcut: Ctrl + Alt + T)
2. Type the following command: sudo apt-get remove okular okular-extra-backends
3. Press Enter or Return and type in your password
4. Press Enter or Return
5. Type the following command: sudo add-apt-repository --remove ppa:kubuntu-ppa/backports
6. Press Enter or Return
7. Type the following command: exit
8. Press Enter or Return
Starting Okular
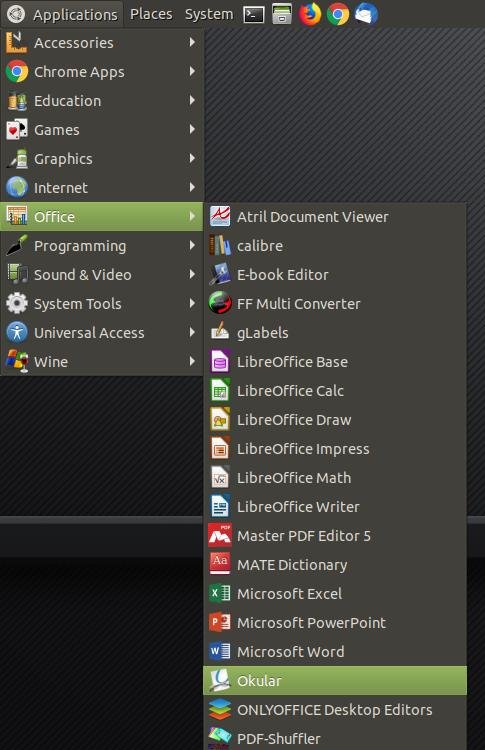
If you have Ubuntu MATE setup using the Traditional panel, then you can access Okular by clicking on the Applications menu, highlight Office, and then click on Okular.
If you have Ubuntu MATE setup using the Traditional panel, then you can access Okular by clicking on the Applications menu, highlight Office, and then click on Okular.
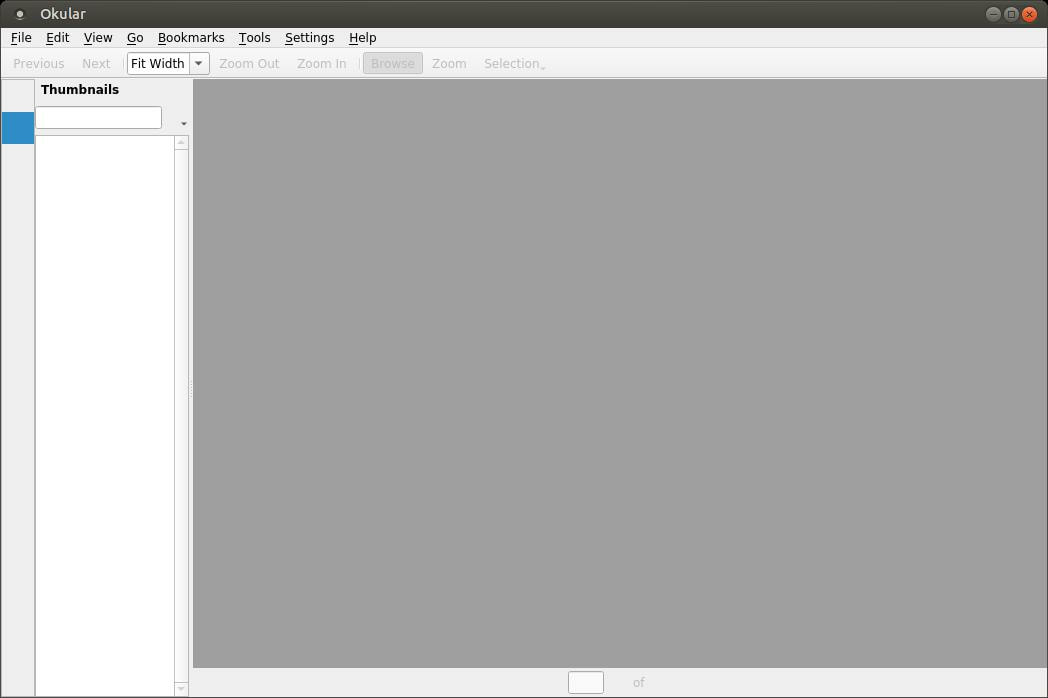
In a few seconds Okular will load on your screen.
The default PDF document viewer in Ubuntu MATE, Atril Document Viewer 1.20.1, works great but it sometimes has trouble displaying fonts correctly with certain eBooks or eMagazines. Here's an exmple:
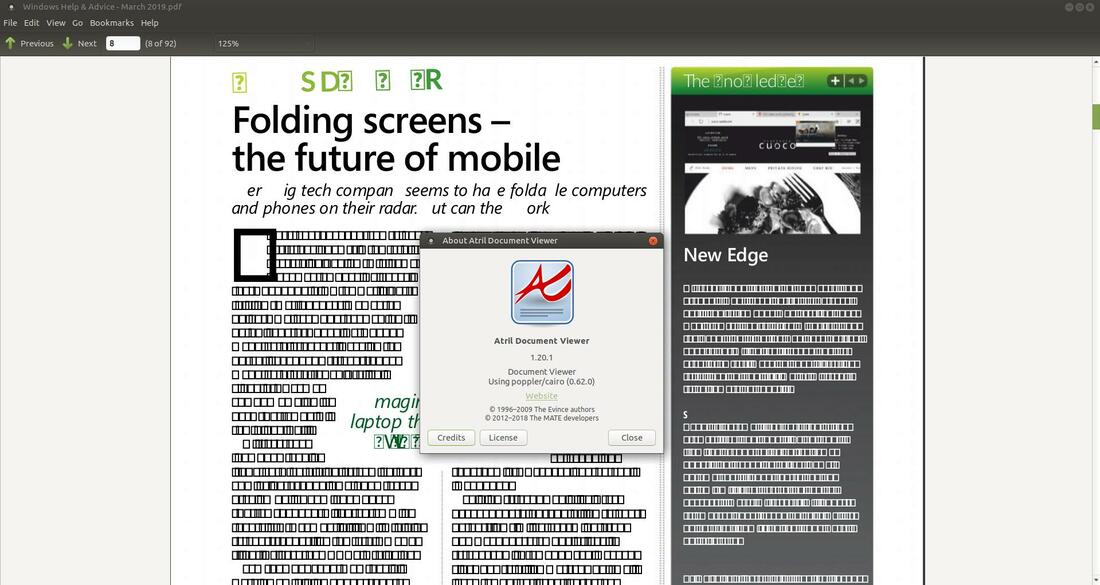
Atril Document Viewer ver. 1.20.1
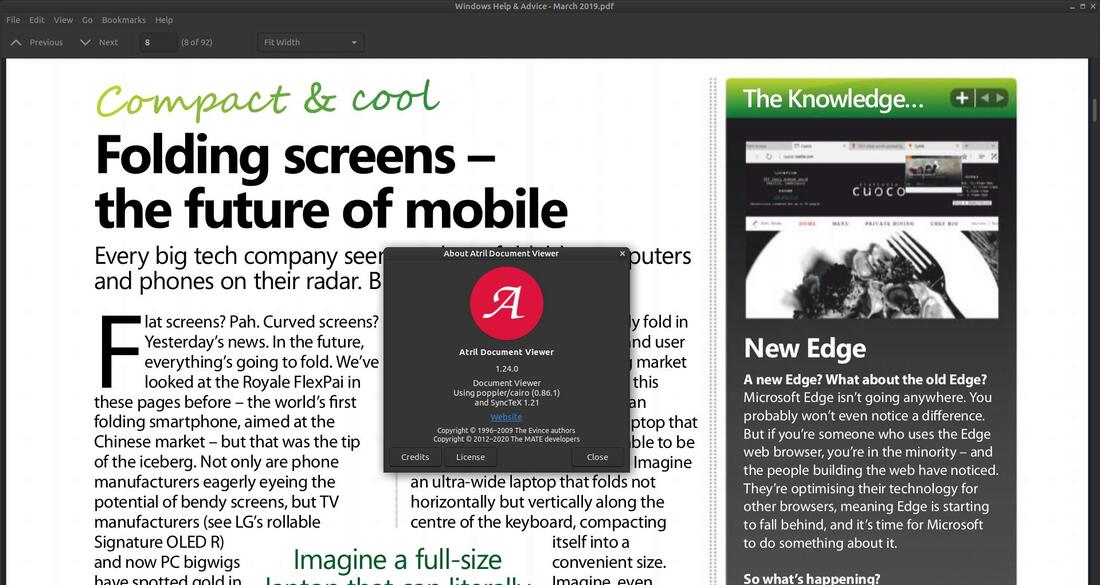
UPDATE: Atril Document Viewer 1.24.0 (found in Ubuntu 20.04 or newer) has fixed the problem displaying fonts correctly with certain eBooks or eMagazines. Here's an example using the same page from the same eBook.
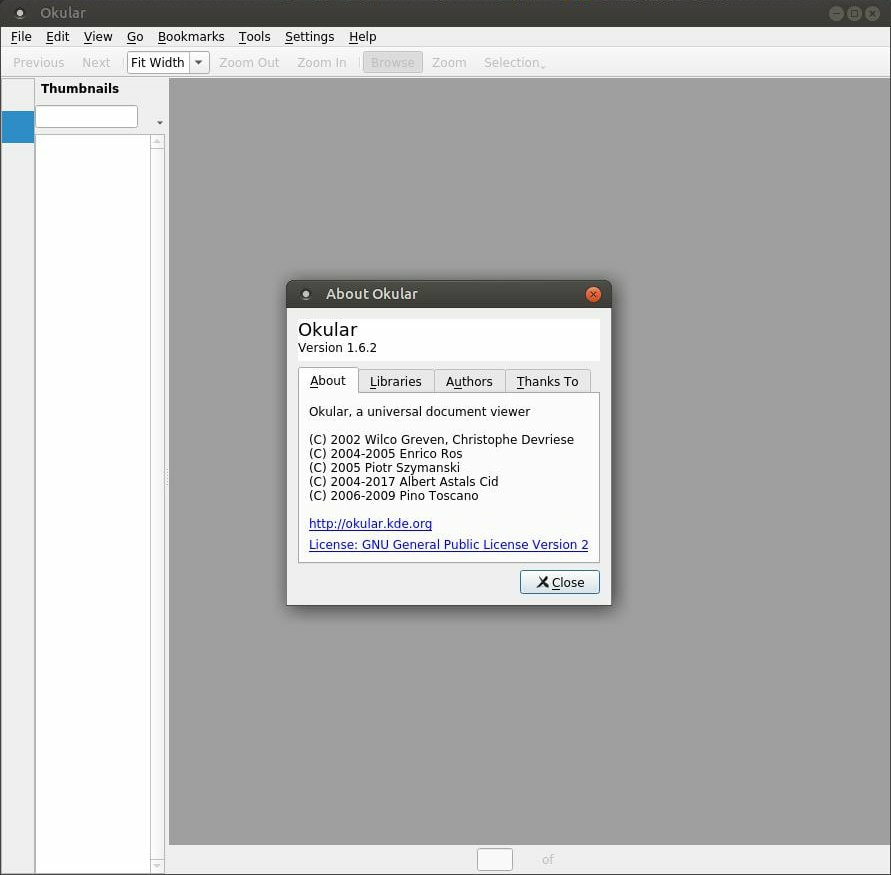
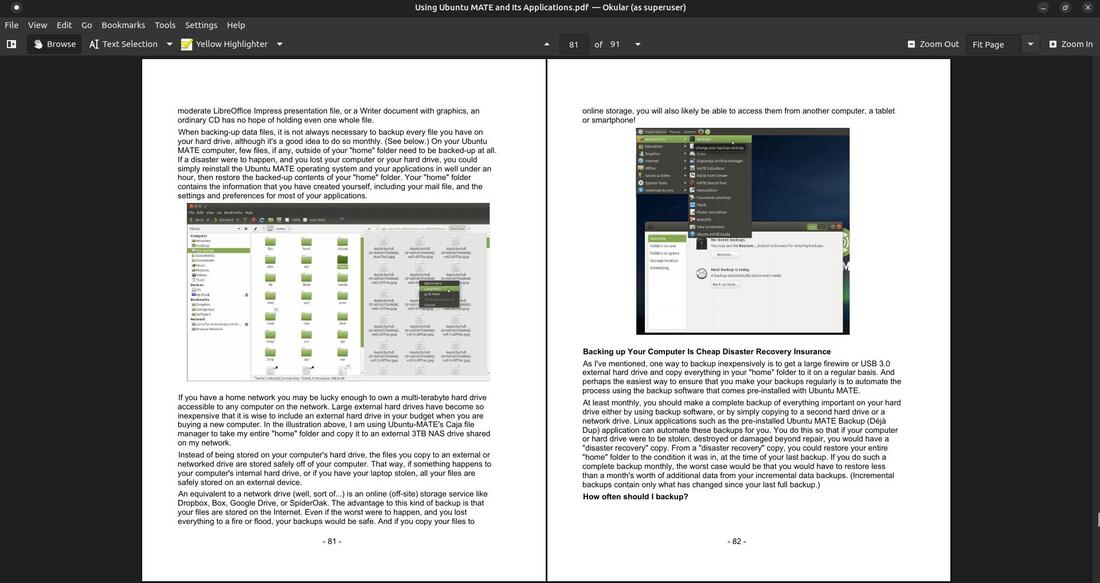
Here's Okular ver. 1.6.2 with the same PDF file.
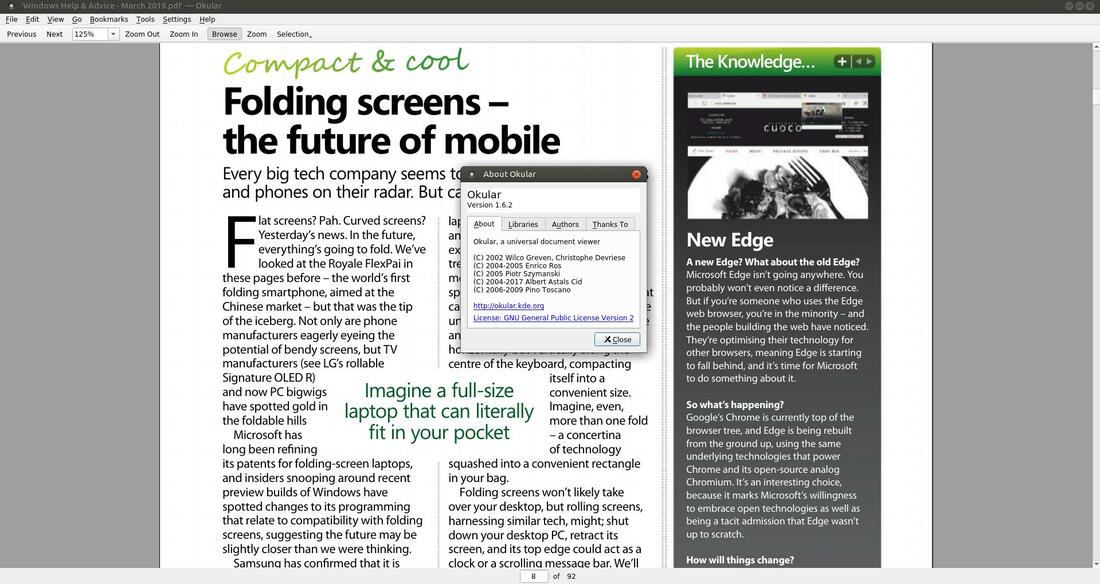
Okular ver. 1.6.2
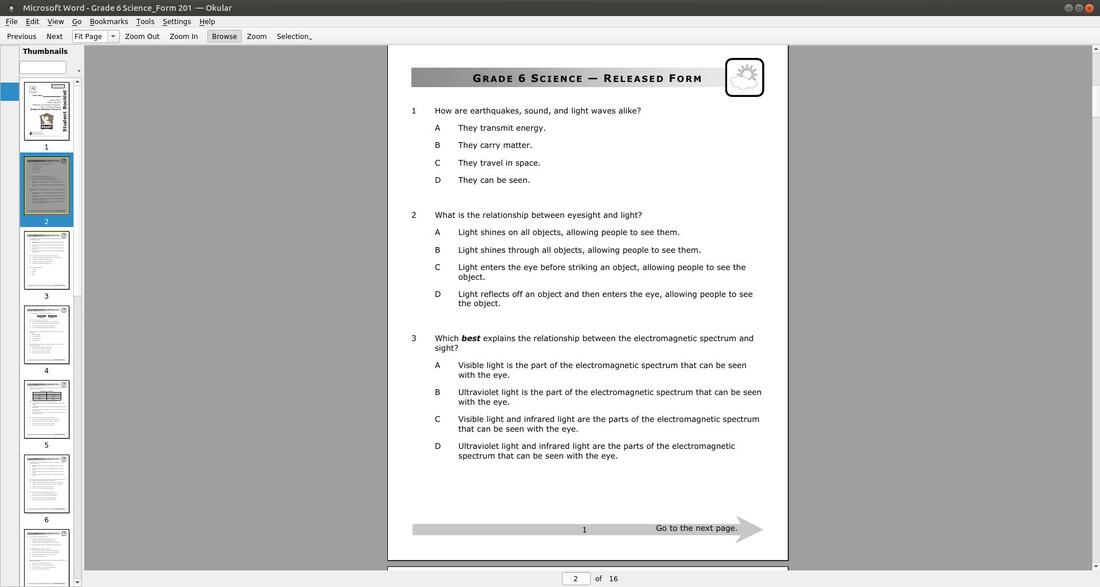
I have been testing out Okular for the past several days and was able to read every PDF file that I opened. I don't plan to remove the Atril Document Viewer because it doesn't take up a lot of space, but I did make Okular my default PDF viewer.
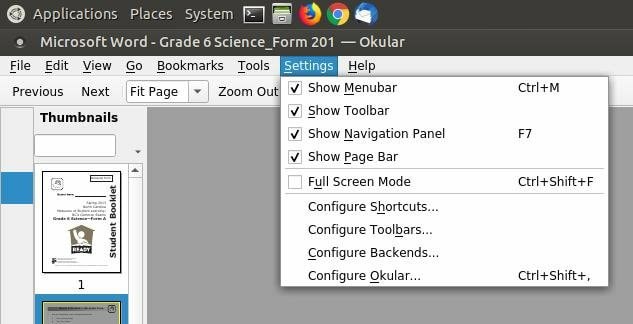
You can customize Okular, similar to the way that you customize the Atril Document Viewer. You can enable or disable the Navigation Panel in Okular by clicking on the Settings menu and check the option Show Navigation Panel.
You can add or remove commands to your toolbar by clicking on the Settings menu and then click on the Configure Tollbars... command.
A Configure Toolbars dialog box will appear to allow you to add or remove commands to/from the toolbar. Select an item from the left and then press the right button in the middle of the dialog box to add it to the list on the right. Use the up or down buttons in the middle to move the command on the toolbar. Click the Apply button to make the changes to the toolbar. Click the OK when you finish.
You can change the Flatpak from light mode to dark mode by opening your Terminal and entering the following:
flatpak install org.kde.KStyle.Adwaita
sudo flatpak override --env=QT_STYLE_OVERRIDE=Adwaita-dark
flatpak install org.kde.KStyle.Adwaita
sudo flatpak override --env=QT_STYLE_OVERRIDE=Adwaita-dark
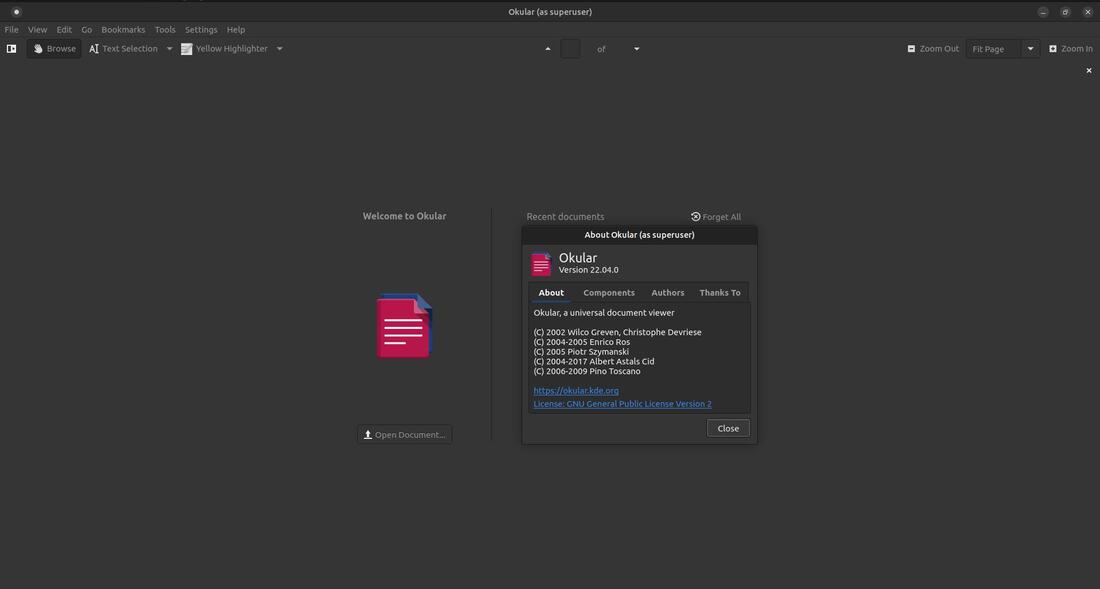
It now looks nice when using a dark theme on your system.
Mar 6, 2019
