
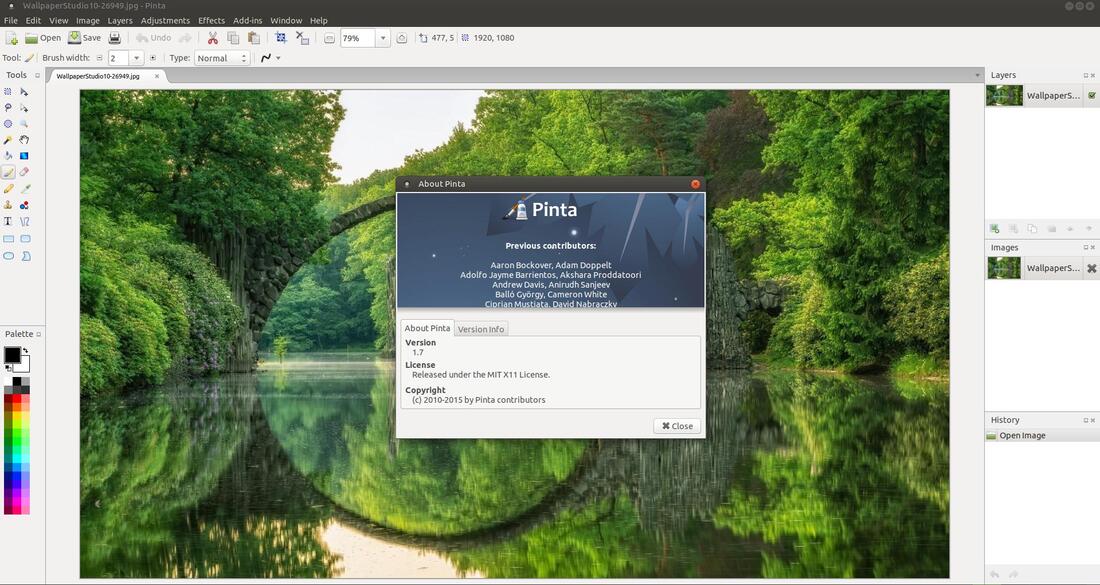
Pinta 1.7 (Daily Build)
A daily build or nightly build is the practice of completing a software build of the latest version of a program, on a daily basis. These builds usually have more features or support newer hardware or devices; however, they may not be as reliable as the most stable version.
How to Install Pinta ver. 1.7 Daily Build:
1. Open the Terminal (Shortcut: Ctrl + Alt + T)
2. Type the following command: sudo add-apt-repository ppa:pinta-maintainers/pinta-daily
3. Enter your password and press Enter or Return
4. Press the Y key to continue
5. Type the following command: sudo apt-get update
6. Press Enter or Return
7. Type the following command: sudo apt-get install pinta
8. Press Enter or Return
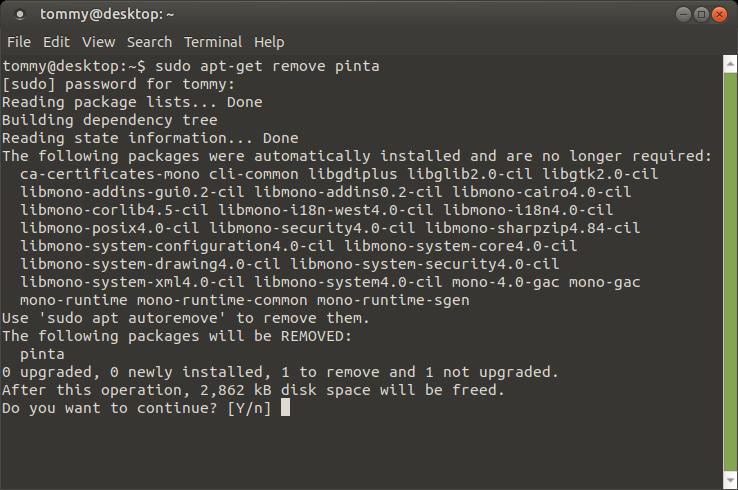
To remove the program enter the following:
sudo apt-get remove pinta
sudo add-apt-repository --remove ppa:pinta-maintainers/pinta-daily
1. Open the Terminal (Shortcut: Ctrl + Alt + T)
2. Type the following command: sudo add-apt-repository ppa:pinta-maintainers/pinta-daily
3. Enter your password and press Enter or Return
4. Press the Y key to continue
5. Type the following command: sudo apt-get update
6. Press Enter or Return
7. Type the following command: sudo apt-get install pinta
8. Press Enter or Return
To remove the program enter the following:
sudo apt-get remove pinta
sudo add-apt-repository --remove ppa:pinta-maintainers/pinta-daily
If you already have Pinta version 1.6 installed and want to upgrade to the daily build then do the following steps:
How to Ugrade Pinta from ver. 1.6 to 1.7:
1. Open the Terminal (Shortcut: Ctrl + Alt + T)
2. Type the following command: sudo add-apt-repository ppa:pinta-maintainers/pinta-daily
3. Enter your password and press Enter or Return
4. Press the Y key to continue
5. Type the following command: sudo apt-get update
6. Press Enter or Return
7. Type the following command: sudo apt-get upgrade
8. Press Enter or Return
To remove the program enter the following:
sudo apt-get remove pinta
sudo add-apt-repository --remove ppa:pinta-maintainers/pinta-daily
Before you can install Pinta 1.7 via .deb file, you'll need uninstall Pinta 1.6 from your system.
Now click on the file below to download Pinta 1.7.
pinta_1.7+r1055~all.deb for Ubuntu 16.04, pinta_1.7+r1080-202004211252~ubuntu18.04.1_all.deb for Ubuntu 18.04, pinta_1.7+r1080-202004211252~ubuntu19.10.1_all.deb for Ubuntu 19.10, and pinta_1.7+r1080-202004211252~ubuntu20.04.1_all.deb for Ubuntu 20.04.
(You can also get the most up-to-date information on Pinta and the daily builds at "Pinta Maintainers” team website.)
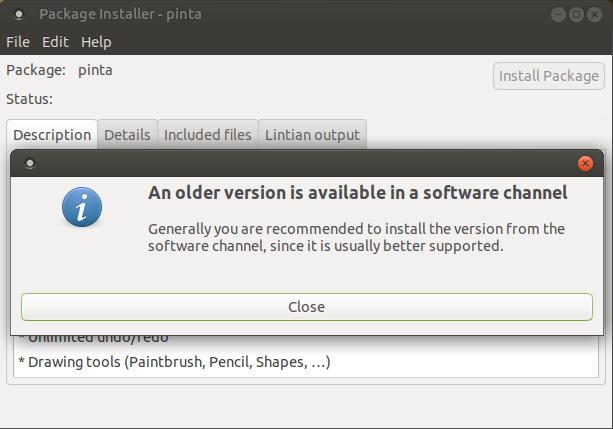
Then go to the location of the downloaded file and double-click it to bring up the Package Installer.
You will get a pop-up dialog box informing you there's an older version available in the software channel. Click on the huge Close button to get rid of the pup-up. (You'll need GDebi package installer on your system to install .deb files. Open your Terminal and enter the following:
sudo apt-get install gdebi)
pinta_1.7+r1055~all.deb for Ubuntu 16.04, pinta_1.7+r1080-202004211252~ubuntu18.04.1_all.deb for Ubuntu 18.04, pinta_1.7+r1080-202004211252~ubuntu19.10.1_all.deb for Ubuntu 19.10, and pinta_1.7+r1080-202004211252~ubuntu20.04.1_all.deb for Ubuntu 20.04.
(You can also get the most up-to-date information on Pinta and the daily builds at "Pinta Maintainers” team website.)
Then go to the location of the downloaded file and double-click it to bring up the Package Installer.
You will get a pop-up dialog box informing you there's an older version available in the software channel. Click on the huge Close button to get rid of the pup-up. (You'll need GDebi package installer on your system to install .deb files. Open your Terminal and enter the following:
sudo apt-get install gdebi)
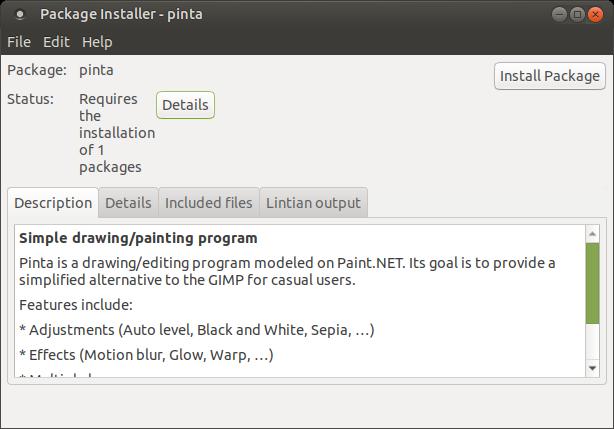
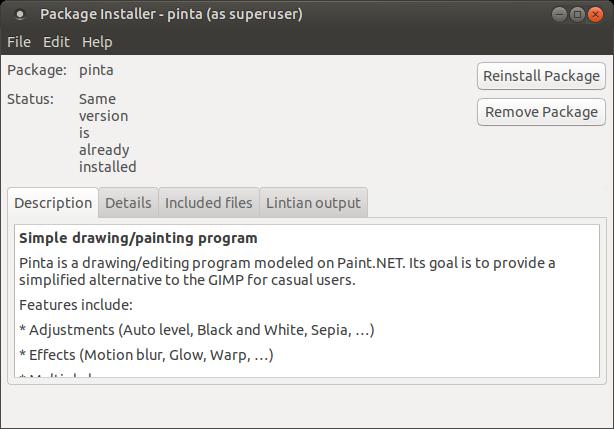
You can now click the Install Package button to start the installation process. Don't worry if your system requires additional packages or dependencies, they will be installed before the program installs.
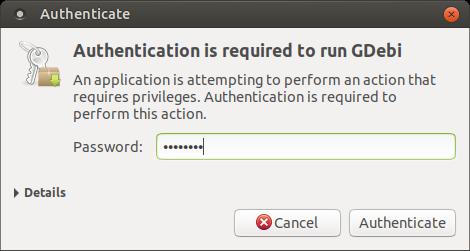
Enter your Password when the Authenticate dialog box appears and press the Authenticate button.
Do not close the Package Installer until you see "Status: Same version is already installed" and the Install Package button change to Reinstall Package.
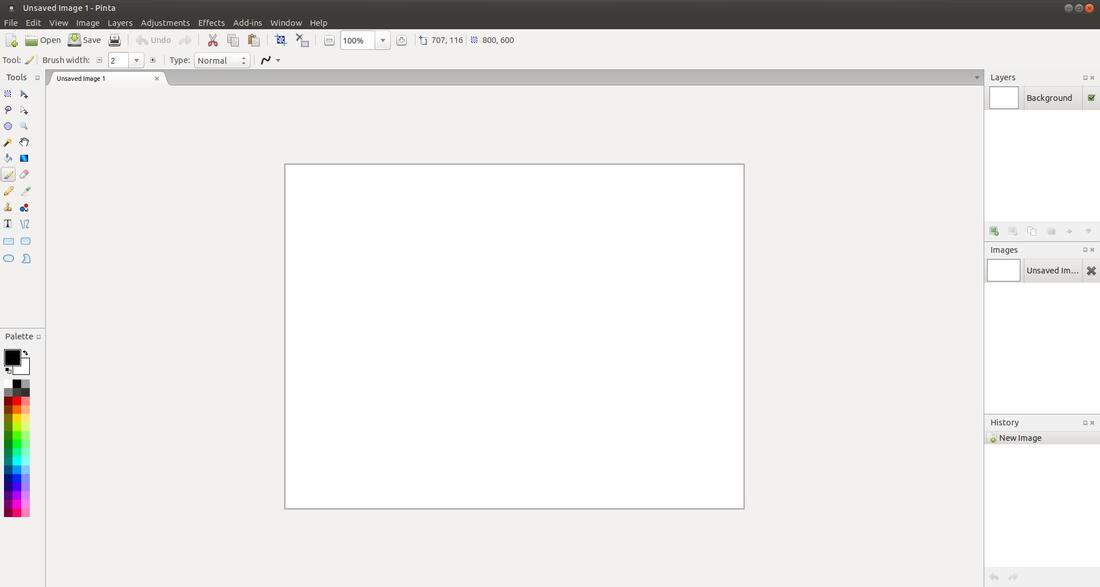
You should now be ready to use Pinta 1.7 as you did with Pinta 1.6.
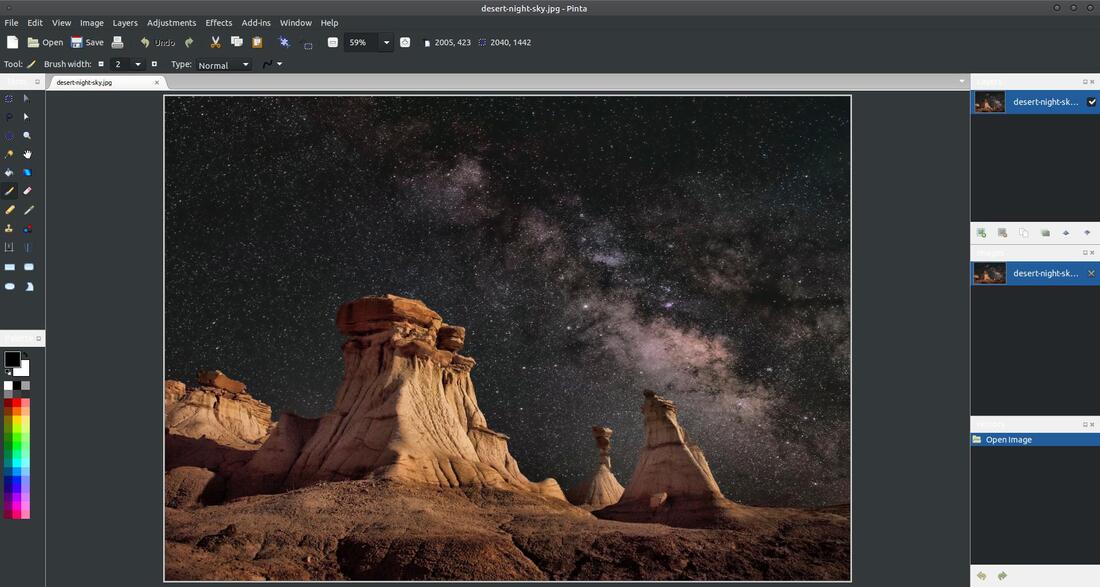
You will notice that each image has a tab across the top.
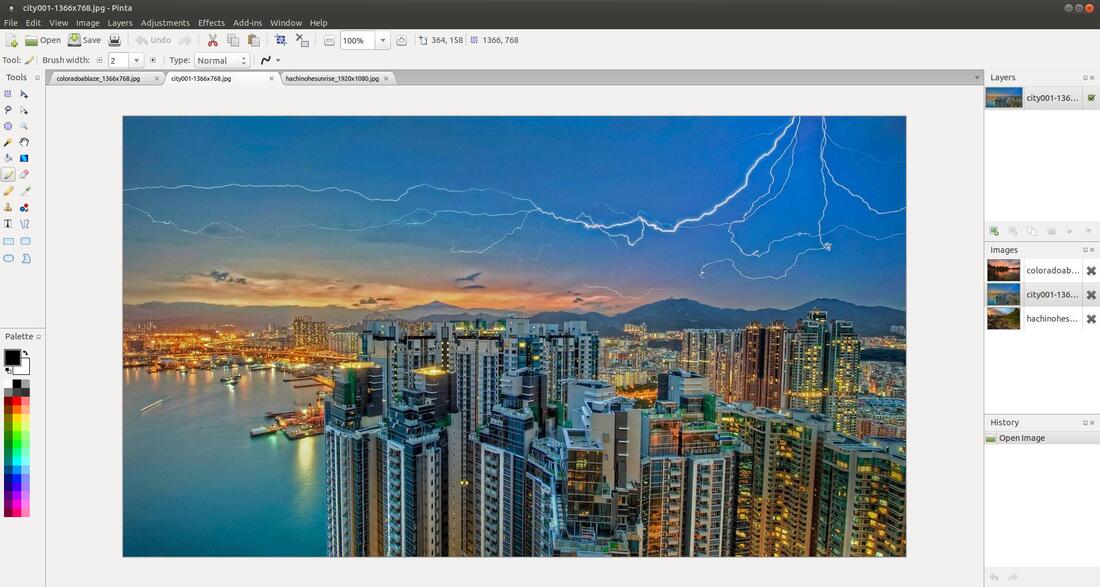
You can quickly change to a different image by clicking on the tab of the image.
Pinta 1.7 will give you more Add-in options.
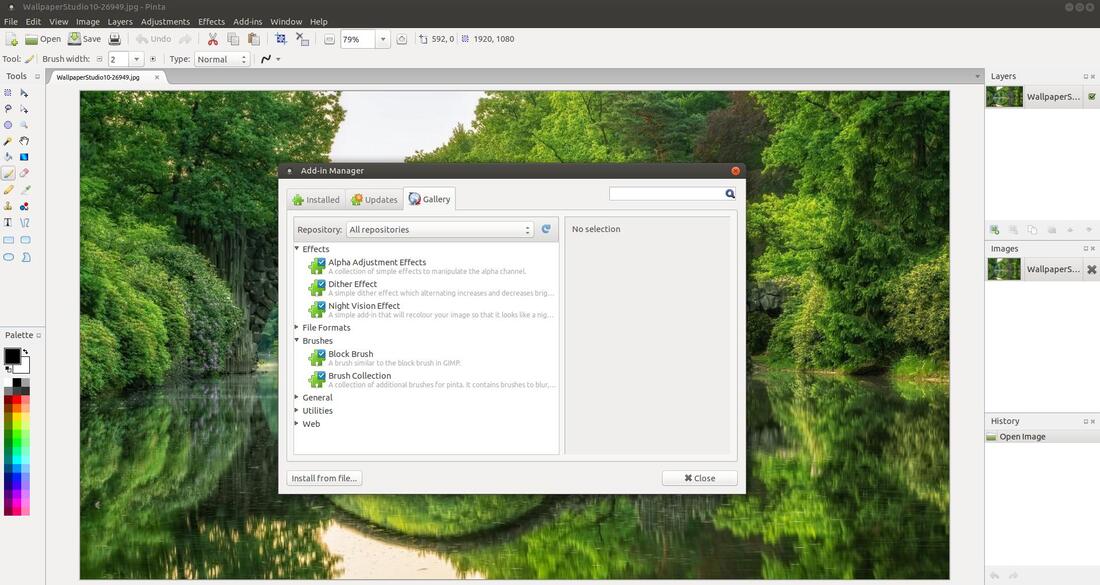
You now have the entire Brush Collection to use.
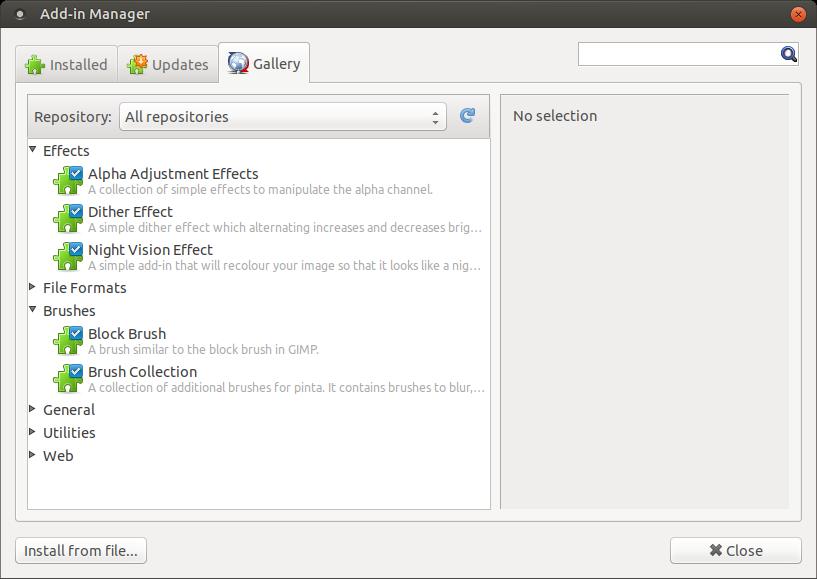
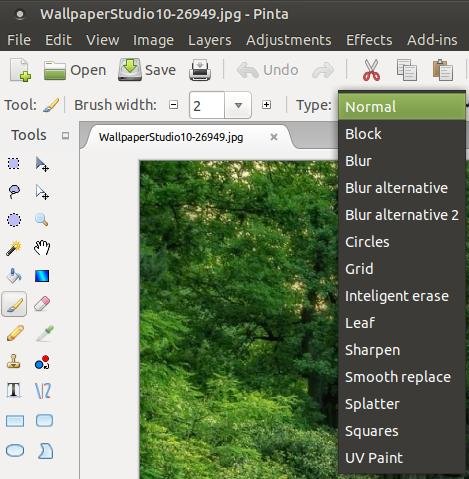
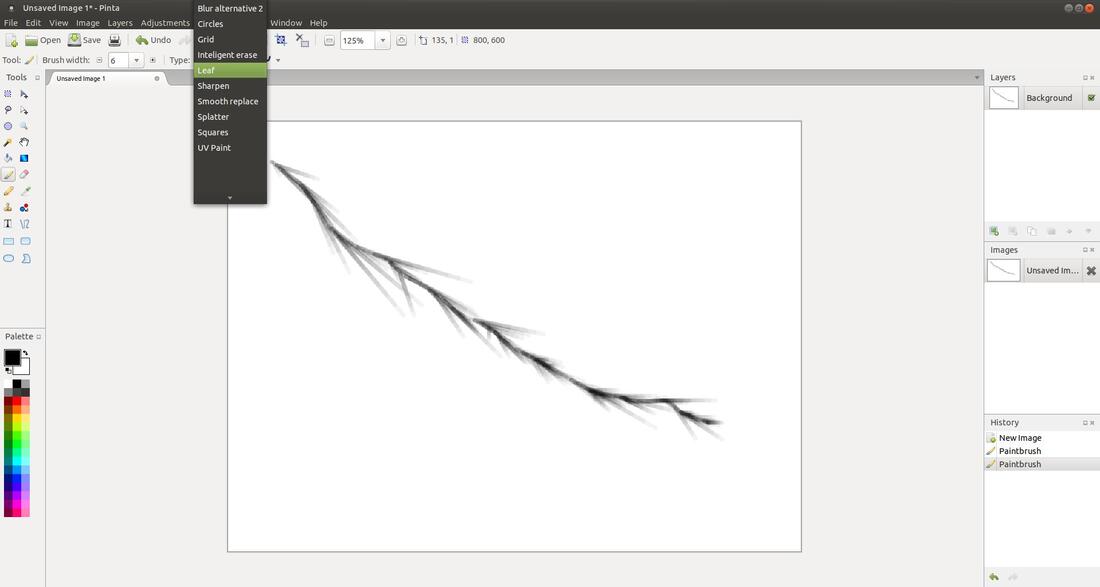
To see the list of brushes, click on the Paintbrush tool on the Tool Palette and then click the drop-down list next to Type:.
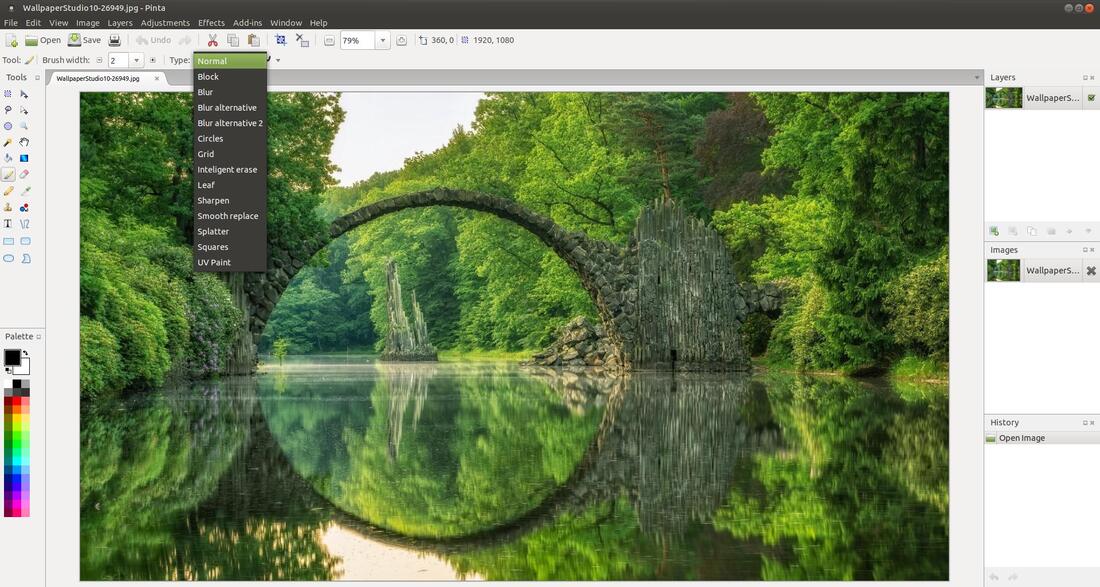
The default brushes in Pinta are Normal, Circles, Grid, Splatter, and Squares. The Block brush could also be added to Pinta 1.6. The new Add-in brushes in Pinta 1.7 are Blur alternative, Blur alternative 2, Inteligent erase, Leaf, Sharpen, Smooth replace, and UV Paint.
Brushes
Blur - The Blur brush tool works similar to the Blur Tool in Photoshop. It can be used to soften sections of an image, to add motion to a still image, and/or emphasize and focus on a particular element within an image.
Blur - The Blur brush tool works similar to the Blur Tool in Photoshop. It can be used to soften sections of an image, to add motion to a still image, and/or emphasize and focus on a particular element within an image.
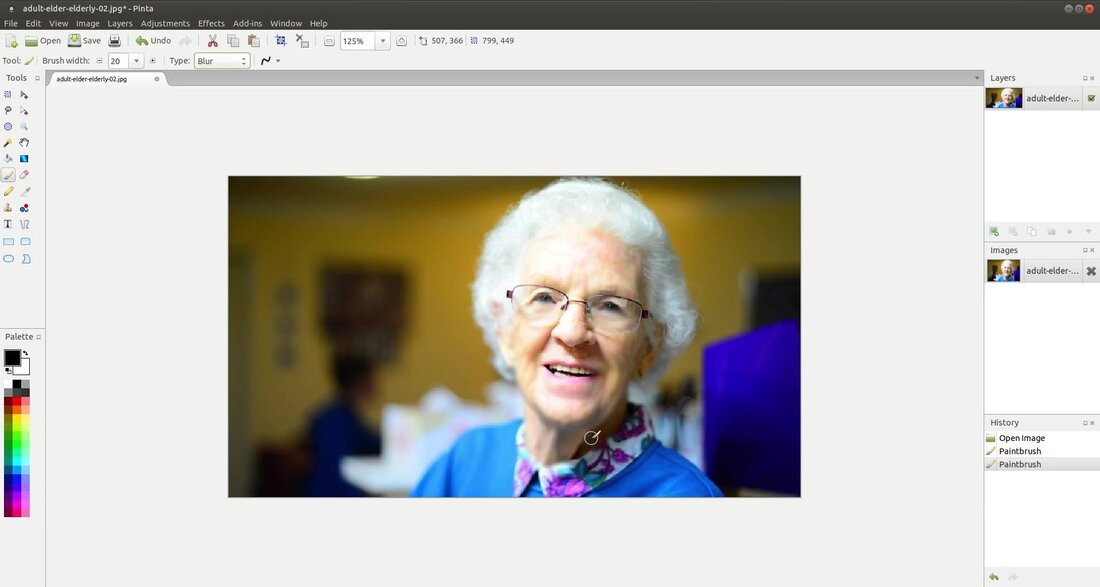
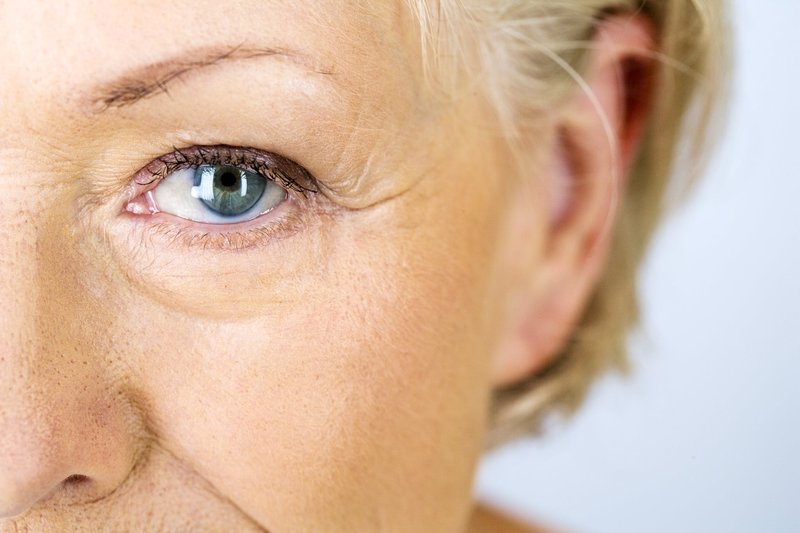
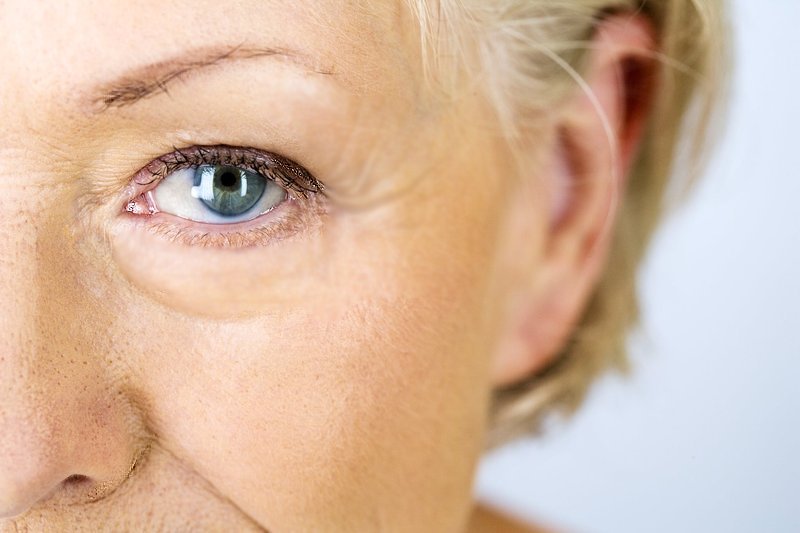
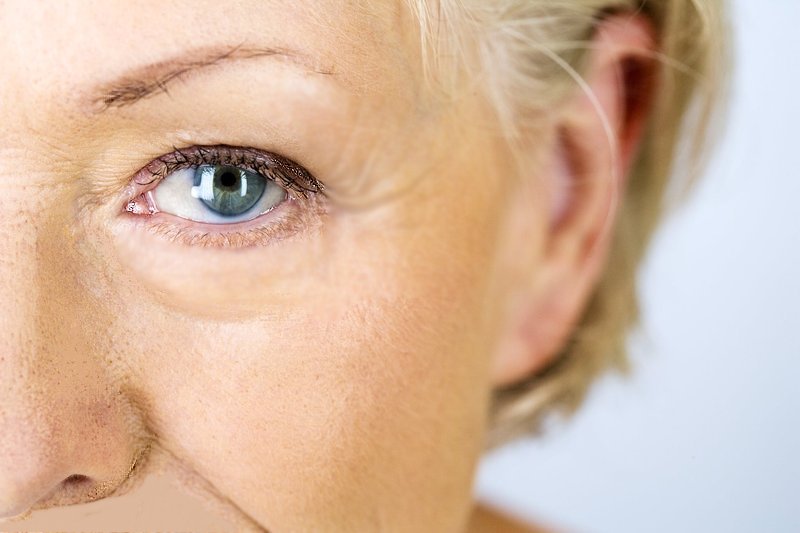
To usse the blur feature you must first make sure the Paintbrush tool is selected and then select Blur next to Type. I increased my Brush width to 20; however, you can increase or decrease the brush to work with your image. Below is the original image and the image above is the blurred image. As you can see, I blurred the lady's wrinkles to put more focus on her eyes, teeth, hair, and clothing. *** If you are not noticing any blurring on your image then reduce the size of your image. ***

Blur alternative & Blur alternative 2- These work like the normal Blur but they vary in strength. I used a combination of the Blurs to take the focus away from the wrinkles on the happy looking lady.

The Blur tool works similar to the Smudge tool; however, the Blur tool doesn’t push pixels around instead it decreases the contrast among adjacent pixels in the area.
Inteligent erase - works similar to the Background Eraser tool in Photoshop. Inteligent erase samples the color at the center of the brush and then removes pixels of a similar color as you move your mouse pointer or cursor.
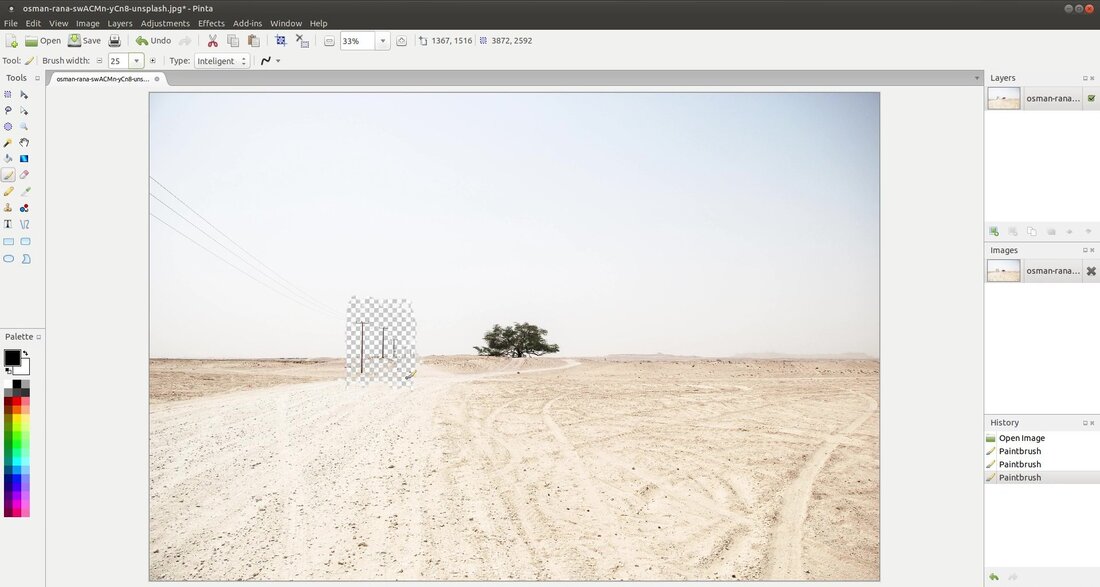
I selected the Inteligent erase as my brush Type and changed my Brush width to 25. As I held down my left mouse button I moved the mouse pointer over and around the light poles in the center of the image. As you can see in the photo above, it didn't earse the light poles, it only erased the background around the light poles.
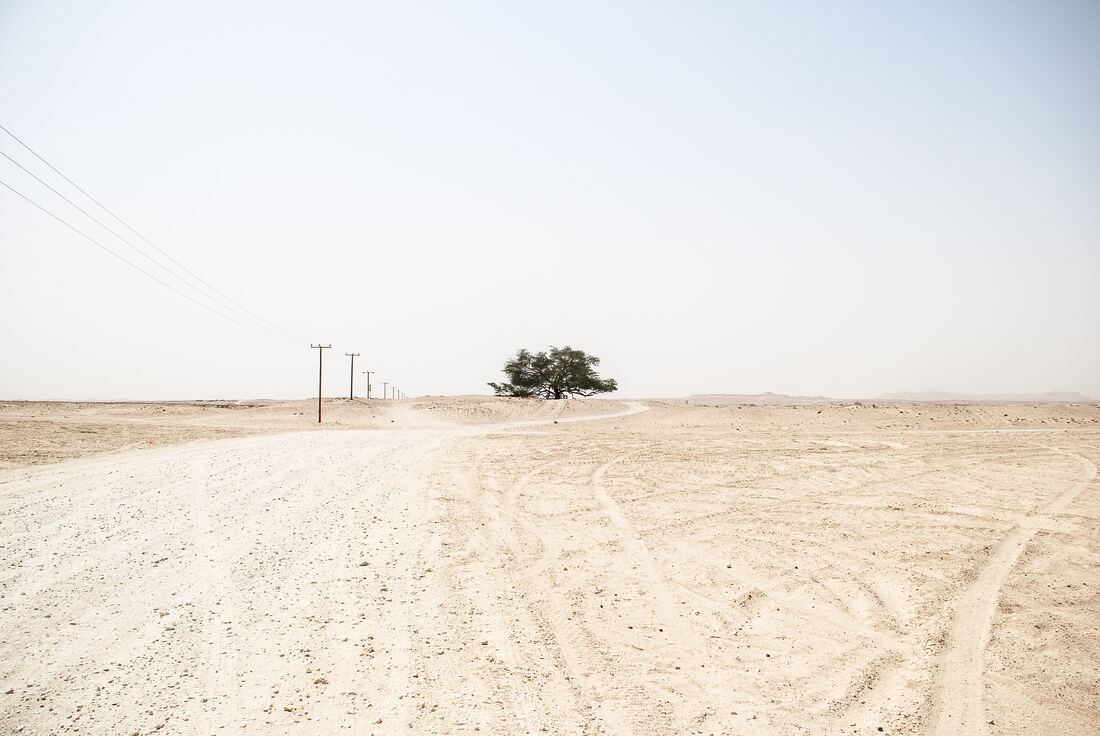
Here's the original image.
Leaf - This brush gives the appearance of a scattered evergreen limb. You can increase or decrease the thinkness of the limb by changing the Brush width.
Sharpen - This brush tool increases the contrast and enhances the focus of an image.
Original
|
Enhanced
|
In the image above, I used the Blur feature on the crows feet in the original image and then I used the Sharpen feature around the edges of the eye.
Smooth replace - This feature allows you to gently replace one color with another in an image. I used this tool to remove some of the blackheads or blemishes on and around the nose.
|
Original
|
Enhanced
|
UV Paint - This tool gives your image a neon UV paint effect.
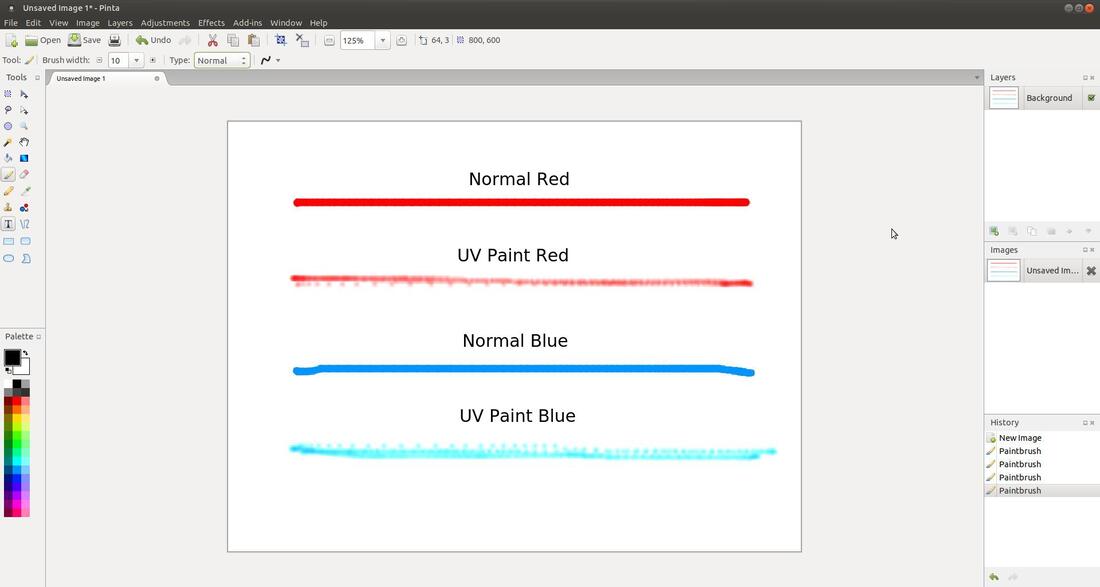
I made a normal blue and red line on a blank image and below them I made a UV Paint red and blue.
Pinta 1.7 (daily build) gives you more Add-ins such as more effects and a larger brush collection. It also gives you tabbed images across the top of each image. It also has a slightly newer look to it.
The only disadvantage I have noticed is it doesn't work well with dark themes. Look at the Title bars of each section in the image below. They do not change color like the rest of the program when you change to a dark theme. The toolbar and Title bar across the top is the only one that change when you can from light to a dark theme.
The only disadvantage I have noticed is it doesn't work well with dark themes. Look at the Title bars of each section in the image below. They do not change color like the rest of the program when you change to a dark theme. The toolbar and Title bar across the top is the only one that change when you can from light to a dark theme.
Pinta 1.7
You can compare using a dark theme with Pinta 1.7 (above) with Pinta 1.6 (below). You can see how a dark theme works so much better in Pinta 1.6.

Pinta 1.6
"Pinta itself does not have a built in printing prompt, meaning that you cannot print directly from Pinta." I highly recommend Photoprint for all your printing needs.
Is still think the positives outweigh the negatives of the program.
I hope this has been useful to you.
Take care!
I hope this has been useful to you.
Take care!
Jul 31, 2019
