
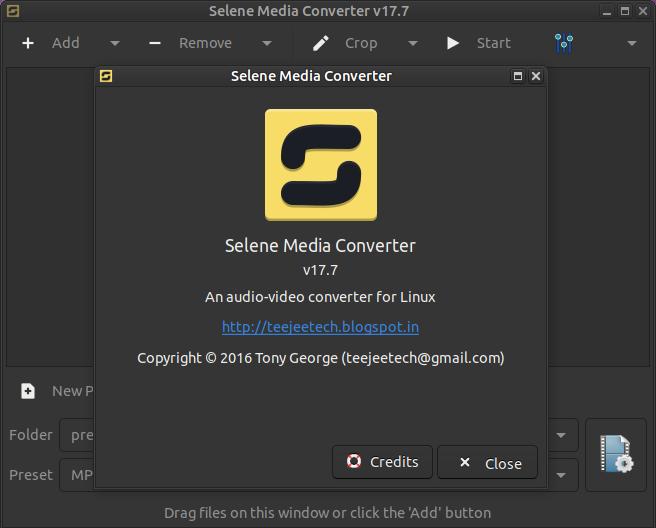
Selene Media Encoder
Selene Media Encoder is an audio/video converter for audio and video files. It supports almost every file format that you are likely to come across and can encode them to popular output formats like MKV, MP4, etc. It aims to provide a simple GUI for converting files to popular formats along with powerful command-line options for automated/unattended encoding.
Features
- Supports almost all input file formats that you are likely to come across (powered by ffmpeg)
- Encode videos to common file formats like MKV, MP4, OGV, and WEBM
- Encode music to common audio formats like MP3, MP4, AAC, OGG, OPUS, FLAC, and WAV
- Supports encoding to latest formats like H265/HEVC, WEBM and OPUS
- Option to pause and resume encoding
- Option to run in background and shutdown PC after encoding
- Commandline interface for unattended/automated encoding
- Bash scripts can be written to control the encoding process
How to Install Selene Media Converter:
Method 1
Download selene-v17.7-amd64.deb from the releases section of teejee2008 GitHub webpage. Then locate the file on your computer.
Method 1
Download selene-v17.7-amd64.deb from the releases section of teejee2008 GitHub webpage. Then locate the file on your computer.
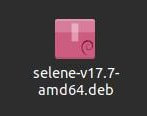
Double-click it to open your package installer. (To install GDebi enter the following in your Terminal: sudo apt install gdebi) Click the Install Package button to start the installation process.

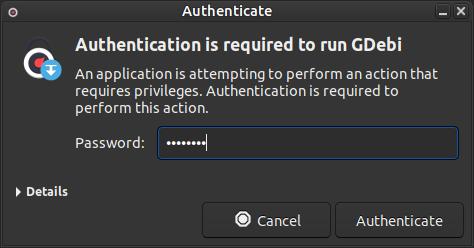
Enter your Password and then click on the Authenticate button.
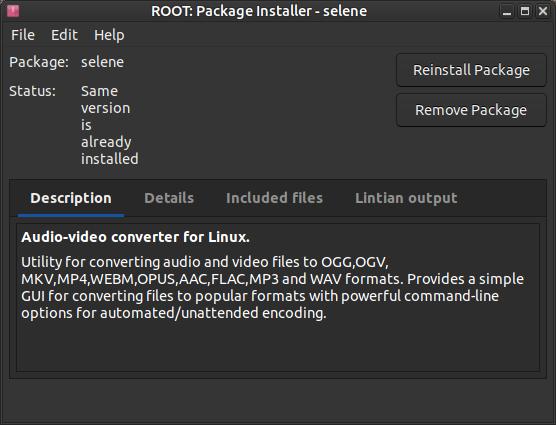
Wait until you see Status: Same version is already installed until you close the package installer.
Method 2
Ubuntu-based Distributions (Ubuntu, Linux Mint, etc)
Packages are available in the Launchpad PPA for supported Ubuntu releases. Run the following commands in a Terminal window:
sudo apt-add-repository -y ppa:teejee2008/ppa
sudo apt-get update
sudo apt-get install selene
Ubuntu-based Distributions (Ubuntu, Linux Mint, etc)
Packages are available in the Launchpad PPA for supported Ubuntu releases. Run the following commands in a Terminal window:
sudo apt-add-repository -y ppa:teejee2008/ppa
sudo apt-get update
sudo apt-get install selene
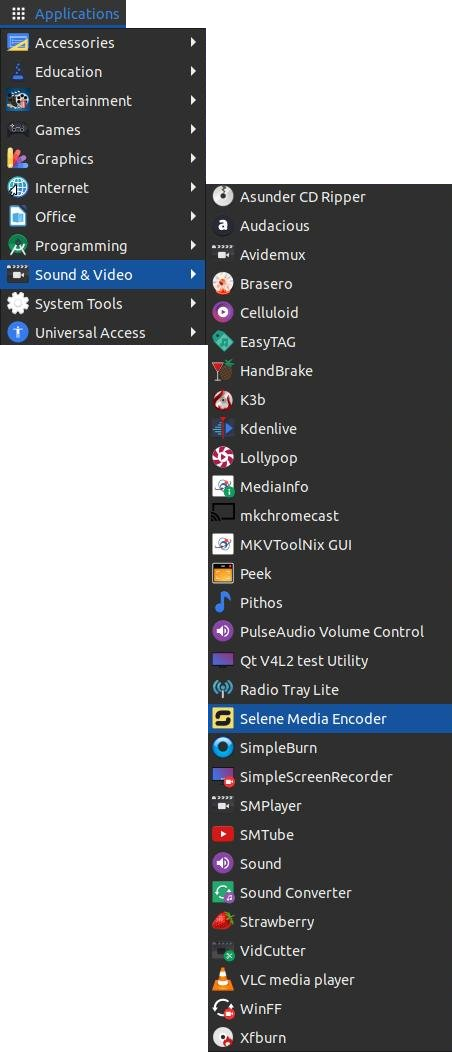
Reboot your system after you finish the installation process. You should now see the program listed in your menu.
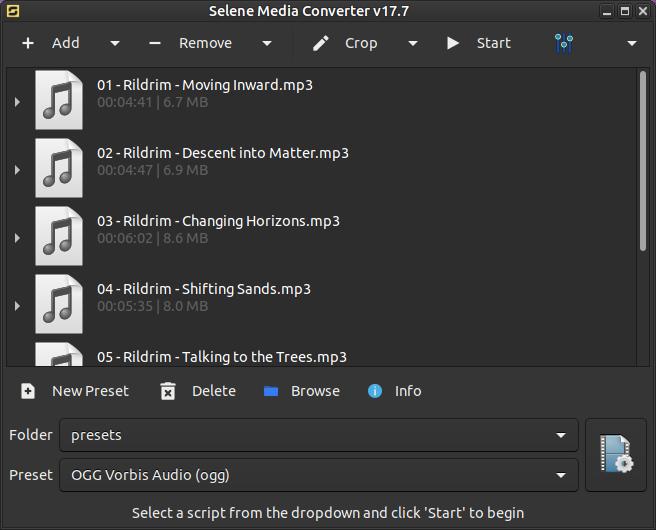
The default interface will look like the image below. (Yours may look different because of the system theme.)
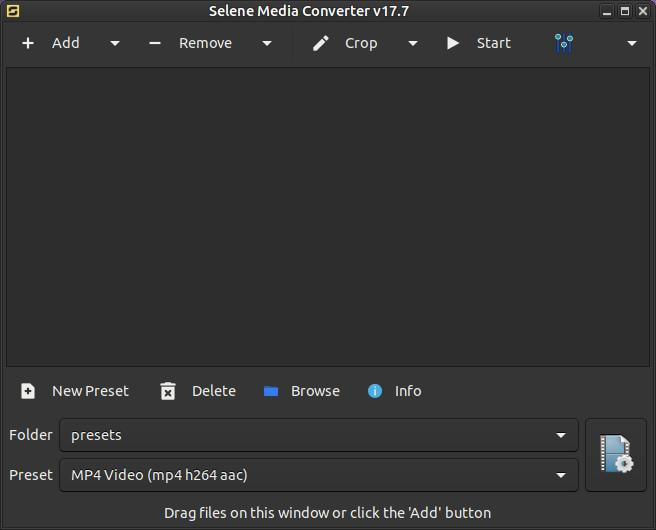
Selene Media Converter has a pretty simple to use interface. You can add video or audio files by drag and dropping your media file into the program. You can also click the +Add button and locate your media file on your system.
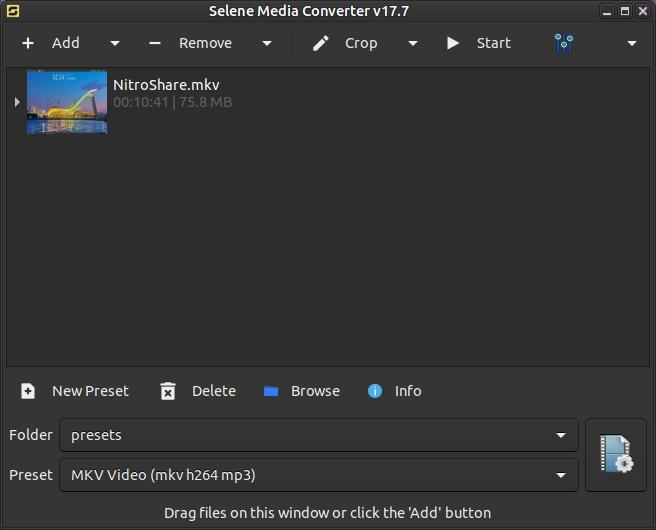
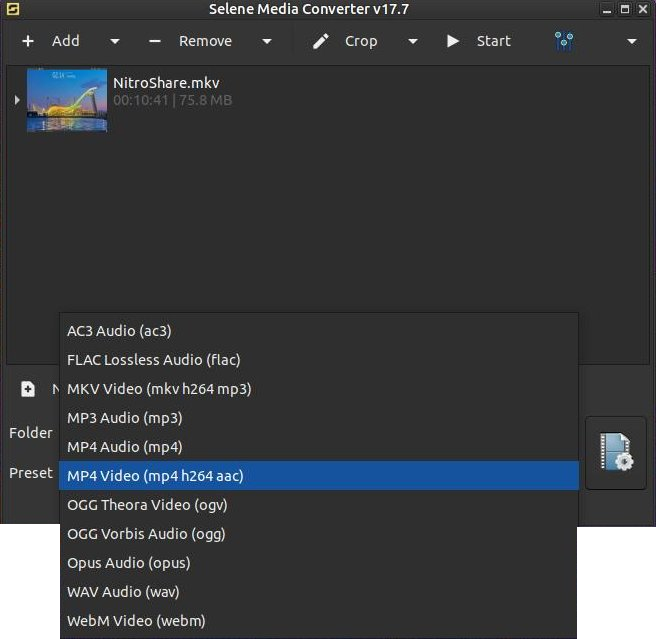
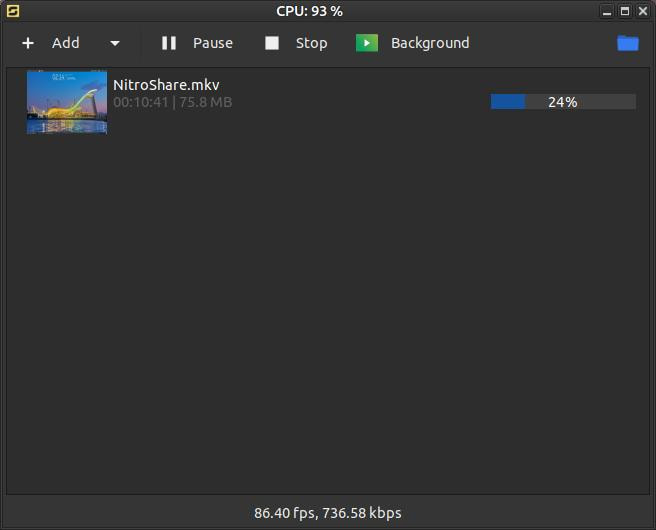
Next, select a Preset from the drop down box and click Start button in the toolbar across the top.
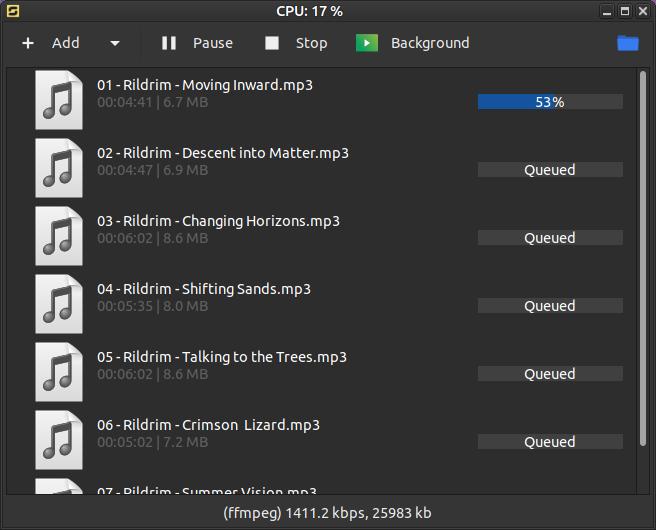
You will see a progress bar on the right to illustrate the amount of progress of the conversion process.
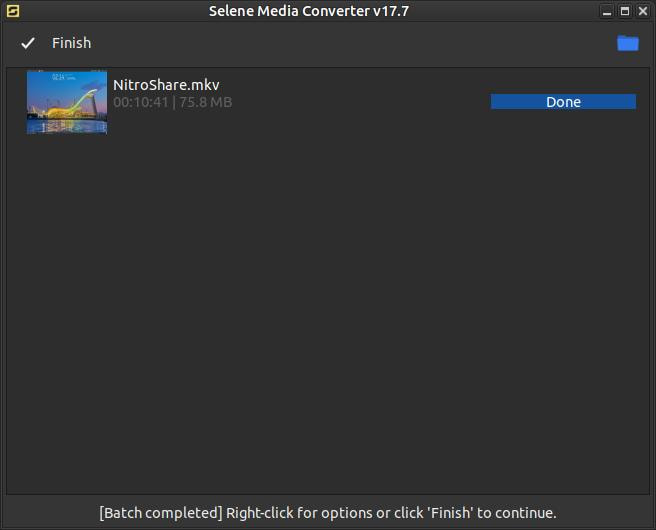
The toolbar across the top will change when the conversion process is completed. You will see Finish on the left and a folder icon on the right. Click on the folder icon to open the folder or location of the converted file.Click the Finish button to go back to the default or original setting screen.
The original file (NitroShare.mkv) and converted file (NitroShare.mp4) are both in my Videos folder.

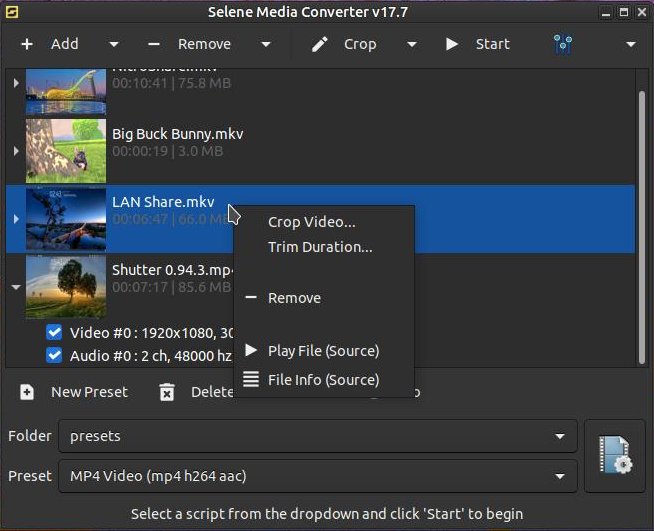
You can add multiple media files to the program and place them in the queue. The view below is referred to as the Tiled View.

Clicking the arrow to the left of one of the videos will put it in the List View. This will display a list of items that make-up the video.

You can right-click a video file to display a pop-up menu with five commands.
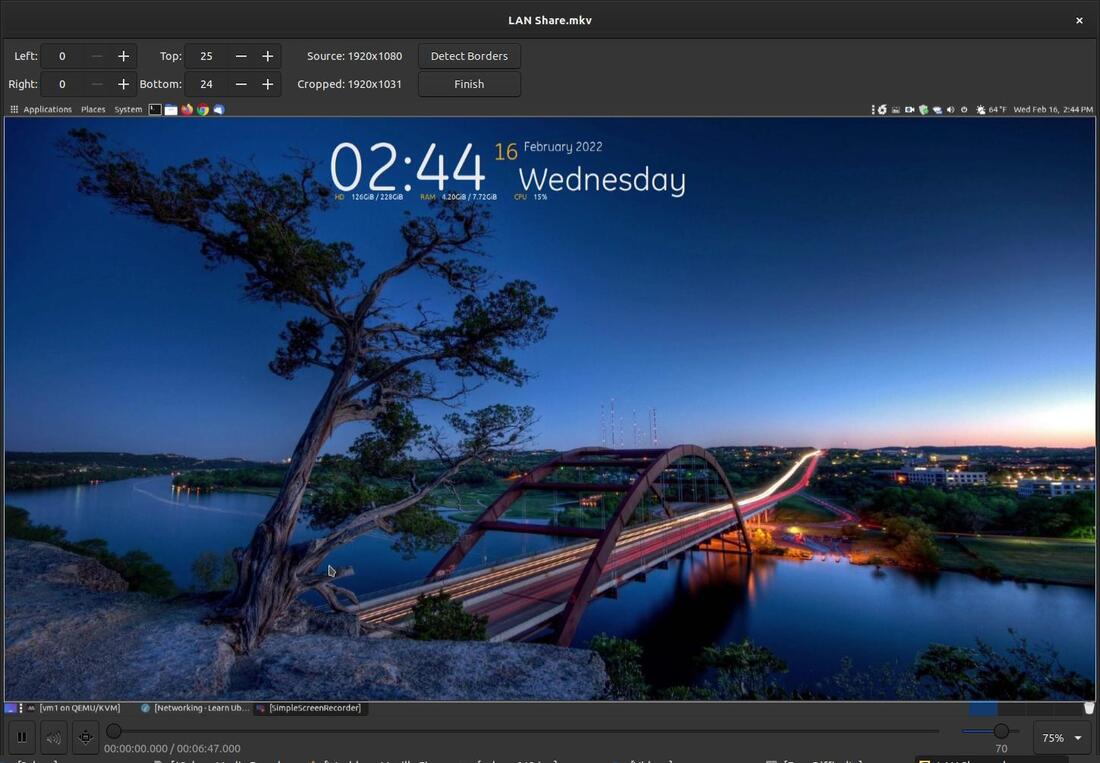
Clicking on the Crop Video... command will bring up a video editor that will allow you to crop the Left, Right, Top, and/or Bottom from your video. Clicking the + symbol will move inward and clicking the - symbol will move outward. You can also enter a value in the boxes. I can crop out my top and bottom bars by entering 25 in the Top box and 24 in the Bottom box. I can preview the video by clicking on the video controller buttons across the bottom. Click the Finish button at the top when you are ready to move on.
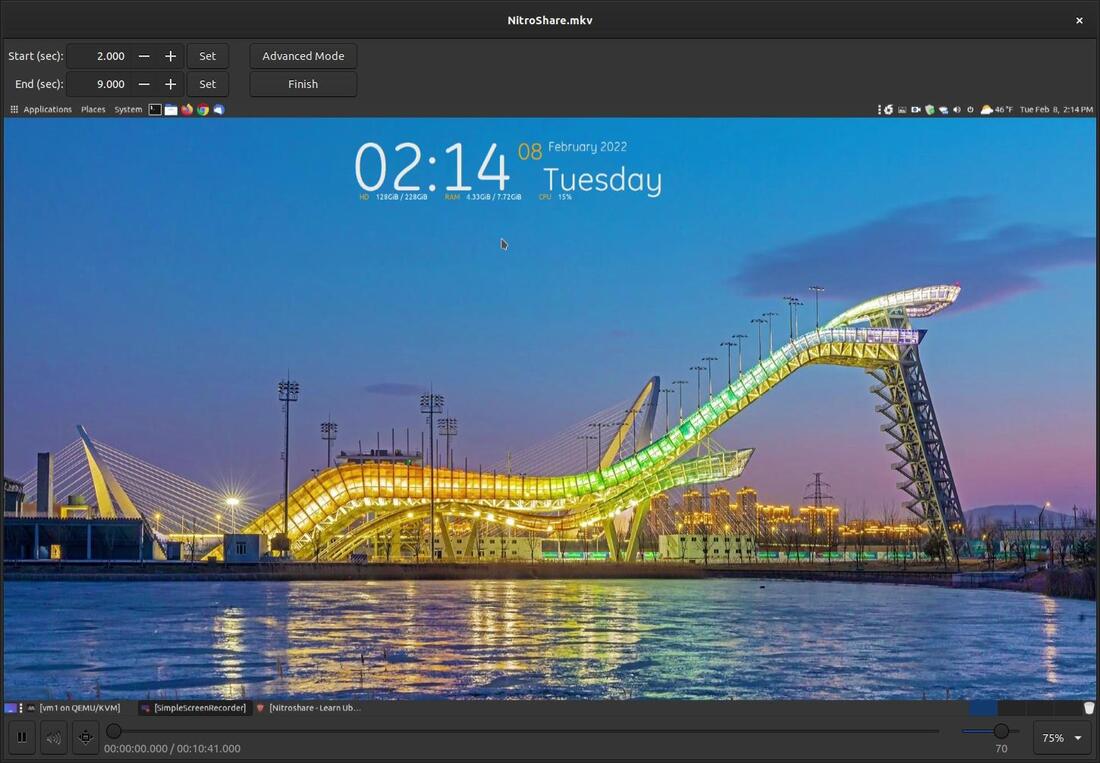
Clicking on the Trim Duration... command will bring up a video editor that will allow you to trim off the beginning and end sections of your video. You can enter the starting and ending points in the boxes to set your trim points. You may also use the + or - symbols to set your start point and end point. Click the Finish button when you are ready to move on.
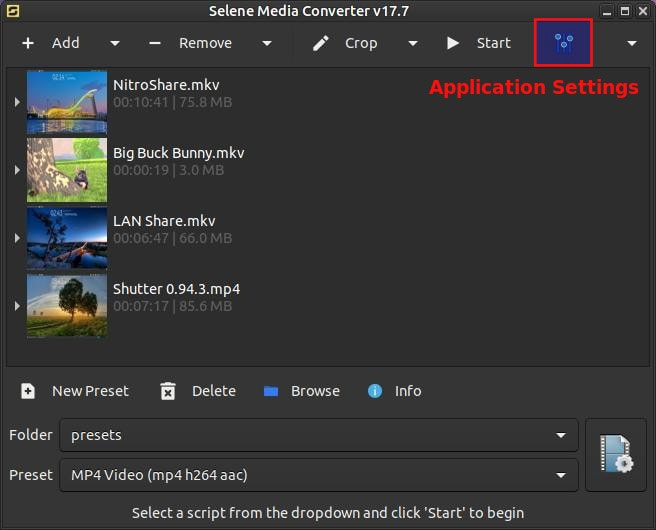
Click the Application Settings button across the top to make some changes to the program.
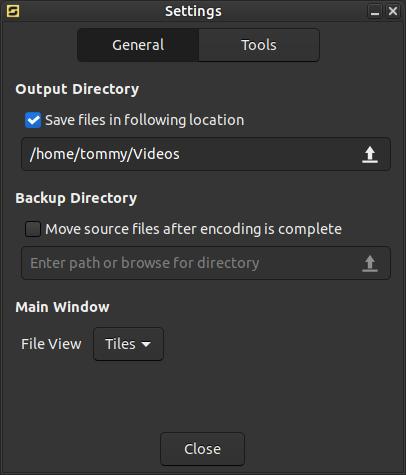
You will see two tabs across the top in the Settings dialog box. The first tab is the General tab that allows you to set your output folder or directory, enable a backup folder or directory, and select the file view in the Main Window.
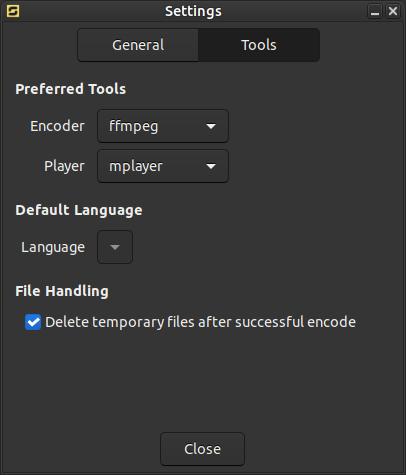
The second tab is the Tools tab that allows you to select your encoder and player used to edit the selected video. You can change the default language and are given the choice to delete the temporary files after the conversion process is completed.
Click the drop-down arrow to the far right on the Toolbar to display three additional options.
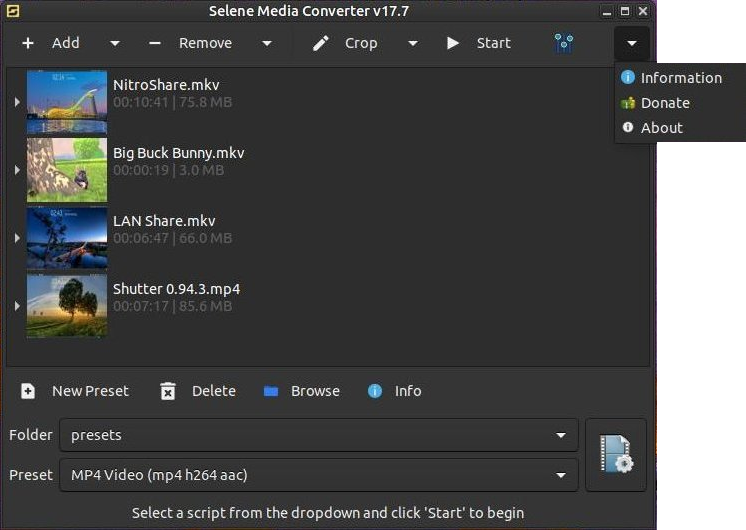
Clicking on Information will bring up an Encoders dialog box that will list a variety of audio and video tools and a brief description of each tool. The Status column will let you know if the tool is found on your system or if it is missing.
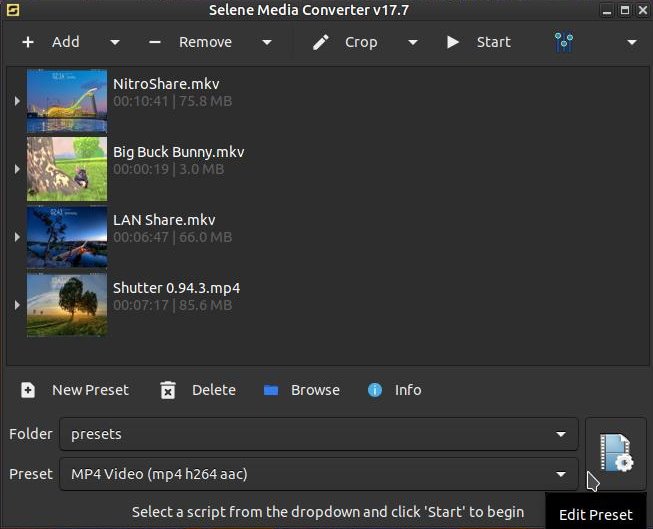
Click the large Edit Preset button in the lower right corner to bring up the Preset dialog box.
A Preset dialog box will appear to allow you to make changes to the default settings. You will have eight tabs across the left: General, Audio, Video, Filters (A), Filters (V), SOX, Subtitles, and Tags. Below is a quick look through each tab to allow you to see each encoding setting.
Selene Media Converter also lets you convert audio files from one format to another. You can convert one audio file at a time or load an entire album to convert. I will convert an entire album made up of mp3 files to ogg files.

I added the entire album and then selected the OGG Vorbis Audio (ogg) Preset and then I clicked the Start button at the top.
It quickly converted each song in the list from mp3 to ogg.
Here's the results. I didn't change my output folder of directory, so my audio files were placed in my Videos folder.

Check out the developers GitHub webpage for Frequently Asked Questions, Command-line options, Using bash scripts for encoding, Auto-cropping videos, and more.
How to Remove Selene Media Converter v17.7
1. Open the Terminal (Shortcut: Ctrl + Alt + T)
2. Type the following command: sudo apt remove --autoremove selene
3. To remove the repository from your system type the following command: sudo add-apt-repository -r ppa:teejee2008/ppa
1. Open the Terminal (Shortcut: Ctrl + Alt + T)
2. Type the following command: sudo apt remove --autoremove selene
3. To remove the repository from your system type the following command: sudo add-apt-repository -r ppa:teejee2008/ppa
Overall, I think Selene Media Converter is a nice little audio and video file converter. It has a nice user interface and I think a beginner could figure out how to use it in a short period of time.
Apr 19, 2022
