
I-Nex
I-Nex is a small utility that gathers and displays system and hardware components information.

|
I-Nex can display information for the following components:
|
I-Nex looks similar to CPU-Z and HWiNFO used in MS Windows. I-Nex can do more than just display hardware information, it can also generate a report allowing you to select what to include. The report can then be used in helping you diagnose and repair a problem on your Linux system. I-Nex also has a built-in screenshot program so that you can take a screenshot directly from the application.
If you are using Ubuntu 18.10 or 19.04 or newer then download the package that matches your system and install it. It will also install the dependencies it needs. You don't need to follow all the steps below.
64 Bit - i-nex_7.6.0-0_amd64.deb or i-nex-7.6.0-0-amd64.deb
32 Bit - i-nex_7.6.0-0_i386.deb or i-nex-7.6.0-0-i386.deb
If you do not get any temperature readings or voltage readings then you may have to install lm-sensors and hdtemp. Click this link for information on installing these packages.
According to "Bug #1781753" on https://launchpad.net/i-nex, I-Nex will not install on Ubuntu 18.04 LTS. I currently use Ubuntu MATE 18.04.2 LTS and I got the program to install. Just follow the instructions below to install it on your Ubuntu 18.04 machine.
How to Install I-Nex: (Instructions for Ubuntu 18.04 LTS and the Ubuntu Derivatives)
1. Open the Terminal (Shortcut: Ctrl + Alt + T)
2. Type the following command: sudo -s
3. Press Enter or Return and type in your password
1. Open the Terminal (Shortcut: Ctrl + Alt + T)
2. Type the following command: sudo -s
3. Press Enter or Return and type in your password
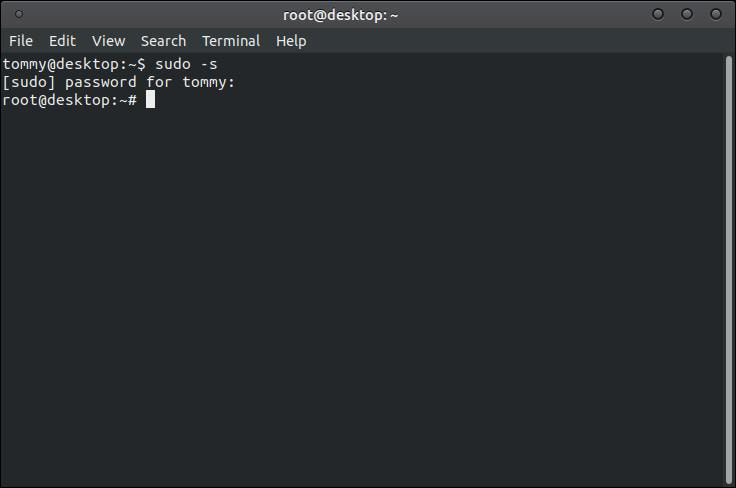
(sudo -s runs the shell specified in your $SHELL environment variable as the superuser/root.)
4. Type the following command: echo 'deb http://ppa.launchpad.net/i-nex-development-team/daily/ubuntu zesty main' >> /etc/apt/sources.list
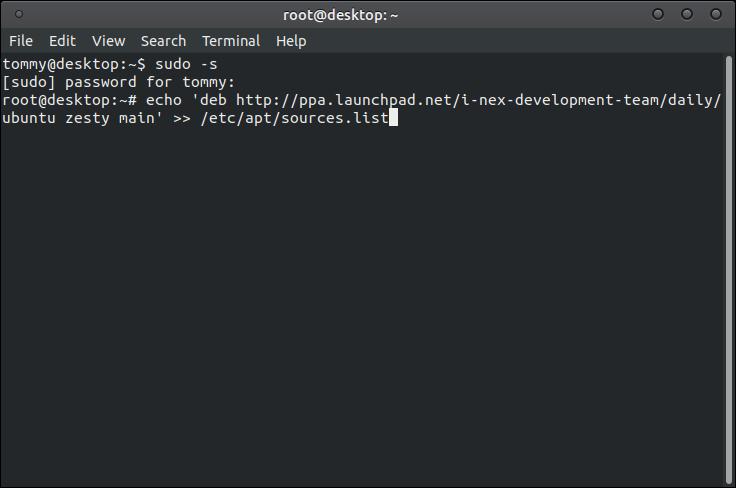
5. Press Enter or Return
6. Type the following command: exit
7. Press Enter or Return
6. Type the following command: exit
7. Press Enter or Return
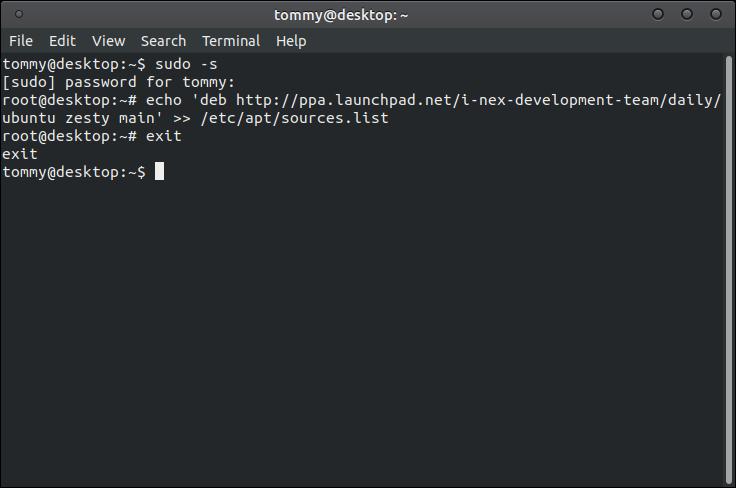
The exit command will log you out of Super User and return you to normal user status.
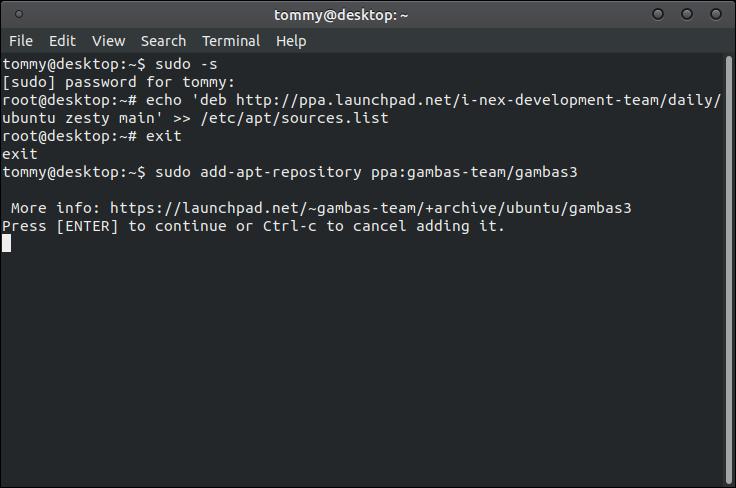
8. Type the following command: sudo add-apt-repository ppa:gambas-team/gambas3
9. Press Enter or Return
9. Press Enter or Return
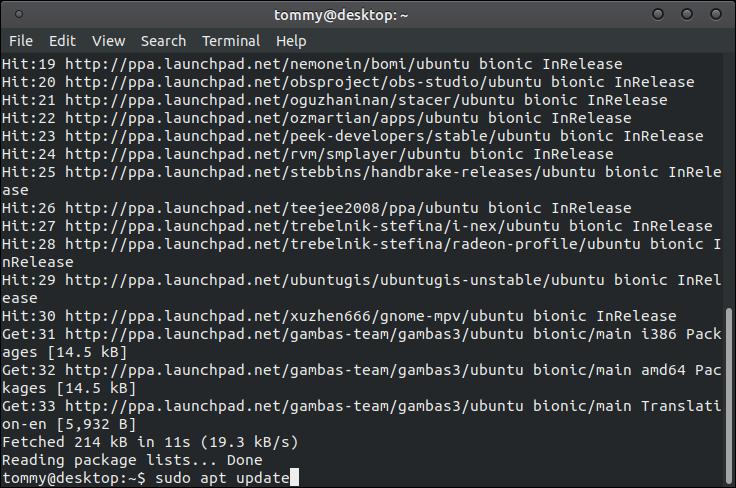
10. Type the following command: sudo apt update
11. Press Enter or Return
11. Press Enter or Return
12. Type the following command: sudo apt install gambas3-dev gambas3-gb-image gambas3-gb-qt5 gambas3-gb-form gambas3-gb-desktop gambas3-gb-form-stock curl -y
13. Press Enter or Return
13. Press Enter or Return

14. Download the package that match your system:
64 Bit - i-nex_7.6.0-0-bzr977-20161012-ubuntu16.10.1_amd64.deb or i-nex-7.6.0-0-amd64.deb
32 Bit - i-nex_7.6.0-0-bzr977-20161012-ubuntu16.10.1_i386.deb or i-nex-7.6.0-0-i386.deb
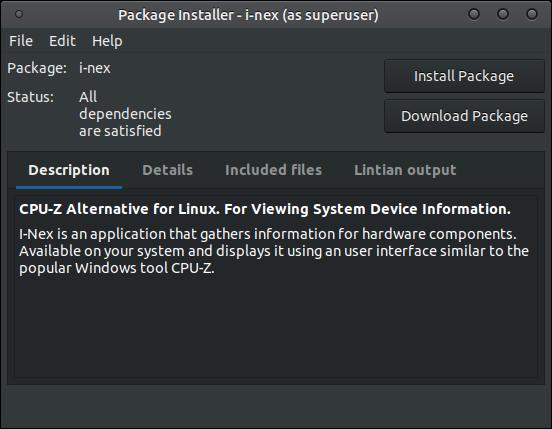
15. Go to the location you downloaded the installation package and double-click it to open the Package Installer.
16. When the Package Installer loads, click on the Install Package button to start the installation process.
64 Bit - i-nex_7.6.0-0-bzr977-20161012-ubuntu16.10.1_amd64.deb or i-nex-7.6.0-0-amd64.deb
32 Bit - i-nex_7.6.0-0-bzr977-20161012-ubuntu16.10.1_i386.deb or i-nex-7.6.0-0-i386.deb
15. Go to the location you downloaded the installation package and double-click it to open the Package Installer.
16. When the Package Installer loads, click on the Install Package button to start the installation process.
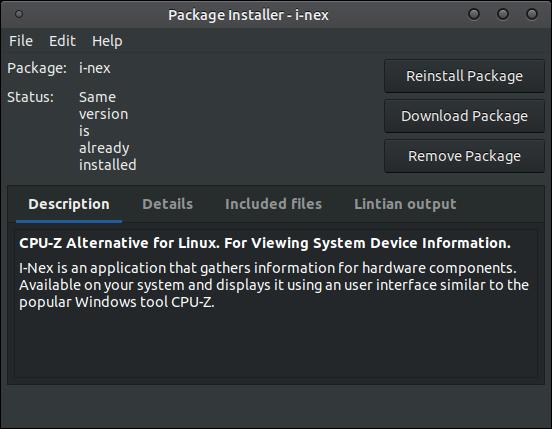
17. Do not close the Package Installer dialog box until the Status displays: "Same version is already installed."
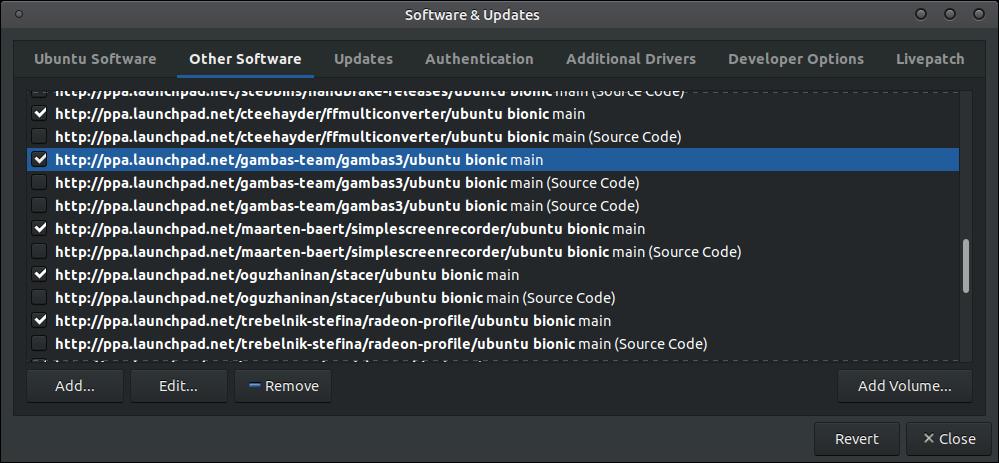
18. Open the Software & Updates dialog box. This is usually found in the System menu, Administration, and Software & Updates. When the dialog box loads, click on the Other Software tab to make it active. Scroll down until you locate http://ppa.launchpad.net/gambas-team/gambas3/ubuntu bionic main and then uncheck it or select it and click on remove. (I unchecked mine in case I have to add the PPA back.)
Next, locate http://ppa.launchpad.net/i-nex-development-team/daily/ubuntu zesty main and then uncheck it or select it and click on remove. (I unchecked mine in case I have to add the PPA back.)

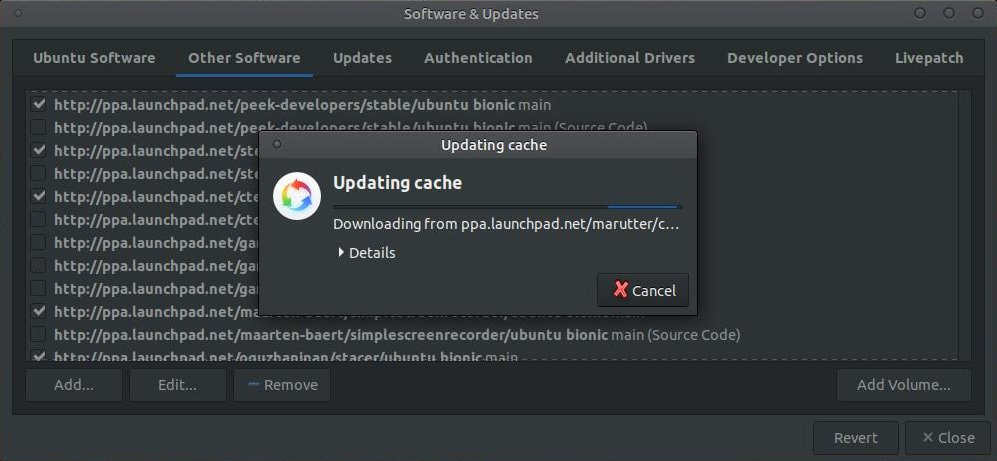
Next, click on the Close button. Click on the Reload button when a dialog box appears.
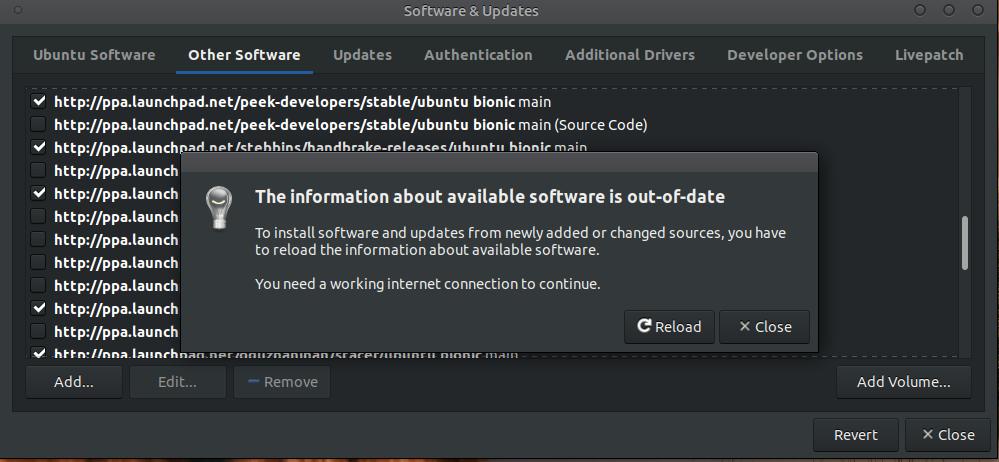
This will update your cache.
19. Open the Terminal and enter the following: sudo apt-mark hold i-nex (This will hold back the package or prevent it from updating.)
20. Press Enter or Return
20. Press Enter or Return
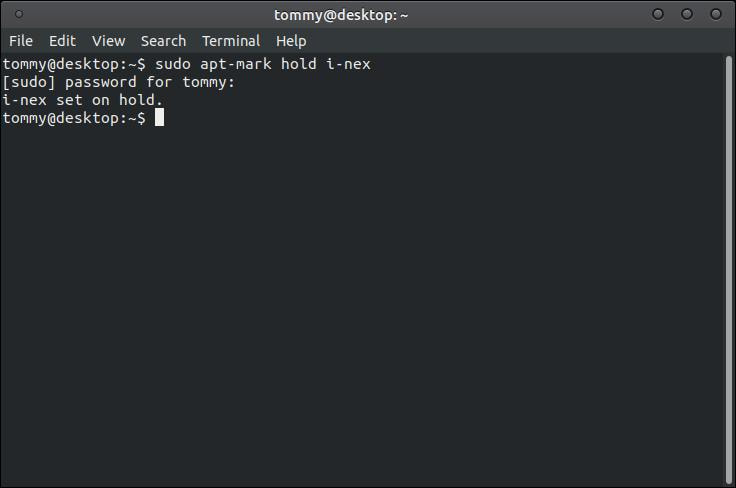
<You can always remove the hold by entering the following in your Terminal: sudo apt-mark unhold i-nex>
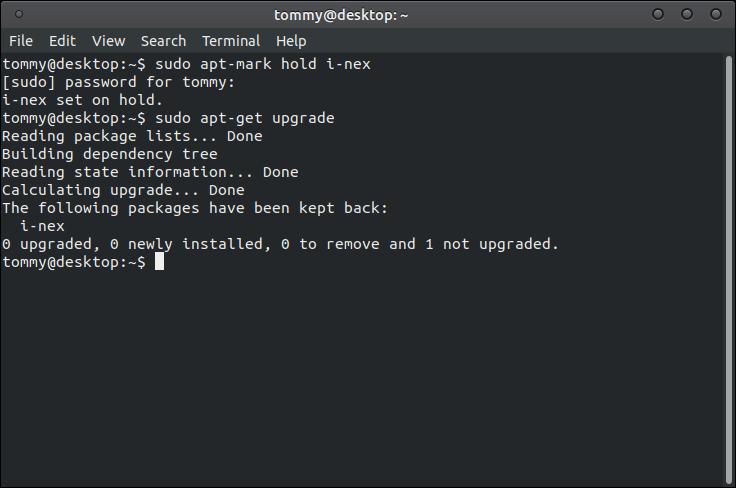
Keep in mind that you will always be prompted that i-nex was kept back and not upgraded. This will not hurt anything.
Starting I-Nex:
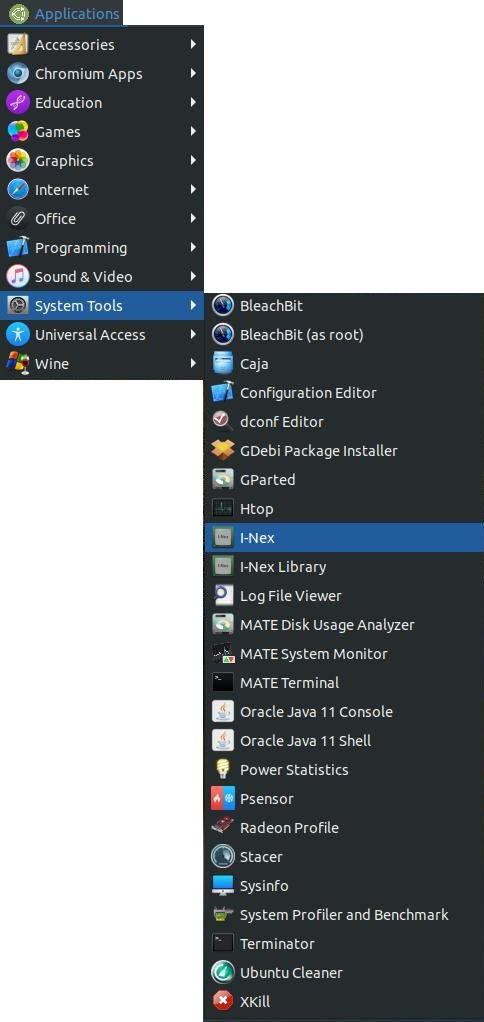
If you are using the Traditional user interface, you can start the program by clicking on the Applications menu, highlight System Tools, and click on I-Nex.
If you are using the Traditional user interface, you can start the program by clicking on the Applications menu, highlight System Tools, and click on I-Nex.
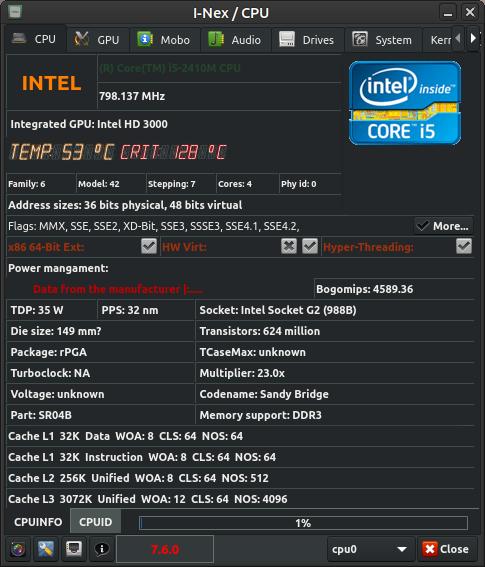
When the program starts it will display the information about your CPU or Central Processing Unit.
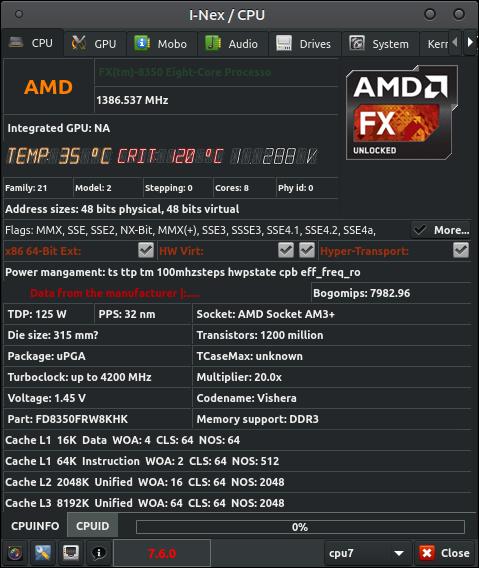
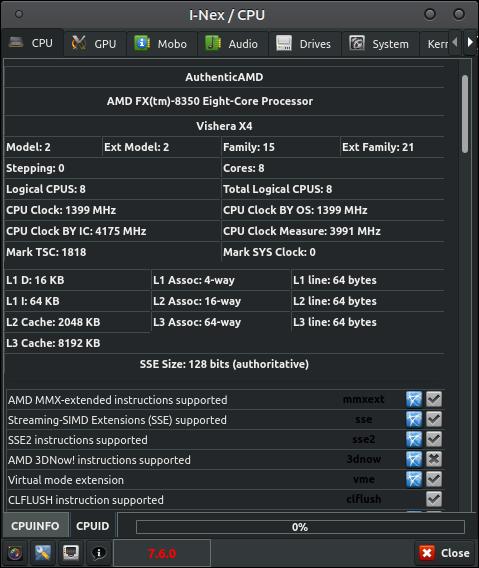
You can click on the CPUID button in the lower left to display more information about your CPU.
The next tab at the top displays information about your GPU or Graphics Processing Unit.

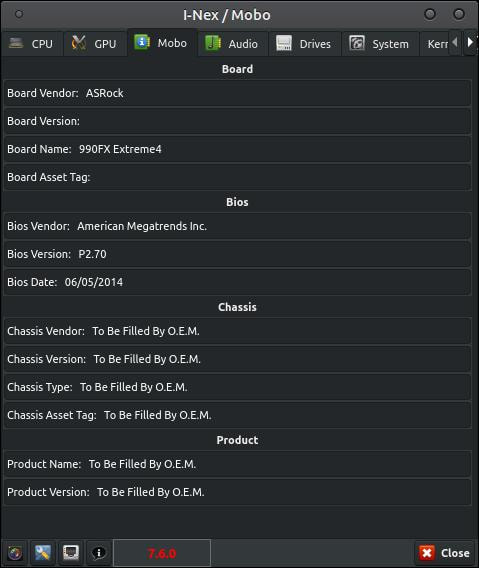
The next tab will displays information about your Motherboard.
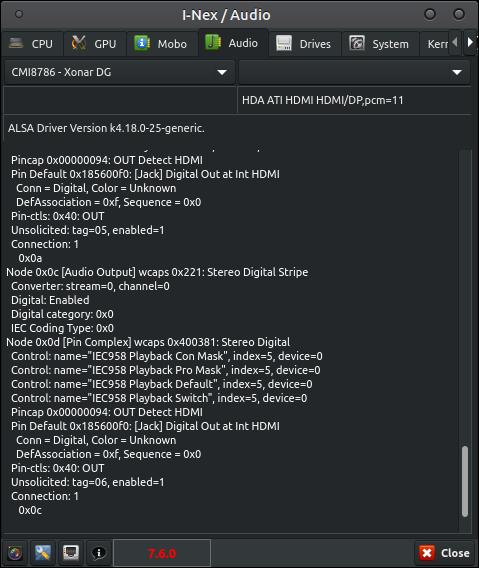
The next tab will displays information about your Audio or Sound card and driver.
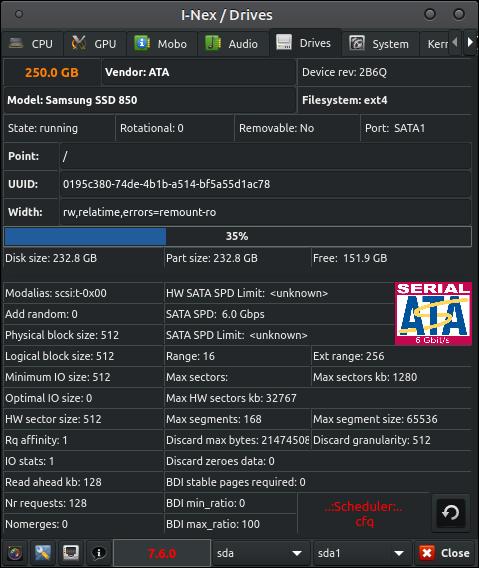
The next tab will displays information about your Drives connected to your system. The sda is my Samsung SSD 850 which is my solid state main drive which my system boots from and where my most used applications are stored.
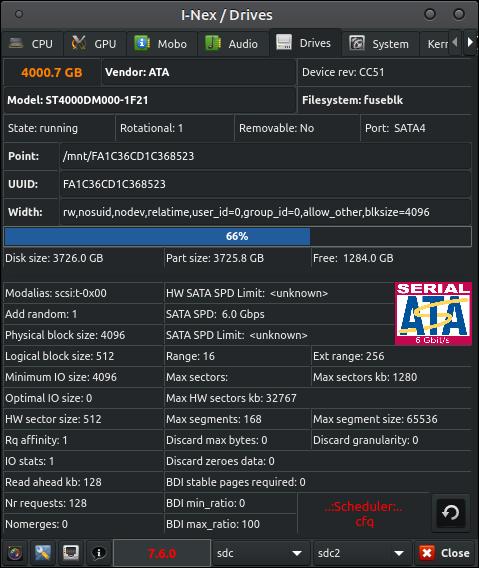
You can change drives by clicking the drop-down arrows at the bottom. The sdc is a Seagate Desktop HDD ST4000DM000 4TB 64MB Cache SATA 6.0Gb/s 3.5" Internal Hard Drive. I keep the results of a lot of my applications on this drive.
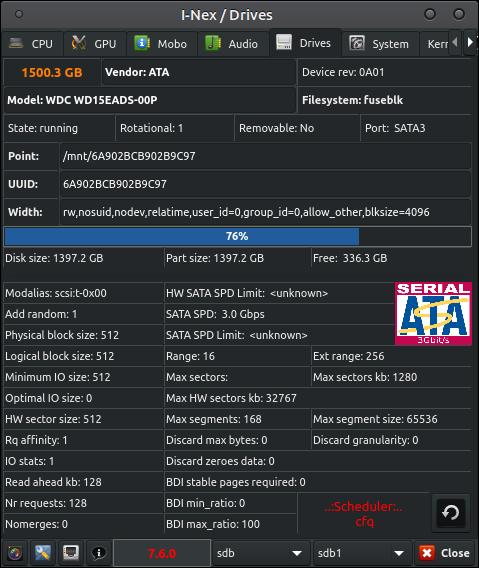
The sdb is a Western Digital WD Green WD15EADS 1.5TB 32MB Cache SATA 3.0Gb/s 3.5" Internal Hard Drive. I use this drive to backup my important data.
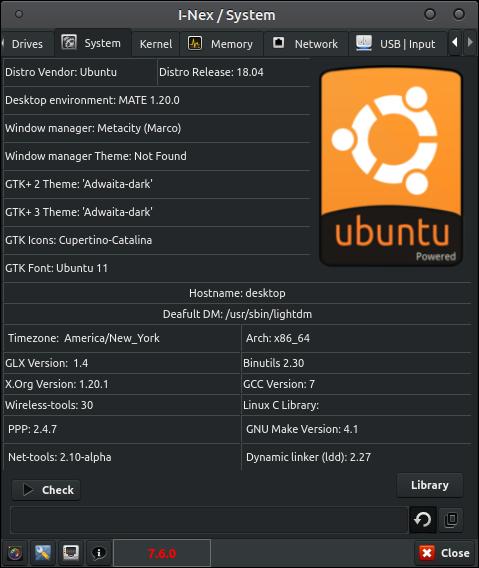
The next tab will displays information about your System or Operating System. It displays the distro vendor, release, and desktop environment and so much more. As you can see in the image below, I am using Ubuntu as my vendor, release 18.04, and MATE 1.20.0 as my desktop environment.
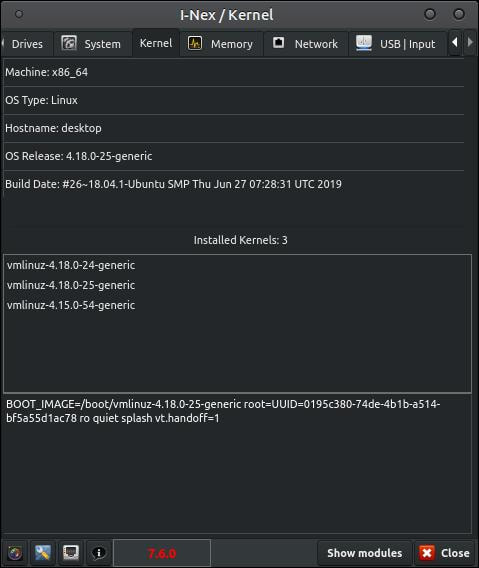
The next tab will displays information about your Kernel.
The next tab will displays information about your Memory.

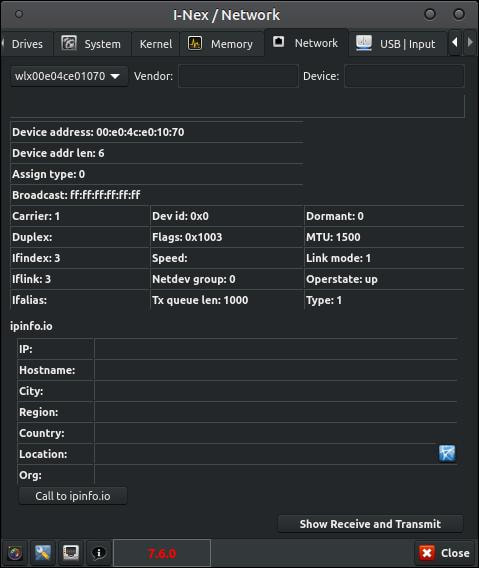
The next tab will displays information about your Network.
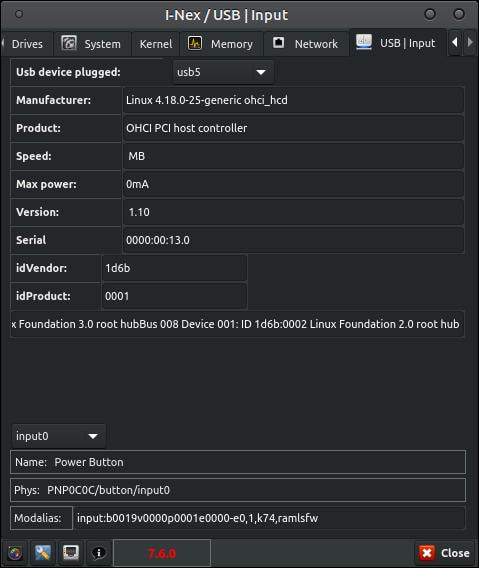
The next tab will displays information about your USB | Input.
The lower left button allows you to take a Screenshot. The next button is the Option button and next to that is the Generate report button.
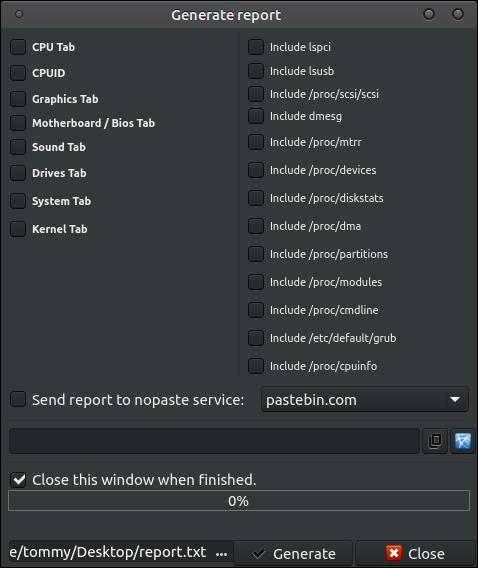
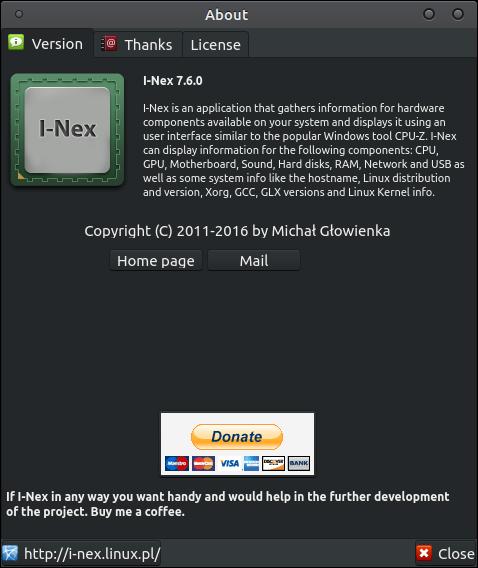
Next to the Generate report button is the About this app button.
Here's a screenshot of one of my old laptops that has an Intel Core i5 inside it.
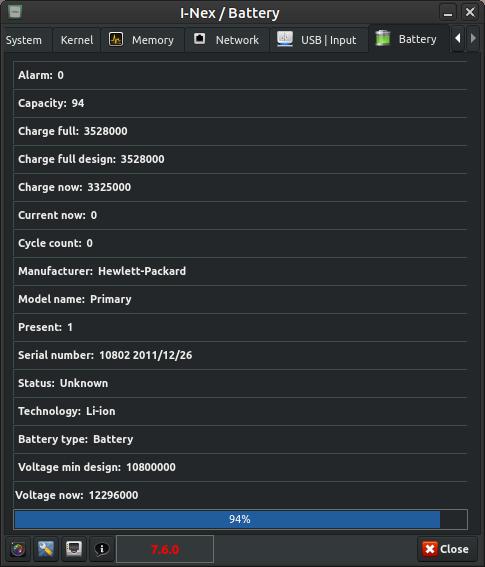
Laptops have a Battery tab across the top. My battery is currently at 94%.
This is a nice little utility for gathering the information about your hardware and operating system. It is organized in a way that you can quickly find and display your information.
I hope this was helpful to you.
Take care!
I hope this was helpful to you.
Take care!

