
How to Crop Videos with Avidemux
Avidemux allows you to crop the edges of a video. It's a very simple process. Here's the steps for using Avidemux to crop a video.
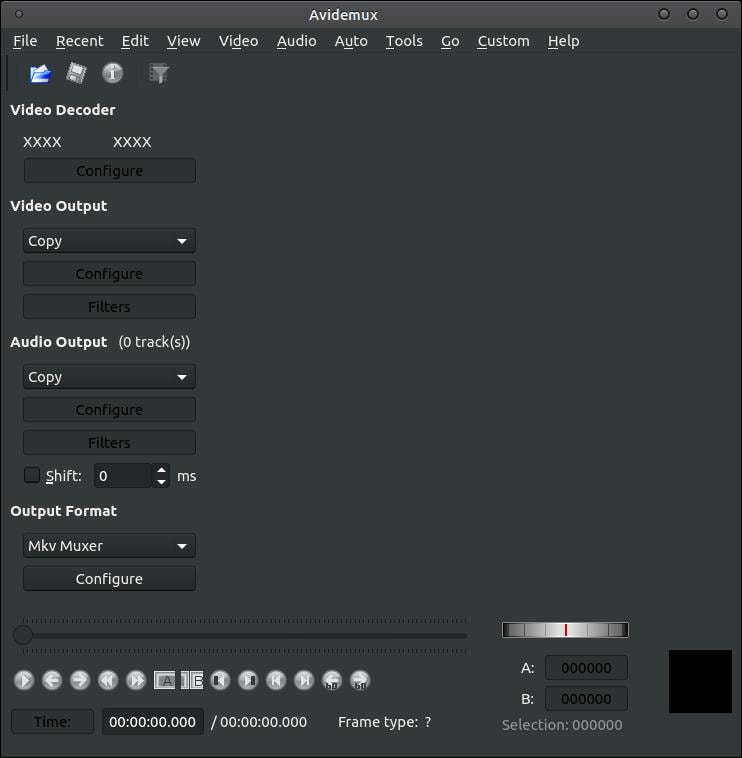
1. Open Avidemux.
1. Open Avidemux.
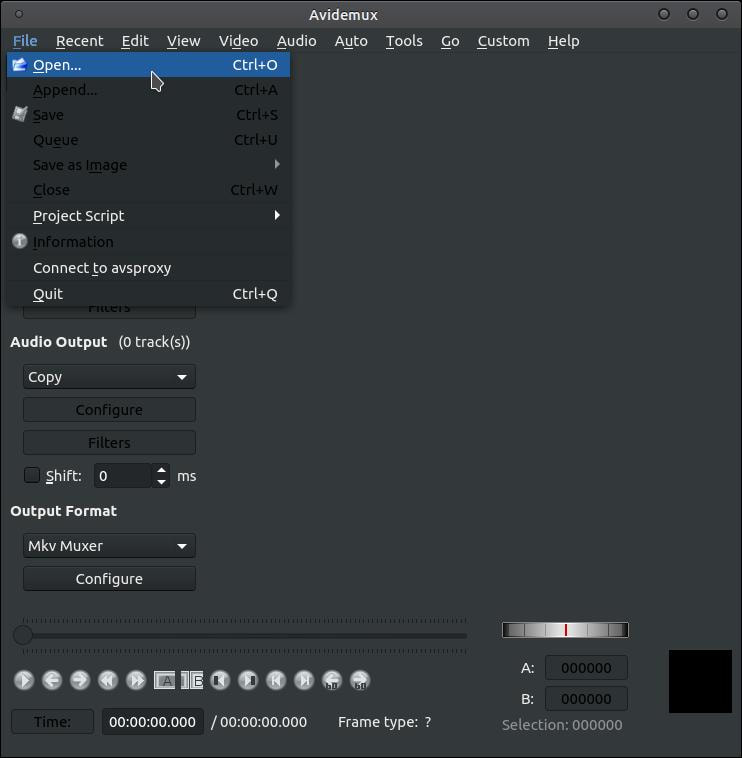
2. Click on the File menu and then click the Open... command.
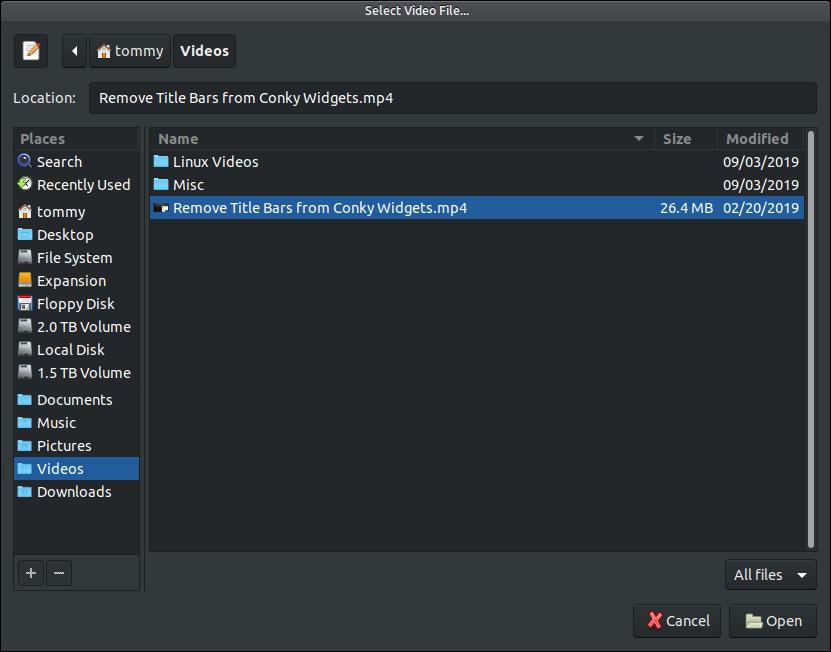
3. When the Select Video File... dialog box appears, select the first video file and then click
the Open button.
the Open button.
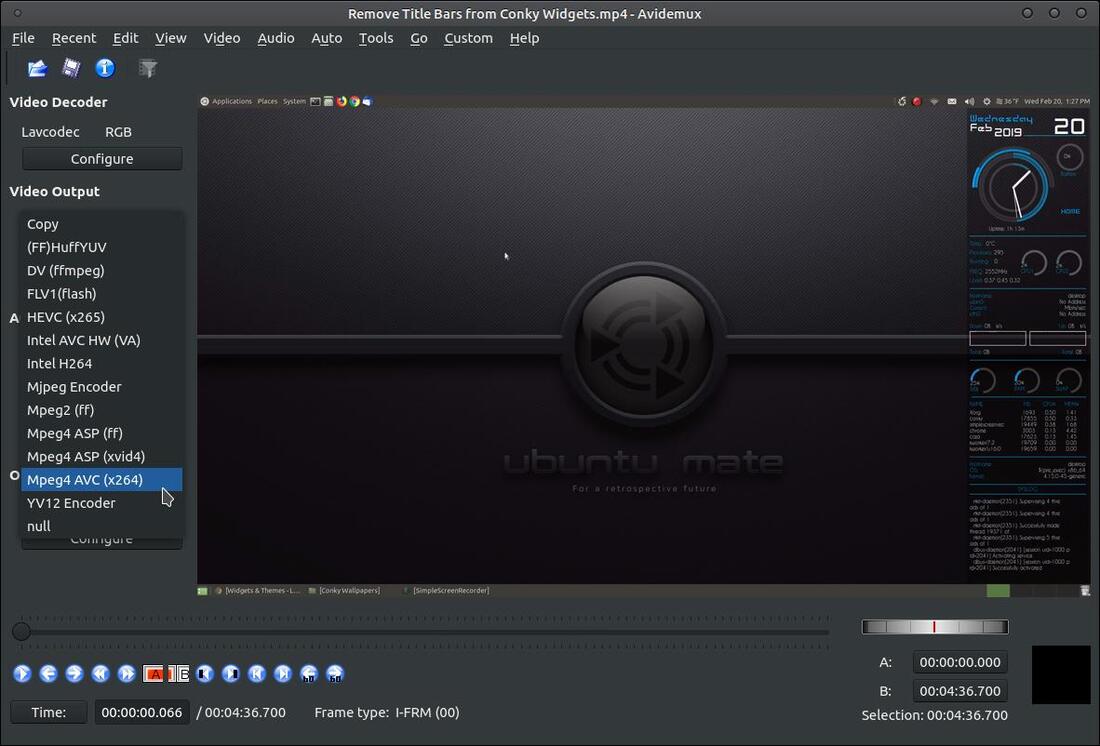
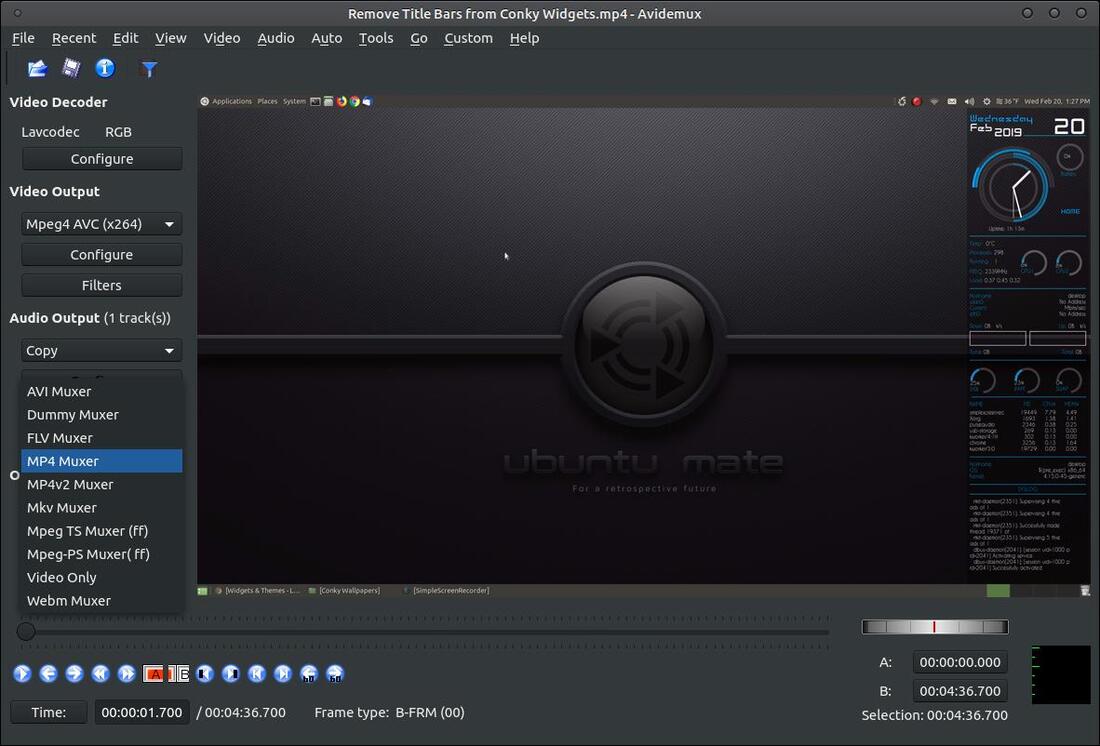
4. Filters are used to edit your video in Avidemux. Before you apply a filter to your video you must
first select a video codec for your video. Click the down arrow next to Copy under the Video Output
and select a video codec from the drop-down menu. In my example, I selected the Mpeg4 AVC (x264)
codec.
first select a video codec for your video. Click the down arrow next to Copy under the Video Output
and select a video codec from the drop-down menu. In my example, I selected the Mpeg4 AVC (x264)
codec.
5. Next, click the Filters button under Video Output.

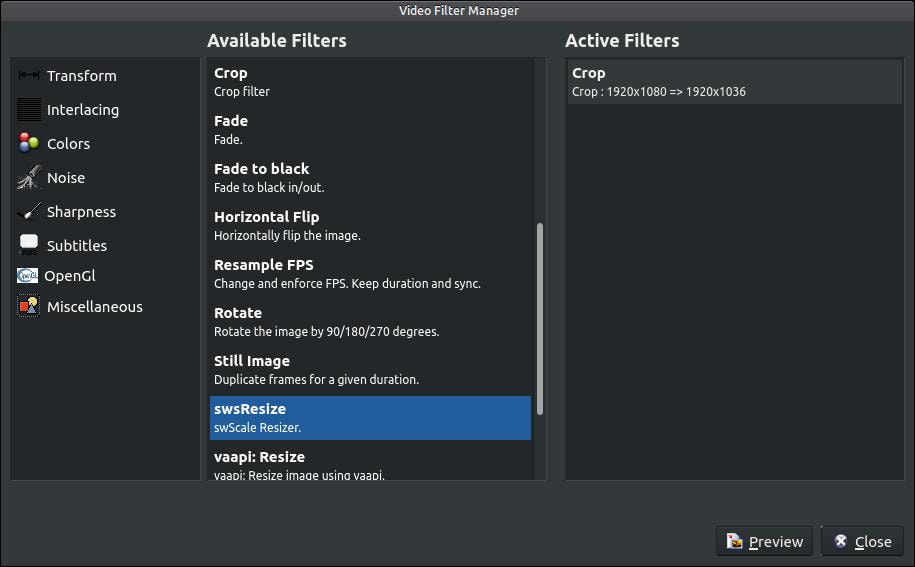
6. When the Video Filter Manager dialog box appears, locate the Crop filter and then double-click it to
open the Crop window.
open the Crop window.
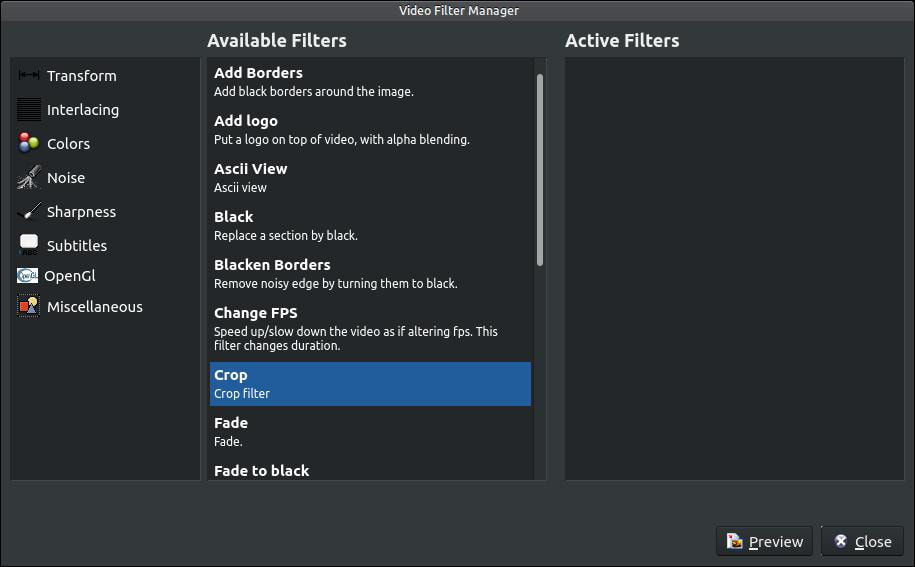
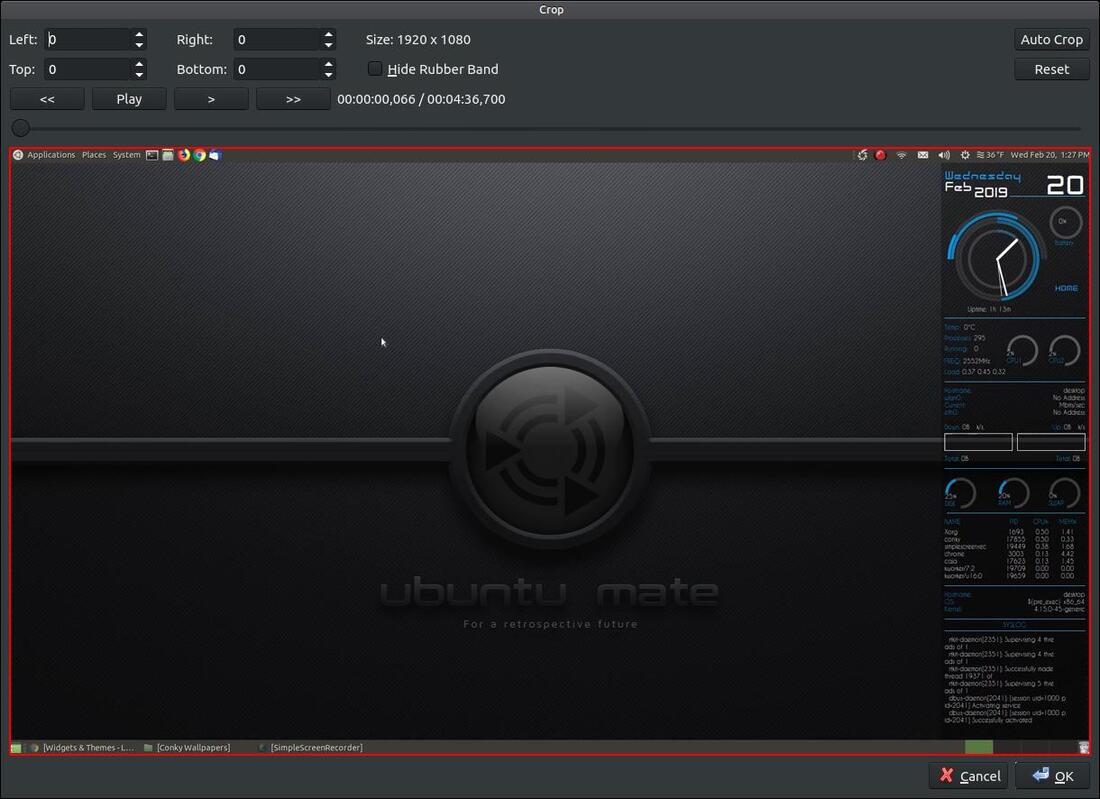
7. The four boxes in the upper left (Left, Top, Right, and Bottom) are used to determine how many
pixels to remove from the given direction. Let's say that I want to remove the Panel Bars across the
top and bottom of my video.
pixels to remove from the given direction. Let's say that I want to remove the Panel Bars across the
top and bottom of my video.
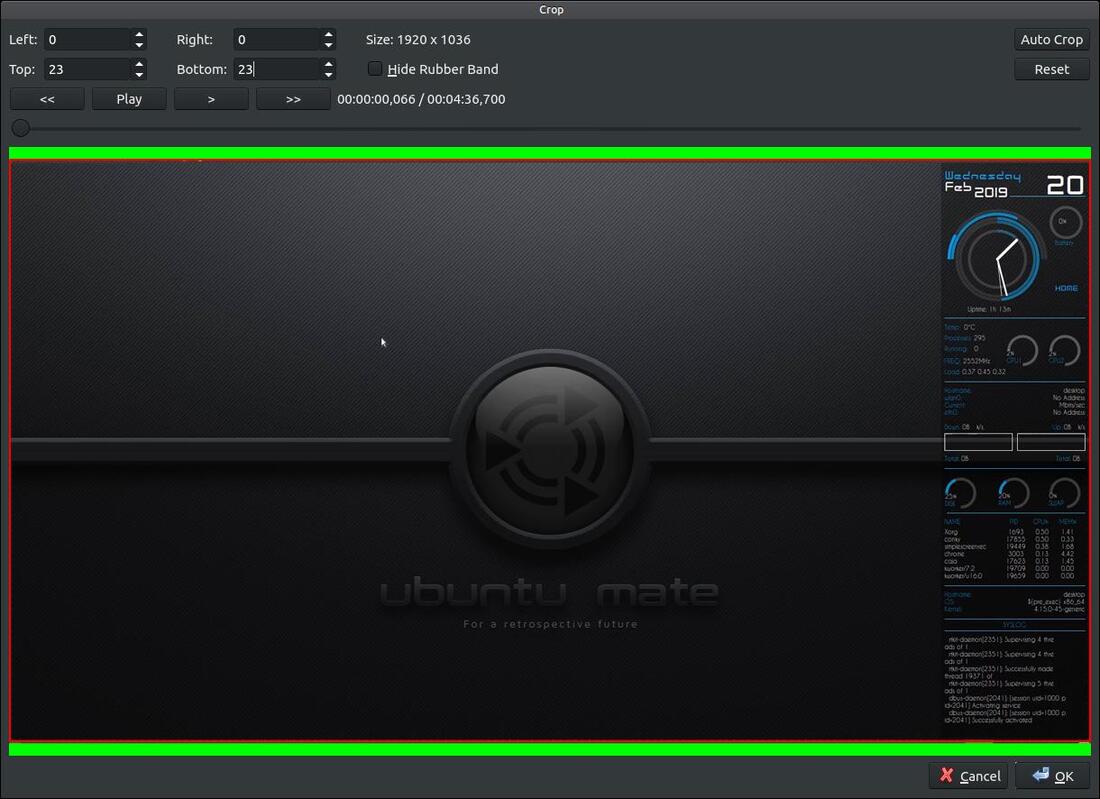
8. To remove the top Panel Bar I increase the number value next to Top. I click the up arrow until
green replaces the top Panel Bar. To remove the bottom Panel Bar I increase the number value next
to Bottom. I click the up arrow until green replaces the bottom Panel Bar. You can click the Play
button in the upper left corner to preview your video. When you are done with your settings, click
OK to close the Crop window.
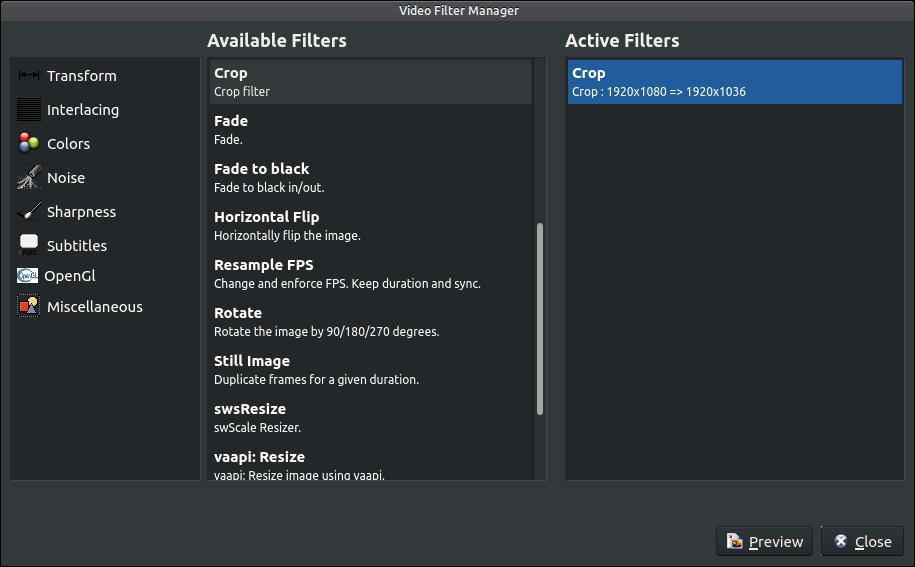
9. You will be taken back to the Video Filter Manager dialog box when you close the Crop window.
Under the Active Filters section you will see the current filter that we just used and see the before
and after screen resolution. In my example, after I removed my panel bars my screen resolution
changed from 1920x1080 to 1920x1036.
Under the Active Filters section you will see the current filter that we just used and see the before
and after screen resolution. In my example, after I removed my panel bars my screen resolution
changed from 1920x1080 to 1920x1036.
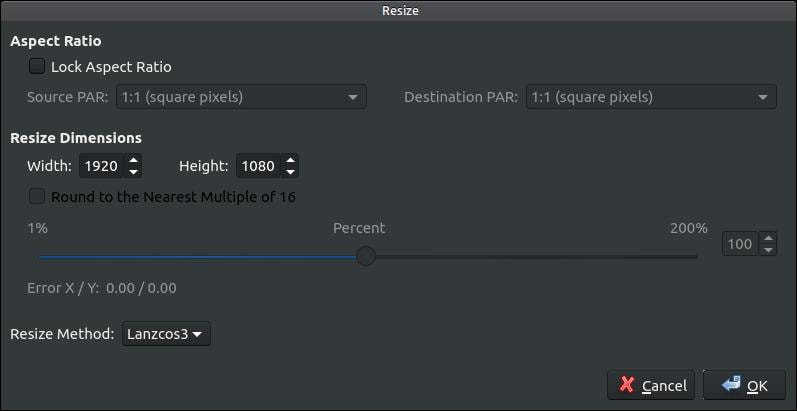
10. If you want to maintain your original screen resolution then locate the swsResize filter under the
Available Filters section and double-click it to open the Resize dialog box.
Available Filters section and double-click it to open the Resize dialog box.
11. When the Resize dialog box loads, uncheck Lock Aspect Ratio and enter your original dimensions
under the Resize Dimensions section and then click the OK button. In my example, I changed the
Height from 1036 back to 1080.
under the Resize Dimensions section and then click the OK button. In my example, I changed the
Height from 1036 back to 1080.
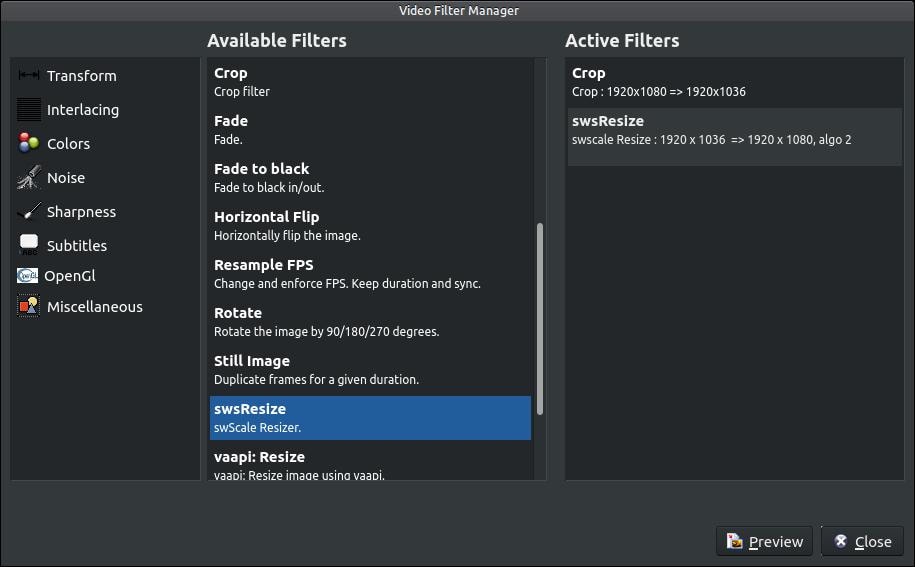
12. You should now see Crop and swsResize under the Active Filters section of the Video Filter
Manager dialog box. You are now ready to click on the Close button.
Manager dialog box. You are now ready to click on the Close button.
13. You will not notice a change in the video in the original preview window, so don't let that worry you
after you close the Video Filter Manager dialog box. The next step is to select your Output Format
for your video.
after you close the Video Filter Manager dialog box. The next step is to select your Output Format
for your video.
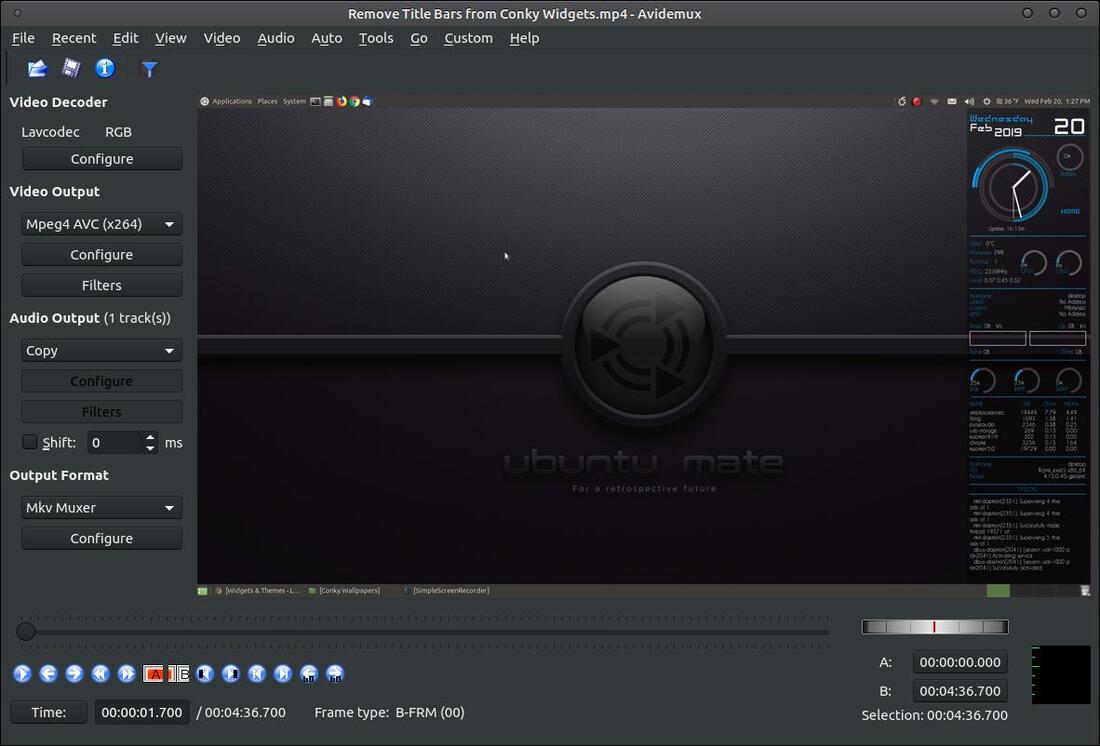
14. Click the down arrow next to Mkv Muxer under the Output Format and select the file extension of
your choice. In my example, I selected the MP4 Muxer.
your choice. In my example, I selected the MP4 Muxer.
15. I clicked on the Configure button under the Output Format just to make sure my Aspect Ratio
(DAR) was set to 16:9. Then I clicked the OK button.
(DAR) was set to 16:9. Then I clicked the OK button.

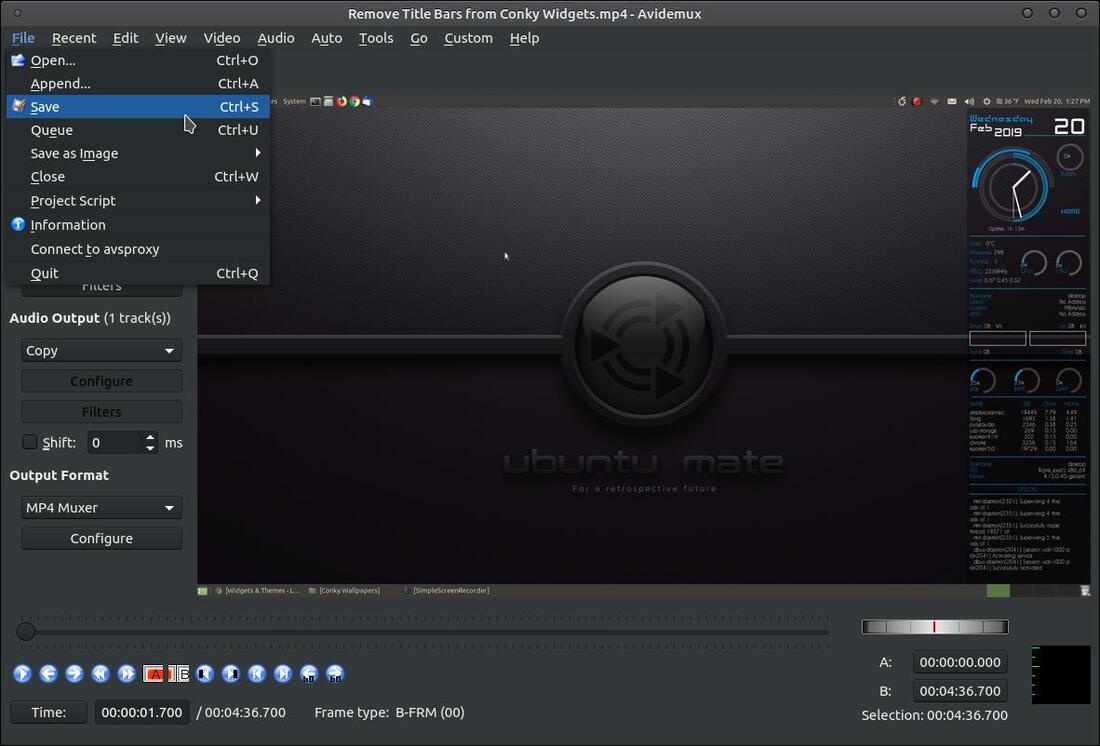
16. Now click on the File menu and select the Save command.
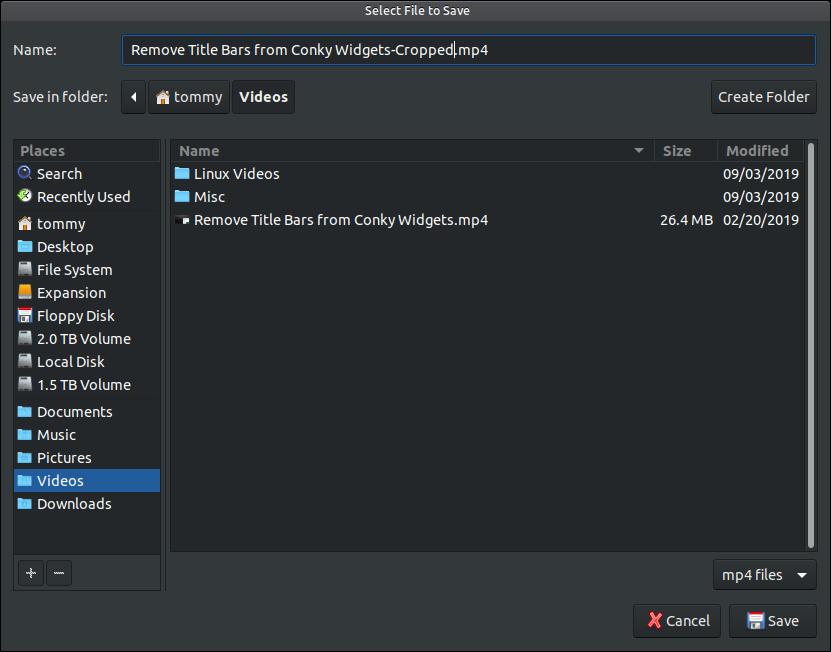
17. Give your new video file a name when the Select File to Save dialog box appears and then click on
the Save button to start the encoding process.
the Save button to start the encoding process.
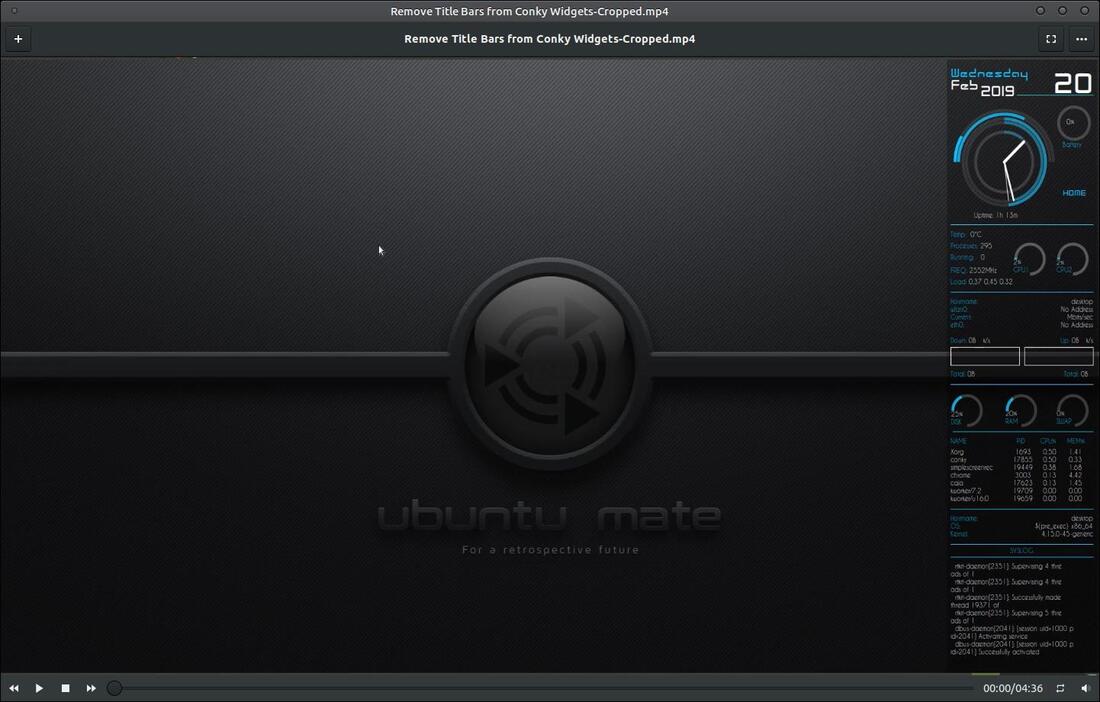
Below is the output from the settings above. I can slightly see the edges of the top panel and bottom panel, but it's not as noticeable as the original. You can go back to Step 8 and increase the Top and Bottom settings by one to completely remove the panels from view.
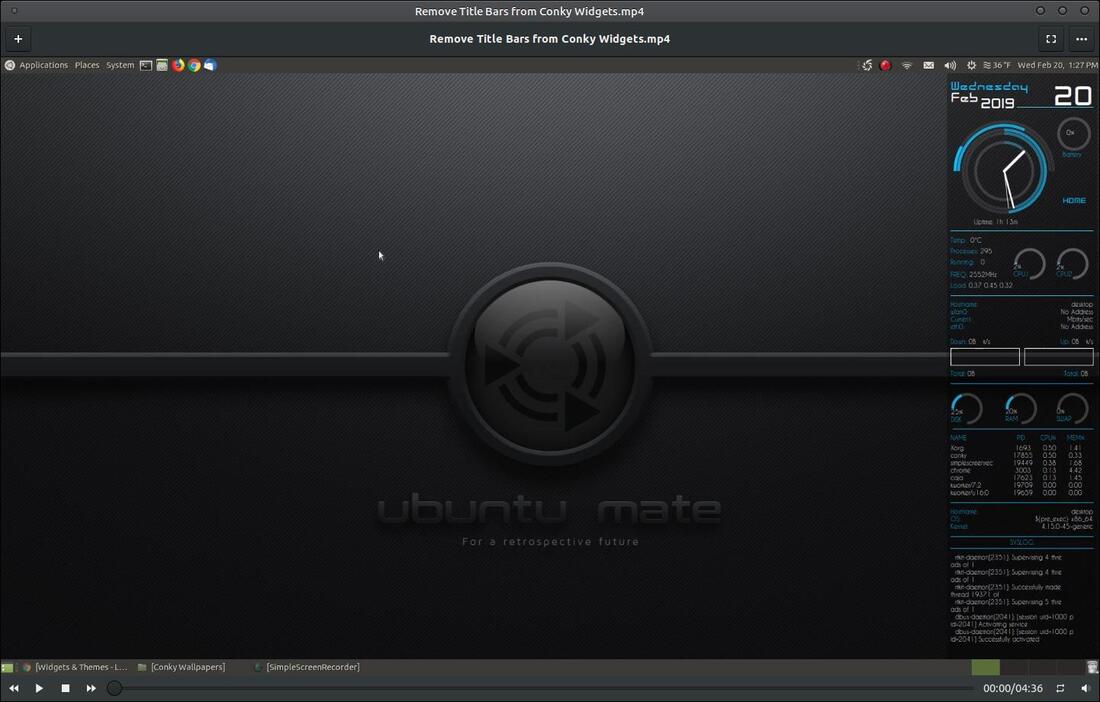
Below is what the original video looked like before it was cropped.
Cropping videos with Avidemux is a simple task.
I hope this helped you if you were looking for a way to crop your videos.
Take care!
I hope this helped you if you were looking for a way to crop your videos.
Take care!

Sep 19, 2019
