
Ghostery Private Browser
Ghostery Private Browser is a free web browser based on Mozilla Firefox for Linux, Windows, MacOS, Android and iOS. Ghostery Browser blocks ads, trackers & other pop-ups and is fully loaded with a built-in private search engine that detects and displays trackers before you even visit a webpage.
Features
- Built-in Tracker & Ad Blocker: To secure your privacy while browsing the web, the Ghostery Private Browser is neutralizing all trackers for you. Your personal data are detached and replaced by random values leaving data collectors in the dark about your identity.
- Built-in ad free Private Search: Ghostery Private Search offers unbiased results, not by the likelihood you'll click on them. It detects and displays trackers even before you visit a webpage.
- Built-in maximum security: Unparalleled privacy protection can only be achieved on a highest quality platform. Ghostery Private Browser builds upon Firefox with maximum care for speed, privacy and security.
In the past, Ghostery made some controversial decisions because of its a lack of transparency. They anonymized the data they collected and put it up for sale. However, in 2017 Ghostery was aquired by Cliq and the Ghostery projects became open source. It is now trusted by technology department at Winona State University and The University of North Carolina at Chapel Hill. If you're still undecided on using Ghostery products then take a look at the article on the all about Cookies website. Ghostery also has a Partnership Program with Universities across the United States. The University Partners include: the University of Michigan, University of Iowa, University of Alabama, University of Kentucky, Ohio State University, University of Oklahoma, and University of Connecticut.
How to Install Ghostery Private Browser:
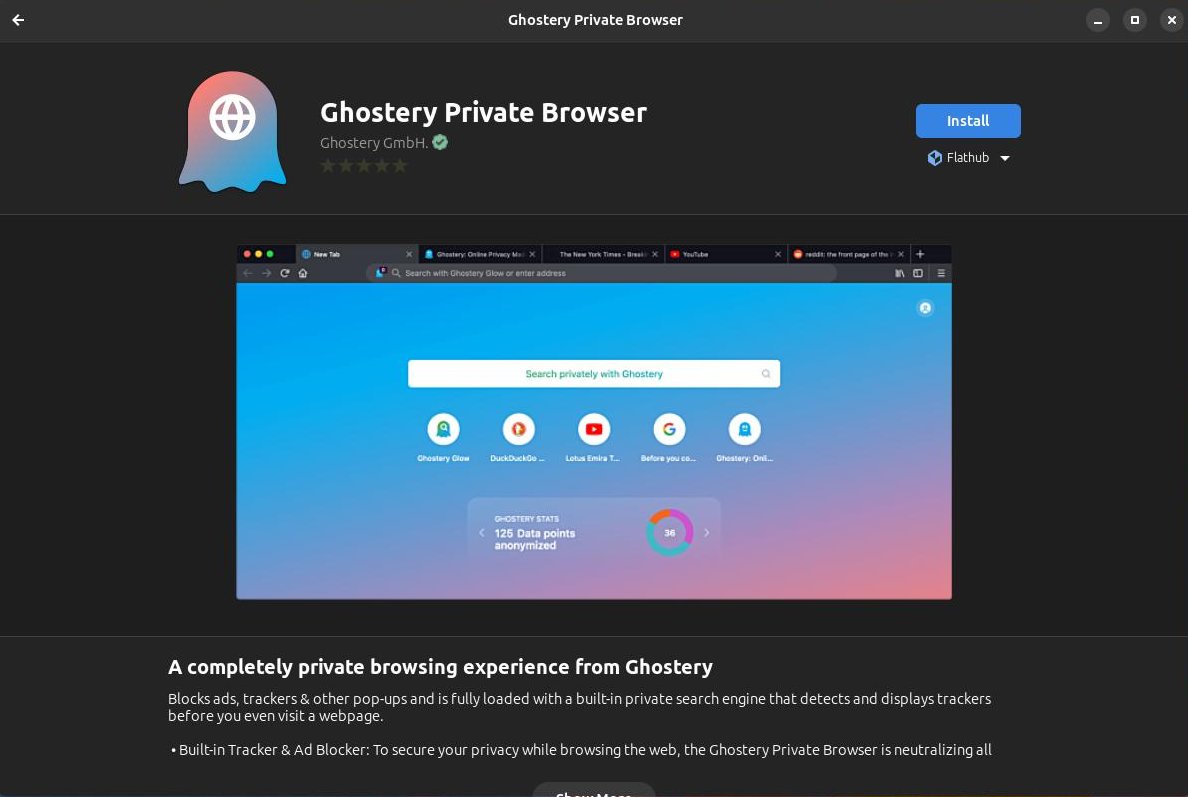
Option 1: Install it from Flathub.
Manual Install
Make sure you follow the setup guide for your Linux distribution before installing.
Open your Terminal and enter the following: flatpak install flathub com.ghostery.browser
Run
flatpak run com.ghostery.browser
Option 1: Install it from Flathub.
Manual Install
Make sure you follow the setup guide for your Linux distribution before installing.
Open your Terminal and enter the following: flatpak install flathub com.ghostery.browser
Run
flatpak run com.ghostery.browser
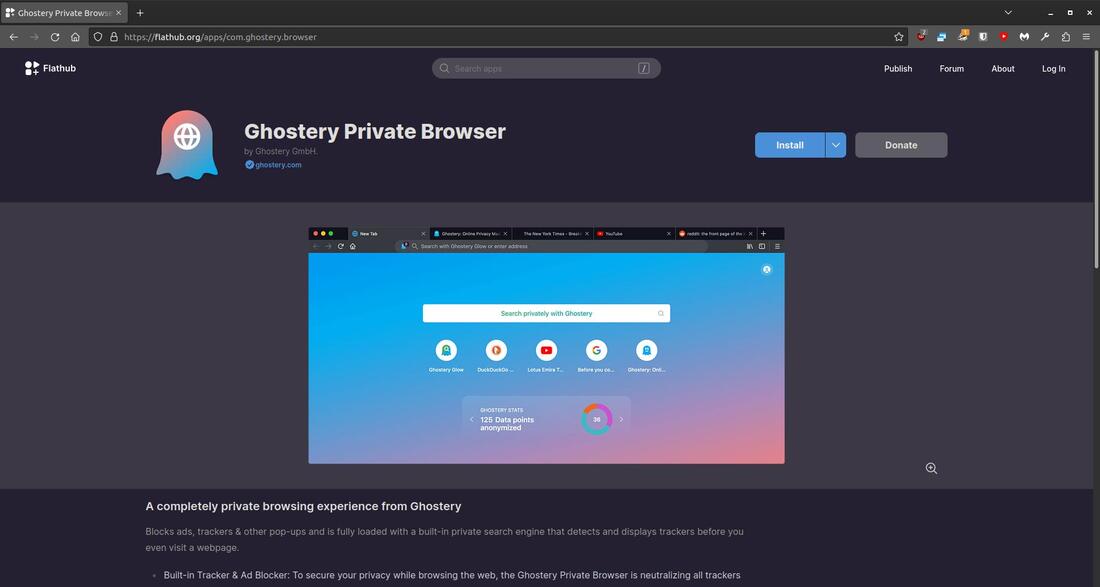
https://flathub.org/apps/com.ghostery.browser
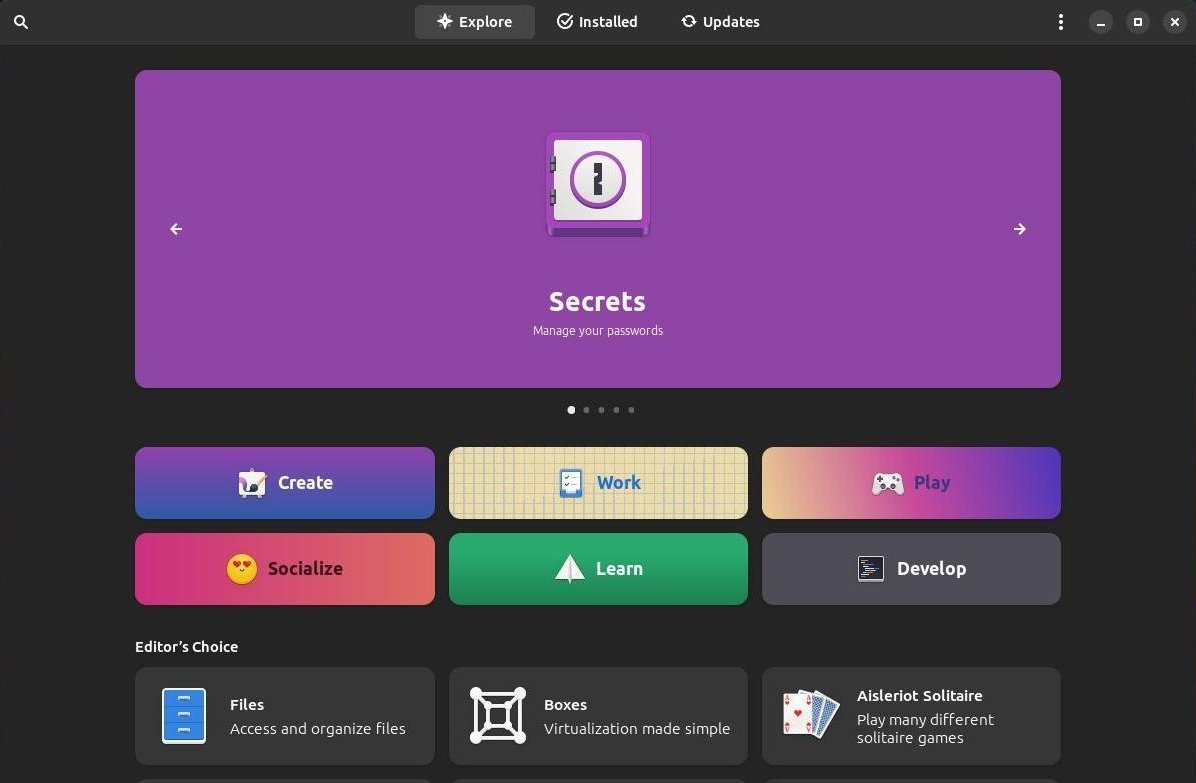
Option 2: Install it from Software (a.k.a Gnome Software)
Open Software on your System.
Open Software on your System.
Click the Search button in the upper left corner and type Ghostery in the search bar. Click on Ghostery Private Browser when it appears.
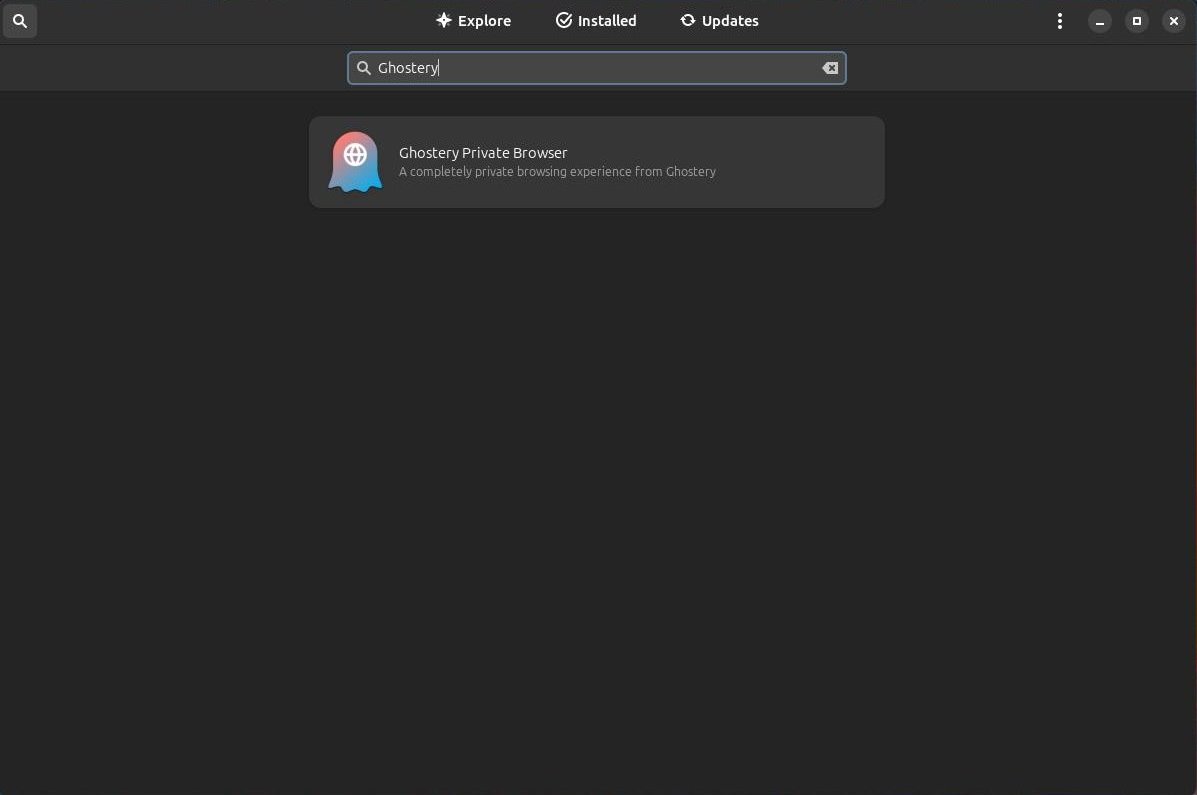
Click the Install button to install the Flatpak version of Ghostery Private Browser on your system.
Option 3: Install it from the compressed tar.gz file.
(More Advanced Method)
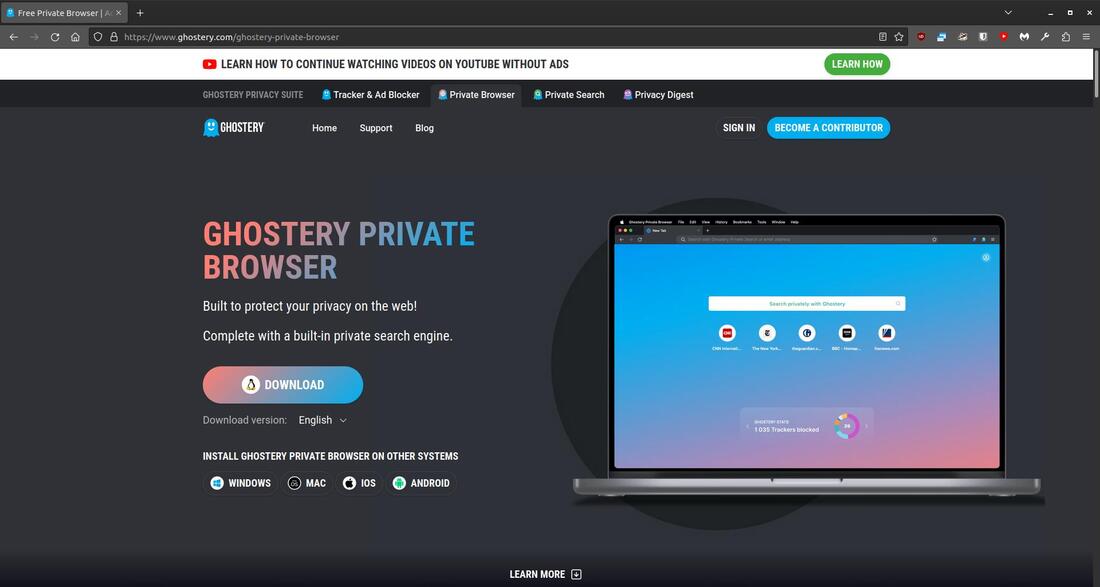
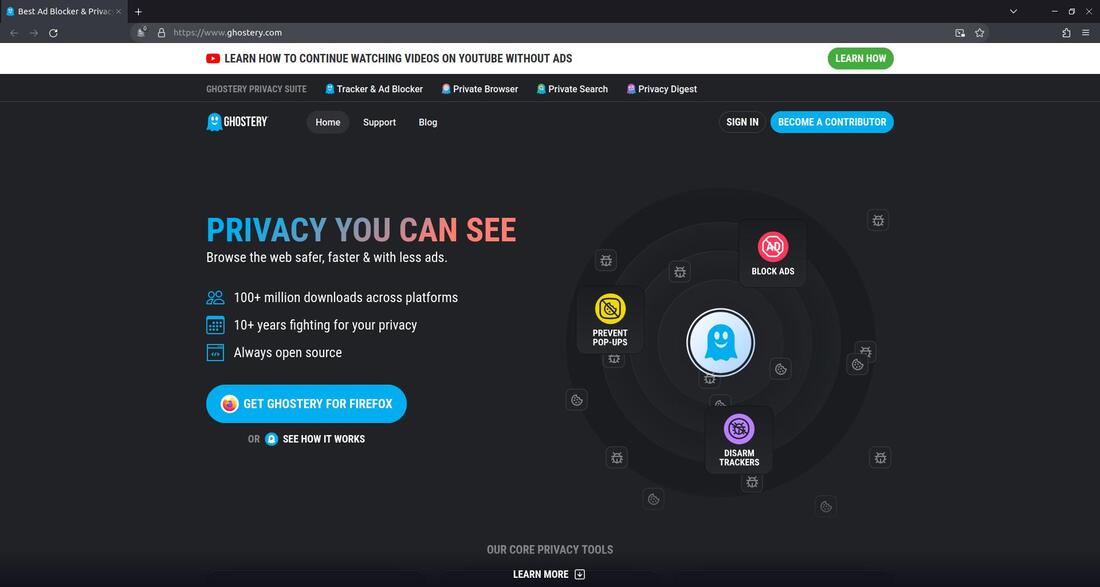
Go to the browser's website and click the Download button to download the most current compressed version. You can also download the newest version from https://get.ghosterybrowser.com/download/linux.
(More Advanced Method)
Go to the browser's website and click the Download button to download the most current compressed version. You can also download the newest version from https://get.ghosterybrowser.com/download/linux.
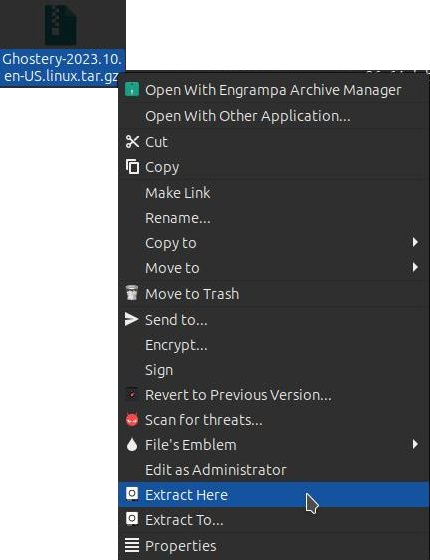
Locate the .tar.gz file and right-click it and select Extract Here. This will uncompress the files and folder within the compressed file.
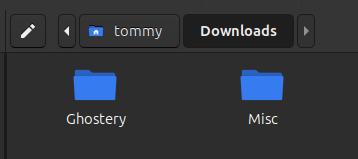
You should now see a Ghostery folder within your Downloads folder.
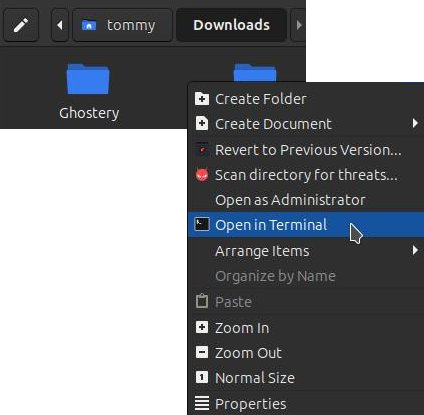
Right-click in an empty space within the Downloads folder in your file manager and select Open in Terminal.
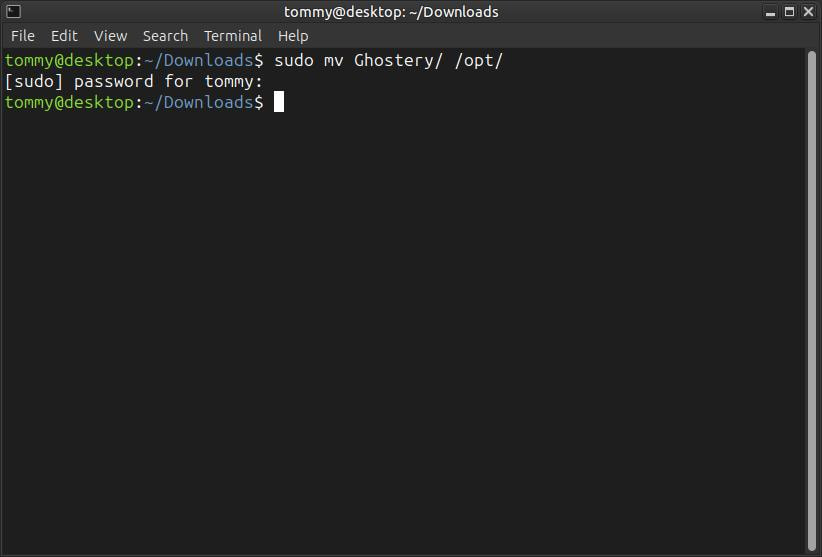
Your Terminal should open with Downloads as the active directory. Now move the Ghostery directory into the opt directory by entering the following command: sudo mv Ghostery/ /opt/
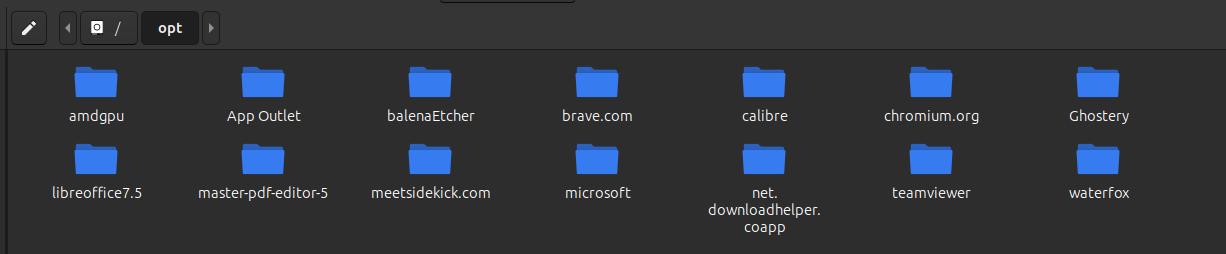
You should now have the Ghostery directory inside the opt directory.
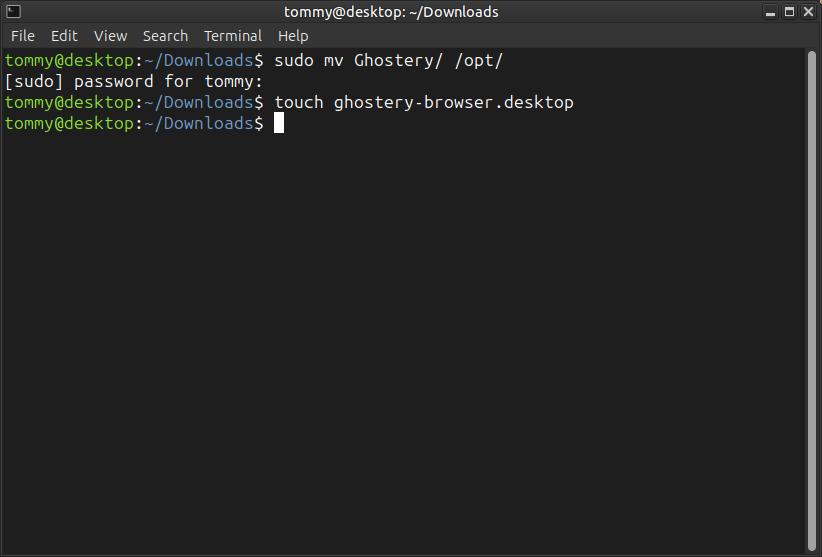
After placing the files in the opt directory, use the touch command to create a new file in the Downloads directory. This file is ghostery-browser.desktop it is the shortcut file, that will allow you to launch the app from your Linux desktop within your menu. Enter the following command in your Terminal:
touch ghostery-browser.desktop
touch ghostery-browser.desktop
You should now have an empty file called ghostery-browser.desktop in your Downloads directory.
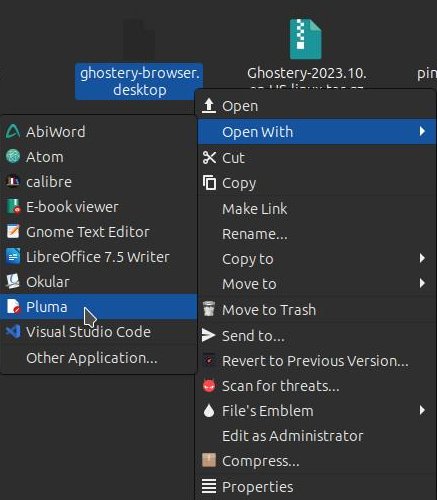
Open the empty file called ghostery-browser.desktop with your favorite text editor. Since Pluma is my default text editor I will use it to open the empty file. Right-click the file and select Open With and then select Pluma. (You may select the text editor that's installed on your Linux system.)
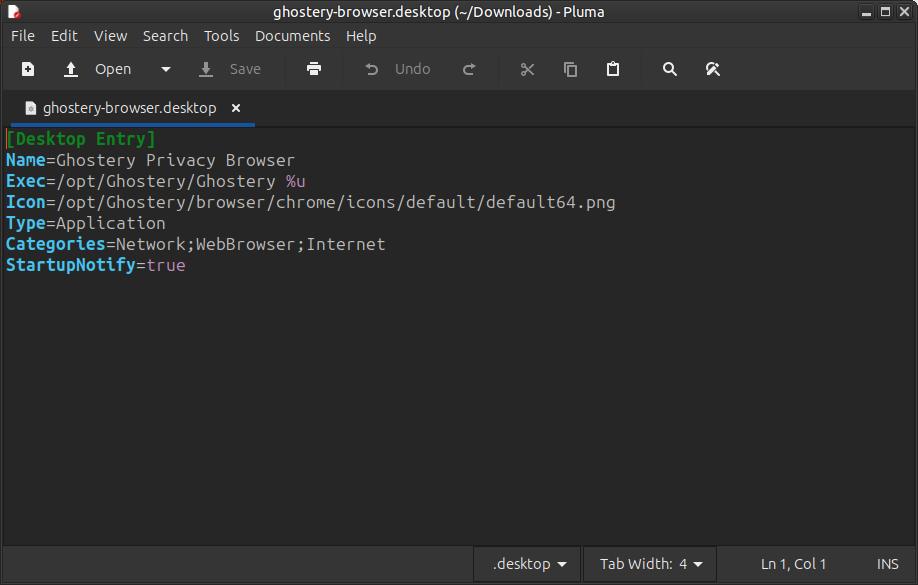
When the text editor opens the file enter the following information:
[Desktop Entry]
Name=Ghostery Privacy Browser
Exec=/opt/Ghostery/Ghostery %u
Icon=/opt/Ghostery/browser/chrome/icons/default/default64.png
Type=Application
Categories=Network;WebBrowser;Internet
StartupNotify=true
[Desktop Entry]
Name=Ghostery Privacy Browser
Exec=/opt/Ghostery/Ghostery %u
Icon=/opt/Ghostery/browser/chrome/icons/default/default64.png
Type=Application
Categories=Network;WebBrowser;Internet
StartupNotify=true
Next, save the content within the file.
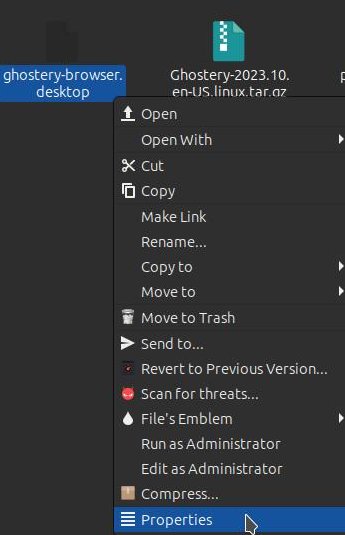
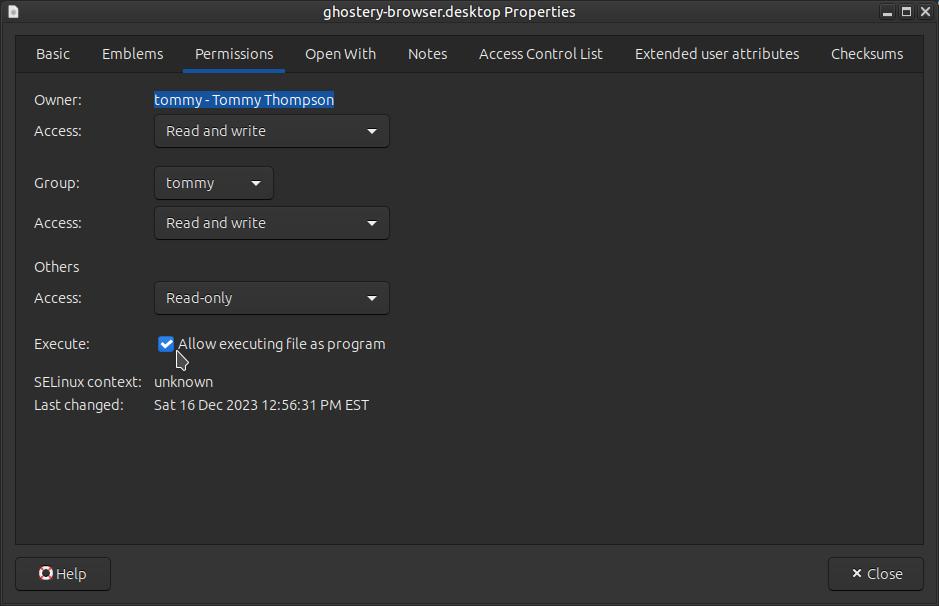
Now we have to update the permissions of the file by right-clicking the ghostery-browser.desktop file and select Properties.
When the Properties dialog box appears, click the Permissions tab across the top. Check the box to the left of Allow executing file as program and then click the Close button.
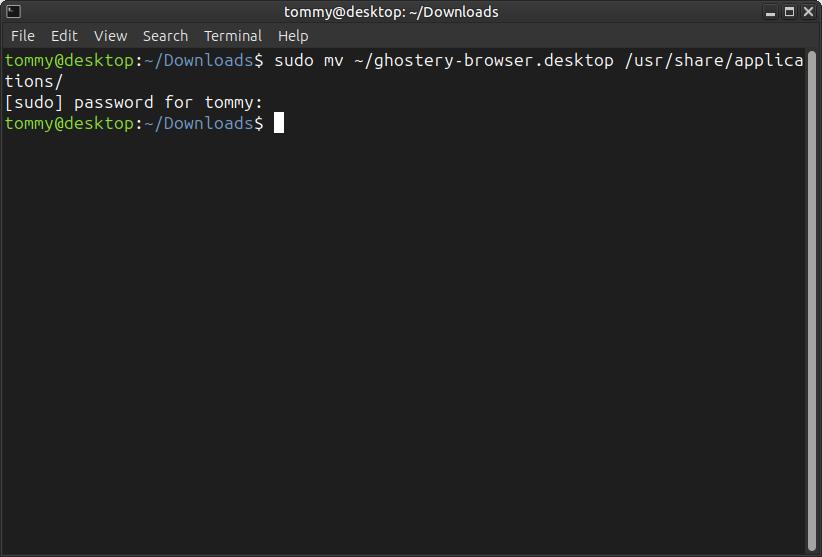
Now, you’ll need to move the file into the /usr/share/applications directory.
With the Downloads folder the active directory in your Terminal, enter the following command:
sudo mv ~/ghostery-browser.desktop /usr/share/applications/
With the Downloads folder the active directory in your Terminal, enter the following command:
sudo mv ~/ghostery-browser.desktop /usr/share/applications/
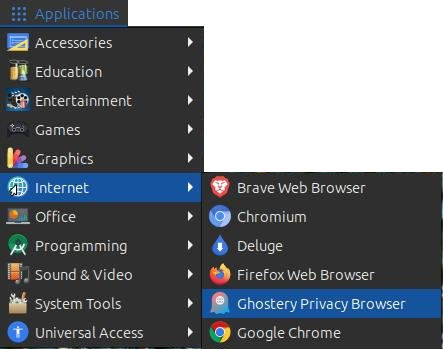
You should now see the Ghostery Privacy Browser in your menu. If not, reboot your system and check again.
The first time you run the browser it will ask you to enable the Ghostery add-on or extension to protect your browser against ads, pop-ups, trackers, and more. Click Enable Ghostery to continue.
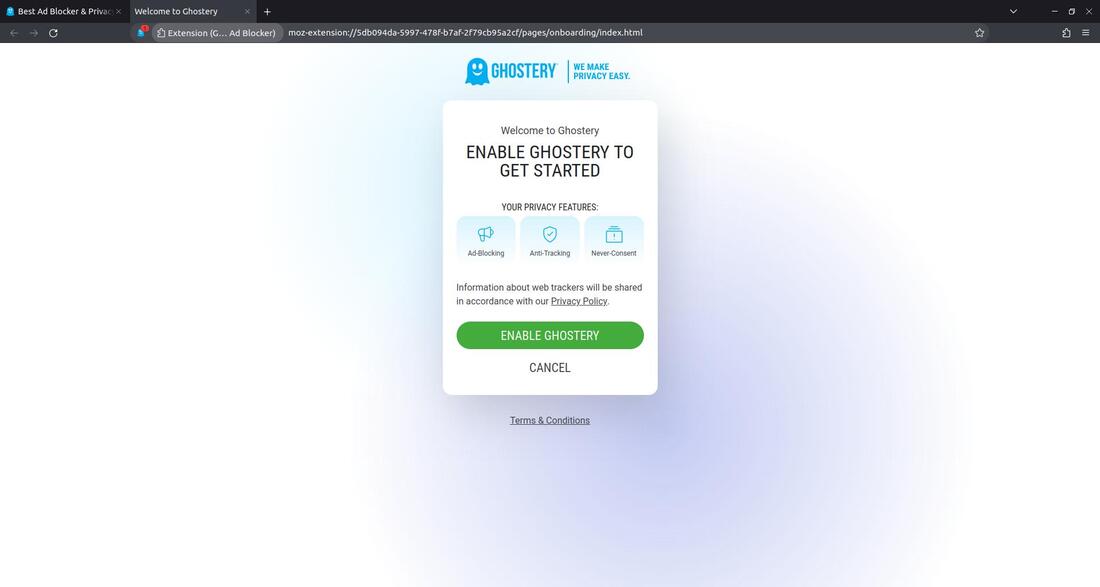
It will let you know when the setup is complete. It will display, "SETUP SUCCESSFUL Ghostery is all set to stop trackers in their tracks and protect your privacy while browsing!"
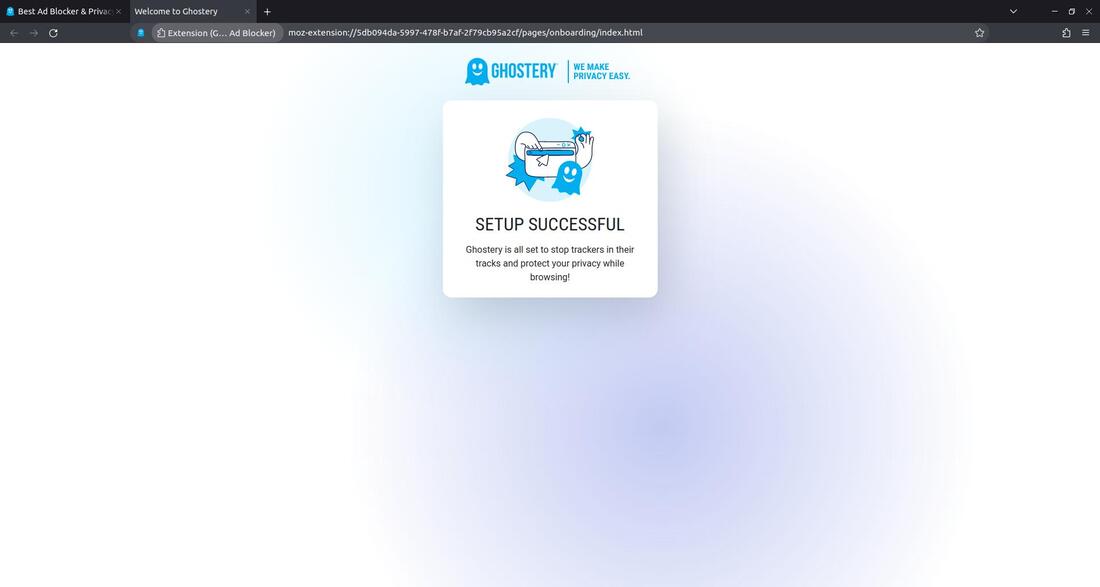
You can close the Welcome to Ghostery tab across the top.
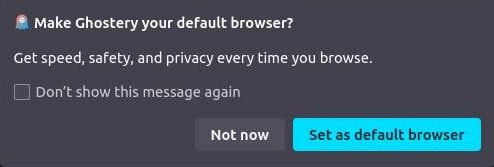
After you open the browser a few times it will prompt you to as if you want to make Ghostery your default browser.
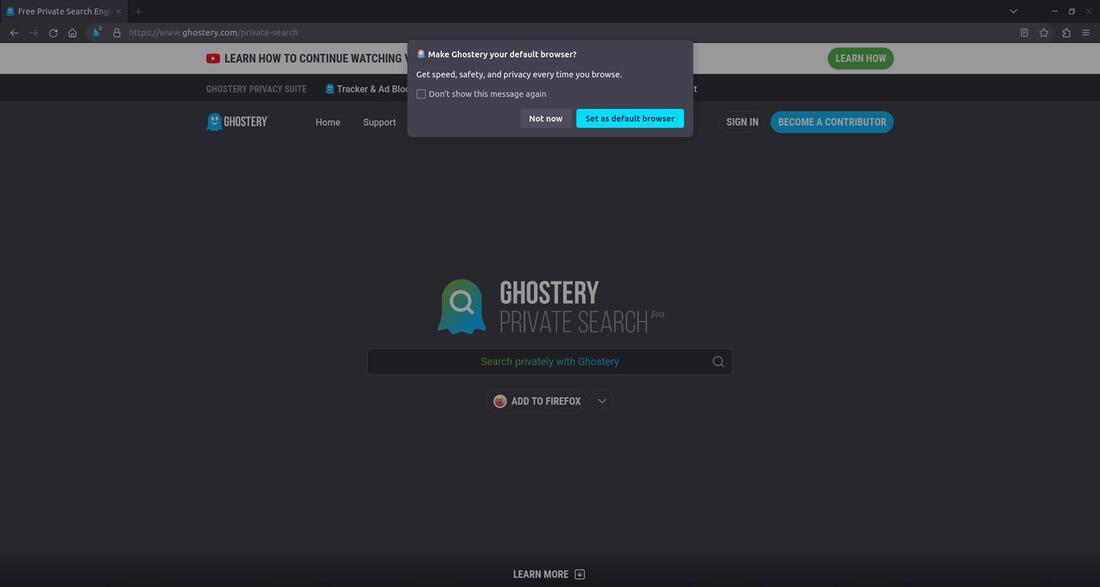
I recommend that you check, "Don't show this message again" and click the Not now button. You can always go into the settings and change it to make the new browser your default browser. I recommend that you get used to using it before you decide.
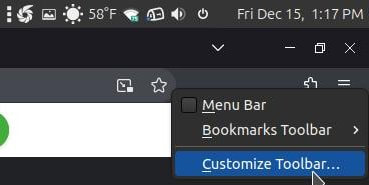
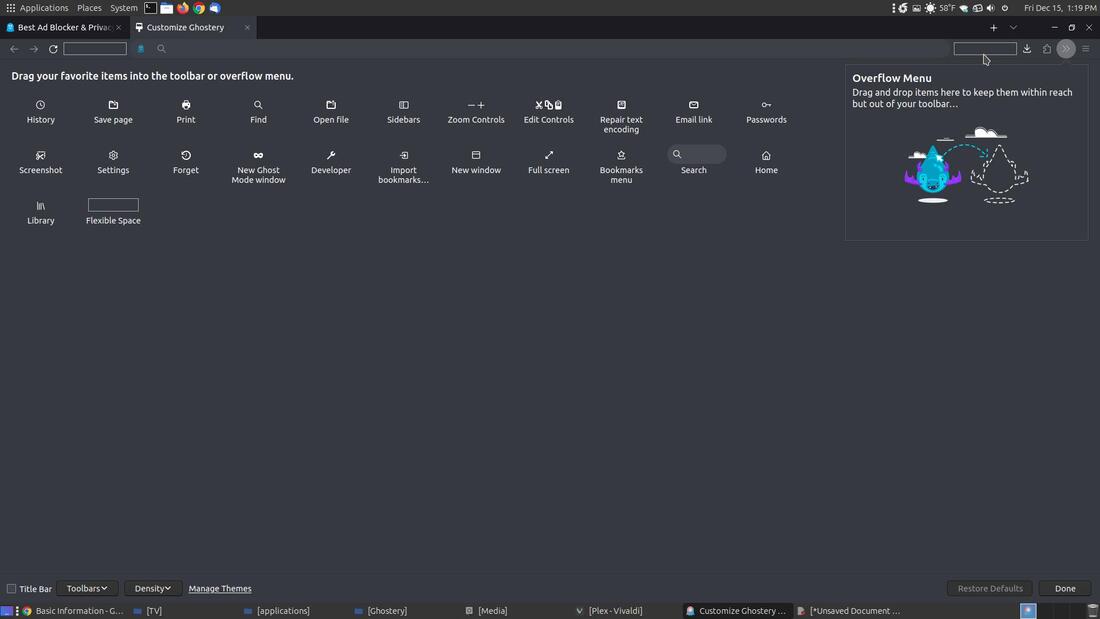
You can customize the toobar by right-clicking on the toolbar and selecting the Customize Toolbar... command.
You can drag the empty spaces off the toolbar to get rid of them. You can drag the Home icon to the toolbar to have access to the Home button.
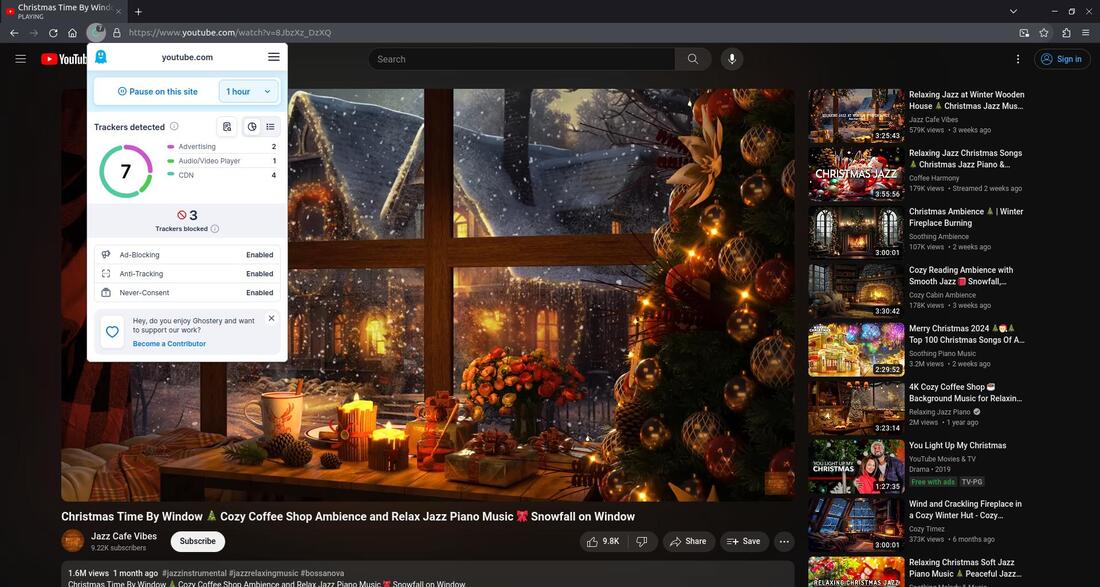
Since you already enabled the Ghostery add-on or extension you are ready to visit places like YouTube. You'll notice it loads instantly without any ads.

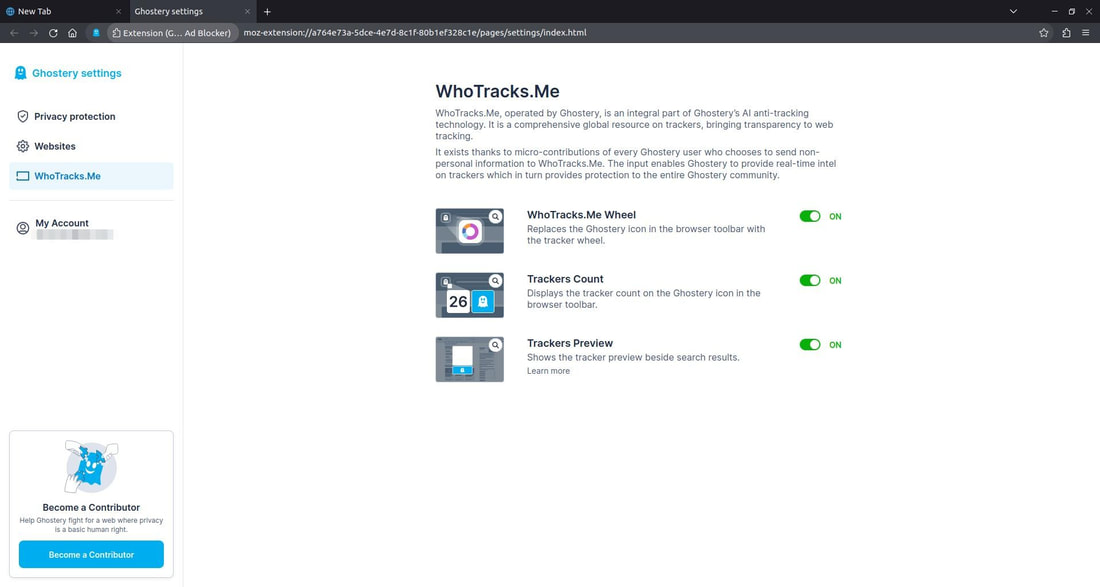
You'll notice the Gostery add blocker is to the left of the URL bar. Clicking on it will display information about the add blocker. You can customize the settings to meet your surfing needs.
A close-up view of the Ghostery add-on.
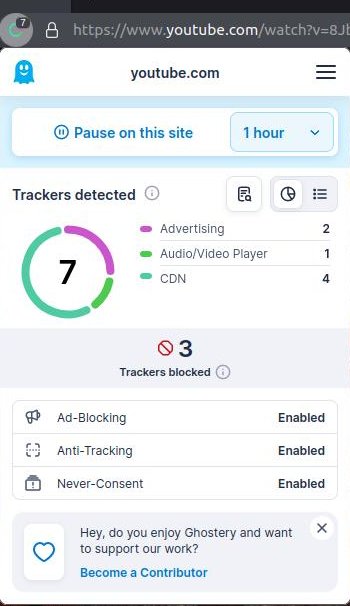
You can turn on or off items to enhance your online privacy protection.

You can turn on features that allow you to monitor who is trying to track you online.
Recommended Browser Extensions
Here are several add-ons or extensions that you can use to enhance your web browser’s protection and security.
Here are several add-ons or extensions that you can use to enhance your web browser’s protection and security.
- Bitwarden (Firefox Add-ons)
- SponsorBlock for YouTube (Firefox Add-ons)
- Malwarebytes Browser Guard (Firefox Add-ons)
- TWP - Translate Web Pages (Firefox Add-ons)
- Proton VPN (Firefox Add-ons)
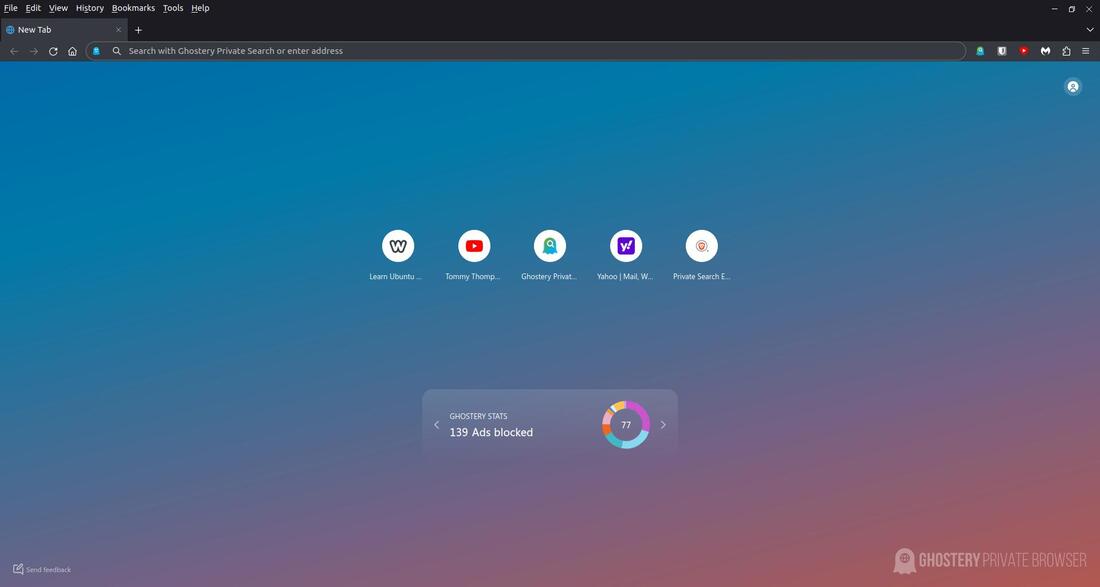
Ghostery has a nice Private Search engine.

The Home screen will display shortcuts to the five of the most visited sites you surf online.
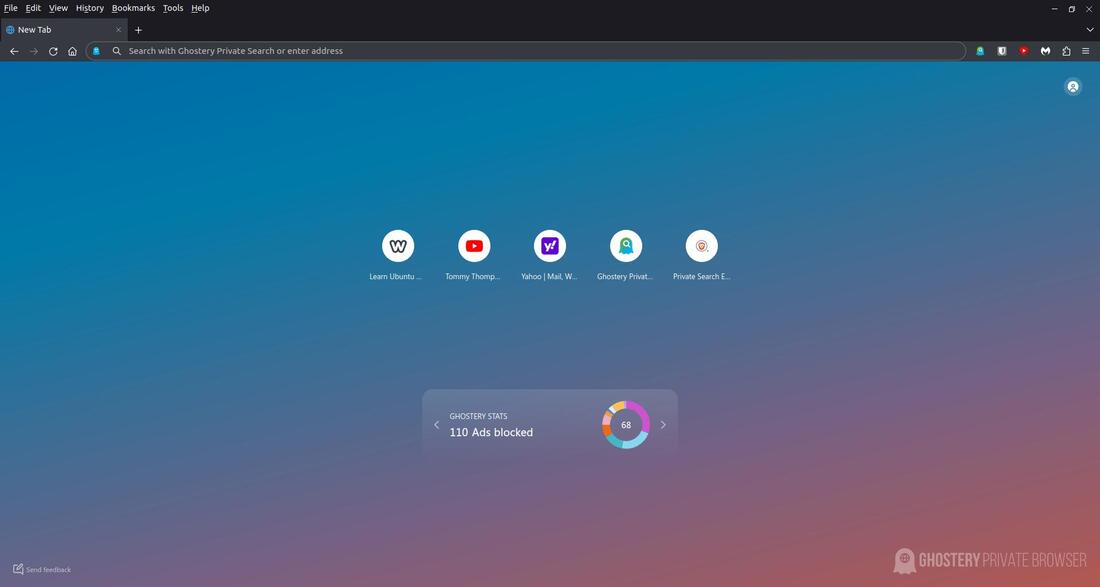
Below you'll find some additional information.
Additional Ghostery Privacy Browser Links
Overall, I think Ghostery Privacy Browser is a great browser.
Dec 16, 2023
