
Etcher (a.k.a. balenaEtcher)
Etcher (a.k.a. balenaEtcher) allows you to Flash OS images to SD cards & USB drives, safely and easily.
Etcher can be installed on all popular operating systems such as Windows, Linux, and macOS. You can download and install the latest release from: https://github.com/balena-io/etcher/releases/ or https://etcher.balena.io/#download-etcher
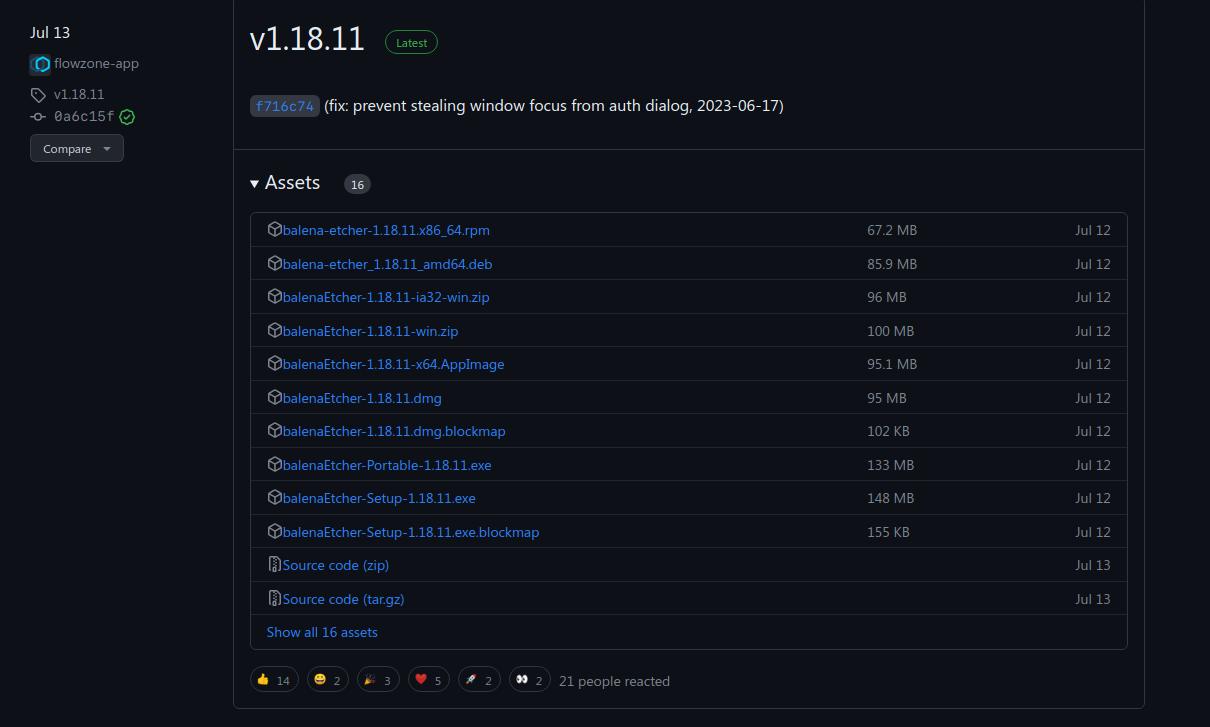
Linux users can download the .deb or .rpm installation file. Rpm is used by Red Hat-based distributions such as Fedora and CentOS, while deb is used by Debian-based distributions such as Ubuntu and Linux Mint. Both rpm and deb are used to install, update, and remove software packages on Linux computers.
I use GDebi for installing .deb packages on my Ubuntu Mate system. GDebi is a front-end tool for managing Debian packages. It allows you to install local .deb packages and resolve their dependencies. You can also use apt to install remote packages. To install the GDebi package installer on Ubuntu, you can use the command sudo apt install gdebi in the Terminal. You can also install GDebi from the Ubuntu Software Center.
I use GDebi for installing .deb packages on my Ubuntu Mate system. GDebi is a front-end tool for managing Debian packages. It allows you to install local .deb packages and resolve their dependencies. You can also use apt to install remote packages. To install the GDebi package installer on Ubuntu, you can use the command sudo apt install gdebi in the Terminal. You can also install GDebi from the Ubuntu Software Center.
Downloaded .deb package for Ubuntu MATE
After the file downloads I double-click the file balena-etcher_1.18.11_amd64.deb to open it up in my package installer or GDebi.
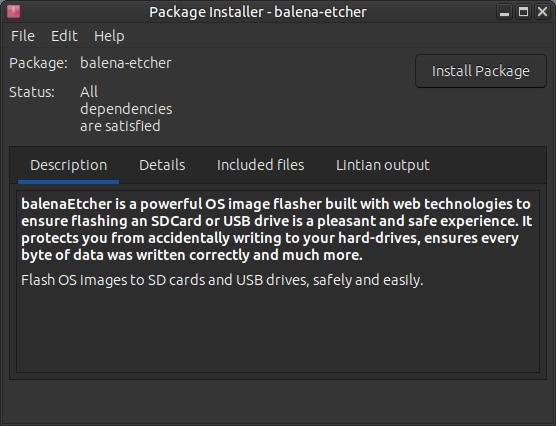
Click the Install Package button to start the installation process.
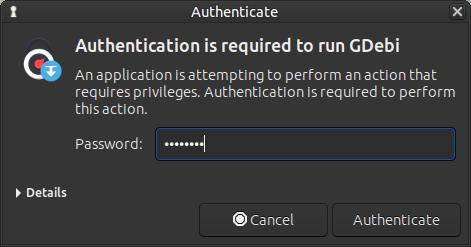
Enter your Password and then click the Authenticate button.
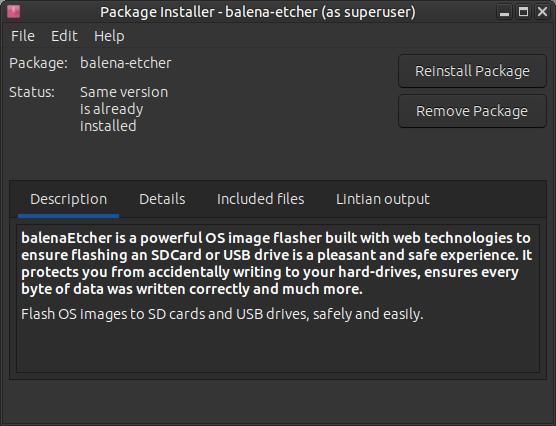
Do not close the Package Installer until you see the Status: Same version is already installed and the two buttons Reinstall Package and Remove Package.
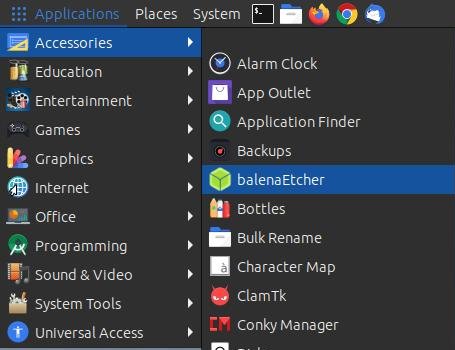
You will now be able to access the program via your menu.
Install via the Terminal:
sudo add-apt-repository universe
sudo apt update
sudo apt upgrade
wget https://github.com/balena-io/etcher/releases/download/v1.18.11/balena-etcher_1.18.11_amd64.deb
sudo apt install ./balena-etcher_1.18.11_amd64.deb
sudo apt update && sudo apt --fix-broken install (If you run into any dependency errors)
Run Using AppImage:
Download the AppImage from the official Etcher download page or the GitHub releases page.
Download the AppImage from the official Etcher download page or the GitHub releases page.
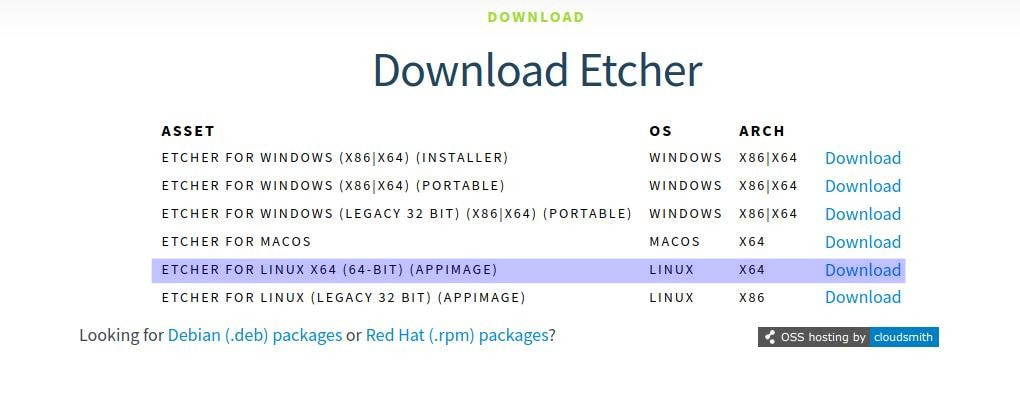
Etcher Download Page
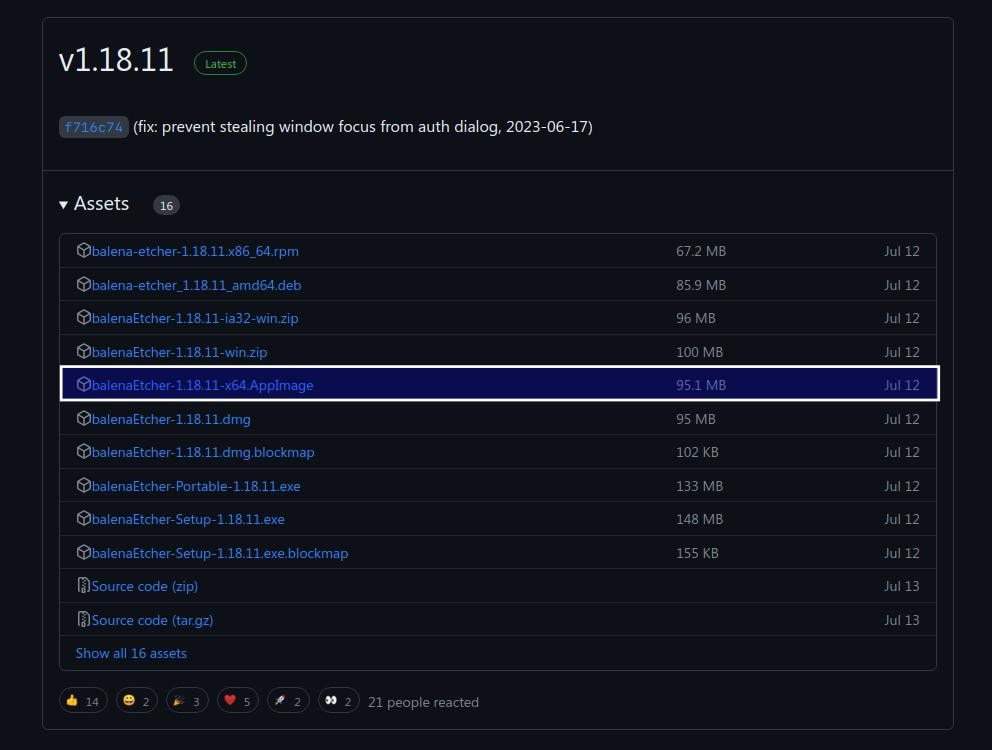
GitHub Releases Page
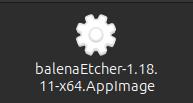
Locate and move the balenaEtcher-1.18.11-x64.AppImage into a folder you keep your AppImages organized in.
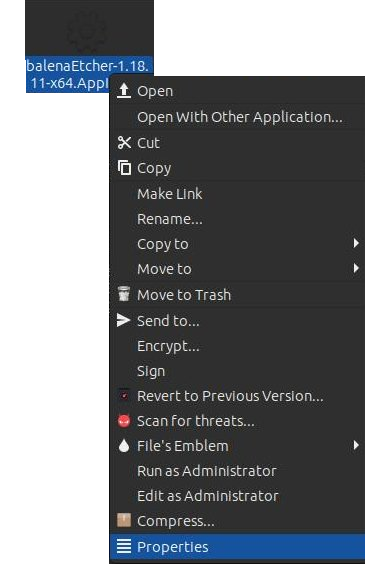
Right-click the balenaEtcher-1.18.11-x64.AppImage file and click on Properties in the pop-up menu.
Click the Permissions tab in the Properties dialog box and the check the box next to Allow executing file as program. Then click on the Close button.

You can now double-click the file to execute or run it.
You can use menu editor to add the AppImage to your menu. Mozo is a menu editor for MATE that can be used in Ubuntu. It uses the freedesktop.org menu specification and is a fork of Alacarte. Mozo is an easy-to-use tool that can add and edit new entries and menus.
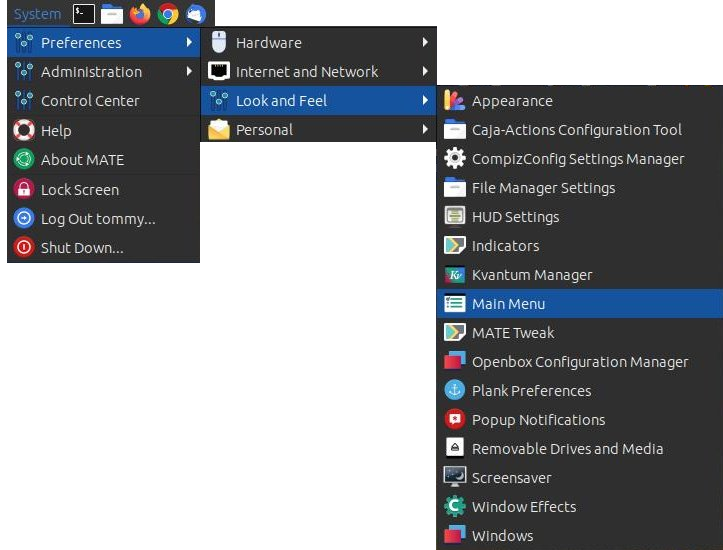
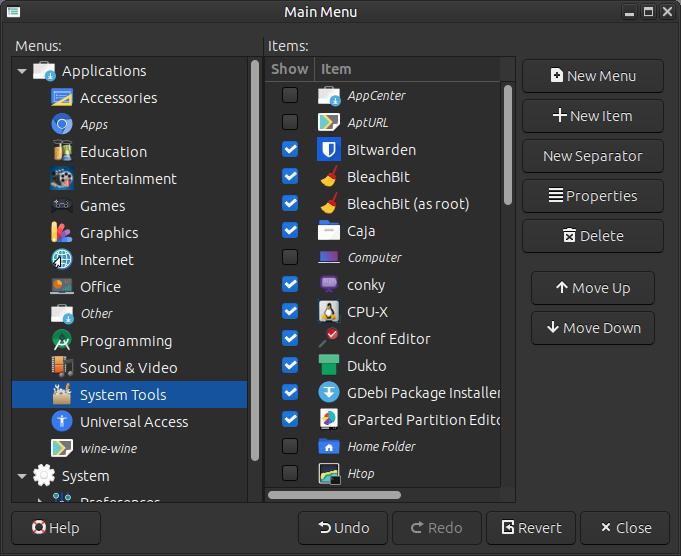
Mozo is referred to as the Main Menu within my menus. It can be accessed by clicking on the System menu, Preferences, Look and Feel, and Main Menu.
You can use menu editor to add the AppImage to your menu. Mozo is a menu editor for MATE that can be used in Ubuntu. It uses the freedesktop.org menu specification and is a fork of Alacarte. Mozo is an easy-to-use tool that can add and edit new entries and menus.
Mozo is referred to as the Main Menu within my menus. It can be accessed by clicking on the System menu, Preferences, Look and Feel, and Main Menu.
Click on the Menu item on the left that you want to place your AppImage icon. Then click on the +New Item button on the right.
Enter the following in the Launcher Properties dialog box to add the program to your menu. Just add the path to your balenaEtcher-1.18.11-x64.AppImage file and replace it with my path.
Type: Application
Name: balenaEtcher
Command: "/home/tommy/AppImages/balenaEtcher-1.18.11-x64.AppImage" %U
Comment: A cross-platform tool to flash OS images onto SD cards and USB drives safely and easily.
Then click the square box in the left and locate a balenaEther icon on your system. You can save the icon on the bottom of this page if you don't have one. Then click the Close button.

You can use the Move Up and Move Down buttons to organize it within your Items list. Click the Close button to add the new item to your menu.
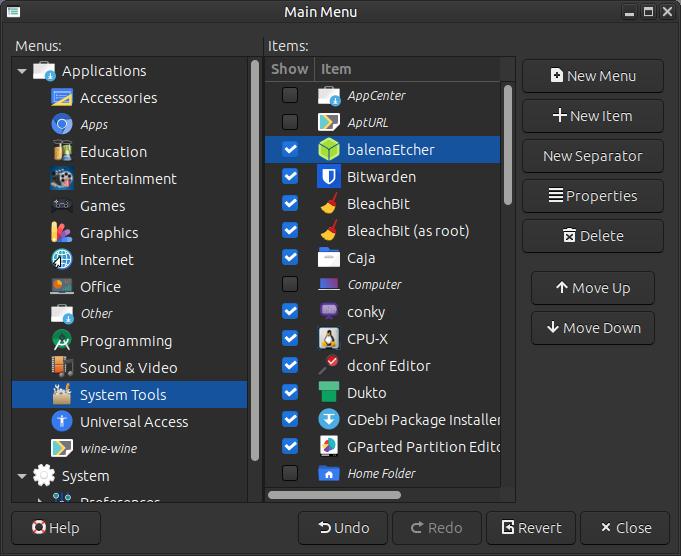
You should now see a new balenaEtcher icon in the System Tools menu.

Programs installed natively by the .deb package will load faster than programs installed by AppImage; however, you don't get dependencies error message via AppImages.
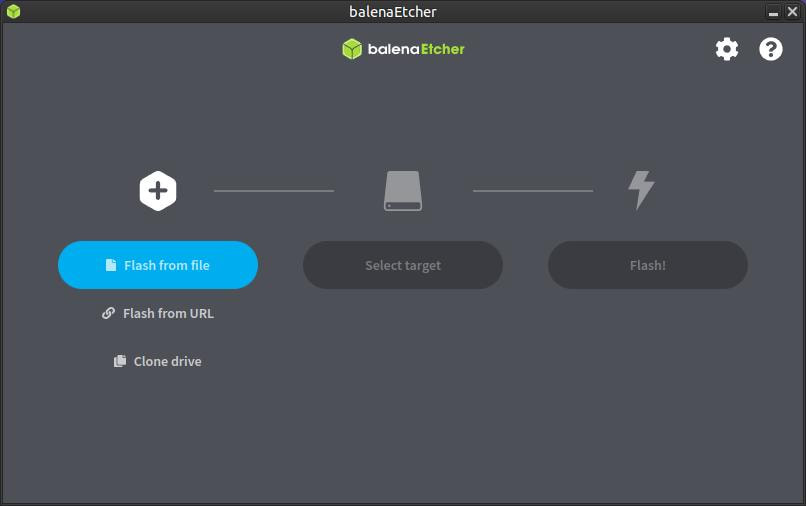
Click the icon in the menu will cause the program to run. The program is very simple and easy-to-use.
Click the icon in the menu will cause the program to run. The program is very simple and easy-to-use.
Clicking the gear icon in the upper right corner will bring up the Settings dialog box. You only have two settings to that you can change and it displays the current version. Click the OK button to close Settings.
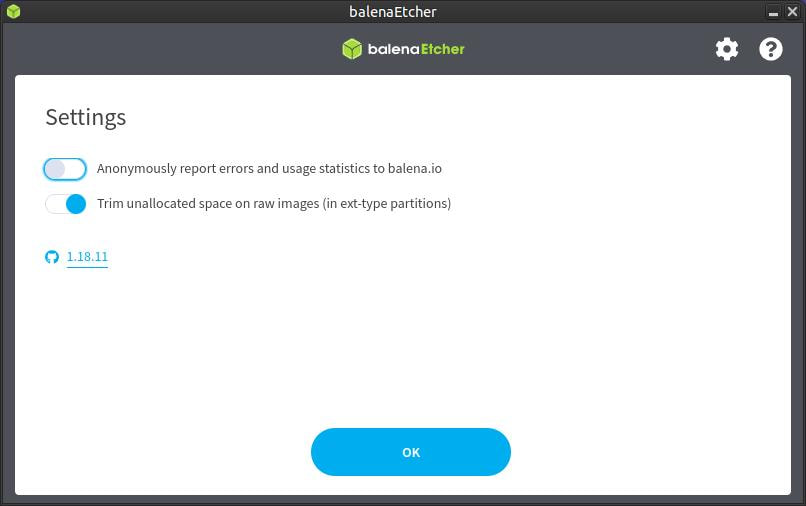
Clicking on the Question mark in the upper right corner will bring up the Support webpage from GitHub.

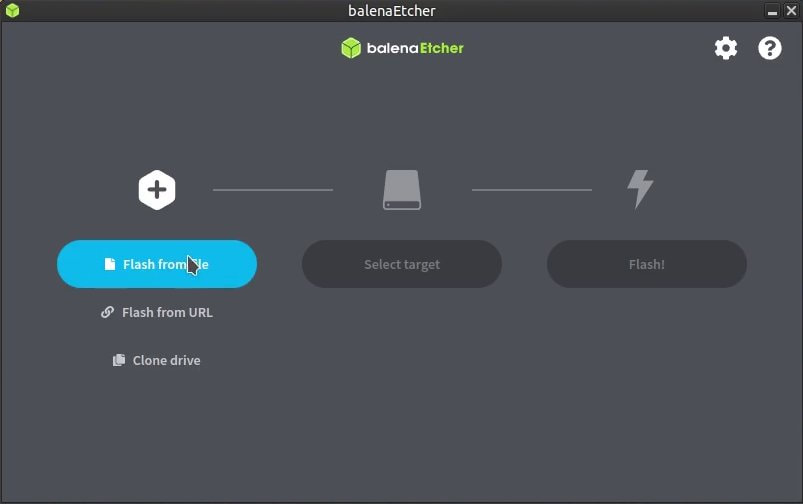
Etcher will allow you Flash from file, Flash from URL, and Clone drive.
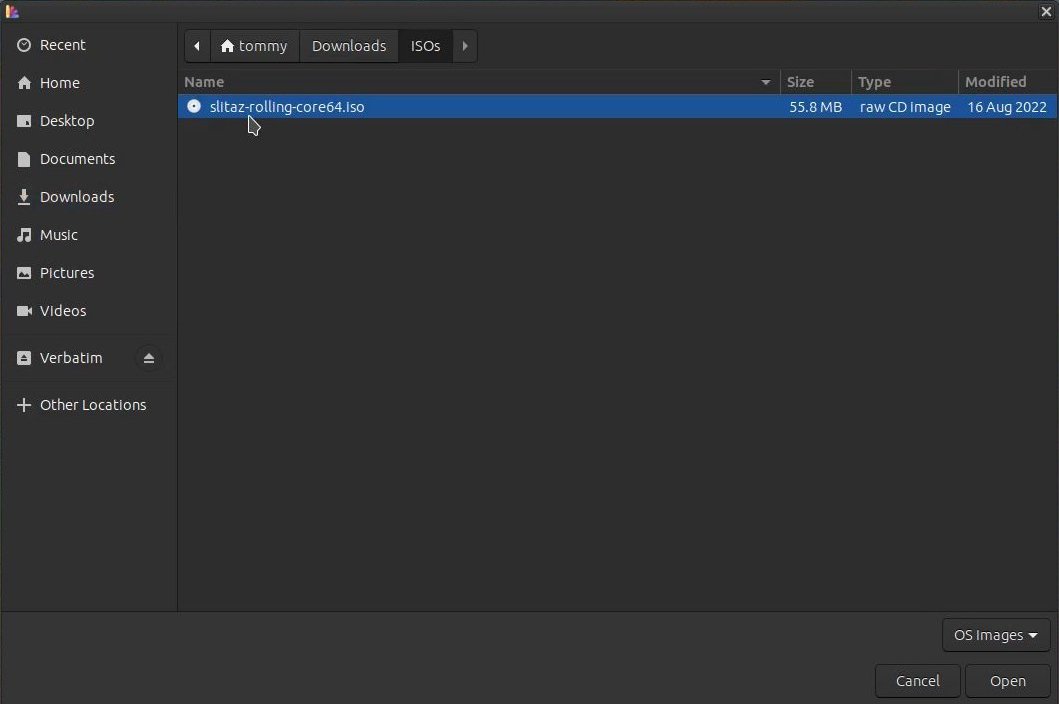
I will illustrate how to flash an .ISO file to a USB device. Click the Flash from file button.
Locate an select your .iso file on your system. Then click the Open button.
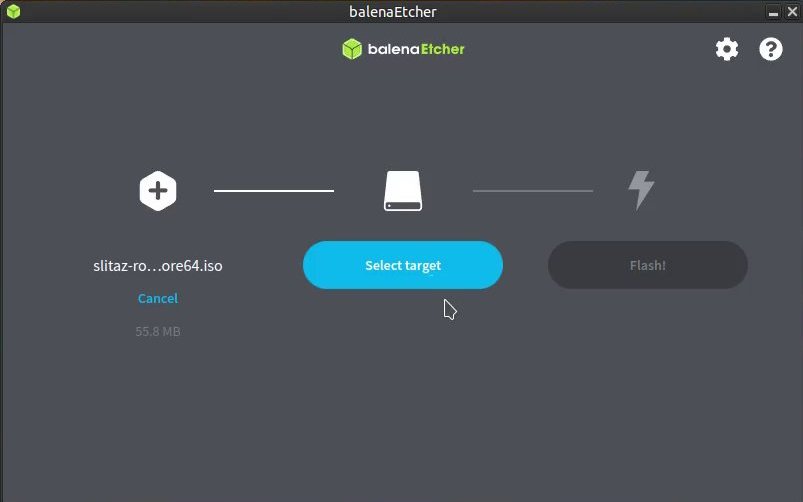
Next, click on the Select target button.
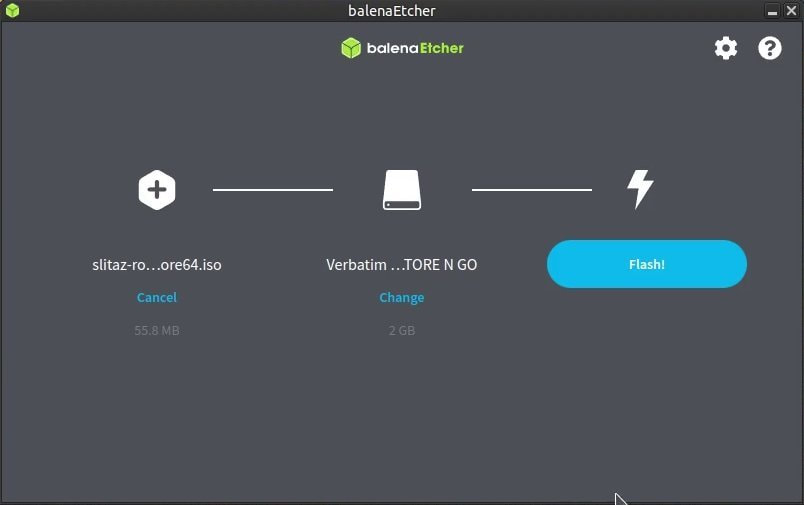
Put a check in the box next to the USB or SD card you want to use. I recommend that you remove any USB devices you don't plan to use to prevent them from being selected accidentally.

Then click the Flash button to start the process.
Enter your Password and click the Authenticate button.
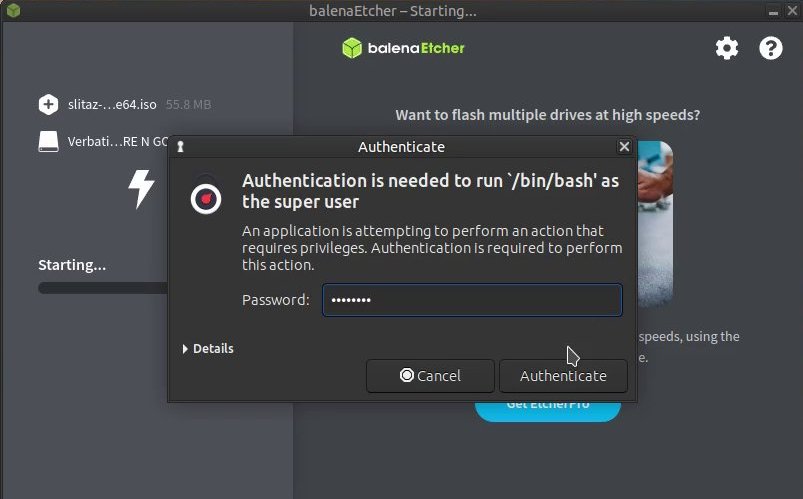
The Flashing process will start, so be patient as it flashes your device.
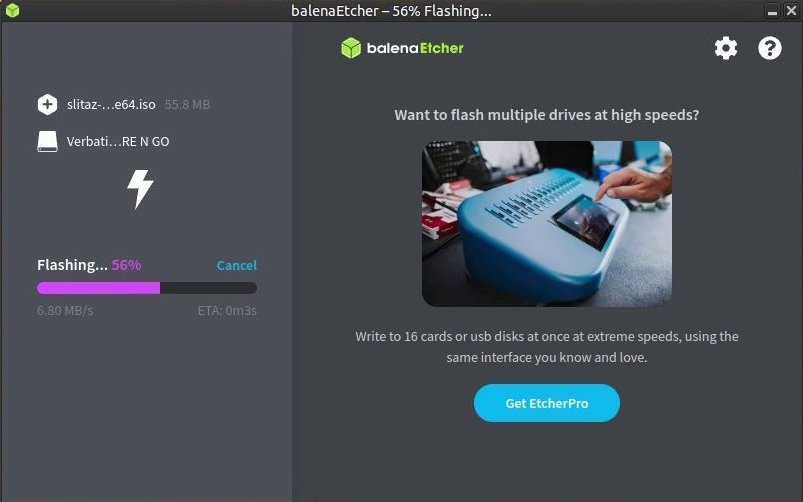
It will then Validate the files on your device to make sure it completed successfully.

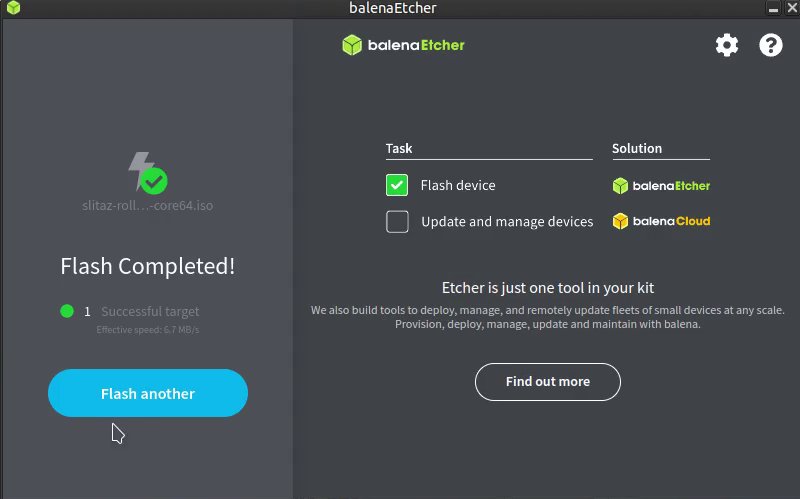
When the process is Completed you'll be given the option to Flash another device.
I hope this helps you if you were looking for some software to convert an .ISO file to USB or SD card.
Take care!
Take care!
Sep 26, 2023
